Greetings I hope you are enjoying the beautiful moment by the grace of God.I am always motivated to create something new and create interest in myself.At first I couldn't make up my mind whether to make it or not. Later I brought the mind to a little change.No,I'll make a nice vase today anyway.But after starting the work, it seems as if imperfection is waiting for me to finish it. Finally created and fulfilled.Come on we have created beautiful creative pen vases with amazing flower combinations by following all the steps.
 |
|---|
I think interest is a great resource of people which is needed by every person every moment. In order to improve my skills, I increase the demand to work through interest. To make the round part of the bottom of the pen holder,there is a lot of confusion. Which is solved with some time.But I know that art is our education and patience is our greatest virtue.When I create something I use my brain and knowledge of materials with art techniques.Then I think I am more skilled and beautiful creation with full talent.That looks good to people.I used scissors perfectly for paper applications.I will complete today's creative by trying to match the following work skills with the materials.Which is visible place among all.
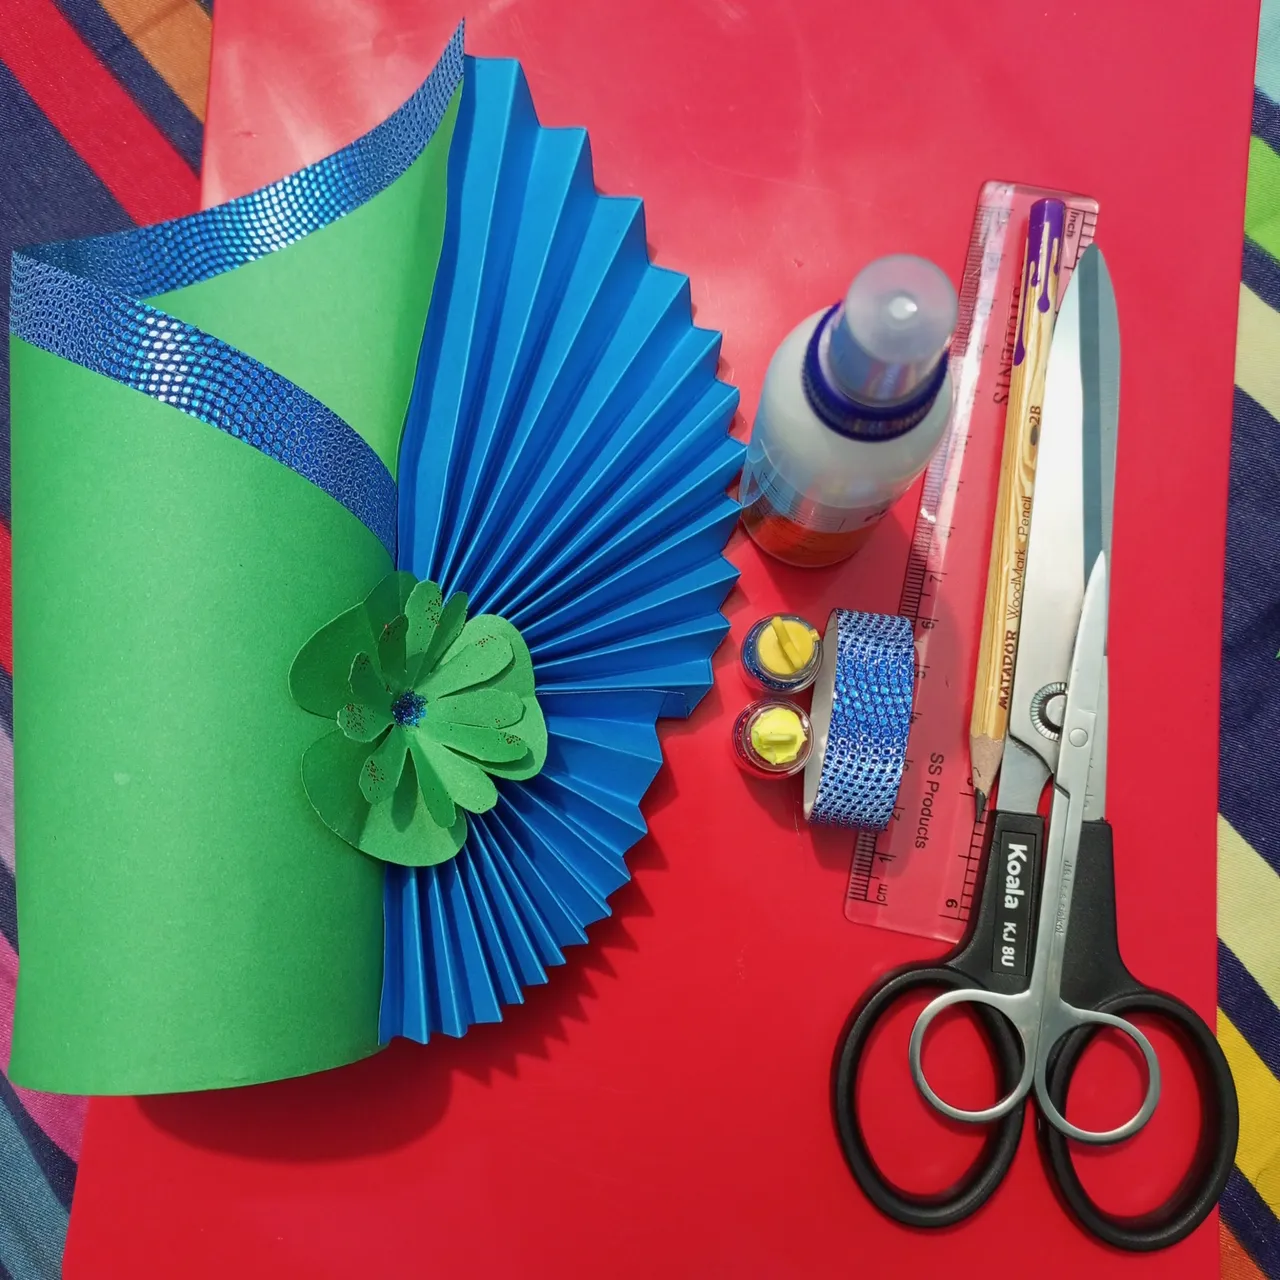
Necessary Equipment:-
- scissors(small/large)
- A4 size colour paper
- Glitter washi tape
- Pencil (2B doms)
- calendar page
- Clip board
- Febicol
- glitter
- Scale

Step by step making plan
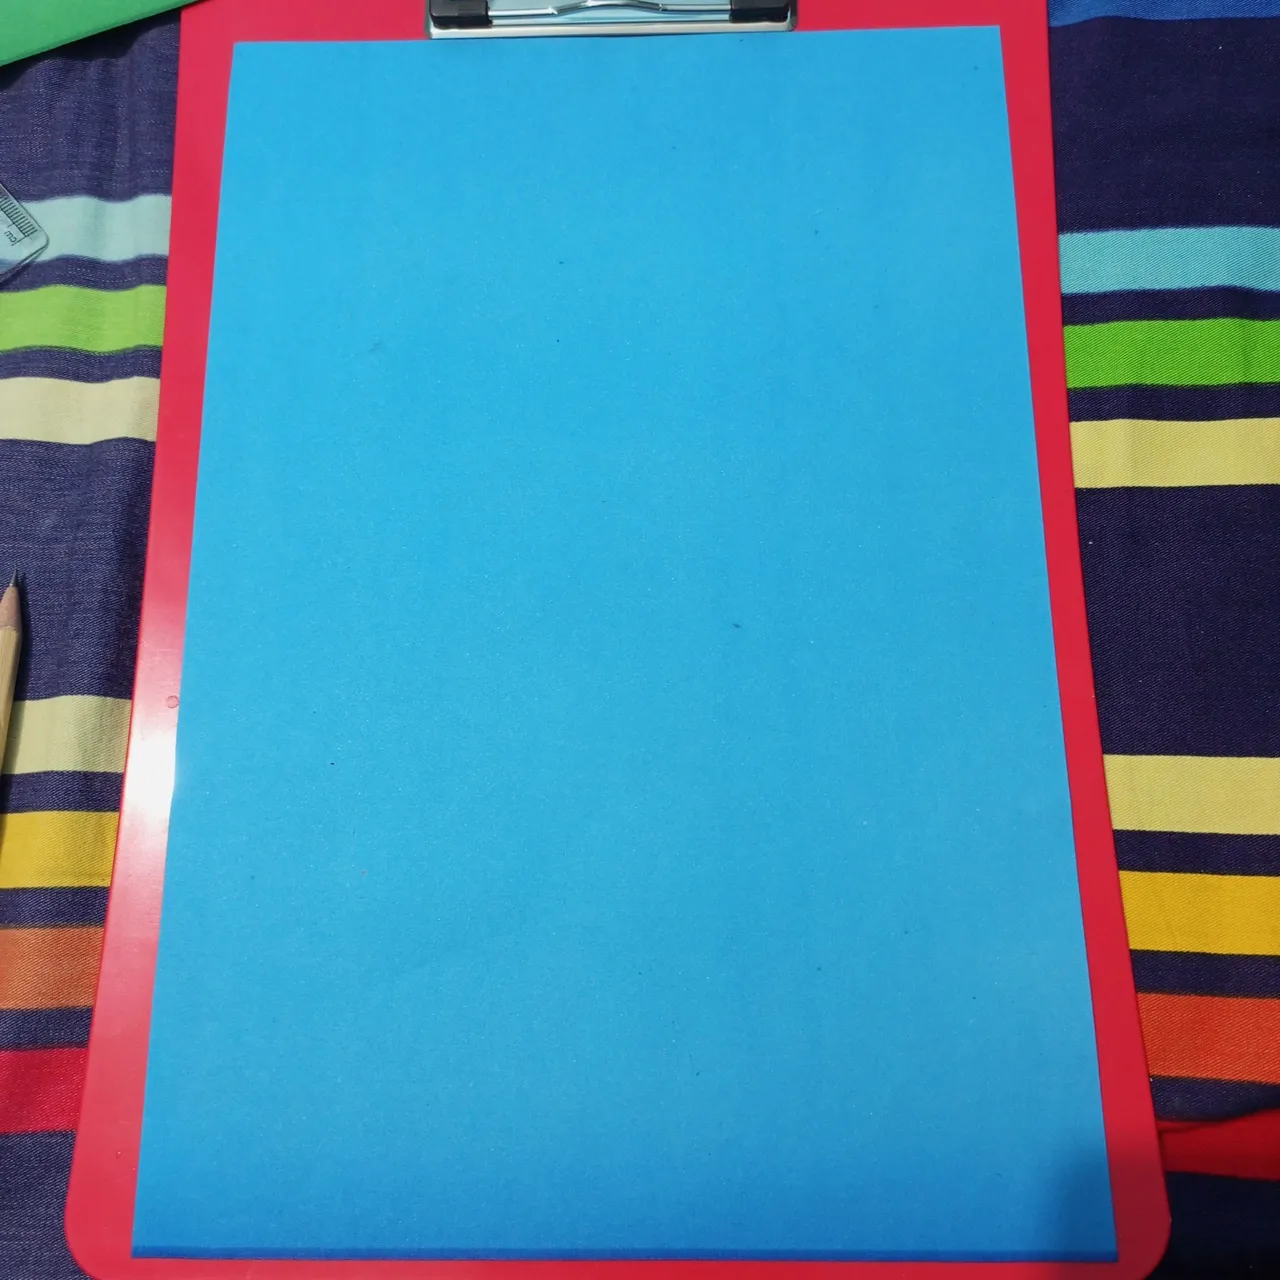
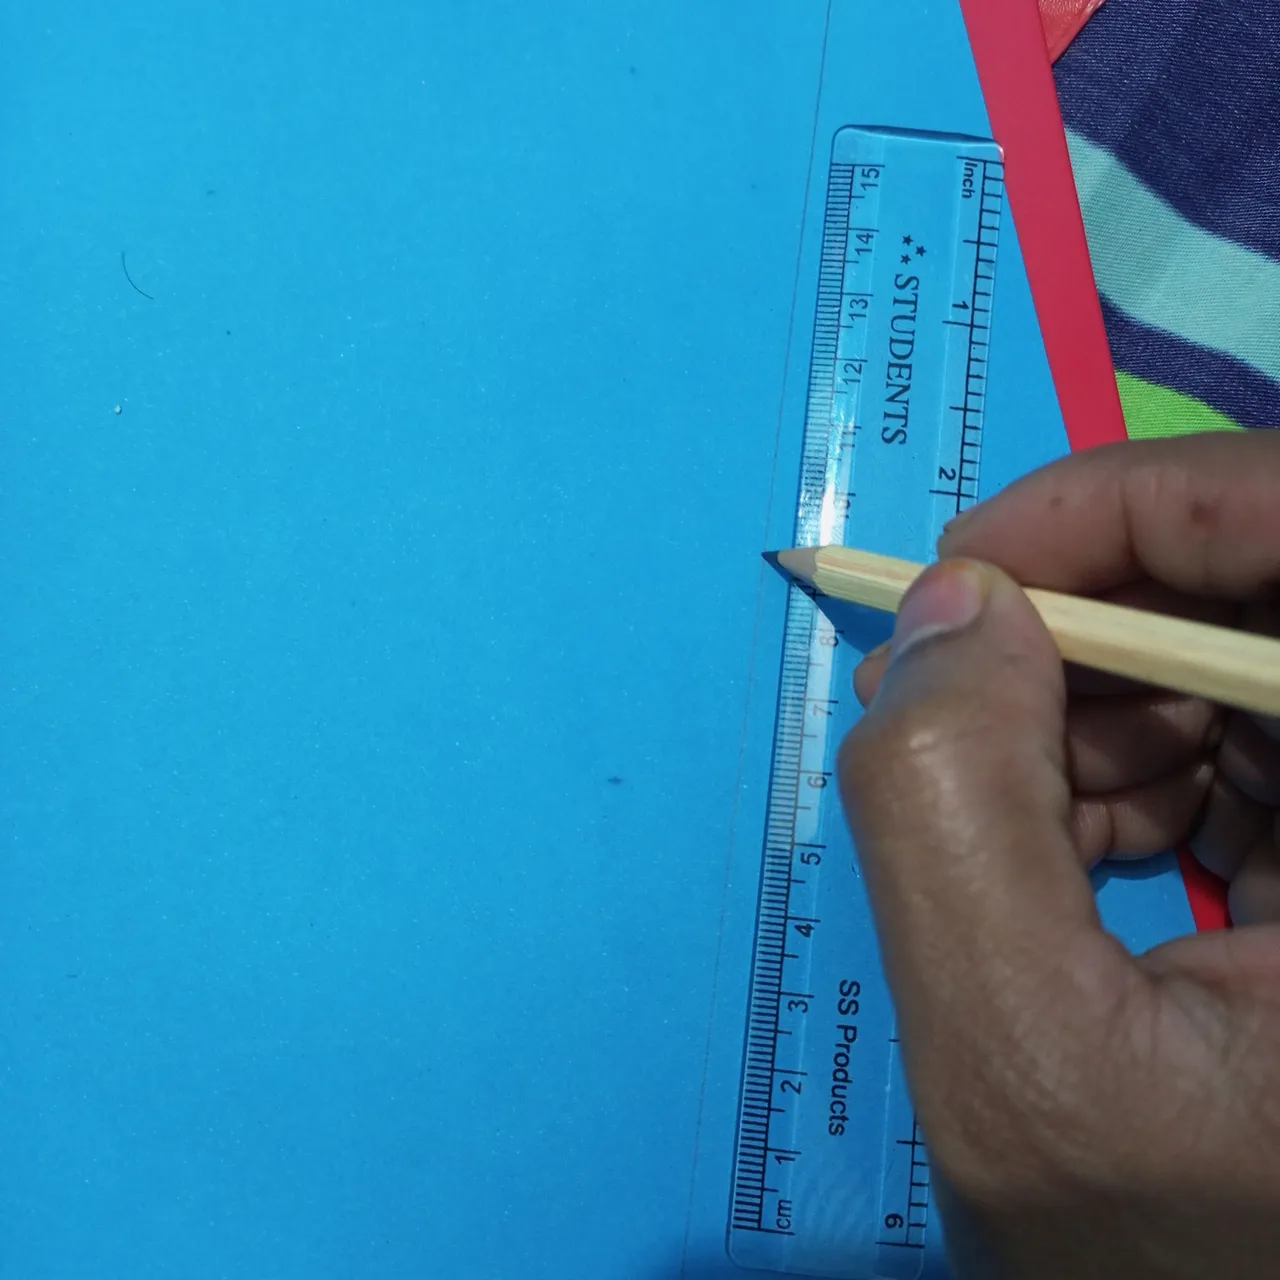
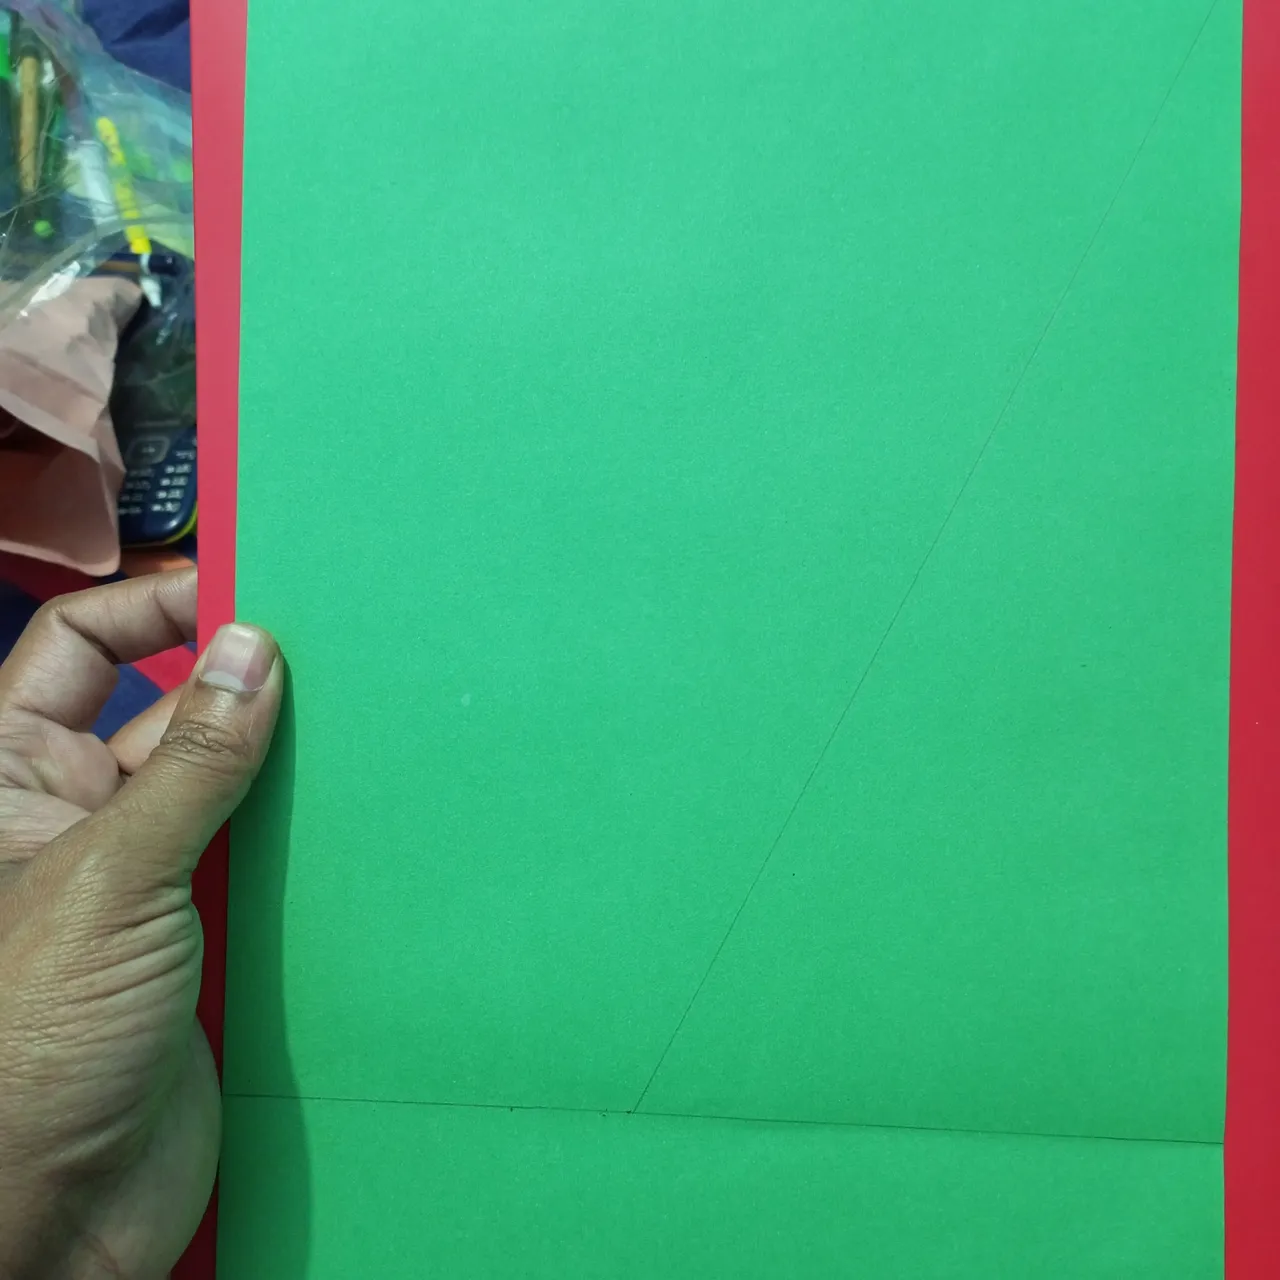
First I took all the necessary materials along with a clipboard.Then take a blue color paper of a4 size,Then starting from 21 cm. I have drawn with pencil till the bottom 10 cm.

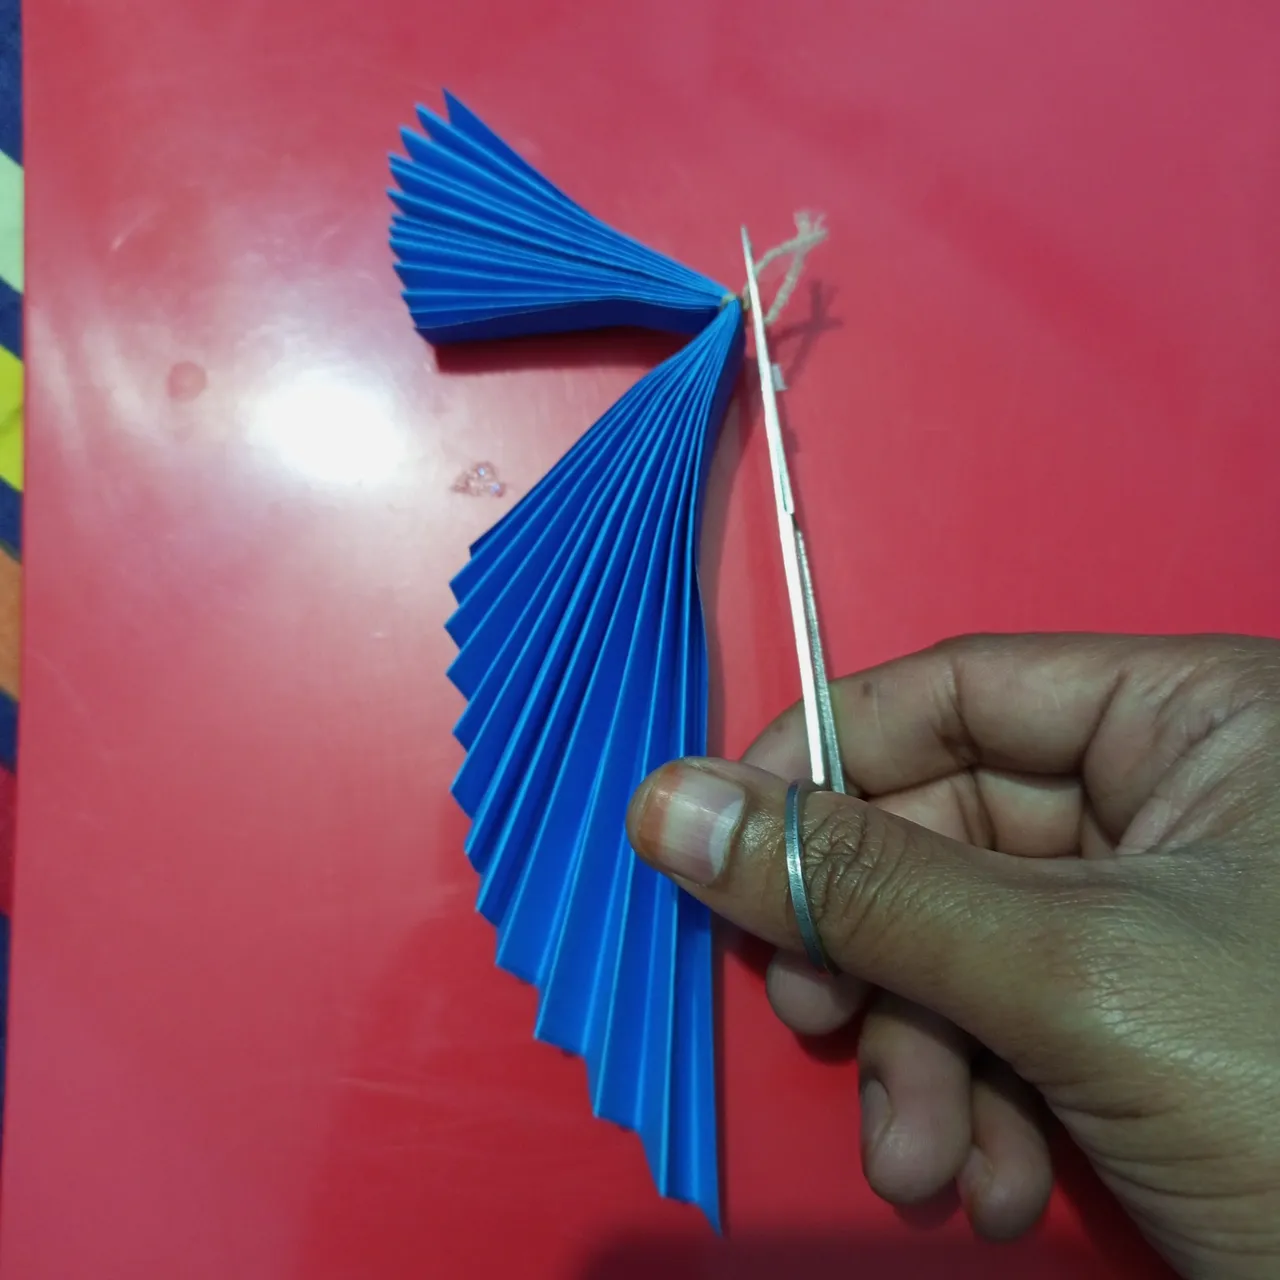
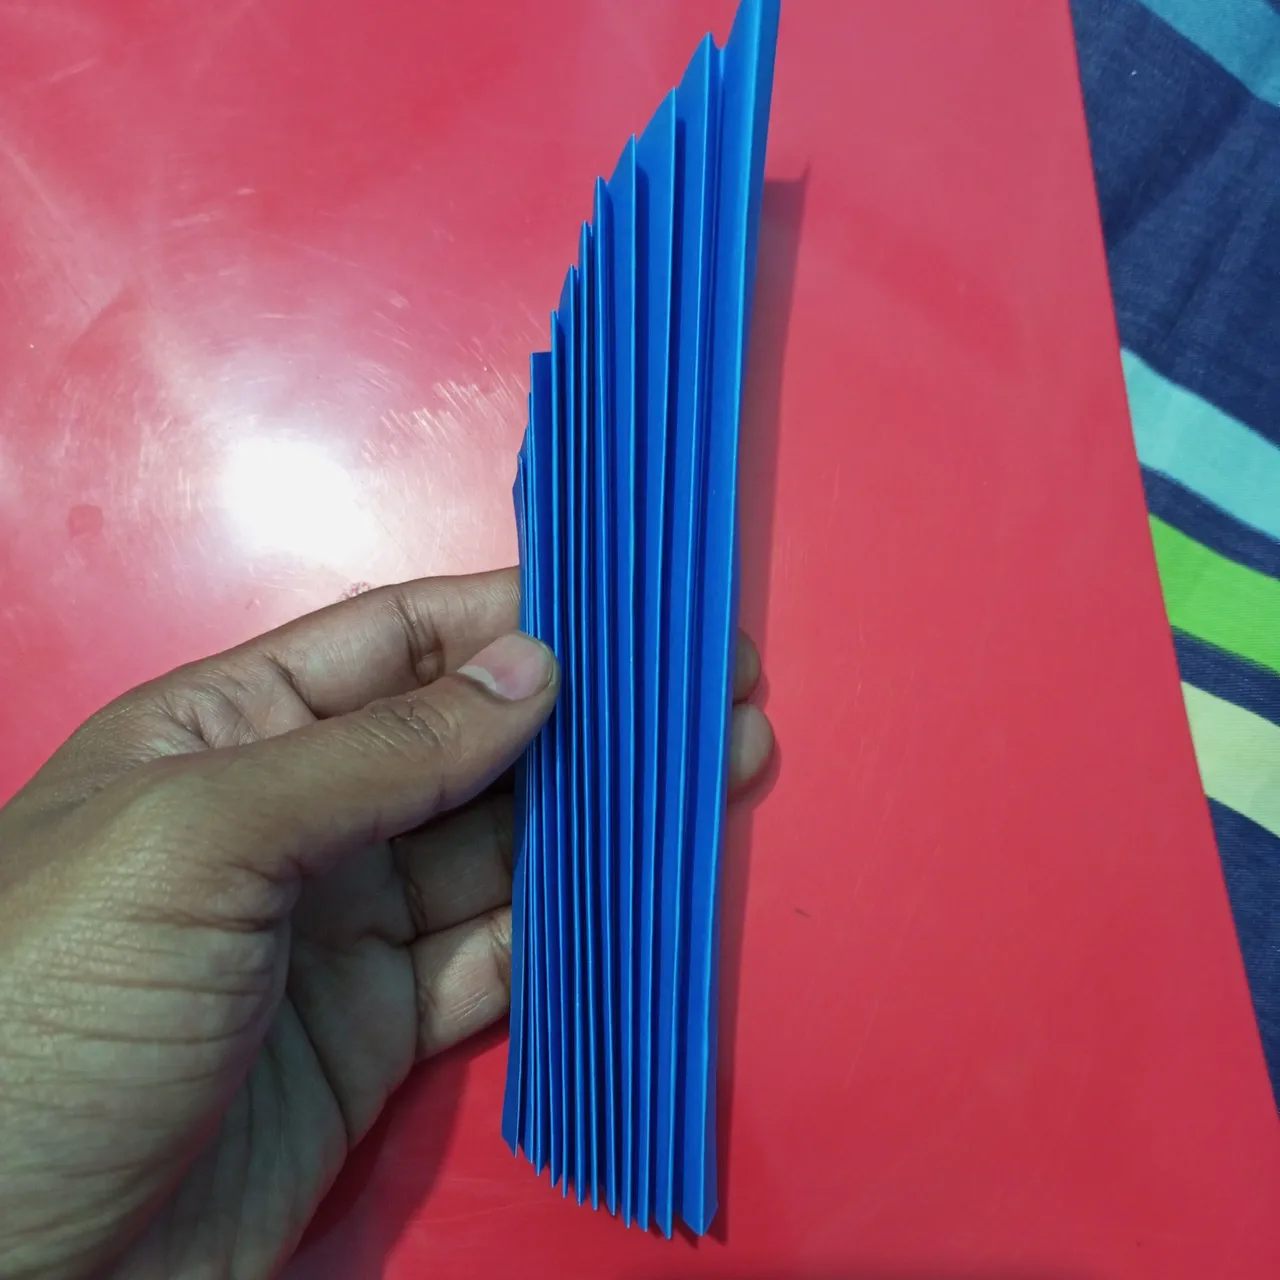
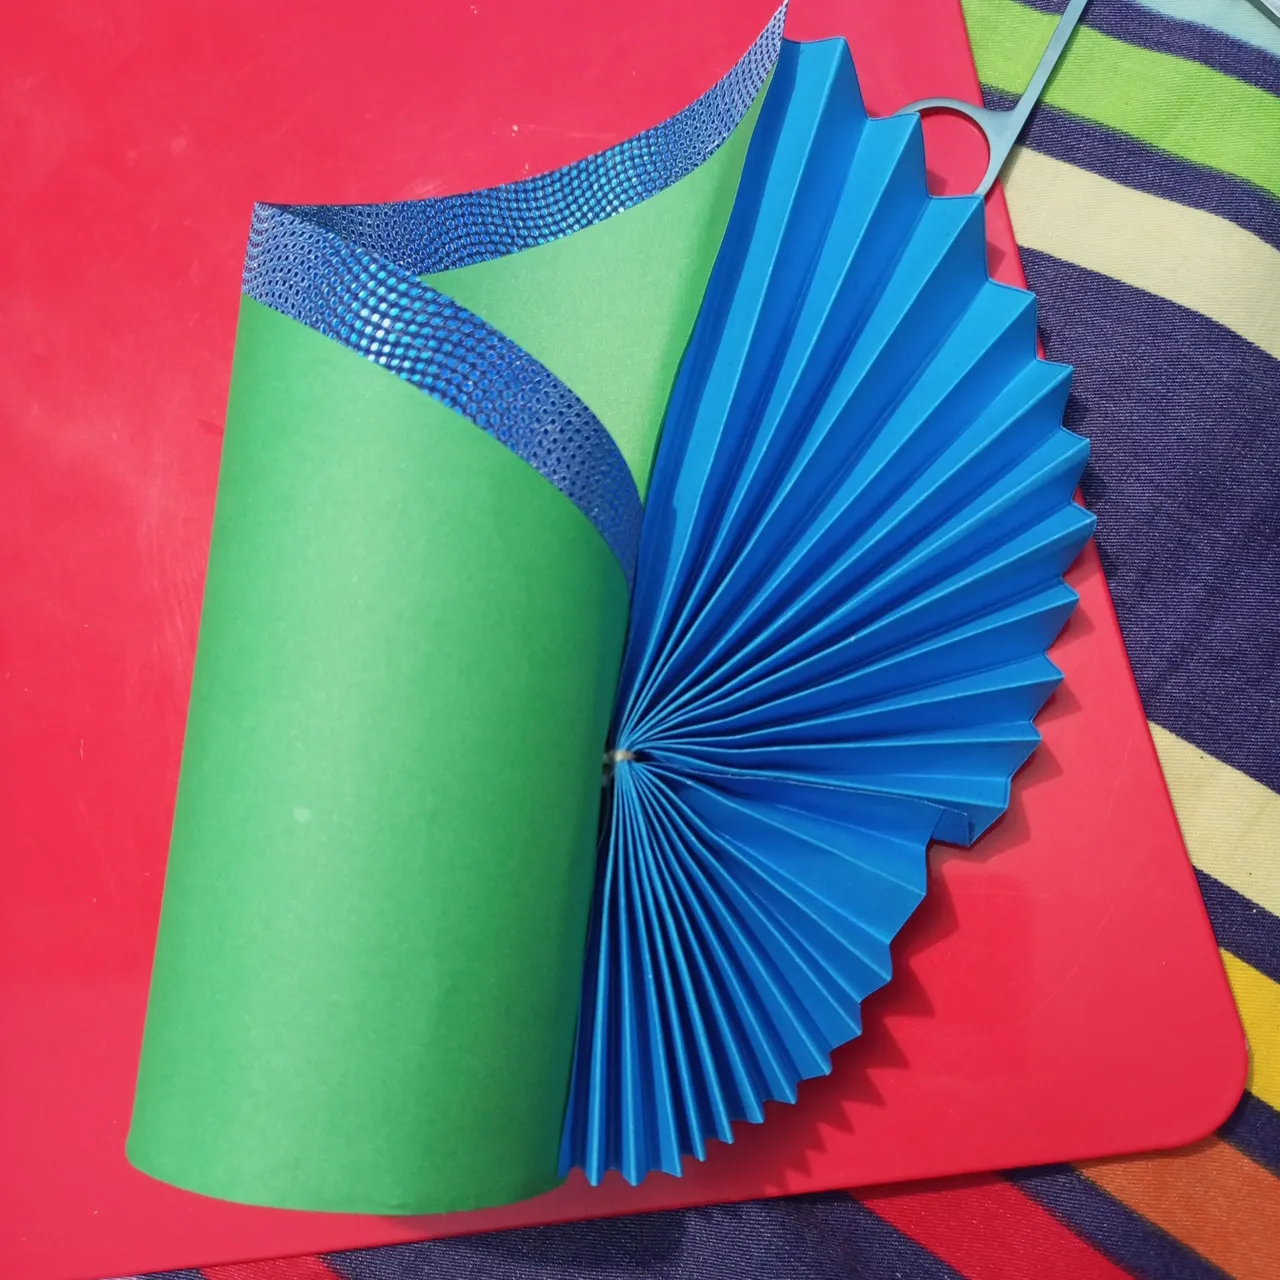
As you can see,I will fold it evenly like this.
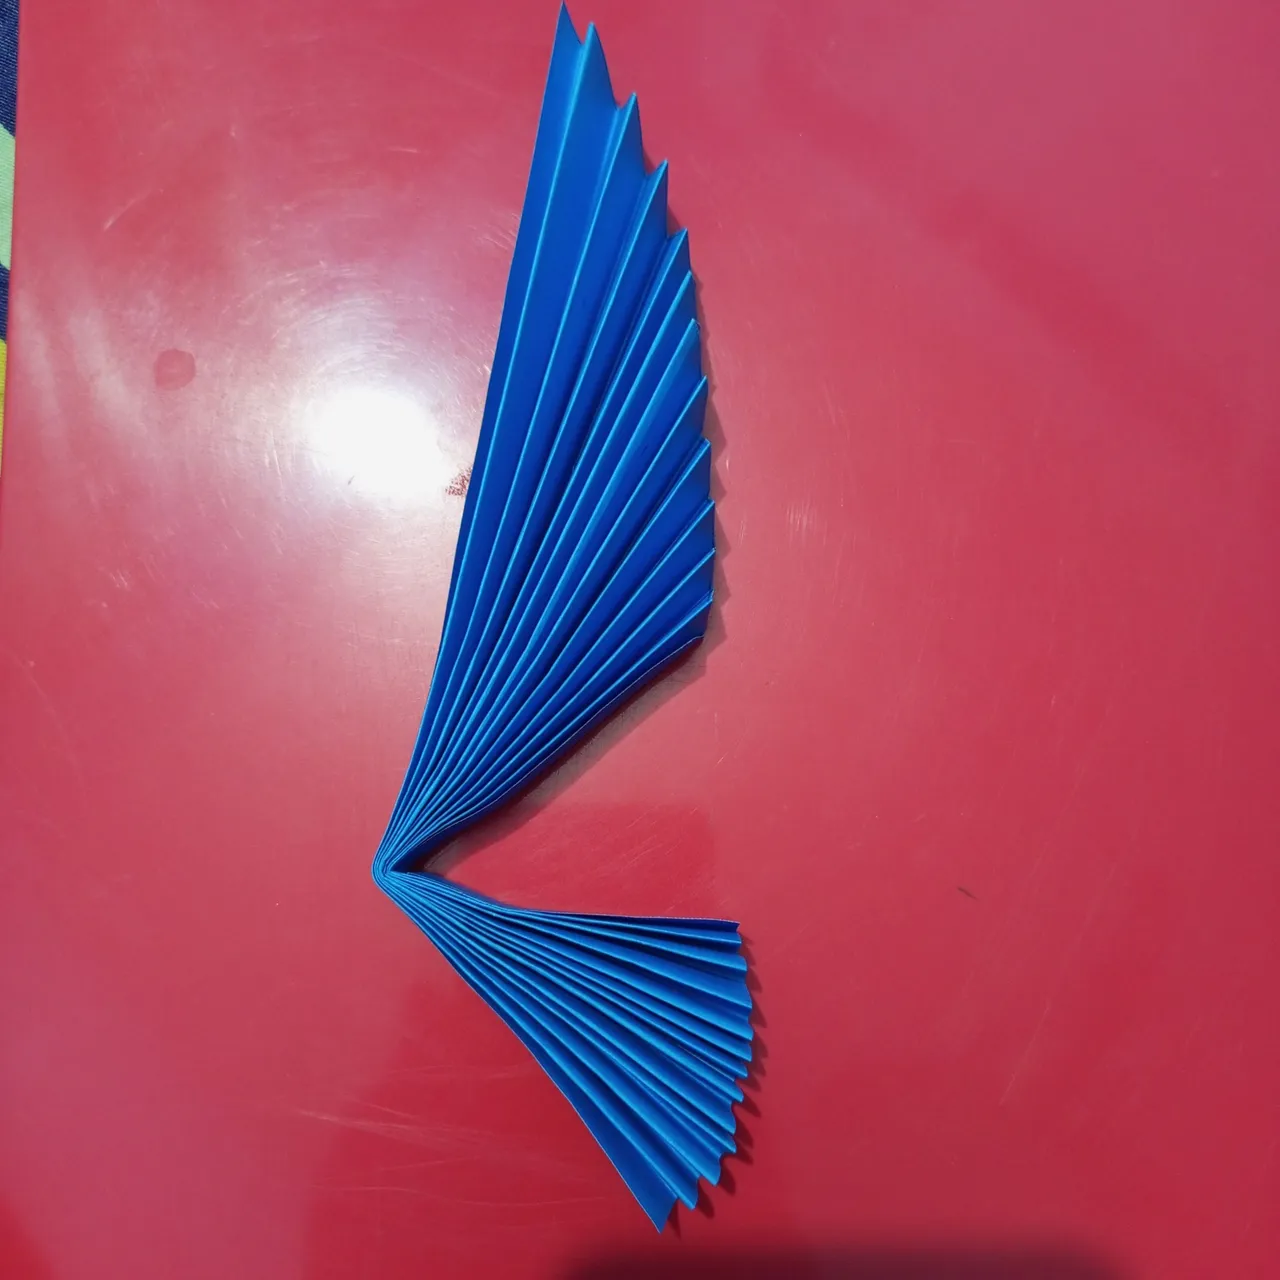
Then after we complete all the folds. I will take another small rice along 10 cm.We will see that it will turn into a nice outfit.
Next we will take a yarn.I will tie the folded place with that thread. After that we will cut the remaining part of the rope with scissors and let us follow the next step

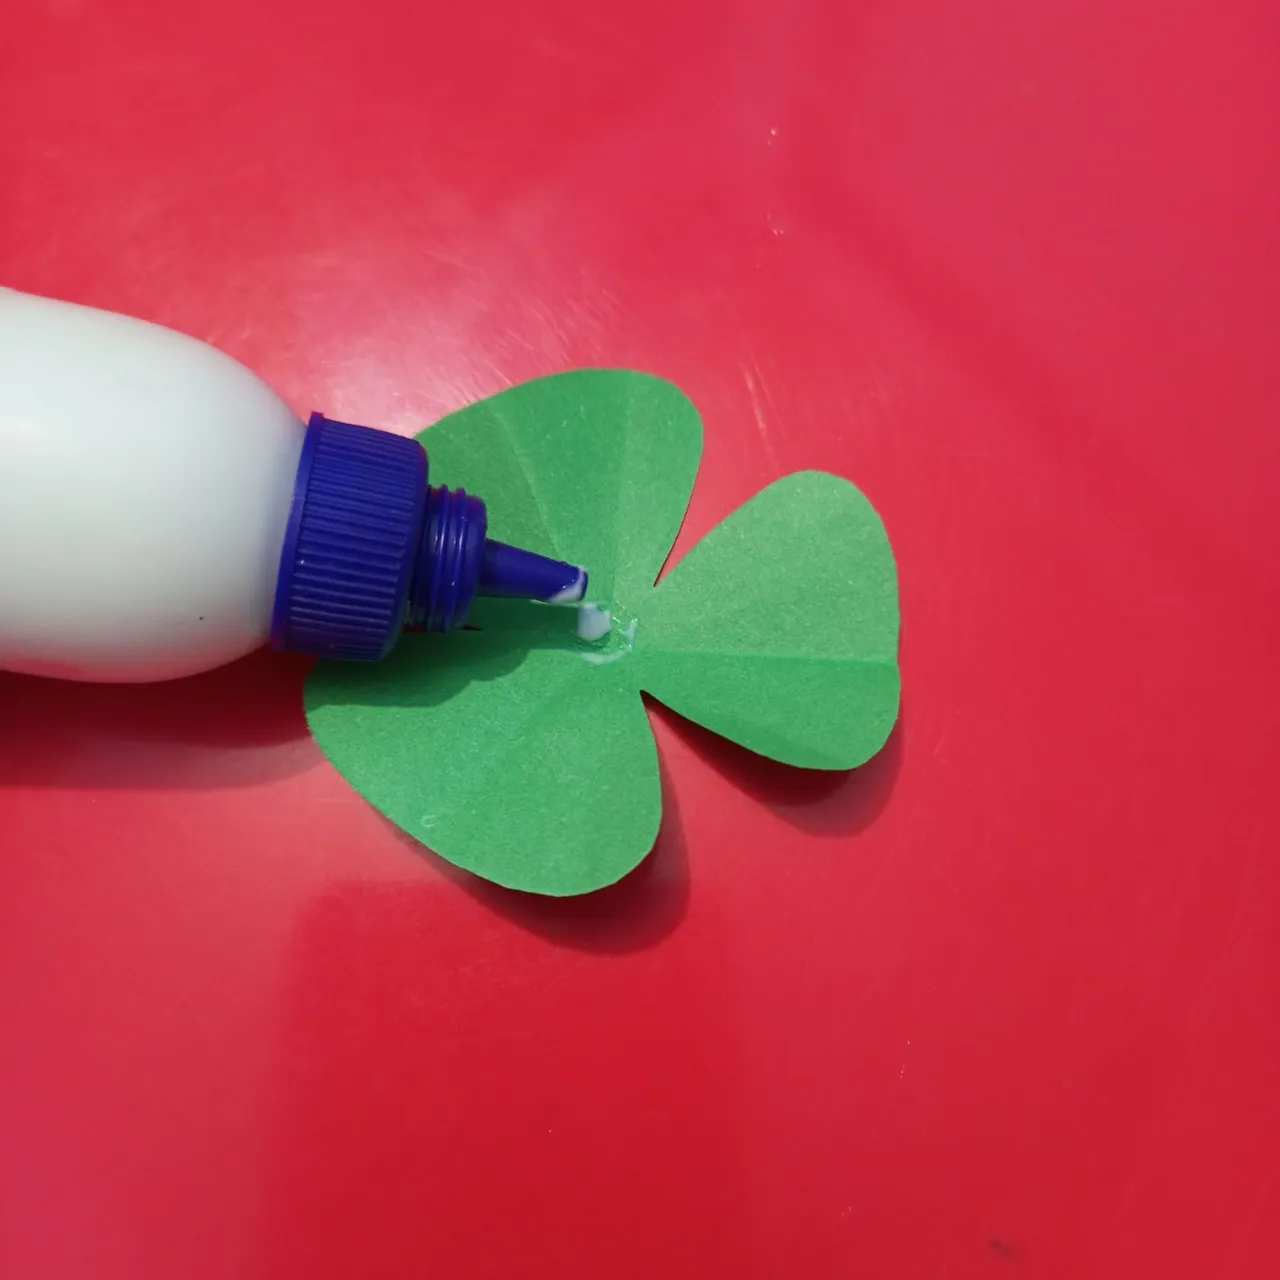
Next we will apply Favicol glue. Along the two heads of paper.Let us follow the next step.
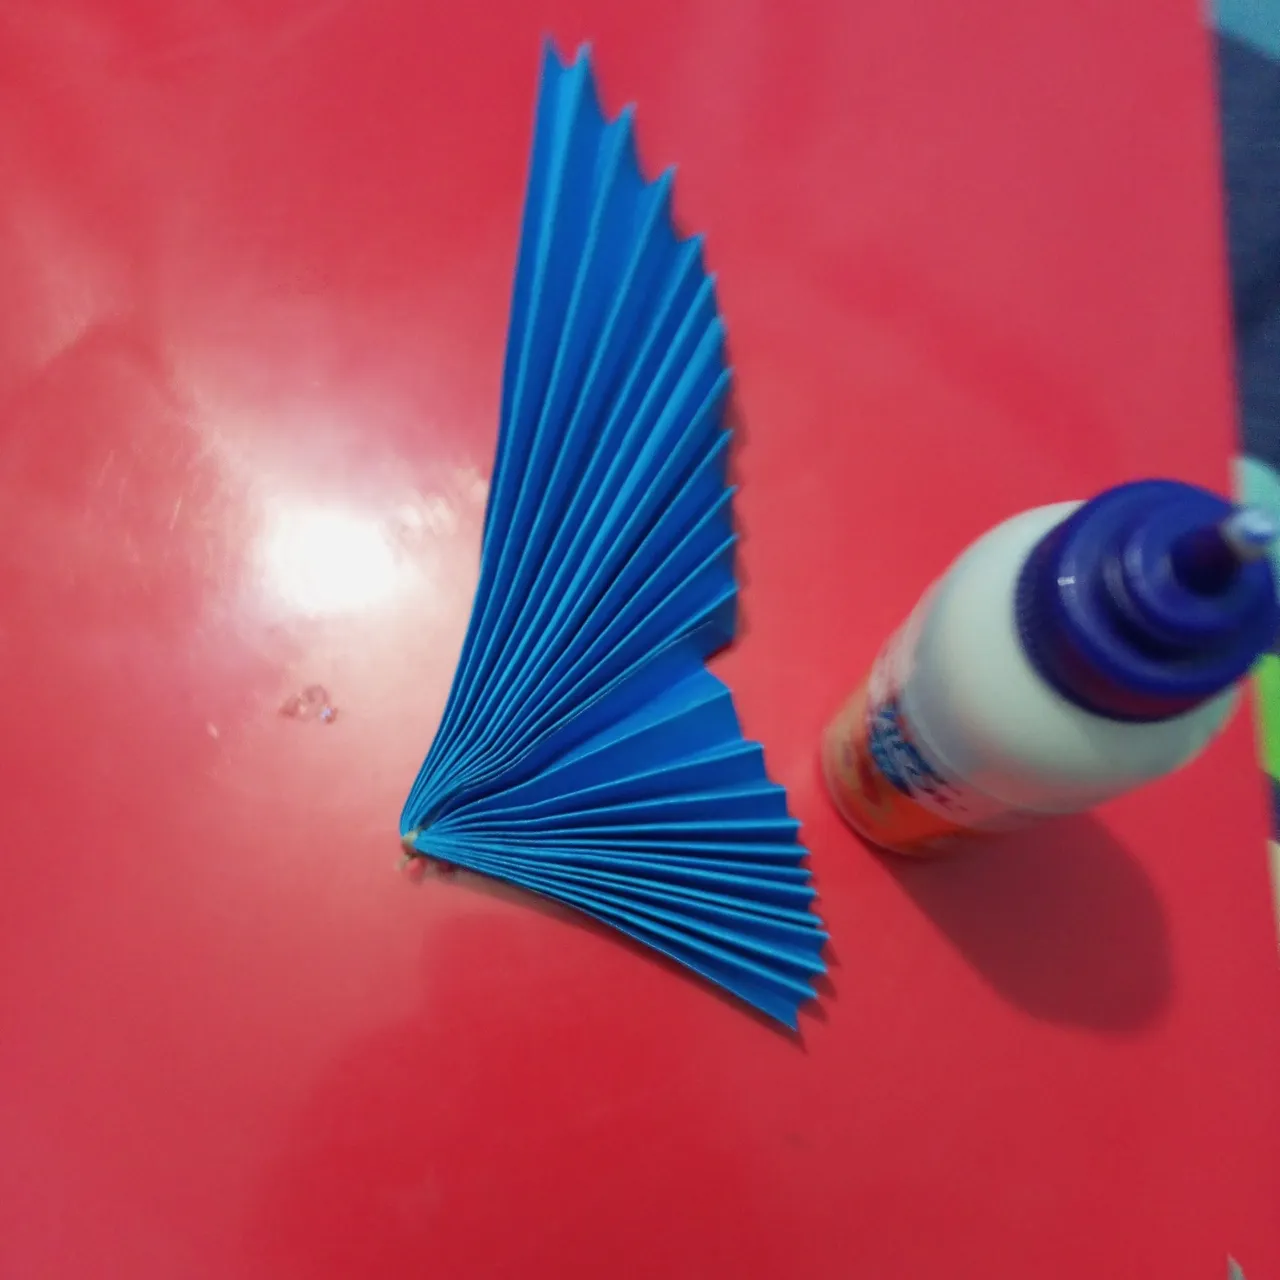
Next we will attach the two ends of the paper together after applying Fabical glue.And press well to level it.
Then first we draw 5 cm from the 21 cm site with a pencil.Then we will draw a spot from 21 cm to 10 cm.
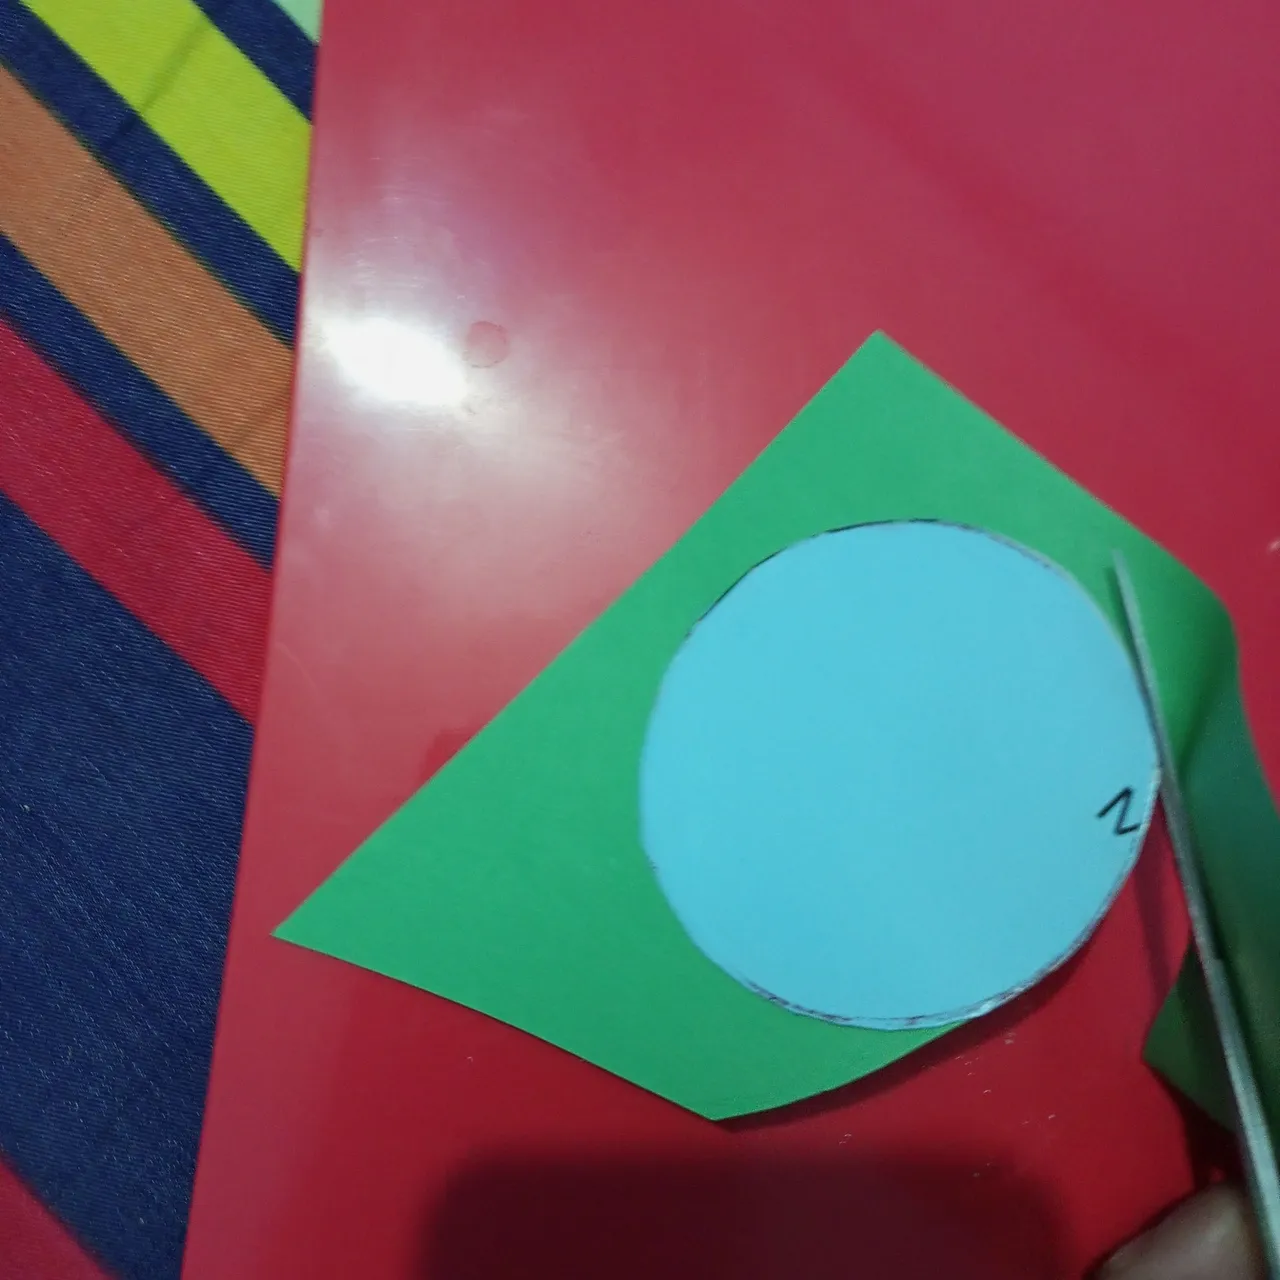
Next I applied glitter washi tape as a design on the side. Next I took three pieces of calendar paper.
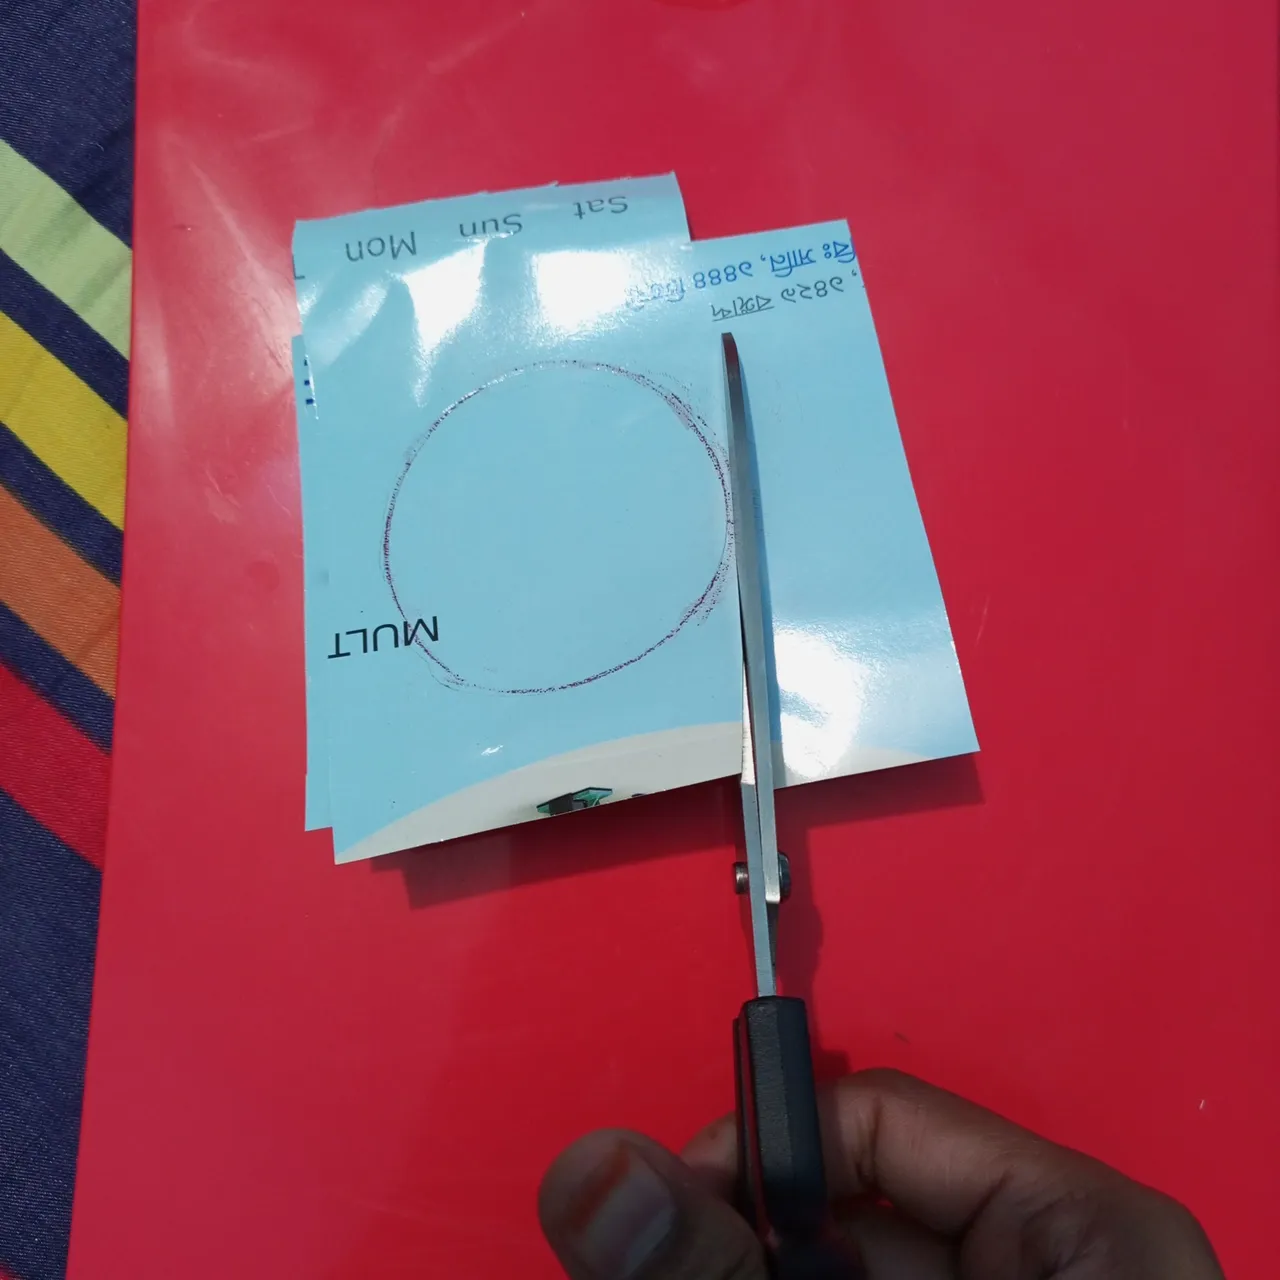
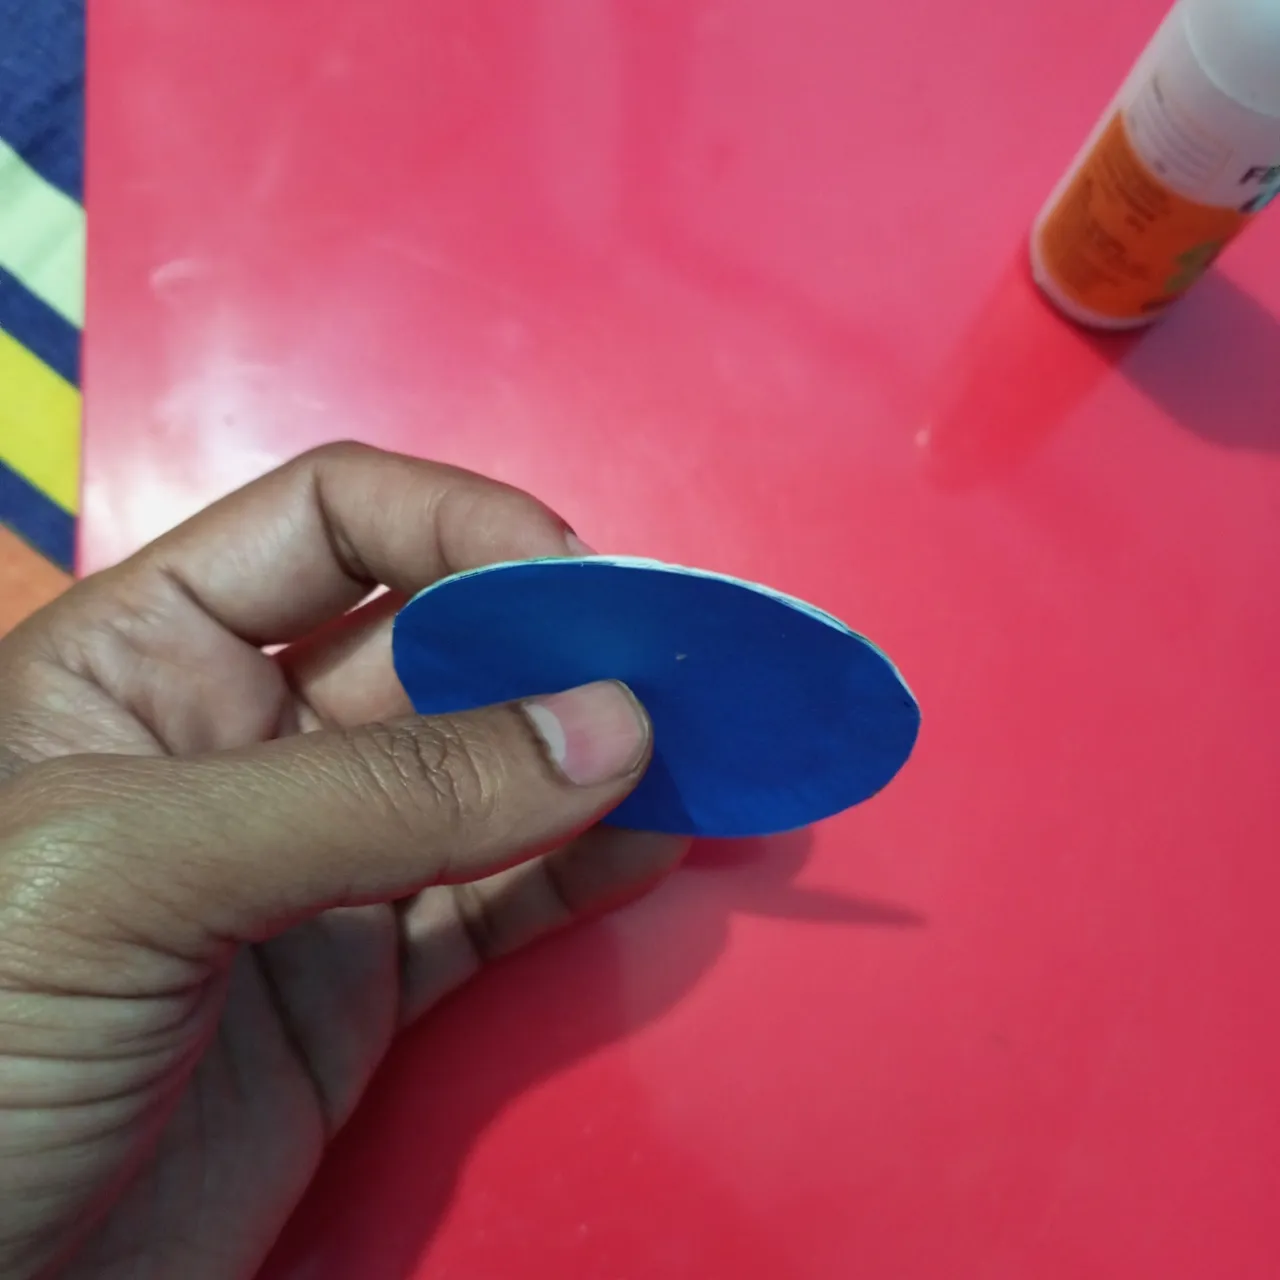
Then I attached one paper on top of another paper with Fabical glue. After that I drew circles with a pencil. After that I cut according to the round shape.
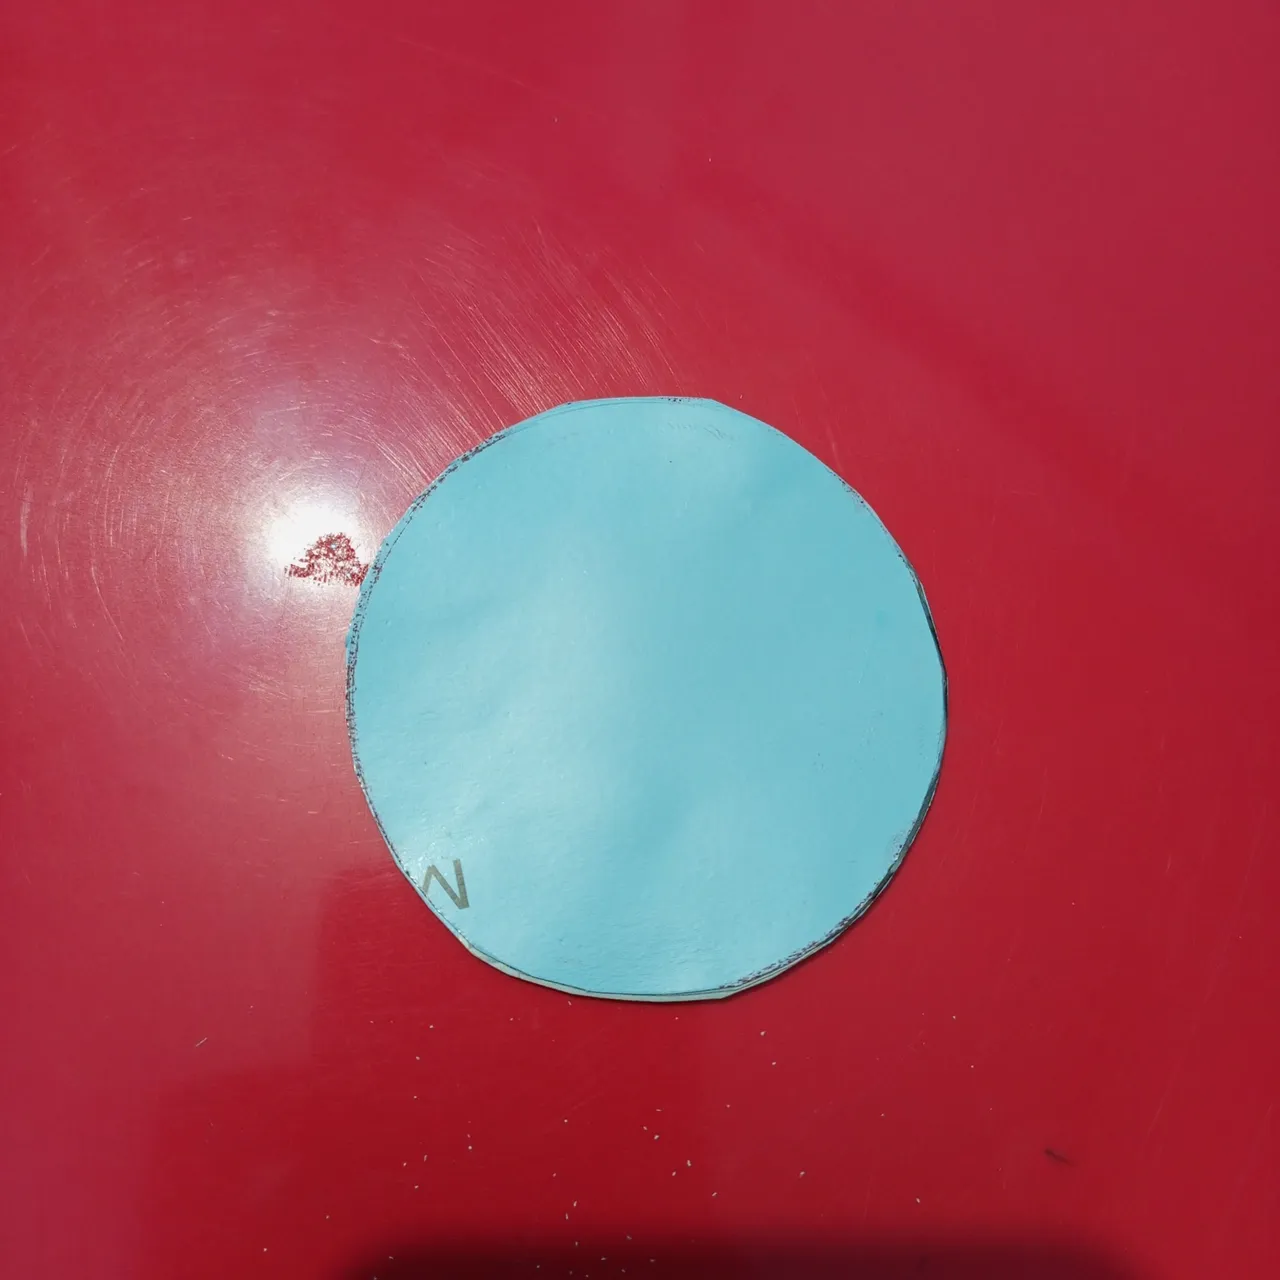
It will be exactly the circle that you see. Let's follow the next step
Then I glued Fabicle to the epitaph of the circular paper.After that I cut out the green color paper. Let us follow the next step.
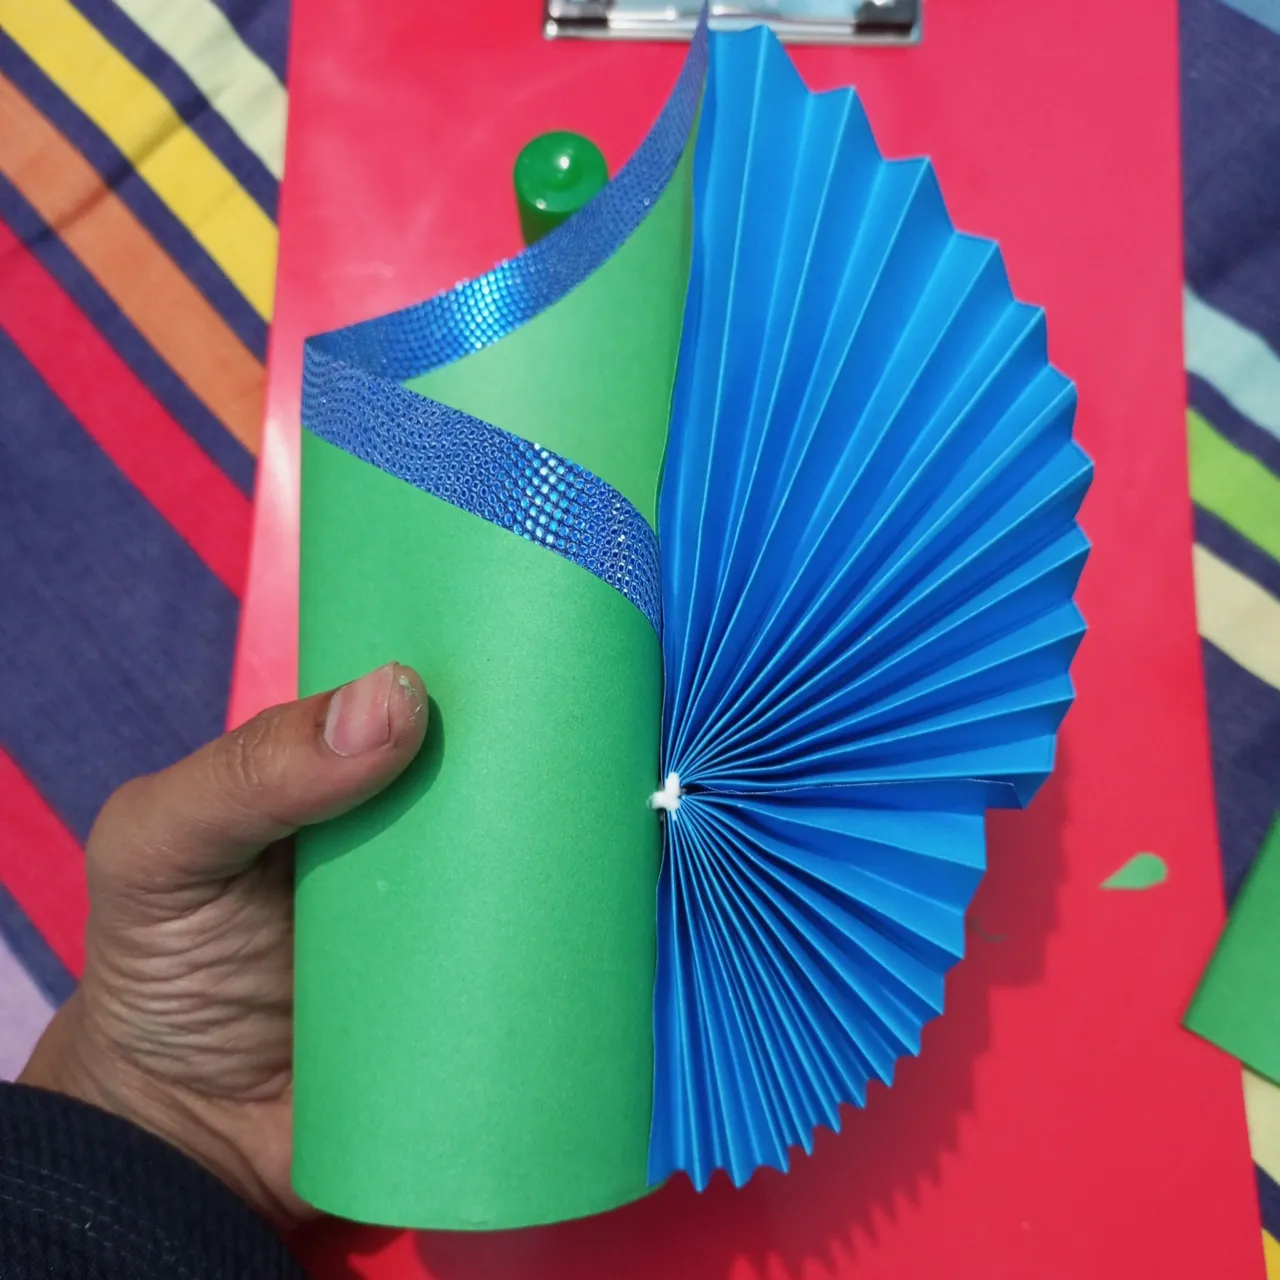
Next I applied fabicol glue around the heavy round paper.

Next I applied fabicle glue lengthwise to the side of the paper
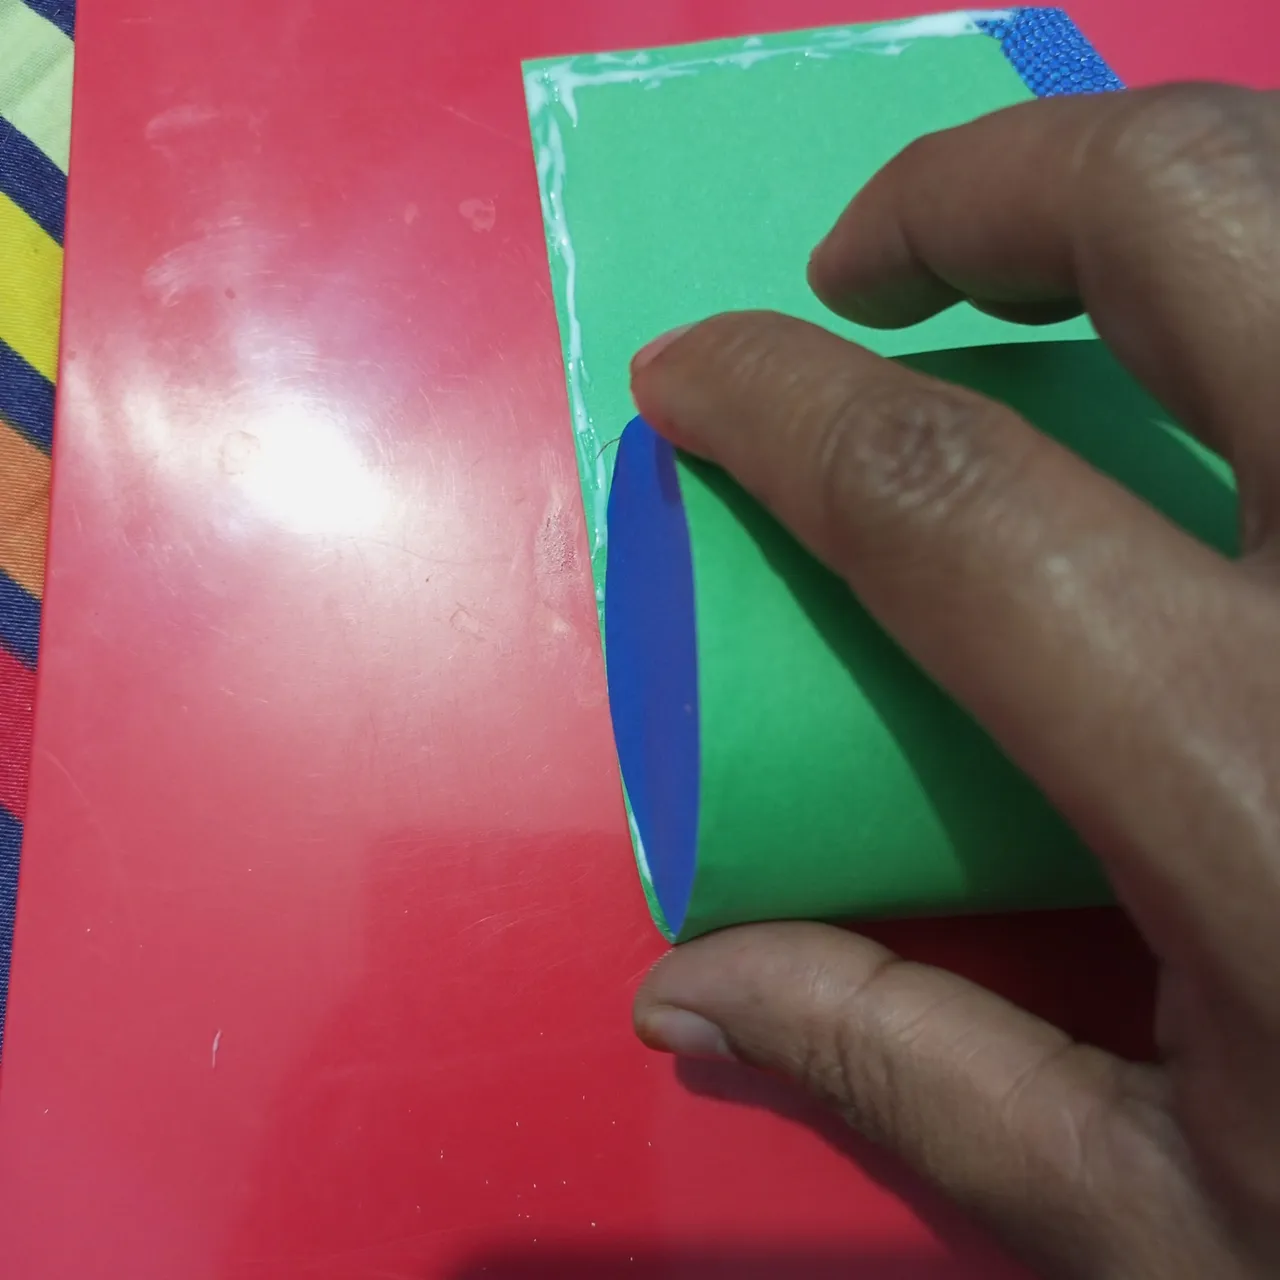
Then I rolled the heavy paper round with fevicol glue.
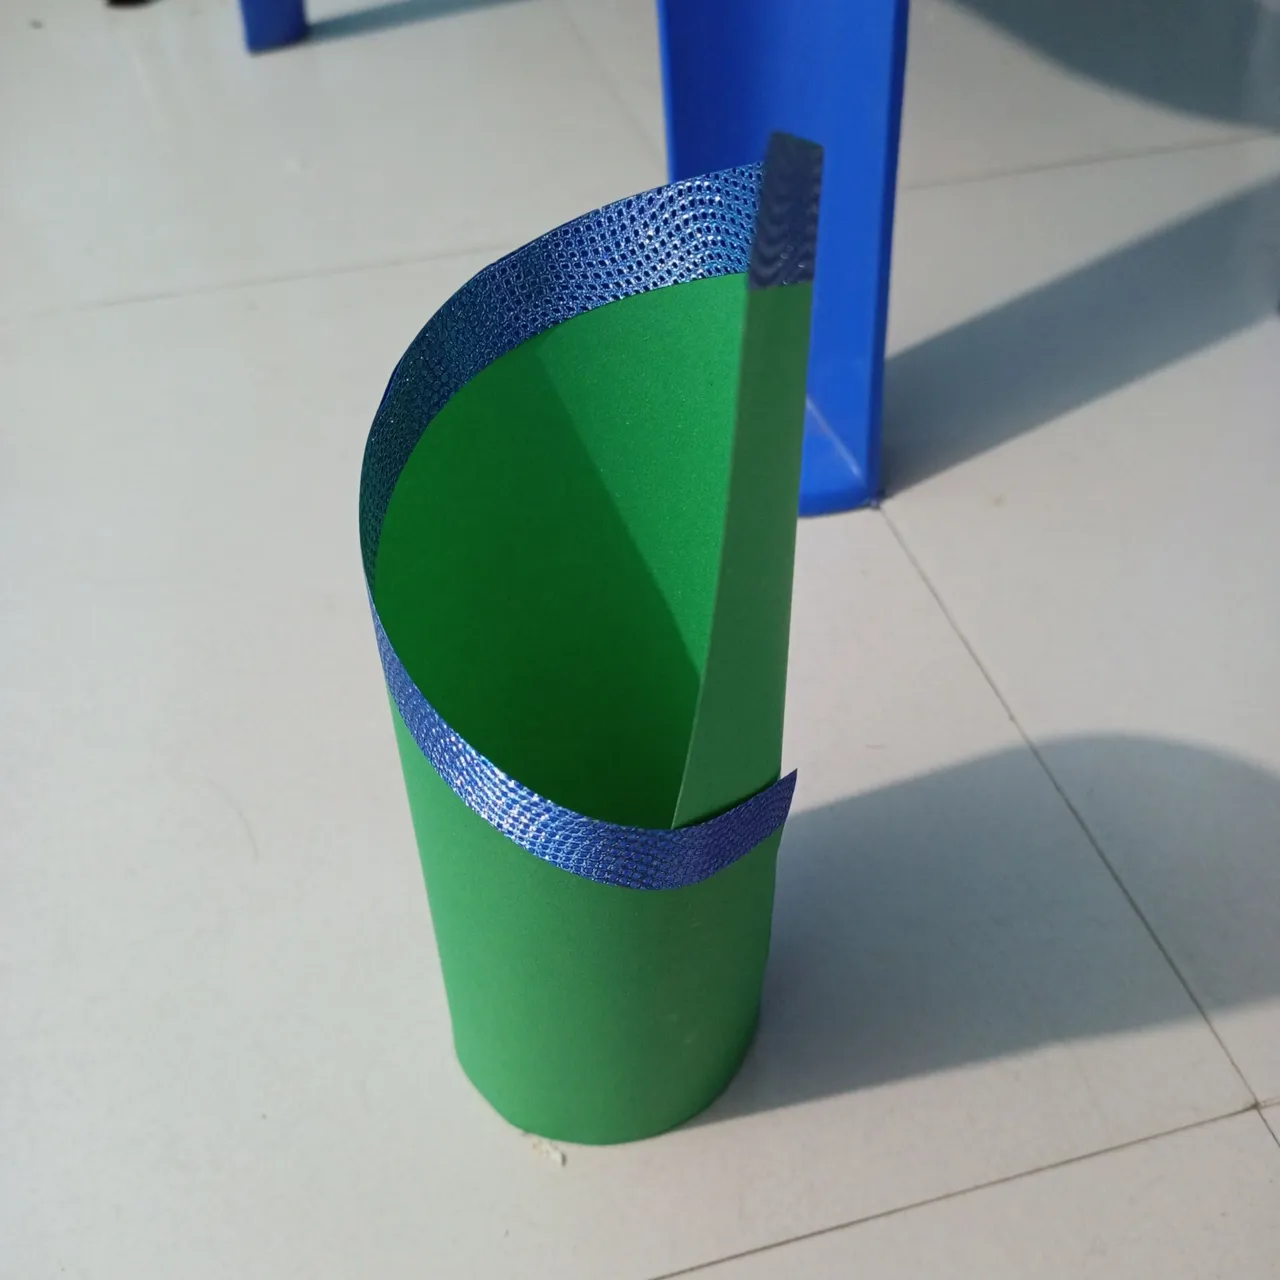
Next we can see a nice round pen vase has been made.Next we will design the vase to hold the paper pen. Let's follow that next step.
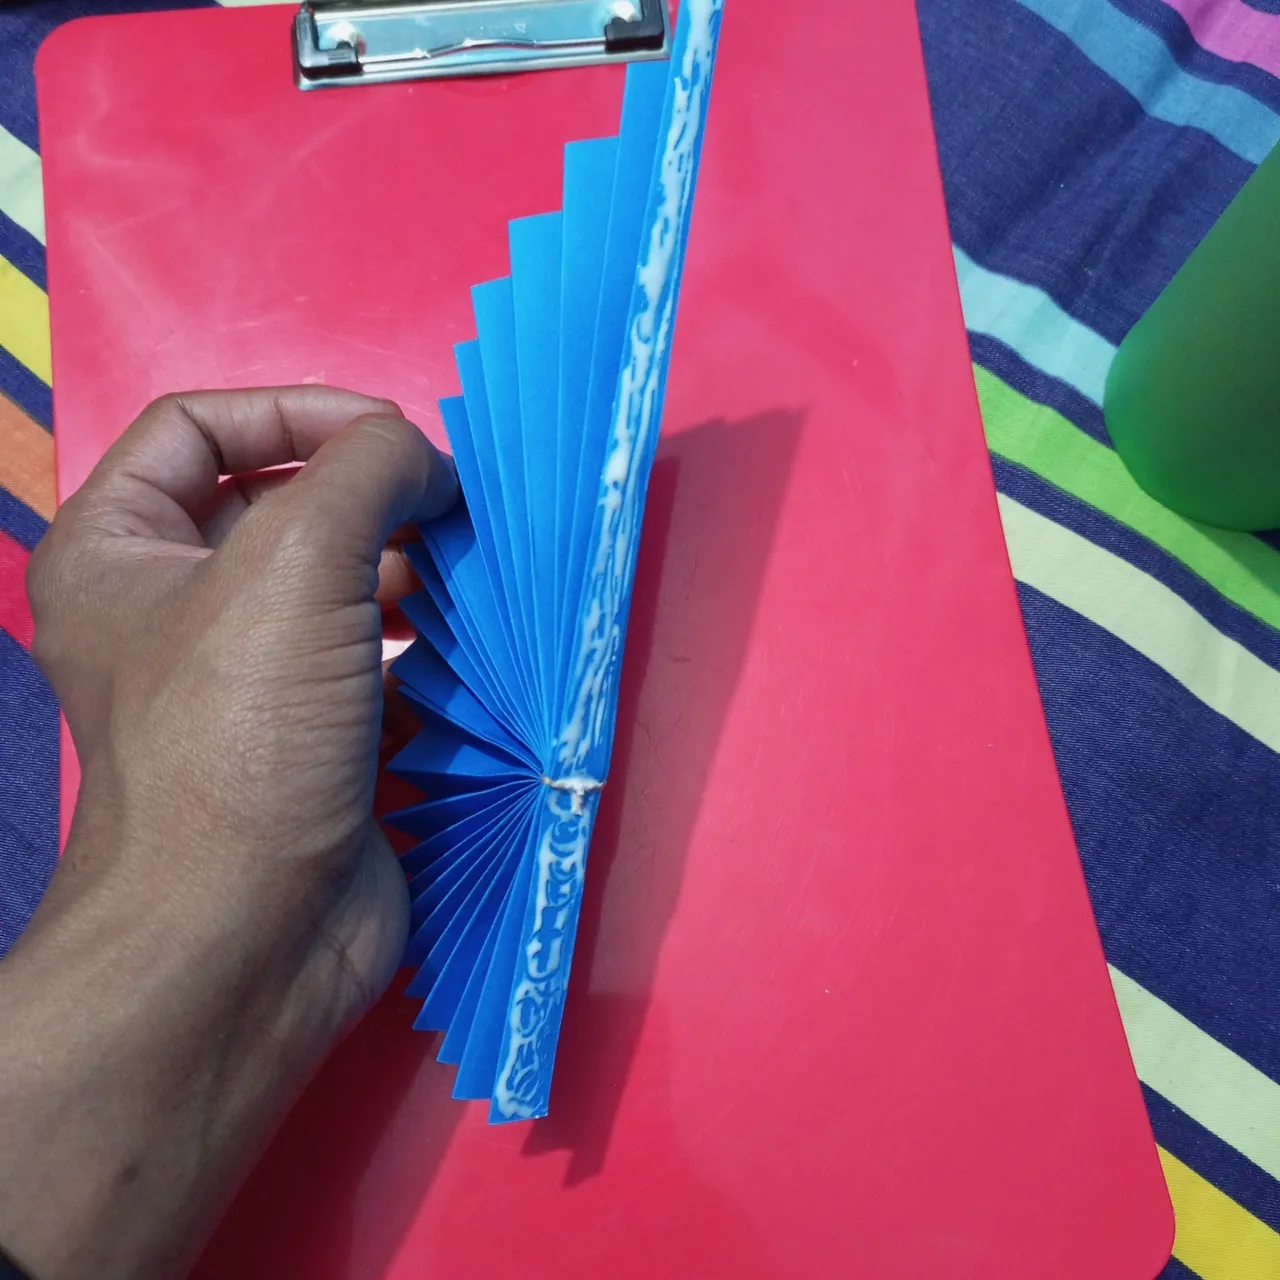
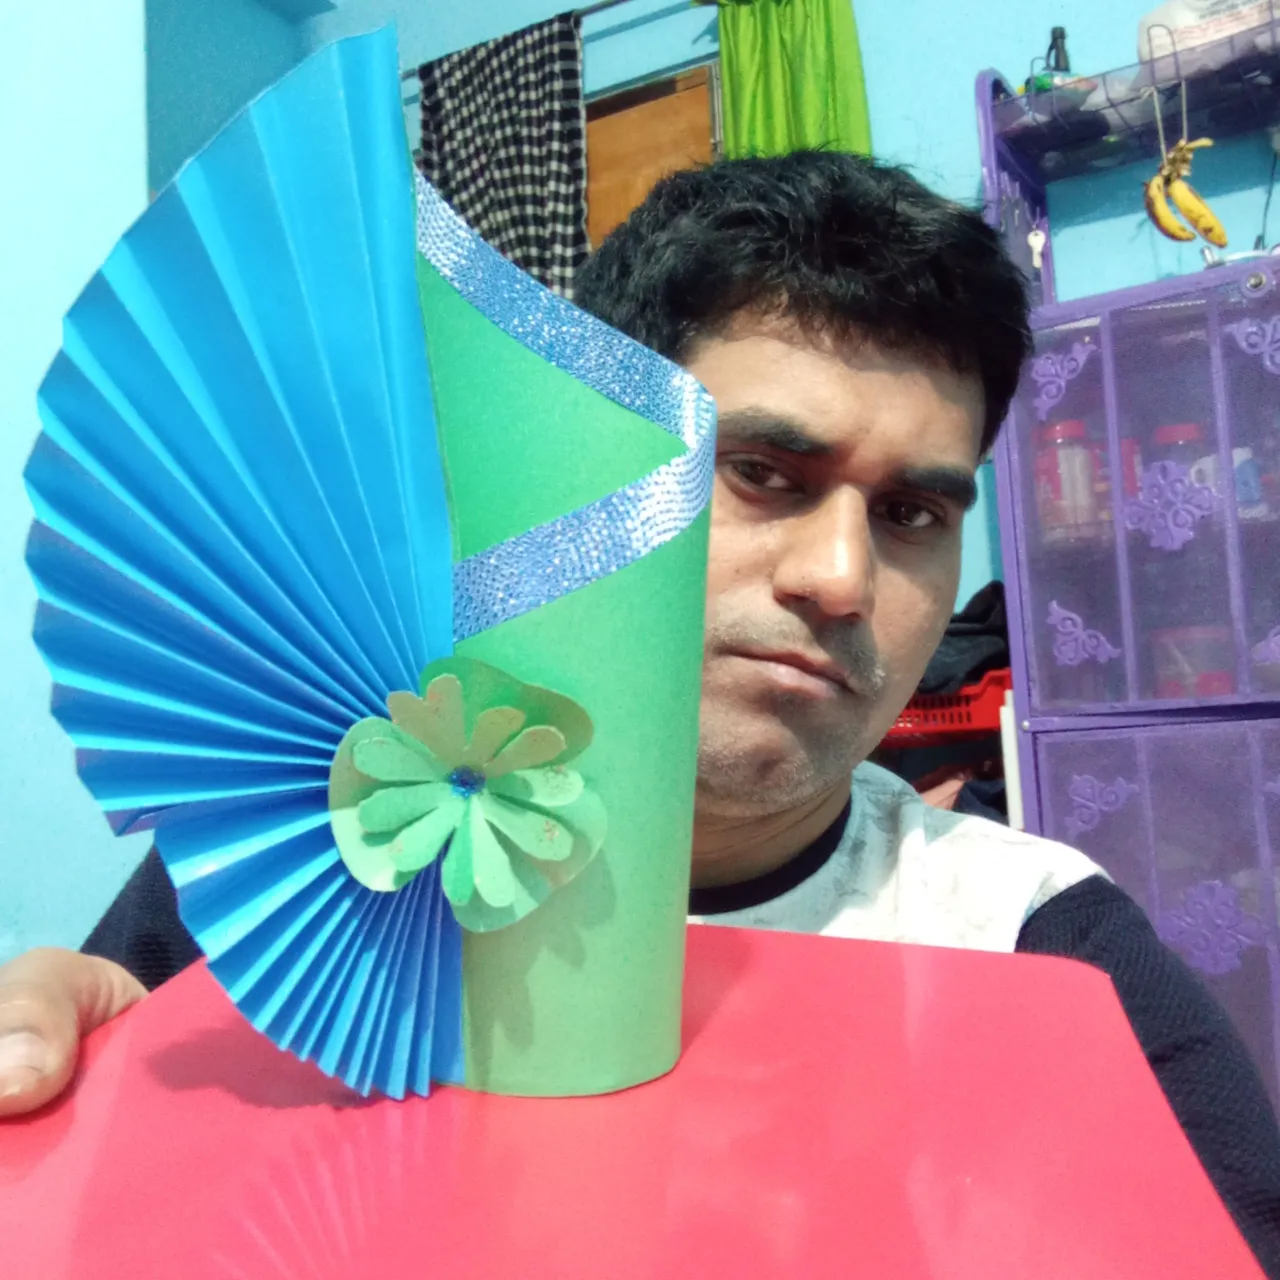
Next I roughly scaled the large designed flower to the entire paper on the side.I have applied Favicol glue well.Let us follow the next step.
Next I attached the larger flower to the D box around the vase.Let us follow the next step.
Next I cut two sheets of paper at 4×4 cm with scissors. I have made two flowers from two papers with four folds. I have separated the two flower designs.
Next I attached the big beautiful paper flower,After that I glued Fabicle along the center of the paper beauty big flower. After that I attached the above designed flower. Let's follow the next step.
| This is final making process |
|---|
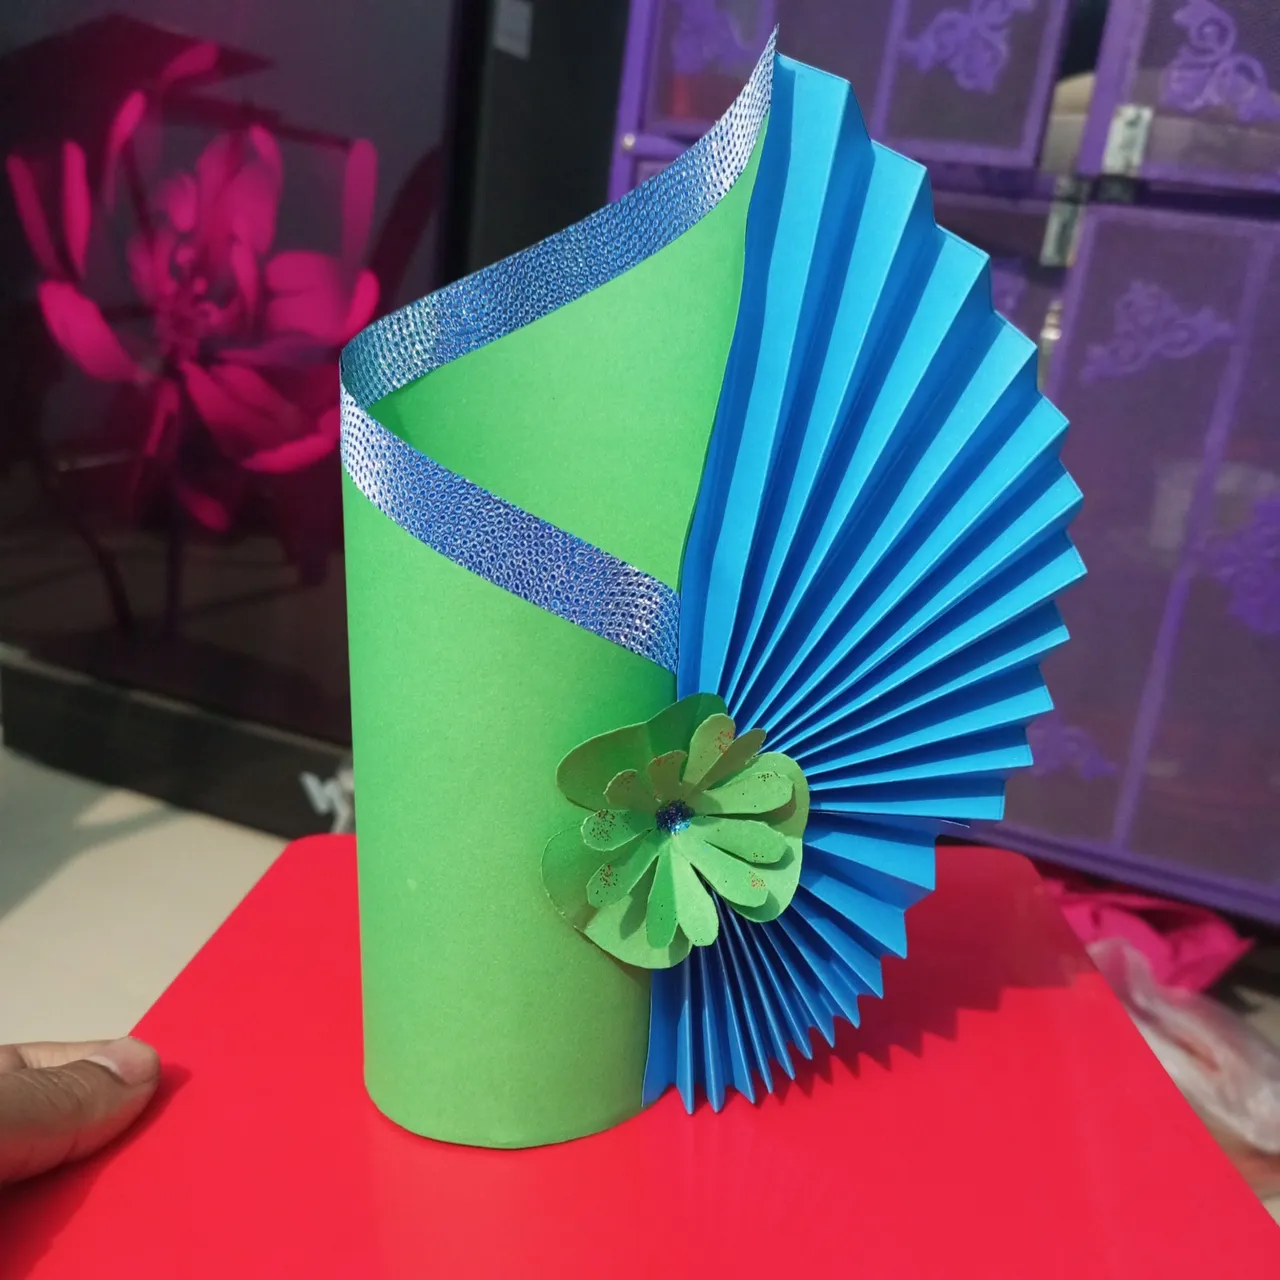
Finally I made a nice pen holder.Where there is a wonderful view of paper flowers.Through the exercise of creativity and skill and all of his own interest, he was able to create this wonderful pen holder of today. I hope that by following these steps any of you can make such a vase and rekindle childhood memories.May the creator give everyone the ability to practice their skills,I hope for everyone.
| Selfie with my making Crafts |
|---|
Conculation
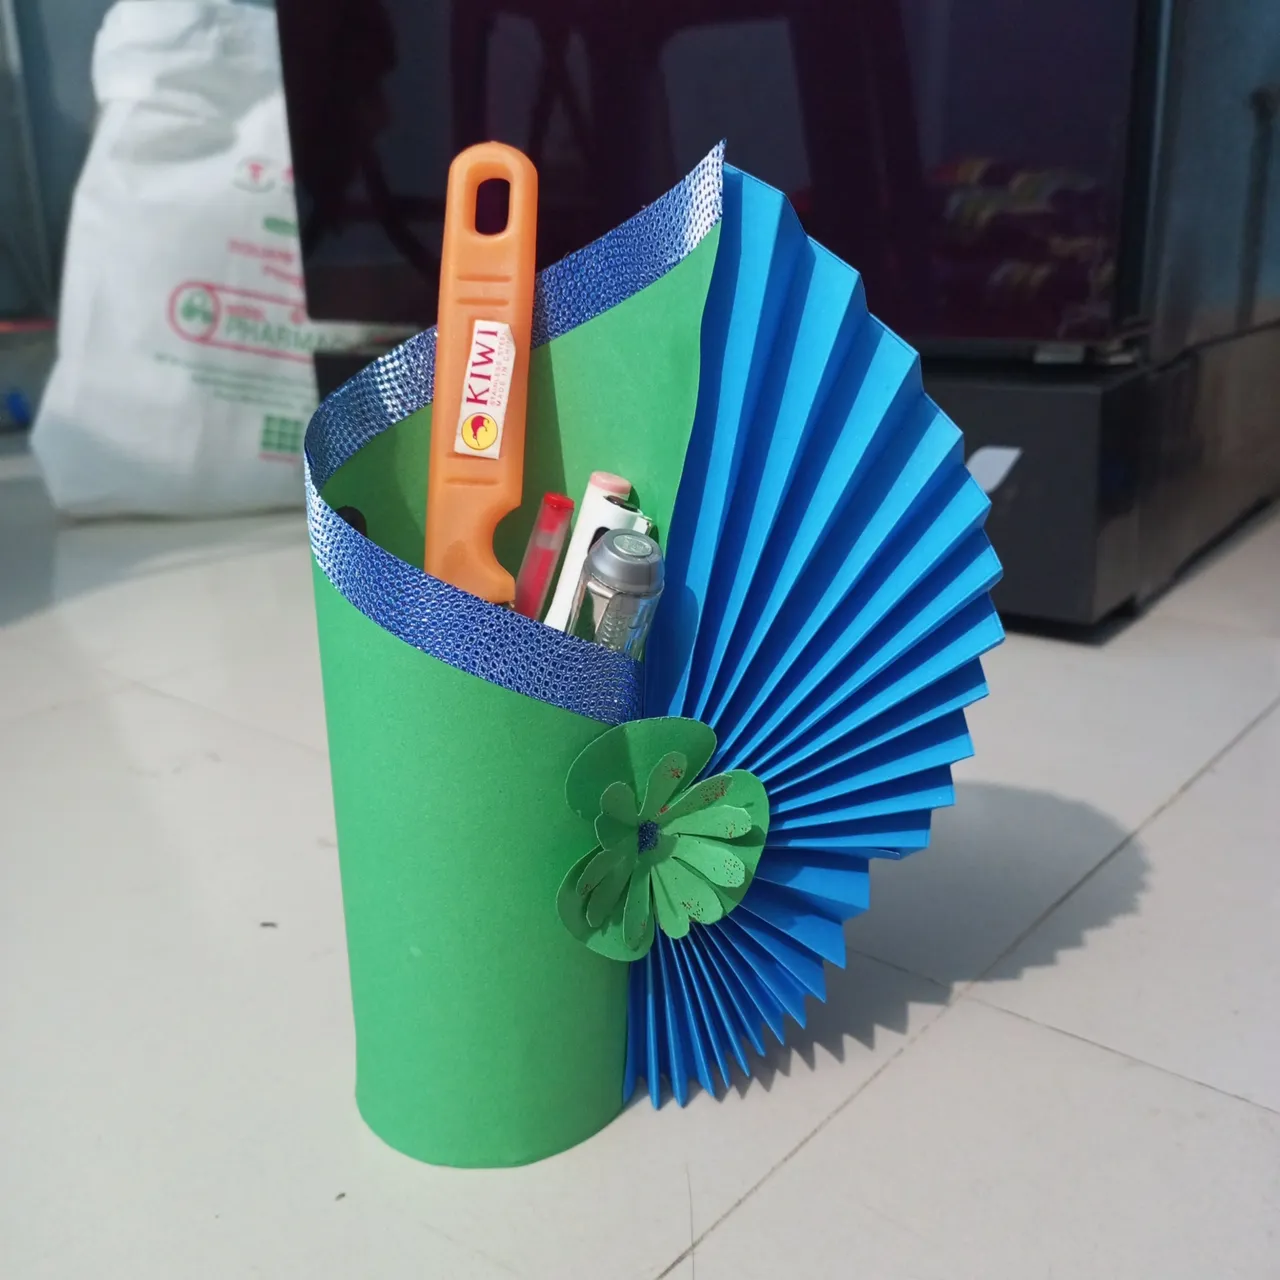
I saw such a pen holder for studying when I was a child.Now grown up making it myself.May the joy of that small time fill me up.It is one of our must-have choices even though it is a pen holder but I feel the fun of writing with a pen from the pen holder on the reading table.Today this wonderful creativity helps me achieve efficiency.I think such a beautiful pen holder deserves to be gifted to someone.Let's give such a gift to the beloved family,they will be very happy.
Thank you for reading my creative article blog .Stay safe,stay happy.i think if you find any mistake in writing or something. Please allow me to correct it.And find me on social media.
| Class | paper Crafts photography |
|---|
| Device | Tecno spark 48 Ultra sensing all camera |
| Photographer | @mdakash62 |
Twitter Discord
My introduced link