
Felíz noche comunidad Hive Diy, saludos y bendiciones para cada uno de ustedes, un abrazo a los miembros creativos que conforman ésta linda comunidad, espero hayan tenido una buena semana llena de oportunidades y prosperidad, hoy me encuentro nuevamente en éste espacio para compartir ideas que les pueda ser útiles en algún momento.
Happy night Hive Diy community, greetings and blessings for each of you, a hug to the creative members that make up this beautiful community, I hope you have had a good week full of opportunities and prosperity, today I find myself again in this space to share ideas that It may be useful to you at some point.

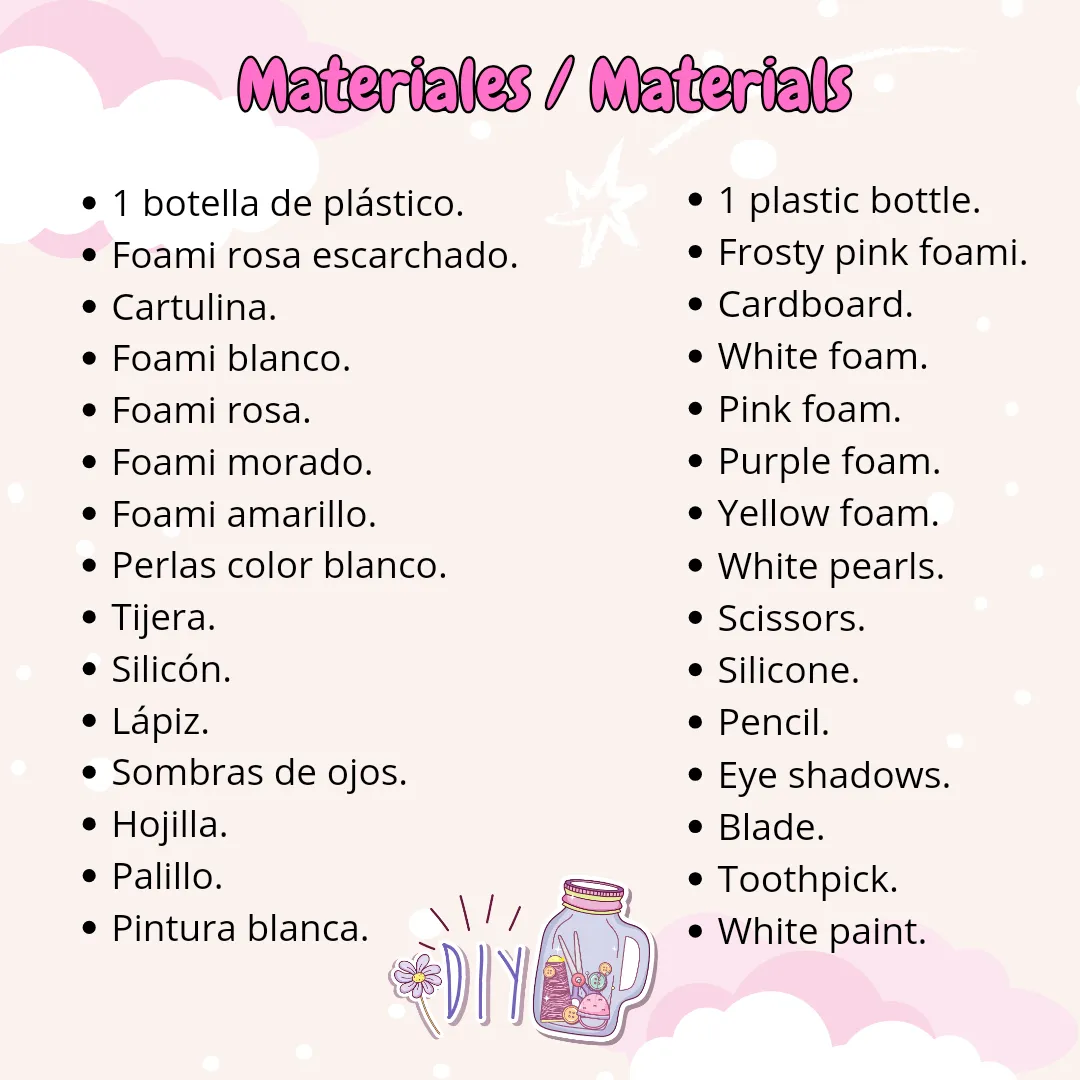
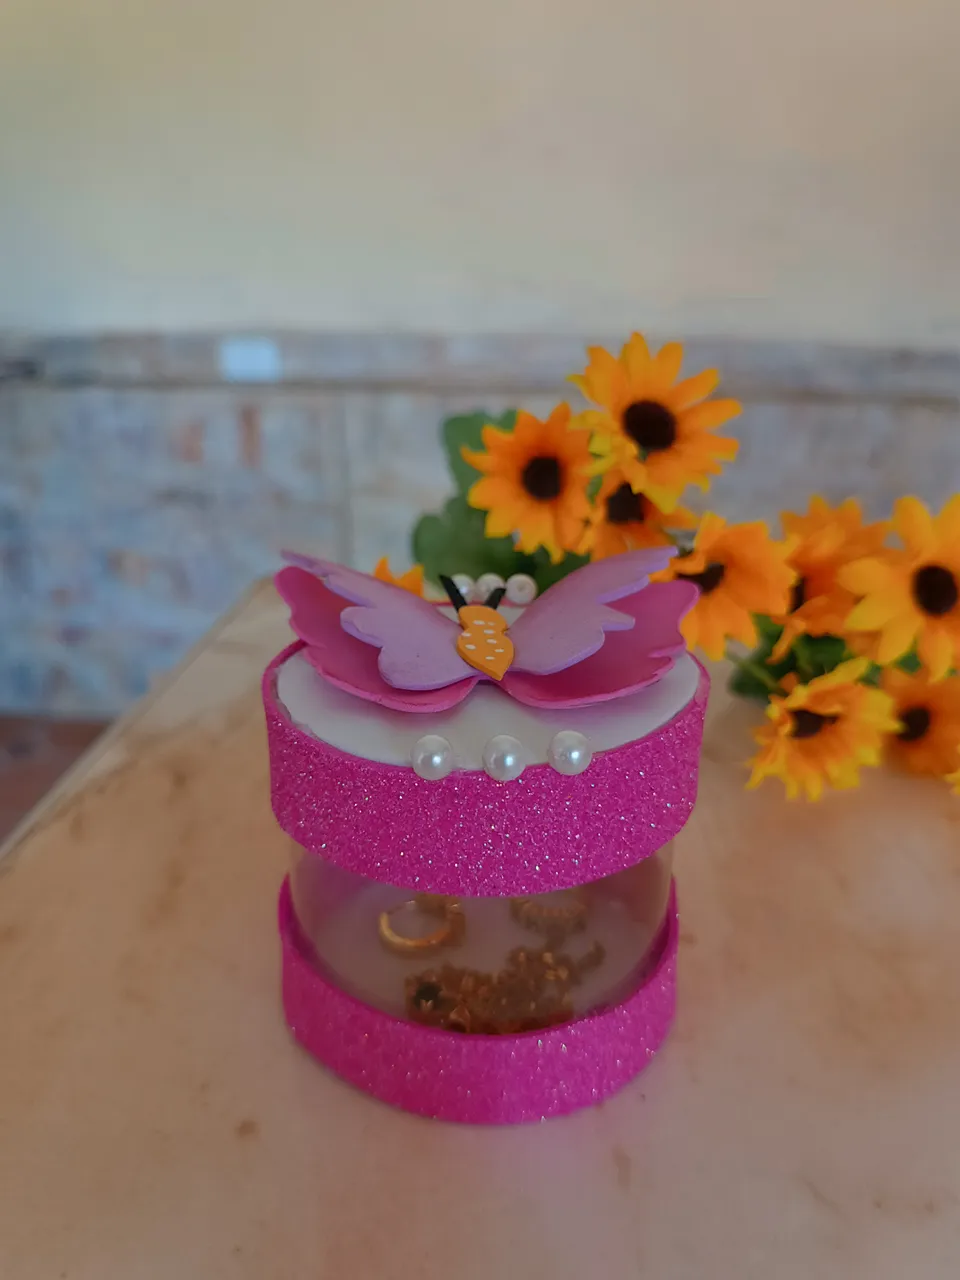
Hoy les quiero compartir un lindo cofre elaborado con material de provecho (plástico) y decorado con foami, las botellas de refresco siempre son útiles en las manualidades y es una forma de reutilizar materiales, este cofre es ideal para guardar tus accesorios como zarcillos, cadenas, me encanta el resultado y es fácil de realizar, a continuación les muestro los materiales y el paso a paso.
Today I want to share with you a nice chest made with useful material (plastic) and decorated with foam, soda bottles are always useful in crafts and are a way to reuse materials, this chest is ideal for storing your accessories such as earrings, chains , I love the result and it is easy to do, below I show you the materials and the step by step.
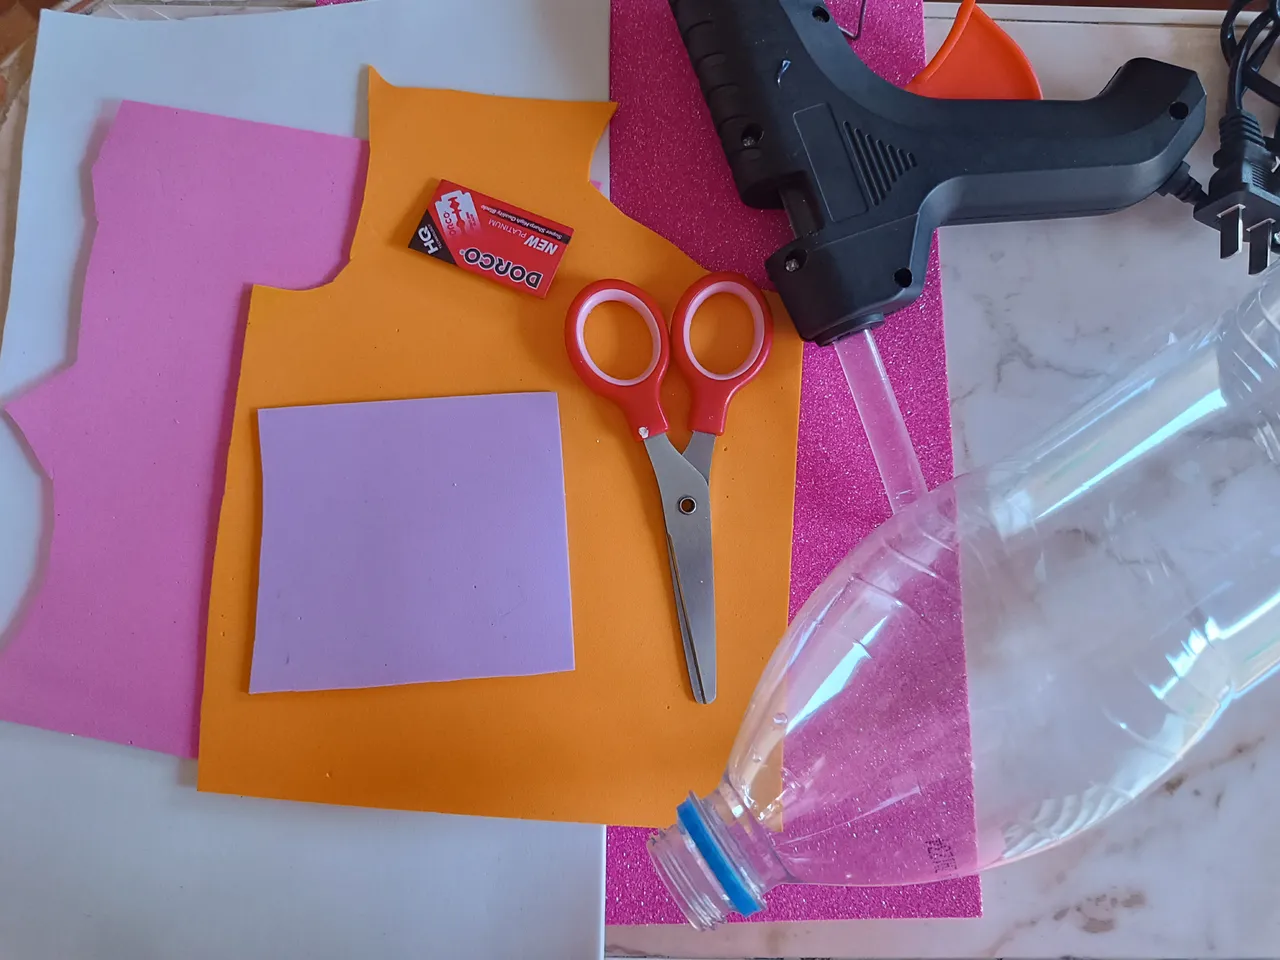
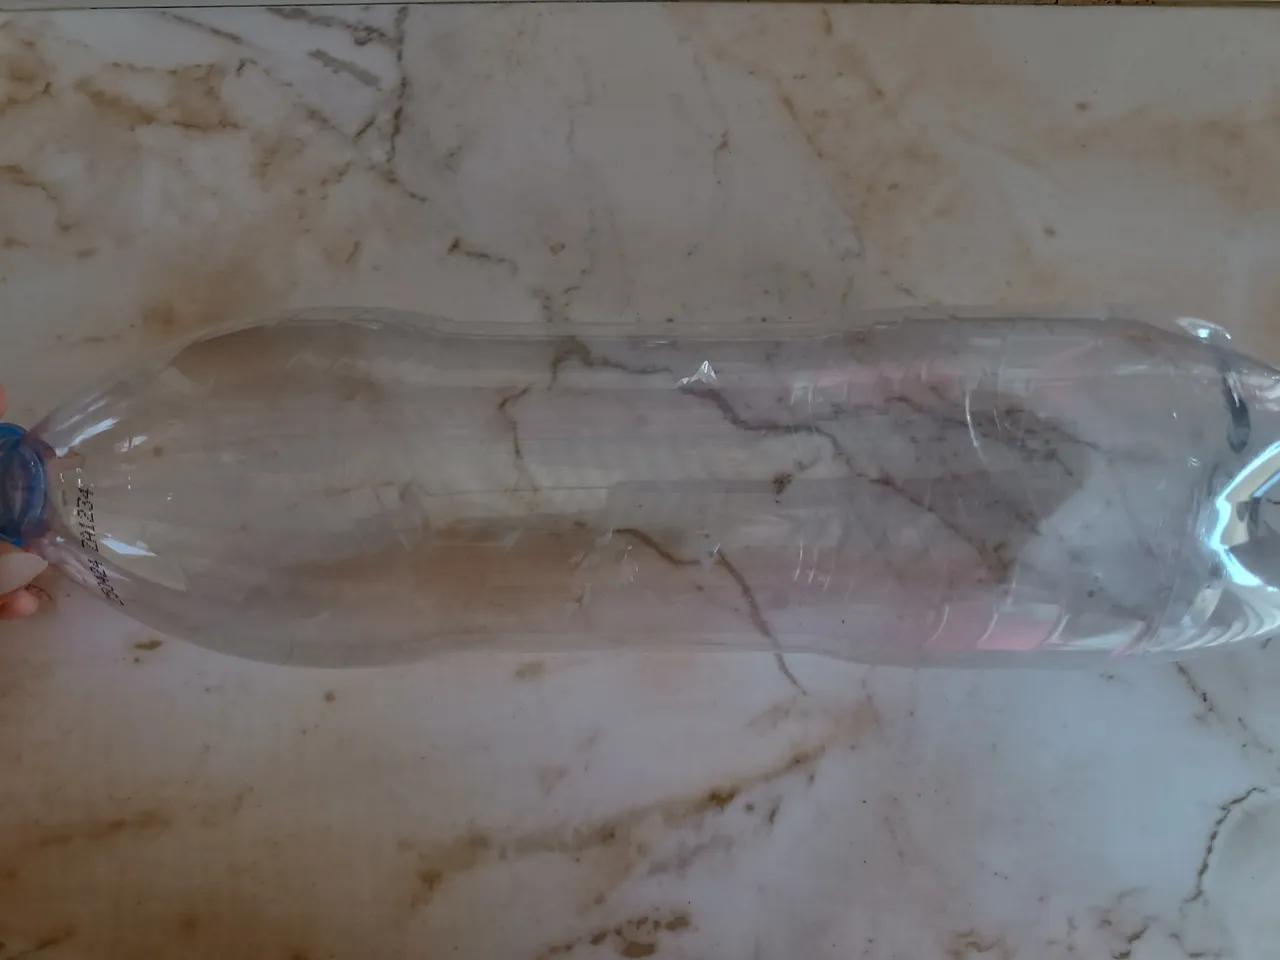
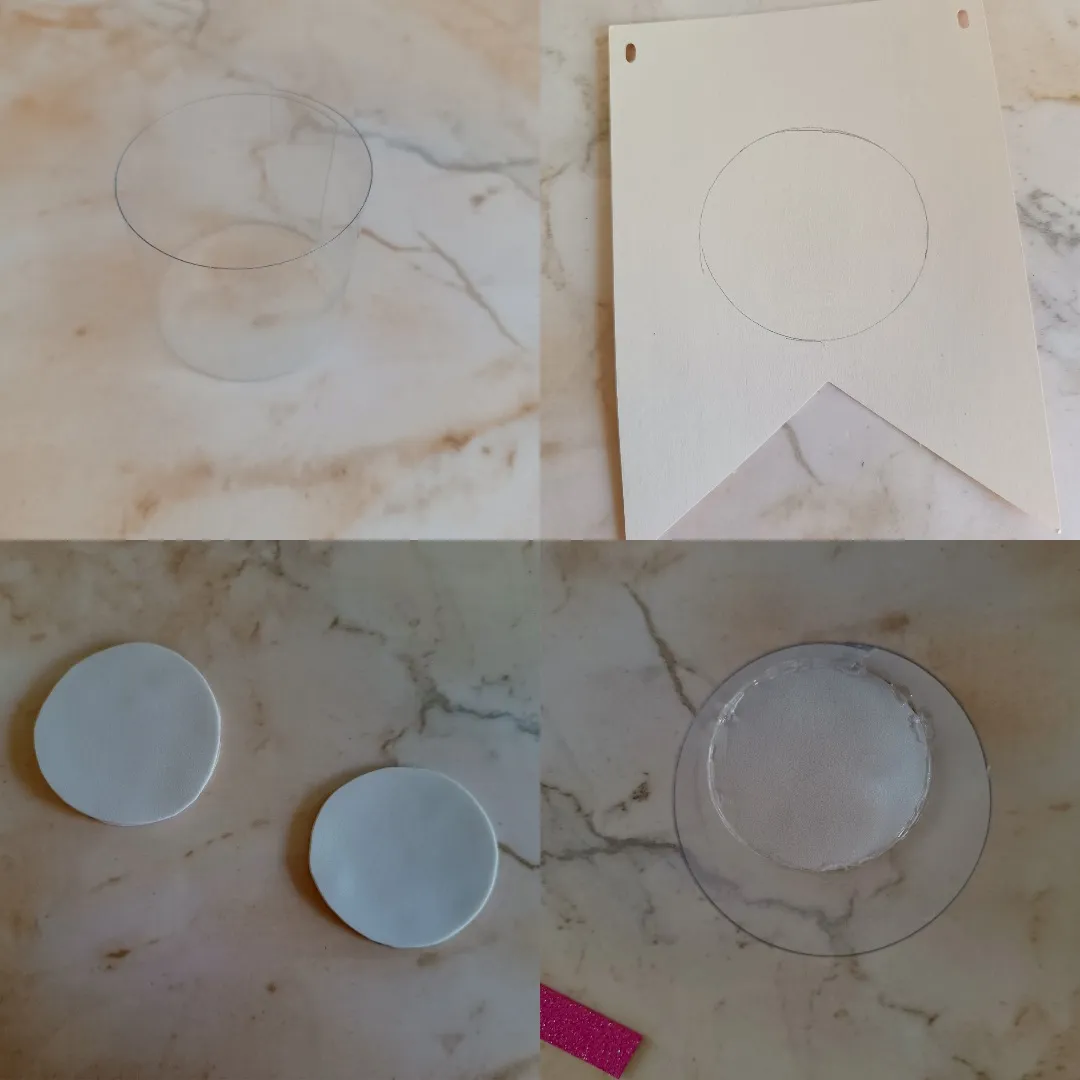
El primer paso es cortar el centro de la botella con una hojilla, luego nos ayudamos con la tijera, puedes cortar un poco el plástico de altura según tu preferencia, yo corté aproximadamente 2 cm, luego voy a unir las puntas con silicón.
The first step is to cut the center of the bottle with a blade, then we help ourselves with the scissors, you can cut the plastic a little in height according to your preference, I cut approximately 2 cm, then I am going to join the tips with silicone.
Ahora voy a dibujar tres círculos en cartulina reciclada, y también en foami blanco, ahora voy a tomar dos círculos de foami y los voy a colocar a ambos lados del círculo de cartulina, y al otro círculo le voy a colocar solo de un lado el foami, ahora voy a colocar en la base el círculo en foami.
Now I am going to draw three circles on recycled cardboard, and also on white foam, now I am going to take two foam circles and place them on both sides of the cardboard circle, and on the other circle I am going to place the Foami, now I am going to place the foam circle on the base.
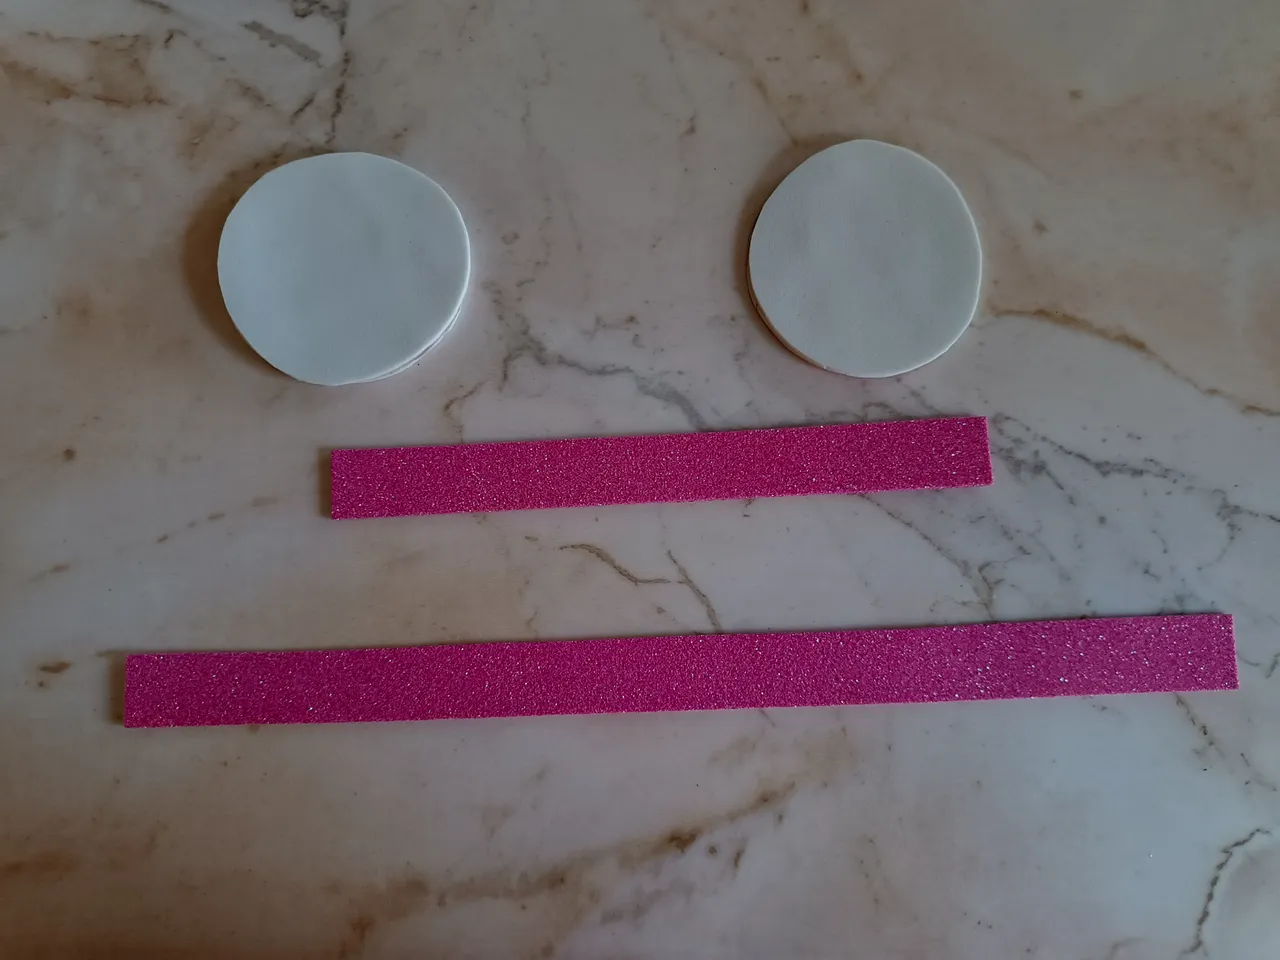
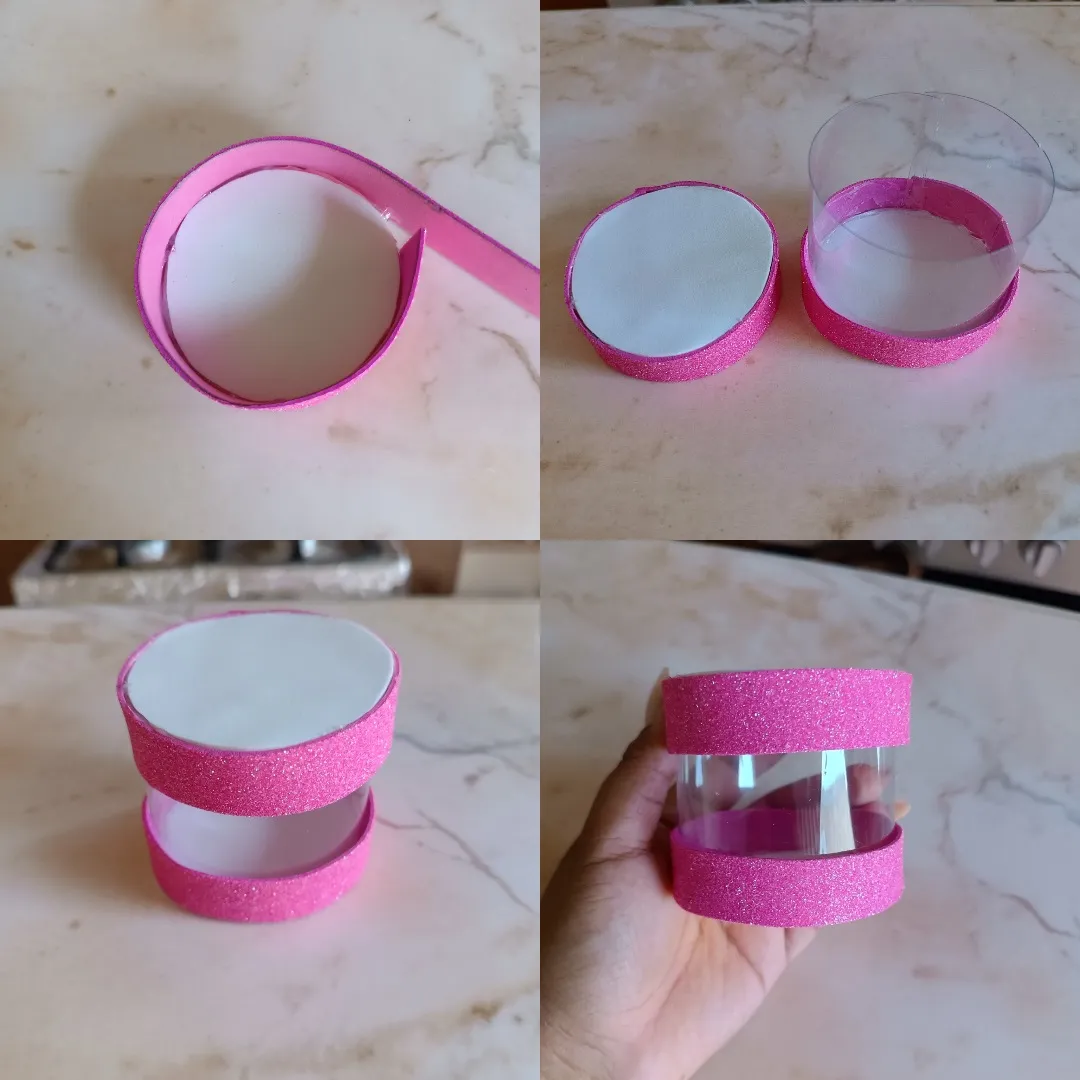
También voy a cortar tres franjas de foami rosa escarchado y la voy a pegar con silicón al rededor del plástico en la parte inferior, ahora voy a realizar la tapa, para esto tomé el círculo doble y voy a pegar la franja de foami en el extremo, cortamos el sobrante. De ésta forma ya tenemos el cofre, ahora continuamos con la decoración.
I am also going to cut three stripes of frosty pink foam and I am going to glue them with silicone around the plastic at the bottom, now I am going to make the lid, for this I took the double circle and I am going to glue the foam strip at the end , we cut the excess. In this way we already have the chest, now we continue with the decoration.
Voy a dibujar en una hoja una mariposa grande y una pequeña, la grande la voy a dibujar en foami rosa y la pequeña en foami morado, voy aplicar calor en las alas para dar forma, también apliqué un poco de sombra de color fucsia en las alas, en el centro coloqué una pequeña franja de foami amarillo, realicé puntos color blanco y las antenas en foami negro.
I am going to draw a large butterfly and a small one on a leaf, I am going to draw the large one in pink foam and the small one in purple foam, I am going to apply heat to the wings to give them shape, I also applied a little fuchsia shadow on the wings. wings, in the center I placed a small strip of yellow foam, I made white dots and the antennas in black foam.
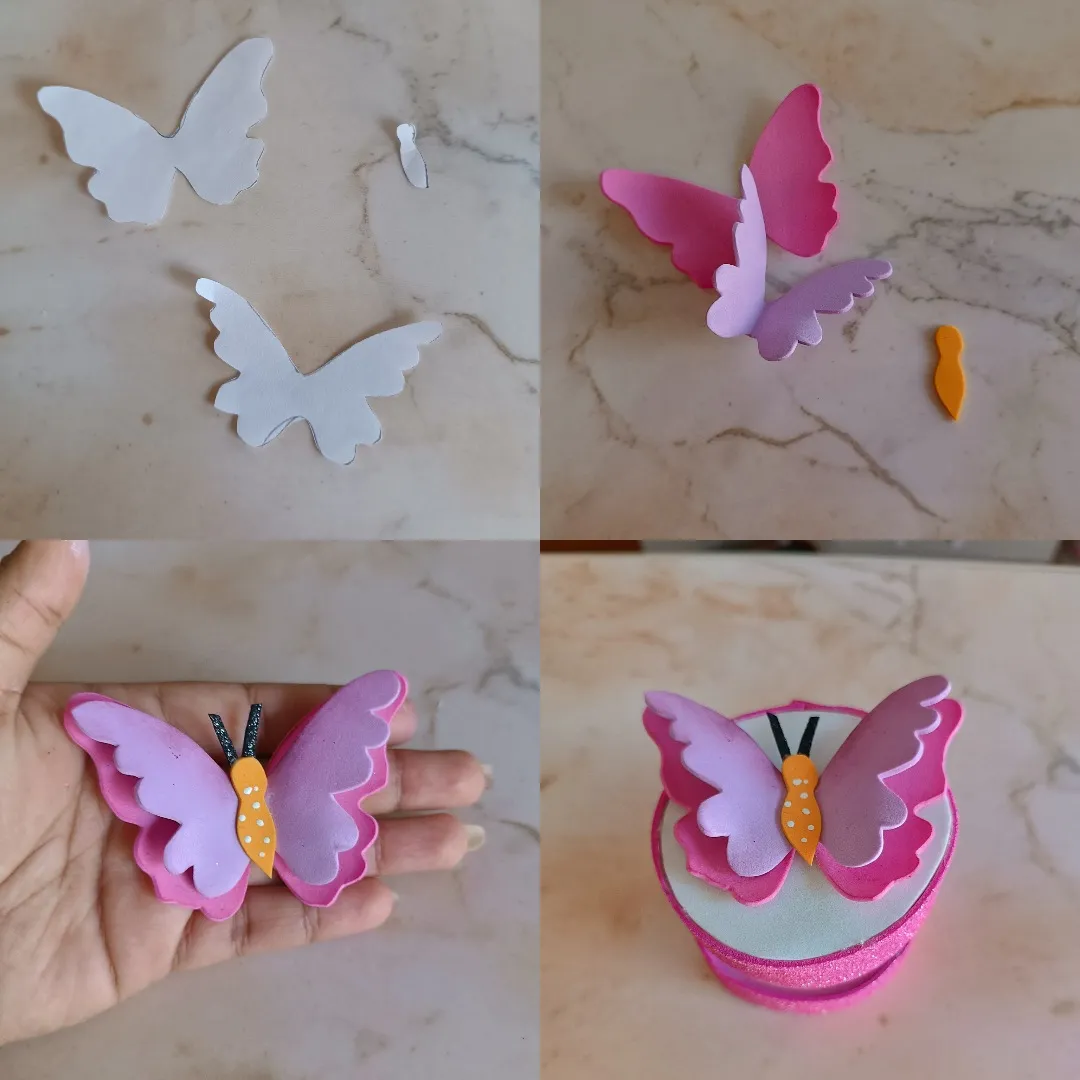
Ubiqué la mariposa en medio de la tapa y también coloqué algunas perlas en los bordes del centro, de ésta forma termine el cofre, podemos observar lo que guardamos dentro ya que el centro nos queda transparente, espero les haya gustado, muchas gracias por visitar mi publicación nos vemos en una próxima oportunidad con más ideas creativas.
I placed the butterfly in the middle of the lid and I also placed some pearls on the edges of the center, this is how I finished the chest, we can see what we keep inside since the center is transparent, I hope you liked it, thank you very much for visiting my post see you next time with more creative ideas.


Contenido original. - original content.
Los separadores y banner fueron realizados en Canva. - The dividers and banner were made in Canva.
Las fotografias son tomadas con mi teléfono Redmi Note 11s y editadas en PicsArt - The photographs are taken with my Redmi Note 11s phone and edited in PicsArt.
Traducción de: Google traductor - Translation of: Google translator.
