¡Hola!
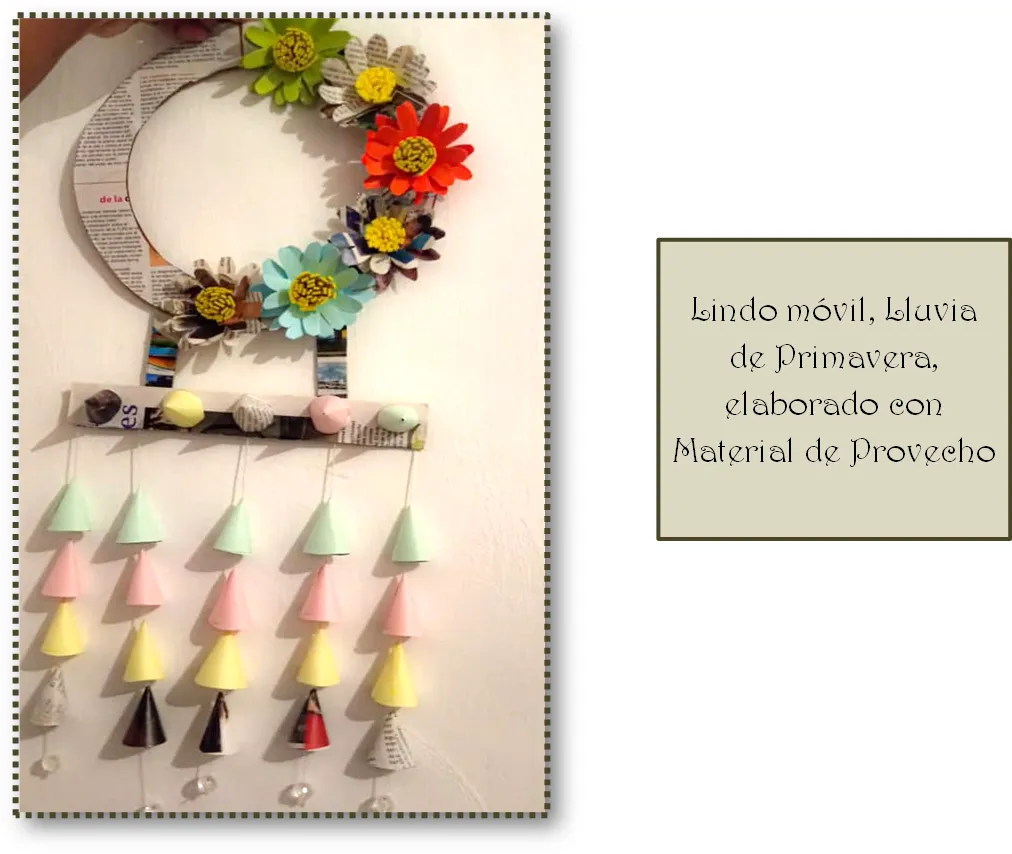
Mi gente bella que conforman la comunidad de Hive Diy, espero que estén muy bien, hoy les voy a compartir el paso a paso de un Lindo Móvil: Lluvia de Primavera, elaborado con material de provecho, ideal para darle color y armonía a ese rinconcito de nuestros hogares, es muy fácil y económico y poniéndolo en practica contribuyes a no tirar el papel en desuso, cartón, etc y estas aportando un granito de arena a nuestra naturaleza.Comencemos .
Hi there!
My beautiful people who make up the Hive Diy community, I hope you are very well, today I am going to share with you the step by step of a Cute Mobile: Spring Rain, made with useful material, ideal to give color and harmony to that little corner of our homes, it is very easy and inexpensive and by putting it into practice you contribute not to throw away disused paper, cardboard, etc. and you are contributing a grain of sand to our nature.
Materiales
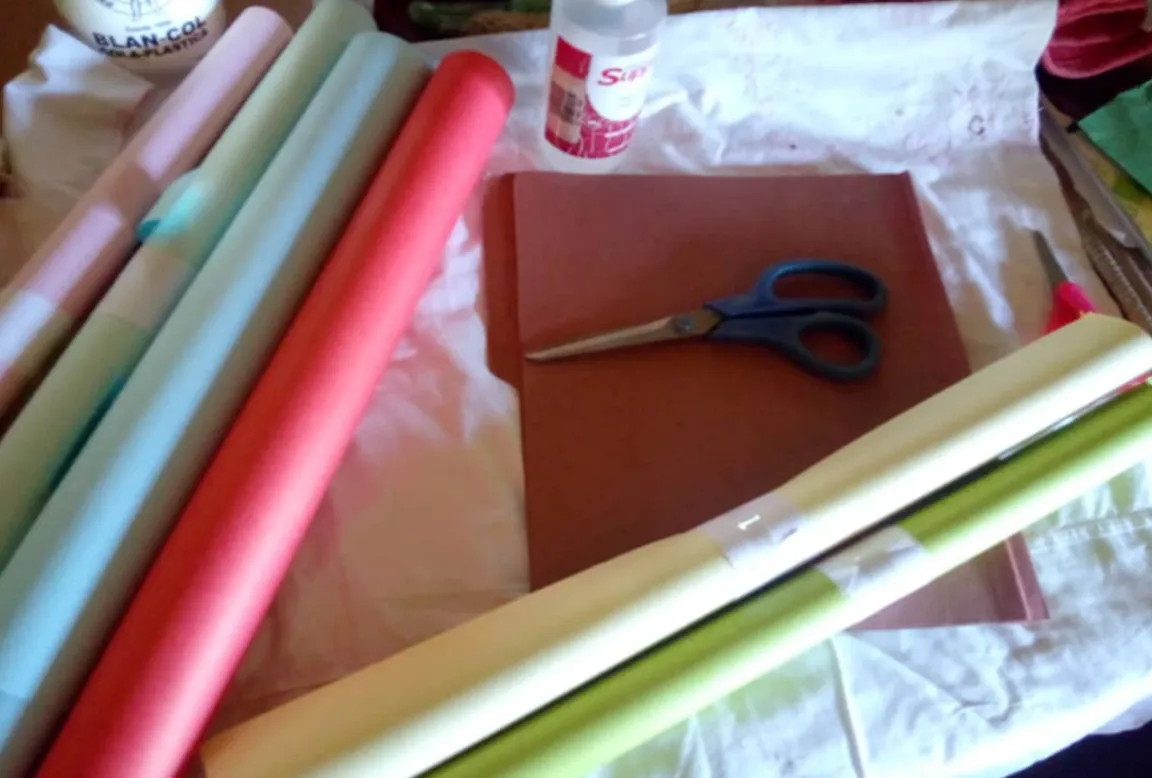
Cartón
Revistas
Cartulina
Hilo
Cristales
Foami
Tijeras
Pega
Materials
Paperboard
Journals
Cardboard
Thread
Crystals
Foami
Pair of scissors
Job
Pasos:
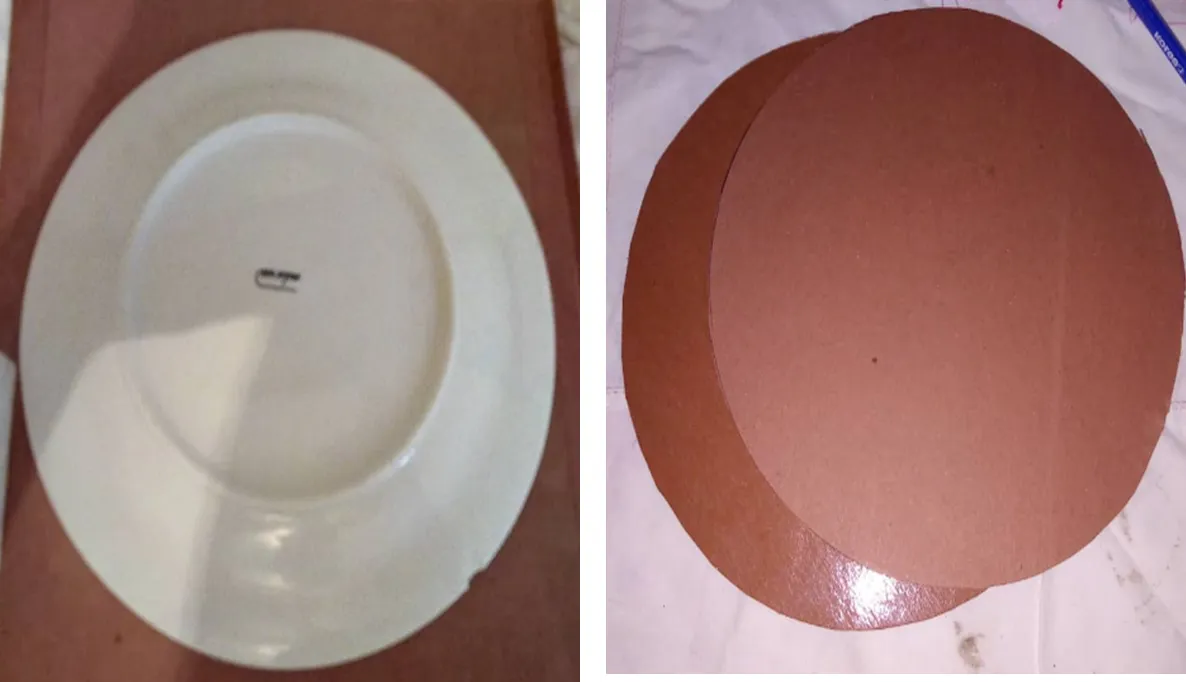
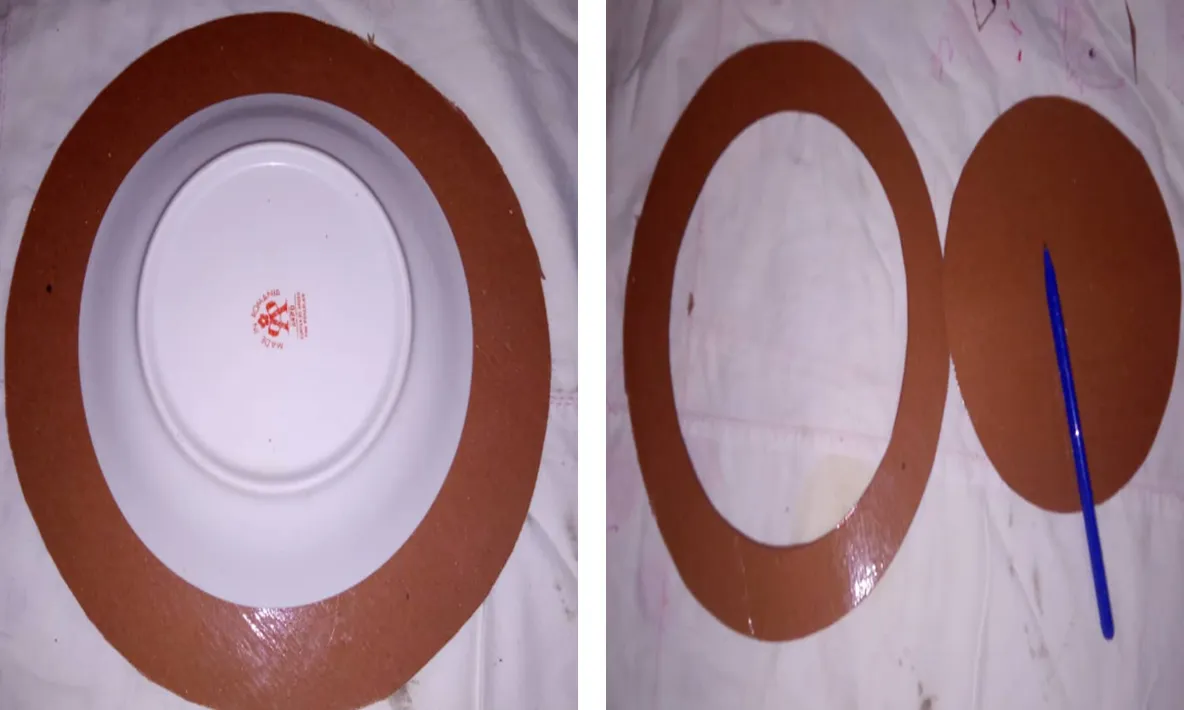
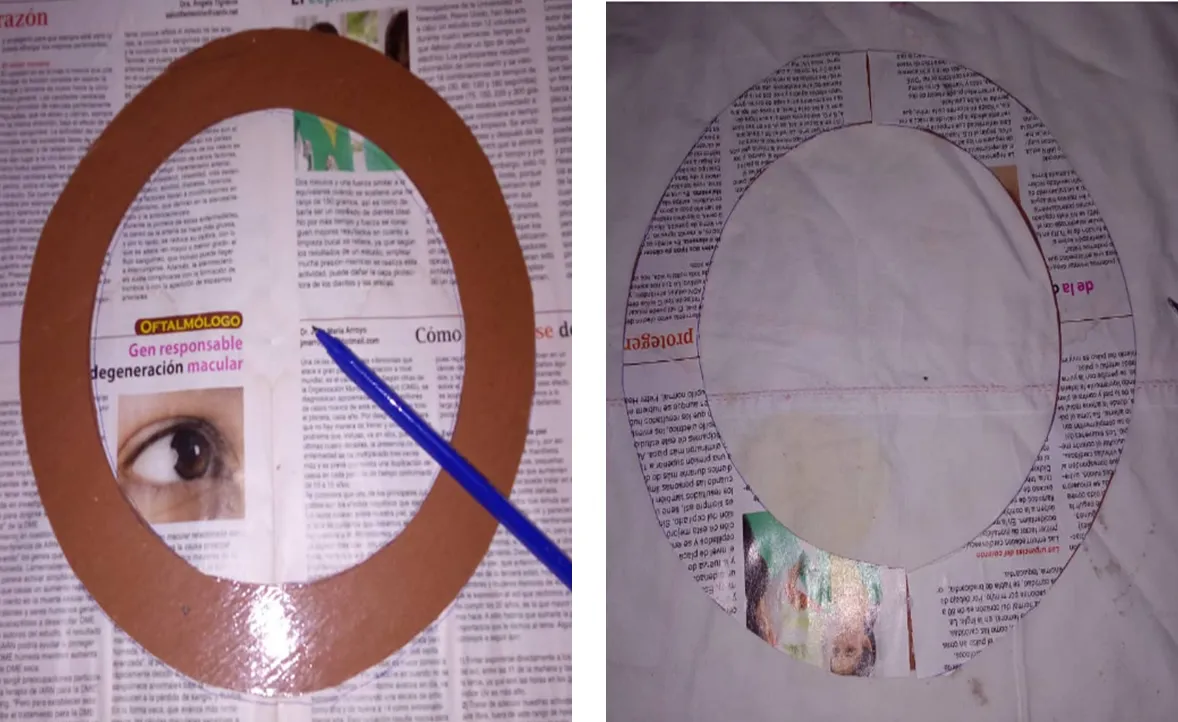
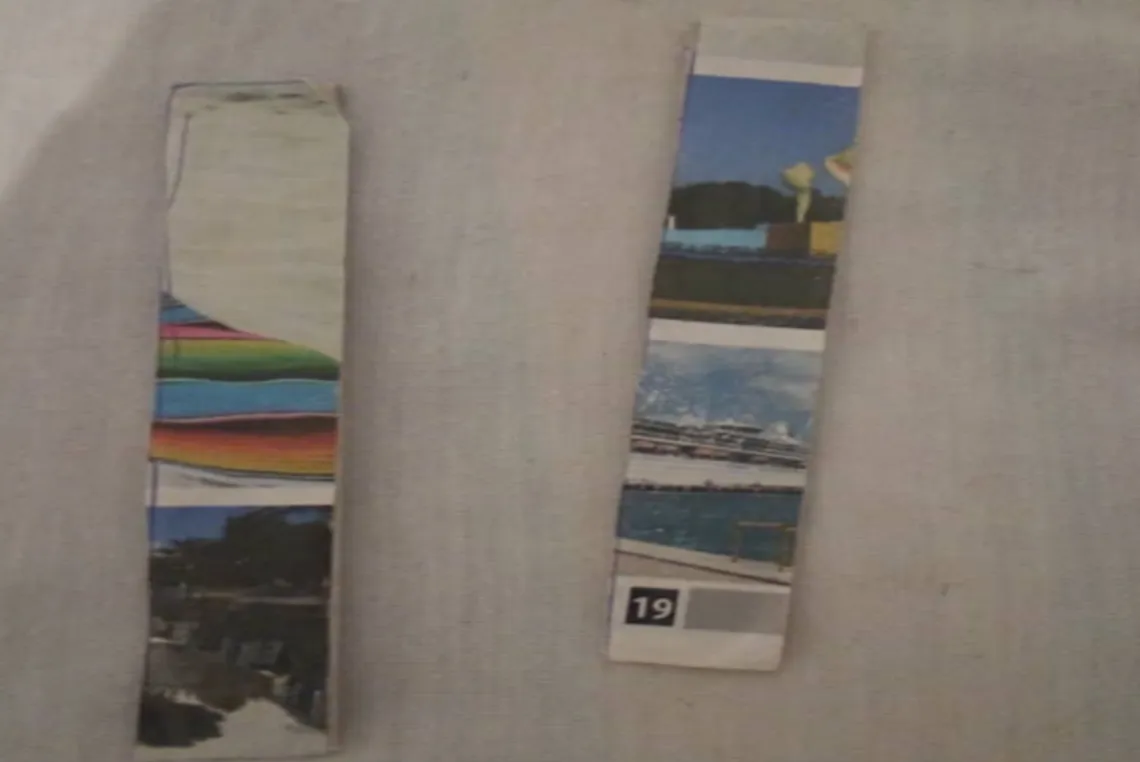
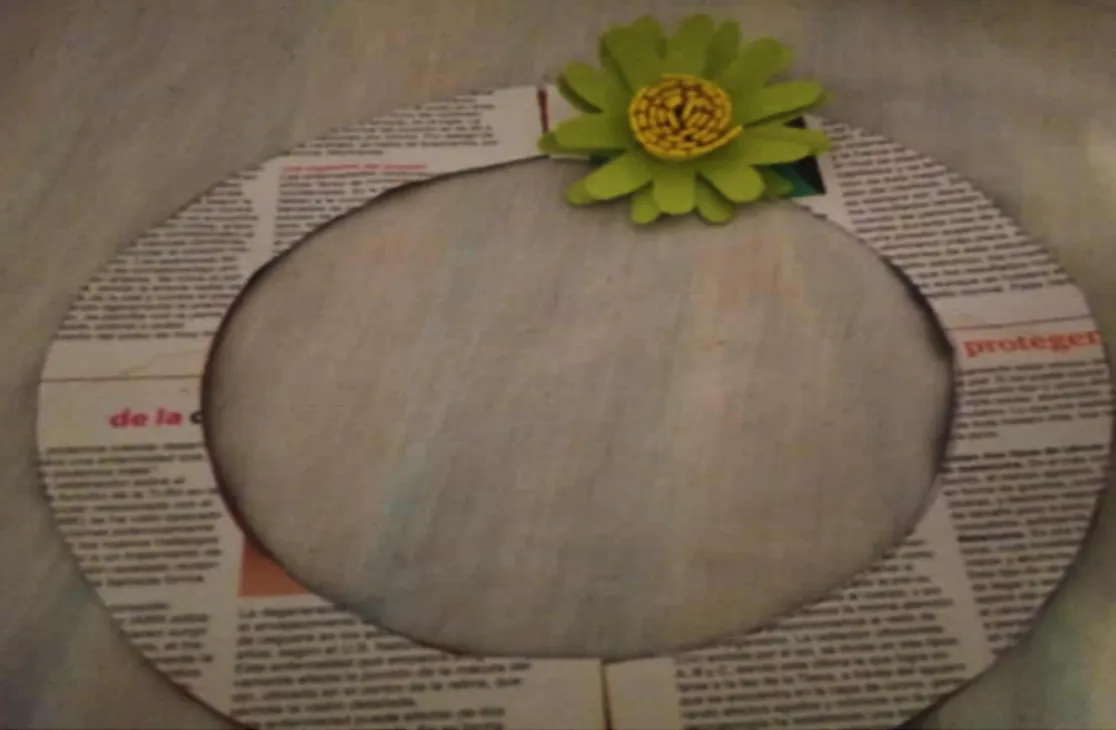
1,. En el cartón con ayuda de un plato mediano y otro mas pequeño vamos a dibujar y recortar para obtener una corona.Luego la forramos con revistas.
Steps:
1,. In the cardboard with the help of a medium plate and a smaller one, we are going to draw and cut to obtain a crown, then we cover it with magazines.
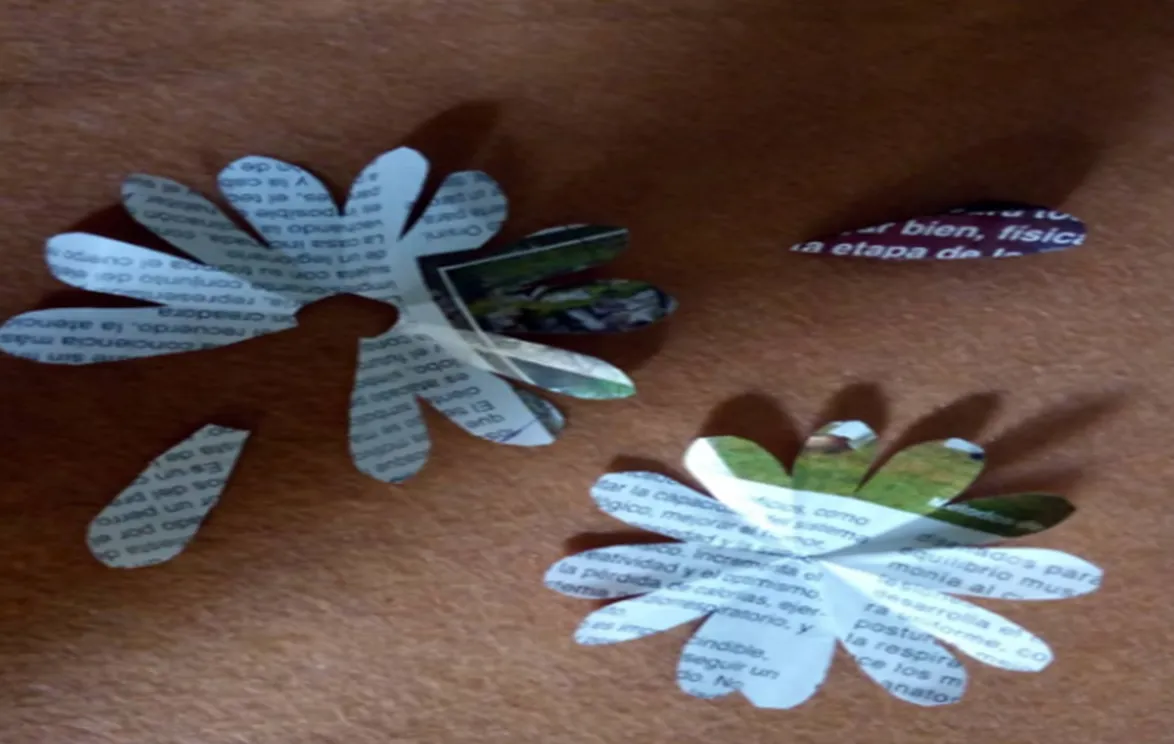
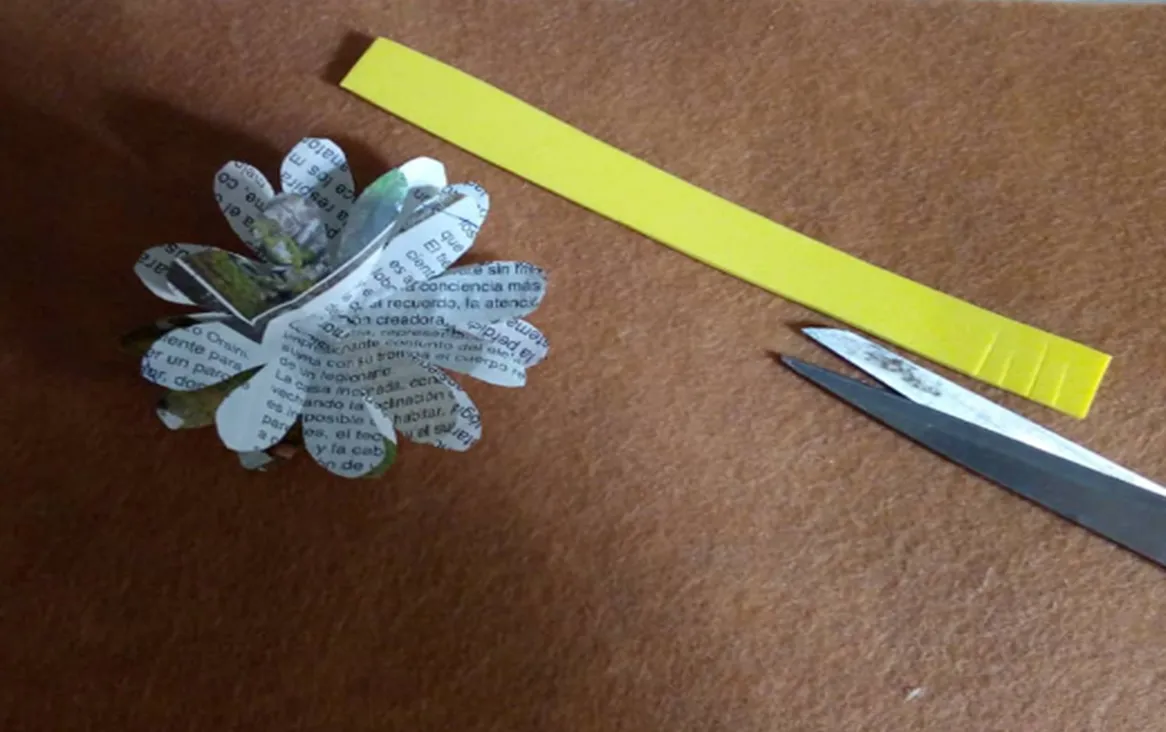
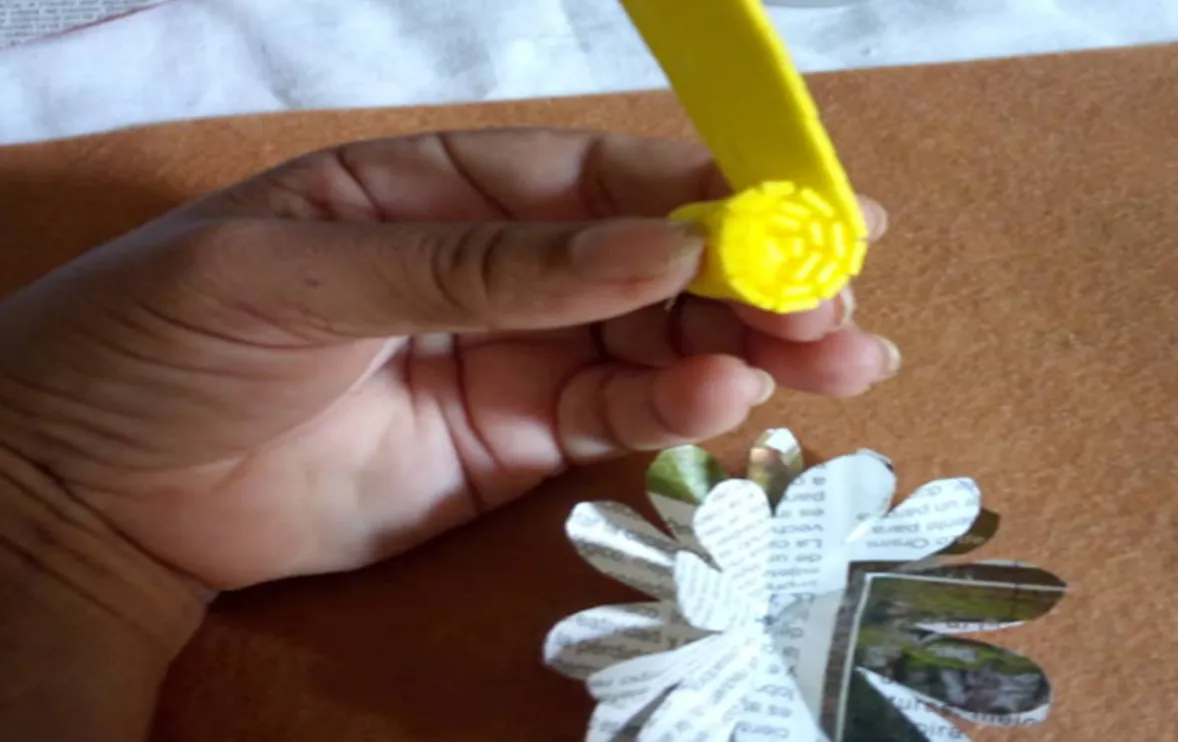
2.- Los pasos para la elaboración de las flores son los siguientes: marcamos en la revista y en las cartulinas dos círculos en cada uno luego lo vamos a doblar en 5 partes, recortamos un pétalo y abrimos nuestra flor, seguidamente hacemos con el foami el centro de la flor de la siguiente manera picamos una tira de foami y le vamos haciendo picadillo de un lado. Luego ya que tenemos la flor y el centro unimos y pegamos.
2.- The steps for the elaboration of the flowers are the following: we mark in the magazine and in the cardboard two circles in each one then we are going to fold it in 5 parts, we cut a petal and we open our flower, then we do with the foami the center of the flower in the following way we chop a strip of foami and we are making mincemeat on one side. Then, since we have the flower and the center, we join and glue.
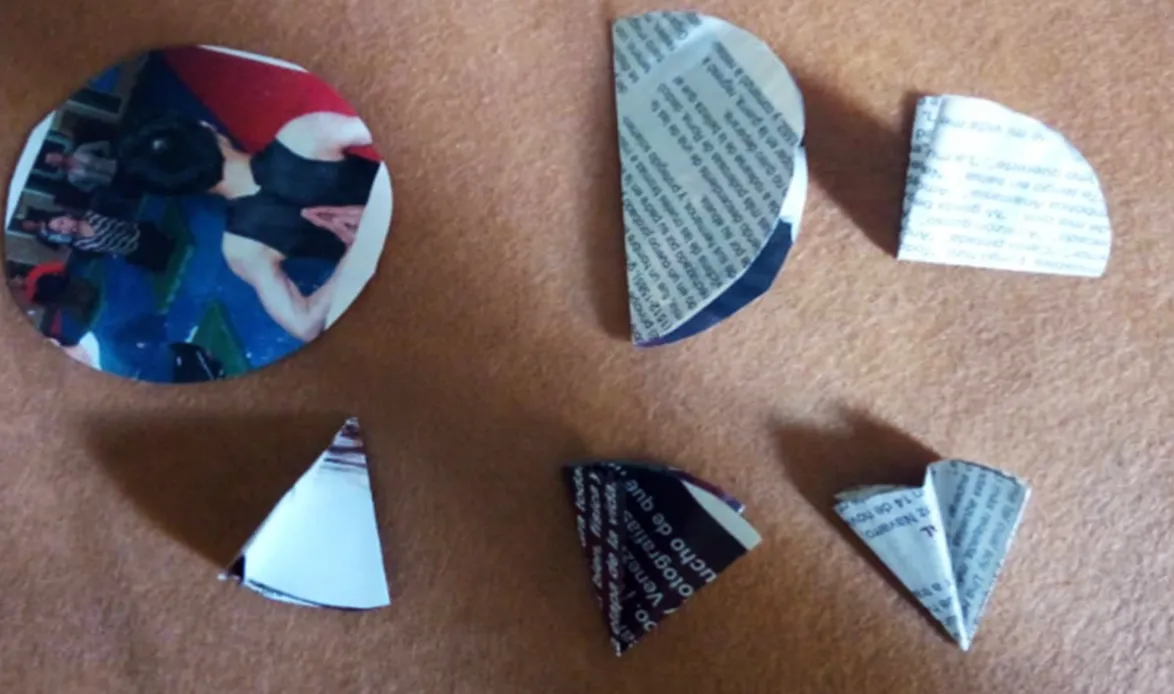
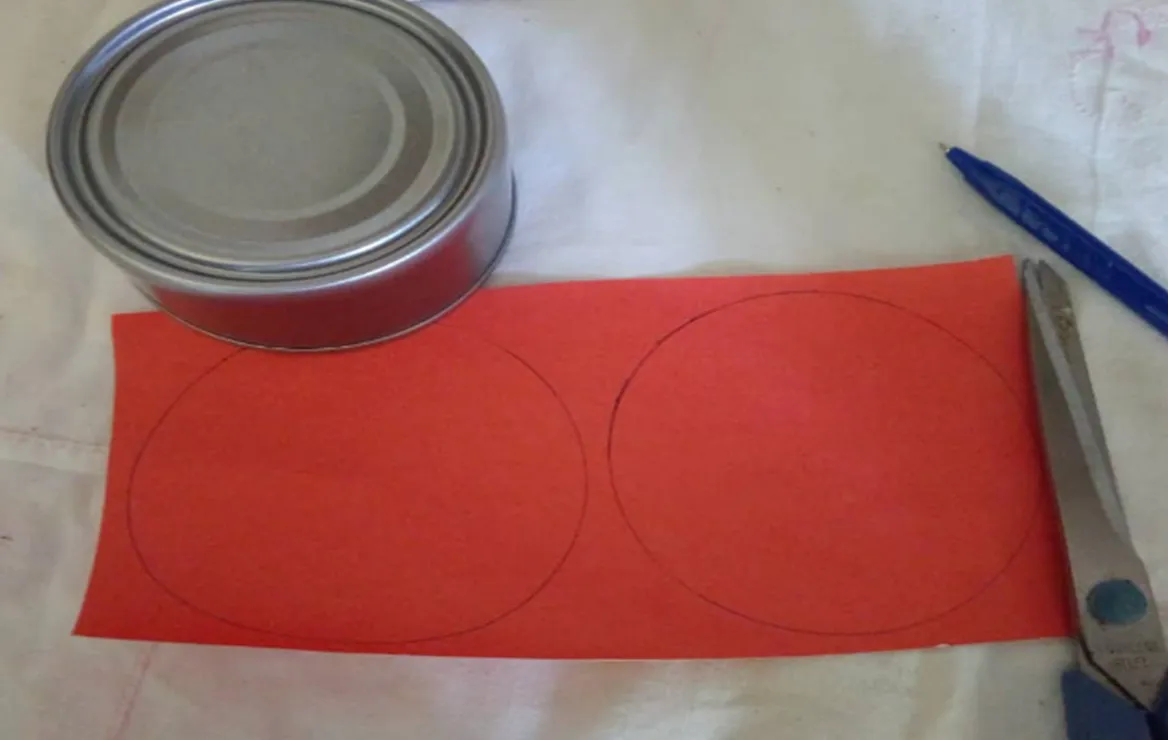
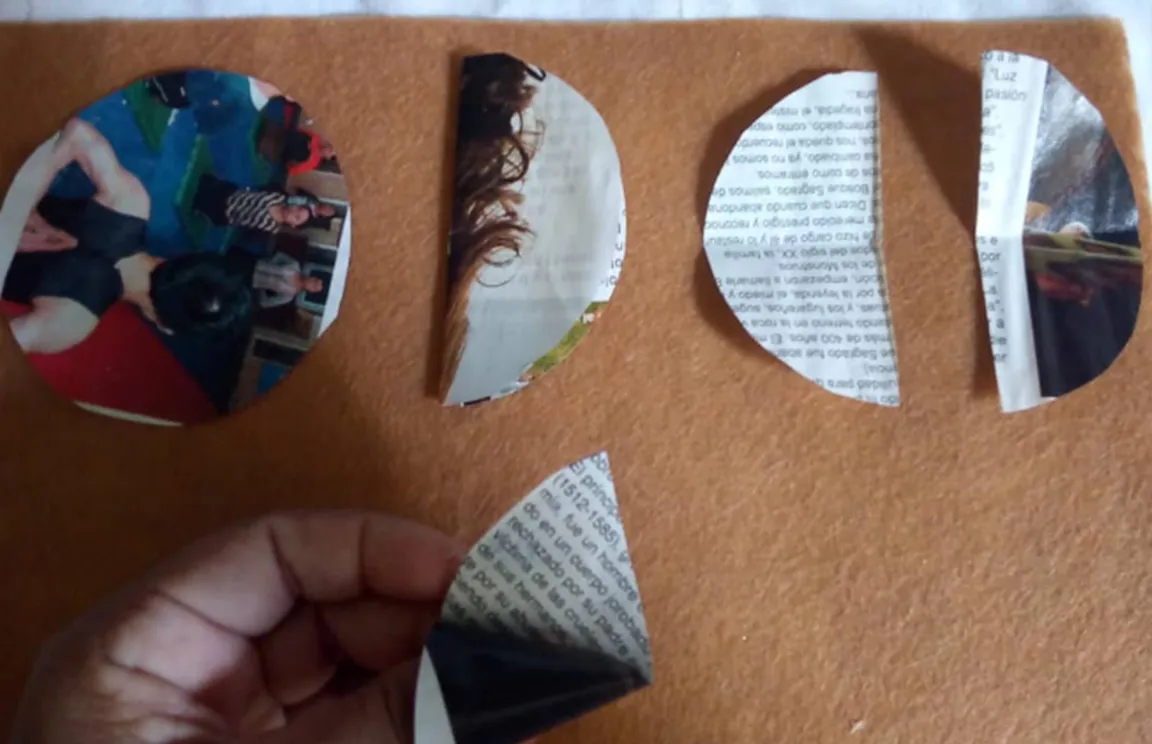
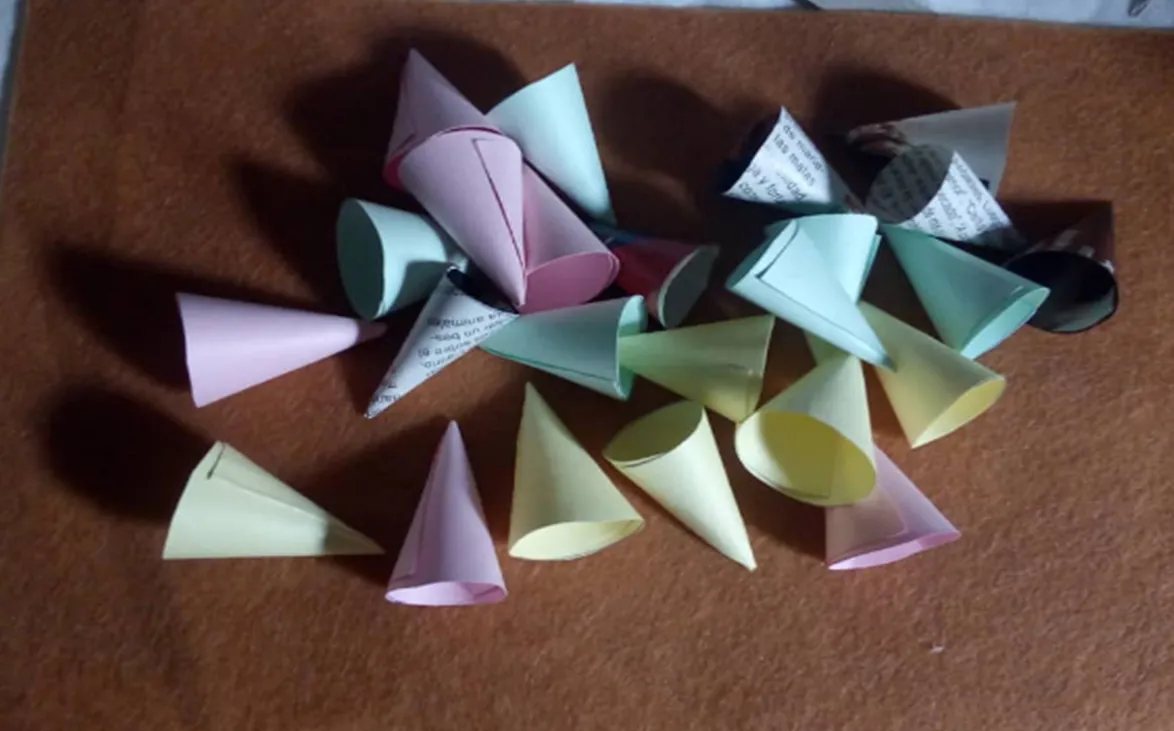
3.- Muy bien ahora procedemos a realizar los conos que van a ser nuestra lluvia en el móvil; dibujamos y recortamos un circulo, lo picamos por la mitad y doblamos para hacer el cono, como se muestra en la foto.
3.-Very well now we proceed to make the cones that are going to be our rain on the mobile; we draw and cut a circle, cut it in half and fold to make the cone, as shown in the photo
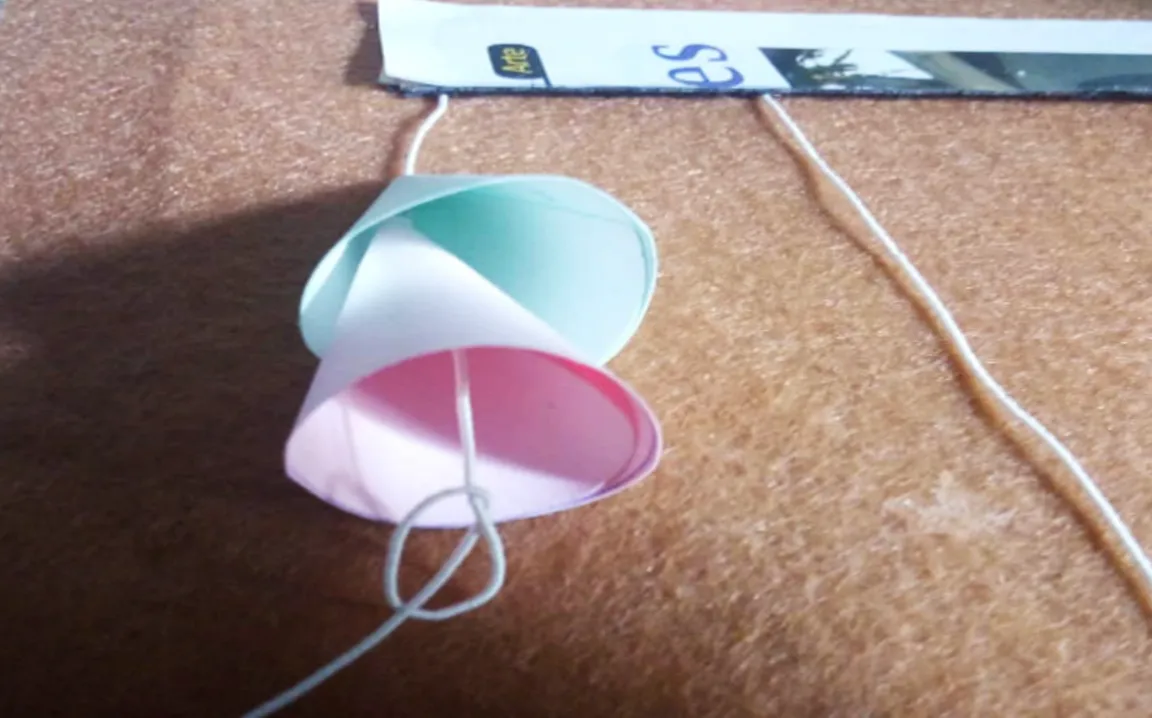
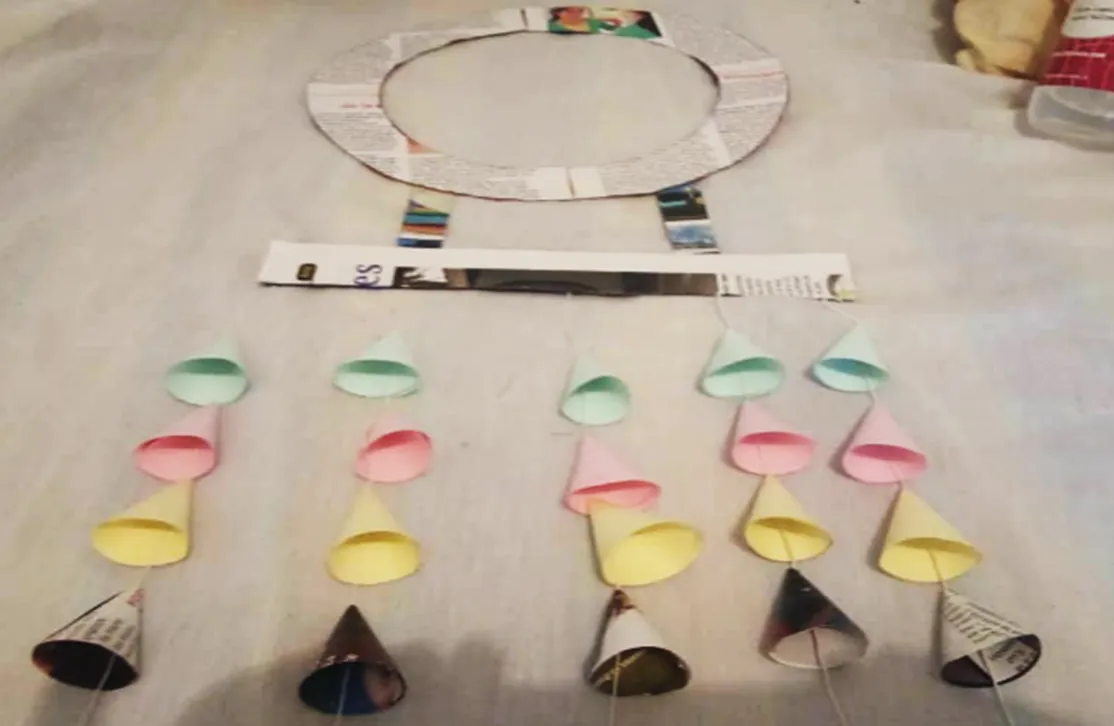
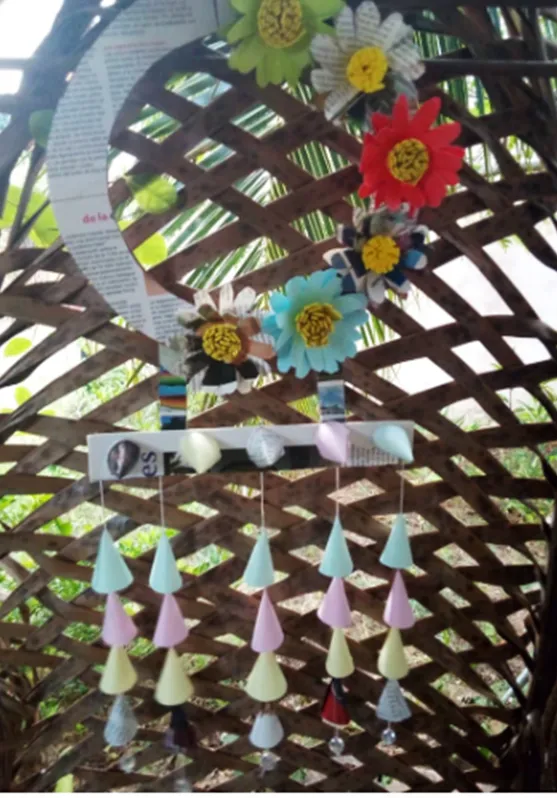
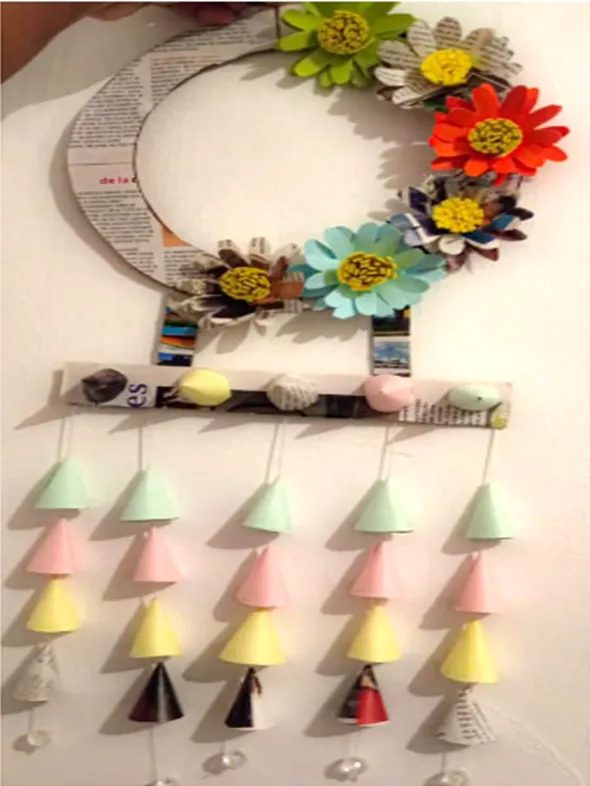
4.- Finalmente procedemos armar nuestro móvil, en un pedaz0 de cartón de 15cm x2cm vamos a colocar 5 tiras de hilo,luego la vamos a pegar con dos pedazo de cartón de 7cm x 1cm de nuestra corona. Seguidamente tomamos los conos y por la punta le vamos a meter el hilo y hacer un nudo abajo para que queden sujetos, y a la corona le colocaremos unas hermosas flores.

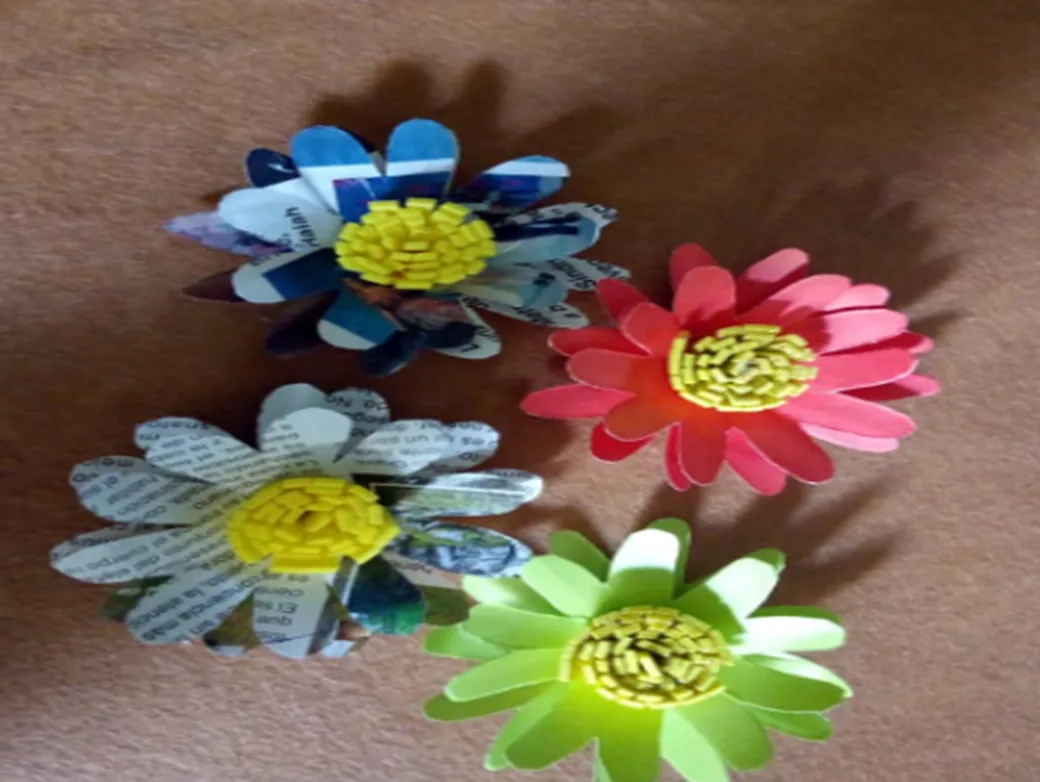
Listo terminado mi proyecto del día de hoy, espero les haya gustado. !Hasta la próxima!
Ready finished my project today, I hope you liked it. ! until next time!
Muchas Gracias por Leer y Comentar mi Post
Las fotografías fueron tomadas con un teléfono inteligente HUAWE Y5, el texto traducido al inglés con el traductor de Google.
The photographs were taken with a HUAWE Y5 smartphone, the text was translated into English with the Google translator.