¡Saludos Comunidad Creativa! | ¡Greetings Creative Community!
El día de hoy les traigo un hermoso topper con la frase “Te amo” ideal para San Valentín, fecha que ya está muy cerca y esta idea es una linda opción si planeas hace un regalo a esa persona especial, puede usarse en tortas, arreglos o cualquier detalle que hagamos para obsequiar, espero que les guste y se animen a hacerlo en casa para su persona favorita.
Today I bring you a beautiful topper with the phrase "I love you" ideal for Valentine's Day, a date that is very close and this idea is a nice option if you plan to give a gift to that special person, it can be used in cakes, arrangements or any detail that we make to give away, I hope you like it and are encouraged to do it at home for your favorite person.


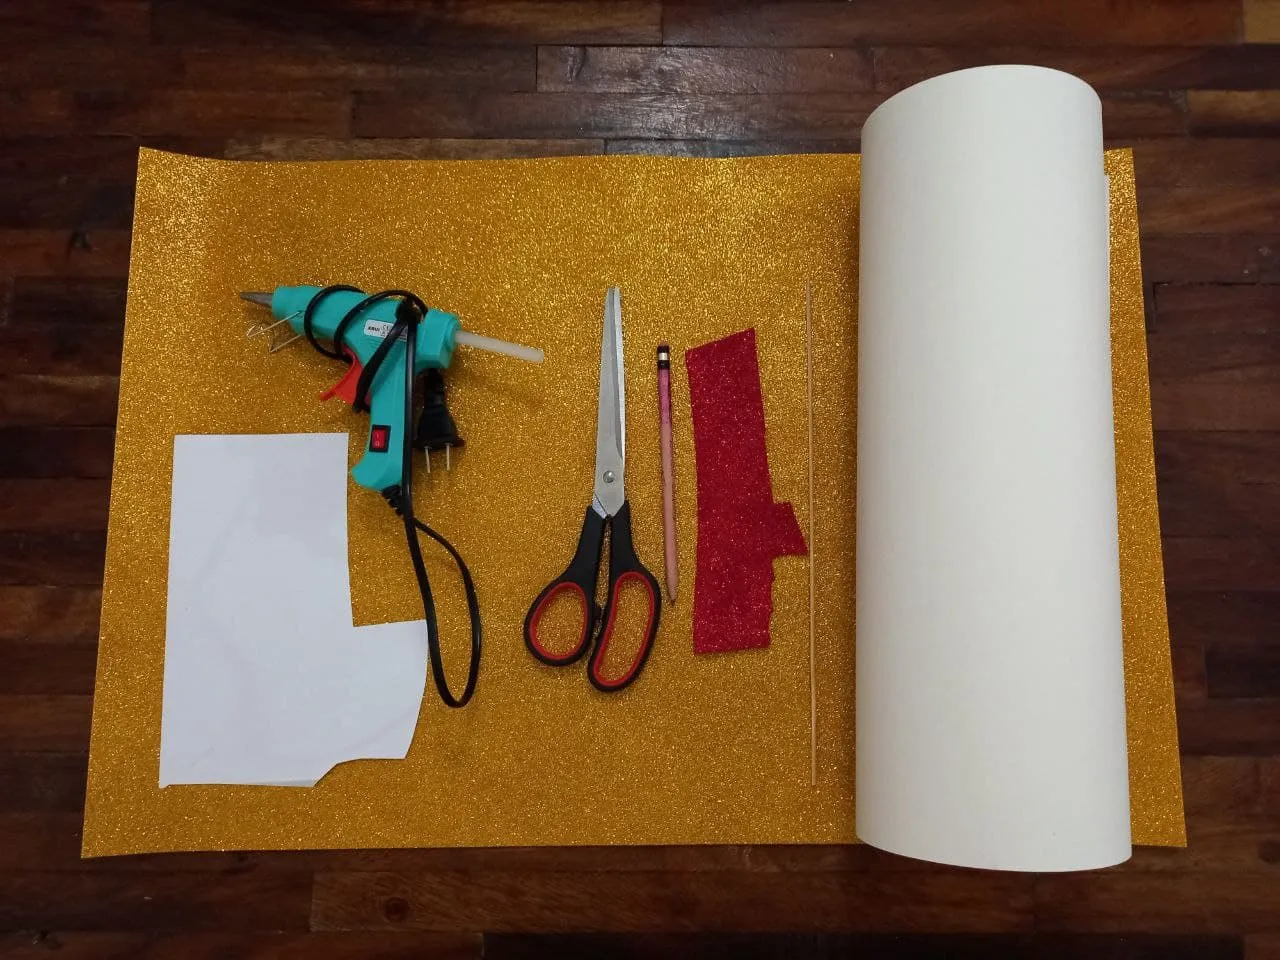
Materiales | Materials
❤ Foami escarchado dorado y rojo.
❤ Cartulina escolar blanca.
❤ Palito de altura.
❤ Hoja de papel.
❤ Silicón caliente.
❤ Tijera.
❤ Lápiz.
❤ Gold and red frosted foami.
❤ White school cardboard.
❤ Height stick.
❤ Sheet of paper.
❤ Hot silicone.
❤ Scissor.
❤ Pencil.
Procedimiento ✂ | Process ✂
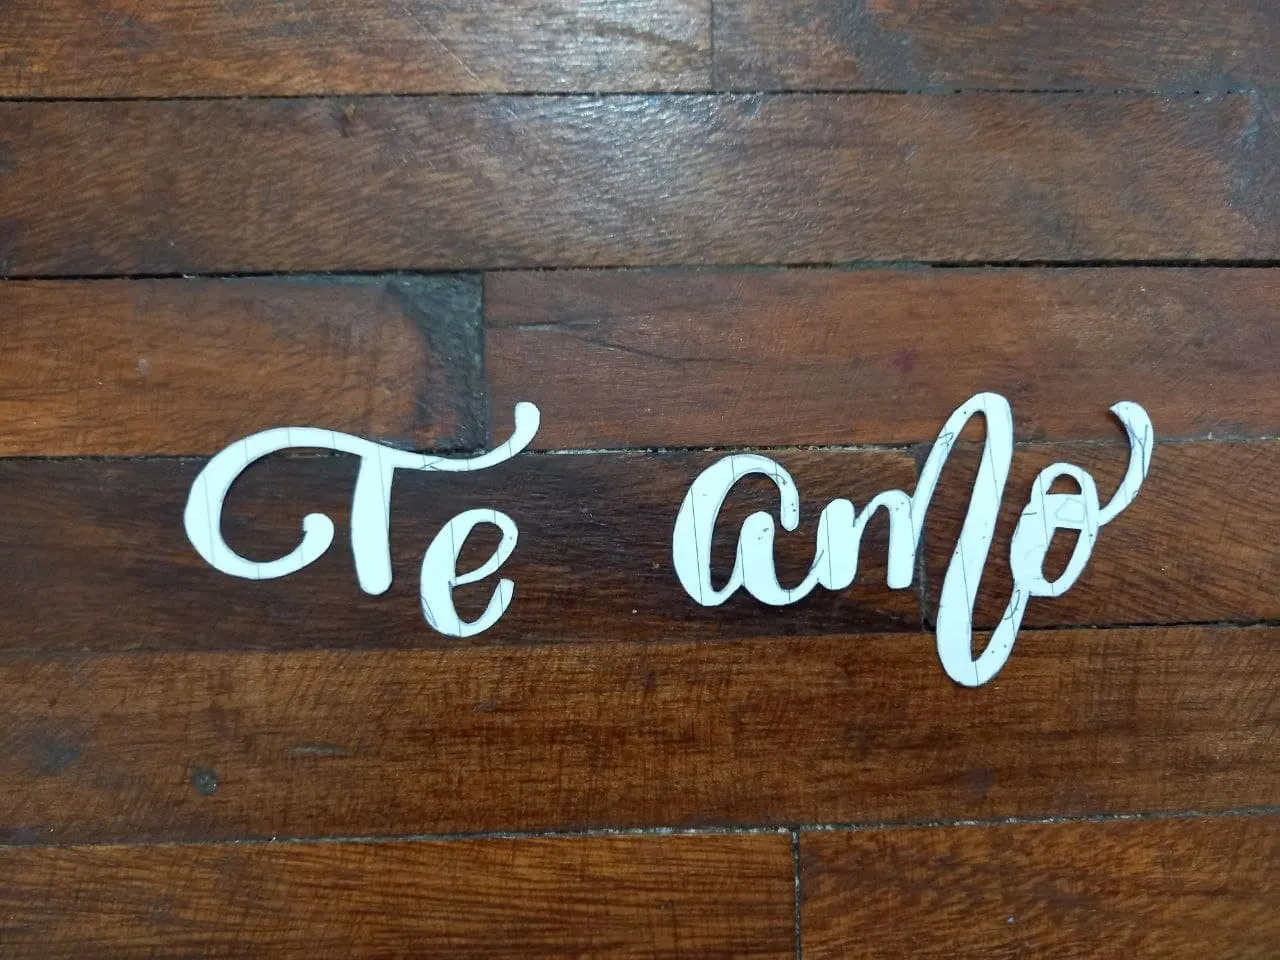
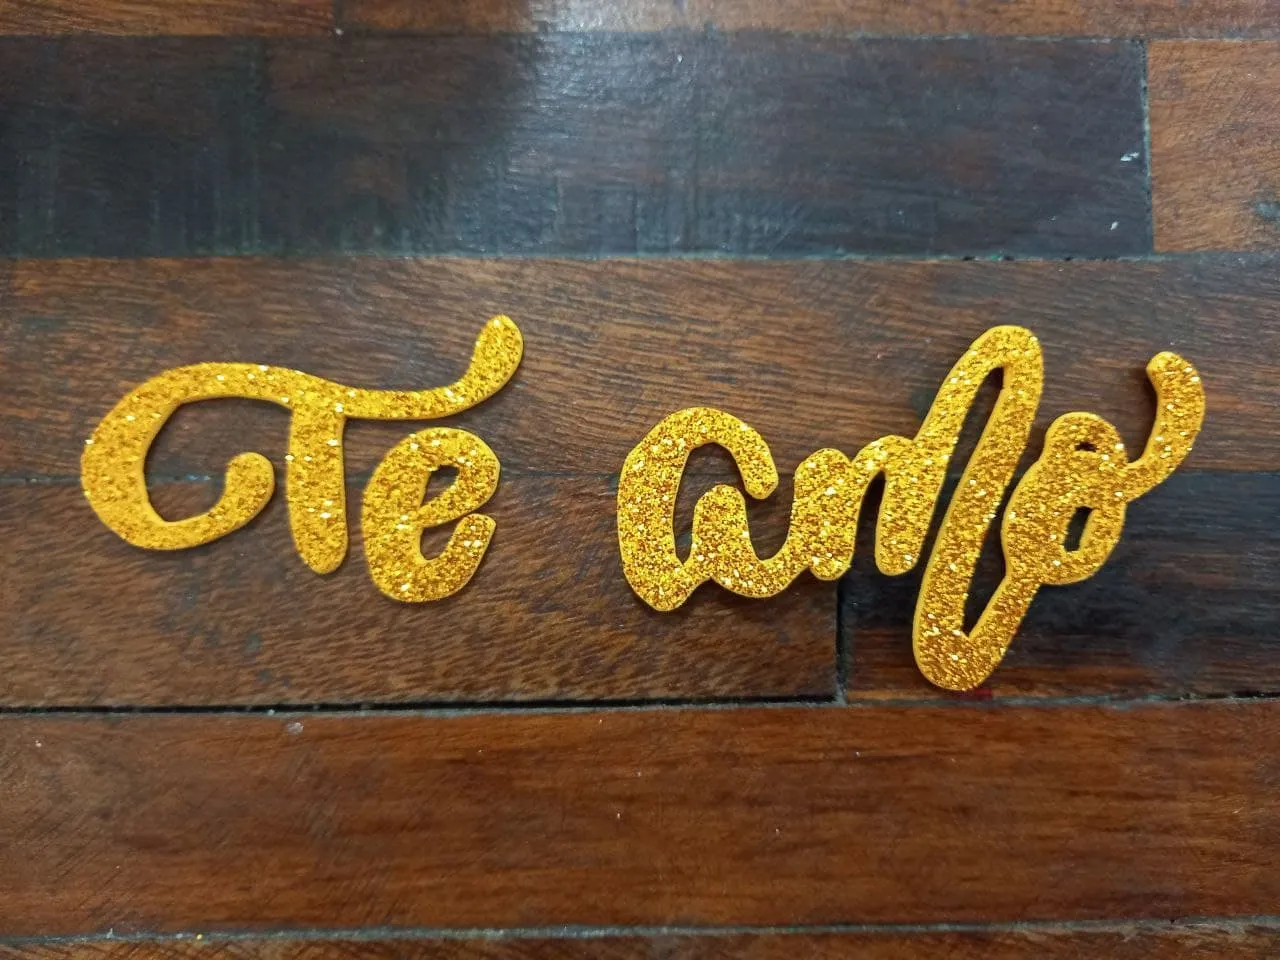
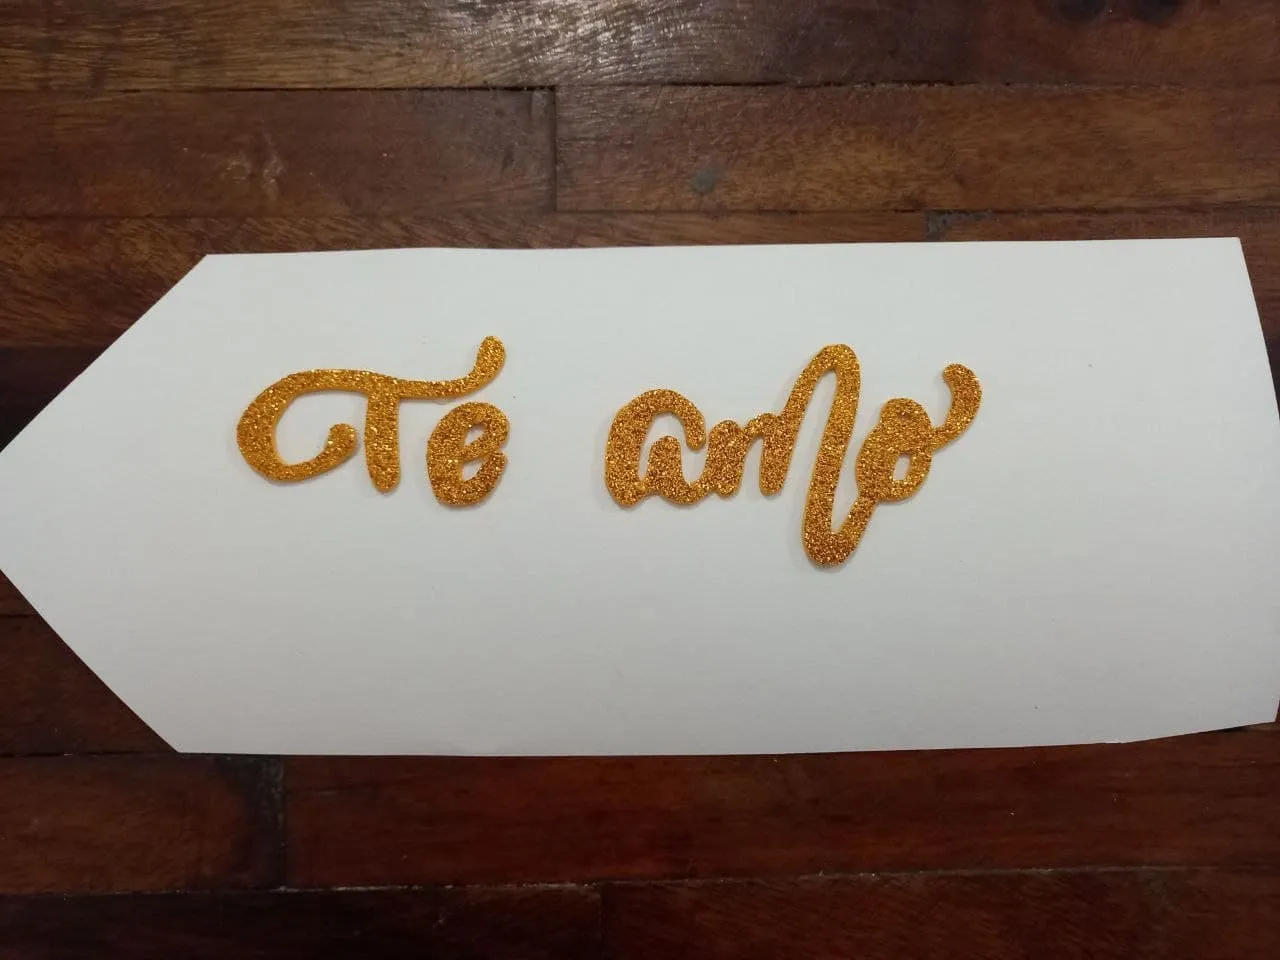
❤ PASO 1. En la hoja de papel hacemos la frase “Te Amo” con la fuente de letra que más nos guste y la pasamos al foami escarchado dorado, luego recortamos.
❤ STEP 1. On the sheet of paper we make the phrase “I love you” with the font that we like the most and we pass it to the gold frosted foami, then we cut it out.
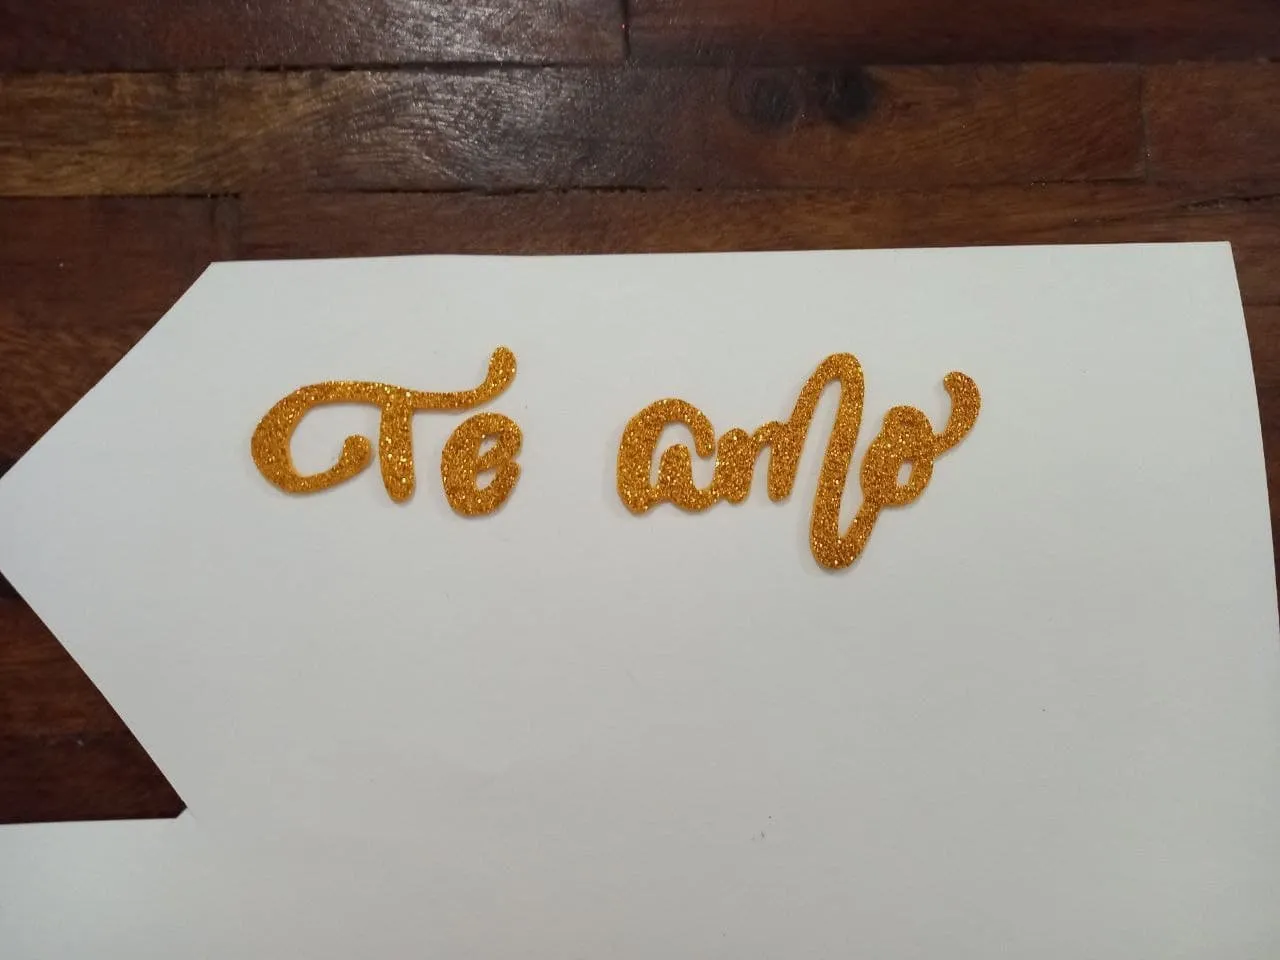
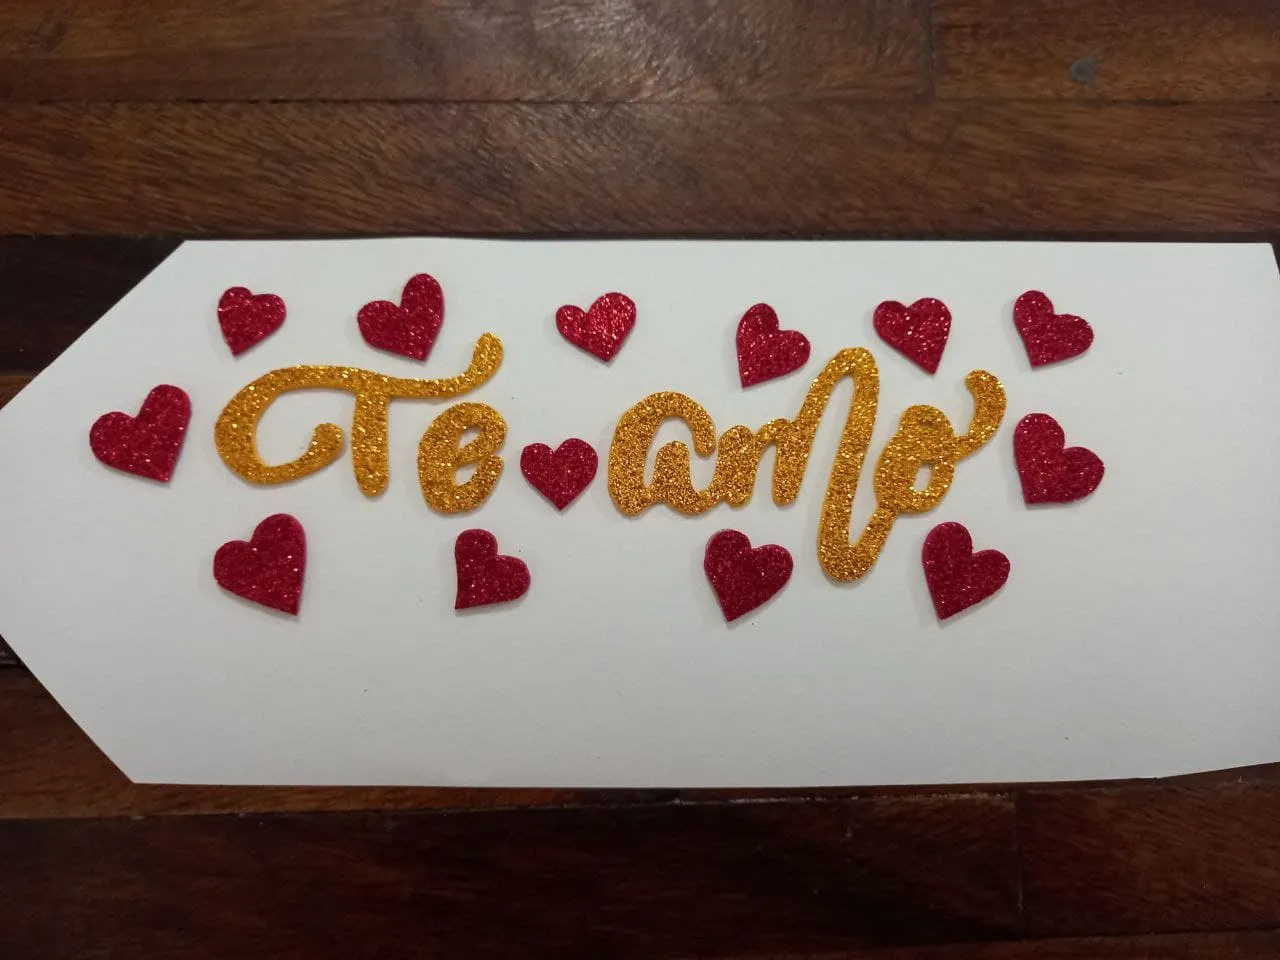
❤ PASO 2. Recortamos una pieza de cartulina blanca y pegamos sobre ella la frase.
❤ STEP 2. We cut out a piece of white cardboard and paste the phrase on it.
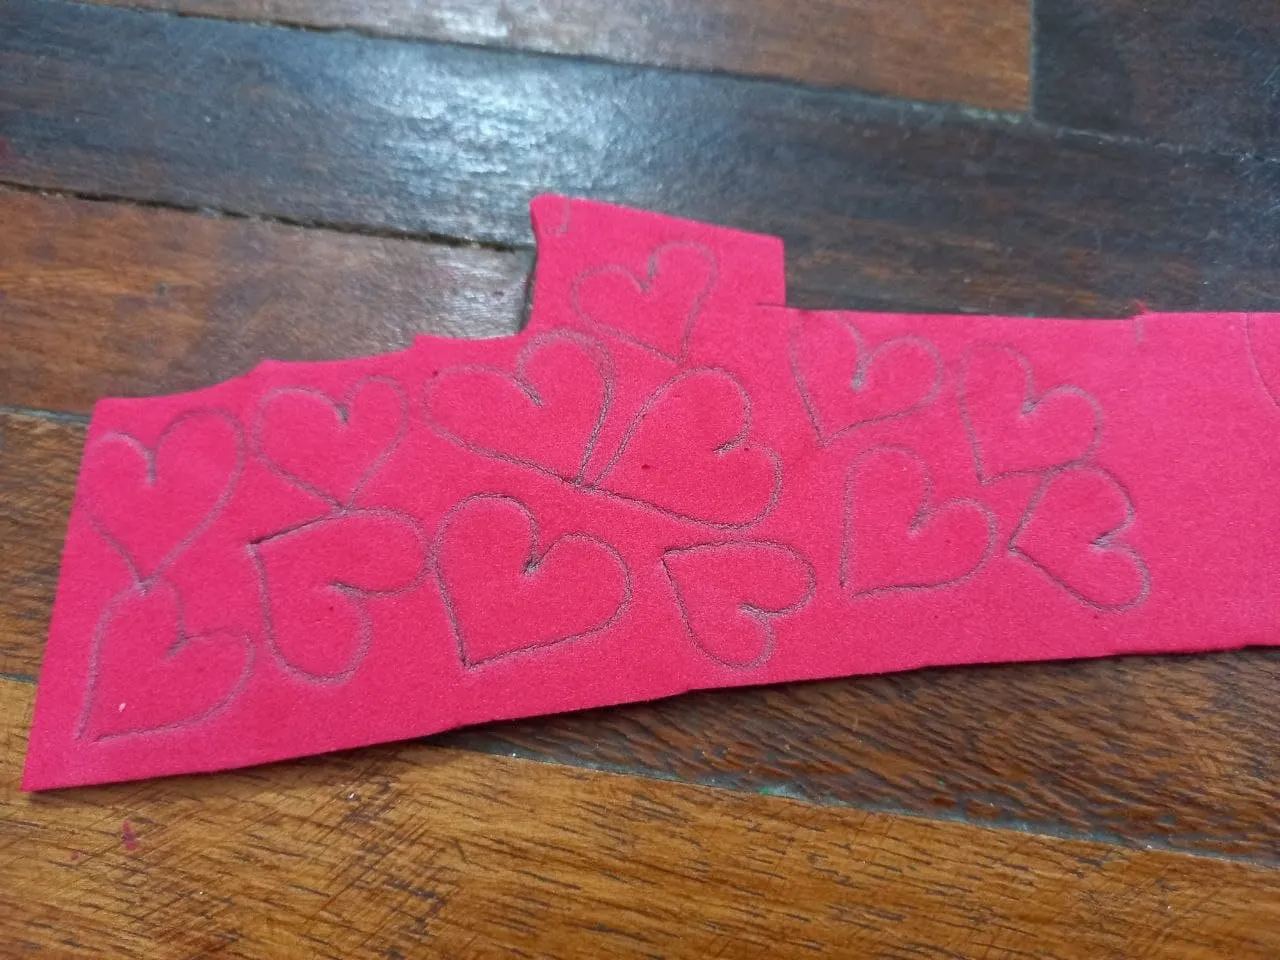
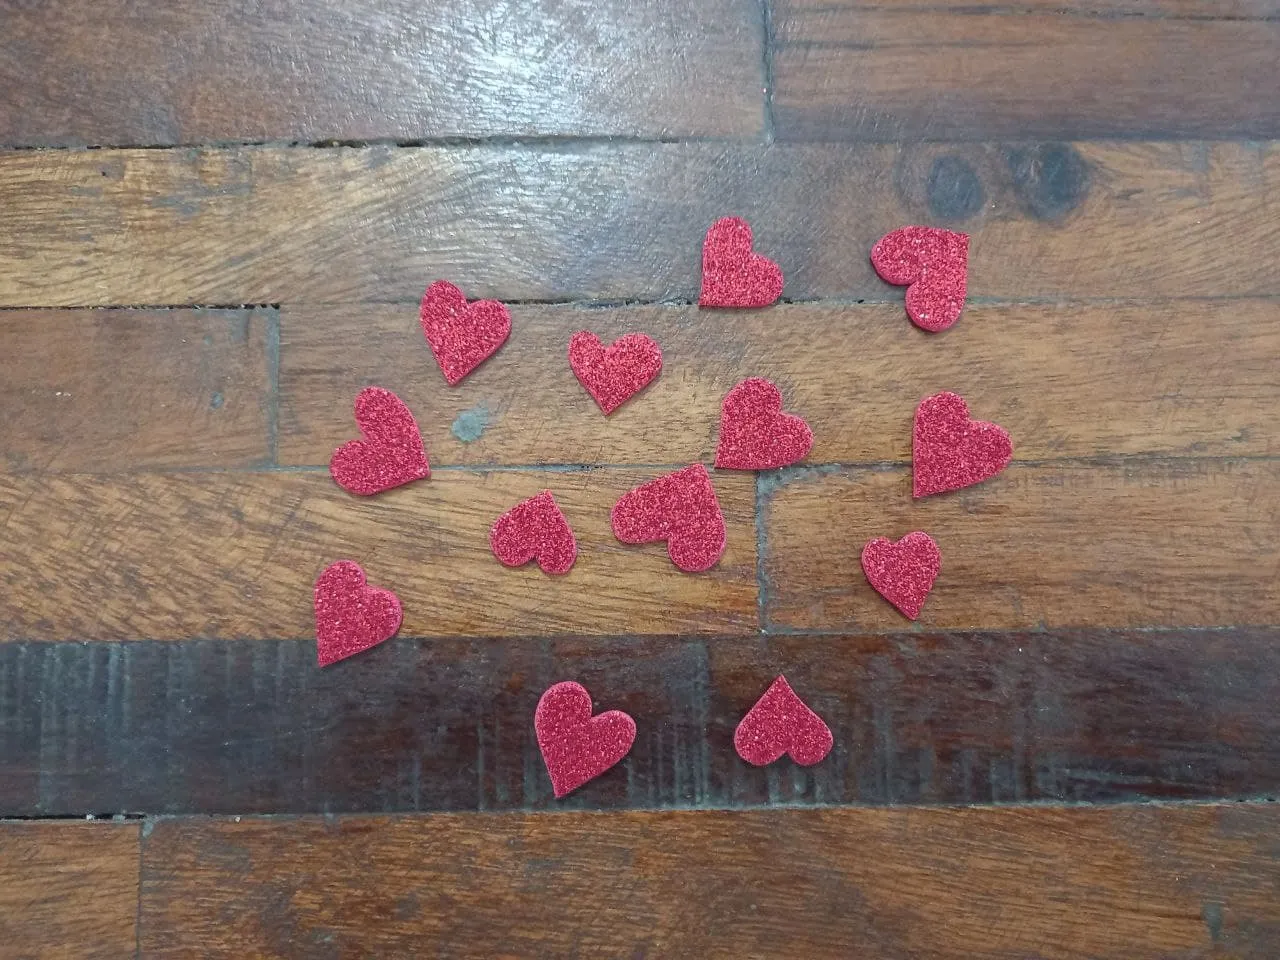
❤ PASO 3. Hacemos varios corazones pequeños en el foami rojo escarchado y recortamos, luego pegamos uno a cada extremo de la frase y el resto alrededor de ella.
❤ STEP 3. We make several small hearts in the frosty red foami and cut them out, then glue one to each end of the phrase and the rest around it.
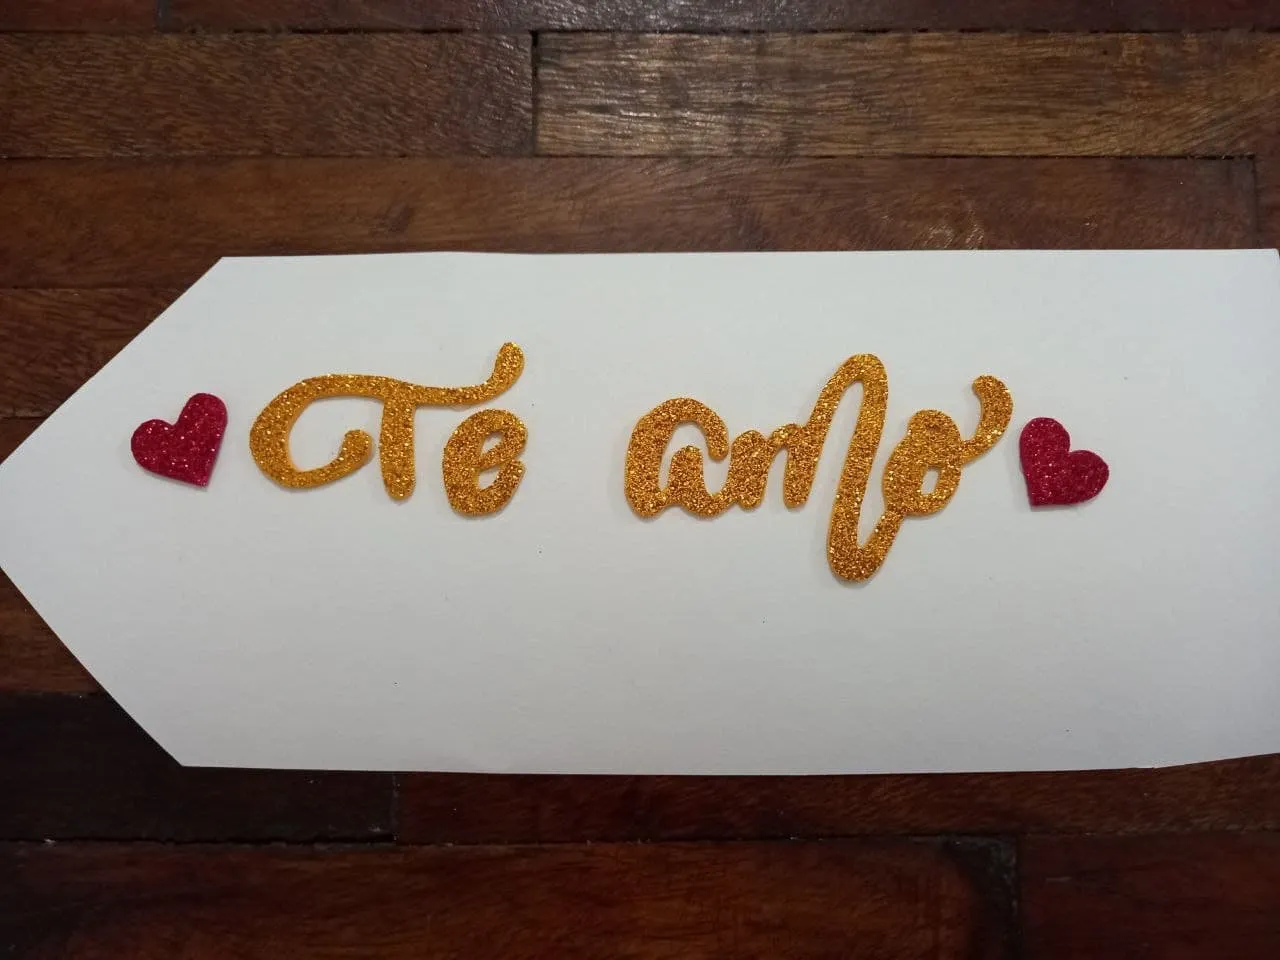
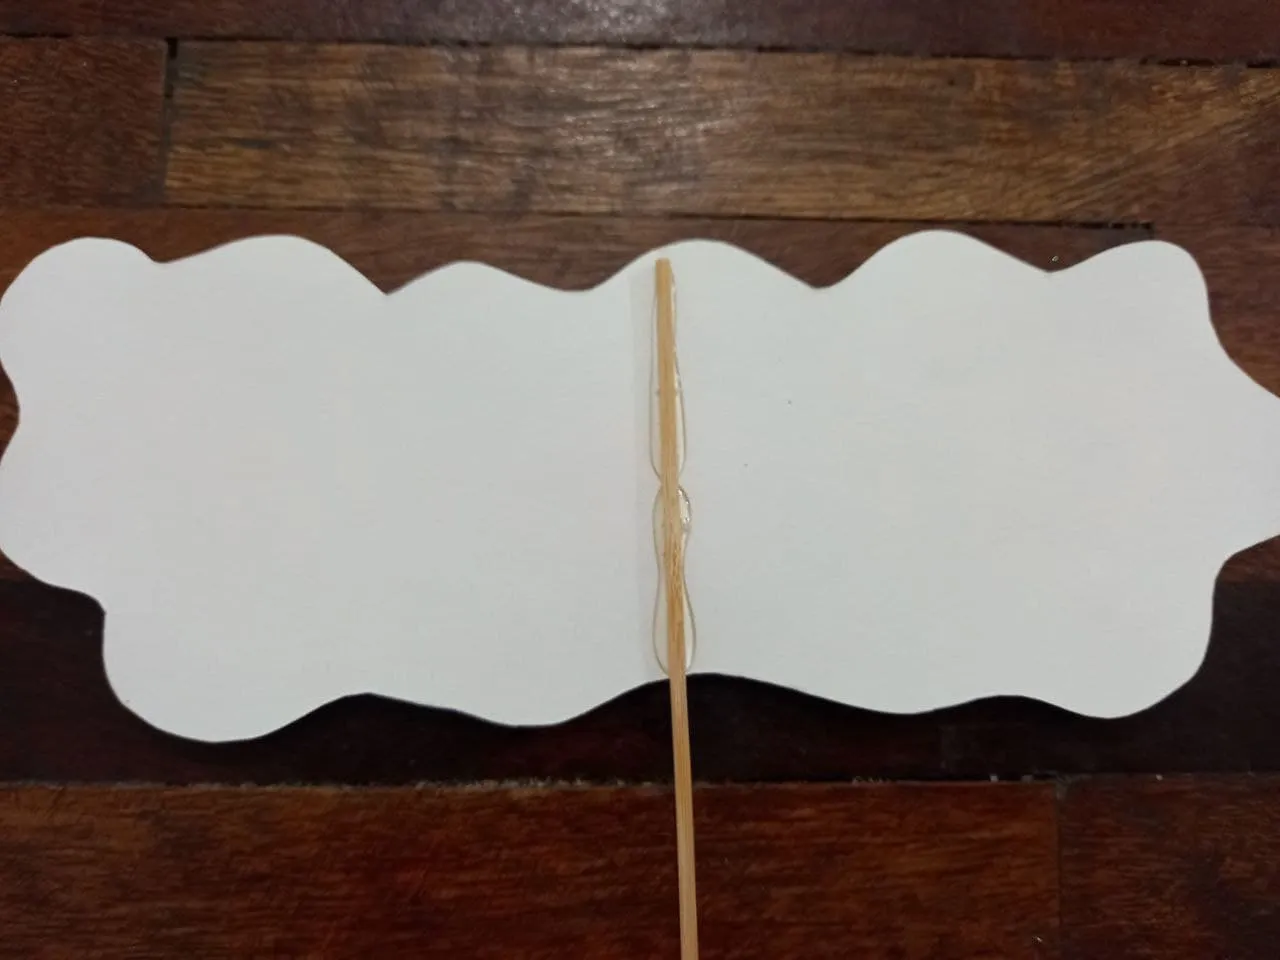
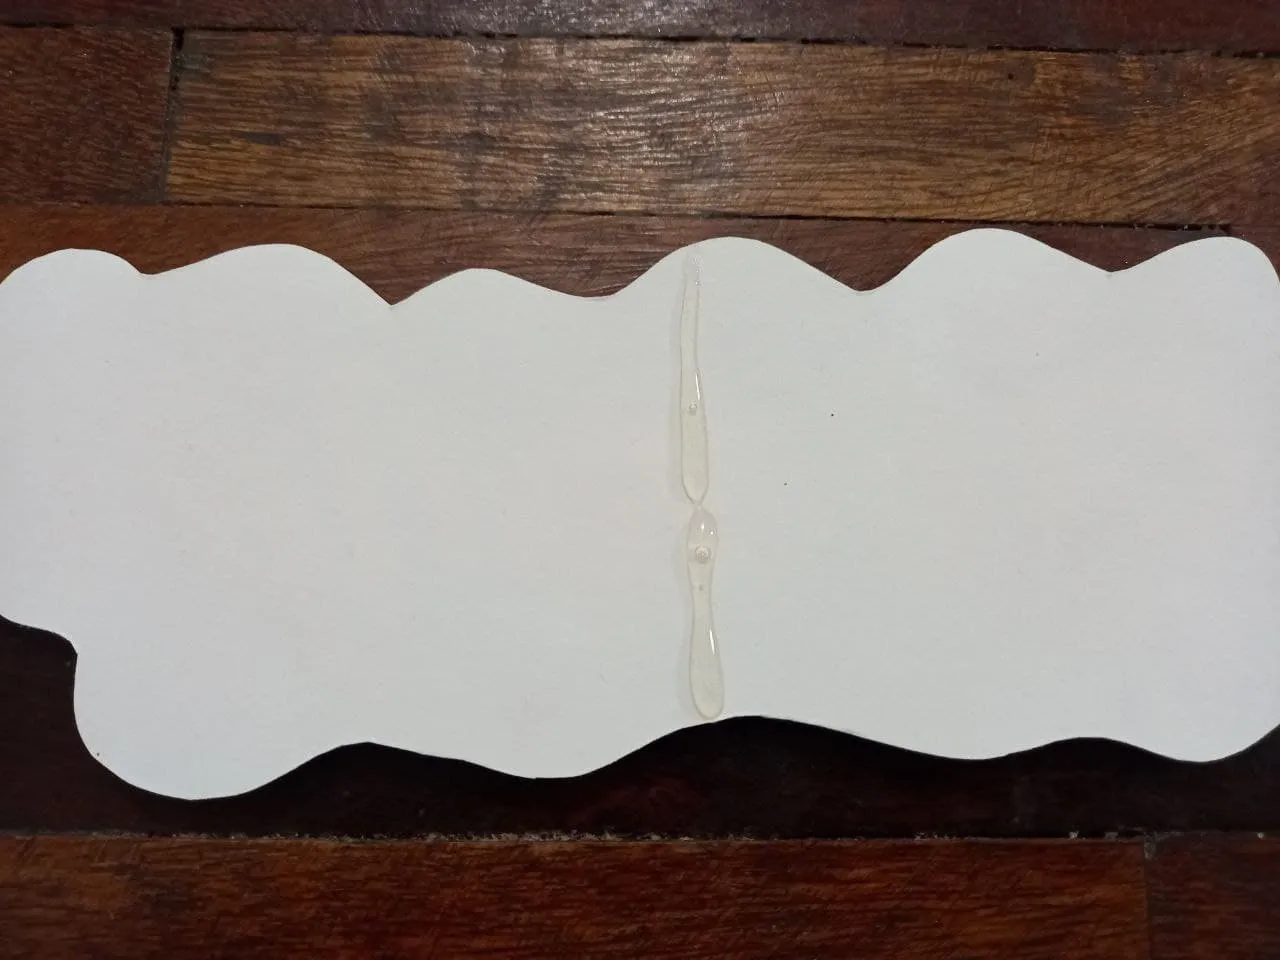
❤ PASO 4. Recortamos el exceso de la cartulina alrededor de la frase y los corazones y en su parte trasera justo en el centro pegamos el palito de altura.
❤ STEP 4. We cut off the excess cardboard around the phrase and the hearts and on the back, right in the center, we glue the height stick.
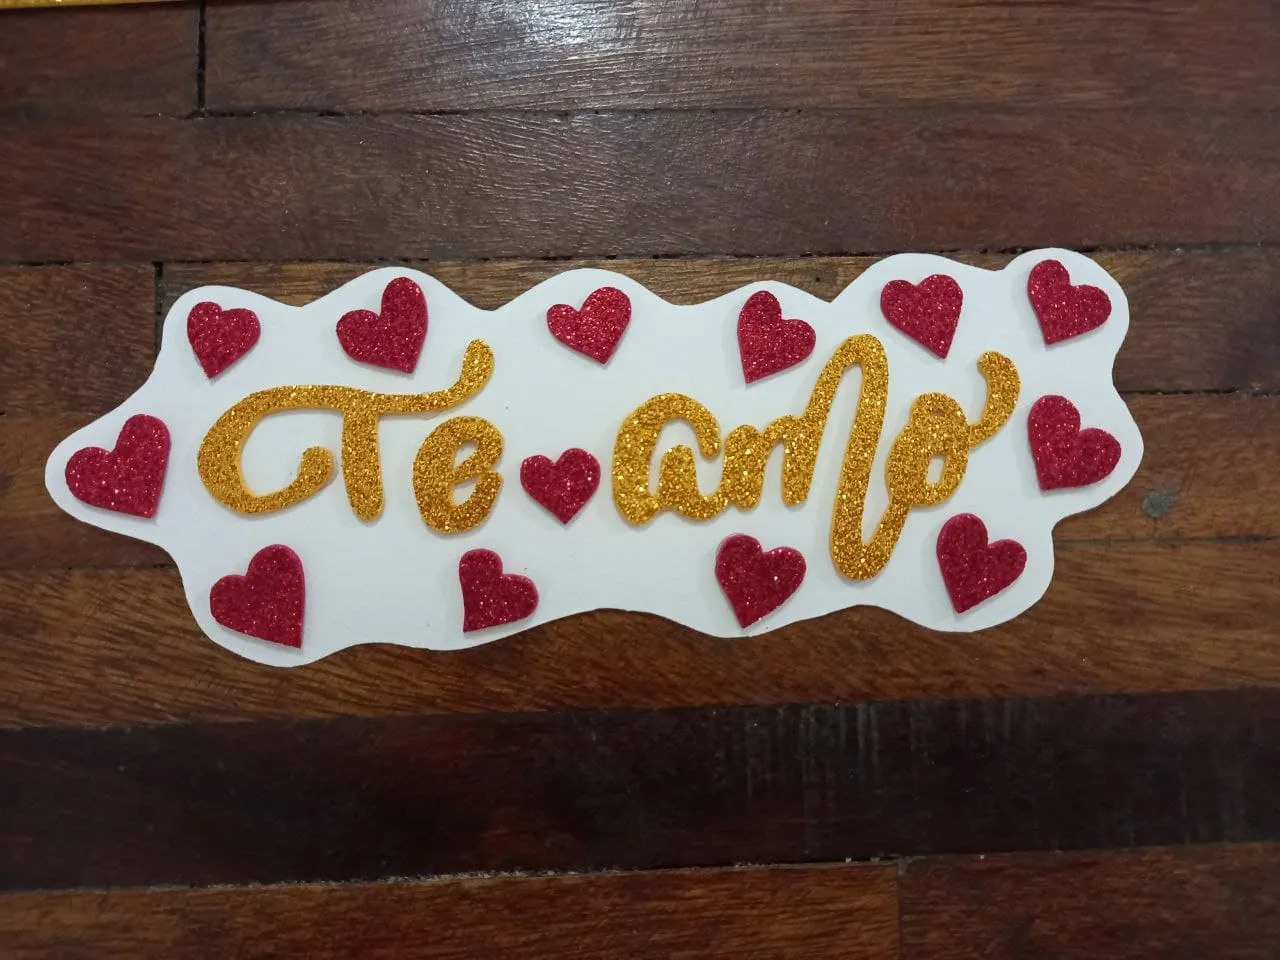
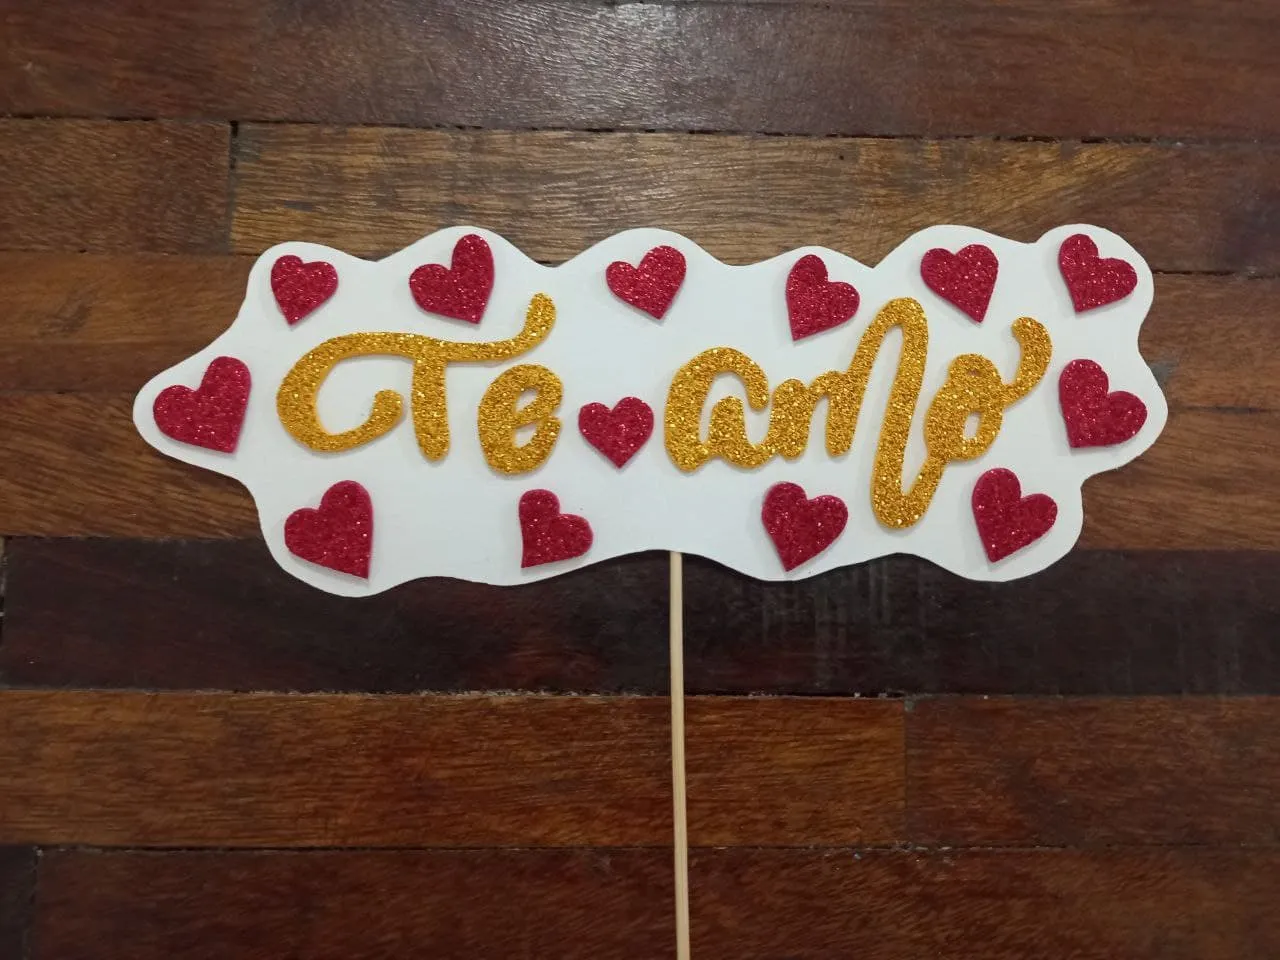
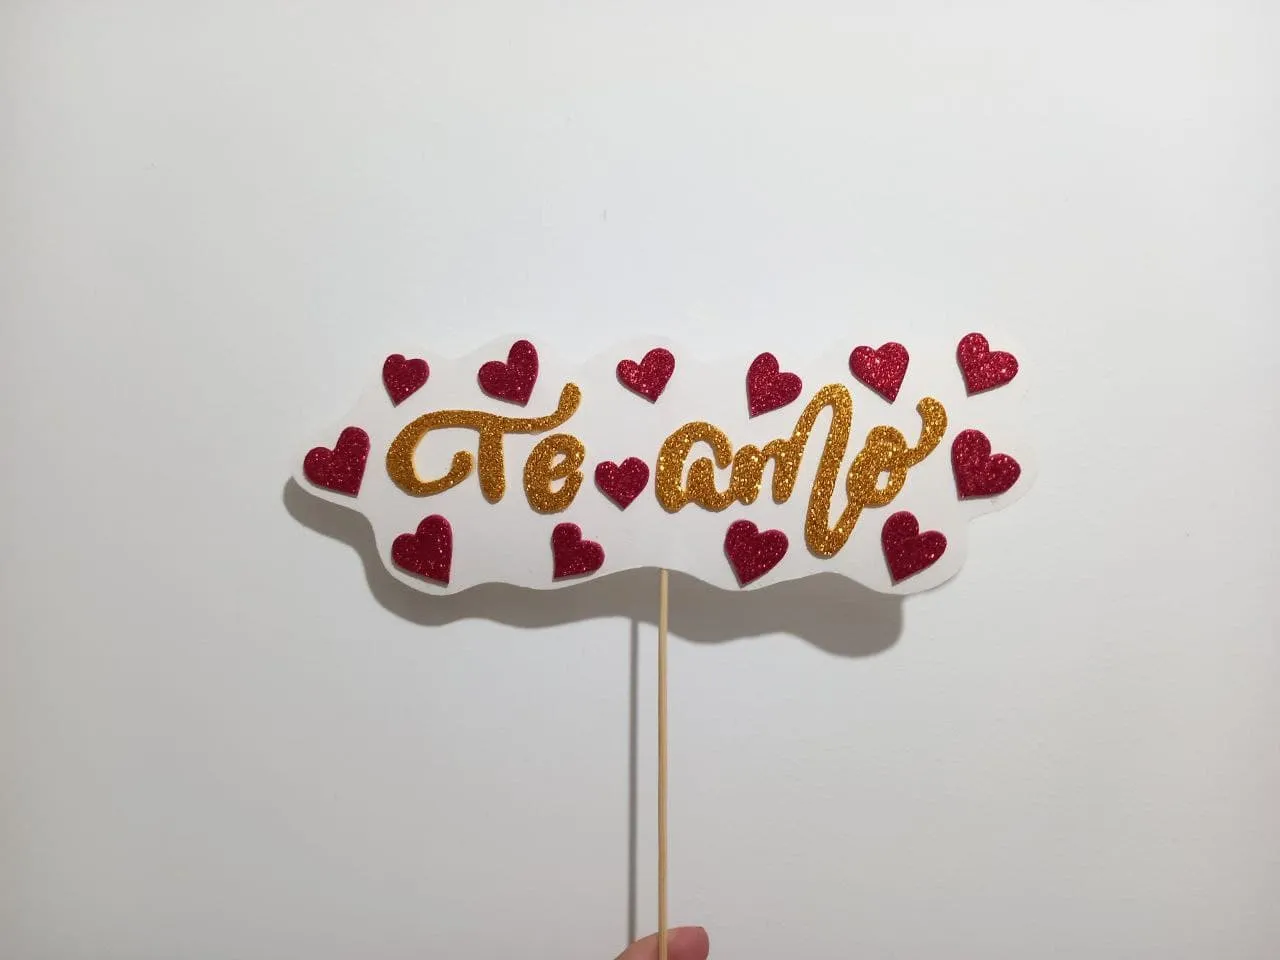
¡Y listo! De esta forma tan sencilla ya tenemos un hermoso topper para San Valentín, podemos cambiar la frase por “Te quiero”, “Feliz Día” o la que más nos guste o con el mensaje que queramos transmitir, es un complemento perfecto para cualquier obsequio, es ideal para arreglos de globos y dulces o para tortas, de la forma que sea hará lucir aún más lindo el obsequio de esa persona especial, espero que les haya gustado este tutorial, nos vemos en el siguiente con una nueva idea.
¡And ready! In this simple way we already have a beautiful topper for Valentine's Day, we can change the phrase for "I love you", "Happy Day" or the one we like the most or with the message we want to convey, it is a perfect complement for any gift, It is ideal for arrangements of balloons and sweets or for cakes, in any way it will make the gift of that special person look even more beautiful, I hope you liked this tutorial, see you in the next one with a new idea.
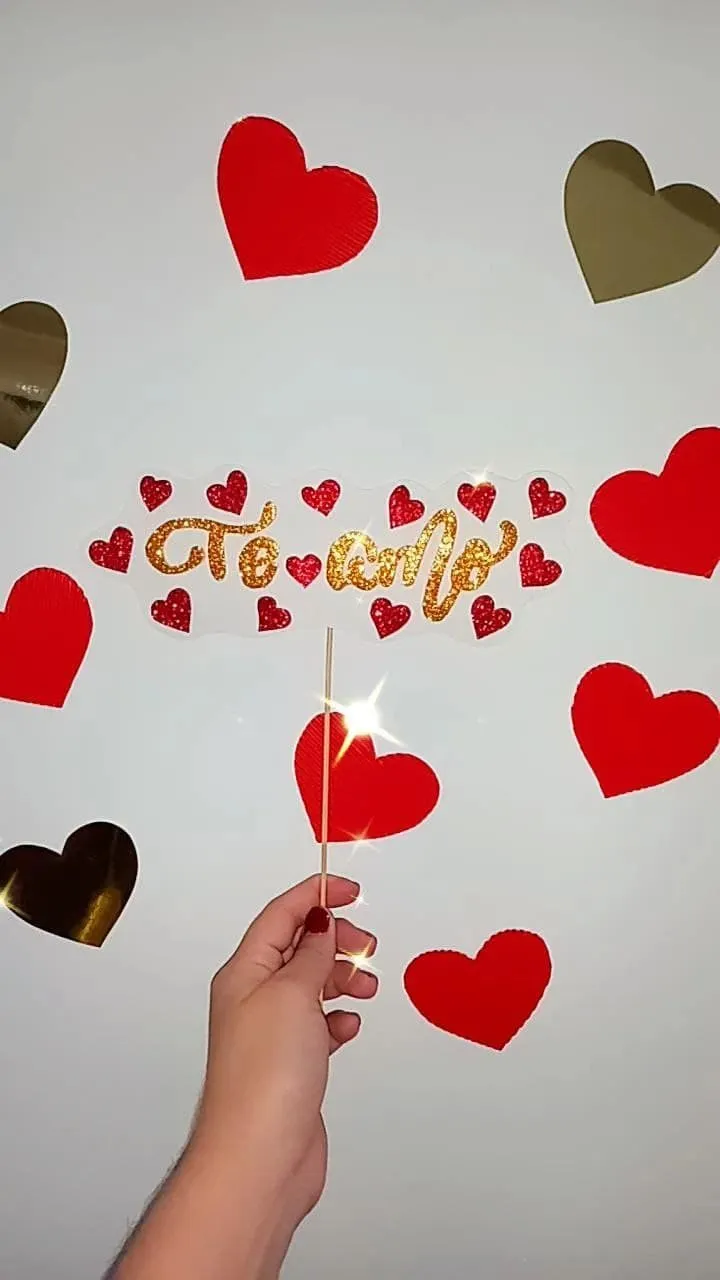
Resultado❤ | Result ❤


Todas las fotografías son de mi propiedad.
Fotografías capturadas con mi Samsung Galaxy A12
Nos vemos en mi próxima publicación.
¡Tengan un feliz día!
All photographs are my property.
Photos captured with my Samsung Galaxy A12
See you in my next post.
¡Have a happy day!