¡Saludos Comunidad Creativa! | ¡Greetings Creative Community!
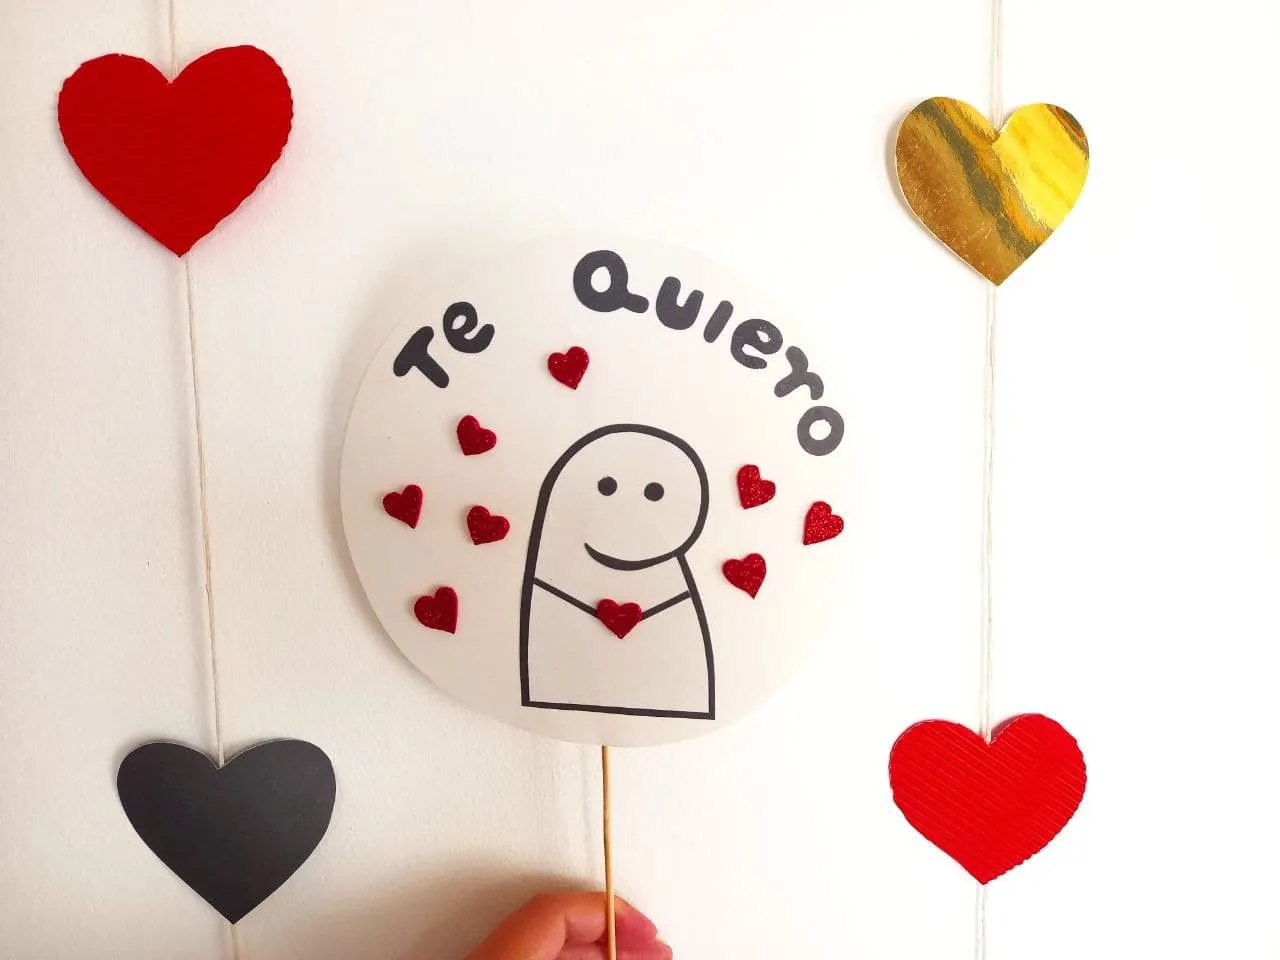
¡Feliz miércoles para todos! Ya pasó San Valentín pero cualquier otro día es ideal para obsequiar un lindo detalle y es por eso que el día de hoy les quiero compartir la elaboración de un lindo topper con motivo de "deformitos" una temática que se ha vuelto tendencia en pasteles tambien conocidos como "ugly cake" o "meme cake" y pero yo se los traigo en forma de topper, así que espero que les guste.
¡Happy Wednesday to everyone! Valentine's Day is over but any other day is ideal to give a nice gift and that is why today I want to share with you the elaboration of a nice topper on the occasion of "deformitos" a theme that has become a trend in well-known cakes like "ugly cake" or "meme cake" and but I bring them to you as a topper, so I hope you like it.

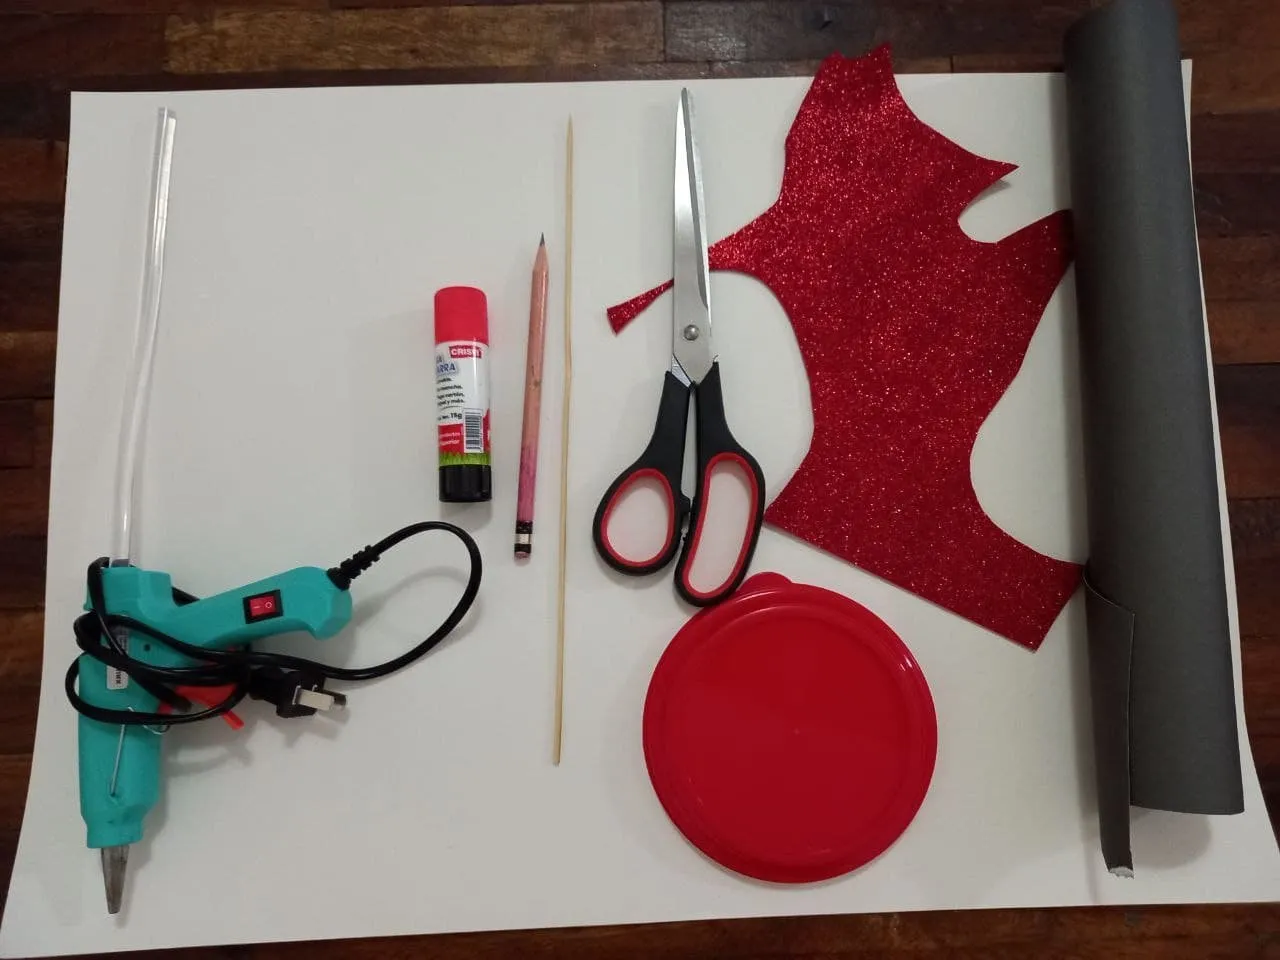
Materiales | Materials
❥ Cartulina escolar blanca y negra.
❥ Foami escarchado rojo.
❥ Lápiz.
❥ Silicón caliente.
❥ Pega en barra.
❥ Palito de altura.
❥ Tijera.
❥ Hoja de papel.
❥ Objeto circular.
❥ Black and white school cardboard.
❥ Red frosted foami.
❥ Pencil.
❥ Hot silicone.
❥ Paste in bar.
❥ Height stick.
❥ Scissor.
❥ Sheet of paper.
❥ Circular object
Procedimiento ✂ | Process ✂
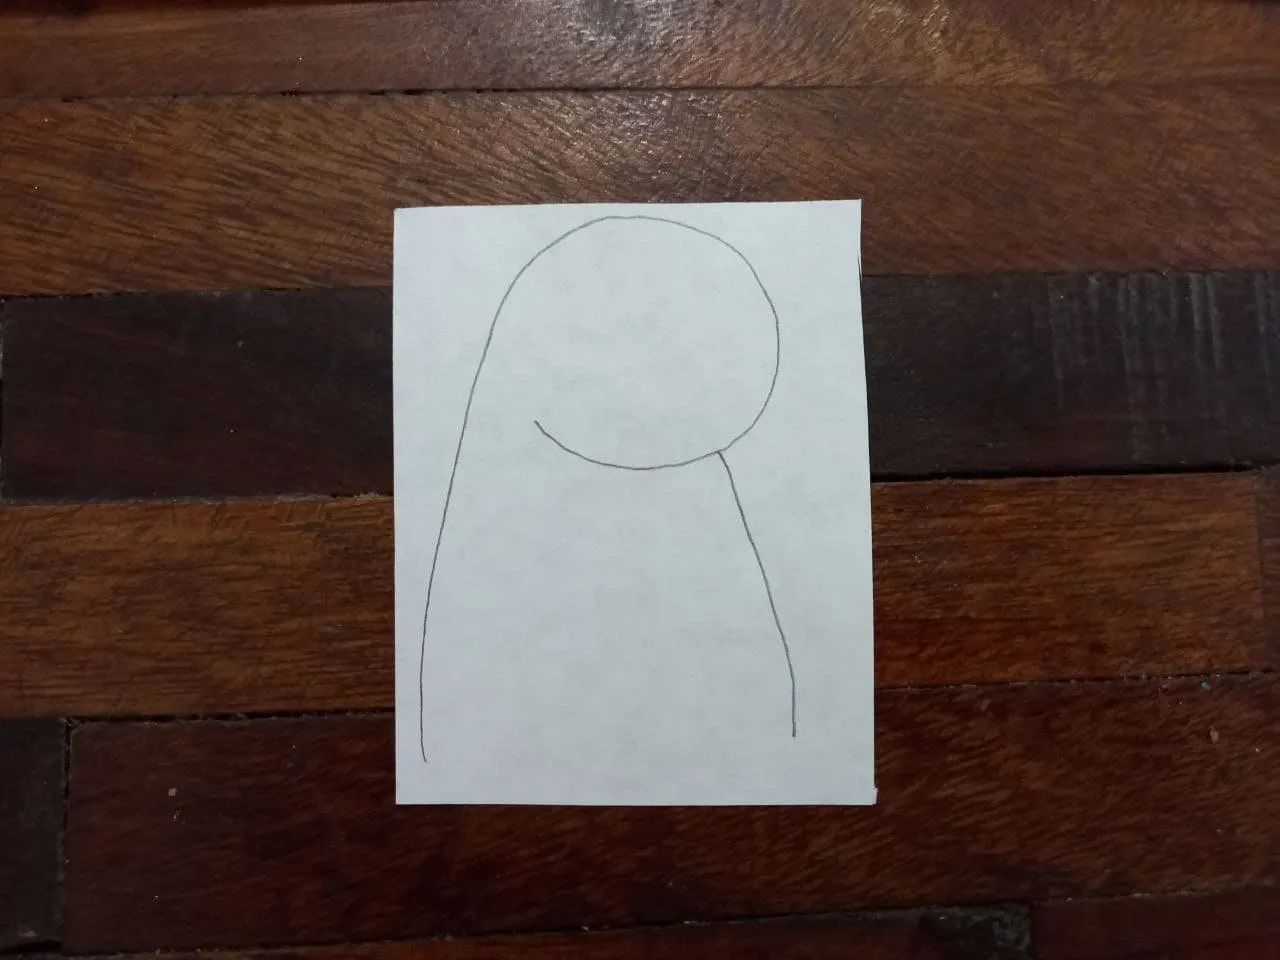
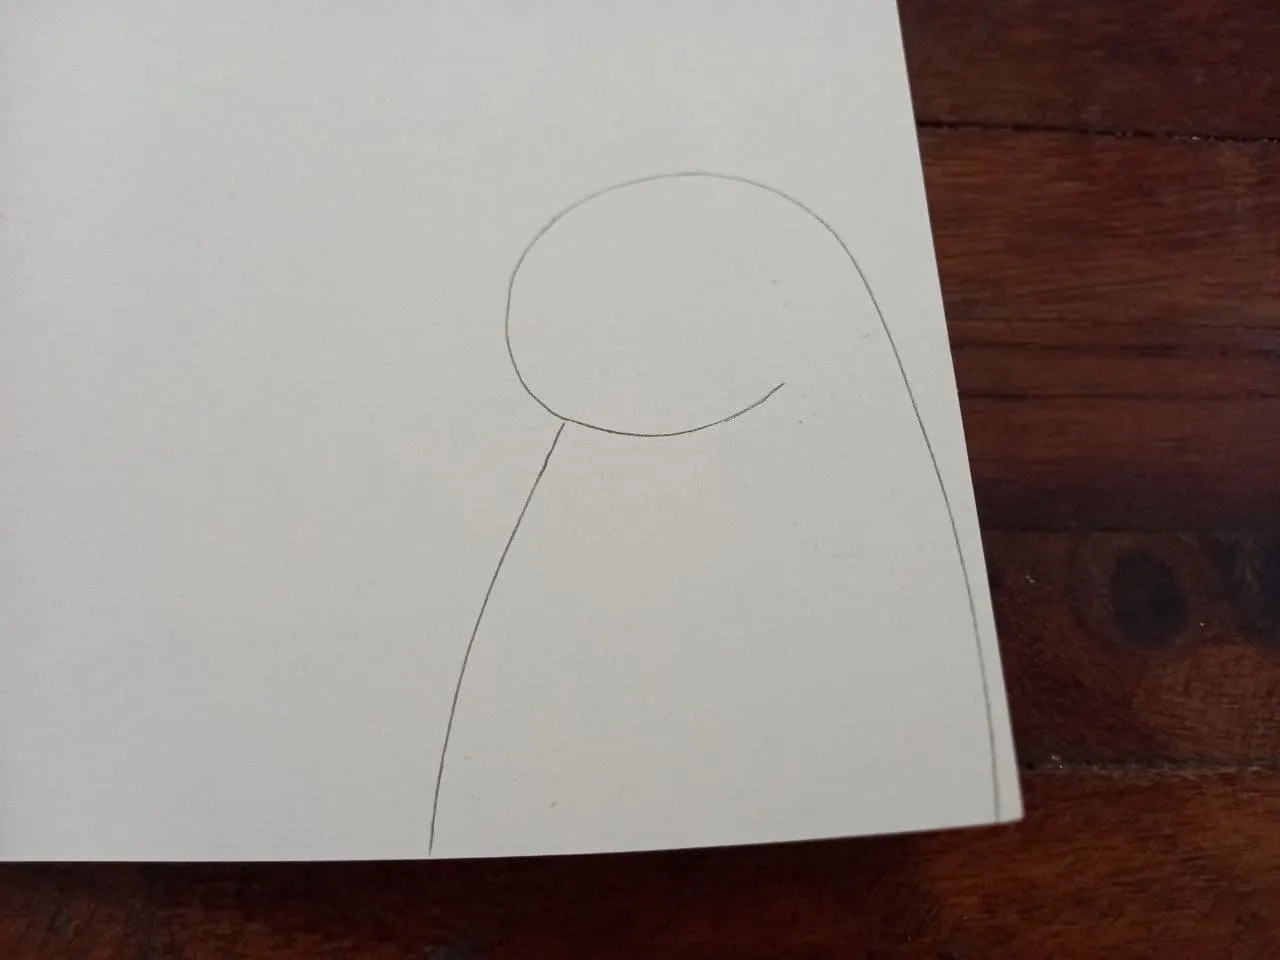
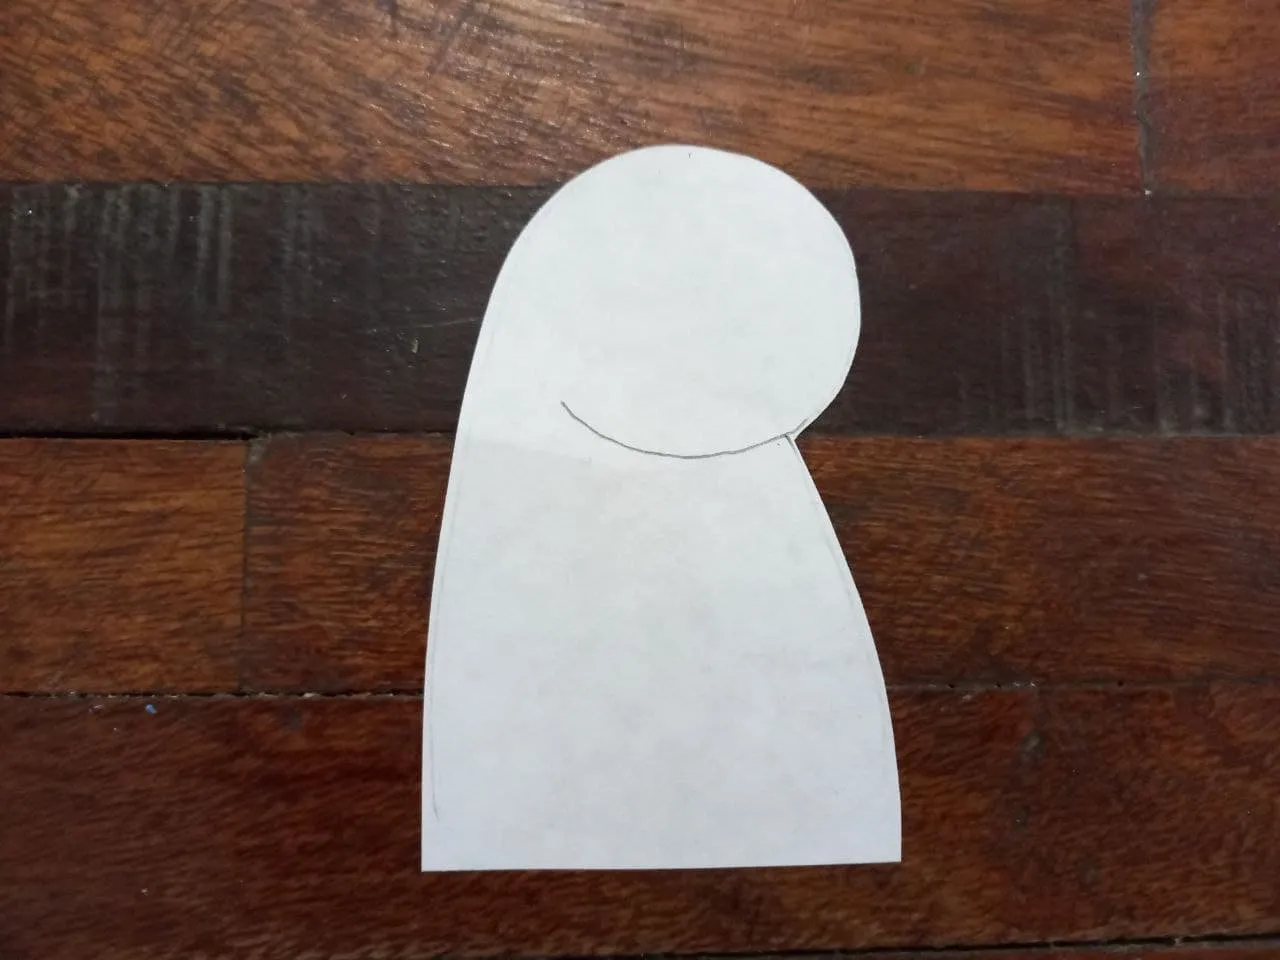
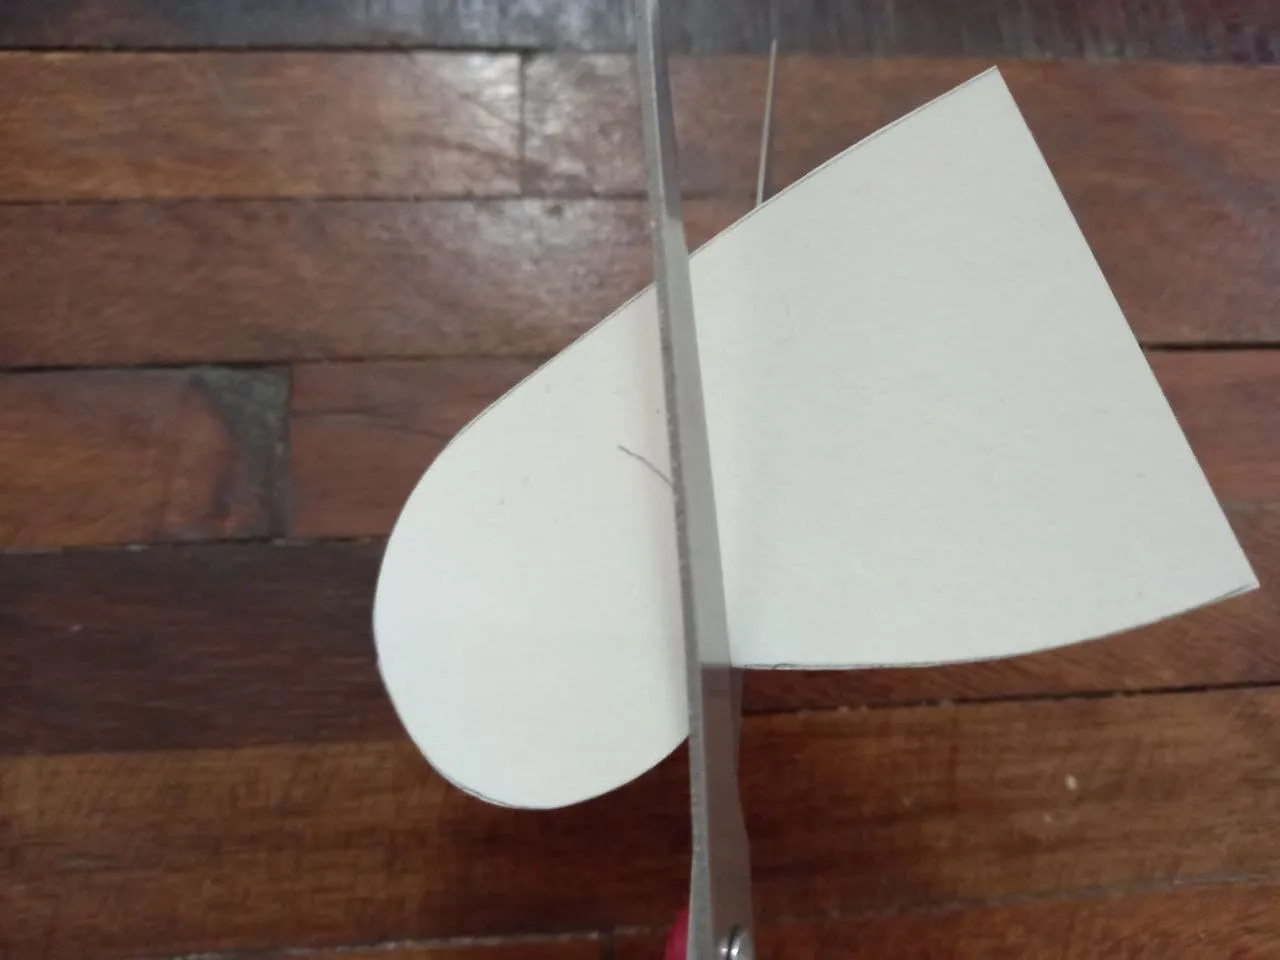
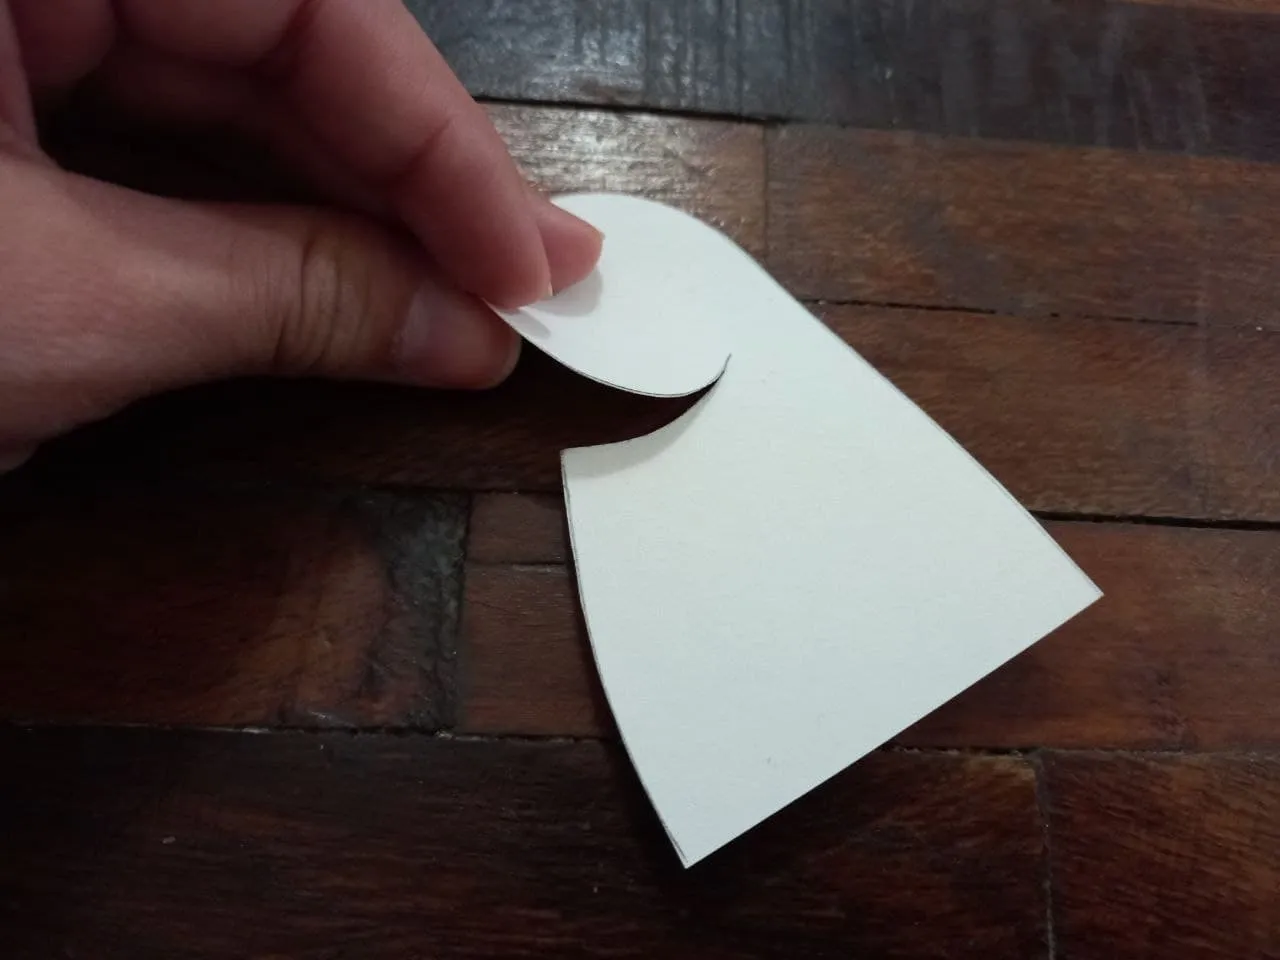
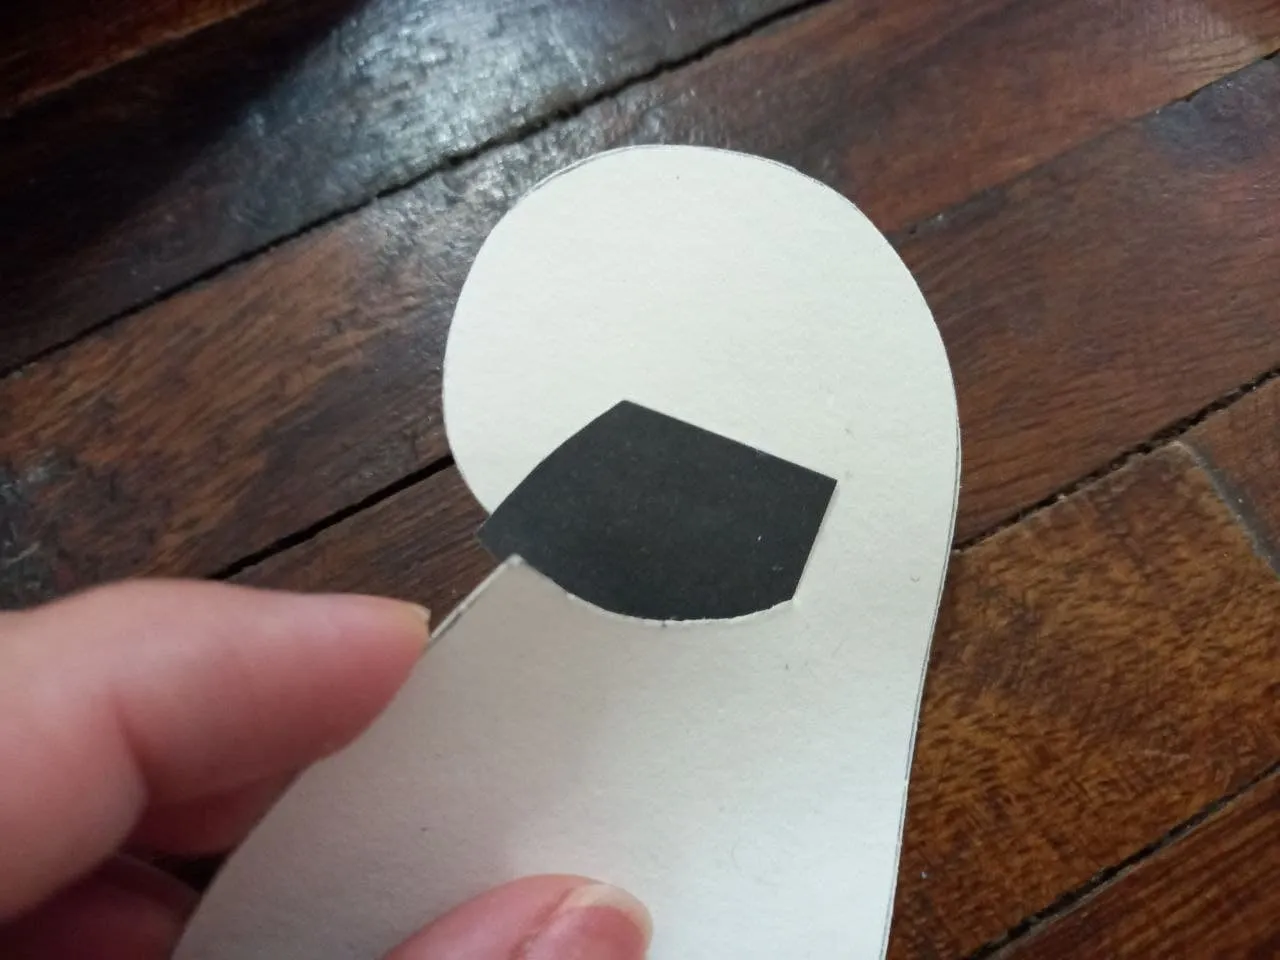
❥ PASO 1. En la hoja de papel dibujamos la silueta de nuestro deformito con la forma que más nos guste, luego recortamos y pasamos a la cartulina blanca, recortamos y hacemos un pequeño corte en la parte baja de la cabeza pero sin separarla del cuerpo.
❥ STEP 1. On the sheet of paper we draw the silhouette of our deformed child with the shape that we like the most, then we cut it out and pass it to the white cardboard, cut it out and make a small cut in the lower part of the head but without separating it from the body.
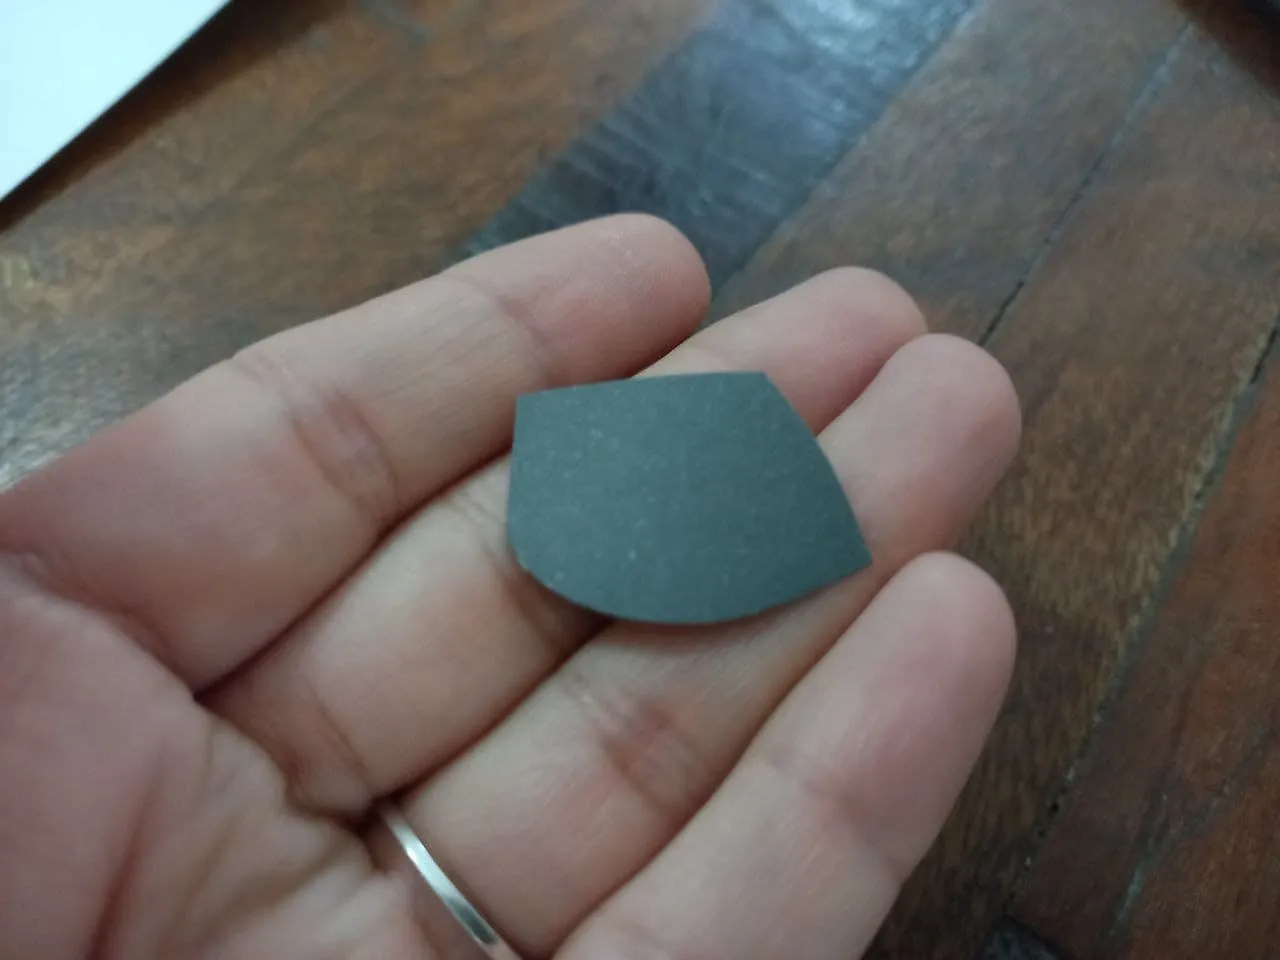
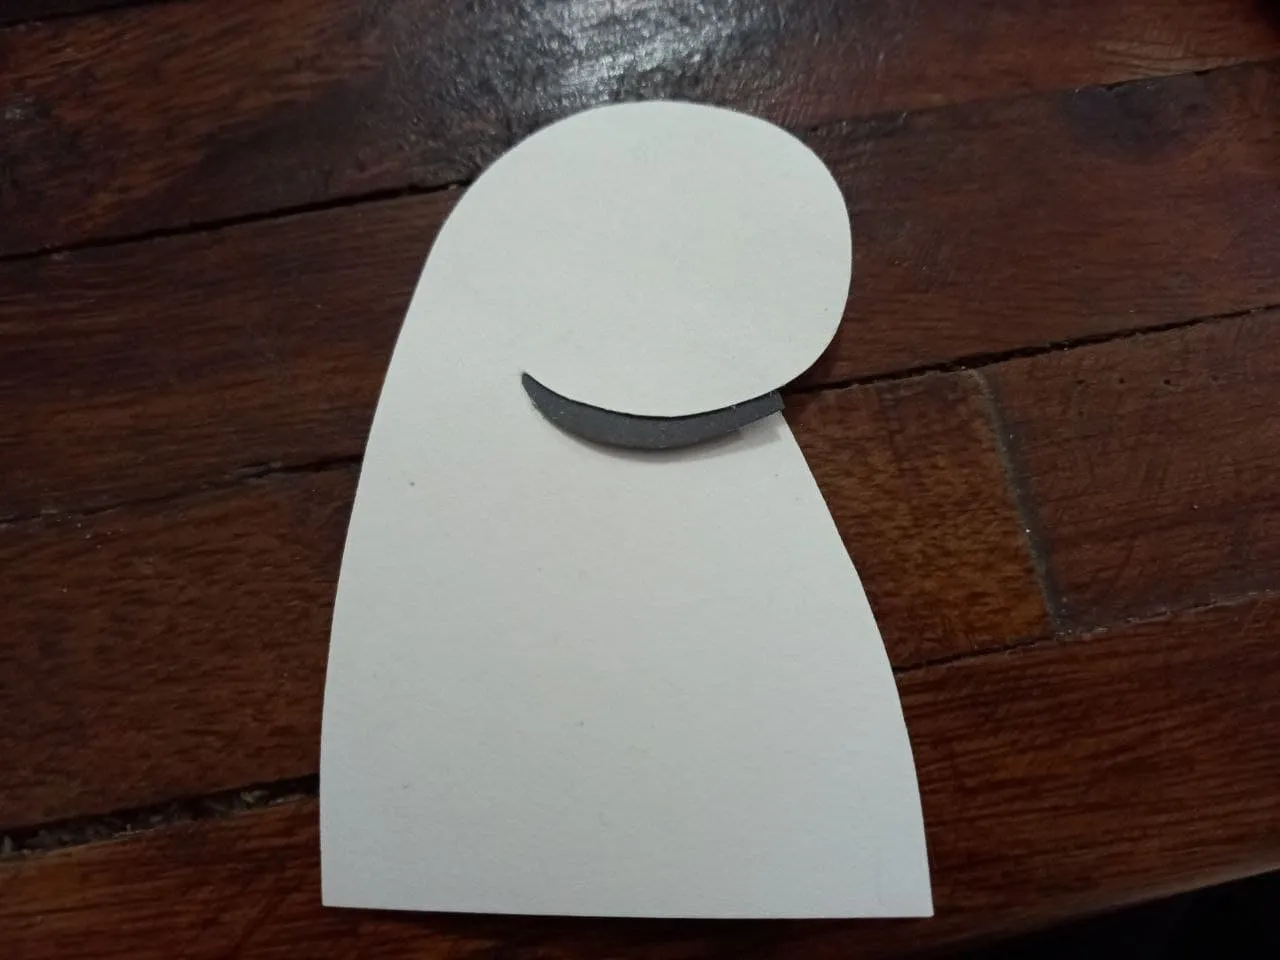
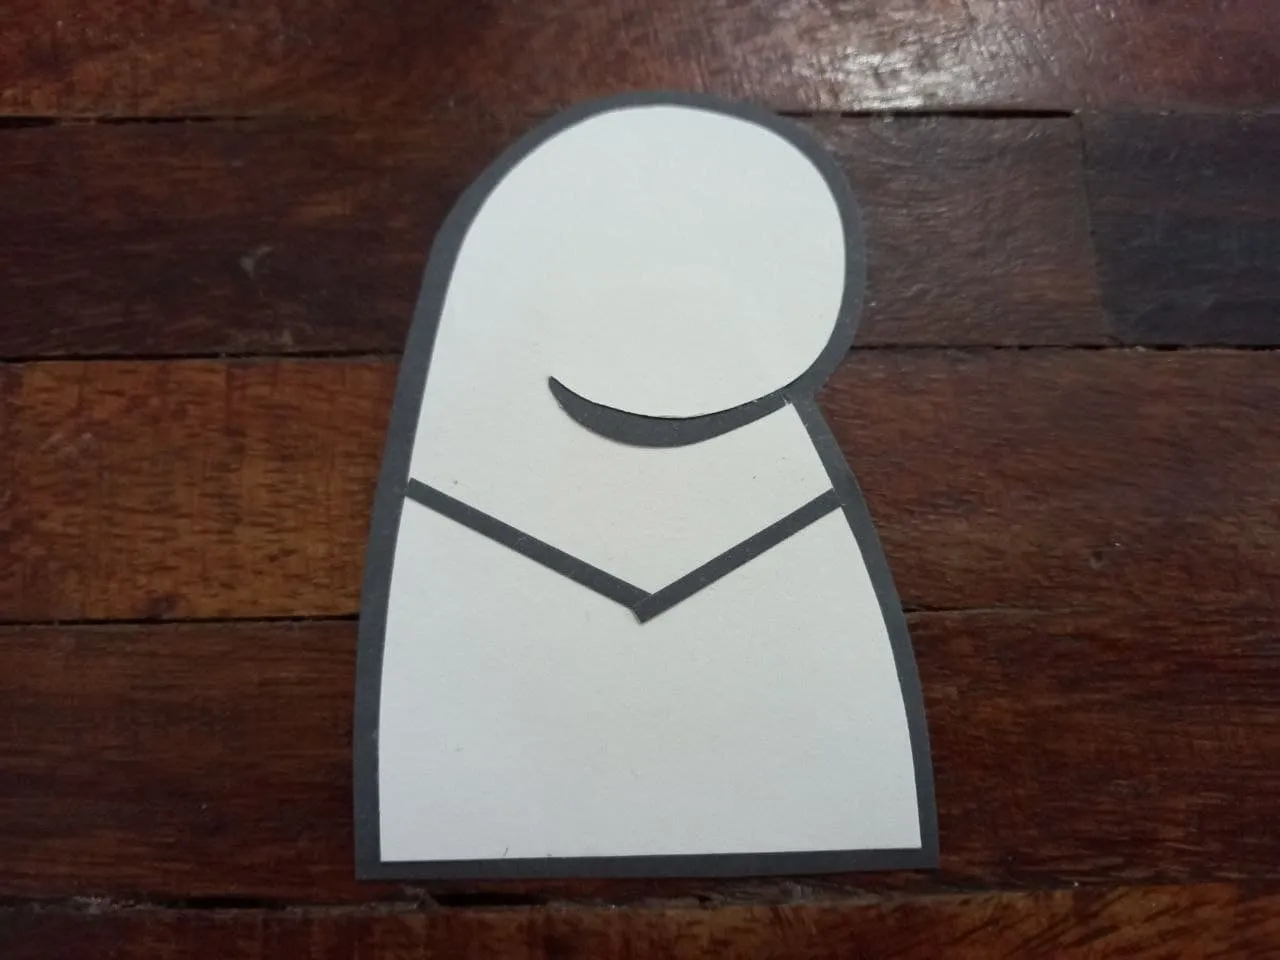
❥ PASO 2. Cortamos una pequeña pieza de cartulina negra y con pega en barra la pegamos en la parte trasera de la cabeza y saliendo el otro extremo por la separación entre la cabeza y el cuerpo, luego recortamos dejando un borde delgado de esta solo en esa parte.
❥ STEP 2. We cut a small piece of black cardboard and stick it to the back of the head with a stick glue and the other end comes out through the separation between the head and the body, then we cut it leaving a thin edge of this only in that part.
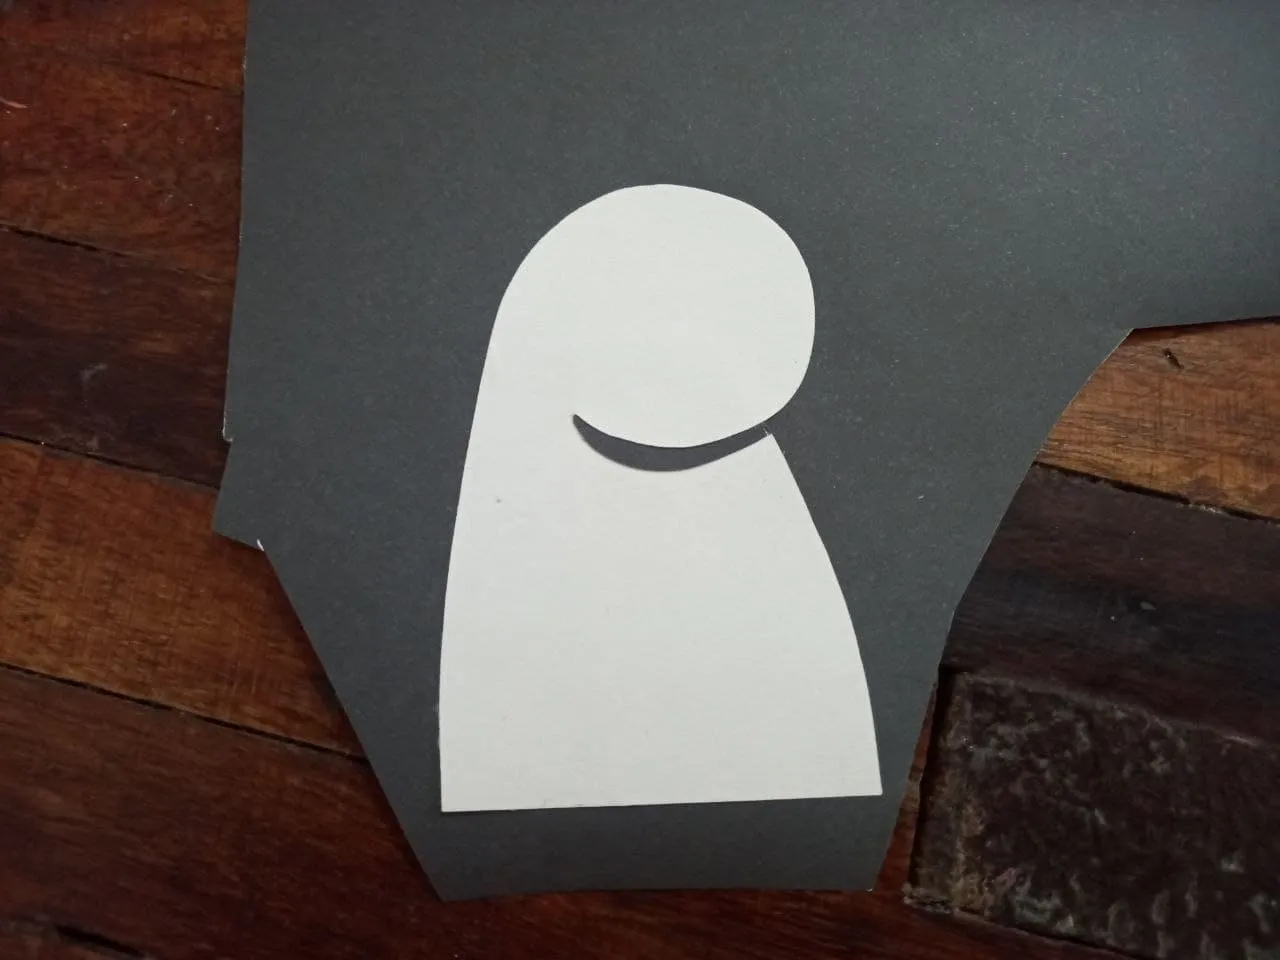
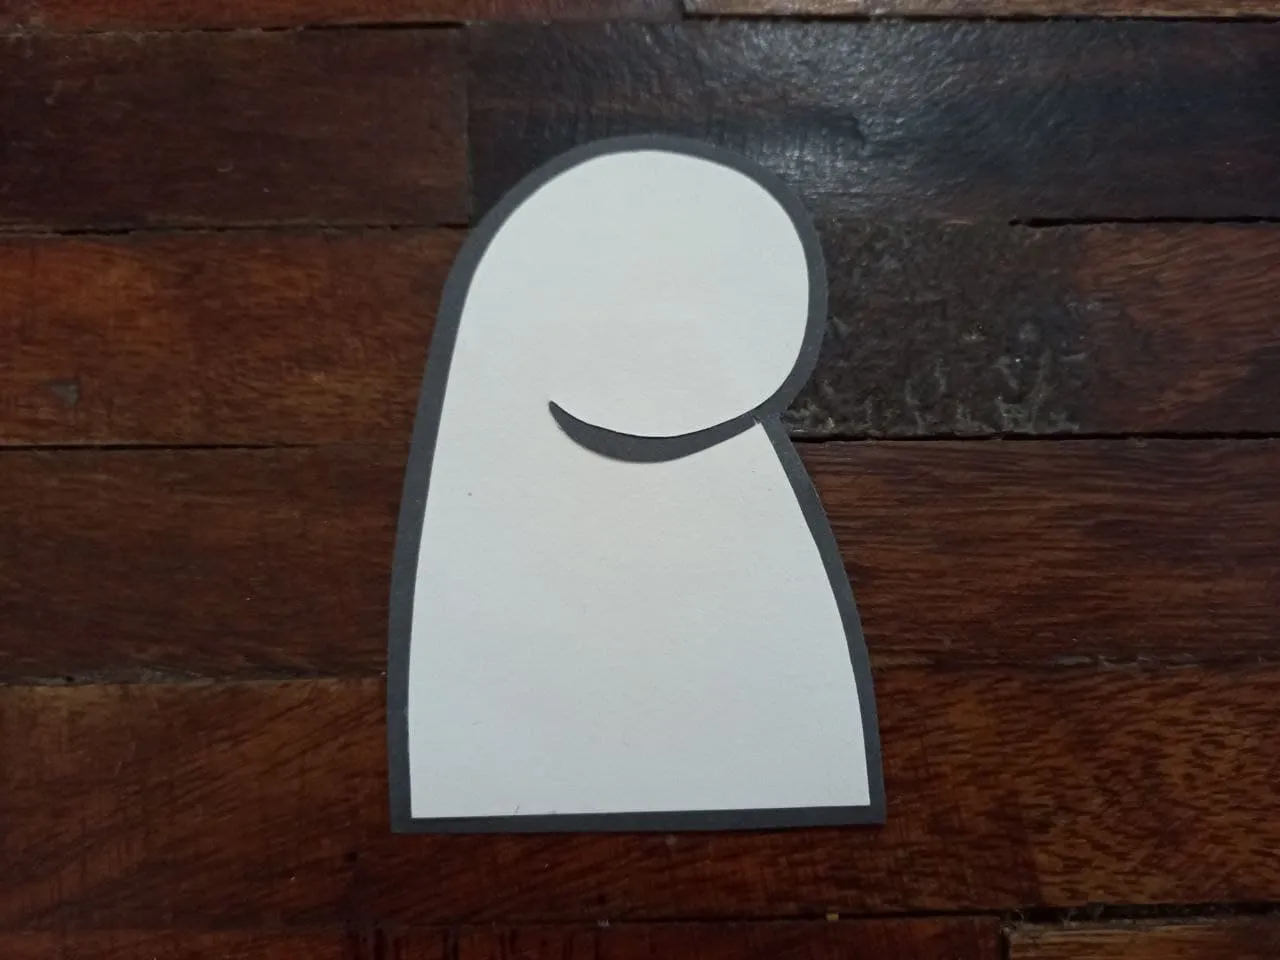
❥ PASO 3. Pegamos el deformito sobre la cartulina negra utilizando pega en barra y luego recortamos dejando un borde delgado de esta alrededor del deformito, generando así la silueta de este.
❥ STEP 3. We paste the deformed on the black cardboard using stick glue and then we cut it leaving a thin edge around the deformed, thus generating its silhouette.
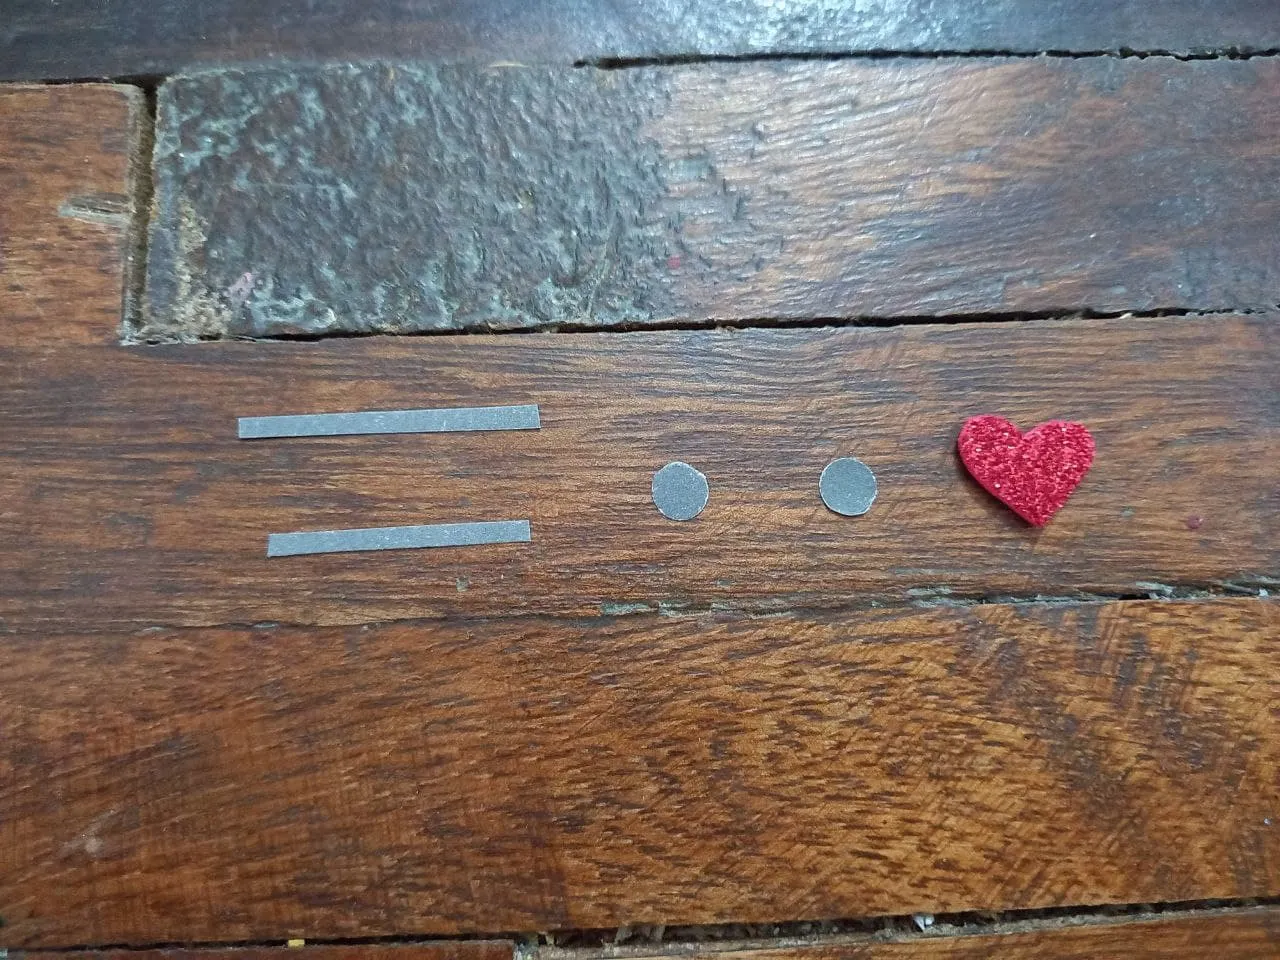
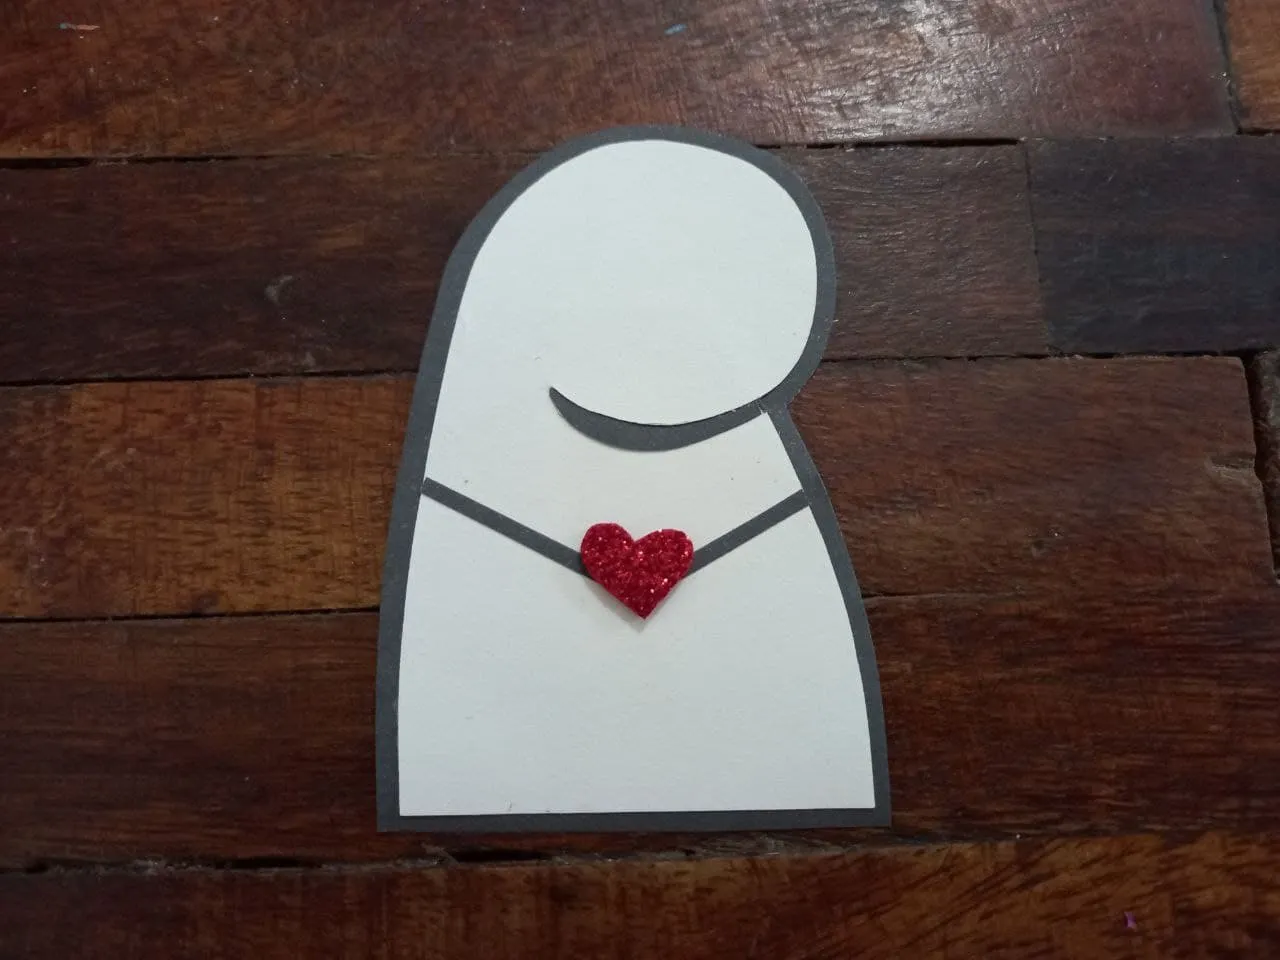
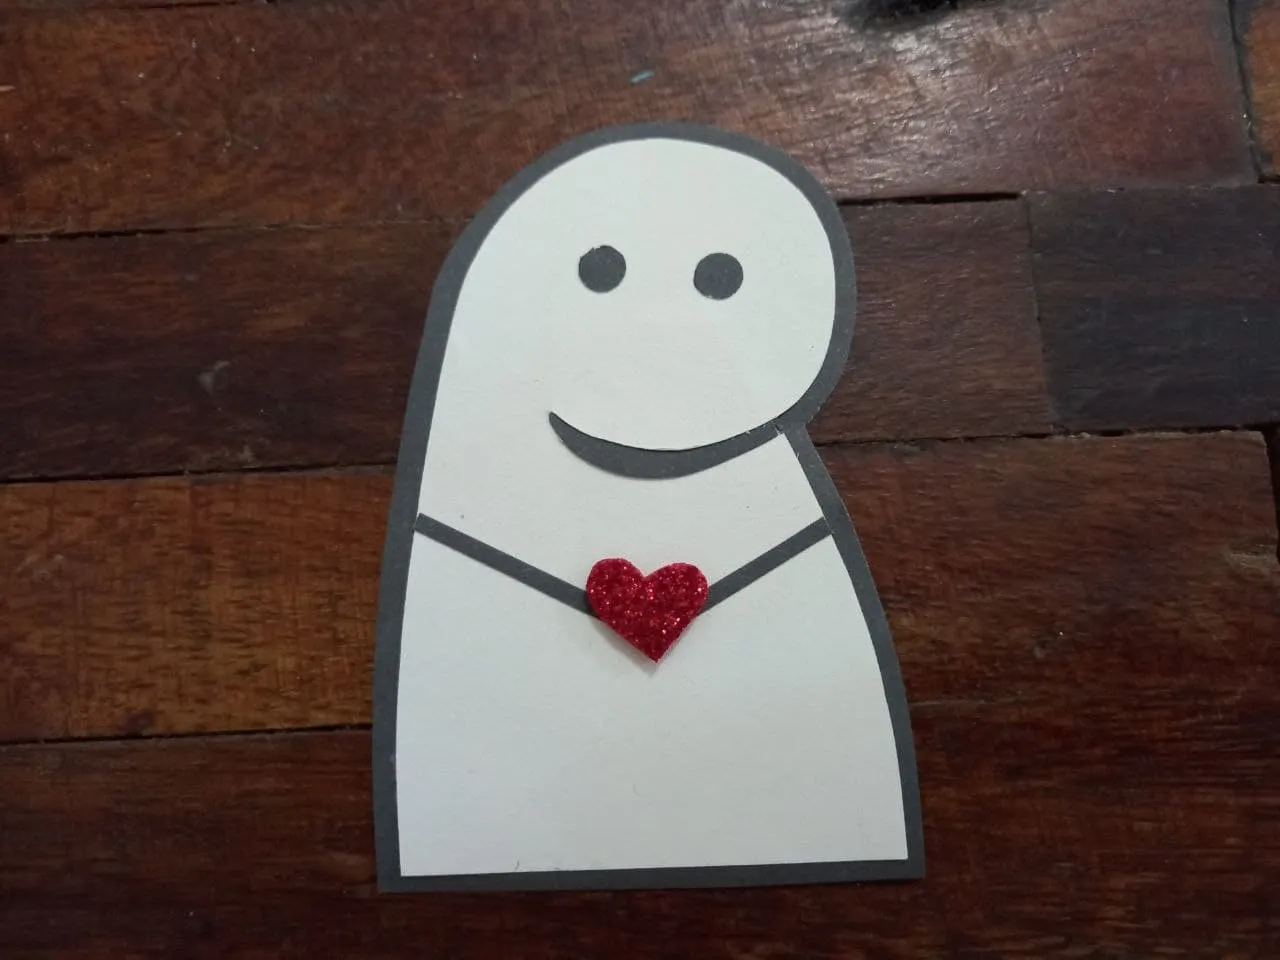
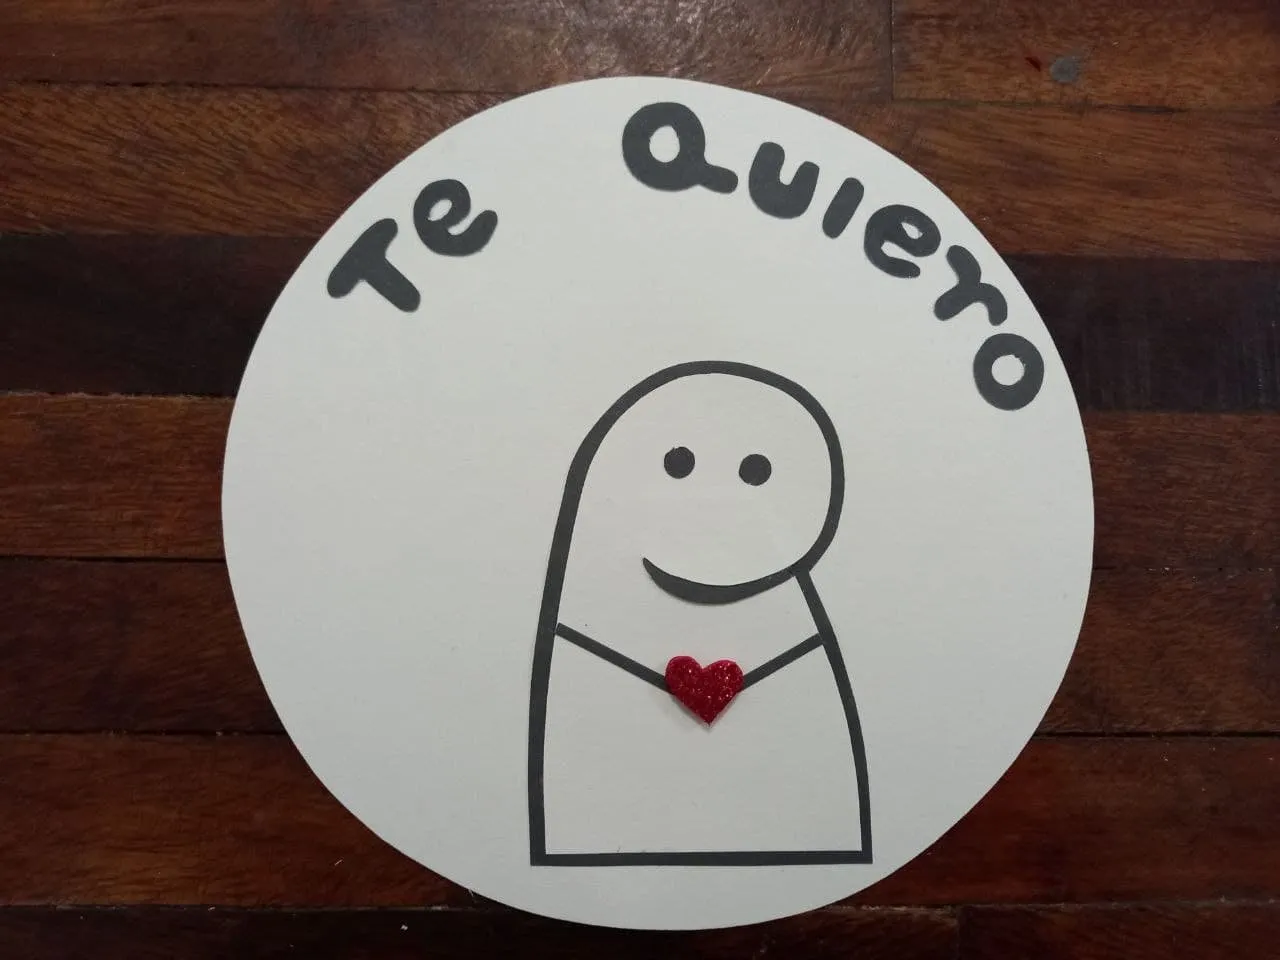
❥ PASO 4. Recortamos 2 tiras pequeñas y delgadas de cartulina negra, 2 círculos pequeños de cartulina negra y un corazón pequeño de foami escarchado rojo, pegamos las 2 tiras de cartulina negra sobre el cuerpo partiendo de los lados de este hacia el centro y uniéndose ambos allí, siendo estos los brazos, luego pegamos el corazón de foami rojo en el centro de la unión de los brazos y por último pegamos los 2 círculos de cartulina negra que serán los ojos.
❥ STEP 4. We cut 2 small and thin strips of black cardboard, 2 small circles of black cardboard and a small heart of red frosted foami, we glue the 2 strips of black cardboard on the body starting from the sides of this towards the center and joining both there, these being the arms, then we glue the red foami heart in the center of the union of the arms and finally we glue the 2 circles of black cardboard that will be the eyes.

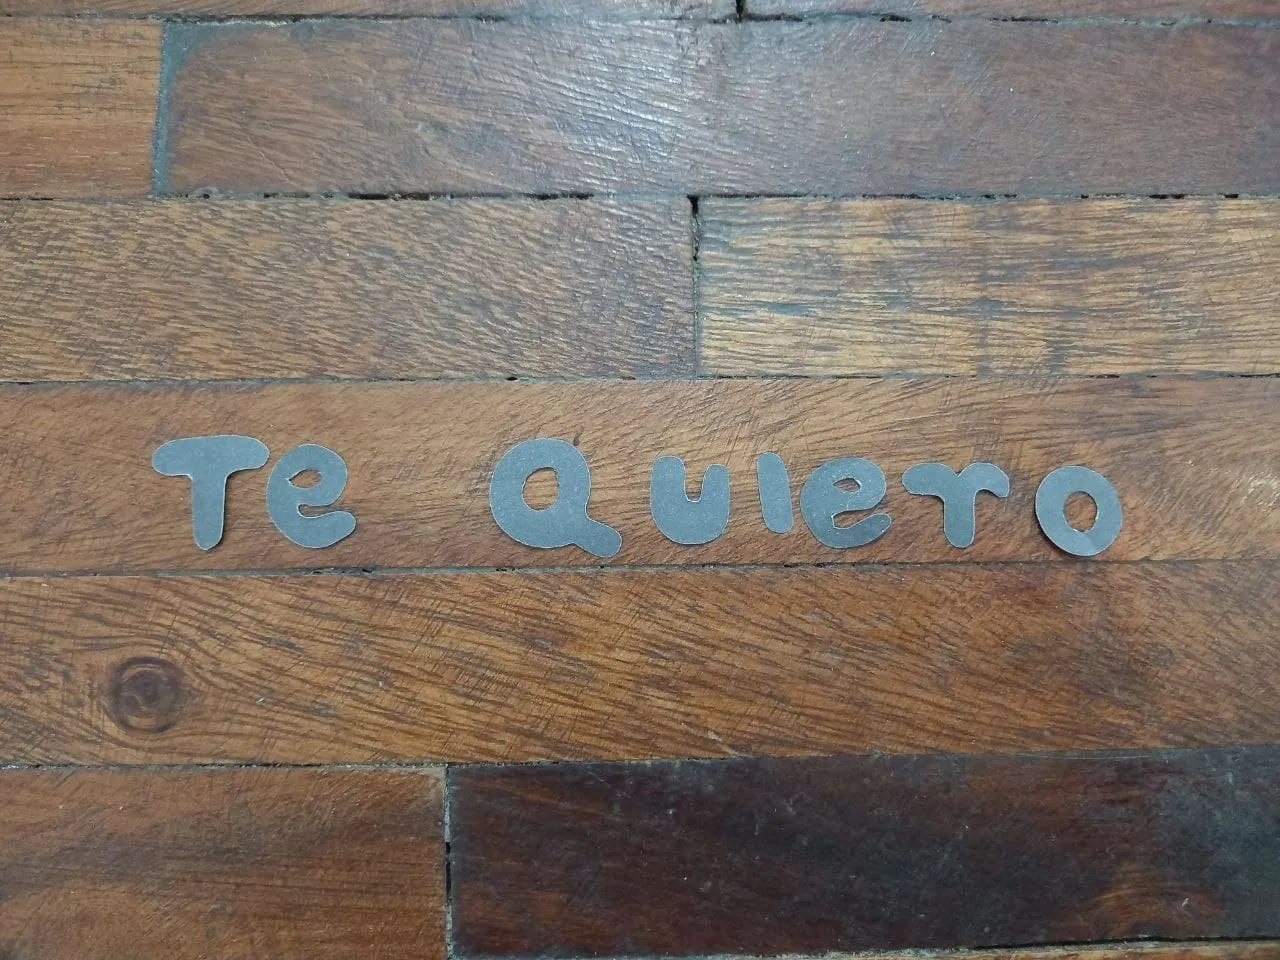
❥ PASO 5. Una vez que hayamos terminado de hacer nuestro deformito hacemos en cartulina negra la frase que más nos guste, en mi caso será "Te quiero" y luego recortamos.
❥ STEP 5. Once we have finished making our little deformity, we make the phrase that we like the most on black cardboard, in my case it will be "I love you" and then we cut it out.
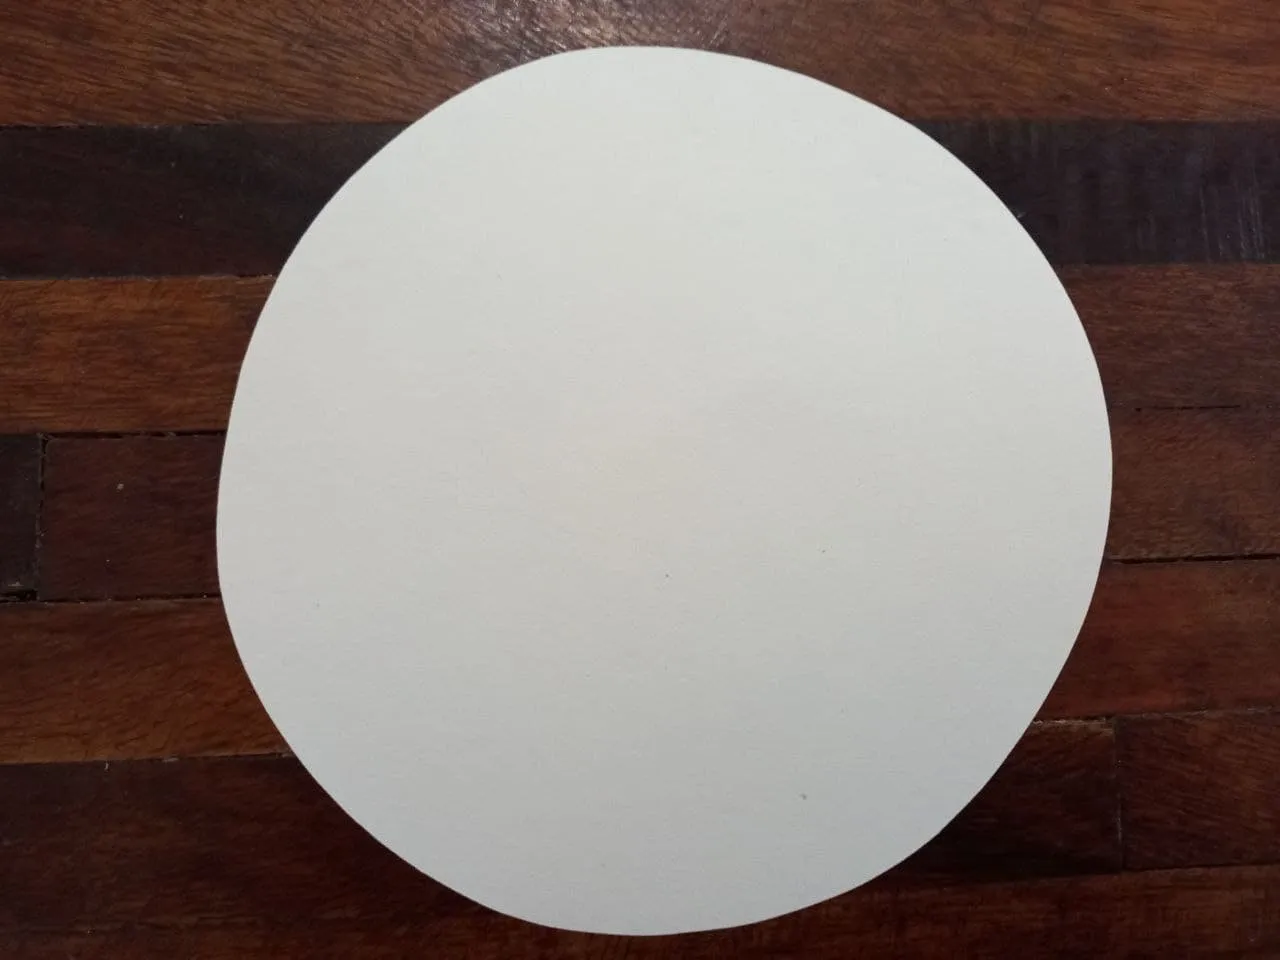
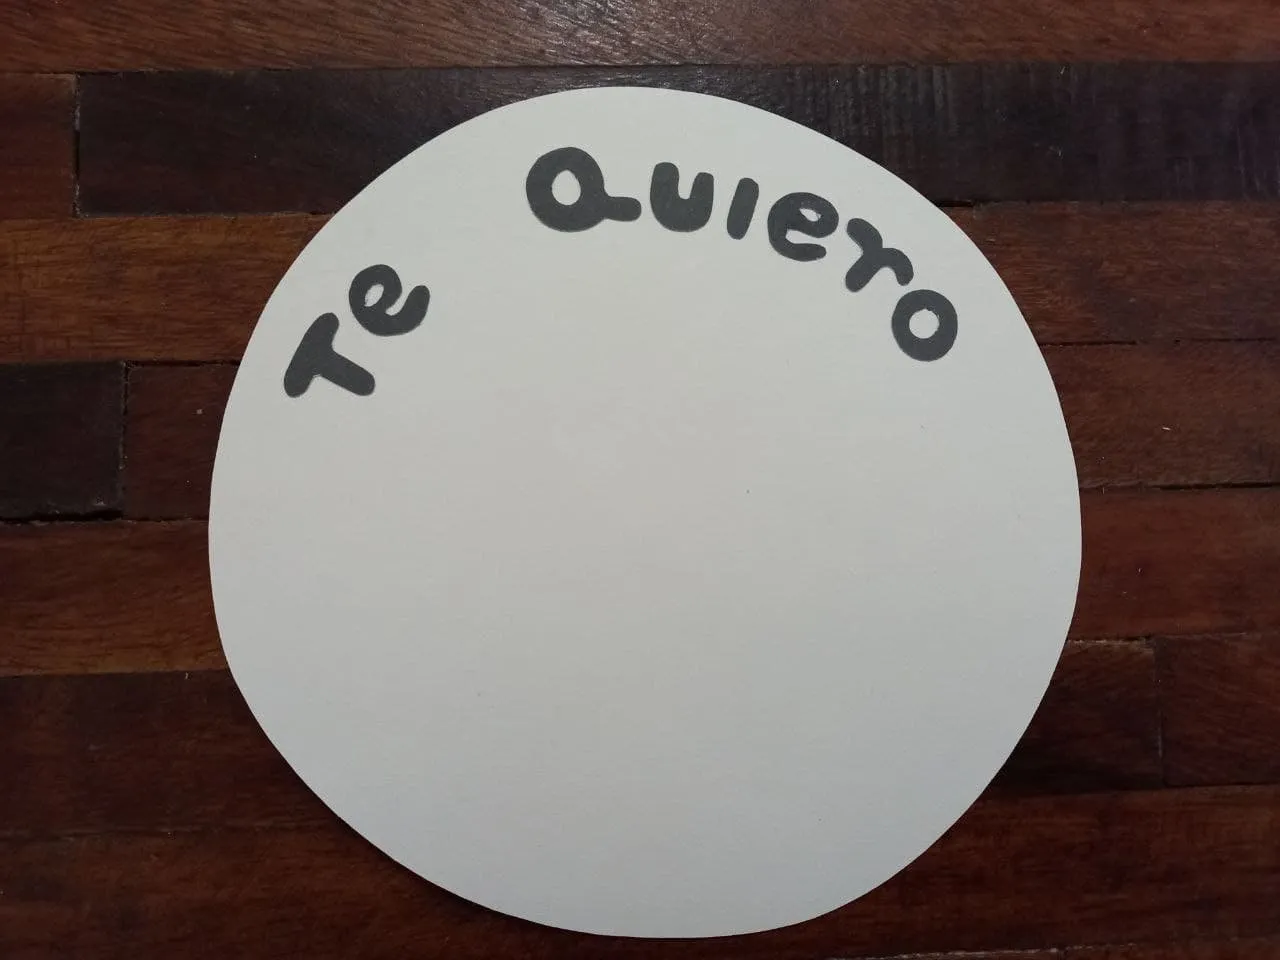
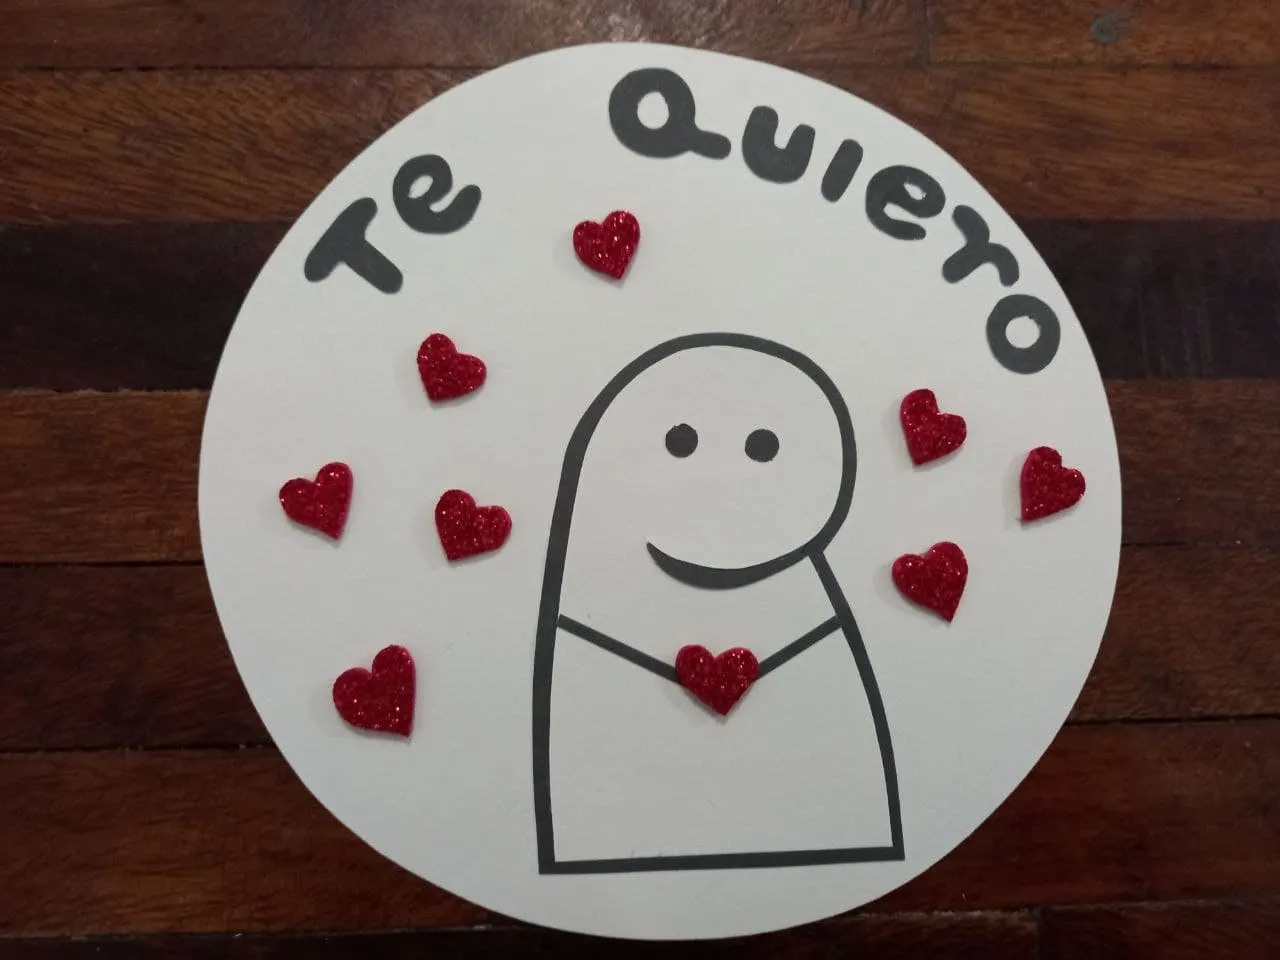
❥ PASO 6. Con ayuda del objeto circular hacemos un circulo de cartulina blanca del tamaño suficiente para que podamos colocar en el al deformito y la frase, luego recortamos, en su parte superior pegamos la frase en la posición de nuestra preferencia y debajo en el centro pegamos al deformito, todo esto debemos pegarlo utilizando pega en barra.
❥ STEP 6. With the help of the circular object we make a circle of white cardboard of sufficient size so that we can place the deformed child and the phrase in it, then we cut it out, on its upper part we paste the phrase in the position of our preference and below in the center we glue the deformed, we must paste all this using stick glue.
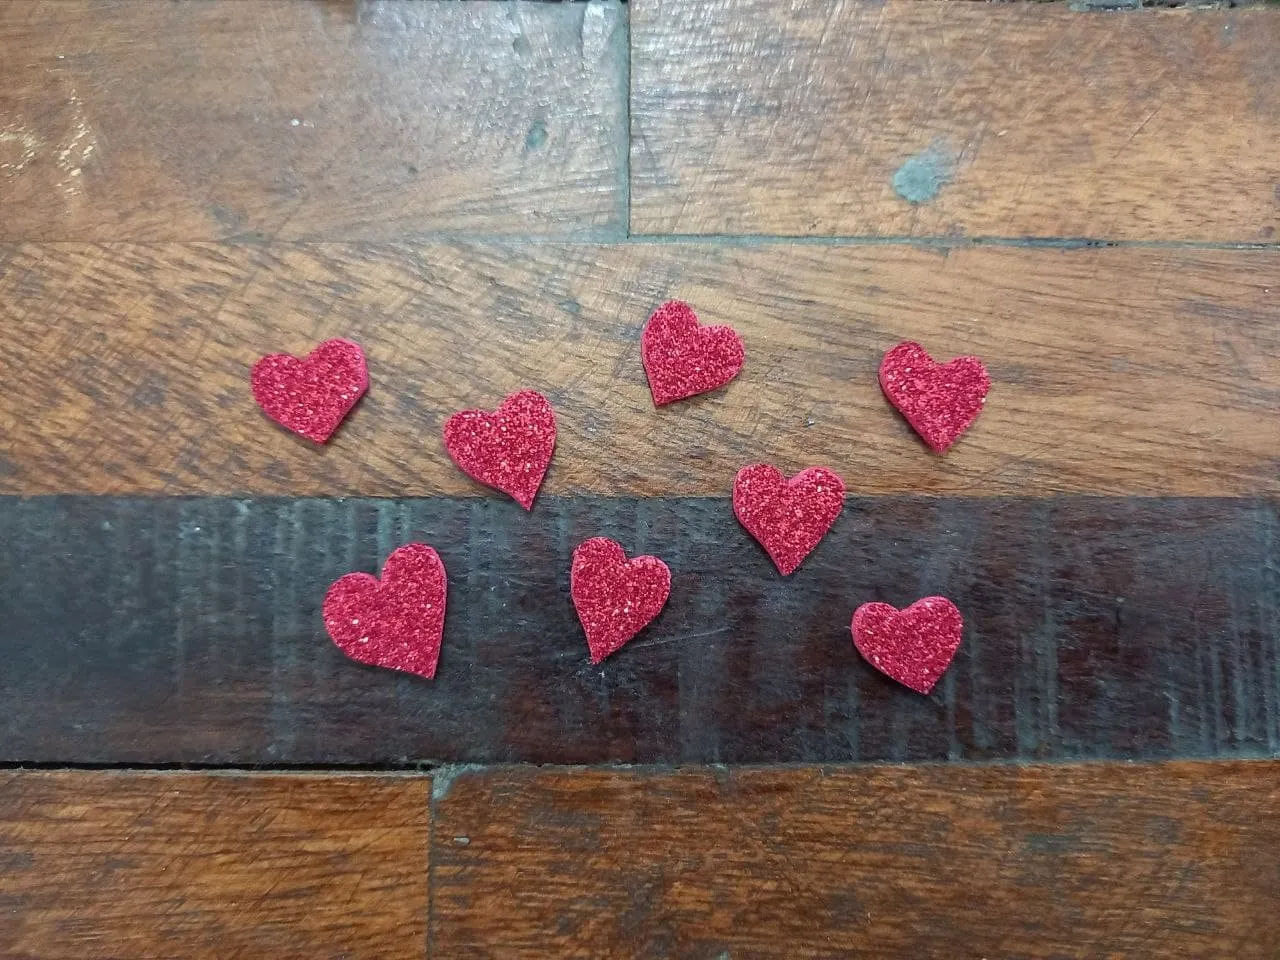
❥ PASO 7. Hacemos varios corazoncitos de foami rojo escarchado y recortamos, luego los pegamos alrededor del deformito.
❥ STEP 7. We make several little hearts out of frosty red foami and cut them out, then glue them around the shape.
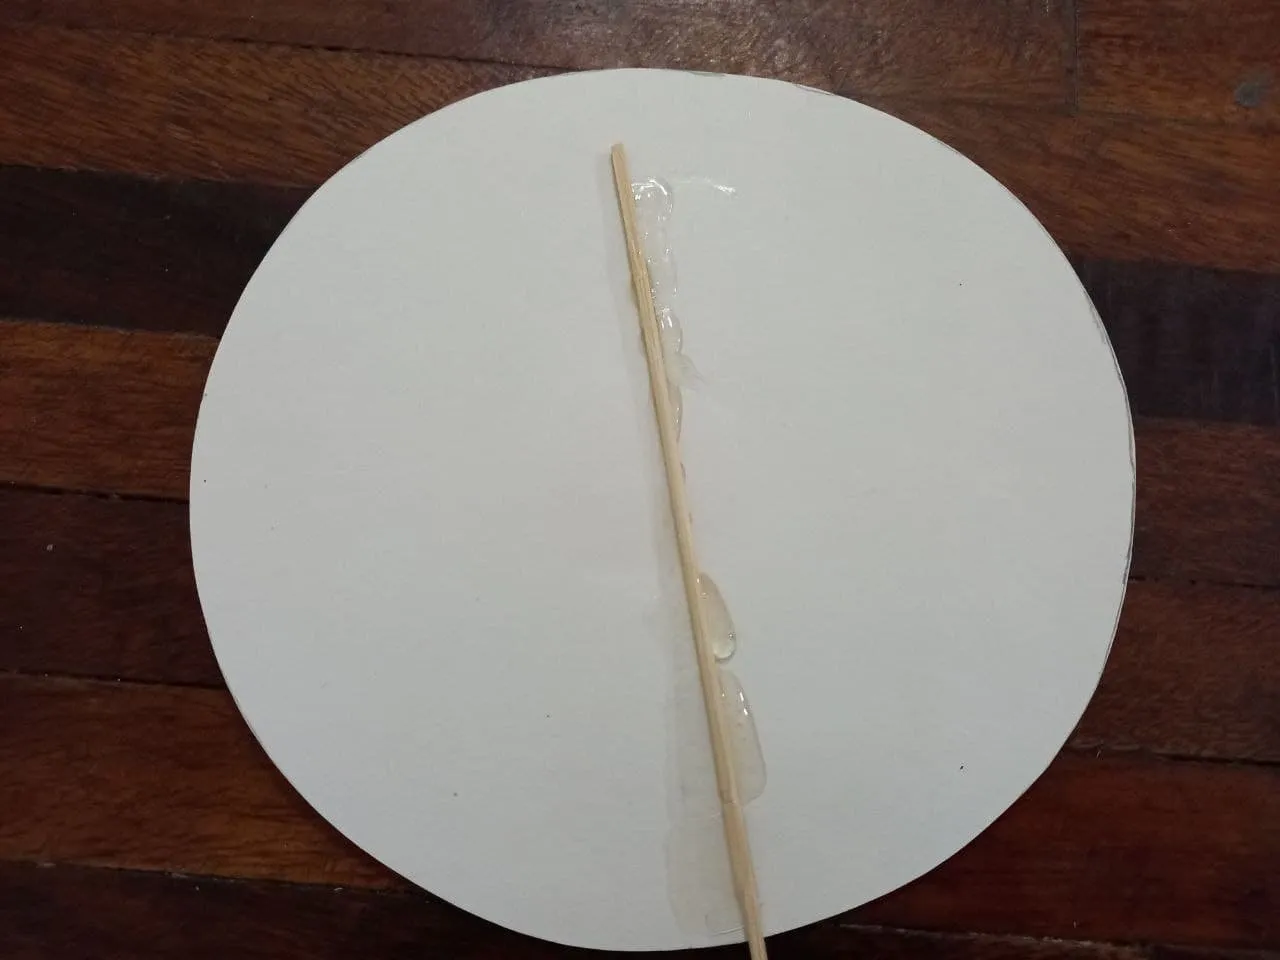
❥ **PASO 8. Para finalizar en el cetro de la parte trasera aplicamos una línea de silicón caliente y sobre ella pegamos el palito de altura.
❥ **STEP 8. To finish the scepter on the back we apply a line of hot silicone and on it we stick the height stick.
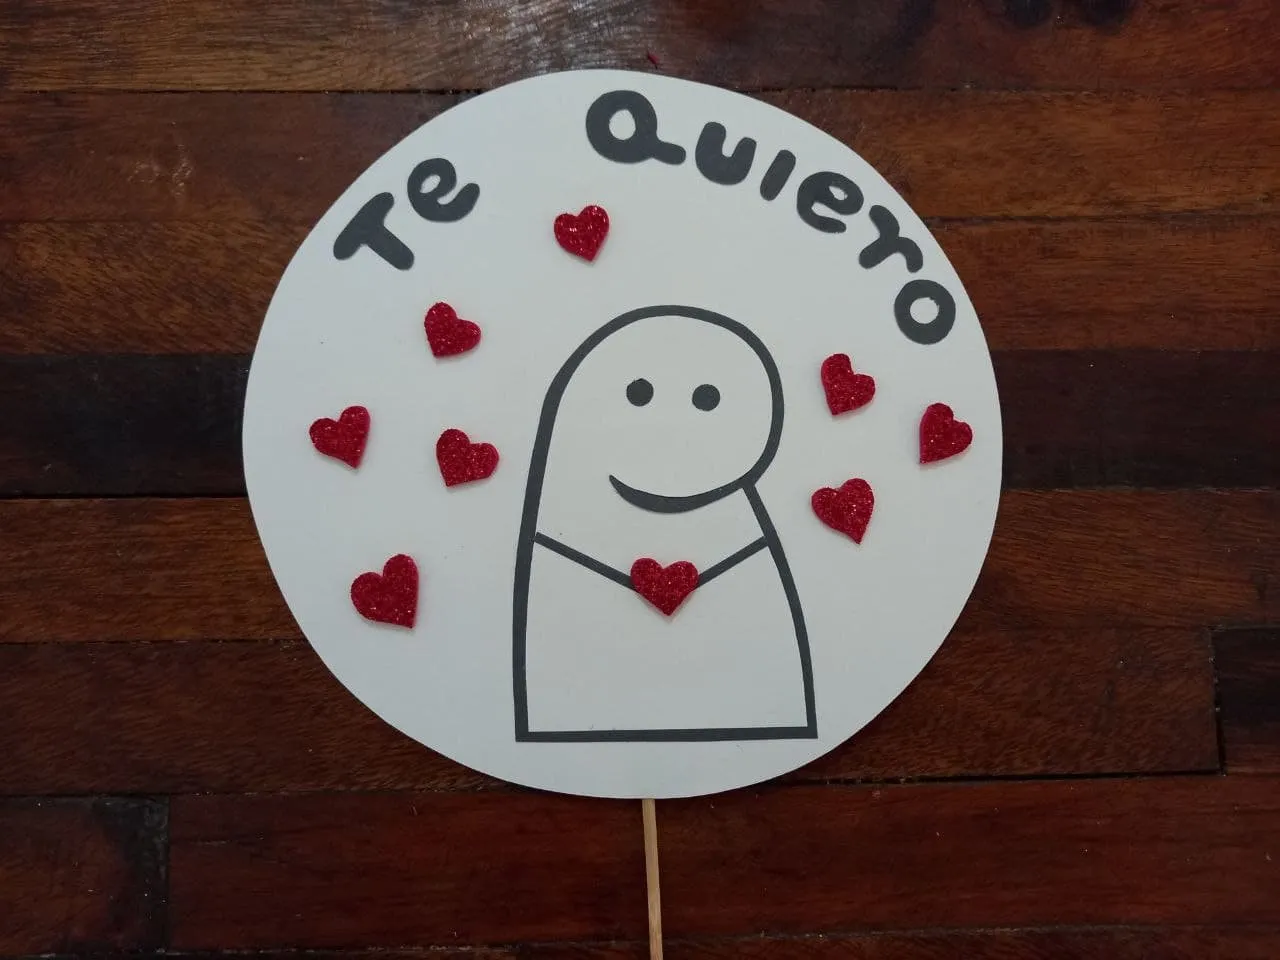
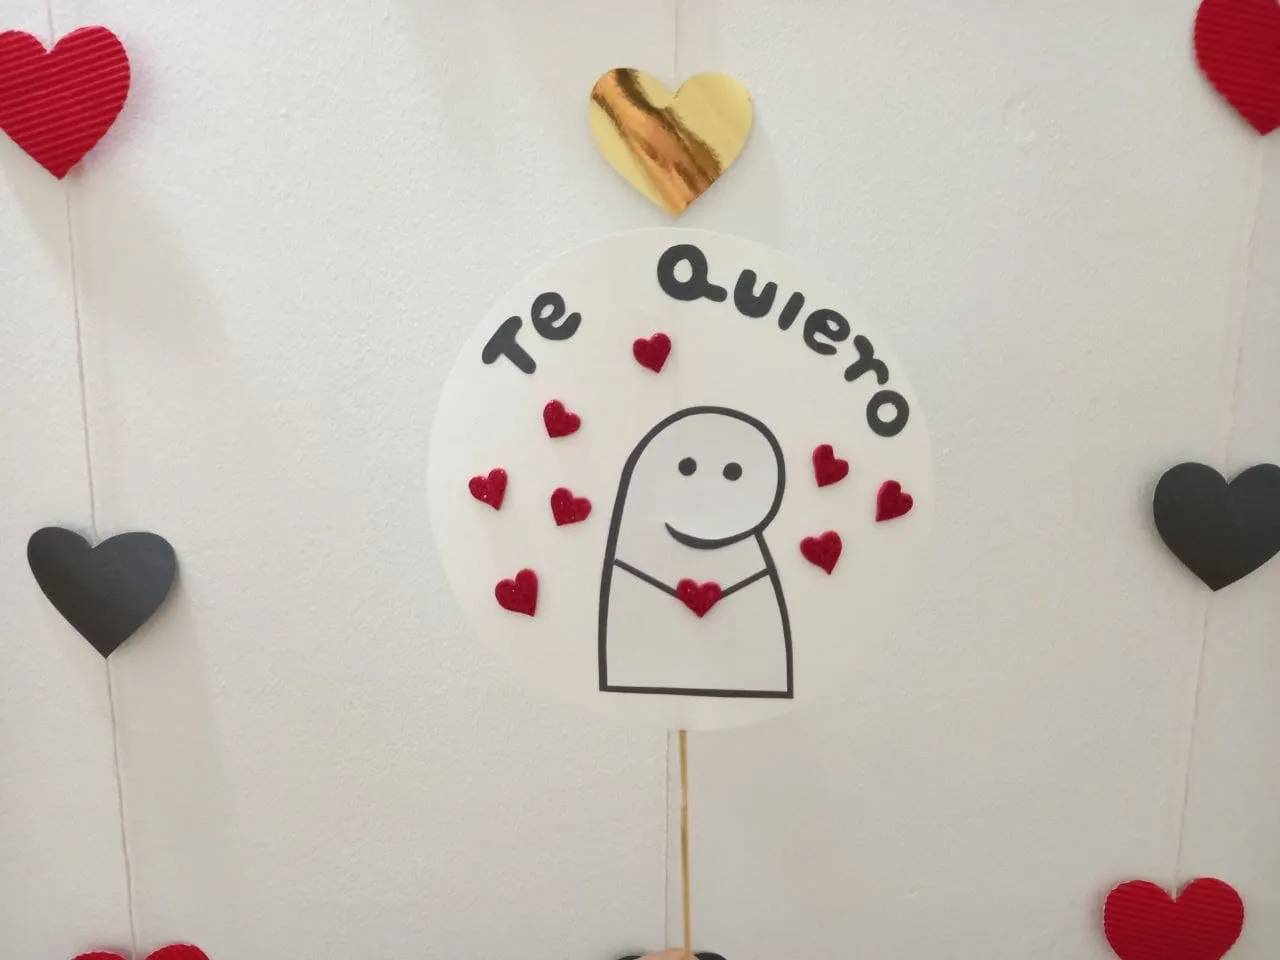
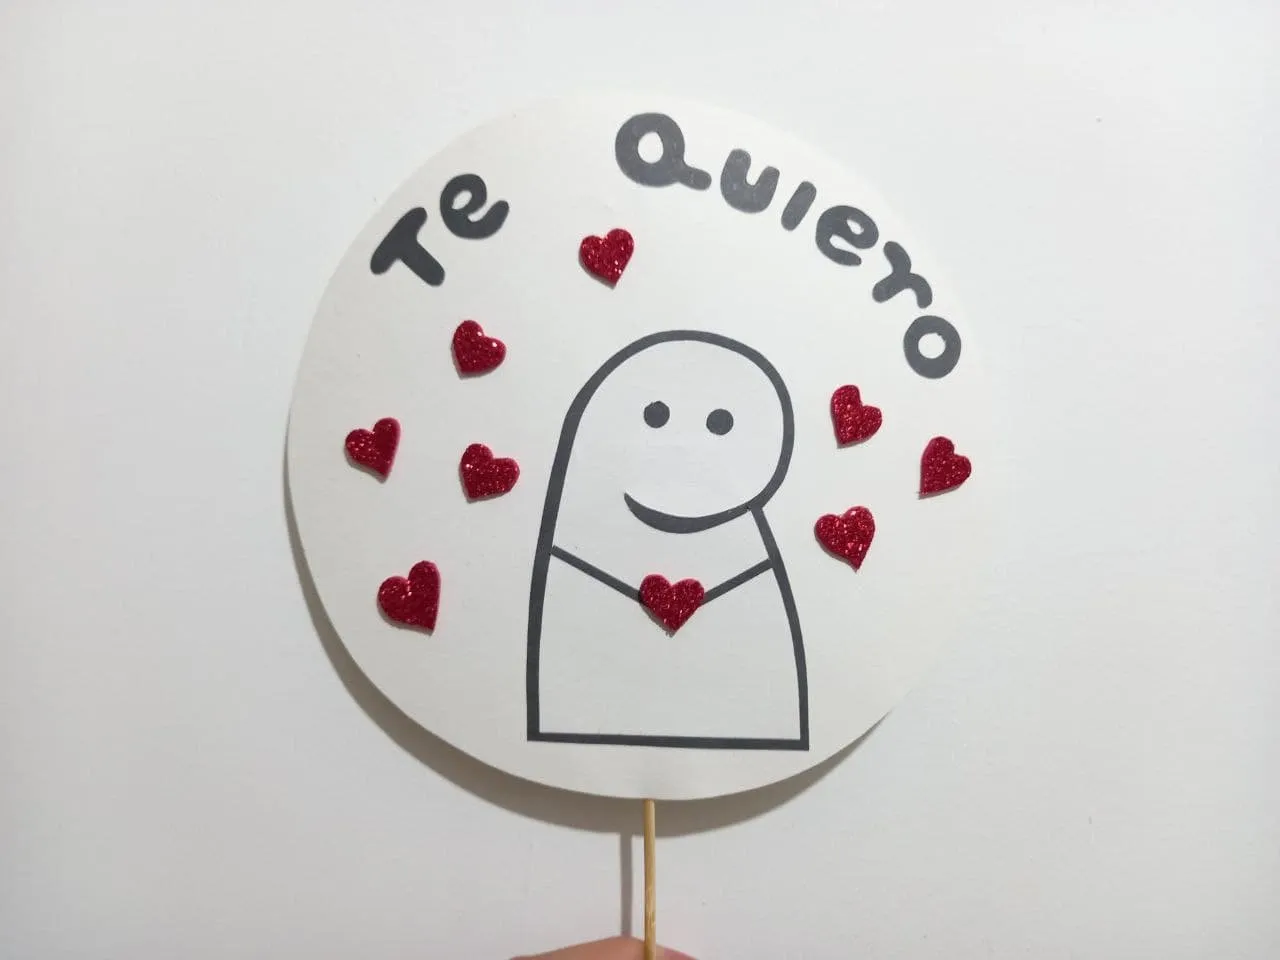
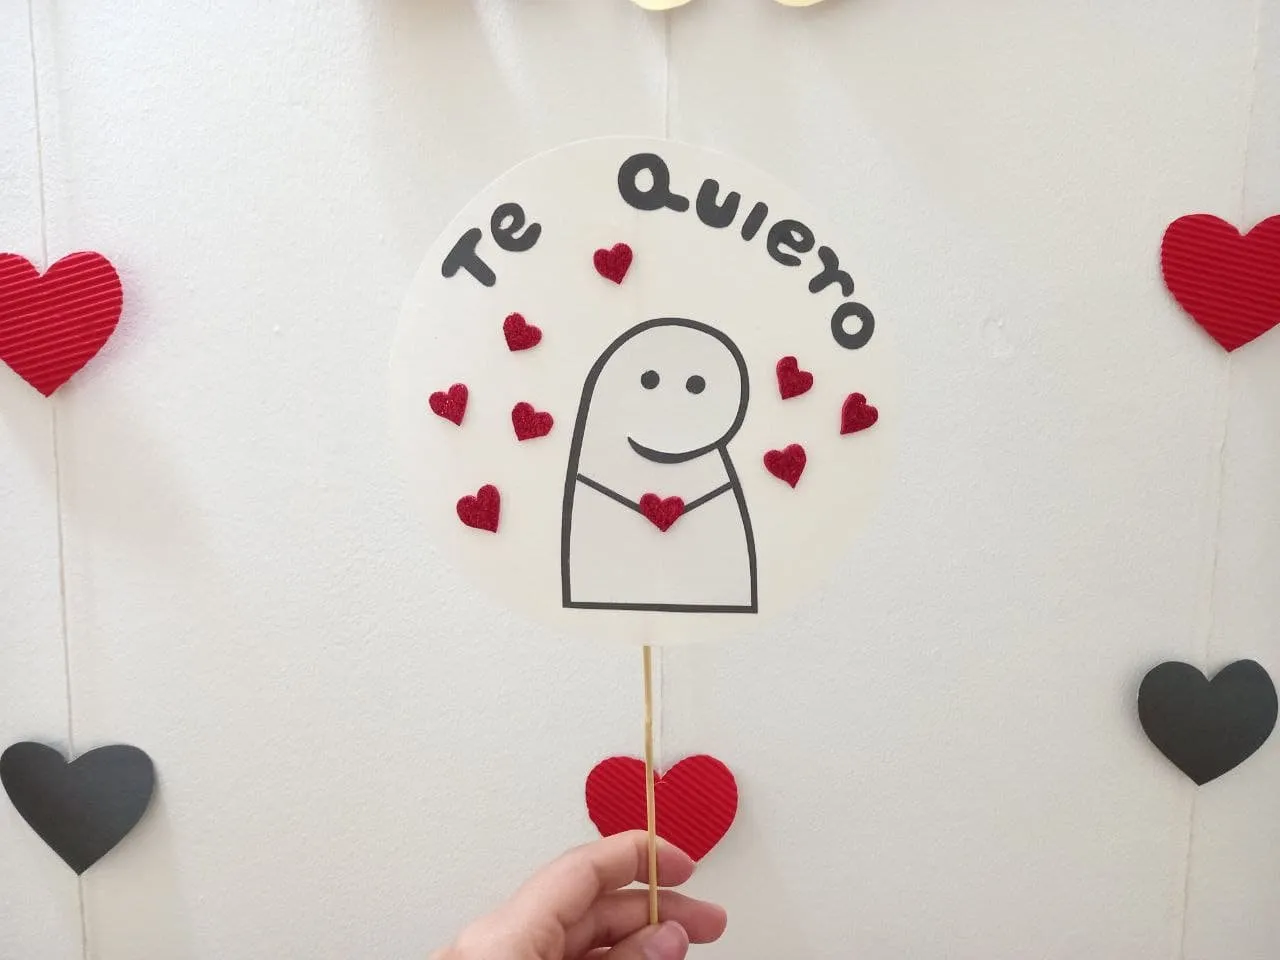
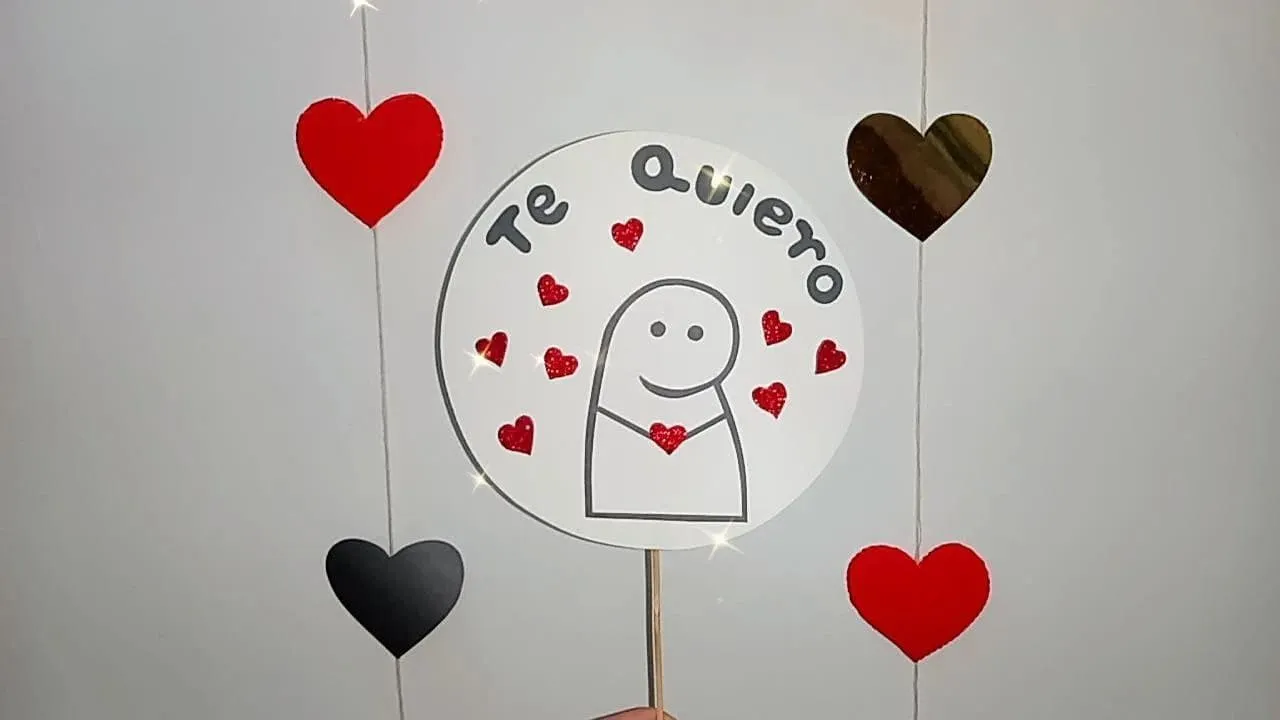
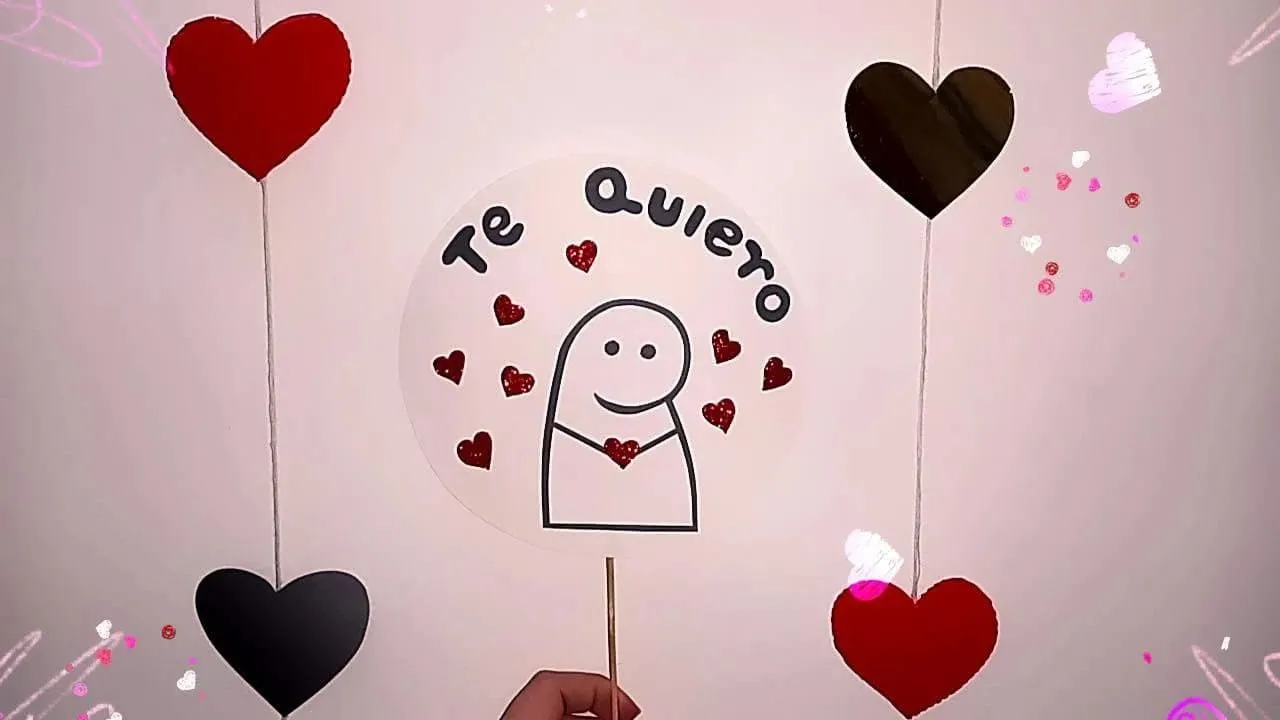
¡Y listo! Ya tenemos nuestro hermoso topper con temática de deformitos ideal para colocar a tortas para obsequiar un detalle especial, es muy fácil de hacer y queda muy lindo, espero que les haya gustado este tutorial y se animen a intentarlo en casa.
¡And ready! We already have our beautiful topper with a deformed theme, ideal to place on cakes to give a special detail, it is very easy to do and it is very cute, I hope you liked this tutorial and are encouraged to try it at home.
Resultado | Result
Todas las fotografías son de mi propiedad.
Fotografías capturadas con mi Samsung Galaxy A12
Nos vemos en mi próxima publicación.
¡Tengan un feliz día!
All photographs are my property.
Photos captured with my Samsung Galaxy A12
See you in my next post.
¡Have a happy day!