¡Saludos querida comunidad creativa! 🎄 | ¡Greetings dear creative community! 🎄
¡Bonito jueves para todos! Como ya habrán visto en posts anteriores me gusta utilizar botellas de vidrio para decorarlas y hacer adornos, en su mayoría han sido con estambre pero esta vez quise hacer algo diferente al tratarse de un tipo de botella diferente a las que acostumbro a usar, tenía por allí guardada una botella vacía de Whisky Buchanans pero antes de deshacerme de ella pensé en mejor darle una oportunidad convirtiéndola en algo nuevo y que mejor en estos días que un adorno de navidad, luego de tanto pensar en el diseño finalmente me decidí por este que les muestro hoy, espero que les guste, sin más, ¡vamos a crear!
¡Nice Thursday to all! As you will have seen in previous posts, I like to use glass bottles to decorate them and make ornaments, most of them have been with yarn but this time I wanted to do something different as it is a different type of bottle than the ones I usually use, I had to there kept an empty bottle of Buchanans Whiskey but before I got rid of it I thought I'd better give it a try turning it into something new and what better these days than a Christmas ornament, after thinking so much about the design I finally decided For this one that I show you today, I hope you like it, without further ado, ¡let's create!

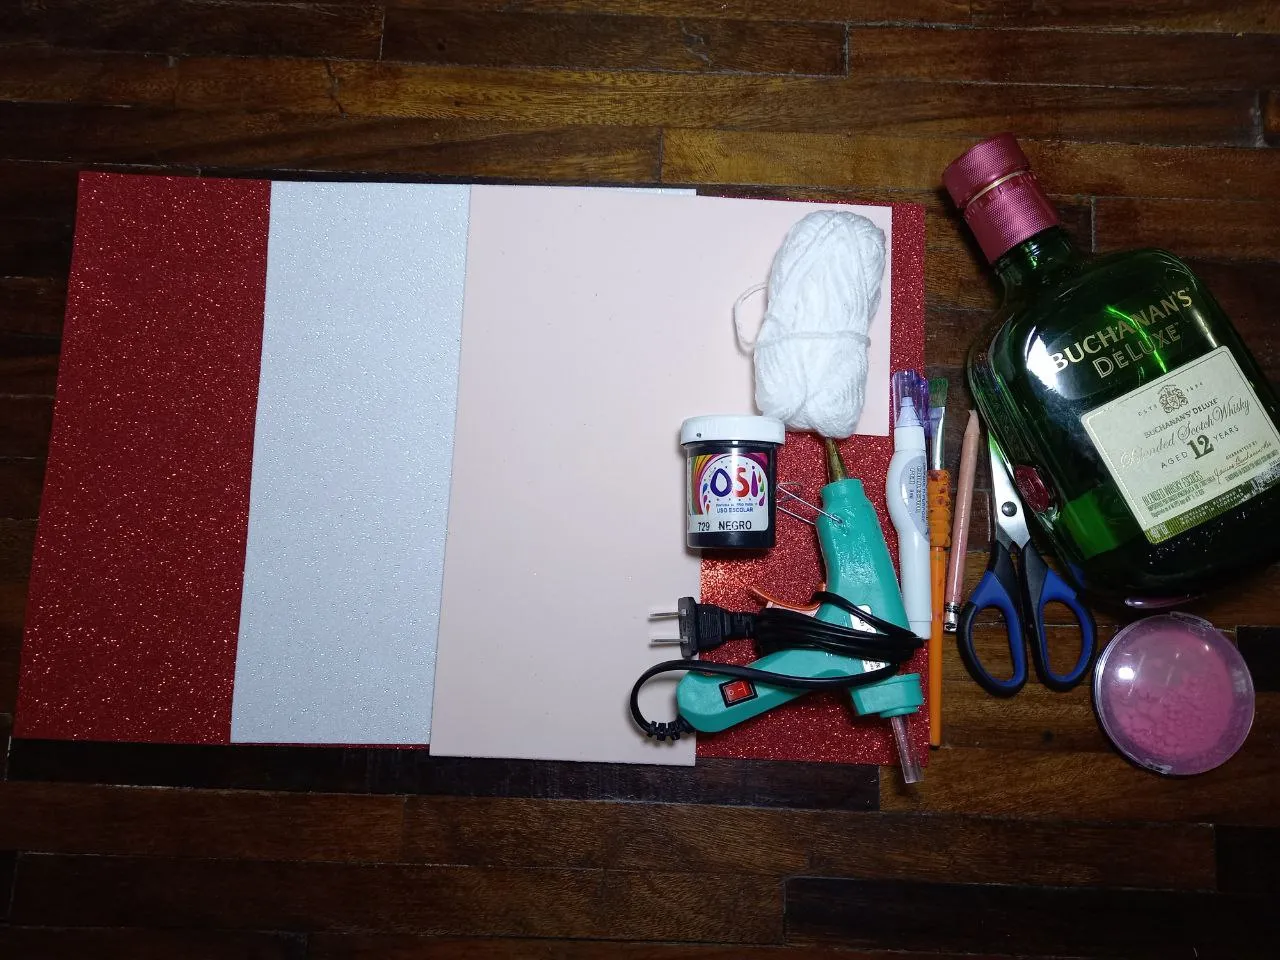
🎅 1 Botella de Buchanans.
🎅 Foami escarchado blanco y rojo.
🎅 color piel sin escarcha.
🎅 Estambre blanco.
🎅 Pintura negra.
🎅 Silicón caliente.
🎅 Corrector de tinta.
🎅 Pincel.
🎅 Lápiz.
🎅 Tijera.
🎅 Rubor.
🎅 1 Bottle of Buchanans.
🎅 White and red frosty foami.
🎅 skin color without frost.
🎅 White stamen.
🎅 Black paint.
🎅 Hot silicone.
🎅 Ink concealer.
🎅 Brush.
🎅 Pencil.
🎅 Scissors.
🎅 Blush.

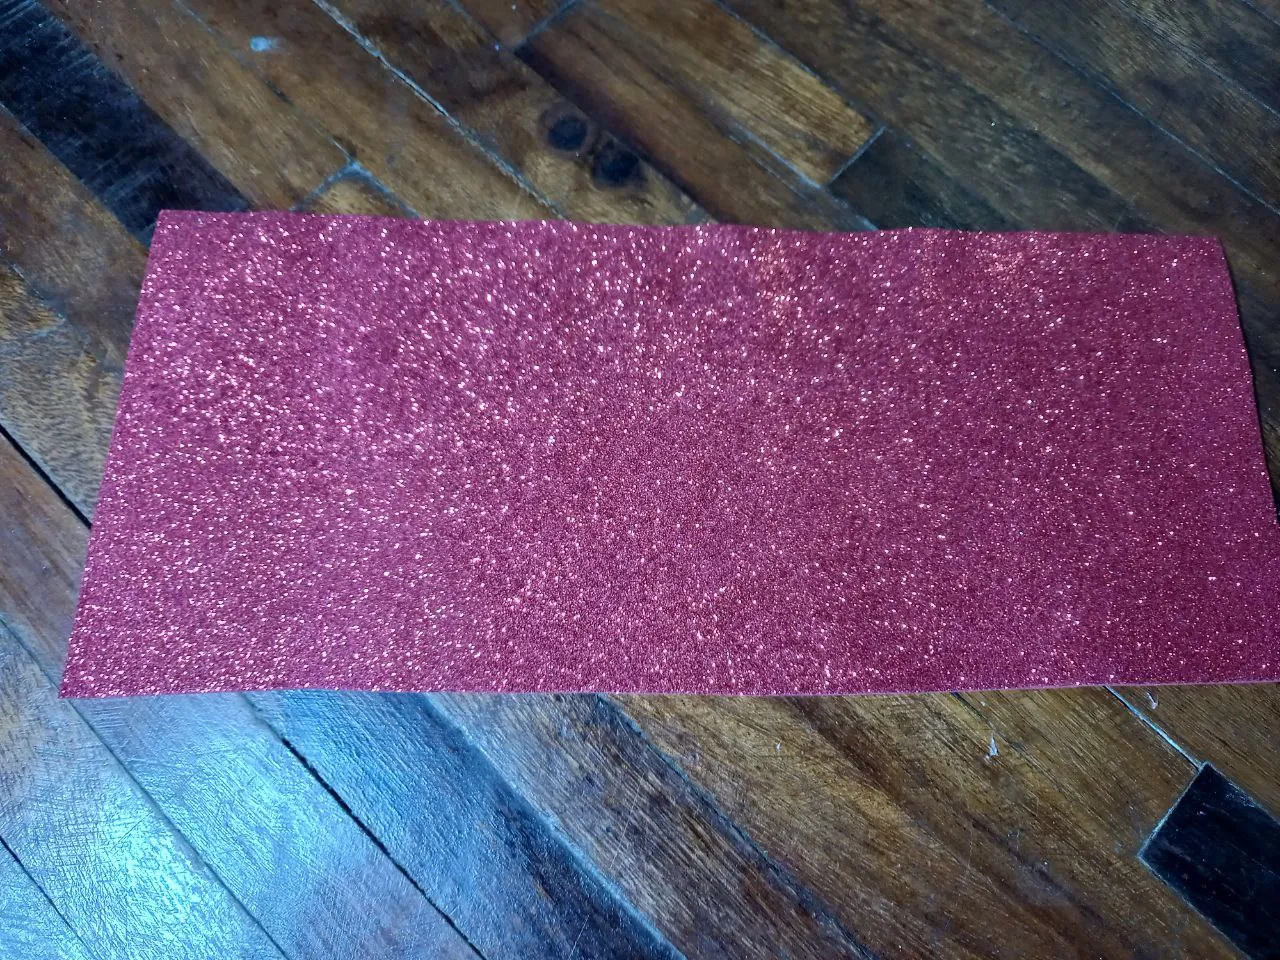
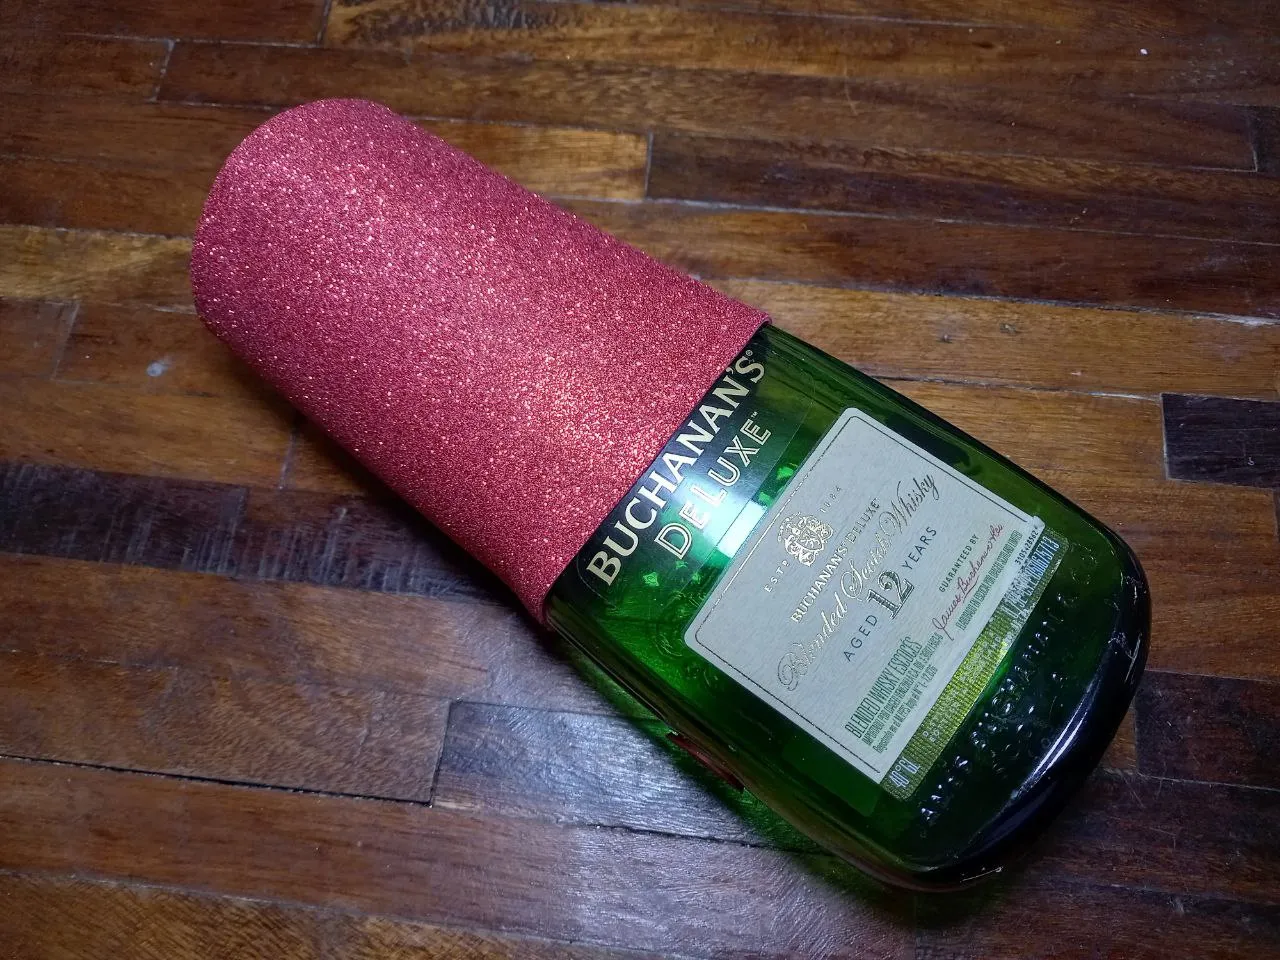
🎅 PASO 1. Lo primero es recortar una pieza de foami escarchado rojo del ancho de la botella y del alto capaz de cubrir la parte superior de esta, una vez que tengamos la pieza le aplicamos silicón en una de sus orillas y la pegamos en la botella cubriendo la parte superior.
🎅 STEP 1. The first thing is to cut a piece of red frosted foam the width of the bottle and the height capable of covering the upper part of it, once we have the piece we apply silicone to one of its edges and We stick it on the bottle covering the upper part.

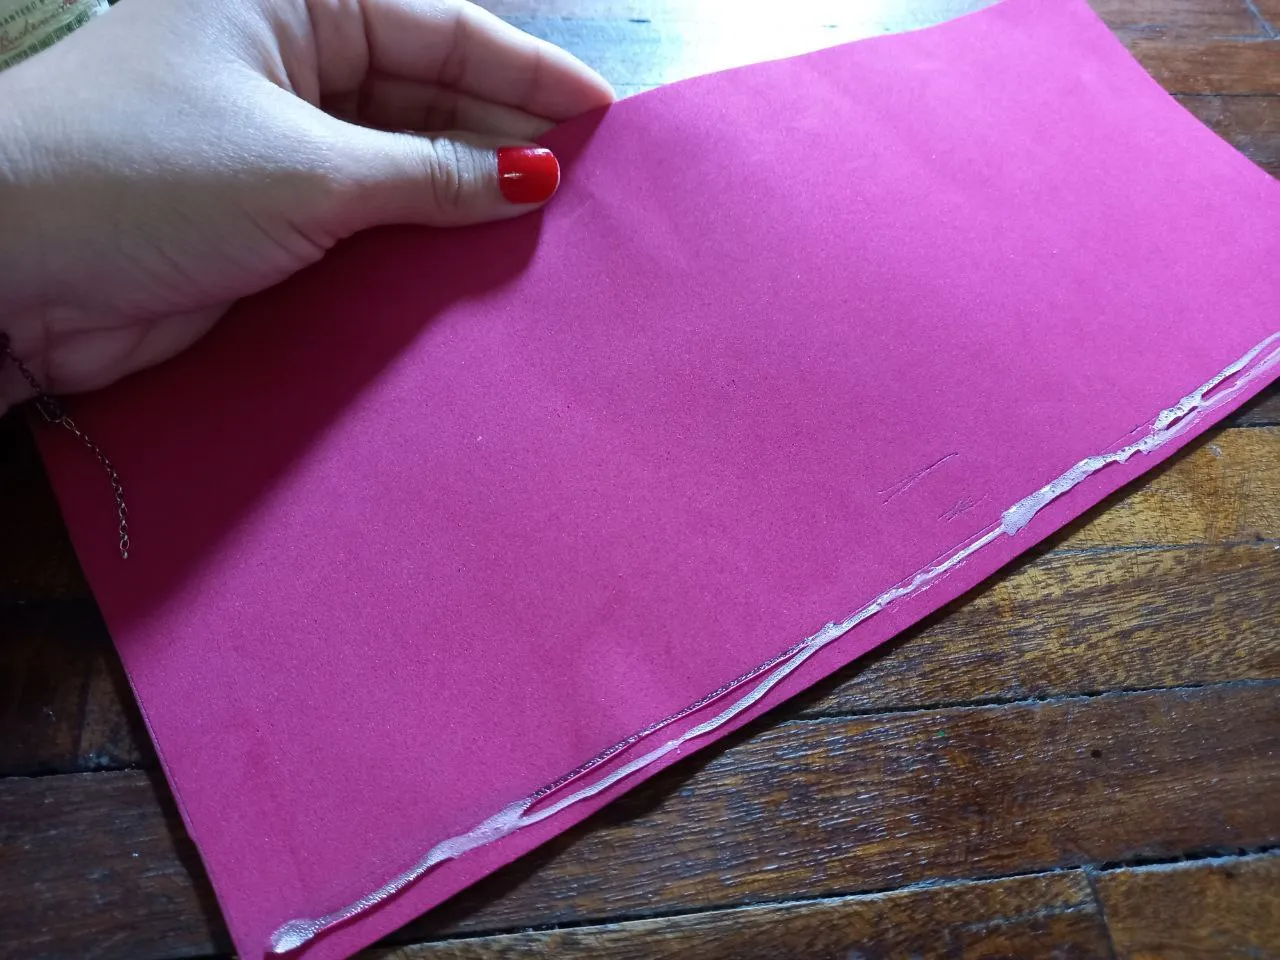
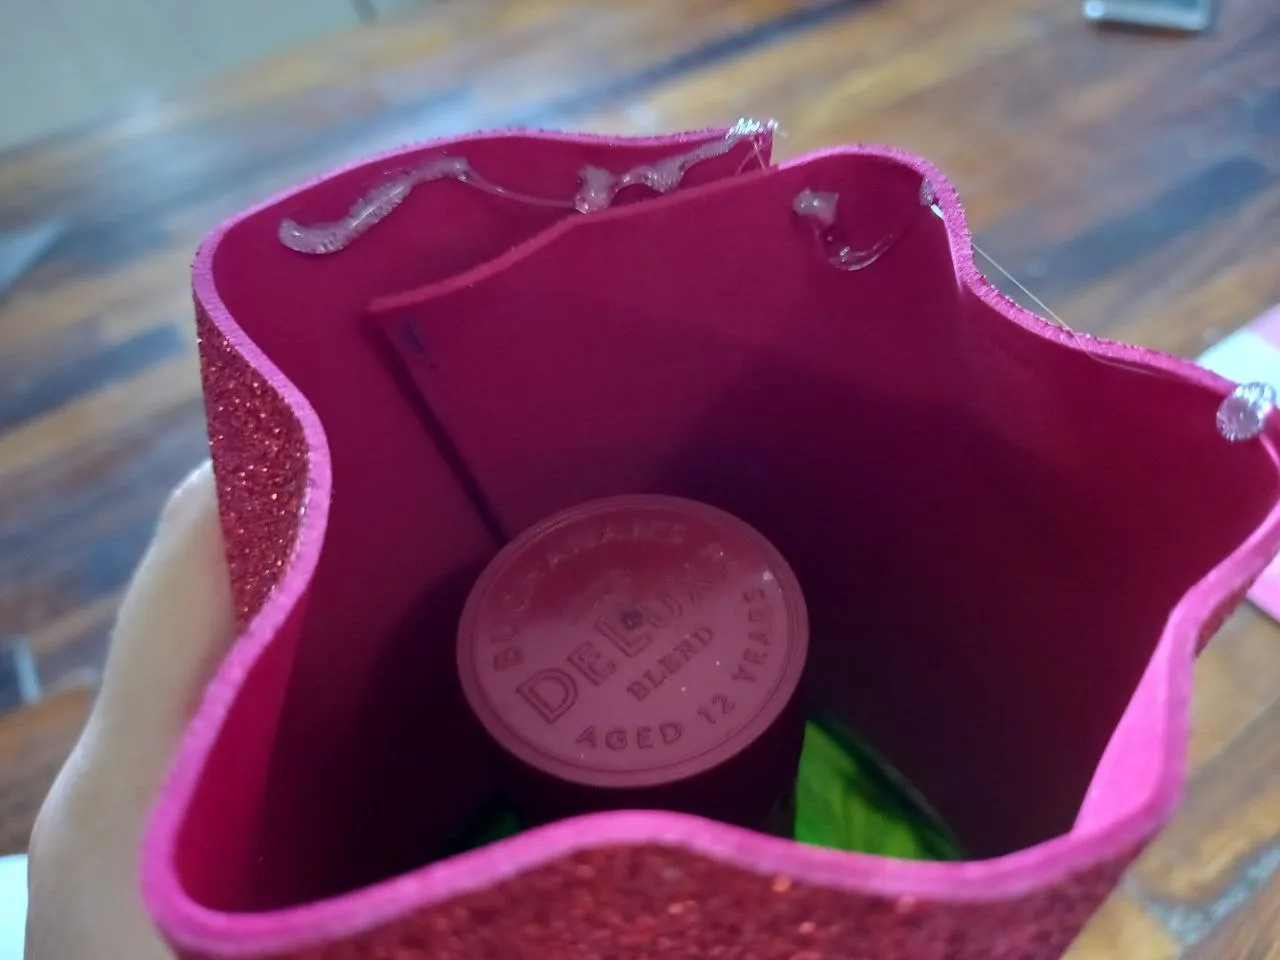
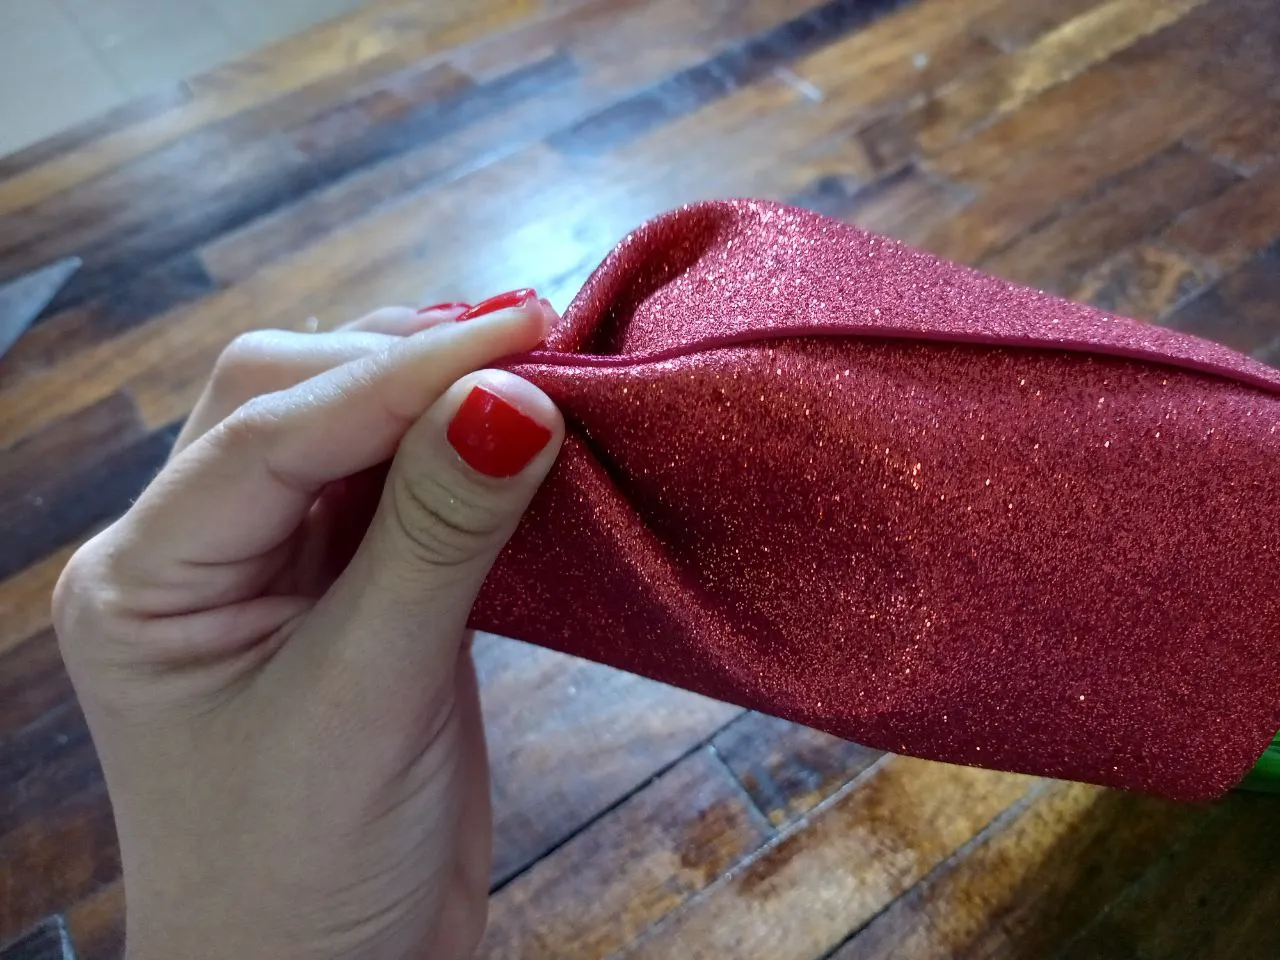
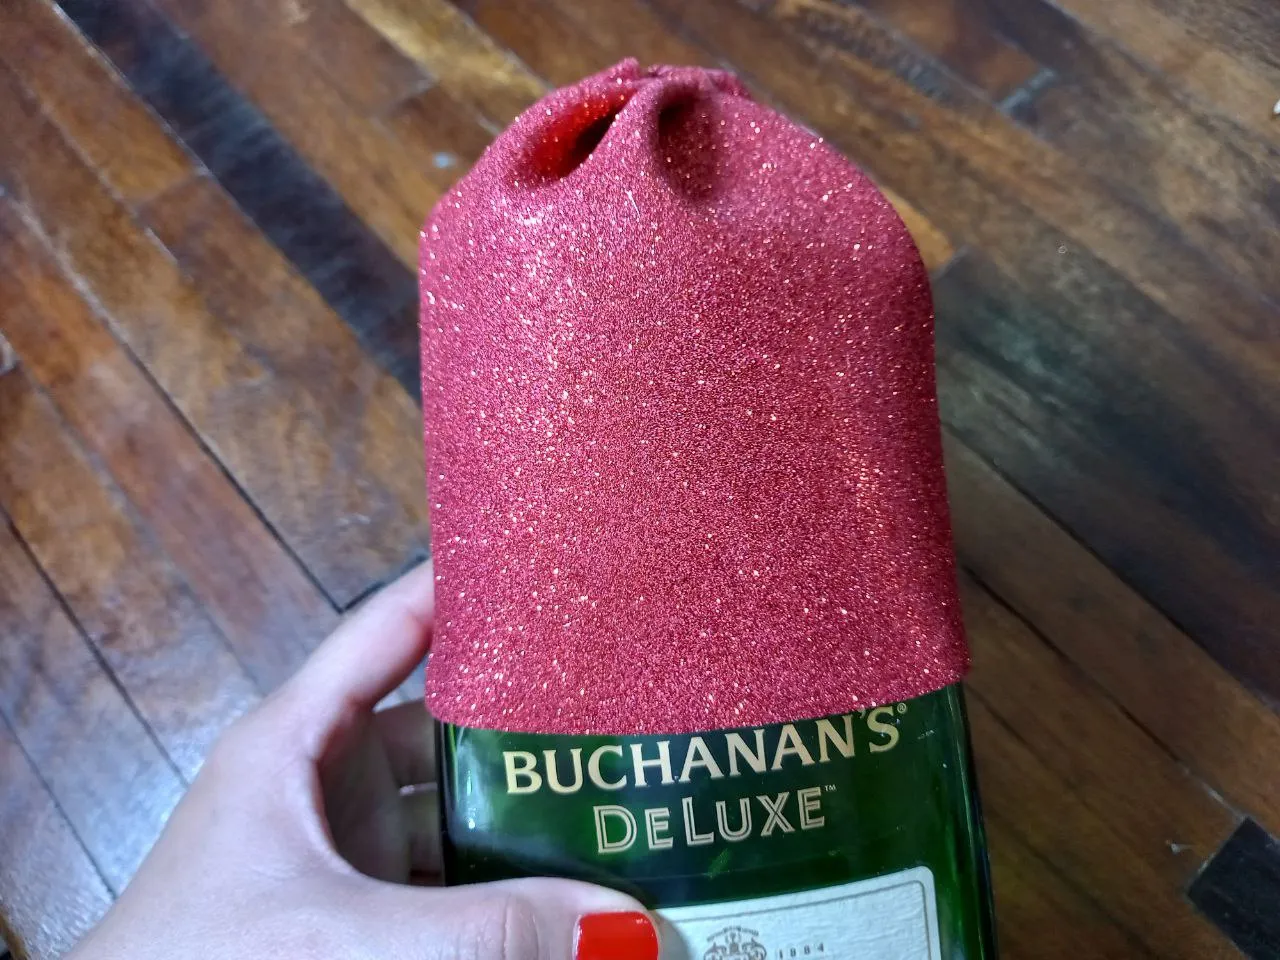
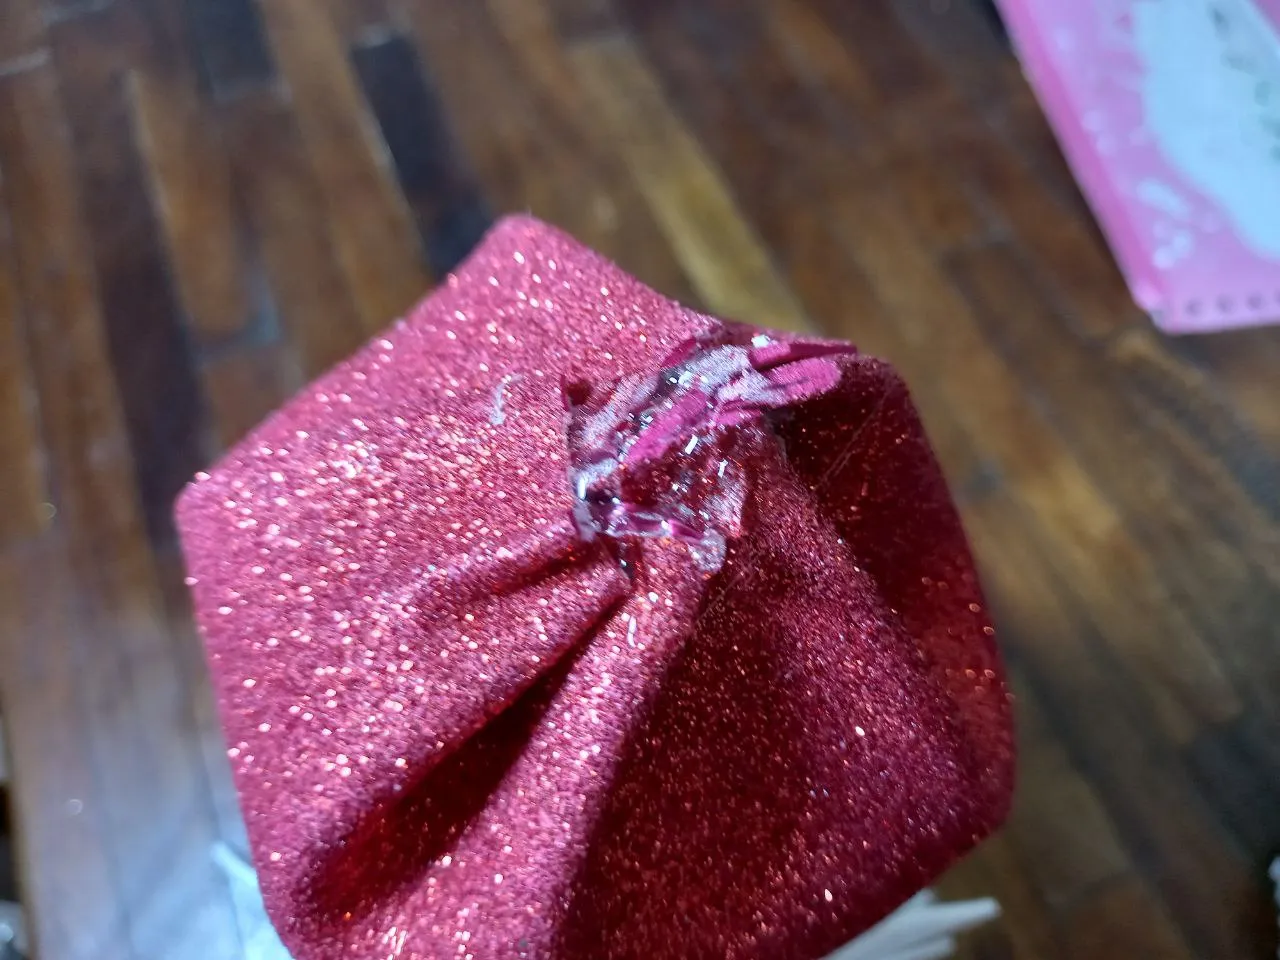
🎅 PASO 2. Aplicamos silicón en la parte interna de la orilla superior del foami rojo y unimos haciendo presión hasta cerrar por completo y se pegue bien.
🎅 STEP 2. We apply silicone on the inside of the upper edge of the red foami and we press together until it is completely closed and it sticks well.
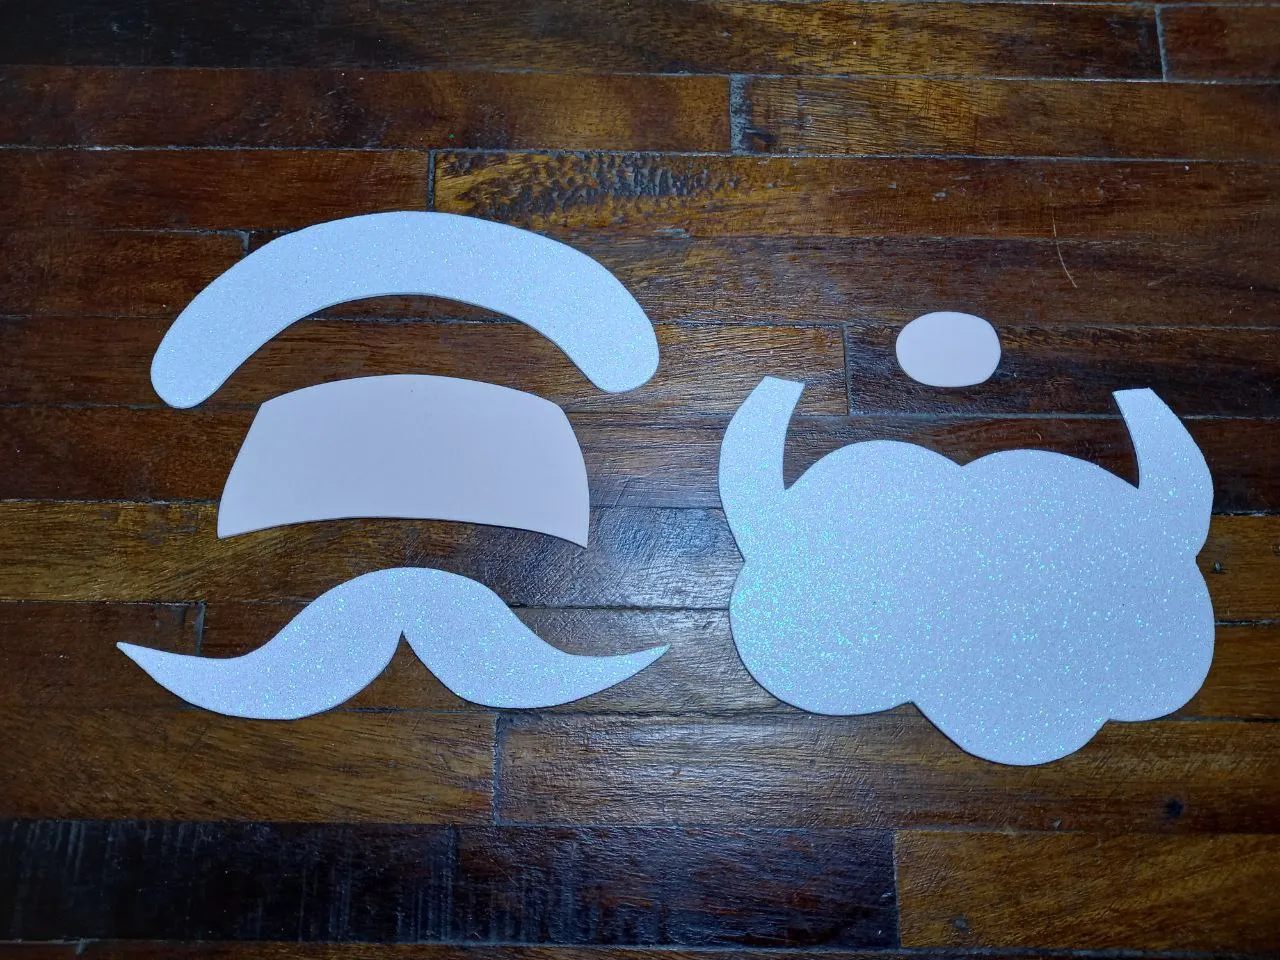
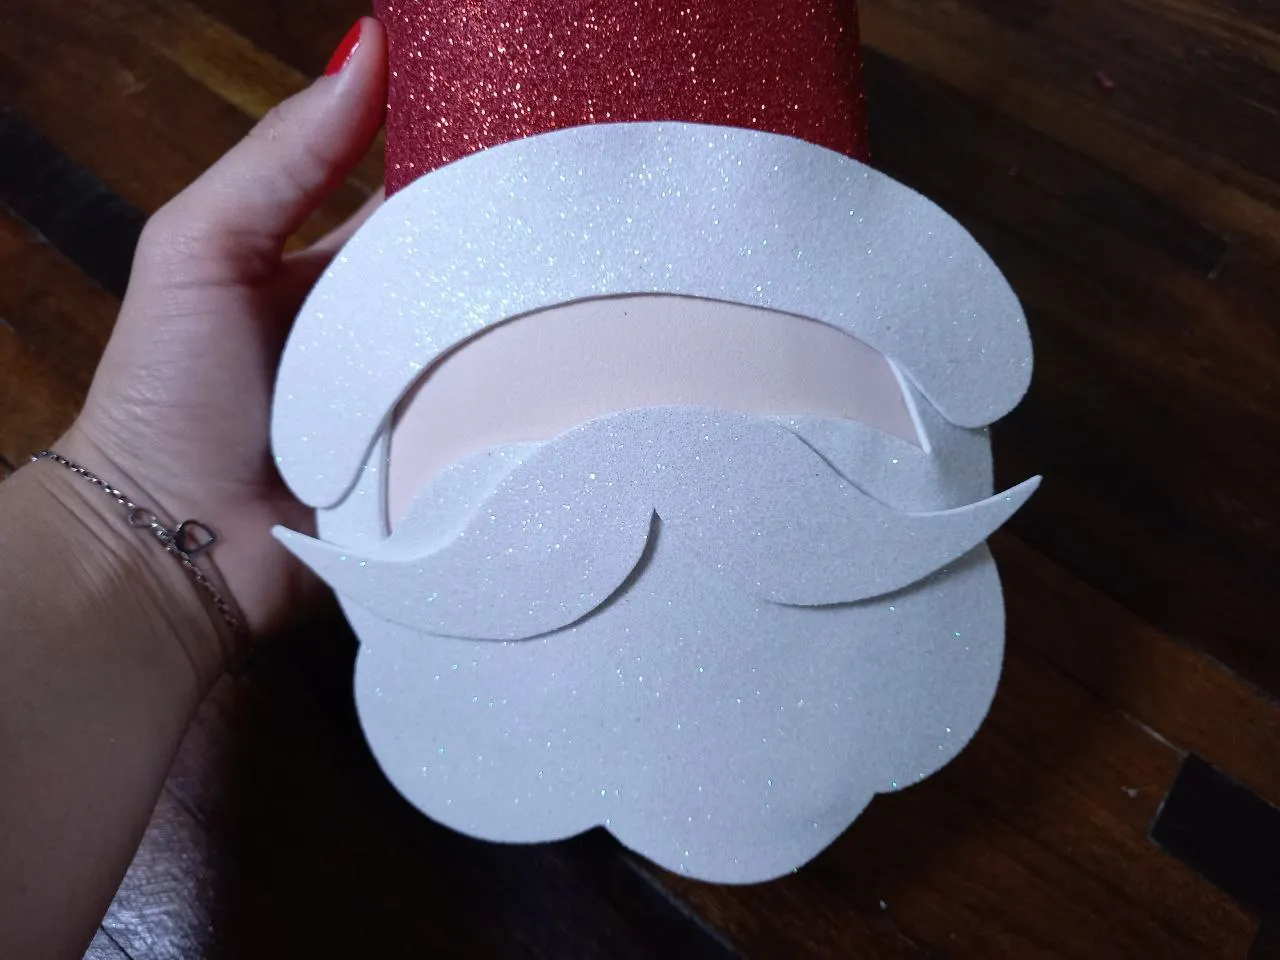
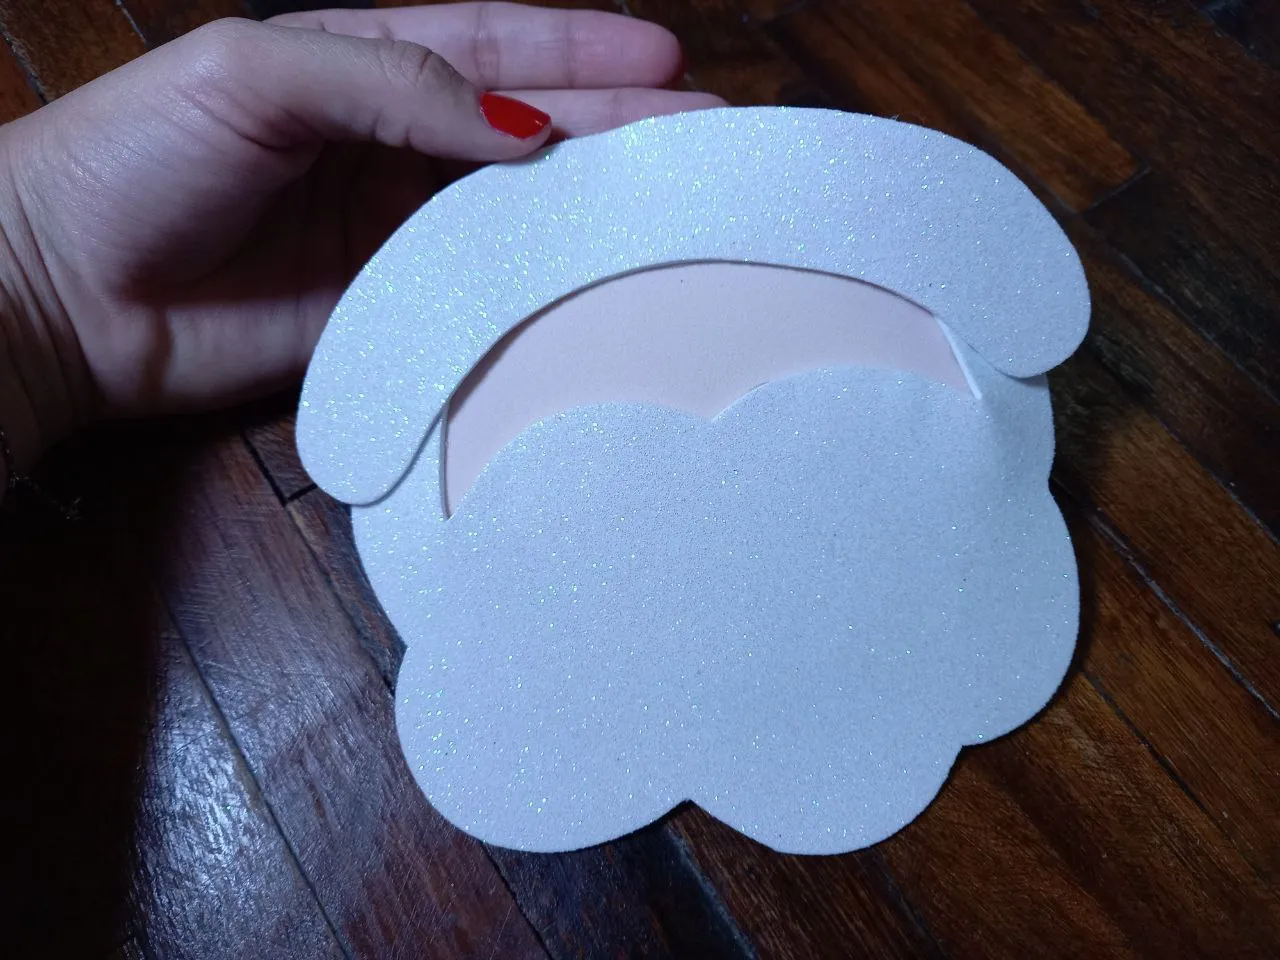
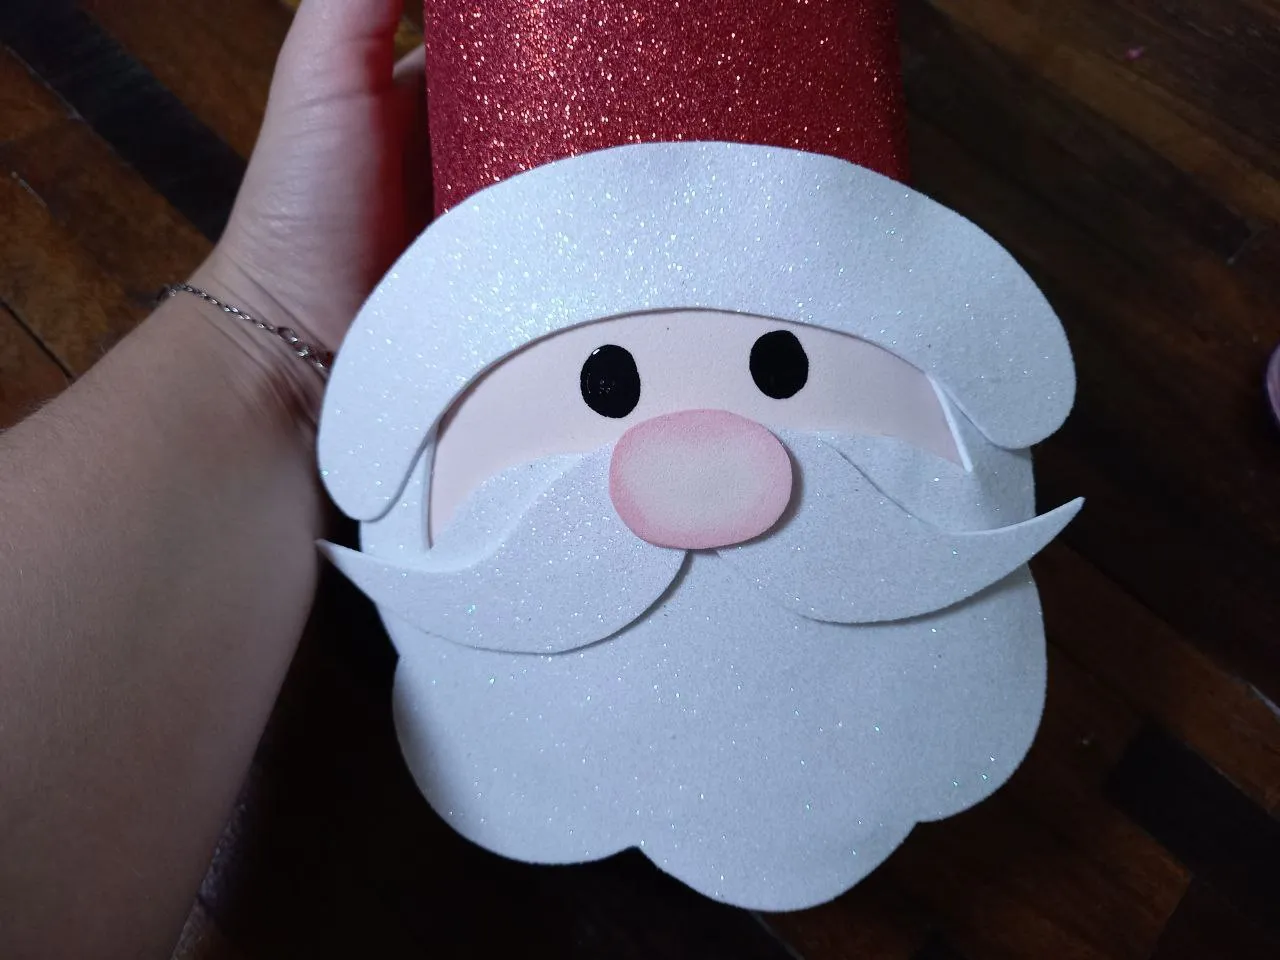
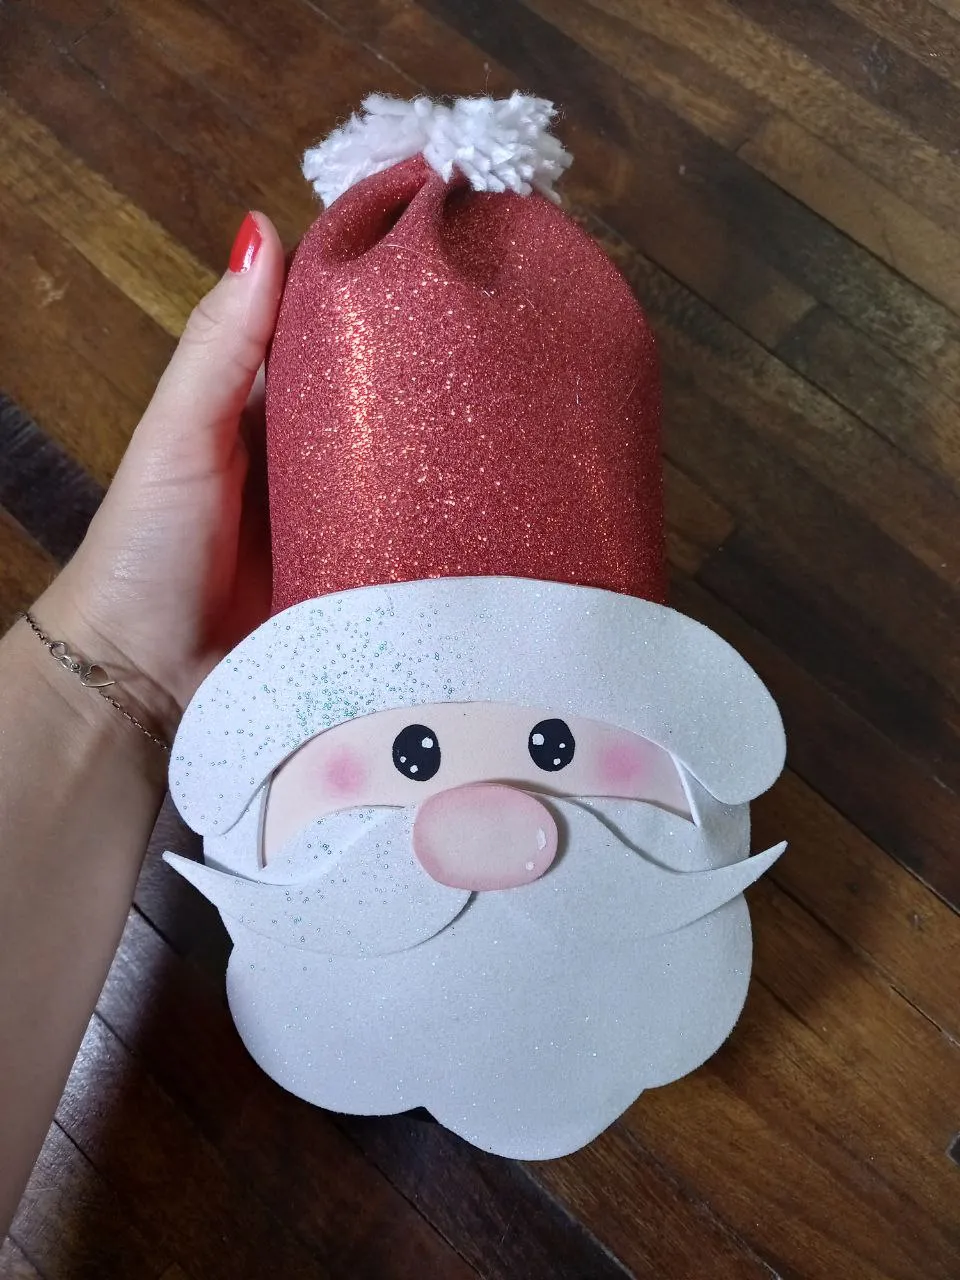
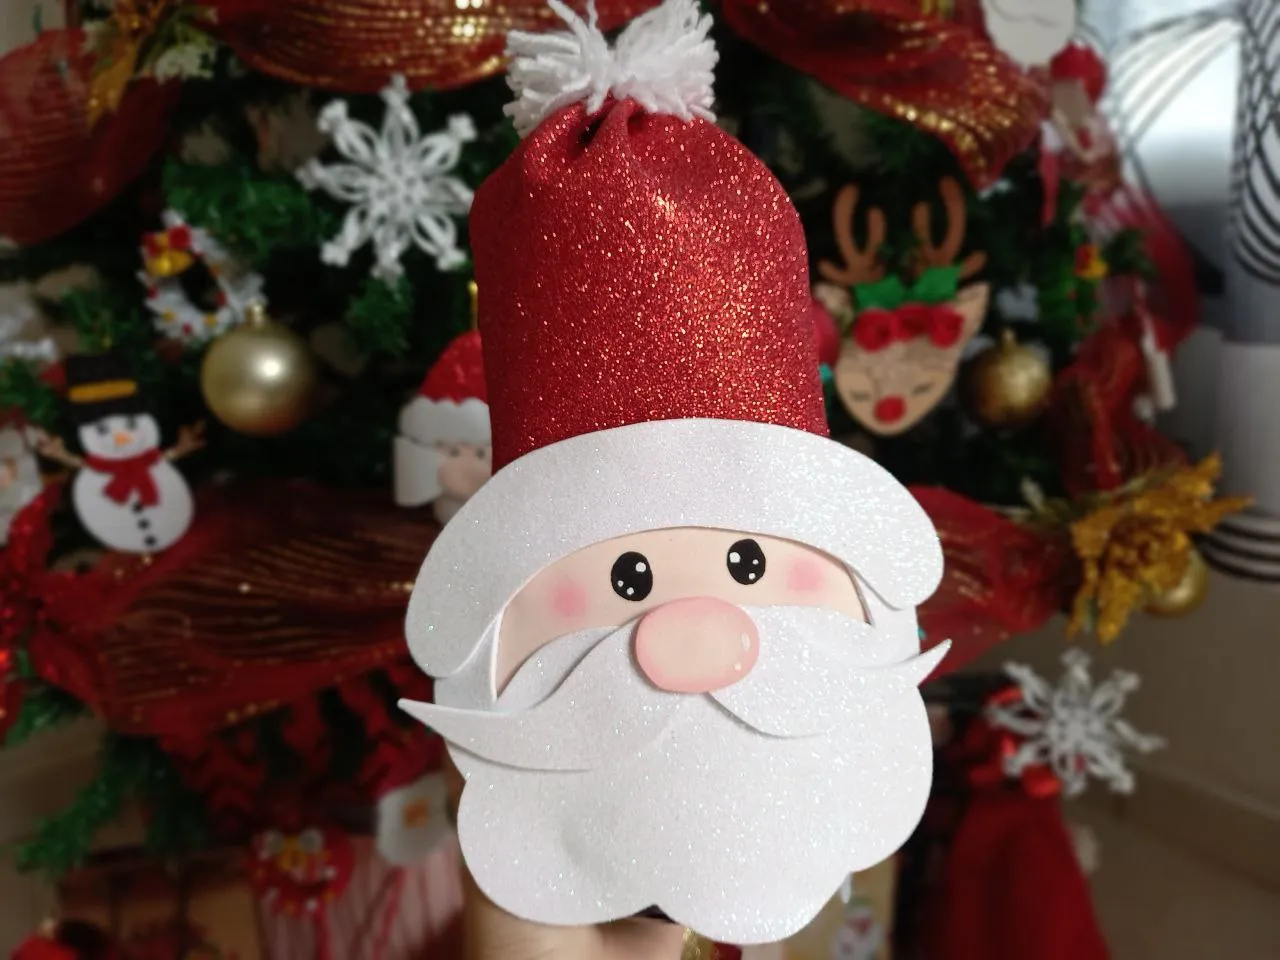
🎅 PASO 3. Hacemos las piezas para formar el rostro de Santa Claus en foami en sus colores correspondientes y recortamos, pegamos la barba sobre el rostro y el borde blanco del gorro en la orilla superior, luego pegamos esta pieza completa en la parte frontal de la botella de vidrio y luego le pegamos el bigote sobre la barba, tomamos un poco de rubor y le damos un poco de color a la nariz aplicándolo en el borde y la pegamos en el centro del bigote.
🎅 STEP 3. We make the pieces to form the face of Santa Claus in foami in their corresponding colors and cut out, glue the beard on the face and the white edge of the hat on the upper edge, then glue this complete piece on the front of the glass bottle and then we glue the mustache onto the beard, take some blush and give the nose some color by applying it to the edge and glue it in the center of the mustache.
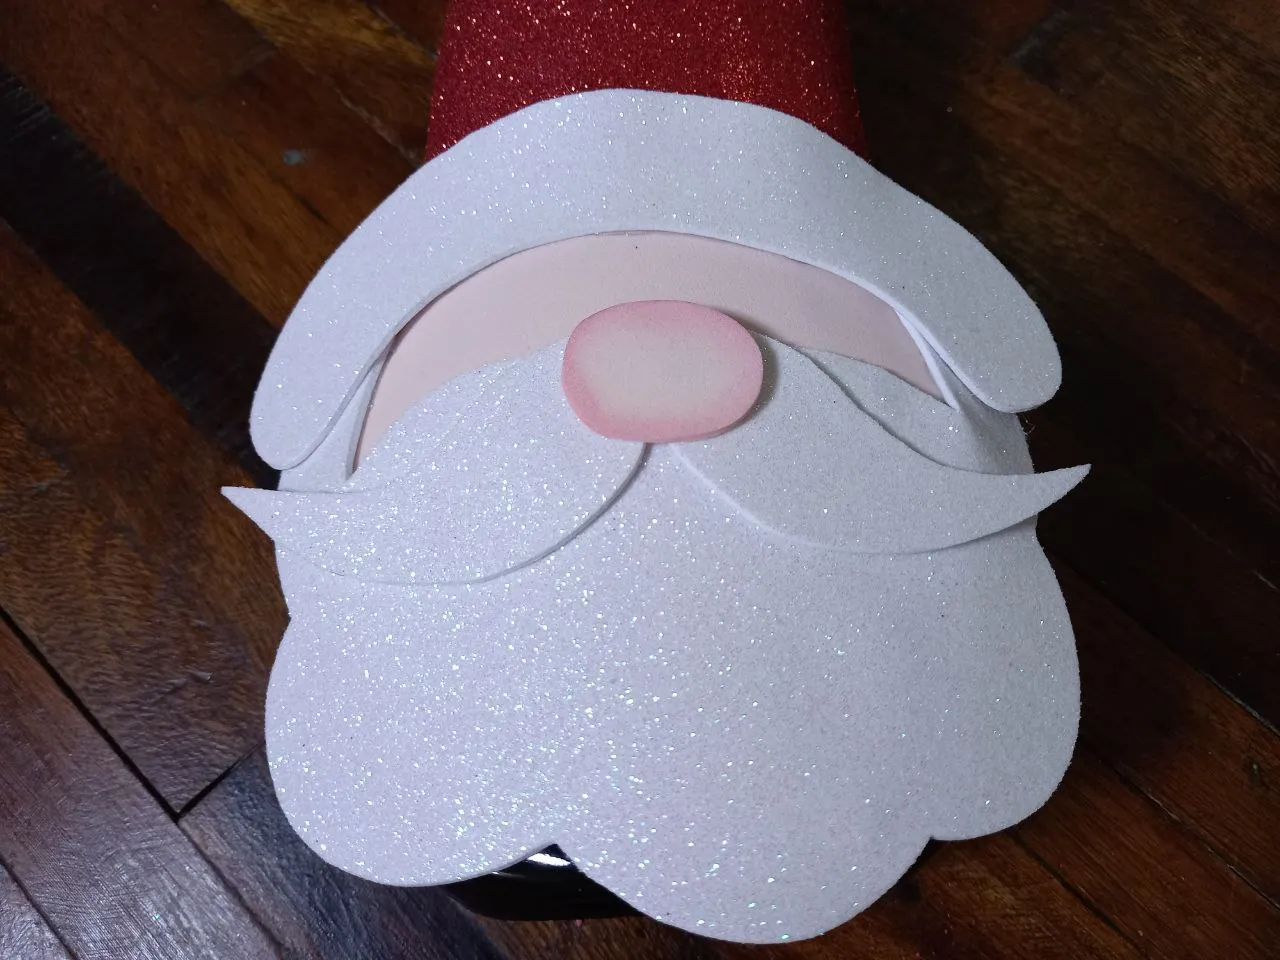
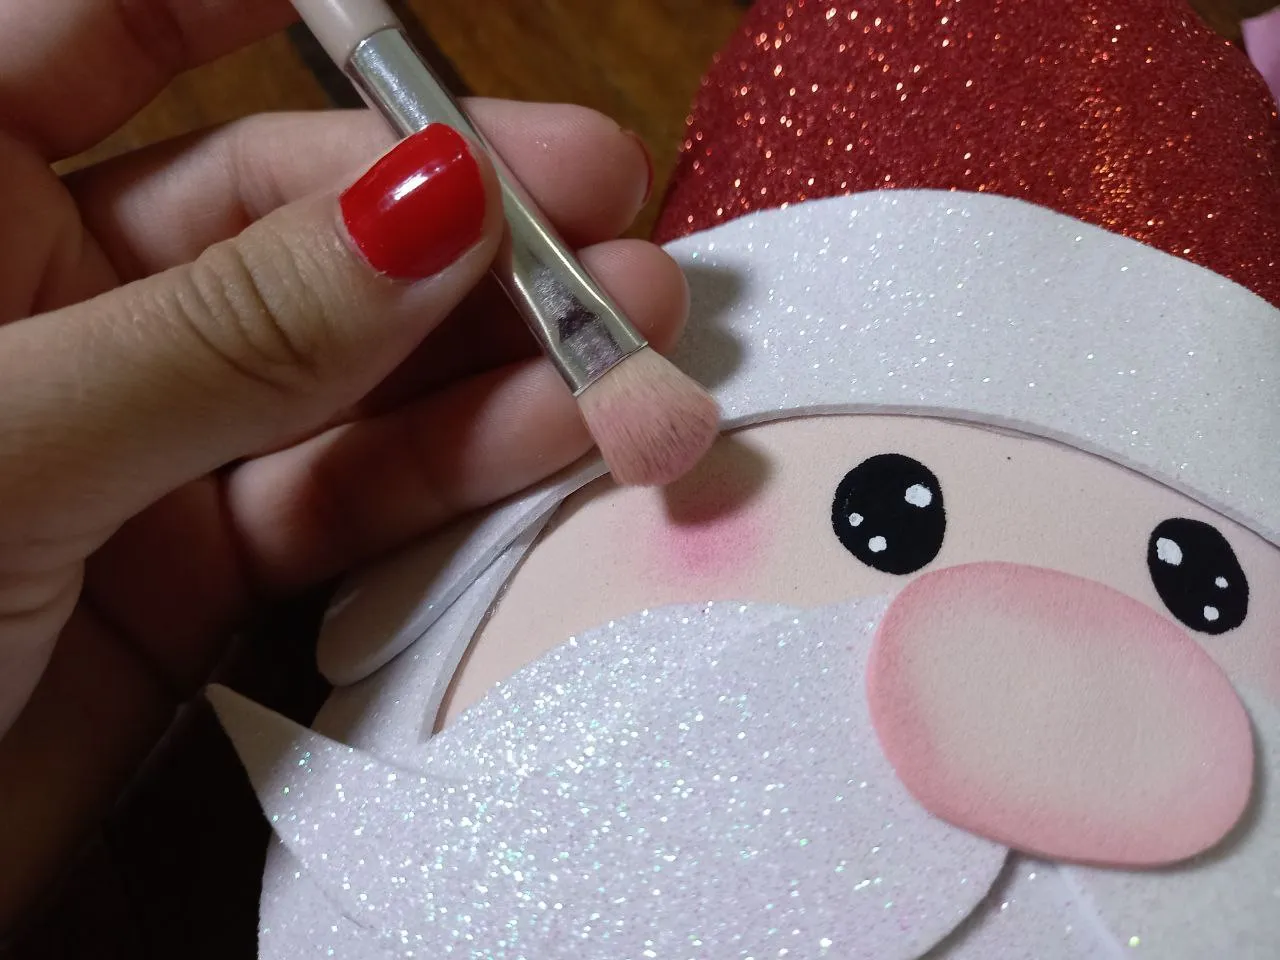
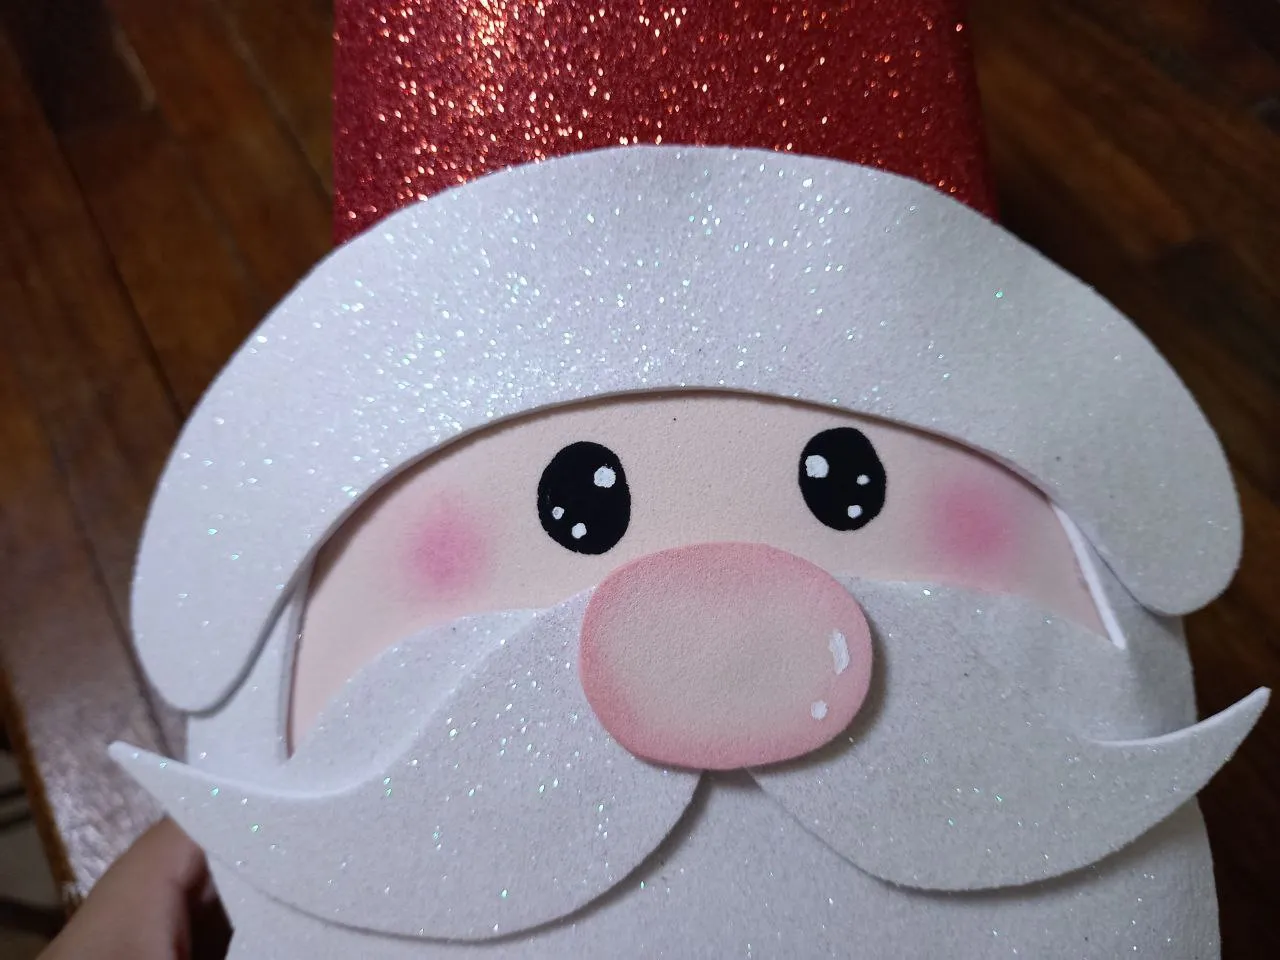
🎅 PASO 4. Tomamos un poco de pintura negra con la parte trasera del pincel y dibujamos los ojos, dejamos que seque bien la pintura y con el corrector de tinta dibujamos unos puntitos blancos a los ojos y aplicamos rubor para marcar las mejillas.
🎅 STEP 4. We take a little black paint with the back of the brush and draw the eyes, let the paint dry well and with the ink corrector we draw some white dots on the eyes and apply blush to mark the cheeks.

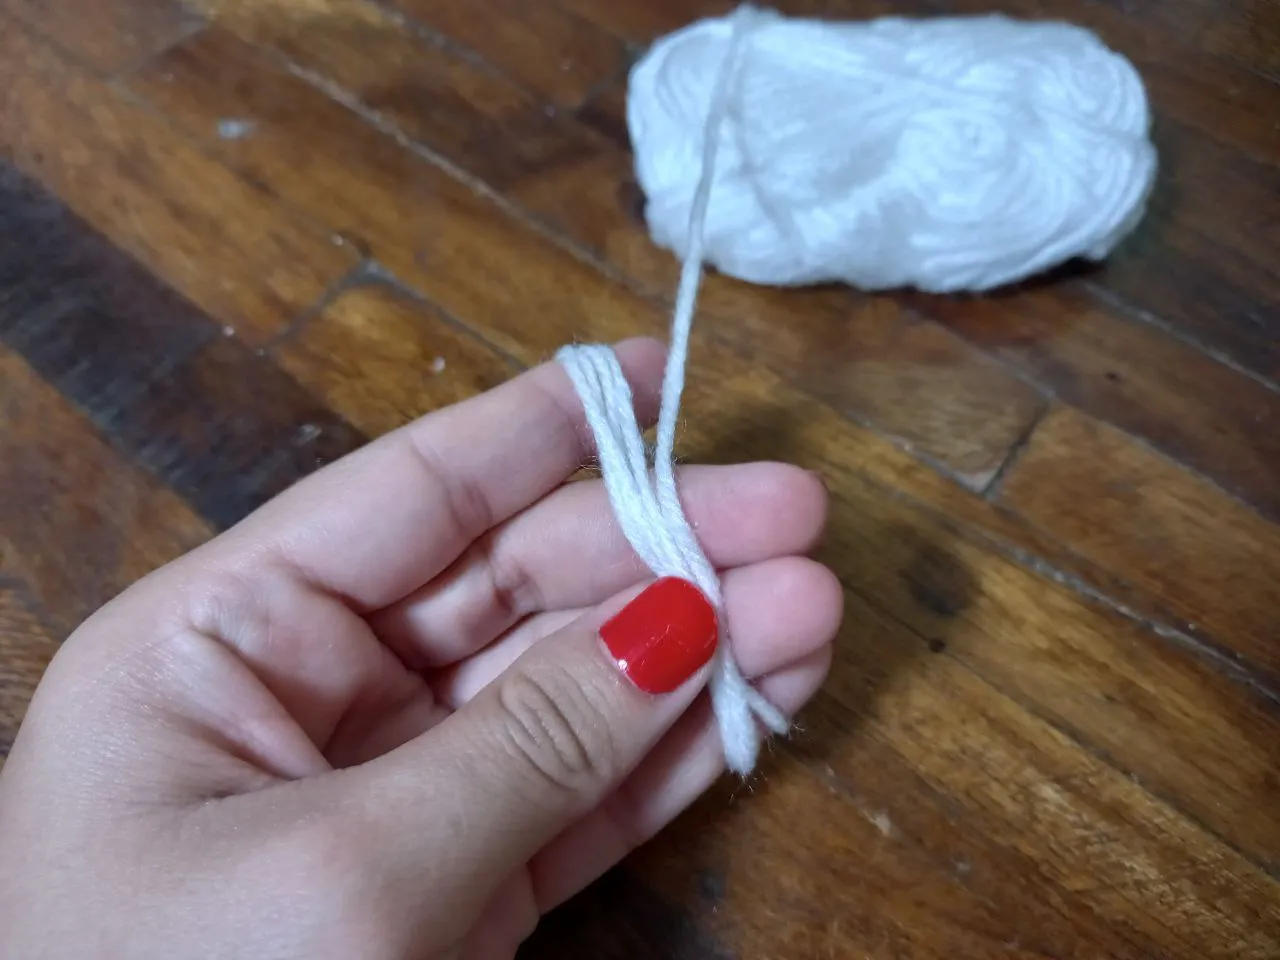
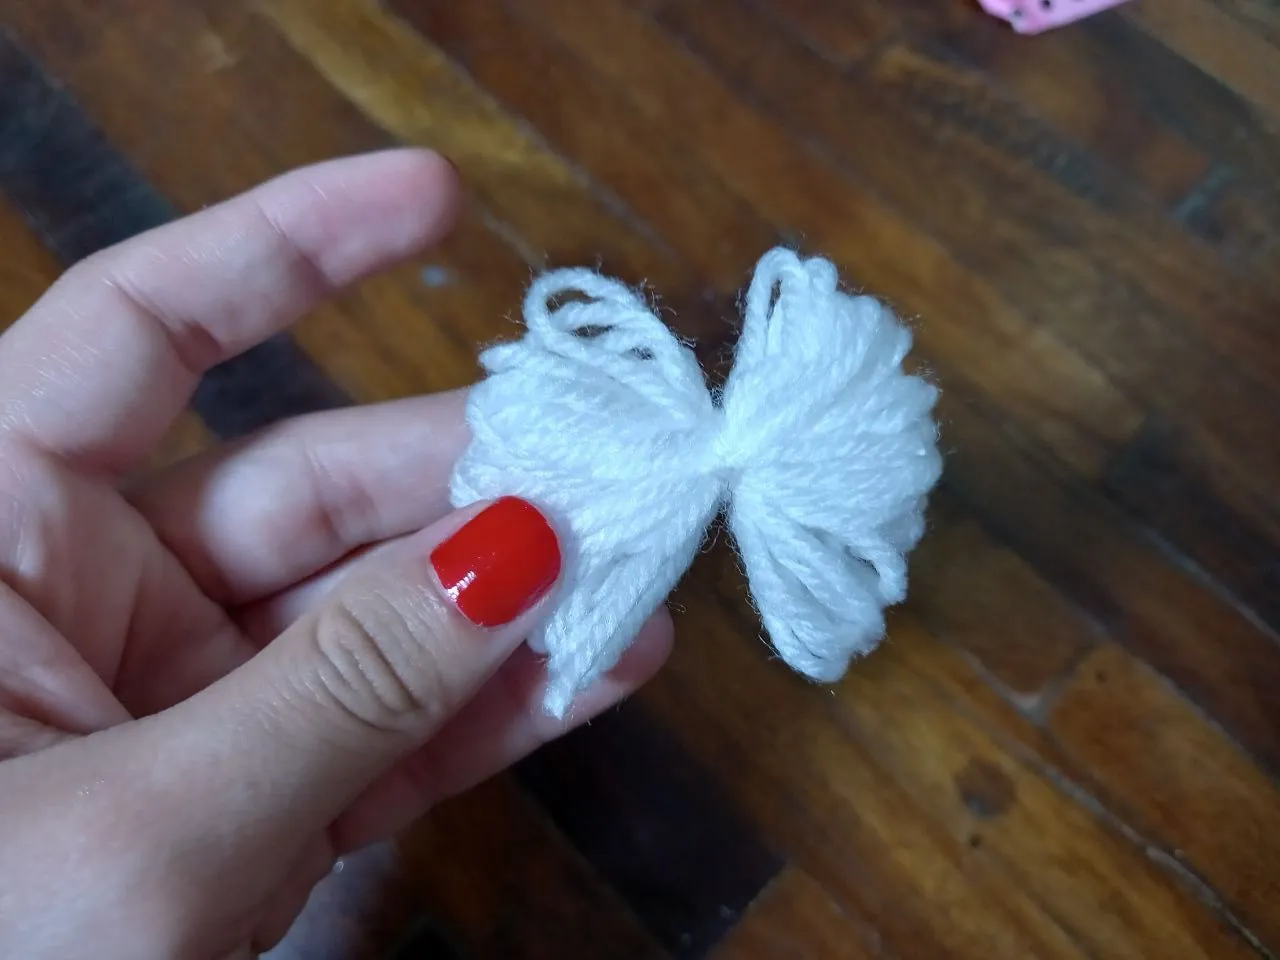
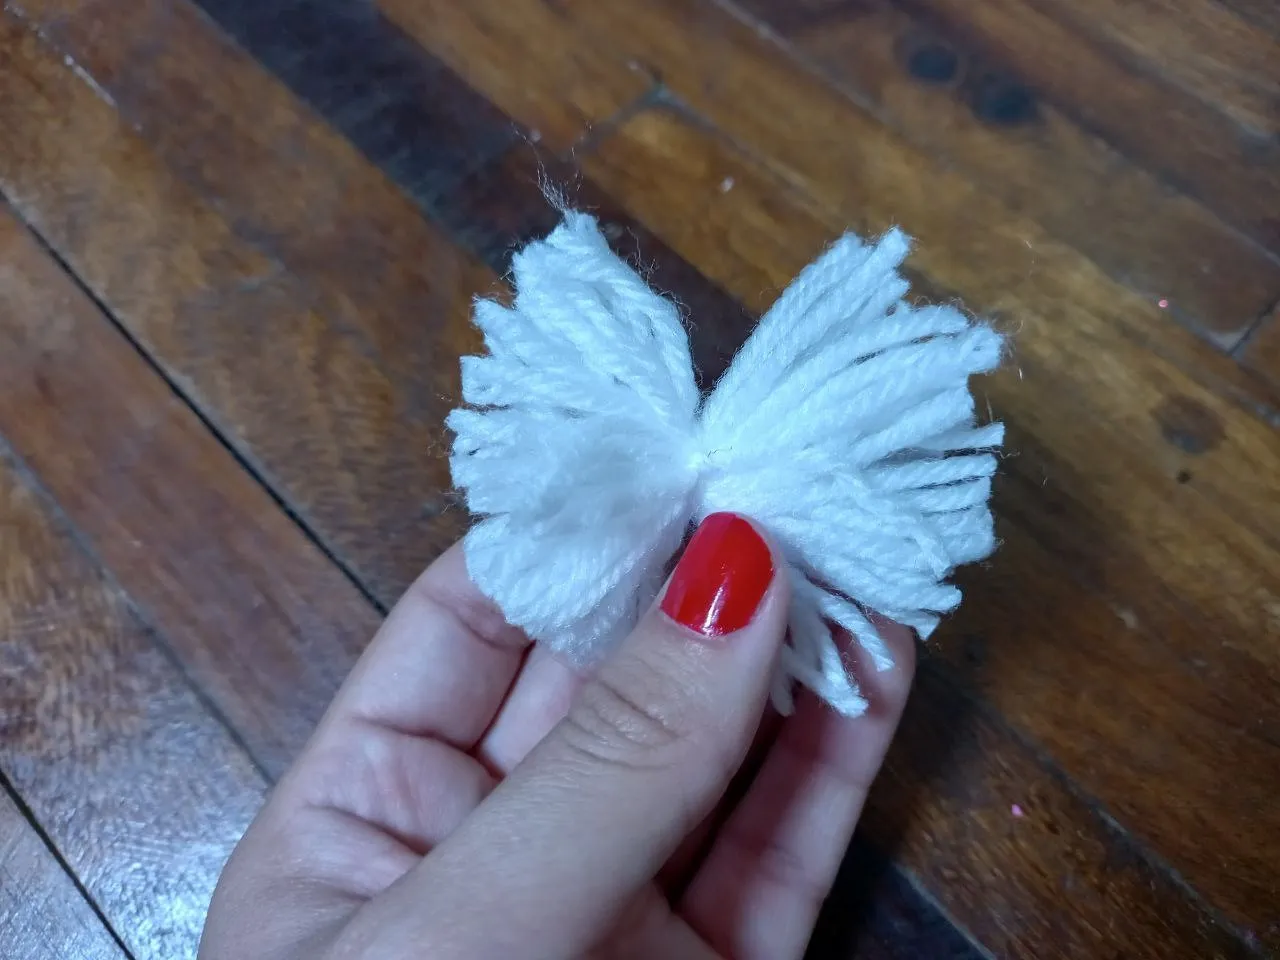
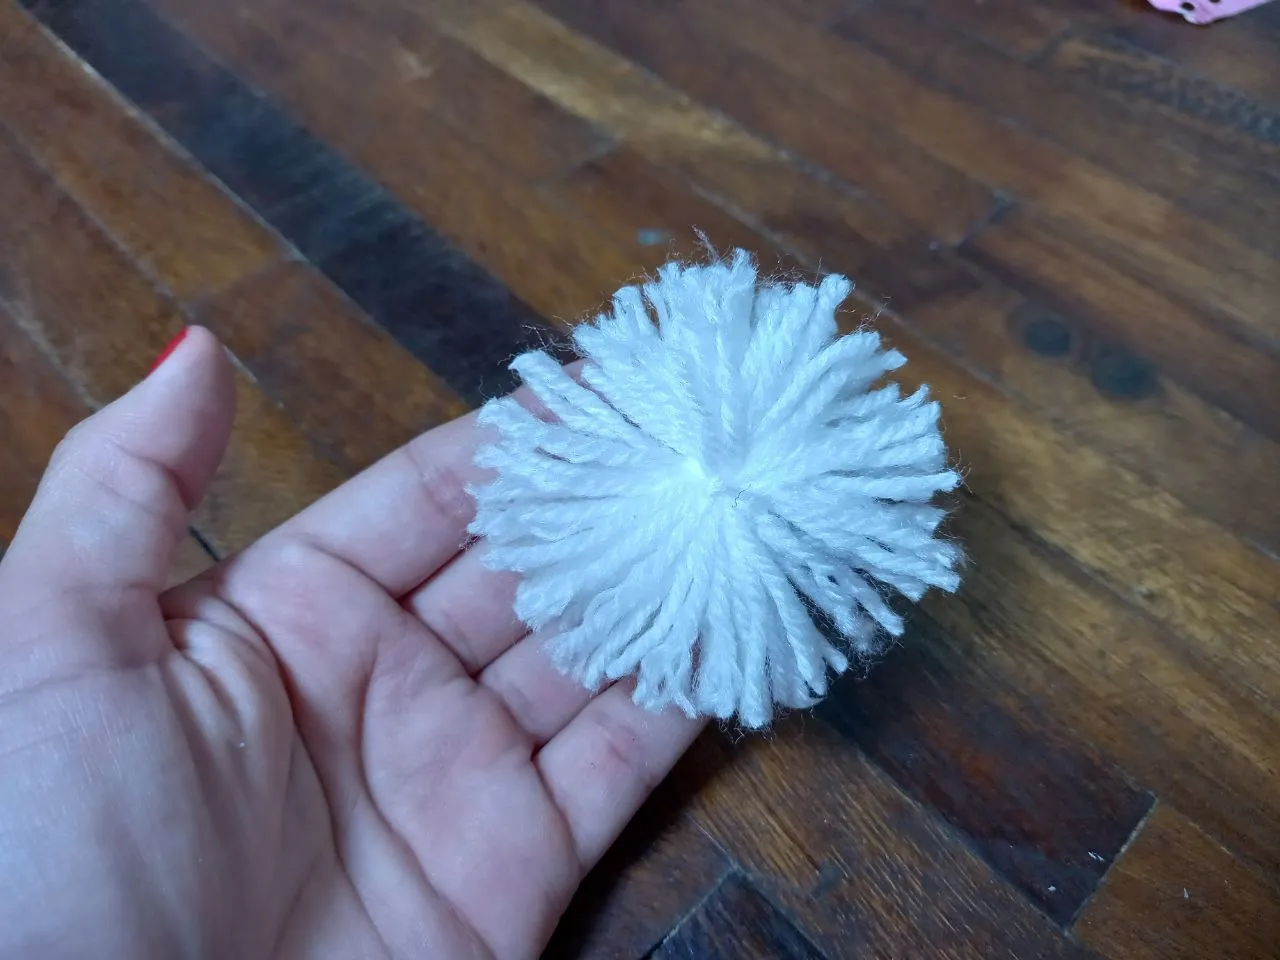
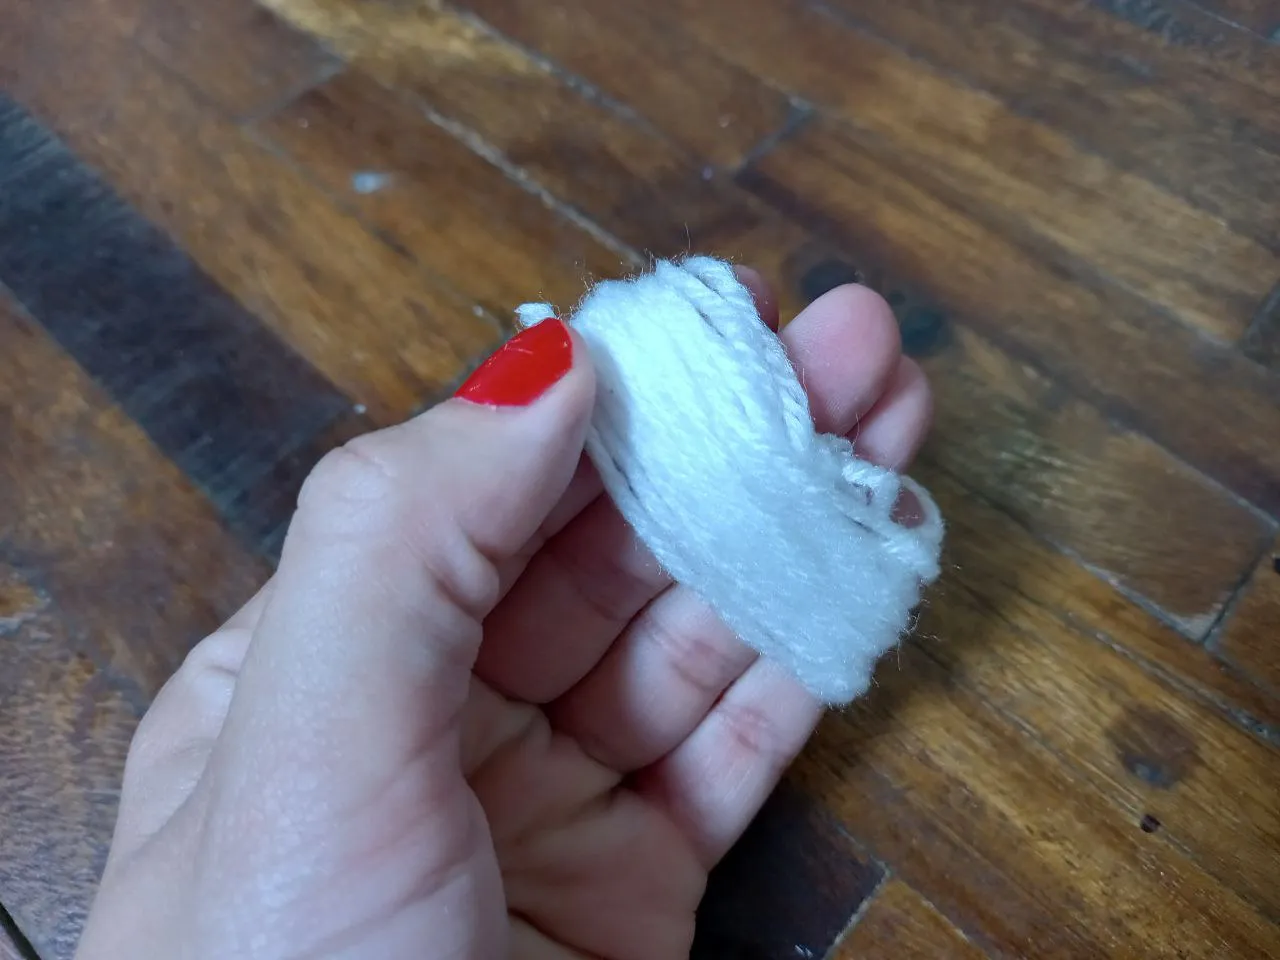
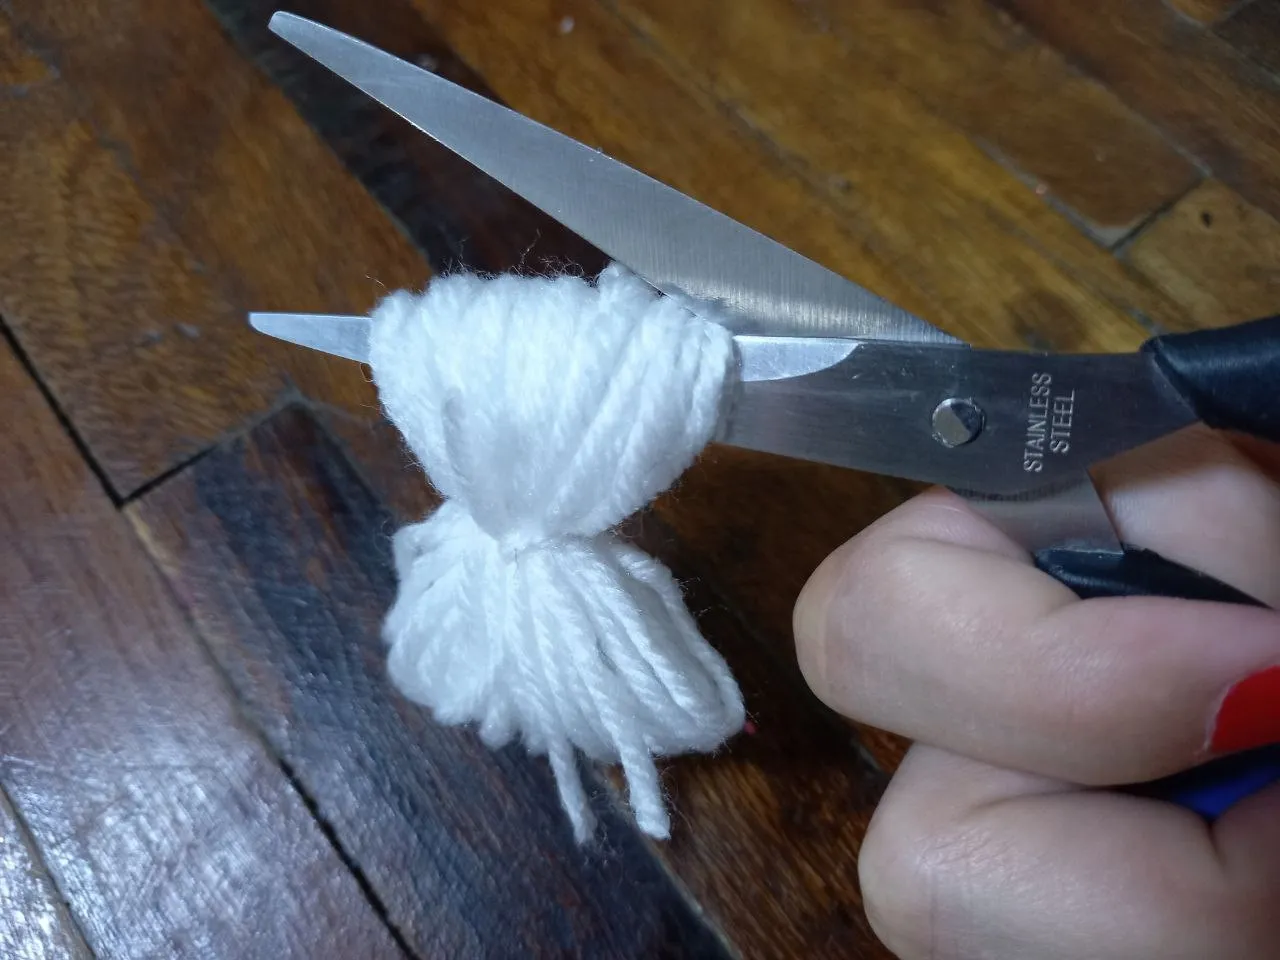
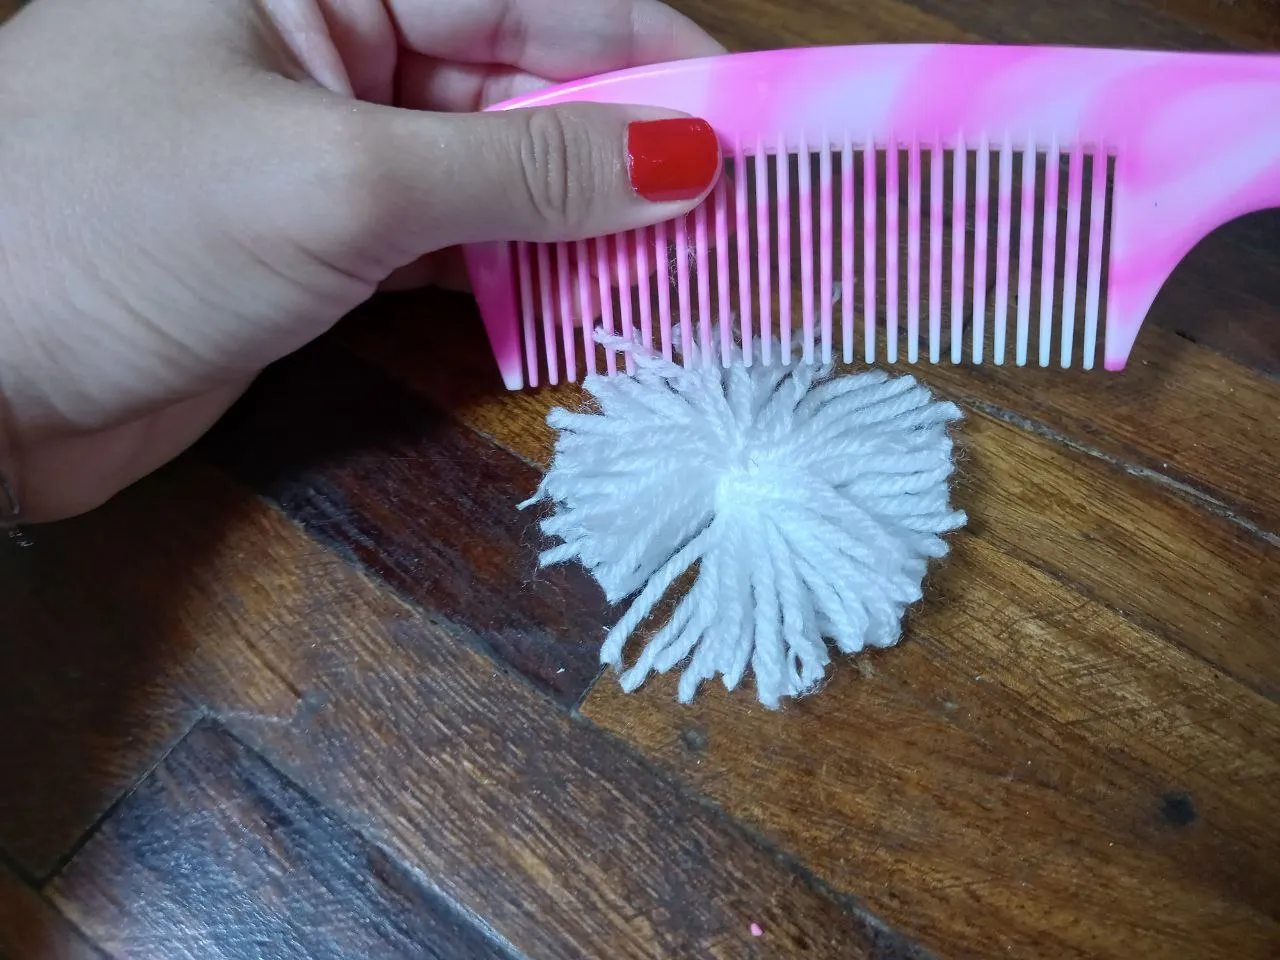
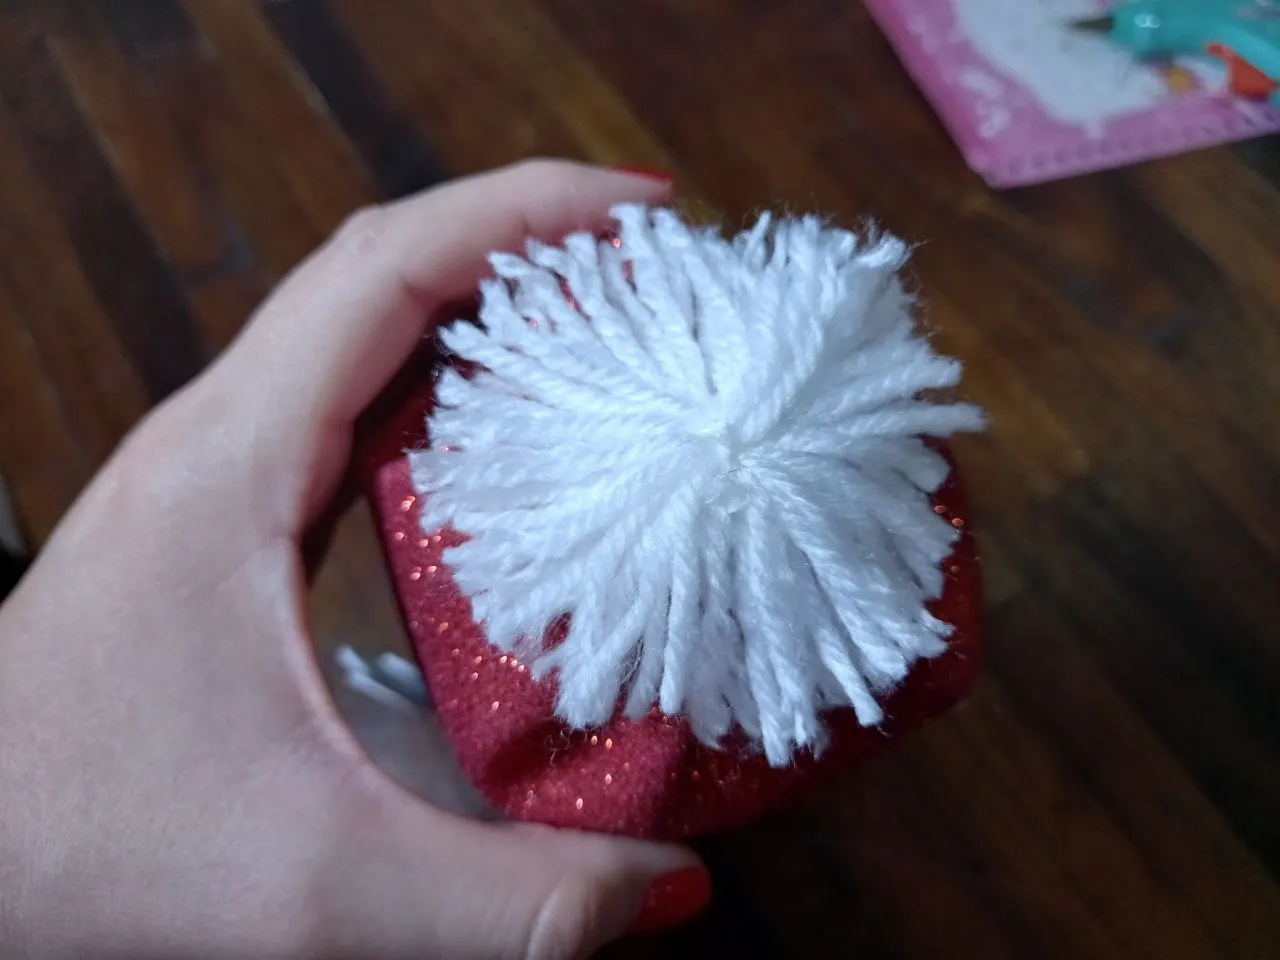
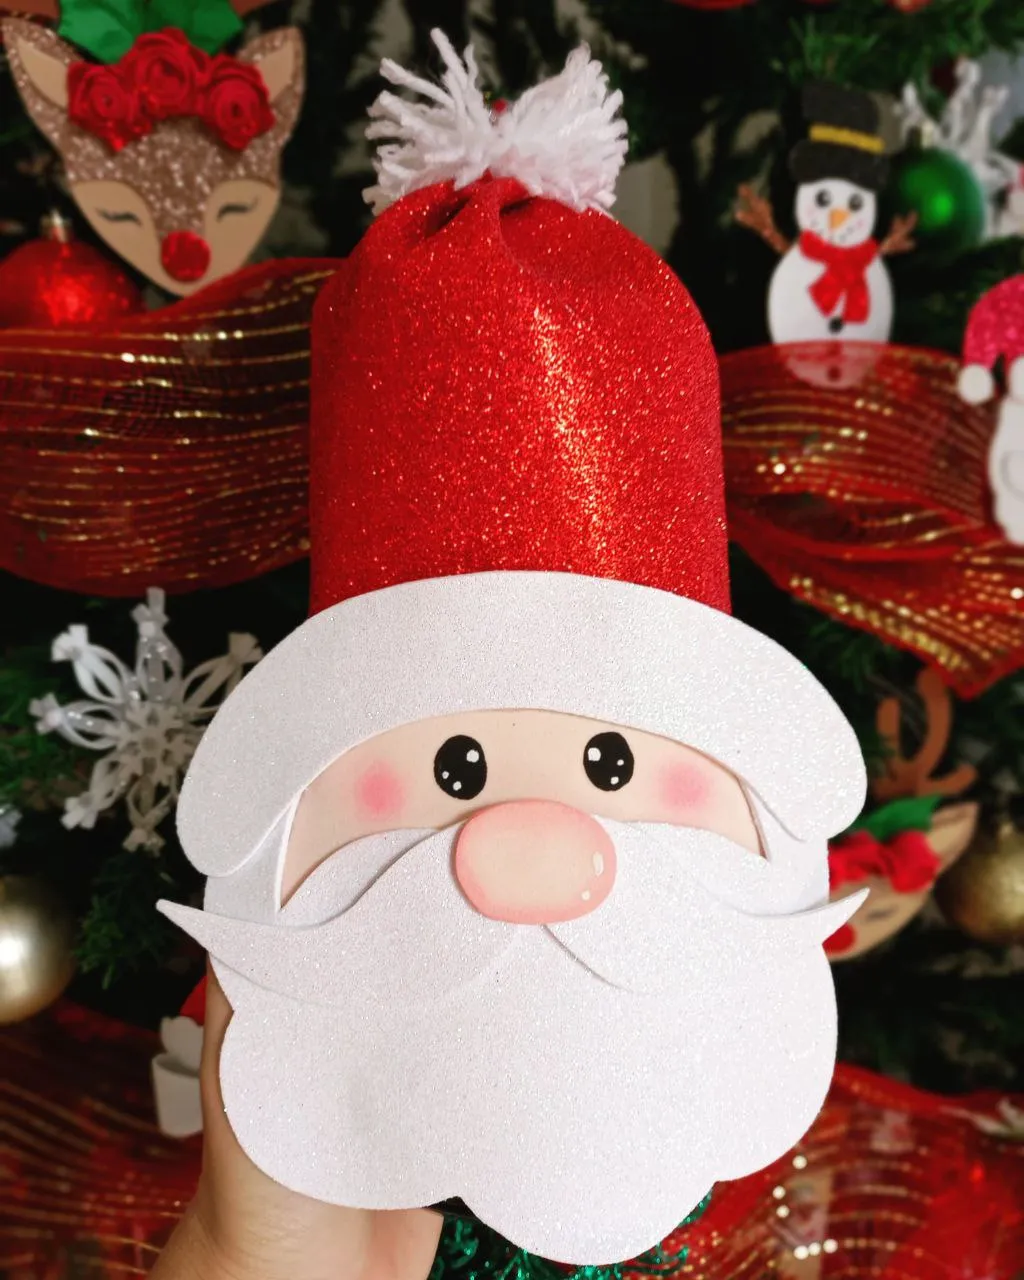
🎅 PASO 5. Tomamos el estambre blanco y enrollamos una cantidad en nuestra mano, hacemos un nudo en el centro para dividir en 2 partes y recortamos a los lados exponiendo las puntas, luego con un peine separamos el estambre dejándolo como un pompón, aplicamos silicón en la parte superior del gorro de Santa Claus y pegamos el pompón.
🎅 STEP 5. We take the white yarn and roll a quantity in our hand, tie a knot in the center to divide it into 2 parts and cut the sides exposing the ends, then with a comb we separate the yarn leaving it like a pompom, we apply silicone on the upper part of the Santa Claus hat and glue the pompom.
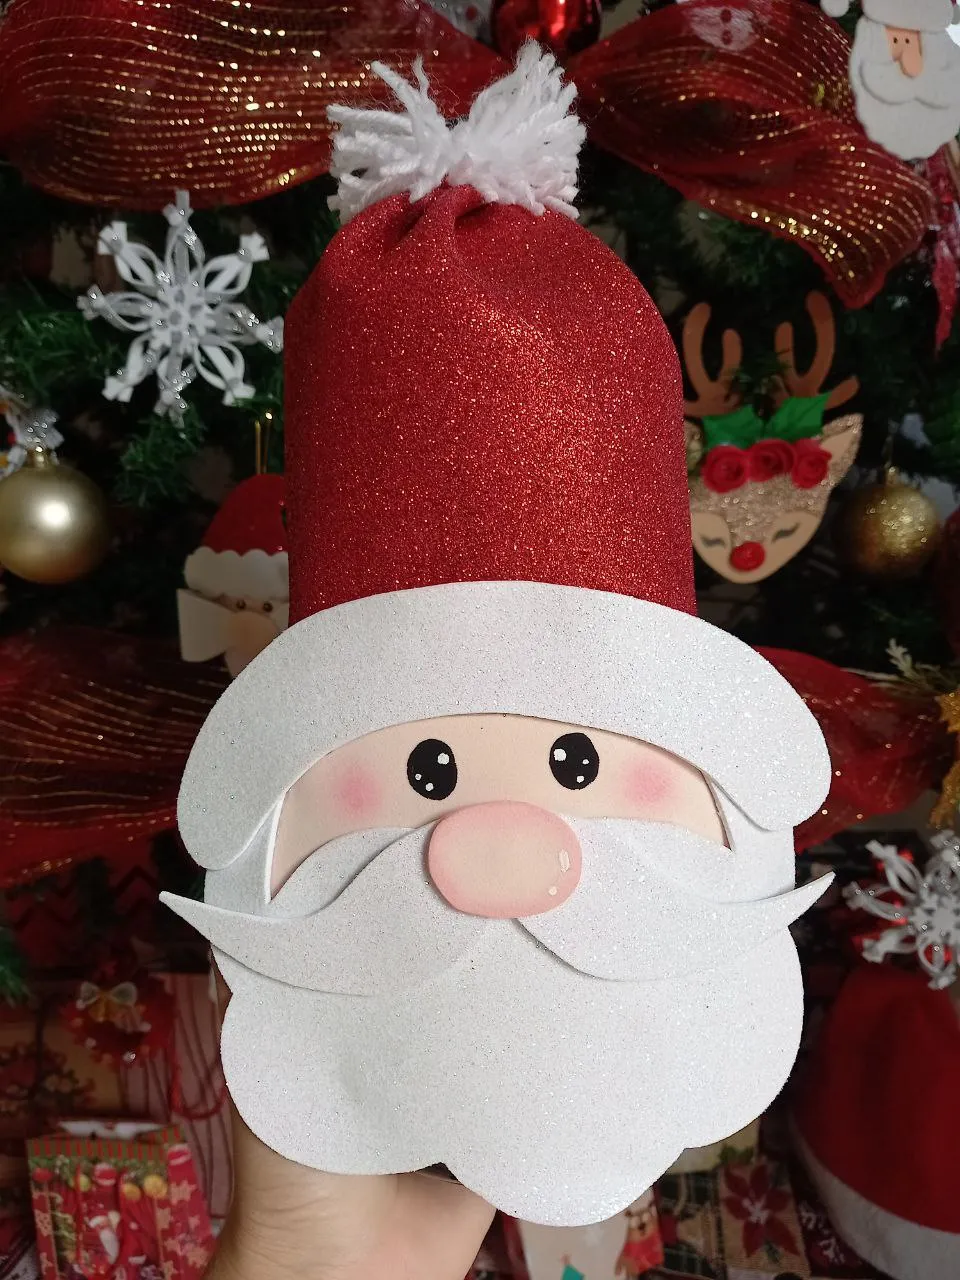
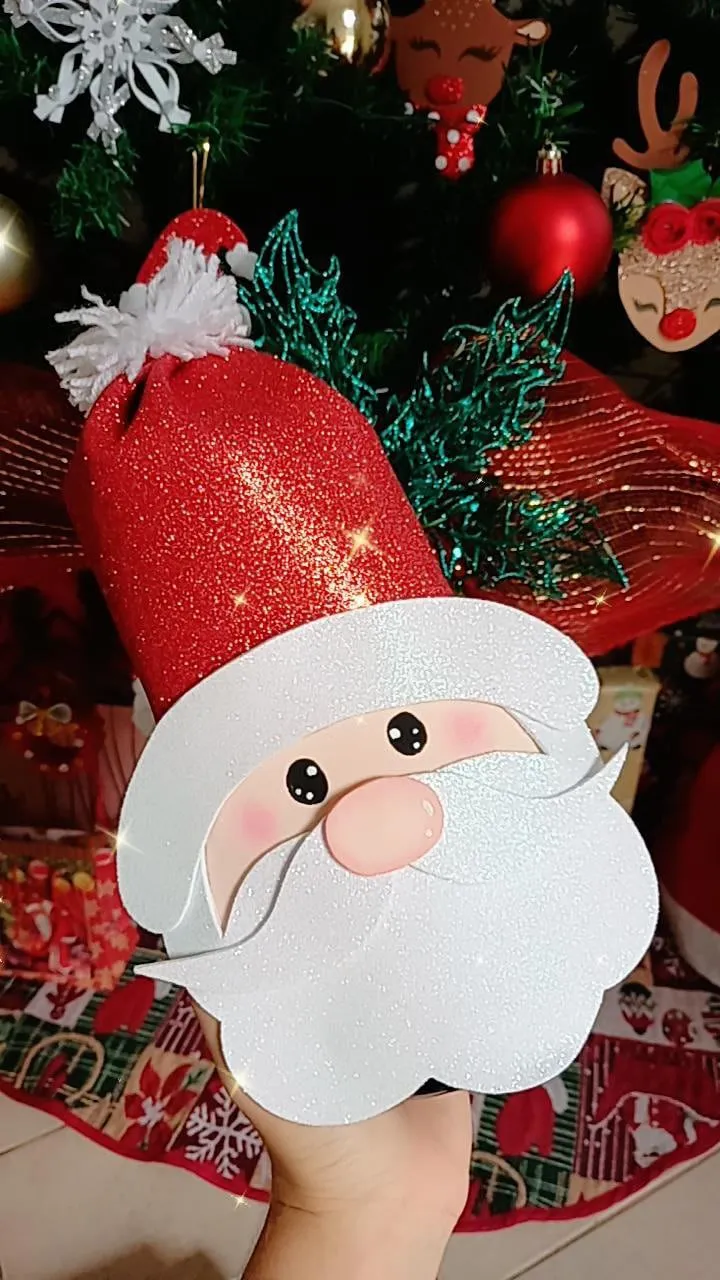
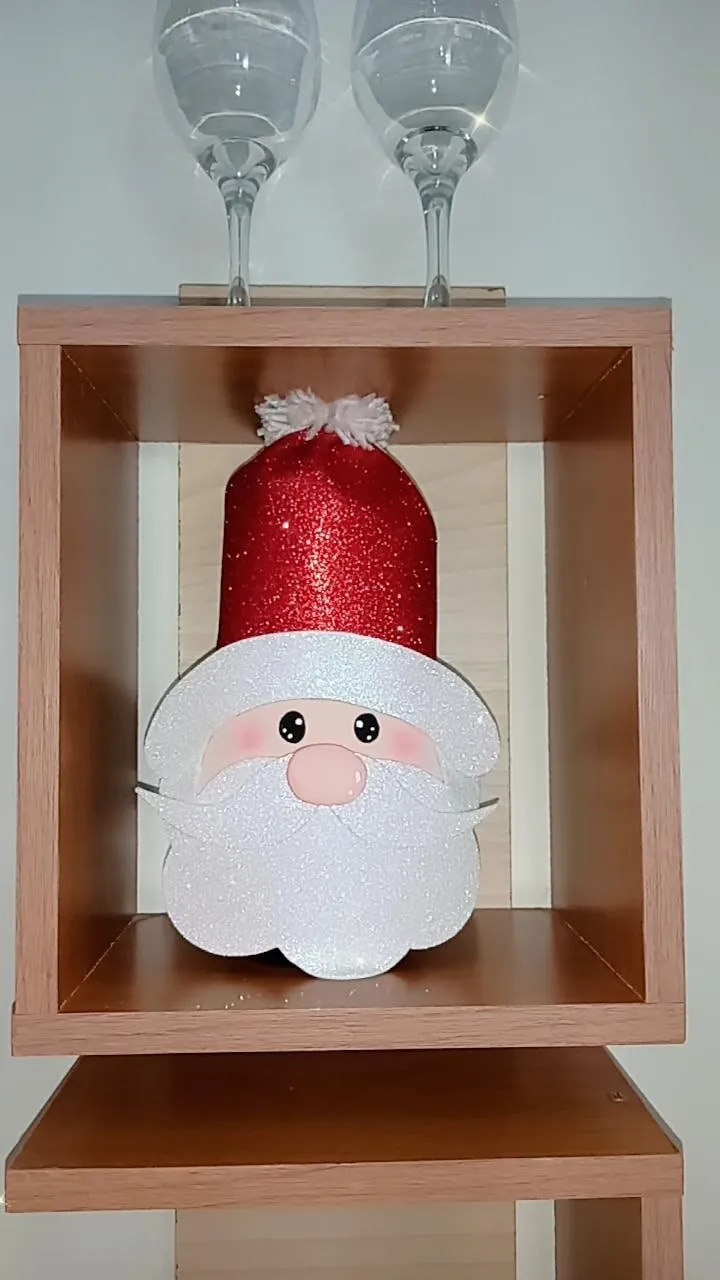
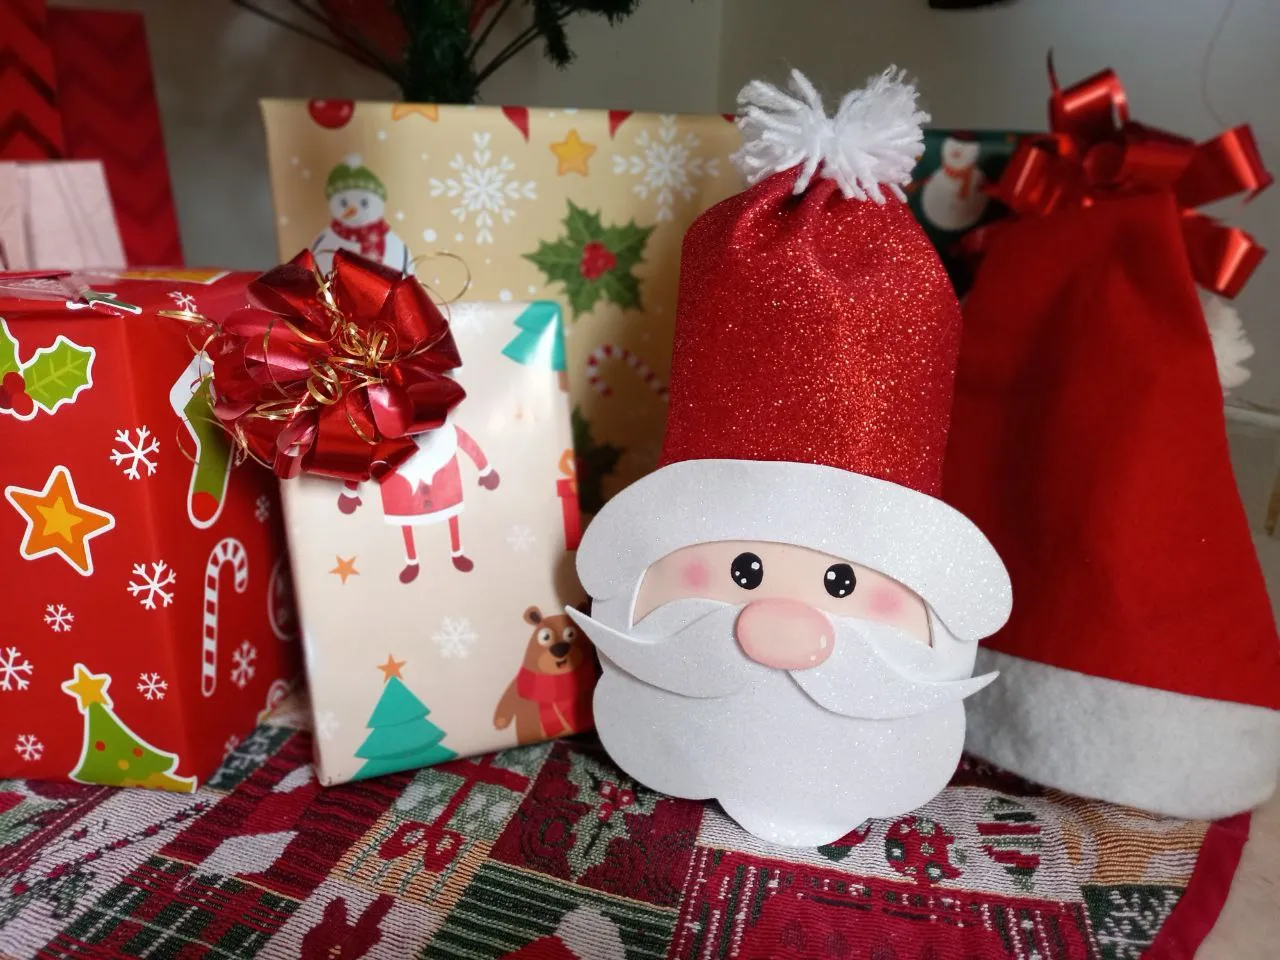
¡Y listo! Así es como he convertido una botella de Whisky en un lindo Santa Claus para decorar, esa botella yo la tenía en un pequeño estante de madera en mi sala y ahora que lo decoré luce mucho mejor en ese lugar, aunque también queda muy bien debajo de arbolito e incluso en la mesa, es muy decorativo y lo mejor es que es muy fácil de hacer, espero que les haya gustado esta idea y puedan recrearla si tienen una botella de vidrio en casa aunque no sea de esta misma, gracias por visitar mi blog, nos vemos pronto con otra nueva idea navideña.
And ready! This is how I have turned a bottle of Whiskey into a cute Santa Claus to decorate, I had that bottle on a small wooden shelf in my living room and now that I decorated it, it looks much better in that place, although it also looks great under little tree and even on the table, it is very decorative and the best thing is that it is very easy to do, I hope you liked this idea and can recreate it if you have a glass bottle at home even if it is not this one, thanks for visiting my blog, see you soon with another new Christmas idea.


Todas las fotografías son de mi propiedad.
Fotografías capturadas con mi Samsung Galaxy A12
Separador de texto elaborado en Canva.
Nos vemos en mi próxima publicación.
¡Tengan un feliz día!
All photographs are my property.
Photos captured with my Samsung Galaxy A12
Text separator made in Canva.
See you in my next post.
¡Have a happy day!