Hey there, Hive!✨
¡Hola, Hive!✨
En San Valentín también se festejan las amistades buenas, esas bonitas con personas que aportan cosas buenas a tu vida, como risas y apoyo emocional cuando es necesario. Así que éste año quise hacerle un pequeño detalle a una amiga que aprecio mucho y en este post les muestro paso por paso cómo hacer una tarjeta decorada sencilla y creativa
Good friendships are also celebrated on Valentine's Day, those beautiful ones with people who bring good things to your life, such as laughter and emotional support when necessary. So this year I wanted to give a small detail to a friend of mine that I really appreciate and in this post I'll show you step by step how to make a simple and creative decorated card
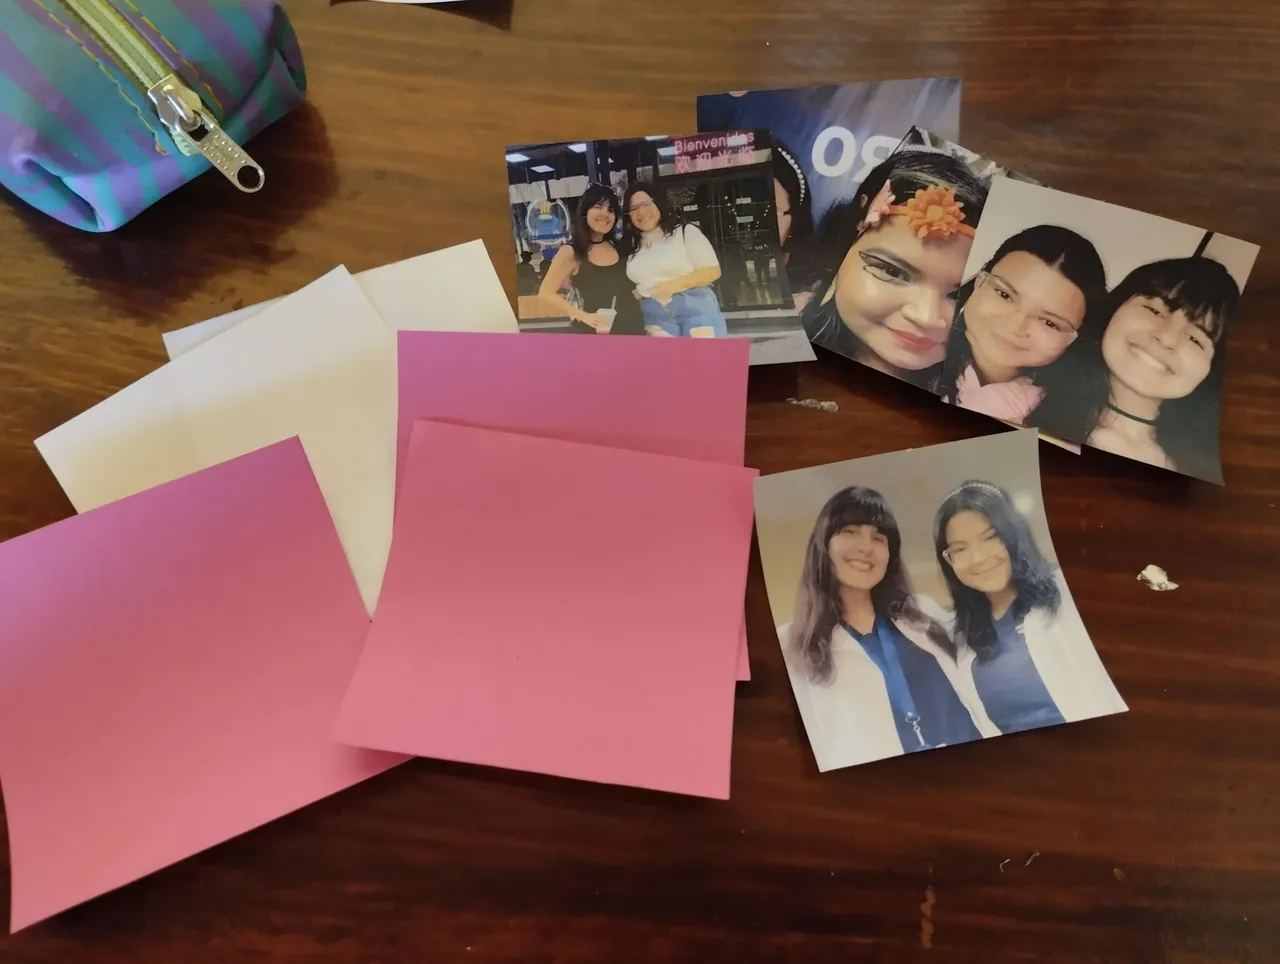
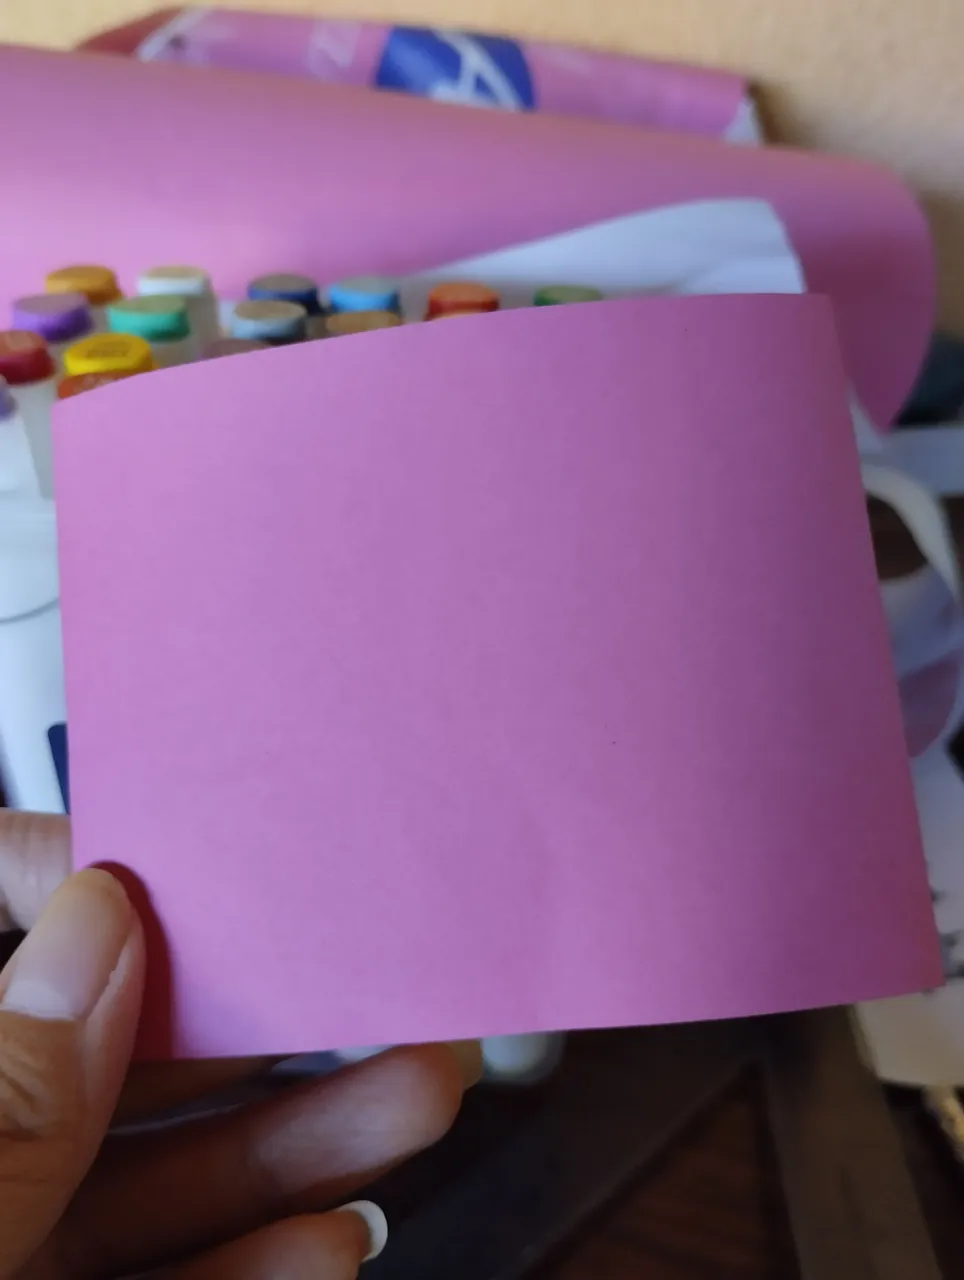
🩷 Cartulina del color de preferencia
🩷 Fotos
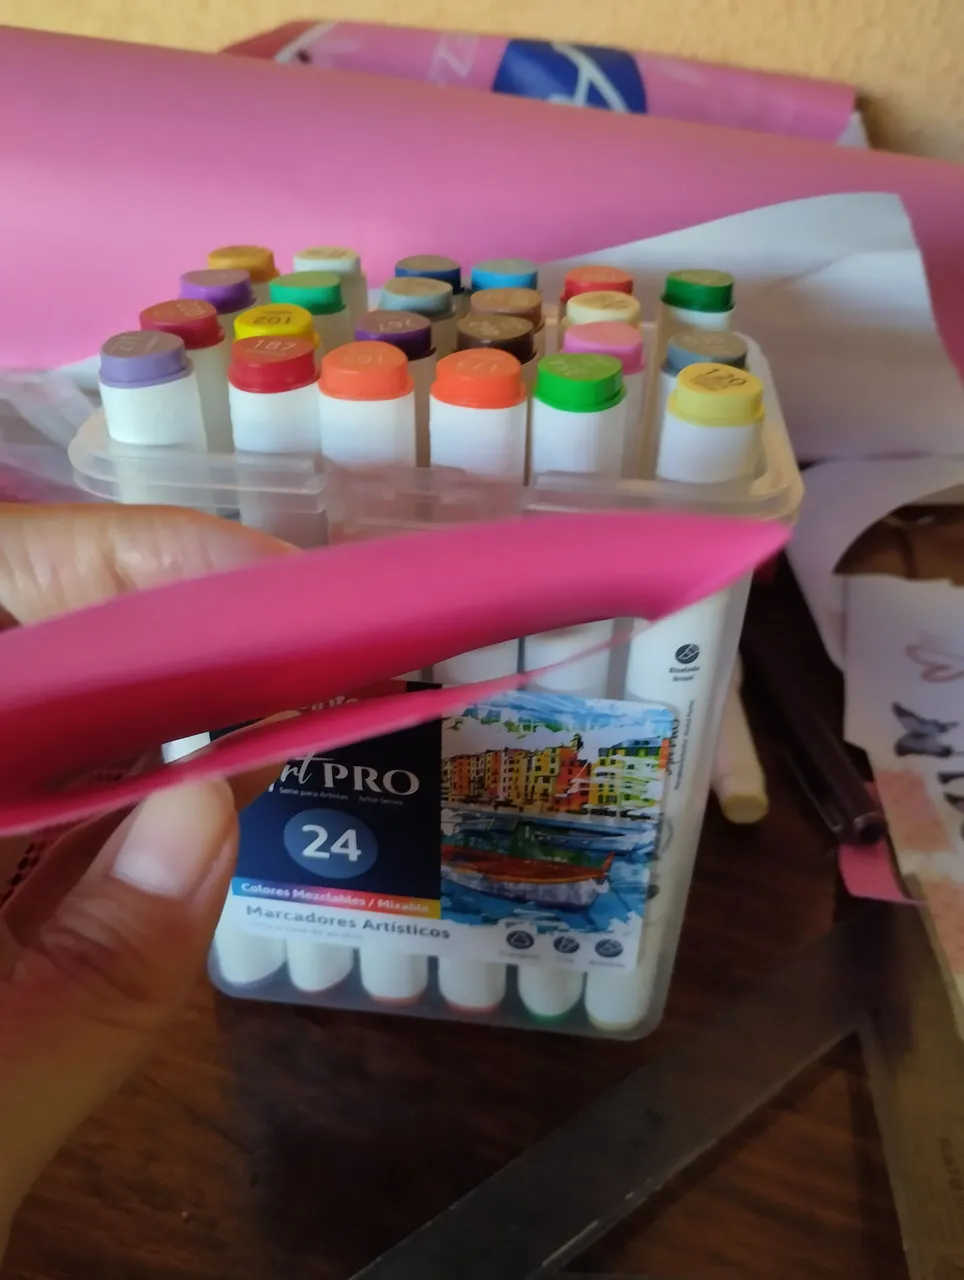
🩷 Marcadores o lapicero
🩷 Pega
🩷 Tijera
🩷 Hoja de papel blanco
🩷 Dibujos decorativos impresos (aunque los puedes dibujar)
🩷 Cardboard in the color of your choice
🩷 Photos
🩷 Markers or pen
🩷 Glue
🩷 Scissors
🩷 White sheet of paper
🩷 Printed decorative drawings (although you can draw them by hand)

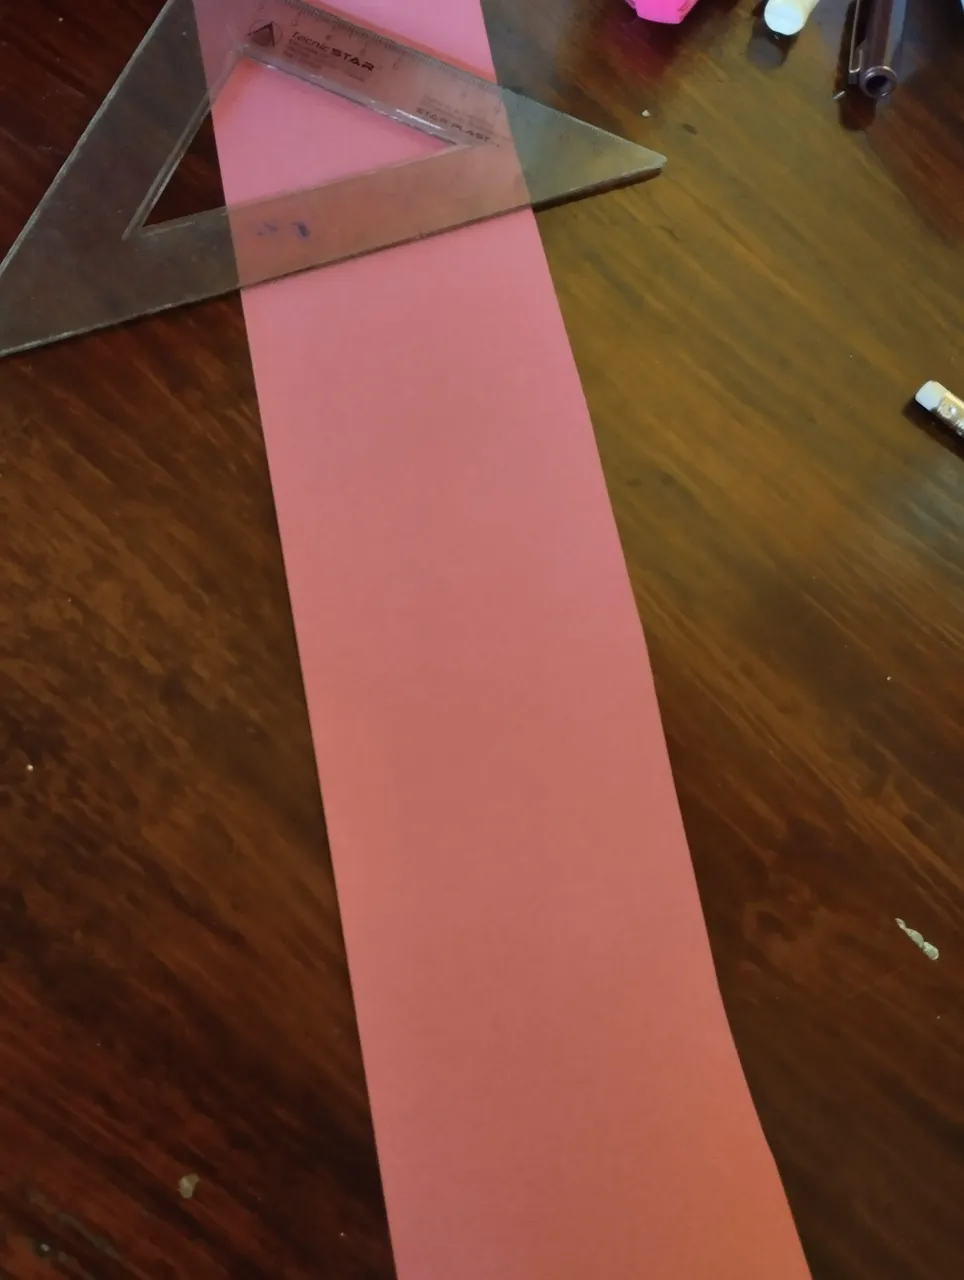
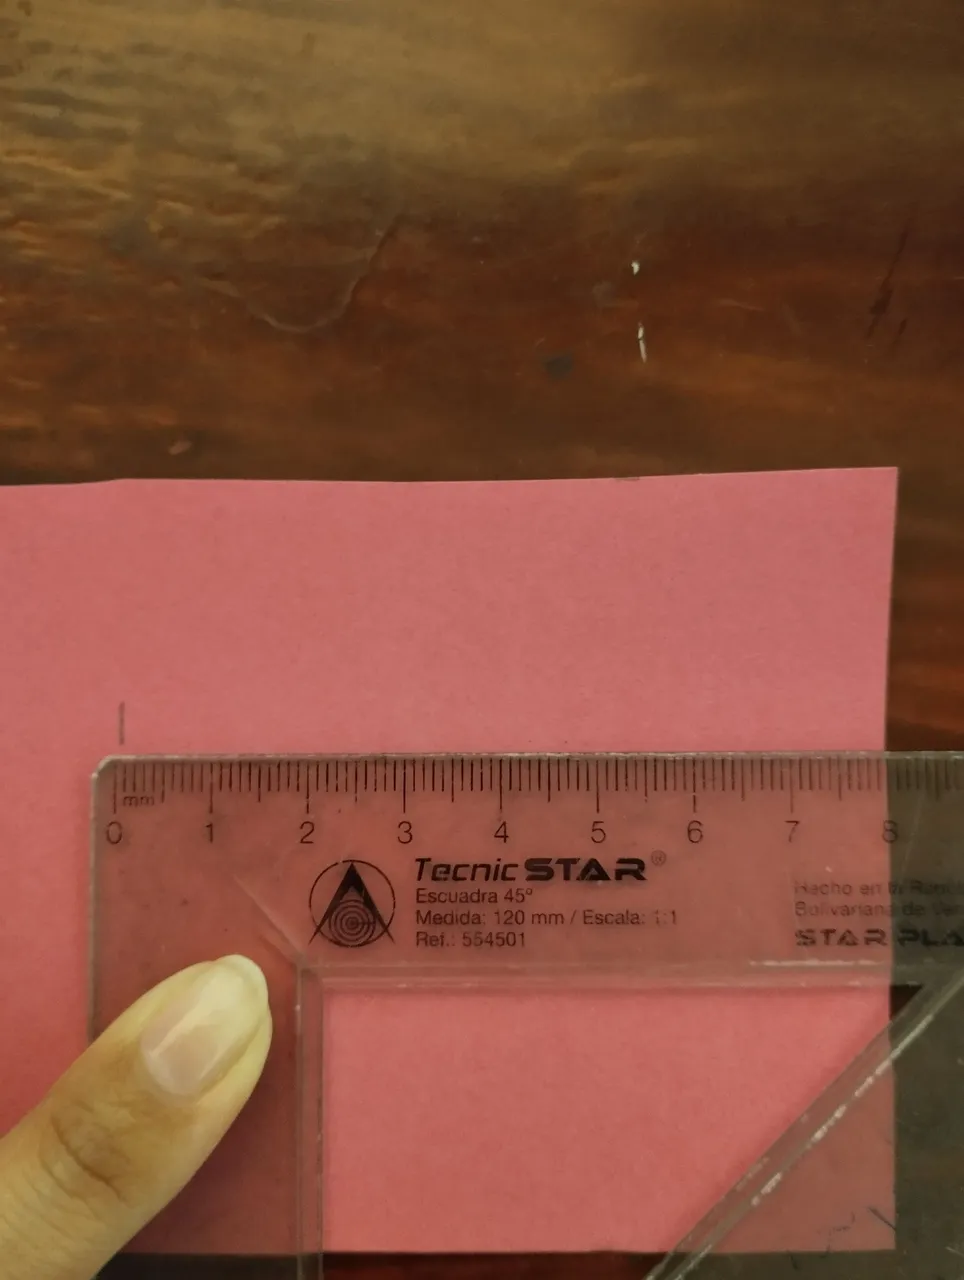
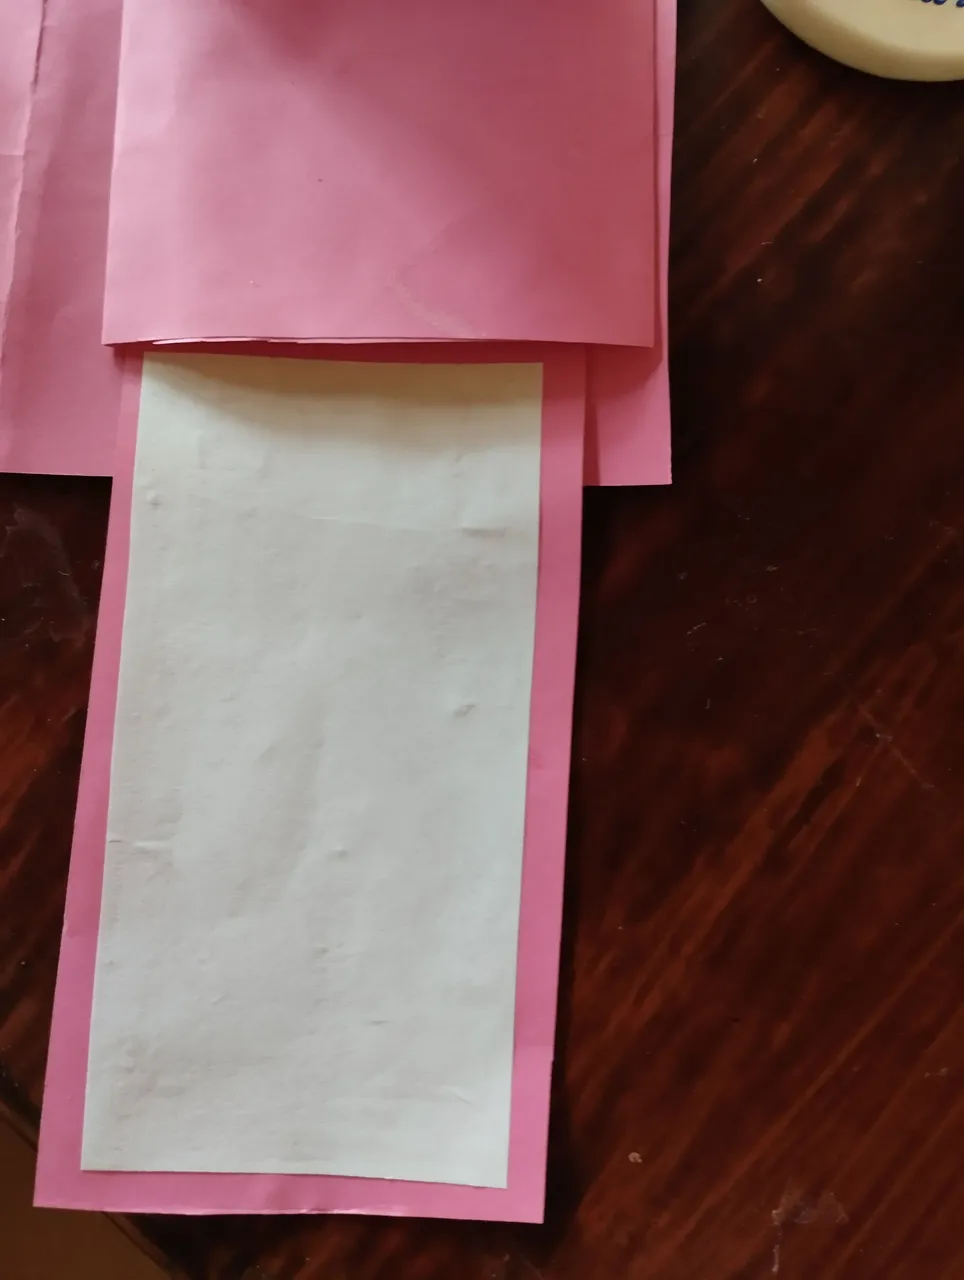
En primer lugar debemos recortar las fotos en medidas de 7x7cm. Del mismo modo cortamos las cartulinas un poco más grandes, es decir, 8x8cm, para que de esta forma quede un pequeño borde. Luego recortamos un pedazo largo de la cartulina, que mida 8cm de ancho pero de largo aproximadamente unos 20cm.
First of all we must cut the photos into measurements of 7x7cm. In the same way we cut the cardboard a little larger, that is, 8x8cm, so that there is a small border. Then we cut out a long piece of cardboard, measuring 8cm wide but approximately 20cm long.
Ahora, en el pedazo grande de cartulina vamos a marcar desde el borde unos 8cm, de manera de obtener la misma medida de los pedazos donde irán las fotos. Hecho esto, donde dejemos la marca comenzaremos a hacer varias marcas de 1cm. La cantidad dependerá de las fotos que desees colocar. En mi caso utilicé 5 fotos, entonces hice cinco franjas de 1cm de grosor. De esta forma debe quedar:
Now, on the large piece of cardboard we are going to mark about 8cm from the edge, to obtain the same measurement of the pieces where the photos will go. Once this is done, where we leave the mark we will begin to make several 1cm marks. The amount will depend on the photos you want to place. In my case I used 5 photos, so I made five 1cm thick stripes. This is how it should look:

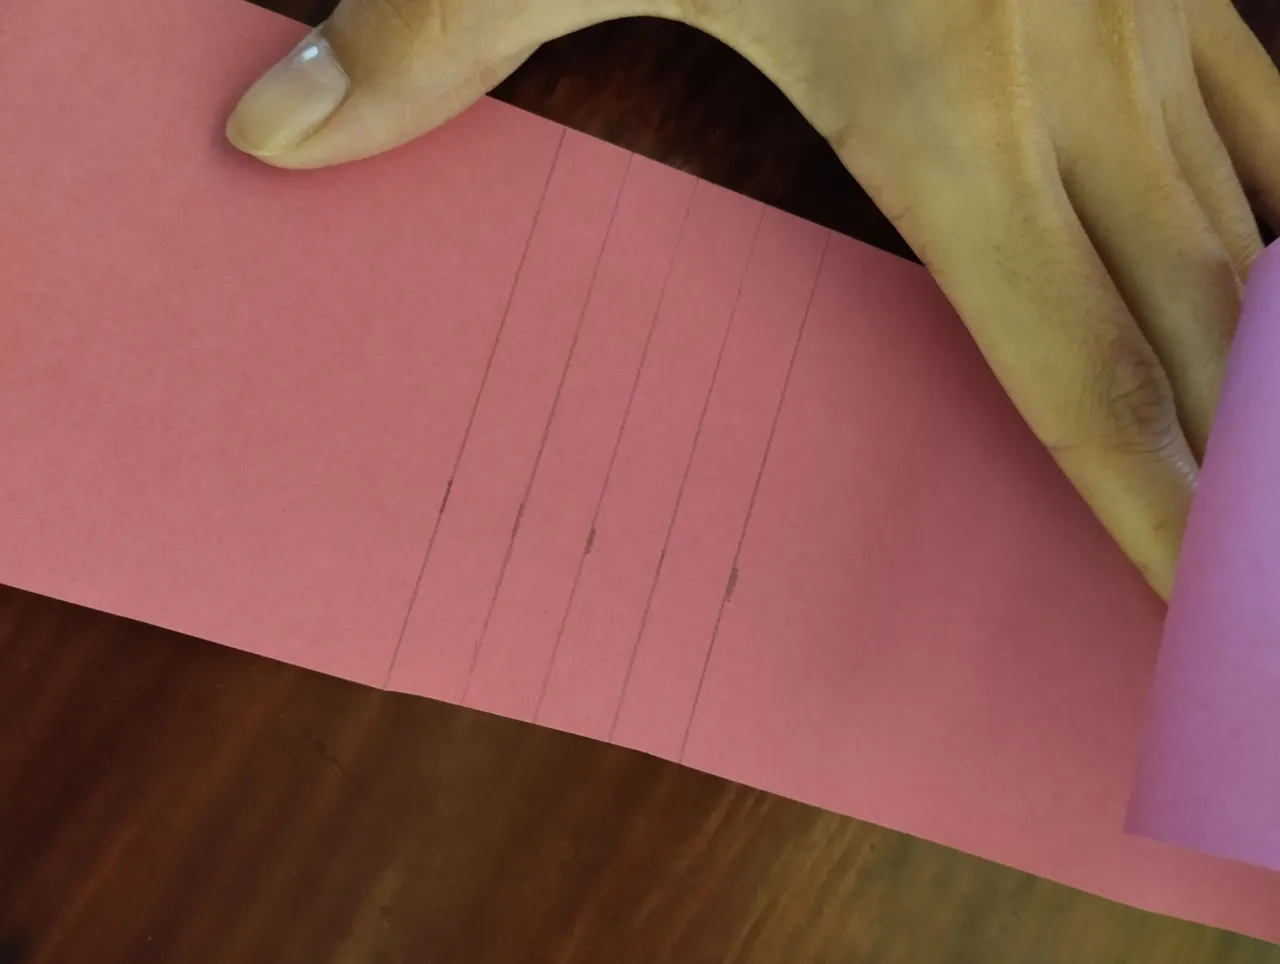
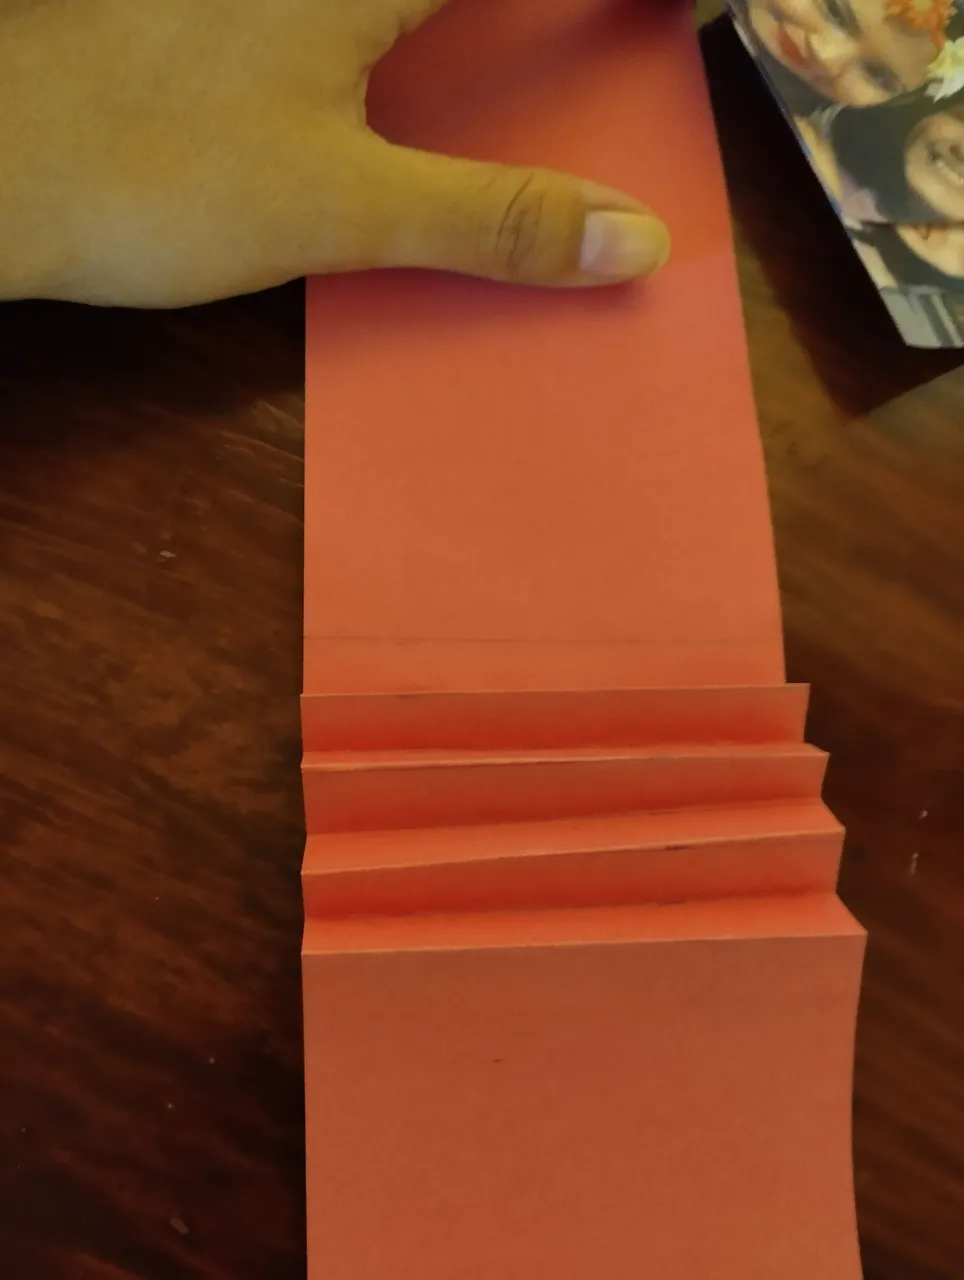
Hecho esto, estas marcas de 1cm servirán de guía para doblar la cartulina en forma de acordeón, tal como verás a continuación:
Once this is done, these 1cm marks will serve as a guide to fold the cardboard in an accordion shape, as you will see below:

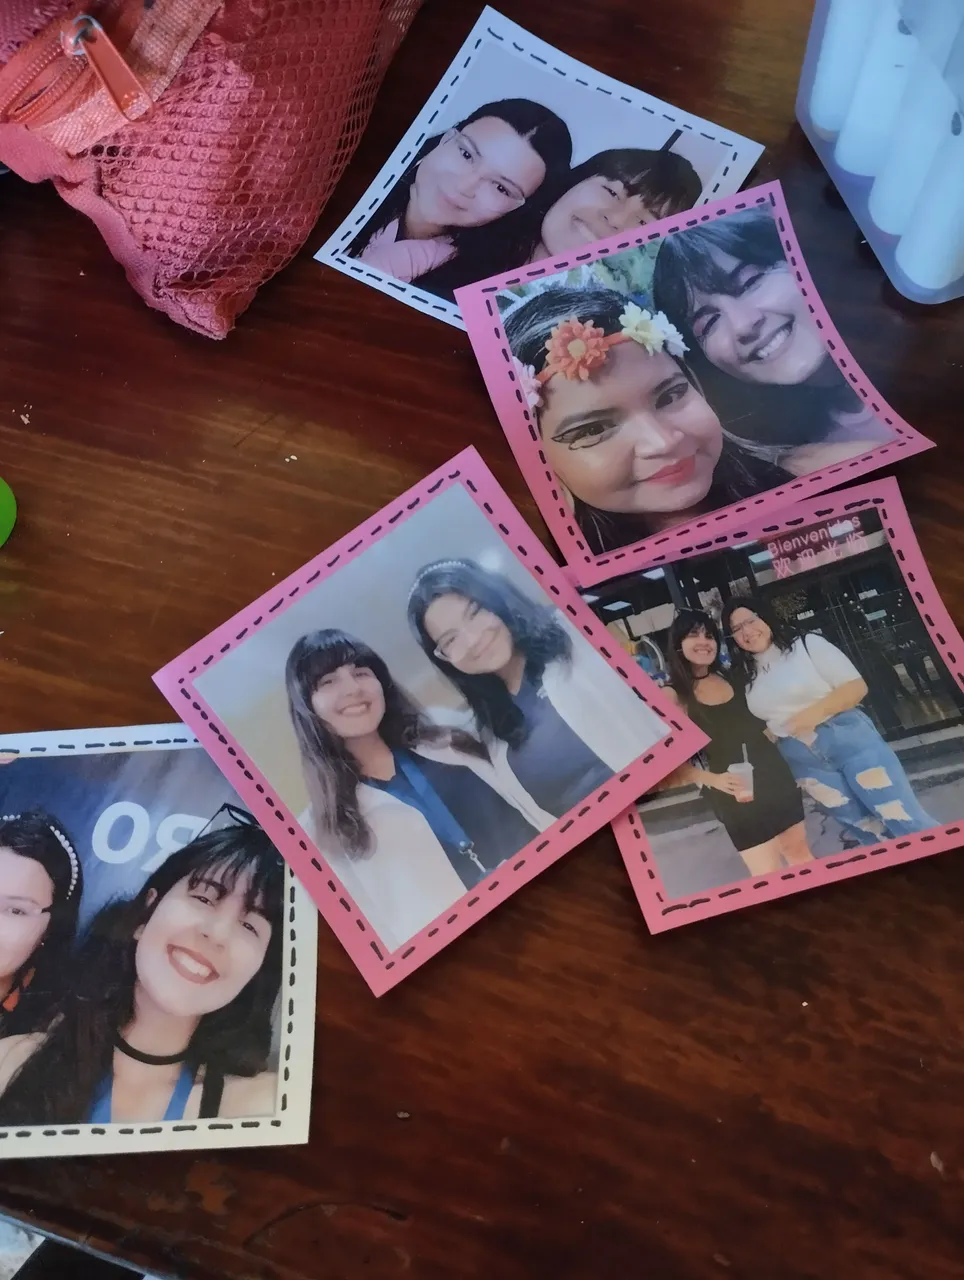
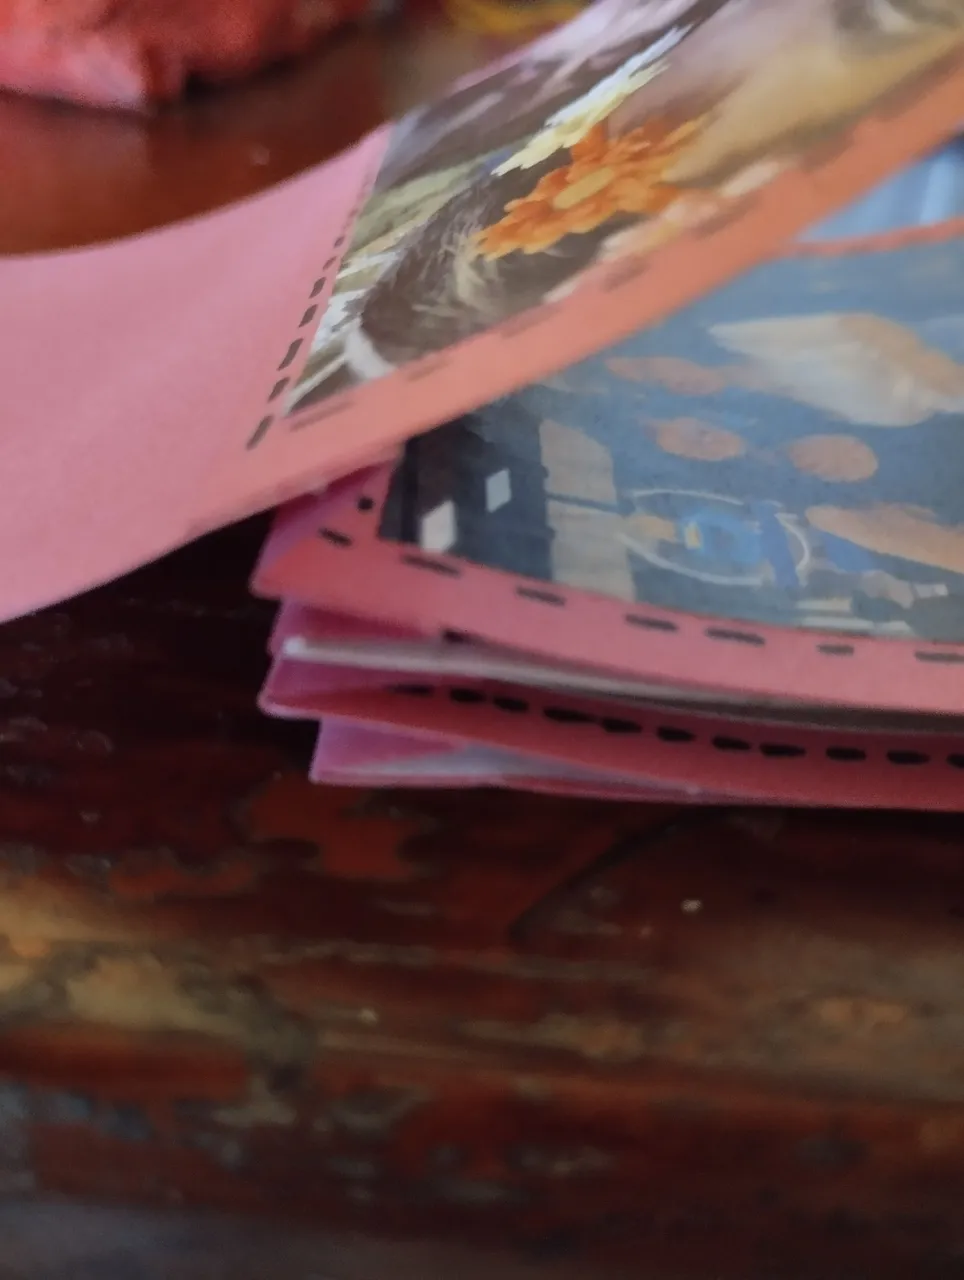
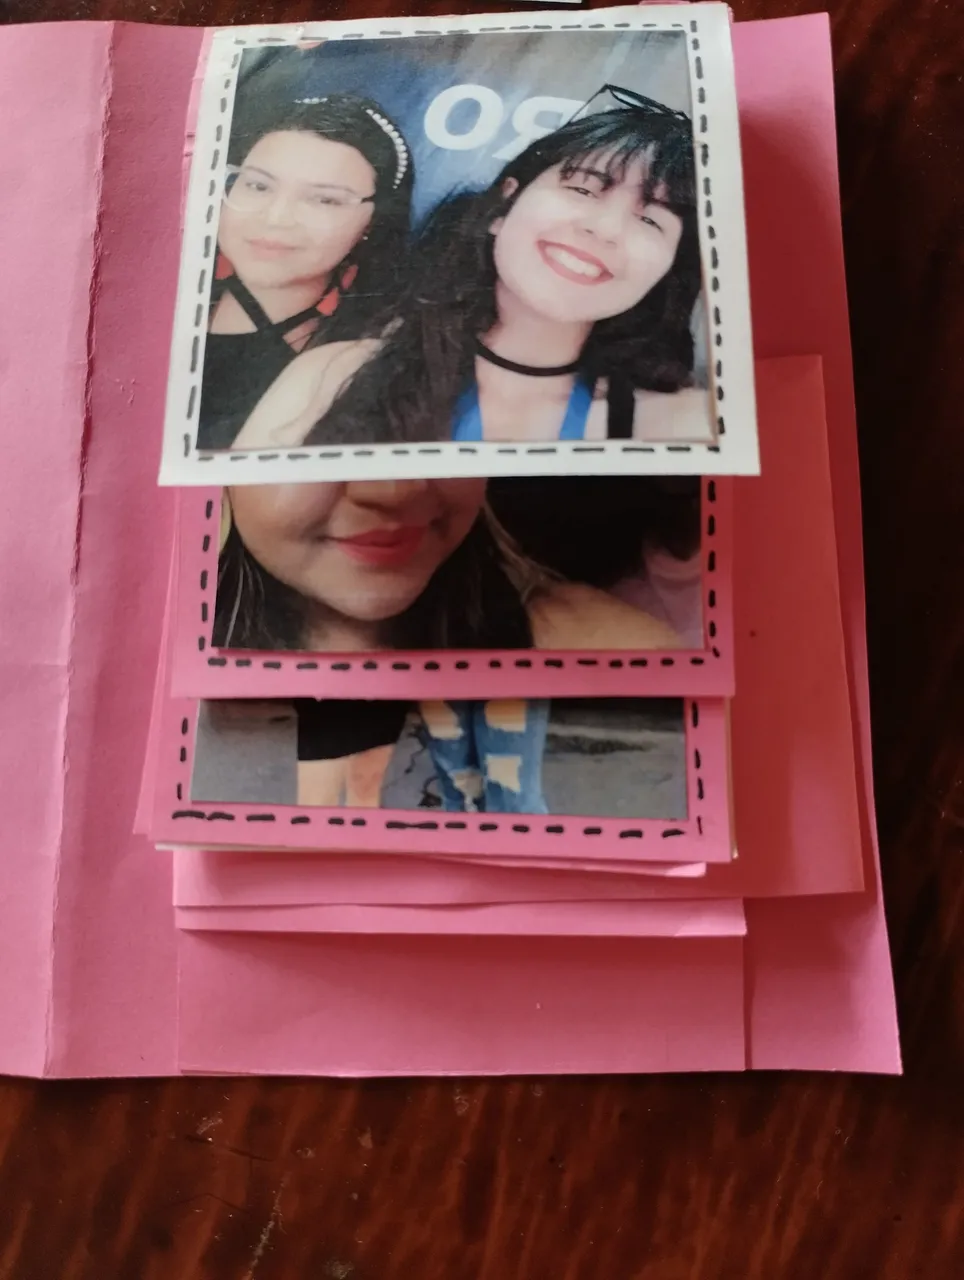
Ahora pegamos las fotos a los primeros pedazos pequeños de cartulina que recortamos al inicio, para después pegarlos en cada franja del acordeón. No debes colocar fotos en el recuadro que queda al inicio del acordeón, éstas sólo van en las franjas. De esta forma:
Now we glue the photos to the first small pieces of cardboard that we cut out at the beginning, and then glue them on each strip of the accordion. You should not place photos in the square at the beginning of the accordion, these only go in the stripes. Like this:
 |  |
|---|
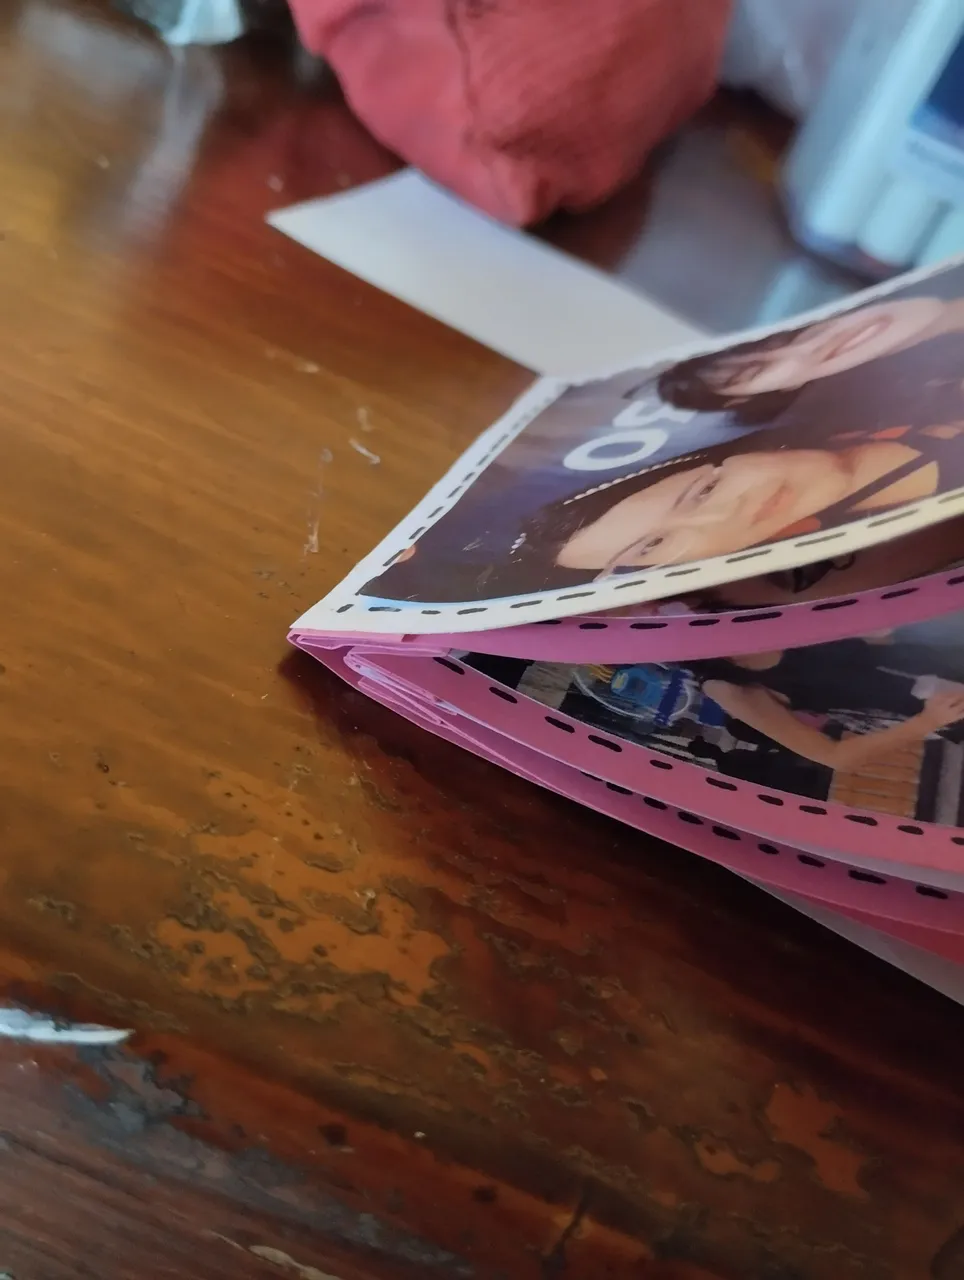
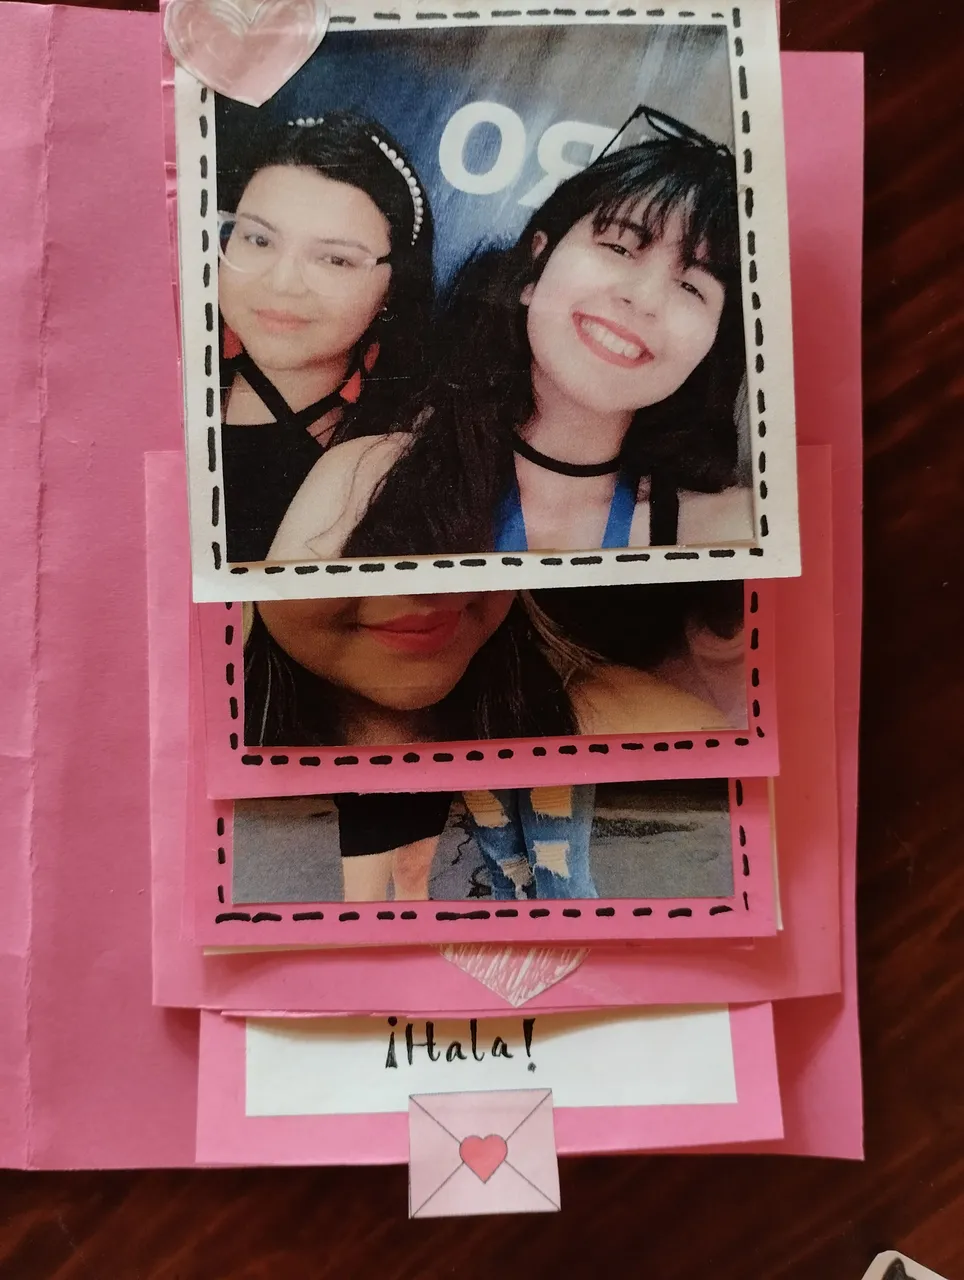
Una vez estén todas las fotos pegadas se verá así:
Once all the photos are glued it will look like this:
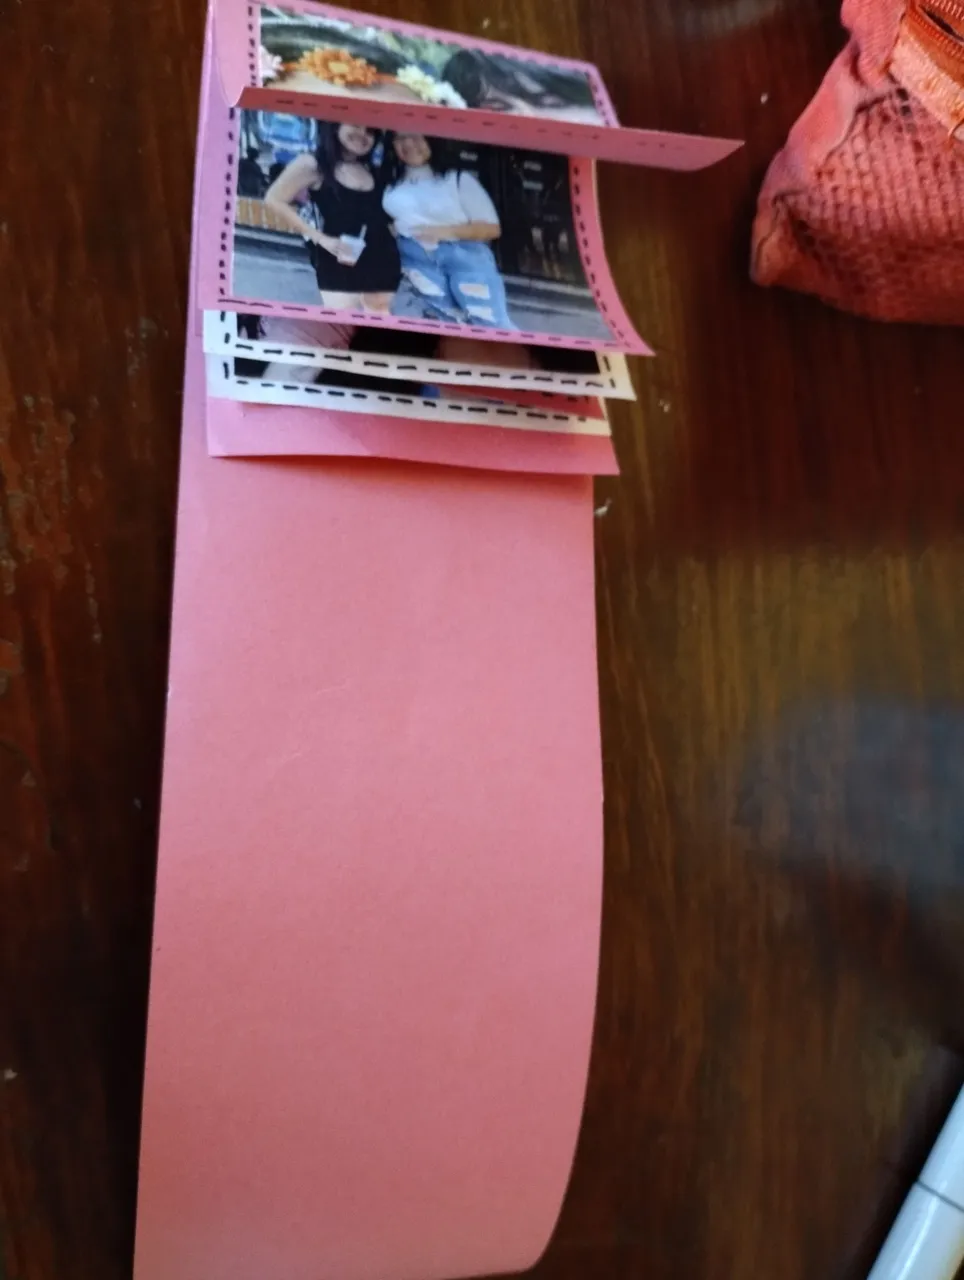
Entonces el pedazo largo sobrante se dobla hacia atrás de las fotos, quedando de esta forma:
Then the remaining long piece is folded back from the photos, looking like this:
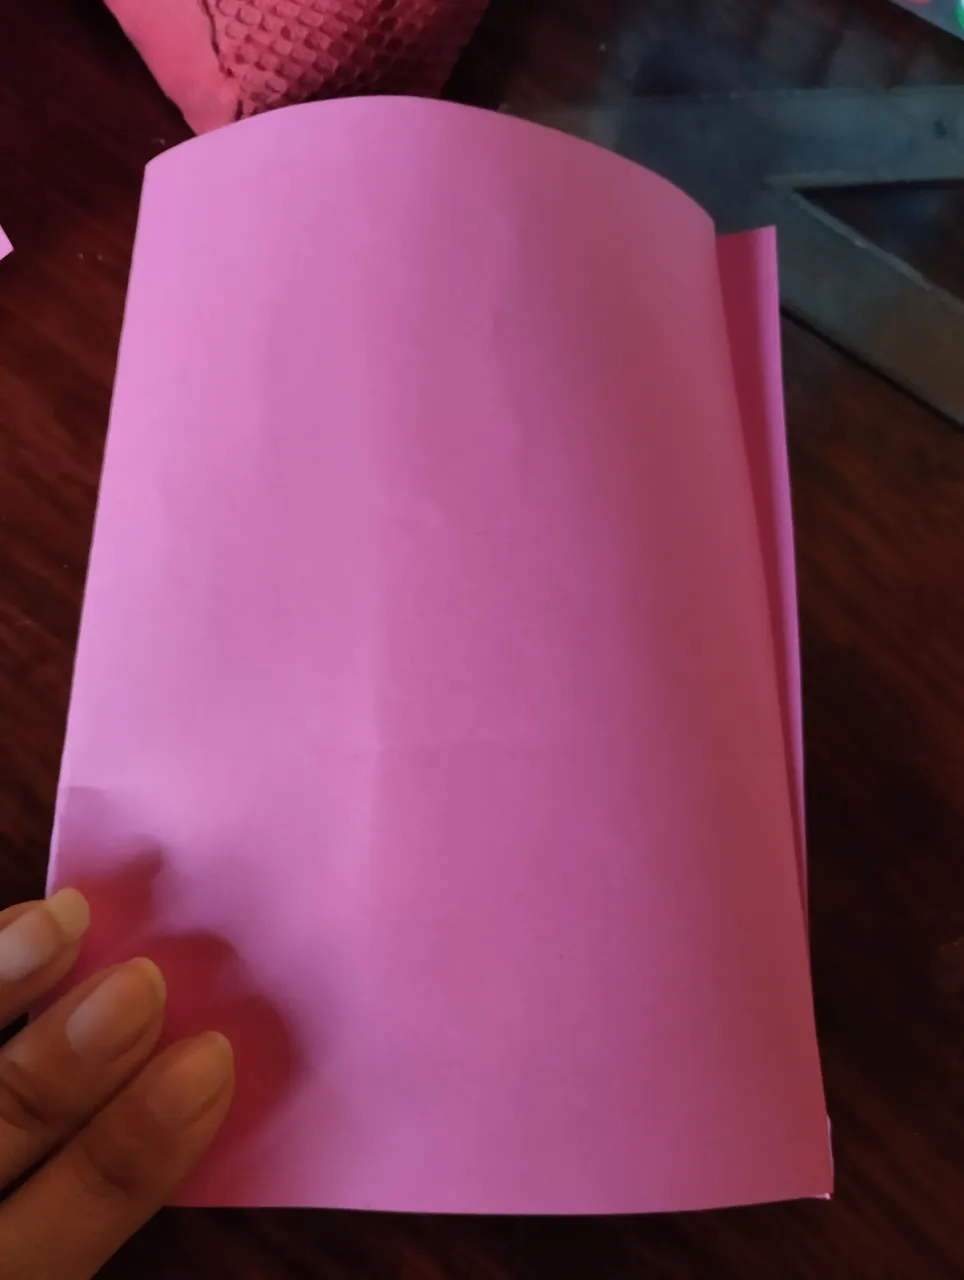
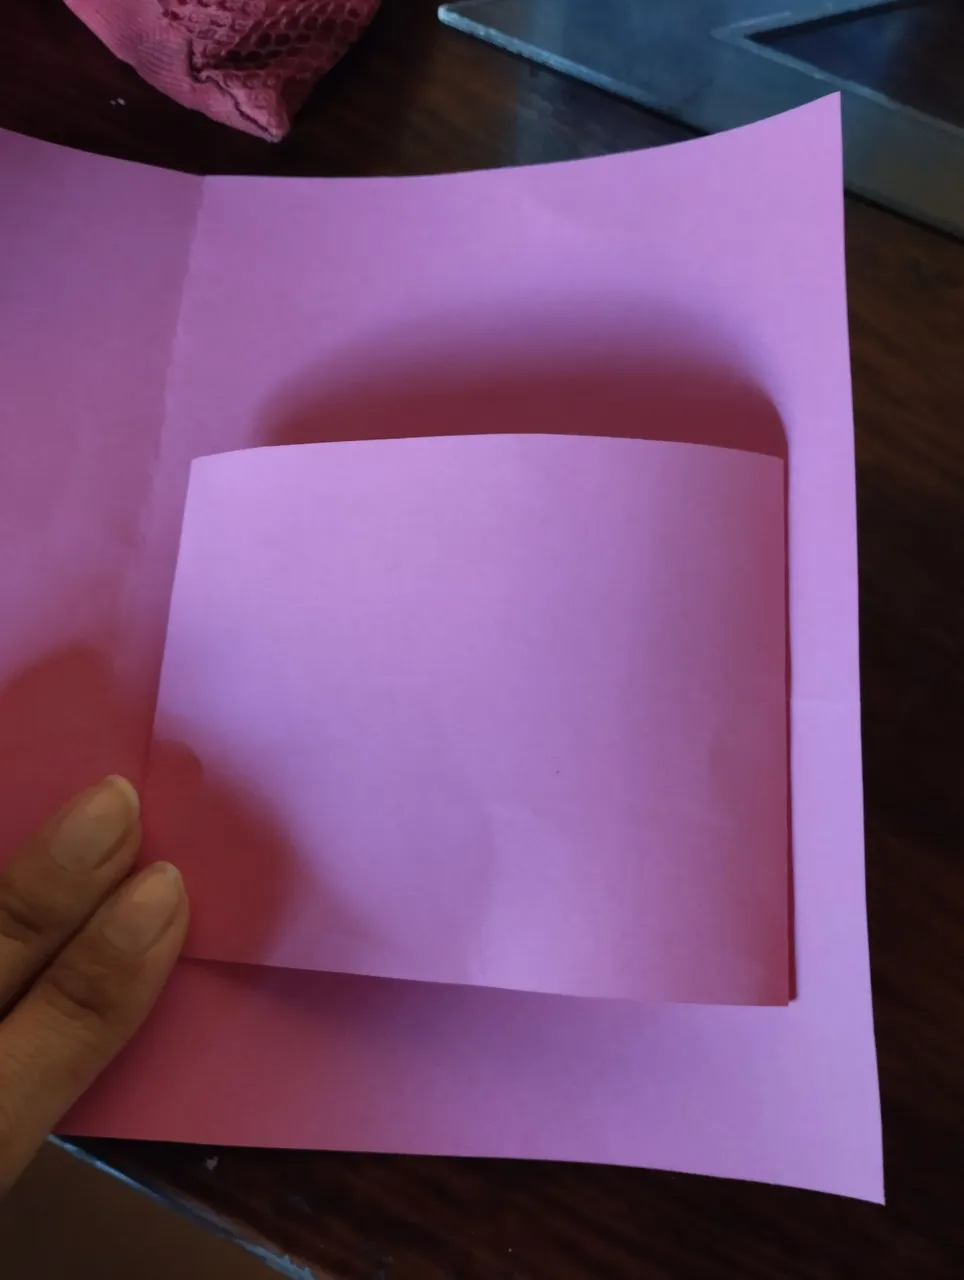
Ahora recortamos otro pedazo de cartulina que tenga unos 13cm de largo aproximadamente y 8cm de ancho, de manera de poder doblarlo y pegar los bordes el uno con el otro, para que quede como una especie de sobre. Se verá así:
Now we cut out another piece of cardboard that is approximately 13cm long and 8cm wide, so that we can fold it and glue the edges together, so that it looks like a kind of envelope. It will look like this:
 |  |
|---|
Este "sobre" lo debemos poder deslizar en la parte de cartulina larga que tienen las fotos. Tiene que quedar por encima del recuadro que dejamos sin foto, de esta manera:
We must be able to slide this "envelope" into the long cardboard part that has the photos. It has to go on top of the square that we left without a photo, like this:
En este punto habrás notado que necesitaremos bastante cartulina😅 puesto que ahora debes cortar otro pedazo para hacer la tarjeta como tal. De esto no tomé una medida realmente, sólo lo corte lo suficientemente grande como para que cupieran las fotos. Me quedó así:
At this point you will have noticed that we will need quite a bit of cardboard😅 since now you must cut another piece to make the card itself. I didn't really take a measurement of this, I just cut it big enough to fit the photos. It turned out like this:
Después debes pegar el sobre de antes a la carta, intentando que quede un poco por debajo de la mitad, para que la carta cubra las fotos cuando las deslicemos en el sobre. Cuando ya hayas colocado las fotos, deberás pegar en recuadro vacío en el sobre, cuidando de que ninguna foto se pegue. Así:
Then you must glue the envelope from before to the card, trying to place it a little below the middle, so that the card covers the photos when we slide them into the envelope. When you have placed the photos, you must glue the empty square on the envelope, making sure that none of the photos stick to it. Like this:
Cuando todo esté seco, al halar la parte larga de cartulina que se ve sobrante, el acordeón hará su magia, pasando las fotos y siendo capaz de volver a ponerlas en su lugar. Se entiende mejor si lo ves aquí abajo😉
When everything is dry, by pulling on the long part of cardboard that is left over, the accordion will do its magic, passing the photos and being able to put them back in their place. It is better understood if you see it below😉
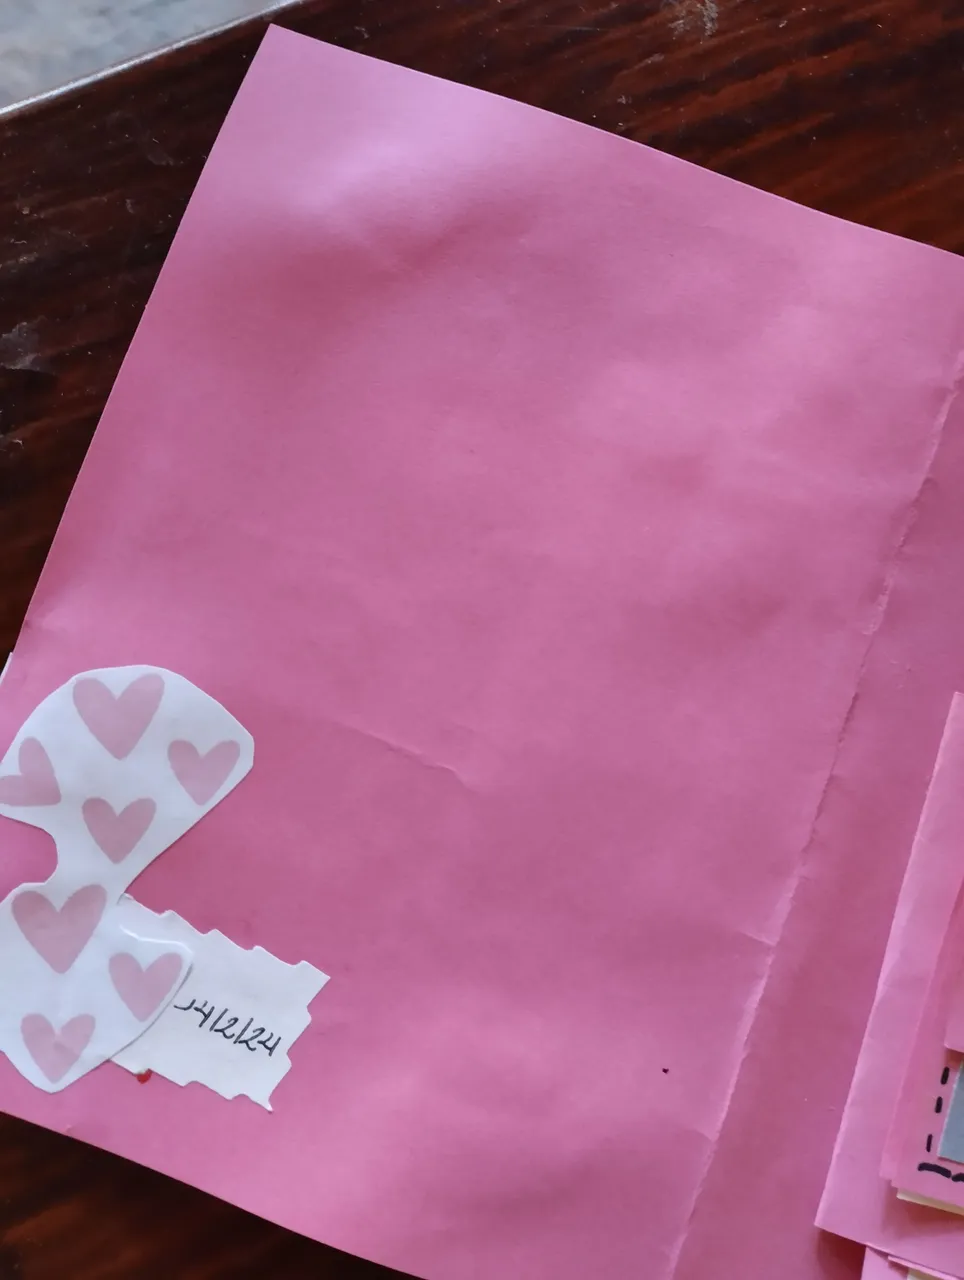
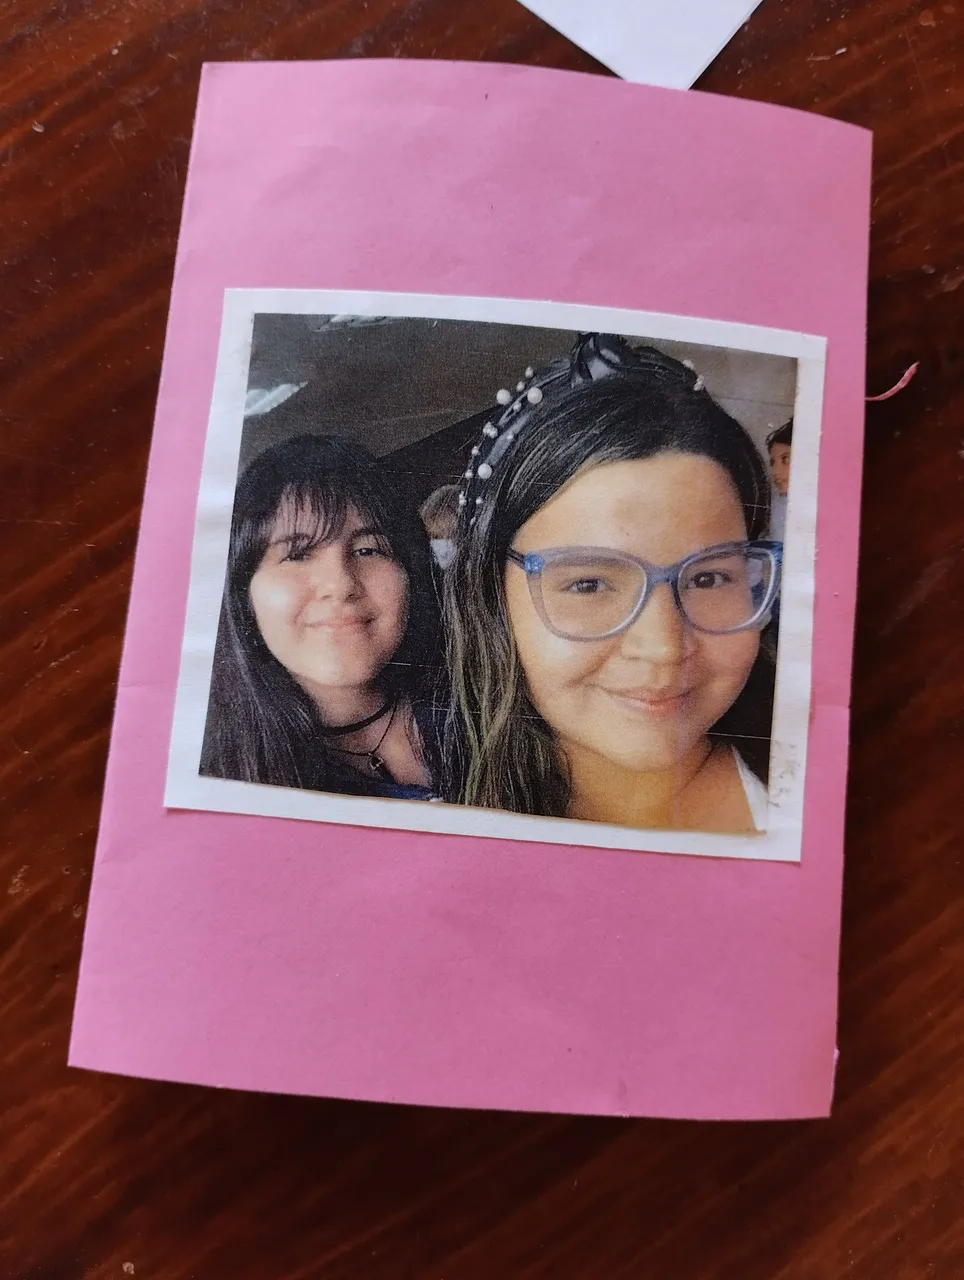
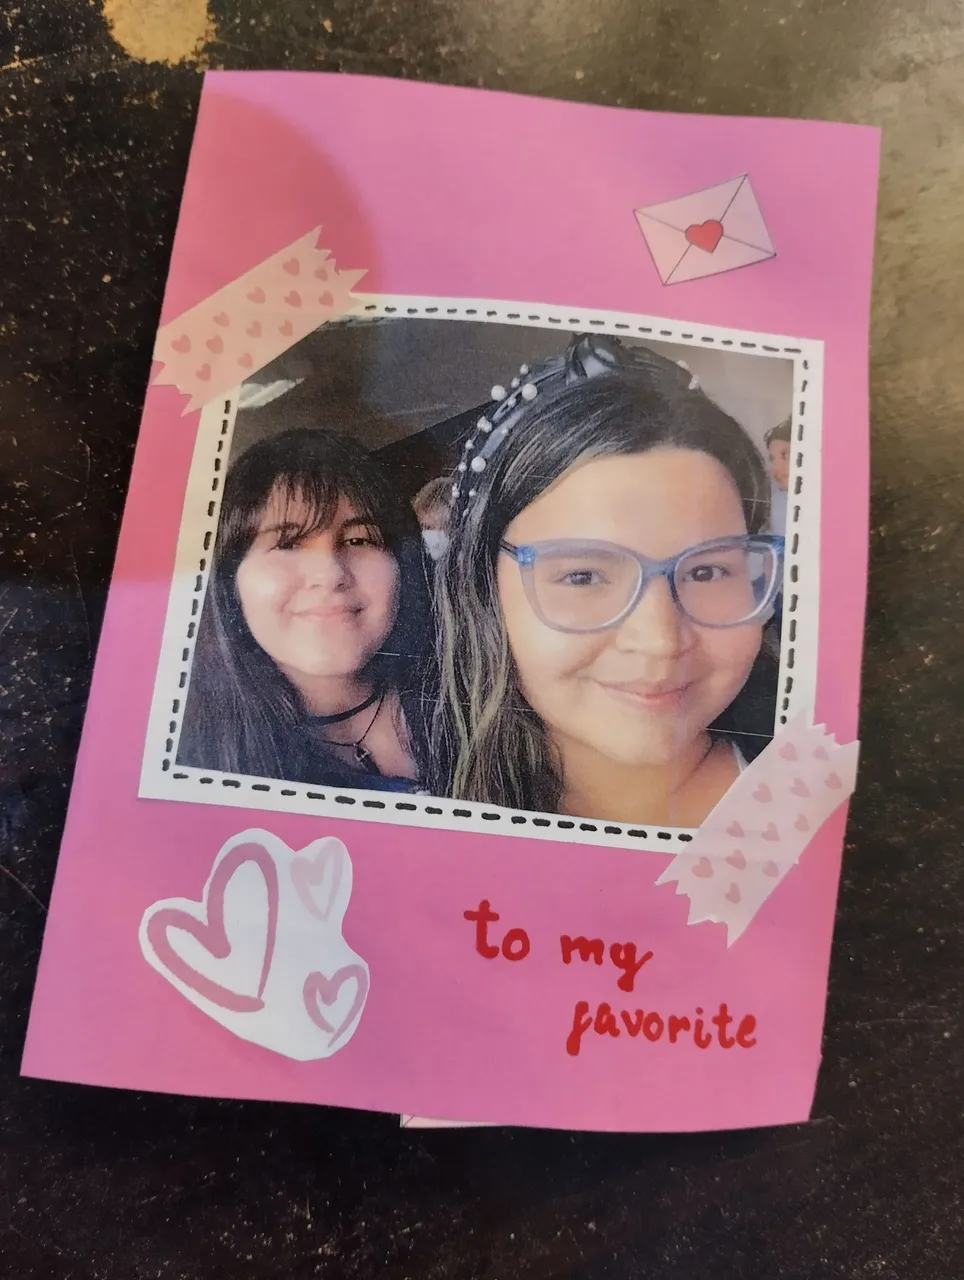
Ahora sólo queda decorar. En la parte larga de la cartulina, pegué un pedazo de papel en blanco primero para generar contraste en los colores, y segundo para poder colocar el breve mensaje de la tarjeta. De resto escribí la fecha, coloqué recortes decorativos de corazones, cartas, etc, y otra foto en la parte delantera de la tarjeta. En cuanto a decoración, eso queda a tu gusto
Now the only remaining is decoration. In the long part of the cardboard, I picked a piece of blank paper first to generate contrast in the colors, and second to be able to write the short message of the card. From the rest I wrote the date, I placed decorative cuts of hearts, letters, etc., and another photo in the front of the card. As for decoration, that is to your liking
 |  |
|---|
 |  |
|---|
Realmente me gustó mucho el resultado, me pareció una idea creativa que además queda muy linda para regalarle a alguien en éste día, no sólo a una amiga sino a cualquier persona a la que aprecies.
Espero que a ti también te haya gustado este DIY y espero volver pronto con más❣️
I really liked the final result, it seemed to me like a creative idea that is also very pretty to give to someone on this day, not only a friend but to anyone you appreciate.
I hope you also liked this DIY and I hope to come back soon with more❣️
 |  |
|---|