
Hola hace una semana una antigua clienta me pidió a ver si le podía hacer unas runas de madera; está es la primera vez que me piden esto en muchos años, ya que yo sueño trabajar haciendo joyería en metal, afortunadamente tengo disponible en casa madera y el pirograbador que son el material y la herramienta que básicamente se requiere, del resto es usar el serrucho o segueta, lima para madera, lijas nro 80, 220 y 360, más el Dremel para cosas puntuales.
El tipo de runa que debía sacar se llama las Runas de los Sabios qué cuenta con 27 piezas y sale en el libro Alexander Herrera V.

Fuente Scribd
Corte con un cerrucho pedazos de madera de 3x2 cm, fueron 27 piezas las que hice. También creo es mejor que estos cortes te los hagan en el acerradero o en la carpintería...

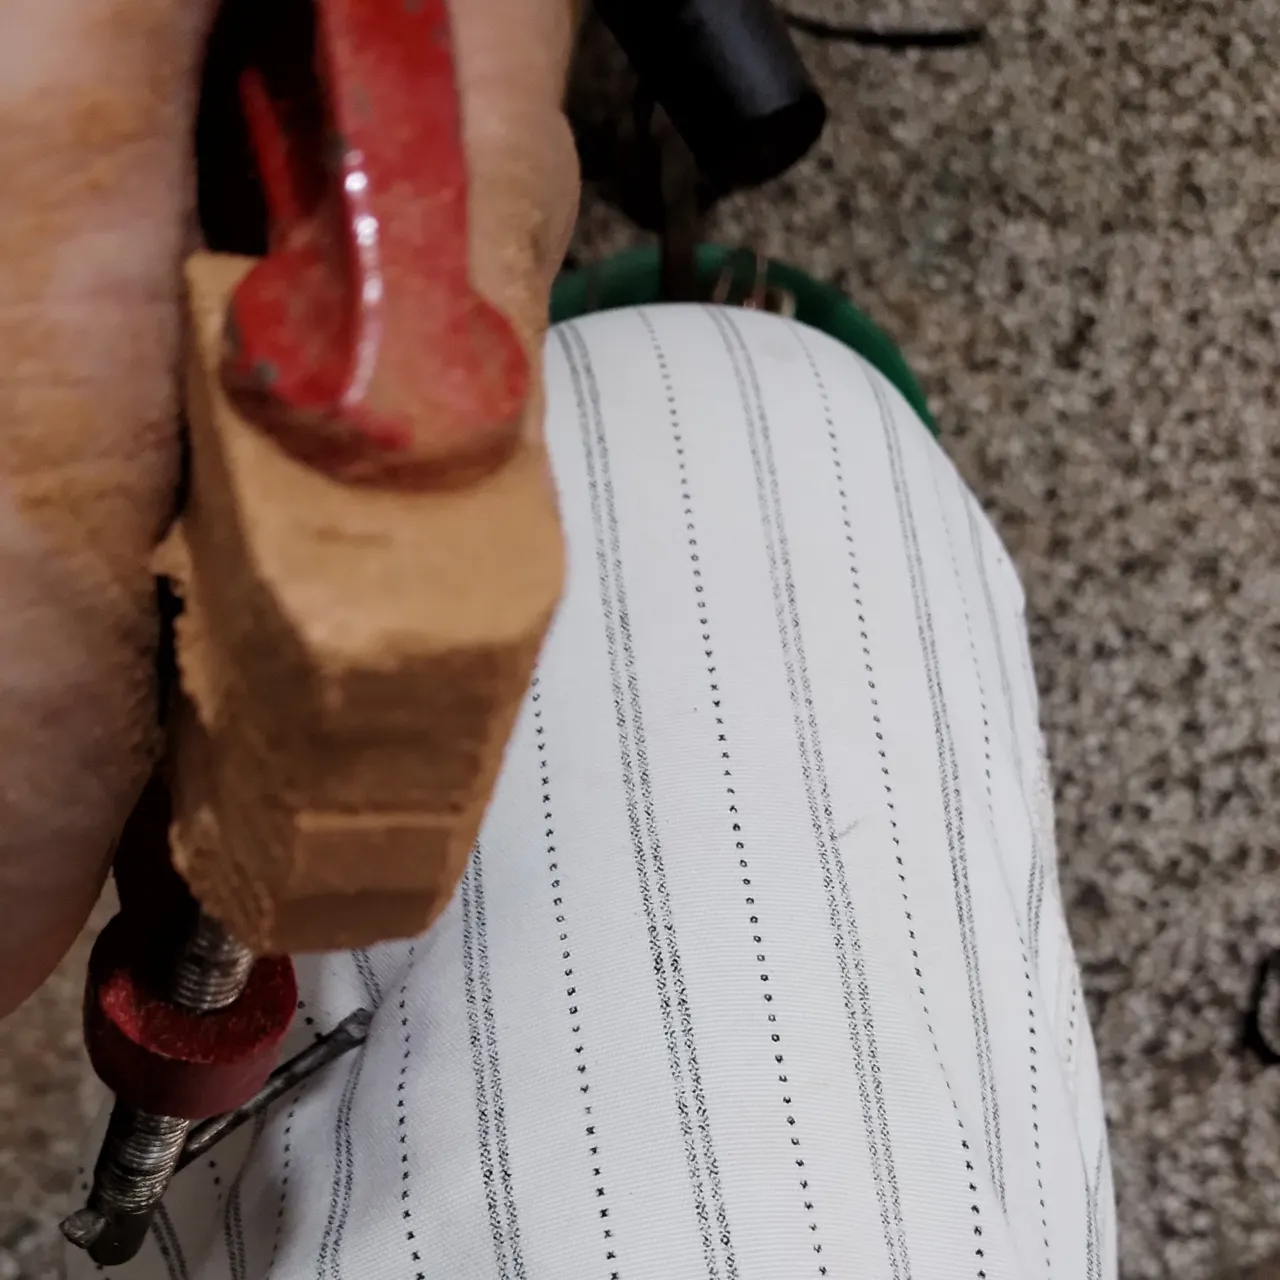
Tocaba limar los bordes de cada pieza de madera, para ahorrar tiempo decidí apoyarme con una prensa de metal que tenía a mano, para este paso es bueno colocar algo como papel o cuero para no marcar la madera con la prensa.
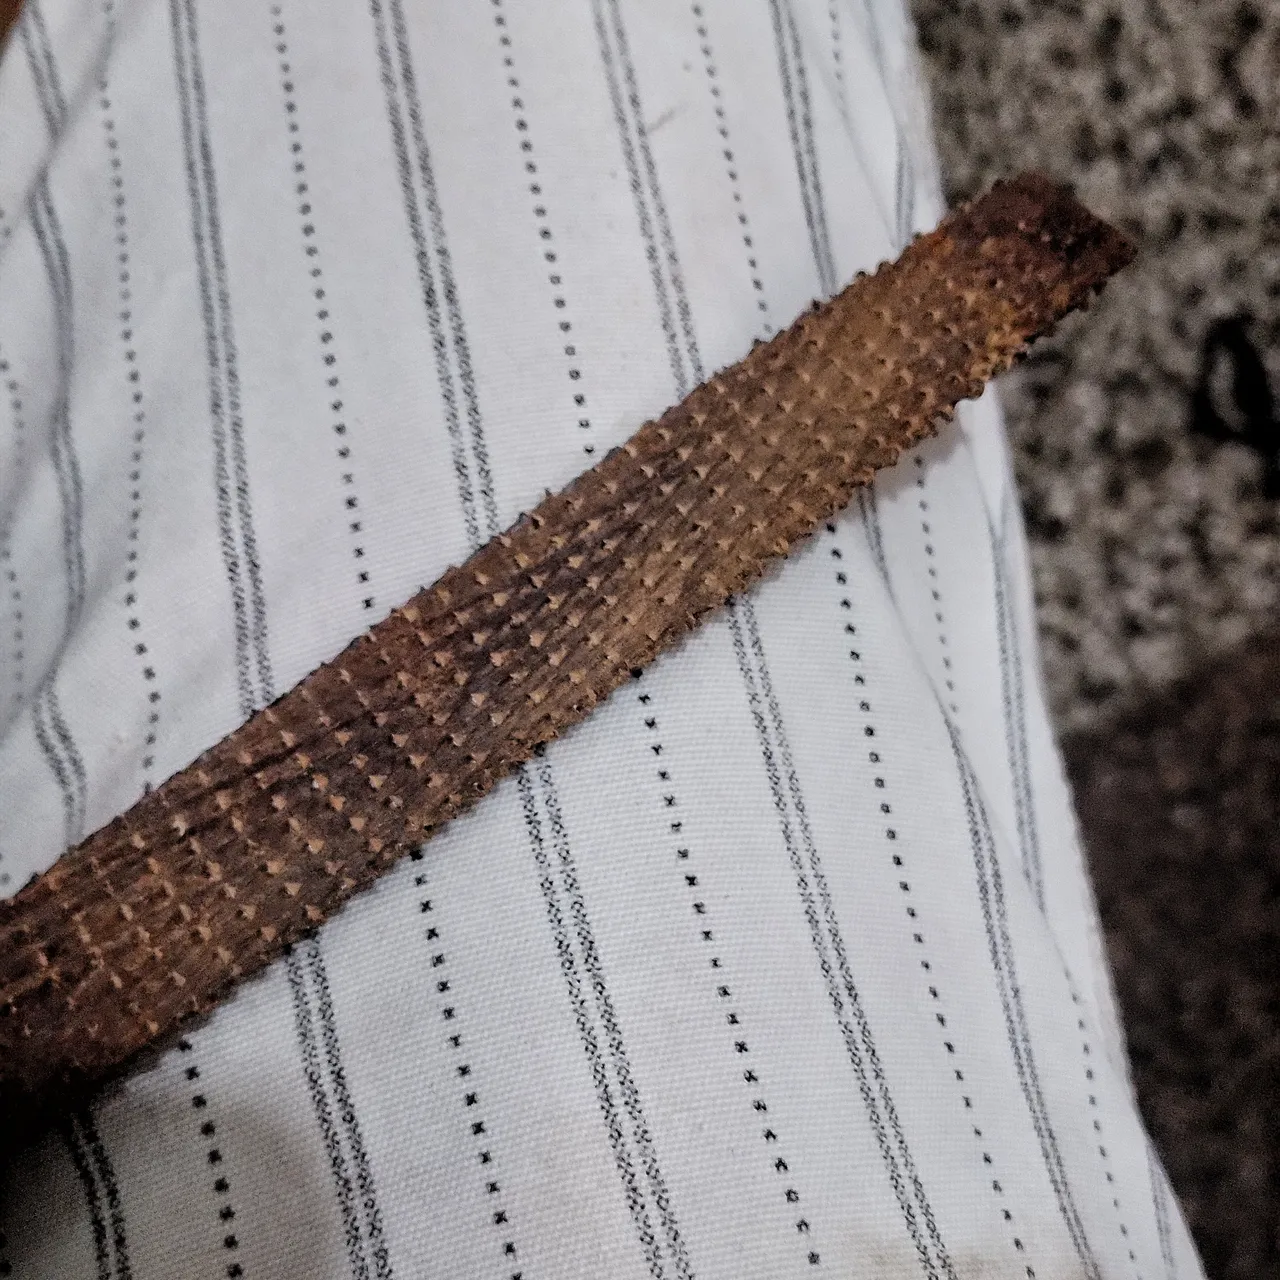
Está es la lima especial para madera que use para rebajajar las esquinas.
Así progresa la limada de las piezas de madera.

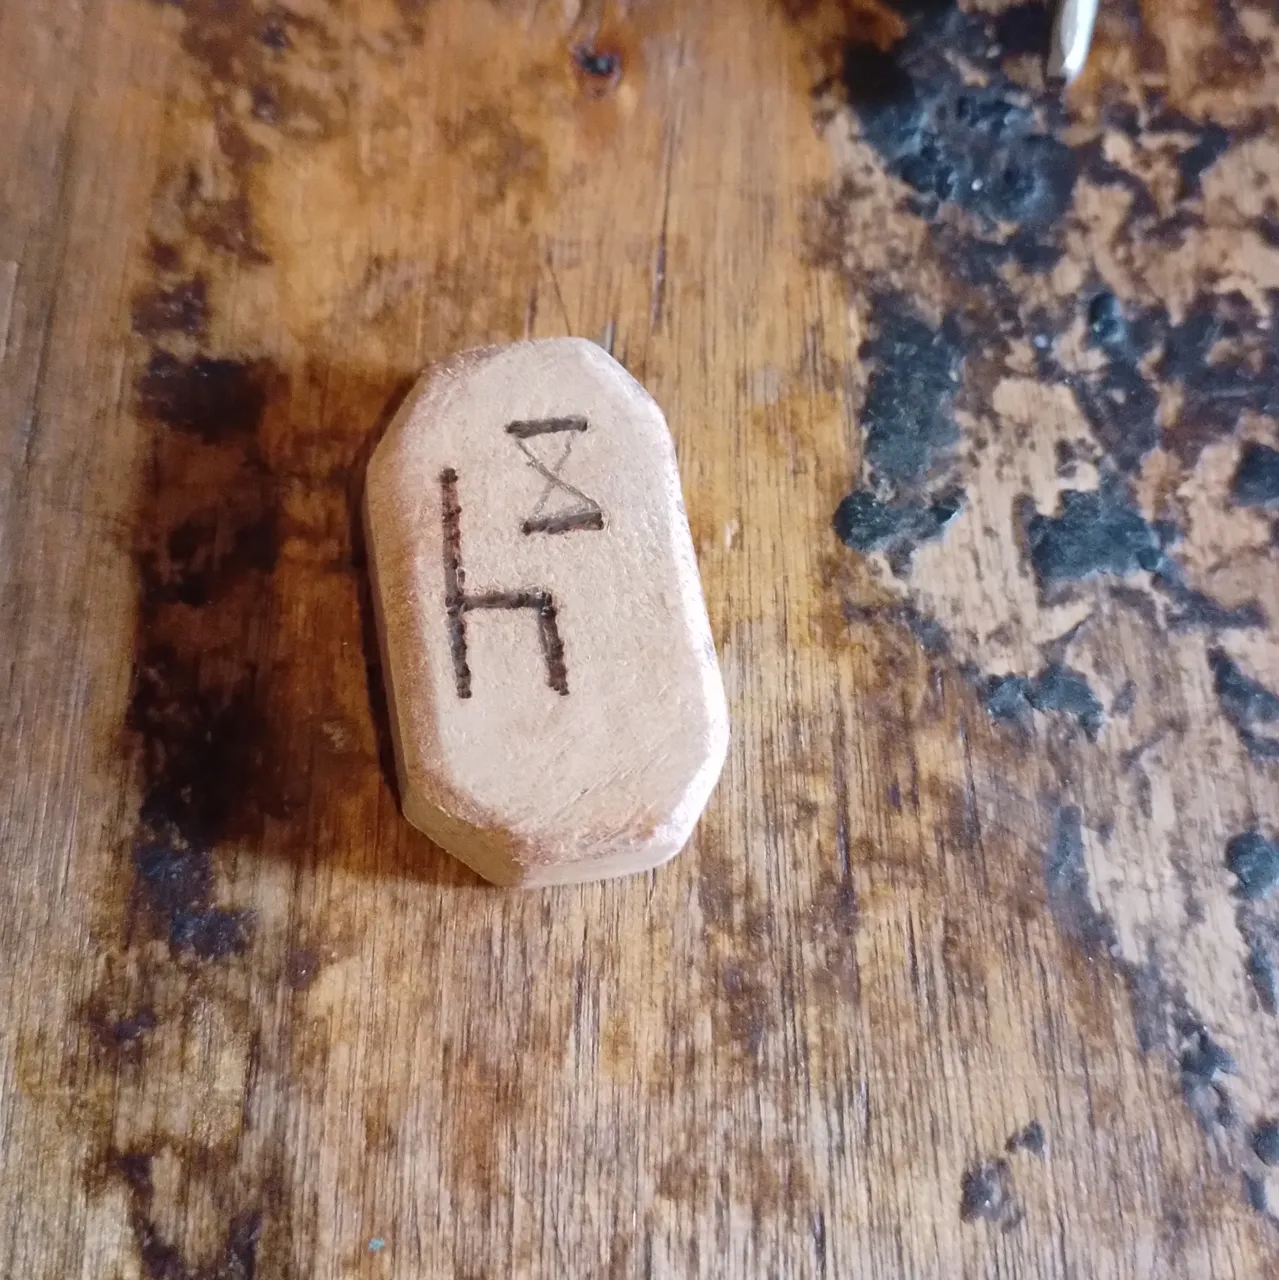
En la imagen de arriba puedes observar cómo queda una las piezas de madera, después de darle forma con la lima, rebajar con lija 80, 220 y 360. En parte con ayuda del Dremel para la lija 80 que viene en un porta lija estilo de tambor y ya las otras si totalmente a mano. Después de este proceso dibuje a mano y a lápiz las figuras a grabar.

Este es el pirograbador que emplee.
Fui grabando la madera con el pirograbador sobre el dibujo de guía hecho a lápiz, esto con paciencia, en la imagen de arriba puedes ver el progreso.... Una vez terminada las 27 piezas, le pase con el borrador y repase con el pirograbador las runas que lo necesitaron.
Así fueron quedando las runas.

Este ya es el resultado final, solo queda colocarle un aceite para protegerlas, he leído que aceite de coco o de canela, pero esto tendría que consultarlo con la clienta, que creo ella haría ese proceso....
Espero les haya gustado y agradecido por el apoyo...
Si gustan pueden seguirme en
////////////////////
ENGLISH
TRANSLATED WITH GOOGLE
Hello, a week ago an old client asked me to see if she could make some wooden runes for her; This is the first time that they have asked me for this in many years, since I dream of working making metal jewelry, fortunately I have wood and a pyrograph at home, which are the material and the tool that is basically required, the rest is to use the saw or saw, file for wood, sandpaper No. 80, 220 and 360, plus the Dremel for specific things.
The type of rune that I had to take out is called the Runes of the Wise, which has 27 pieces and appears in the [book](https://es.scribd.com/document/550836394/Alexander-Herrera-Runas-de-Los -Sages) Alexander Herrera V.
Source Scribd
I cut 3x2 cm pieces of wood with a saw, I made 27 pieces. I also think it is better that these cuts are made at the steel mill or in the carpentry...
I had to file the edges of each piece of wood, to save time I decided to use a metal press that I had on hand, for this step it is good to place something like paper or leather so as not to mark the wood with the press.
This is the special file for wood that I used to reduce the corners.
This is how the filing of the pieces of wood progresses.
In the image above you can see how one of the pieces of wood is left, after shaping it with the file, reduce it with 80, 220 and 360 sandpaper. Partly with the help of the Dremel for the 80 sandpaper that comes in a sandpaper holder style drum and the others if completely by hand. After this process, draw by hand and in pencil the figures to be engraved.
This is the pyrograph that I used.
I was engraving the wood with the pyrograph on the guide drawing made in pencil, this with patience, in the image above you can see the progress... Once the 27 pieces were finished, I passed it with the eraser and reviewed with the pyrograph the runes that needed it.
That's how the runes were left.
This is the final result, all that remains is to apply an oil to protect them, I have read that coconut or cinnamon oil, but this would have to be consulted with the client, who I think she would do this process....
I hope you liked it and thank you for the support...
If you like you can follow me on