Hace ya algunas semanas se me acerco una señora que necesitaba un prendedor como identificativo para su hija que aparentemente iba a ir a una expo de salud o algún encuentro profesional de la salud, entonces me comento que quería regalarle un prendedor para que ella pudiera lucirlo, pero que este debía ser hecho a mano, alli conversamos y trate de hacerle unos dibujos, pero estos no me salían muy bien, quedamos que los diseñaba en la computadora y se lo iba pasando para que ella escogiera, termine pasándole 3 de los cuales escogió uno.
El reto era que no soy muy experto en esto de hacer prendedores, pero toca confiar en mis muchos años de experiencia en esto de la joyería y de hacer nombre y piezas personalizadas, por lo que en este post le comentaré y mostraré un poco del proceso.
Herramientas y Materiales:
- Lamina cobre 0.8 mm, alambre de cobre 1 mm.
- Soldadura harris 5% plata y Bórax como fundente, ácido para decapado.
- Soplete
- Arco de segueta para joyería y sierra 2/0
- Dremel
- Fresas diamantadas
- fresa para abrir huecos de 0.75 mm
- lija 260, 360 y 400
- Motor de banco, disco de tela y cera de pulir
- Pinzas de joyería.
- Lima
Proceso

Imprimí el diseño que aproximadamente era de 5 cm de largo, pegue con pega blanca, pero antes lije un poco la superficie. Luego con el Dremel y la fresa de 0.75 mm abrir los huecos internos donde haría los primeros cortes.
Después, con el arco de segueta, introduje la sierra en los agujeros y empecé a cortar cada espacio interno, tratando de conservar las uniones para que la pieza al ser terminada se mantuviera lo más rígida posible.
Una vez terminado los cortes internos, procedo a recortar la silueta de la figura, hecho este retiro el papel, revelando así el resultado, que a ciencia cierta está bien, pero toca hacer las correcciones para definir mejor la pieza, este proceso de corrección requiere tiempo y paciencia, sobre todo en las partes donde las letras son más pequeñas. También toca hacer las líneas que definen las letras con un corte superficial que se logra inclinando hacia adelante la segueta.
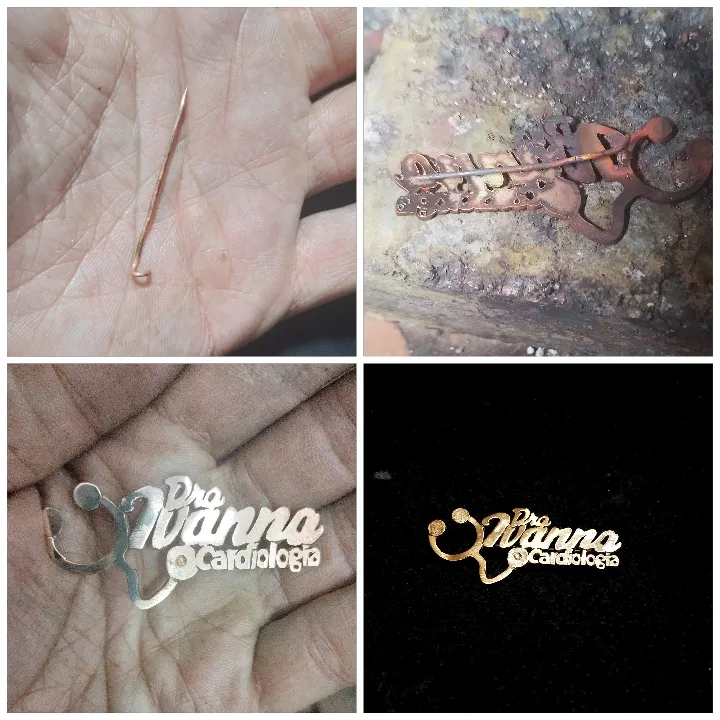
Agarro un alambre de cobre de 1 mm y con la pinza hago él dobles para con el que se va a soldar esta especie de alfiler con la pieza de joyería, corto un tamaño acorde y le doy filo a la punta con la lima.
Procedo a voltear la pieza y le pongo bórax en el lugar donde haré la soldadura del alfiler, enciendo el soplete y esparzo la soldadura para después colocar el alfiler, en la otra punta soldó una especie de "C" que previamente hice en alambre que servirá de soporte para el cierre del alfiler. Después meto la pieza en ácido para que se le quite el chamuscado y los restos de bórax.
Se saca la pieza del ácido y se lija con lija, yo use el Dremel para esto y aplique la secuencia de las lijas 260, 360 y 400, vi que faltaba un toque así que con una fresa de cabeza redonda adorne la parte de abajo del estetoscopio. Por último, se procedió a pulir en el motor de banco con un disco de tela y cera de pulir para joyería para darle un acabado brillante. También quería darle otro toque en el acabado, así que agarre una fresa diamantada y el Dremel y le di textura a las partes redondas del estetoscopio.
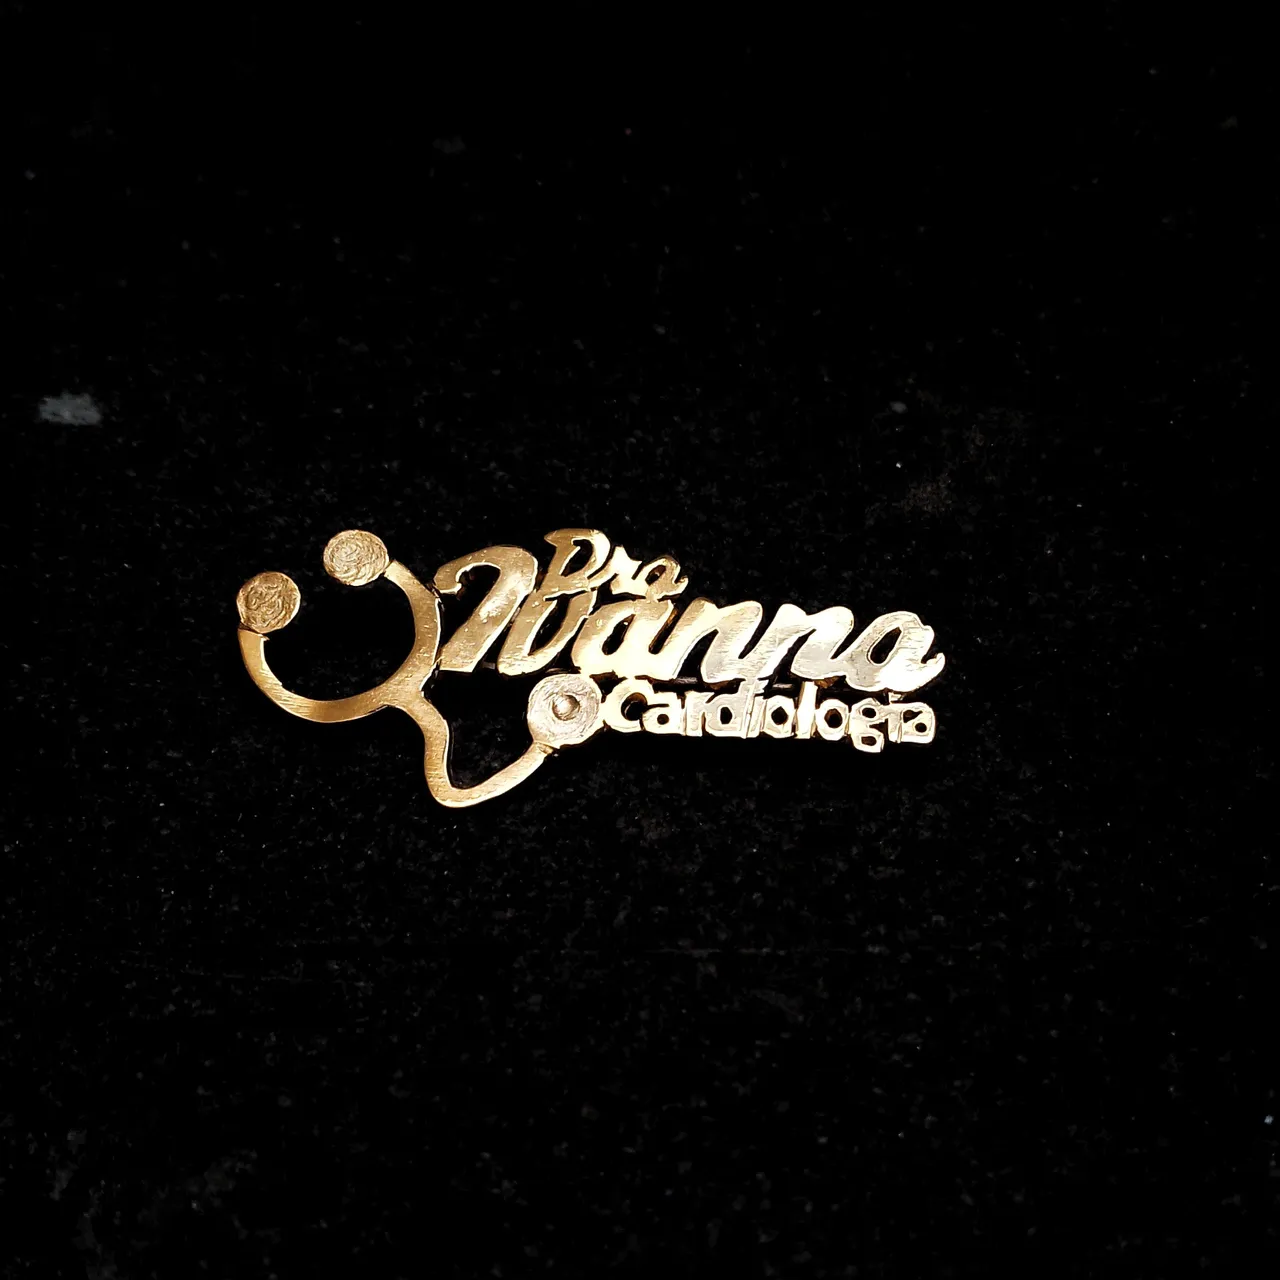
La pieza se mandó a bañar en dorado, yo recomendé ese color porque es el que regularmente se usa en este tipo de prendas y es el que más gusta, también hay que pensar que el uniforme de los doctores por lo general es blanco y el dorado hace mejor contraste.

Las fotos anteriores son muestra del acabado por delante y por detrás.
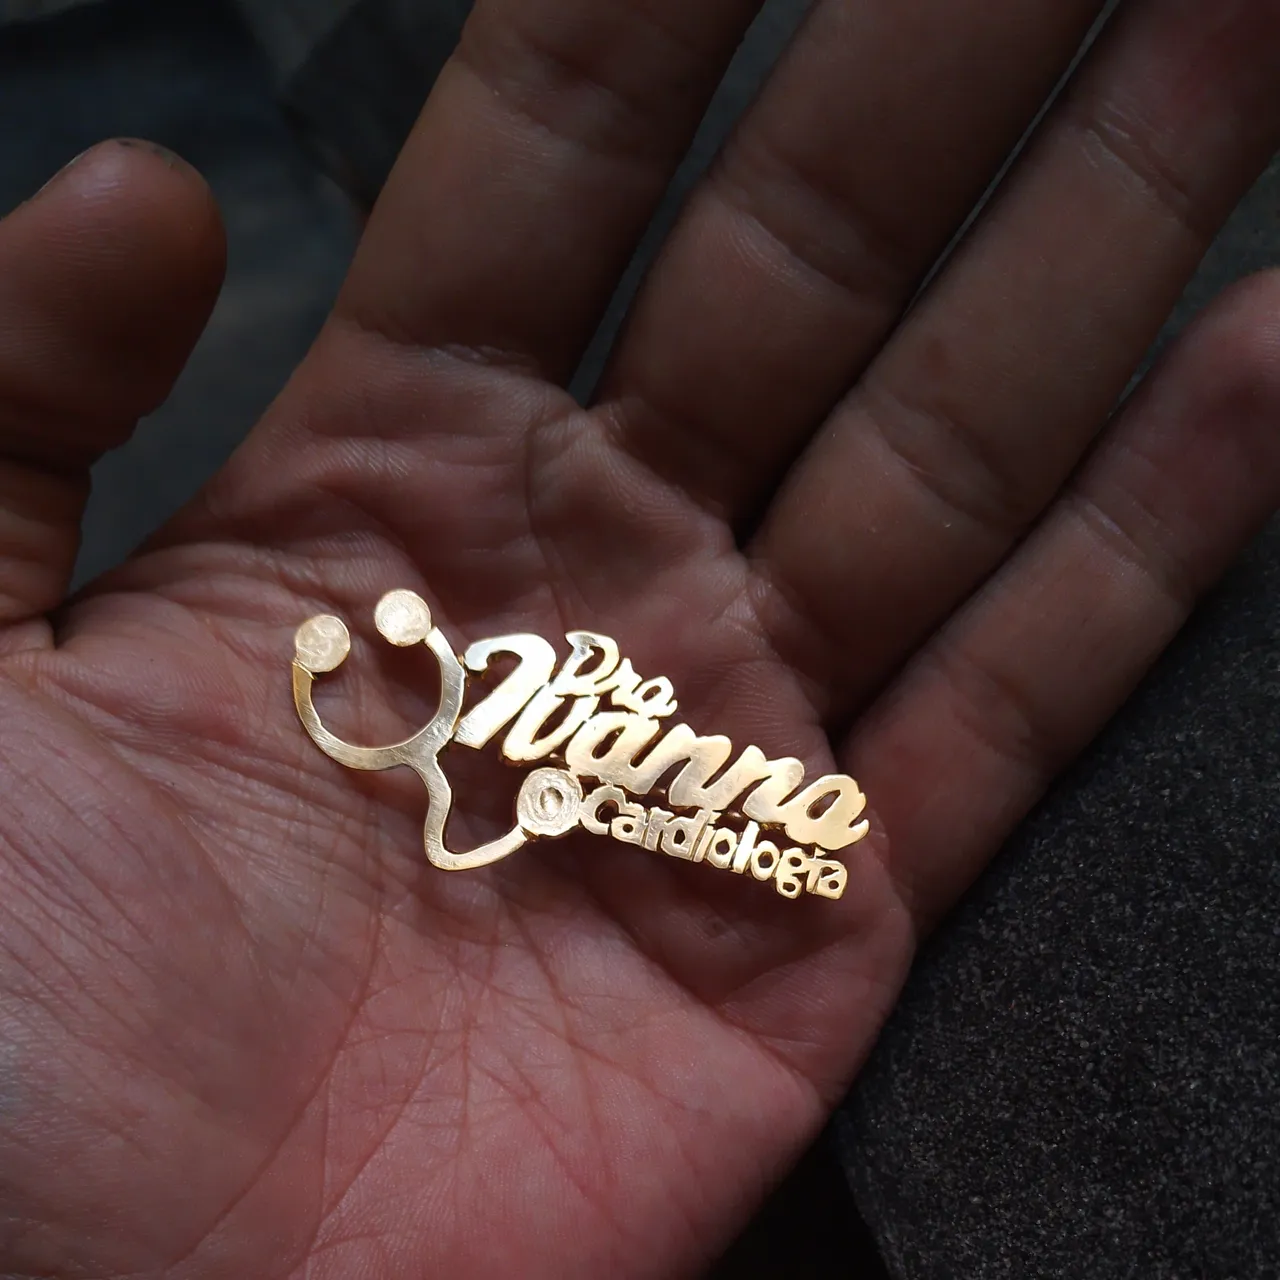
La pieza se la entregué a la persona que hizo el encargo y quedo encantada, luego a los días me comento que le gusto mucho a su hija, que seguíamos pendientes para cualquier otro trabajo. Por mi parte veo que hay un mercado para elaborar prendedores personalizados hechos a mano, por allí tengo pendiente hacer unos con la forma de Ave Fenix.
Espero les haya gustado mi proceso y espero leer sus comentarios. si gustan pueden ver mi trabajo en:
https://instagram.com/m16ueljoyas
Nota:
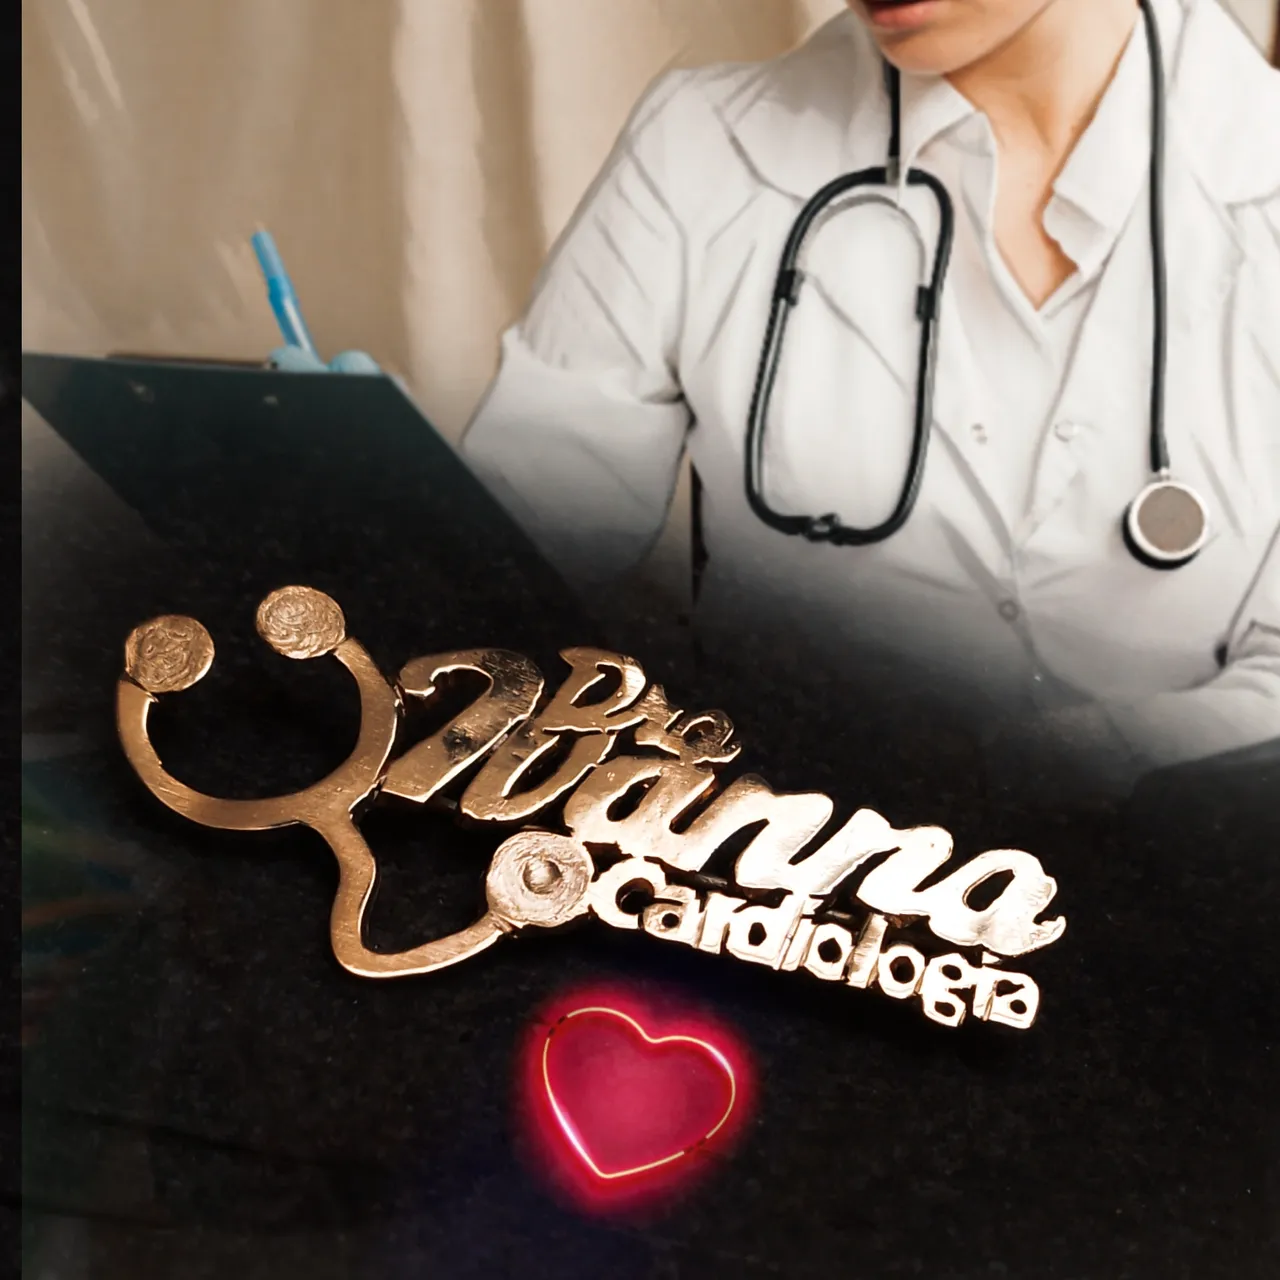
Edicion de imagen de portada con PicsArt
Usando
Foto de Antoni Shkraba: https://www.pexels.com/es-es/foto/mujer-doctor-medicina-proteccion-5214997/
+++++++++
English - DeepL translator
A few weeks ago I was approached by a lady who needed a pin as identification for her daughter who apparently was going to go to a health expo or some health professional meeting, then she told me that she wanted to give her a pin so she could wear it, but this should be handmade, there we talked and tried to make some drawings, but these did not come out very well, we agreed that I designed them on the computer and I was passing it to her so she could choose, I ended up passing her 3 of which she chose one.
The challenge was that I am not very expert in this of making pins, but I have to rely on my many years of experience in this of jewelry and making name and personalized pieces, so in this post I will comment and show you a little of the process.
Tools and Materials:
- Copper foil 0.8 mm, copper wire 1 mm.
- Solder harris 5% silver and Borax as flux, acid for pickling.
- Blowtorch
- Jewelry saw arc and saw 2/0
- Dremel
- Diamond burs
- 0.75 mm hole cutter for opening holes
- 260, 360 and 400 grit sandpaper
- Bench motor, cloth disk and polishing wax
- Jewelry tweezers.
- File
Process
I printed the design that was approximately 5 cm long, glued it with white glue, but first I sanded a little the surface. Then with the Dremel and the 0.75 mm milling cutter open the internal holes where I would make the first cuts.
Then, with the arc saw, I introduced the saw in the holes and began to cut each internal space, trying to preserve the joints so that the piece would remain as rigid as possible when finished.
Once finished the internal cuts, I proceed to cut out the silhouette of the figure, done this I remove the paper, thus revealing the result, which for sure is fine, but it is time to make corrections to better define the piece, this correction process requires time and patience, especially in the parts where the letters are smaller. It is also necessary to make the lines that define the letters with a superficial cut that is achieved by tilting the saw forward.
I take a copper wire of 1 mm and with the tweezers I make the double wire to solder this kind of pin with the piece of jewelry, I cut a size according to the piece and I sharpen the tip with the file.
I proceed to turn the piece over and I put borax in the place where I will weld the pin, I turn on the torch and I spread the weld to later place the pin, in the other end I weld a kind of "C" that I previously made in wire that will serve as support for the closing of the pin. Then I put the piece in acid to remove the scorching and the remains of borax.
The piece is removed from the acid and sanded with sandpaper, I used the Dremel for this and applied the sequence of sandpaper 260, 360 and 400, I saw that a touch was missing so with a round head milling cutter I decorated the bottom of the stethoscope. Lastly, I proceeded to polish on the bench motor with a cloth disk and jewelry polishing wax to give it a shiny finish. I also wanted to give it another touch on the finish, so I grabbed a diamond bur and the Dremel and textured the round parts of the stethoscope.
The piece was bathed in gold, I recommended that color because it is the one that is regularly used in this type of garments and is the most liked, also you have to think that the uniform of the doctors is usually white and gold makes better contrast.
The previous photos are a sample of the front and back finish.
I gave the piece to the person who made the order and she was delighted, then a few days later she told me that her daughter liked it very much, and that we were still waiting for any other work. For my part I see that there is a market to develop custom pins handmade, I have pending to make some in the shape of the Phoenix Bird.
I hope you liked my process and I hope to read your comments. If you like you can see my work at:
https://instagram.com/m16ueljoyas
Note:
Cover image editing with PicsArt
Using
Photo by Antoni Shkraba: https://www.pexels.com/es-es/foto/mujer-doctor-medicina-proteccion-5214997/
Translated with DeepL.com (free version)