##EN
Without further ado, here are the materials I used to make this project:
fabrics, one light coloured and the other a darker shade, in my case I used one light green and the other fuchsia.
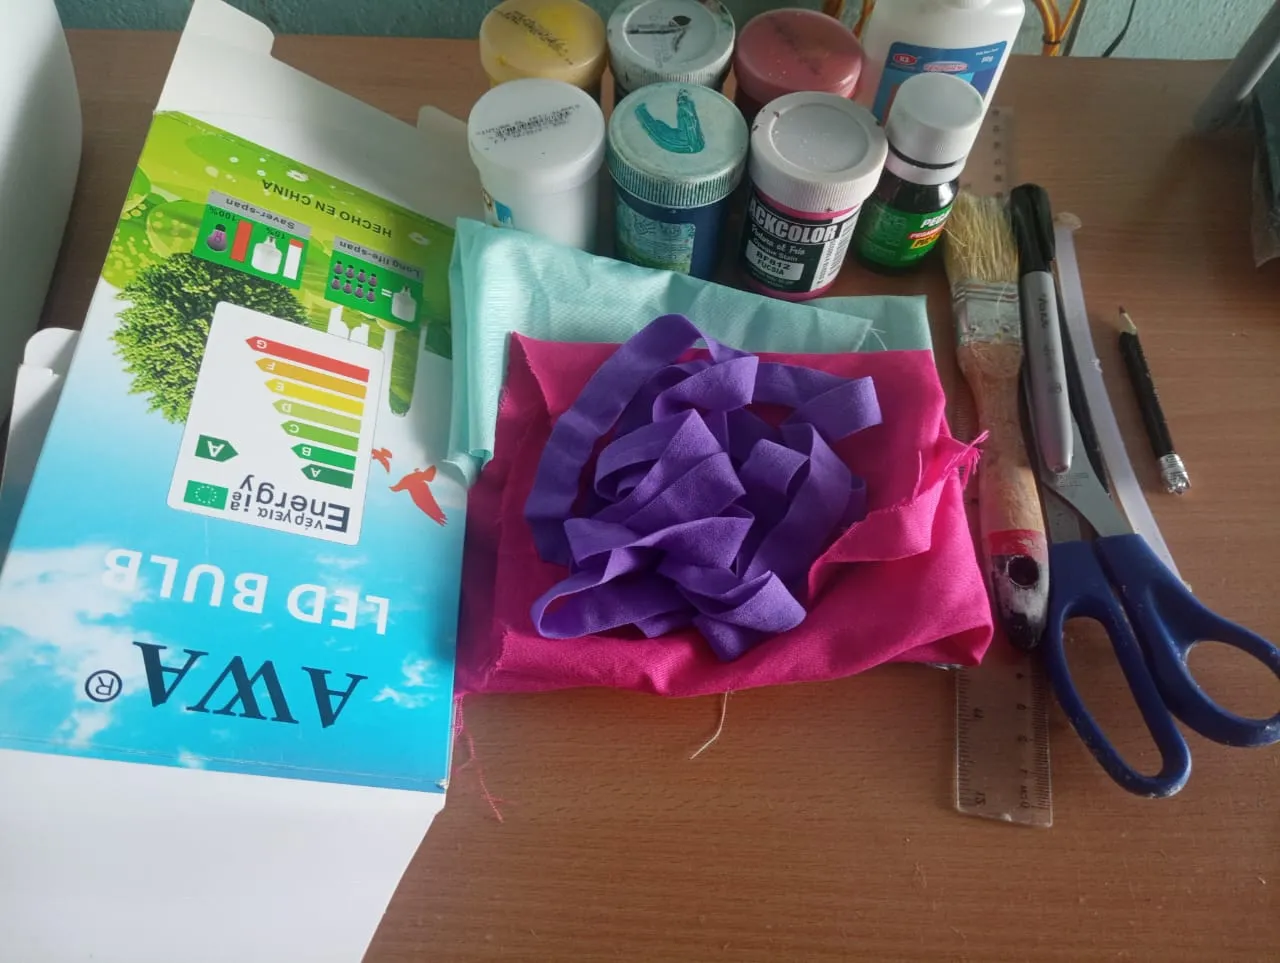
Materials
Thin cardboard.
Purple glue
Industrial glue
Cold paints
Brush
Scissors
Hooks
Marker
Ruler
Procedure
With the ruler, measure the length and width of the telephone, add 3 millimetres to the right and left in width and 3 millimetres in length so that it is not flush.
We mark the measurements on the cardboard with a pencil and cut out two squares with that measurement and one square with the measurement of the mobile phone without adding millimetres, as this would be the part that will act as the casing, where the mobile phone will be held.
Next, we round off each of the corners of the pieces. We take one of the pieces of cardboard, draw a line through the middle of the cardboard and count two millimetres to the right and two millimetres to the left and draw a line through it, then cut out and discard the middle of the cardboard, leaving us with two pieces that will be the back of the case.

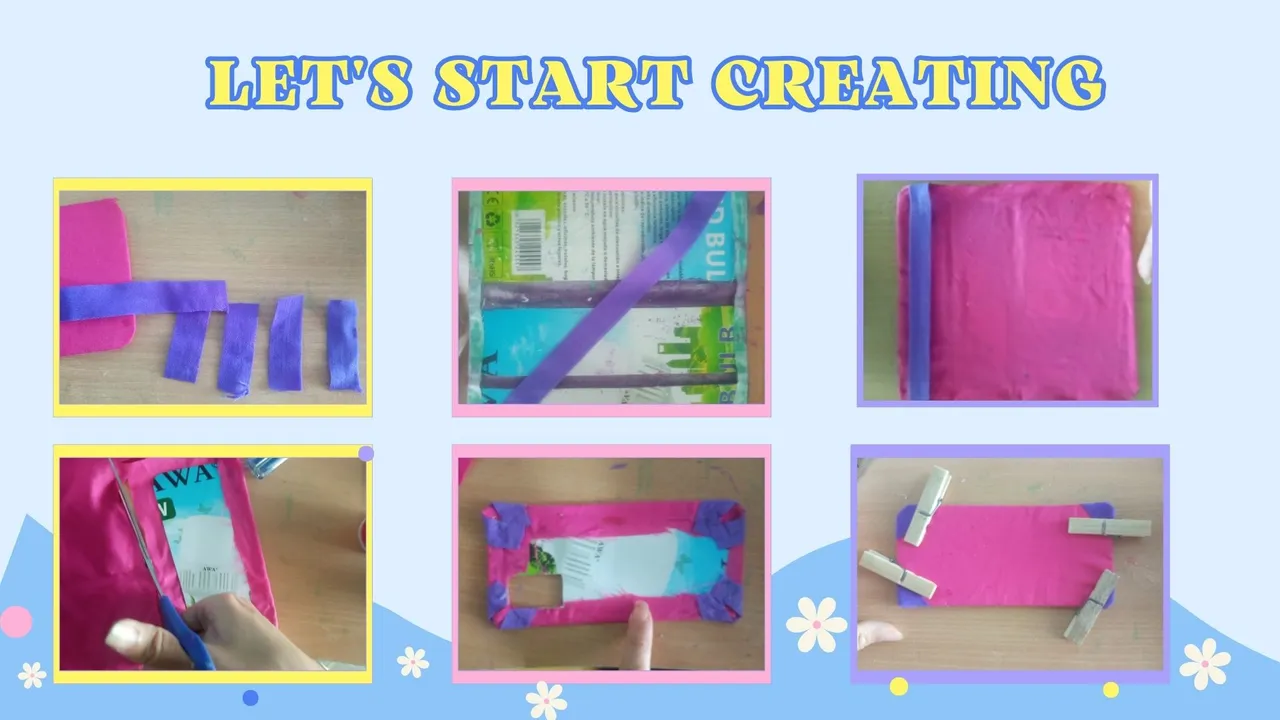
We take our fabric and make a horizontal and a vertical line leaving two cm on each side to be the gluing point, also for the width of the phone we add one cm to the position of the cardboard and there we glue the cardboard to the fabric using the industrial glue, for the second piece we mark three cm and we place the next cardboard, then we leave one cm and glue the other cardboard holding it with the hooks to dry.
Take the third piece of cardboard and line it with fuchsia coloured fabric, glue it, when it is dry glue a small piece of rubber band on each side in each corner where the telephone is going to go and glue it with industrial glue and place the clothes pegs so that it sticks well. Then we glue the rubber band vertically on the back of the case, when it dries, we glue the fuchsia coloured fabric and then we glue the cardboard that is loose, the fuchsia in the middle of the back of the case.
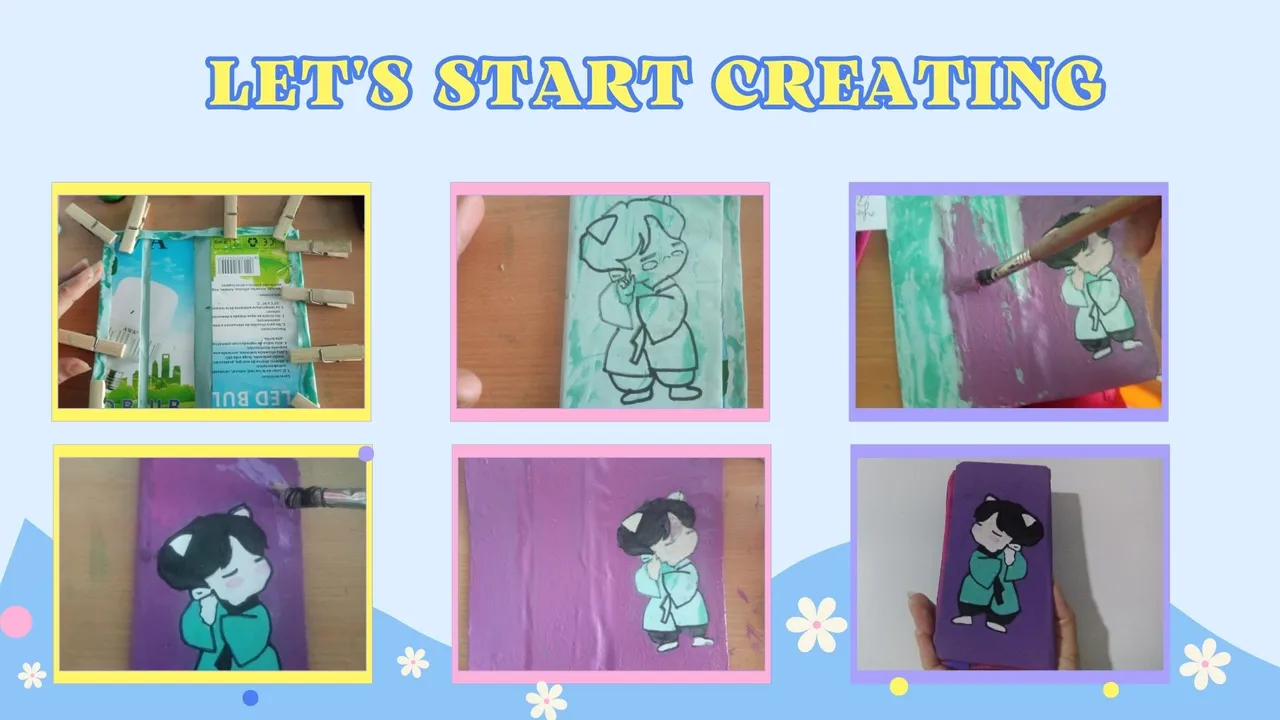
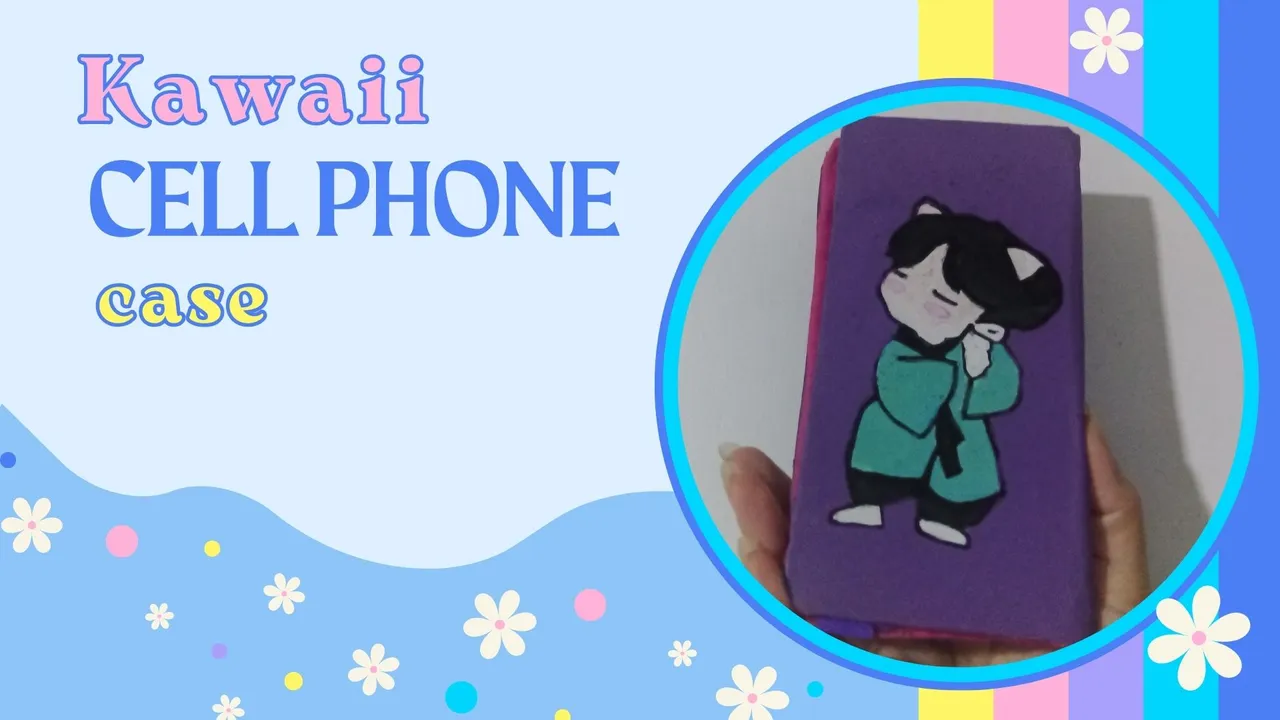
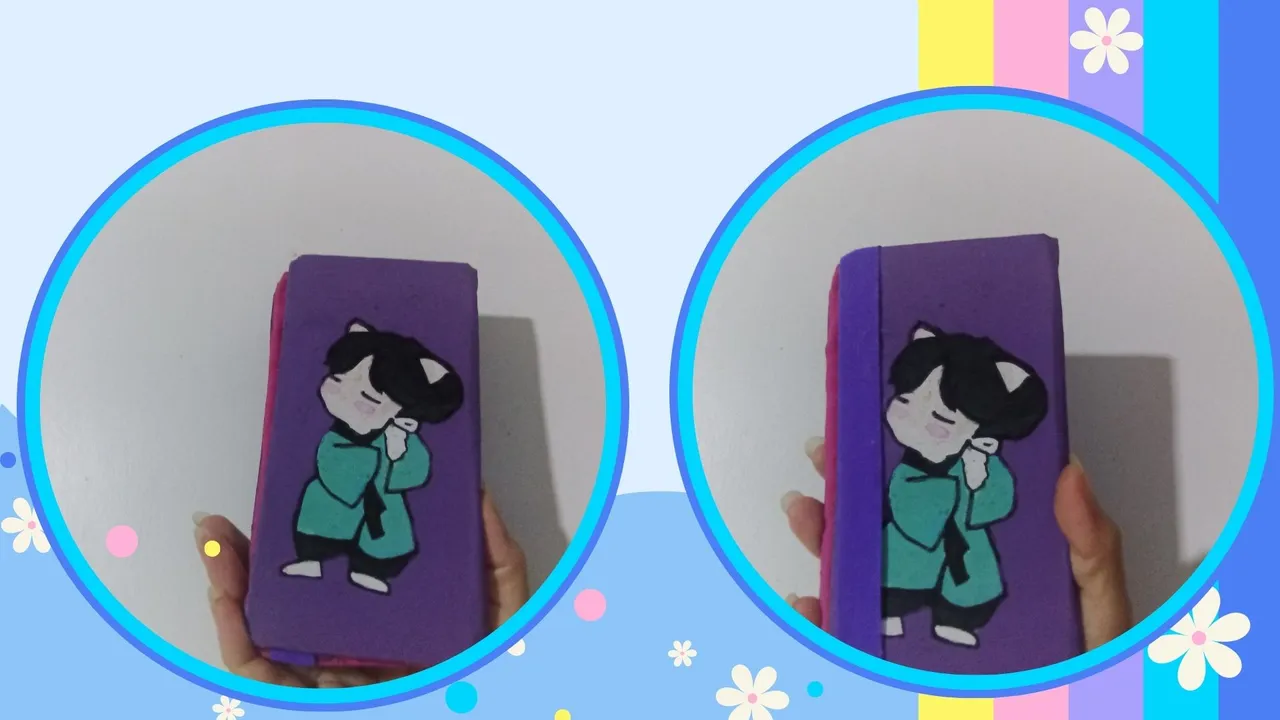
In this part we draw what we like the most, in my case I drew a cartoon of one of the members of BTS, do you think you know who it is? Well, even though I'm not good at drawing I made a great effort to make it look a bit like what I wanted to design, then I took the brush and started to colour my drawing step by step to finish by putting a purple colour on the back of the cover, which is the characteristic colour of the musical group.
And so we had the craft of the day, a nice personalized case to put the cell phone in, what did you think of the idea?
Well, I hope friends that you liked this craft and if you want to be able to play it with the character you like the most.
##ES
Hola amigos creativos, espero que la estes pasando genial. En esta ocasión les tengo un proyecto un poco diferente ya que es la primera vez que lo hago y es la realización de una funda de celular totalmente personalizable, se pueden hacer varios diseños, en mi caso, me decidí por un diseño Kawaii del grupo surcoreano BTS. Esta fundita tiene la particularidad de que esta realizado para doblar la funda y así sostener el celular que es ideal para sostener el teléfono.
Sin más dilatación te muestro a continuación los materiales que ocupe para la realización de este proyecto:
telas, una de color claro y otra de un tono más oscuro, en mi caso use una de color verde claro y otra de color fucsia.
Materiales
Cartón delgado.
Liga de color morado
Pegamento industrial
Pinturas al frio
Pincel
Tijera
Ganchos
Marcador
Regla
Procedimiento
Con la regla medimos el largo y ancho del teléfono, le sumamos 3 milímetros tanto en la derecha como en la izquierda a lo ancho y 3 milímetros a lo largo para que no quede al ras.
Marcamos en el cartón las medidas con un lápiz y recortamos dos cuadrados con esa medida y un cuadrado con la medida del celular sin sumarle milímetros que esa sería la parte que va a hacer de carcasa, en donde se va a sostener el celular.
A continuación, redondeamos cada una de las esquinas de las piezas. Tomamos uno de los cartones, pasamos una línea en el medio del cartón y vamos a contar dos milímetros hacia la derecha y dos milímetros hacia la izquierda y le pasamos una línea, posteriormente recortamos y desechamos el medio del cartón, quedándonos dos piezas que serán la parte trasera de la funda.
Tomamos nuestra tela y hacemos una línea horizontal y una vertical dejando dos cm de cada lado para que sea el punto de pegado, además para el ancho del teléfono le sumamos un cm a la posición de los cartones y allí pegamos el cartón a la tela usando el pegamento industrial, para la segunda pieza marcamos tres cm y le colocamos el siguiente cartón, luego se deja un cm y se pega el otro cartón sosteniéndolo con los ganchos para que se seque.
Tomamos el tercer cartón y lo forramos con tela de color fucsia, lo pegamos, cuando este seco pegamos en cada lado un pedacito de liga de liga en cada esquina donde va a ir el teléfono y la pegamos con el pegamento industrial y le colocamos los ganchos de ropa para que se pegue bien. Posteriormente pegamos la liga verticalmente en la parte de atrás de la funda, al secar, le pegamos la tela color fucsia y posteriormente pegamos el cartón que esta suelto, el fucsia a la mitad de la parte de atrás de la funda.
En esta parte dibujamos lo que más nos gusta, en mi caso dibuje un animado de uno de los miembros de BTS, ¿crees que sabes de quien se trata? pues a pesar de que no soy buena dibujando hice un gran esfuerzo para que pareciera un poco a lo que quería diseñar, seguidamente tome el pincel y le empecé a dar color a mi dibujo paso a paso para terminar colocándole al fondo de la funda un color morado que es el color característico del grupo musical.
Y así nos quedó la manualidad del día, una linda funda personalizada para colocar el celular, ¿qué te pareció la idea?
Bueno amigos espero que te haya gustado esta manualidad y si quieres puedas repicarla con el personaje que más te guste.

Diseño realizado en Canva.com
traduccion realizada con deelp.com
Contenido original por @liyuxiexie
fotos tomadas en un telefono Redmi 10 para Hive.com