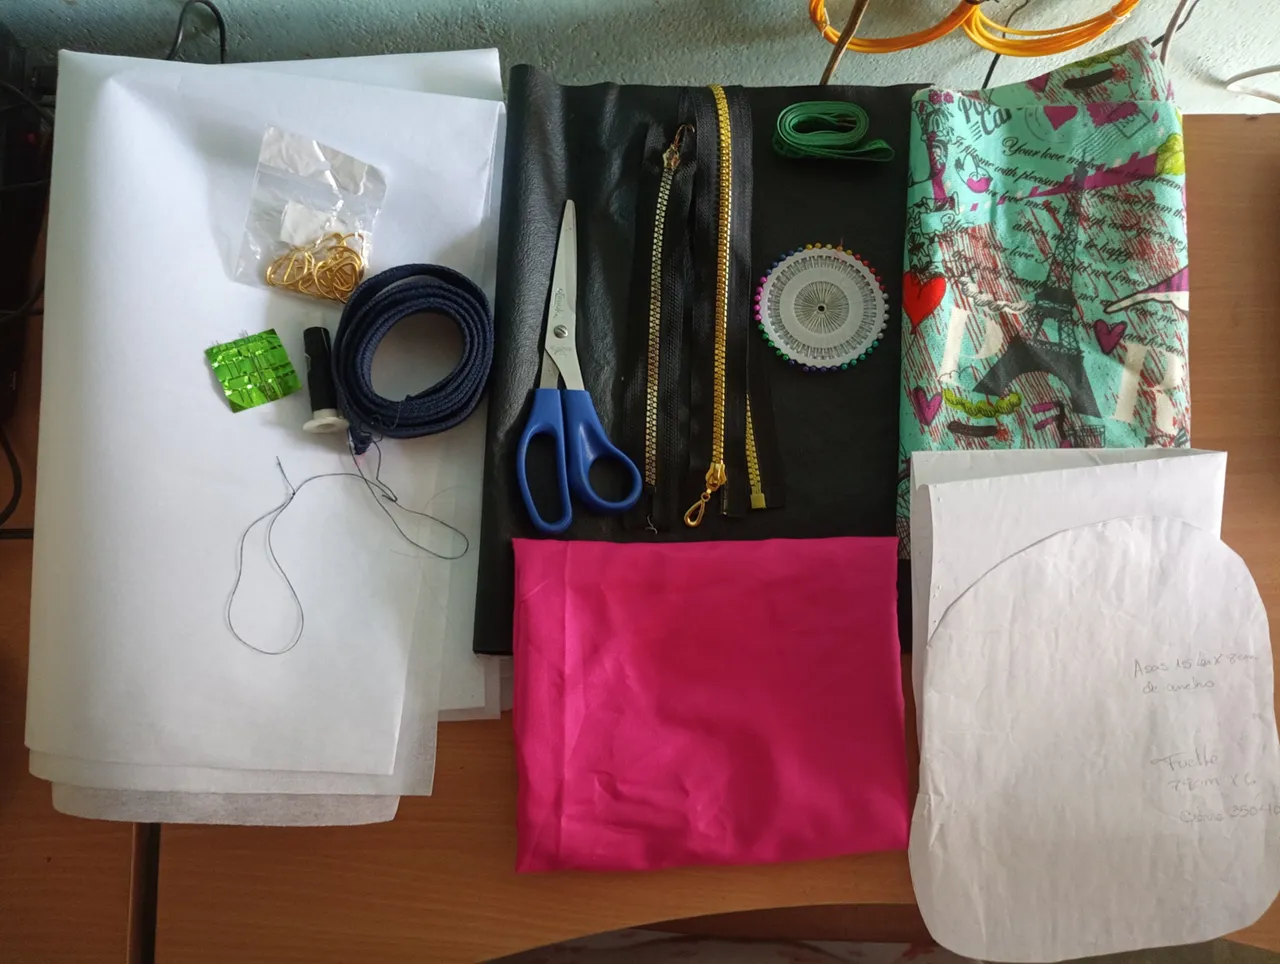
To make this bag we are going to use the following materials:
black leatherette
Printed Upholstery Fabric
Fuchsia pop fabric
adhesive bald
4 purse rings
Bag patterns
A medium closure
A big closure
Needle and thread
Pins
Disruptive
Sewing machine
Needle number 16
black thread
Scissors
Tape measure
Iron.

Steps
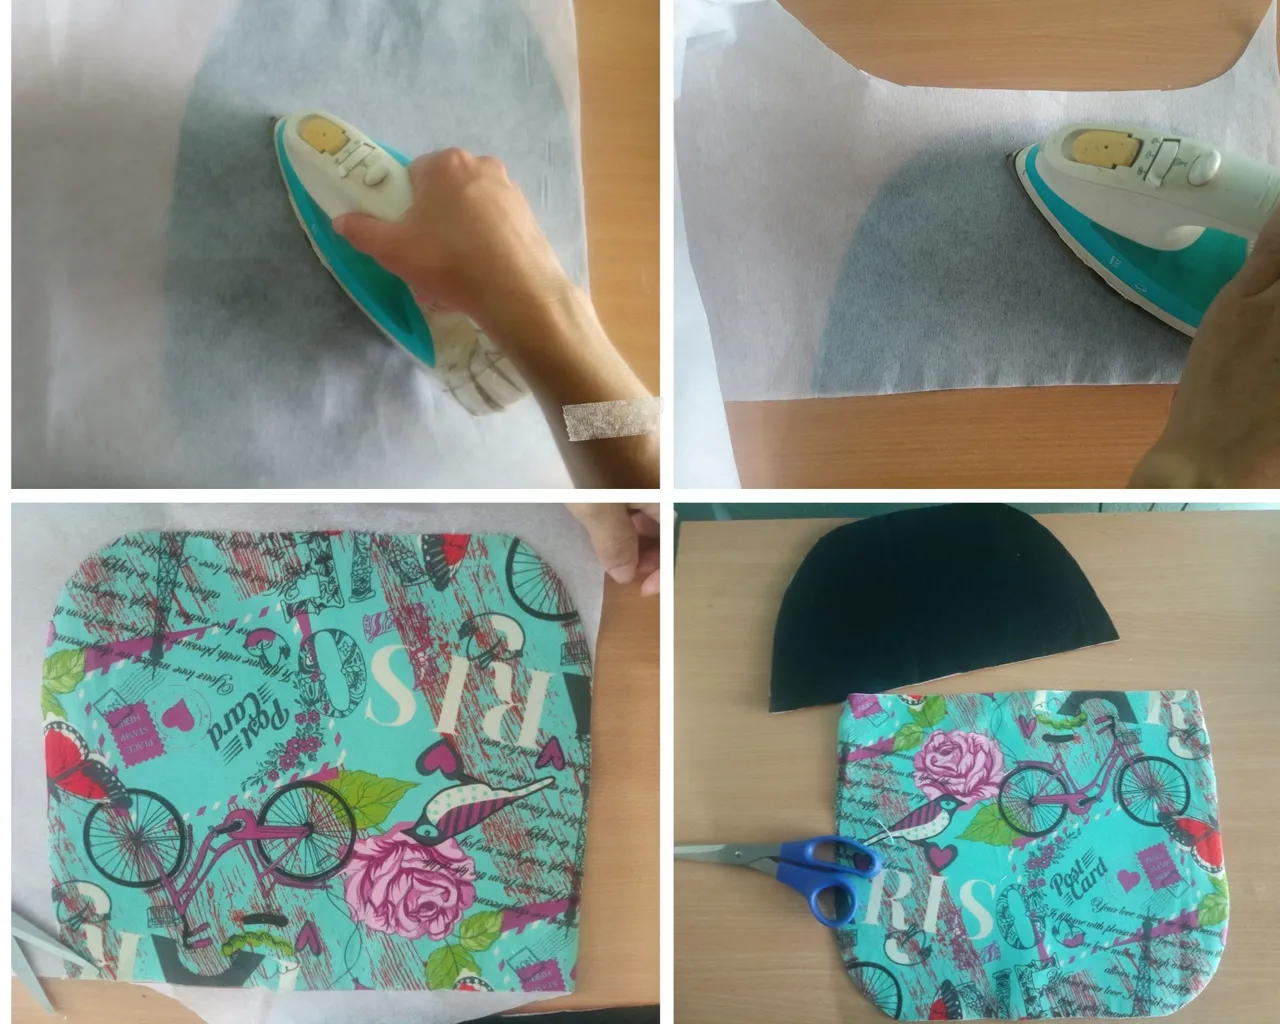
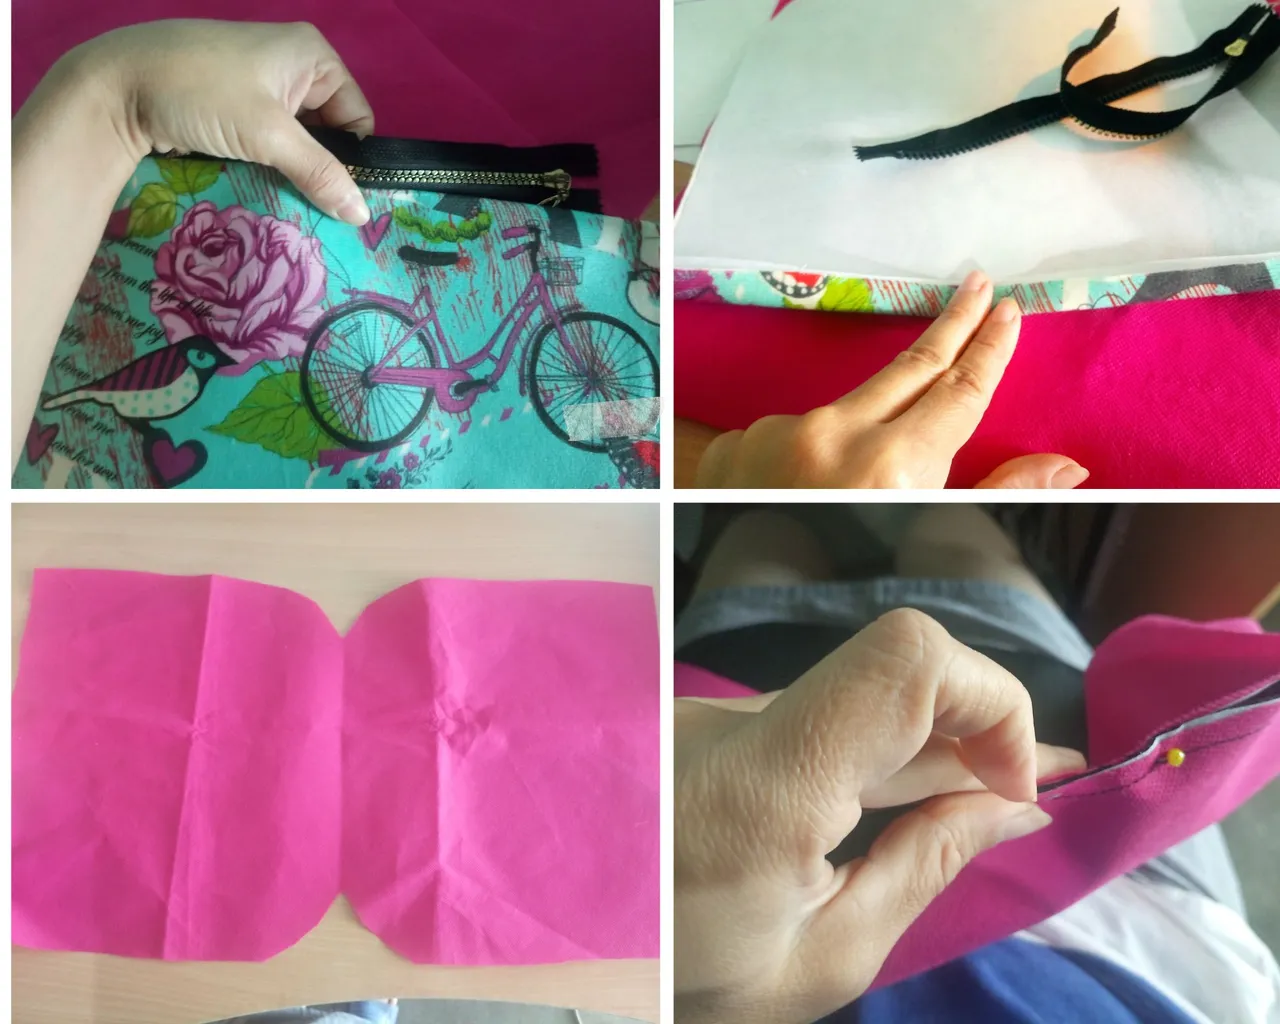
The pattern is taken from the back and bottom, it is fixed to the printed fabric and the leatherette, it is cut out, then the adhesive tape is placed by gluing it with the iron, the printed fabric is taken and an 85 cm square is measured and cut out. of the fuchsia fabric, grab the 25 cm closure, center it, fold it and fix the fabric closure, pin it also with the pocket and sew it, also sew the back of the leatherette with the 60 cm closure.
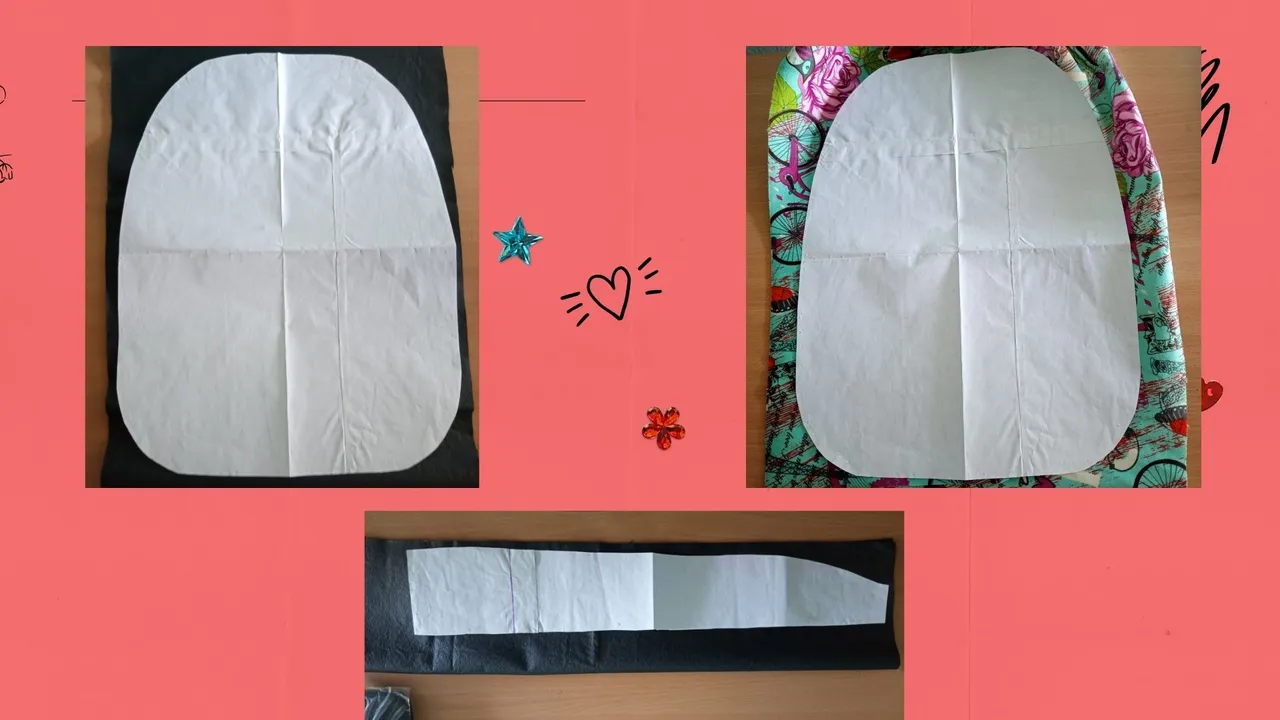
The sides of the 87 cm long by 9 cm wide bag are cut out with the pattern, the pile is adhered and then placed on the fuchsia fabric that would be the lining.
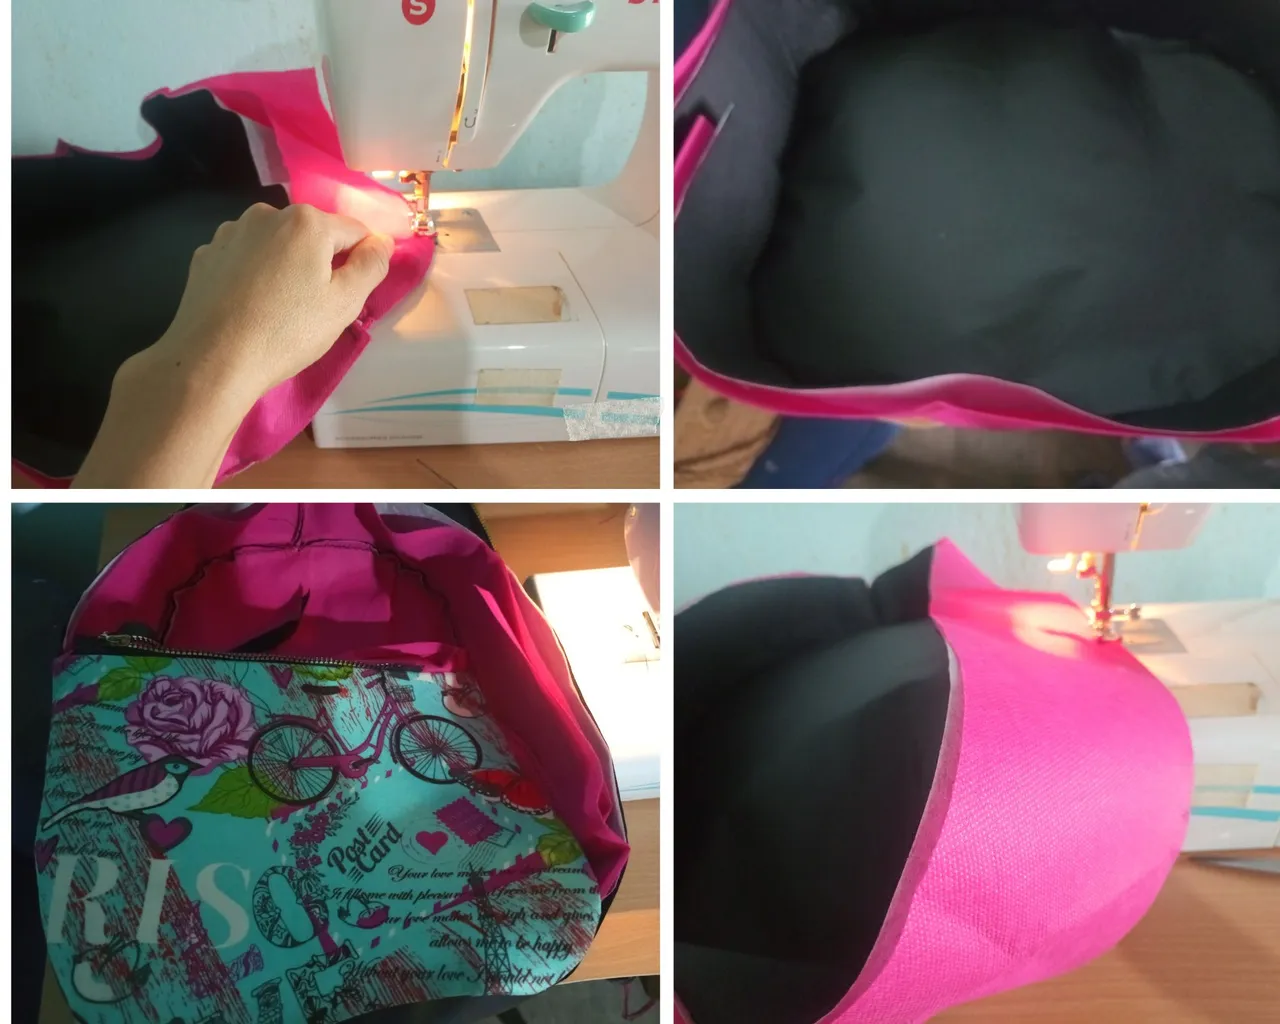
The strip is joined looking for the center and it is incorporated into the base of the bag, which is the leatherette, and it is sewn. Later, the front part is taken, which is made up of the leatherette and the printed fabric, and it is joined together with the closure glued on both sides.
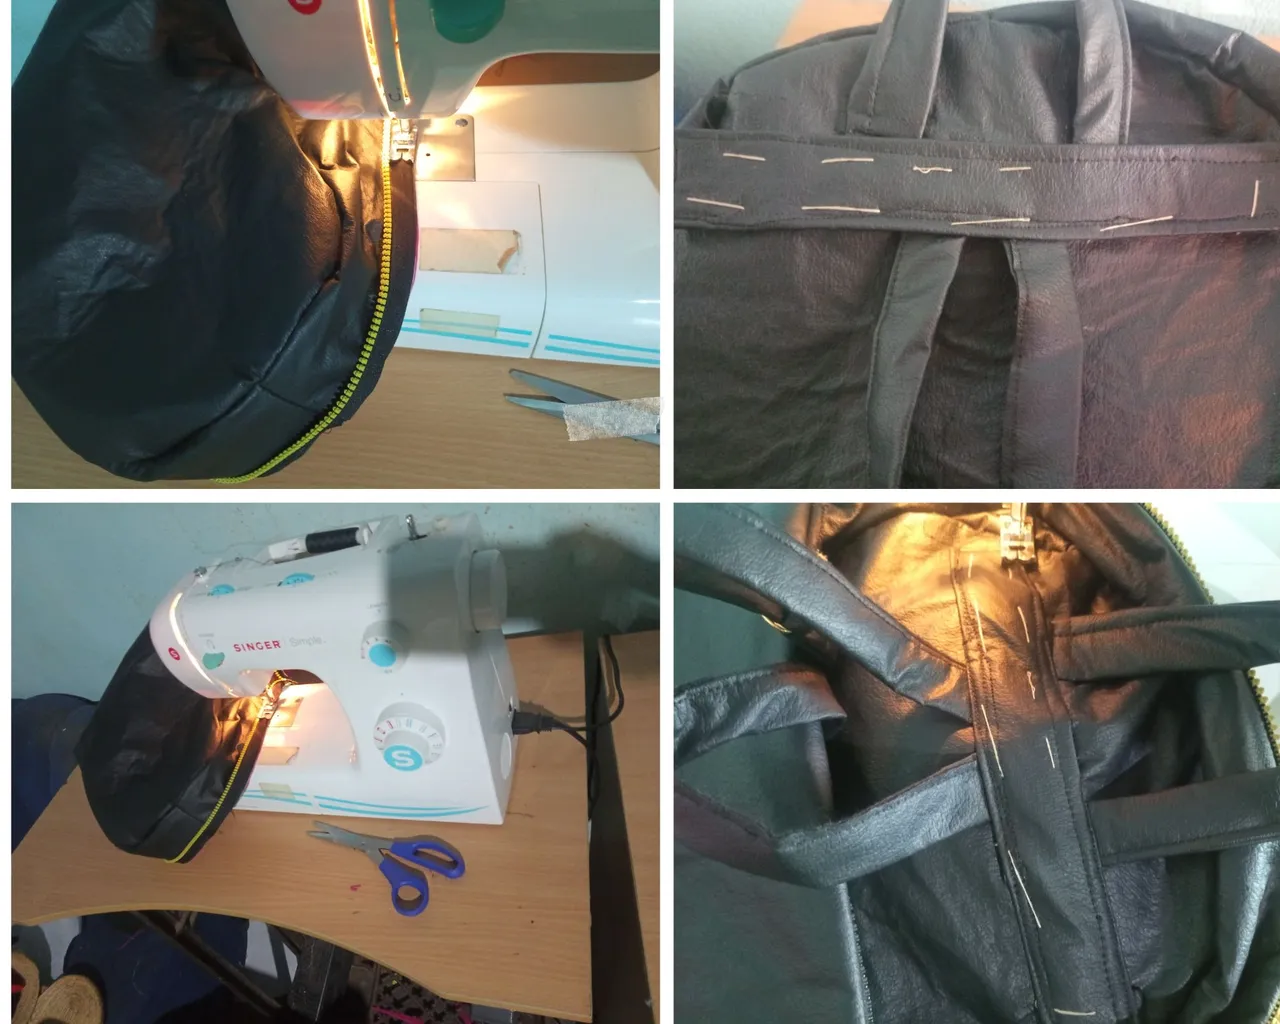
Two pieces of leather 87 cm long by 5 cm wide are cut, ironed with the pelón to reinforce and then cut, folded and sewn both ribbons, then the rings are placed, one of the rings will be to give mobility to the handles and the other so that it is attached to the bag, take a small piece of leatherette and put it in the ring and sew it in the lower corner of the bag on both sides and at the top a strip of leatherette of 25 is cut cm wide by 7 centimeters long, it is folded and sewn together with the two handles and a handle made with a 35 cm strip of leatherette, folded and sewn.
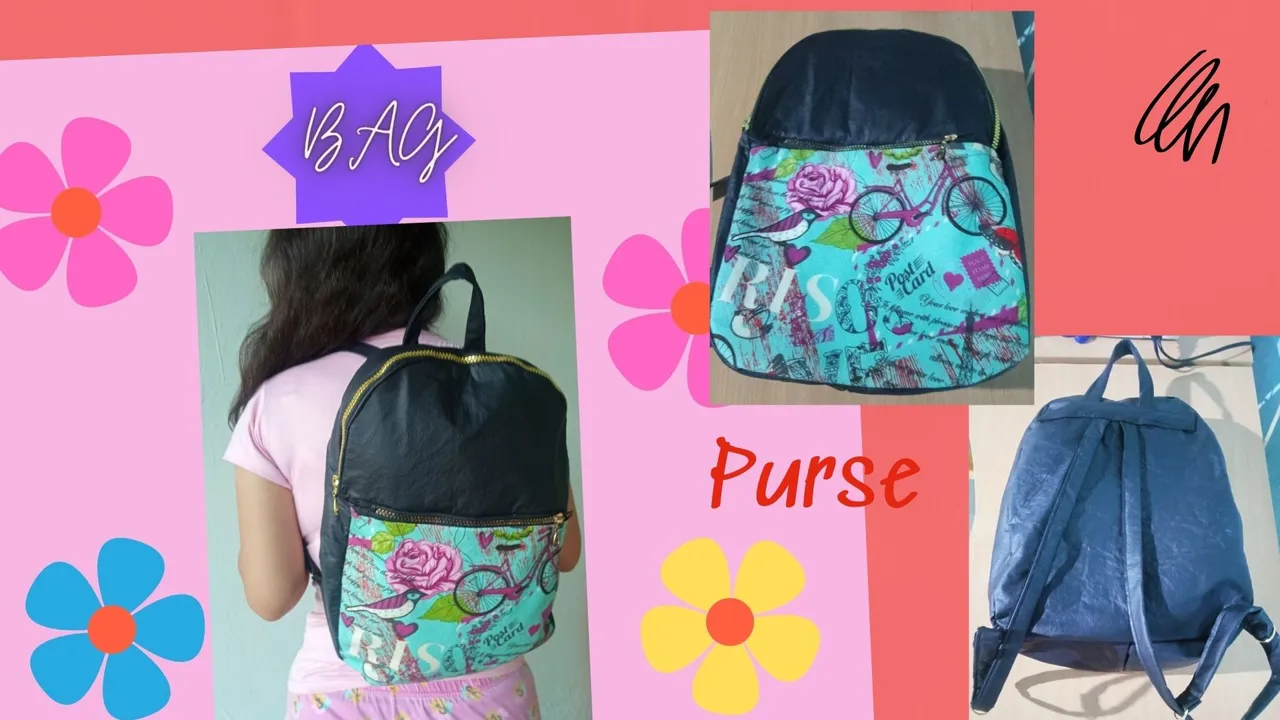
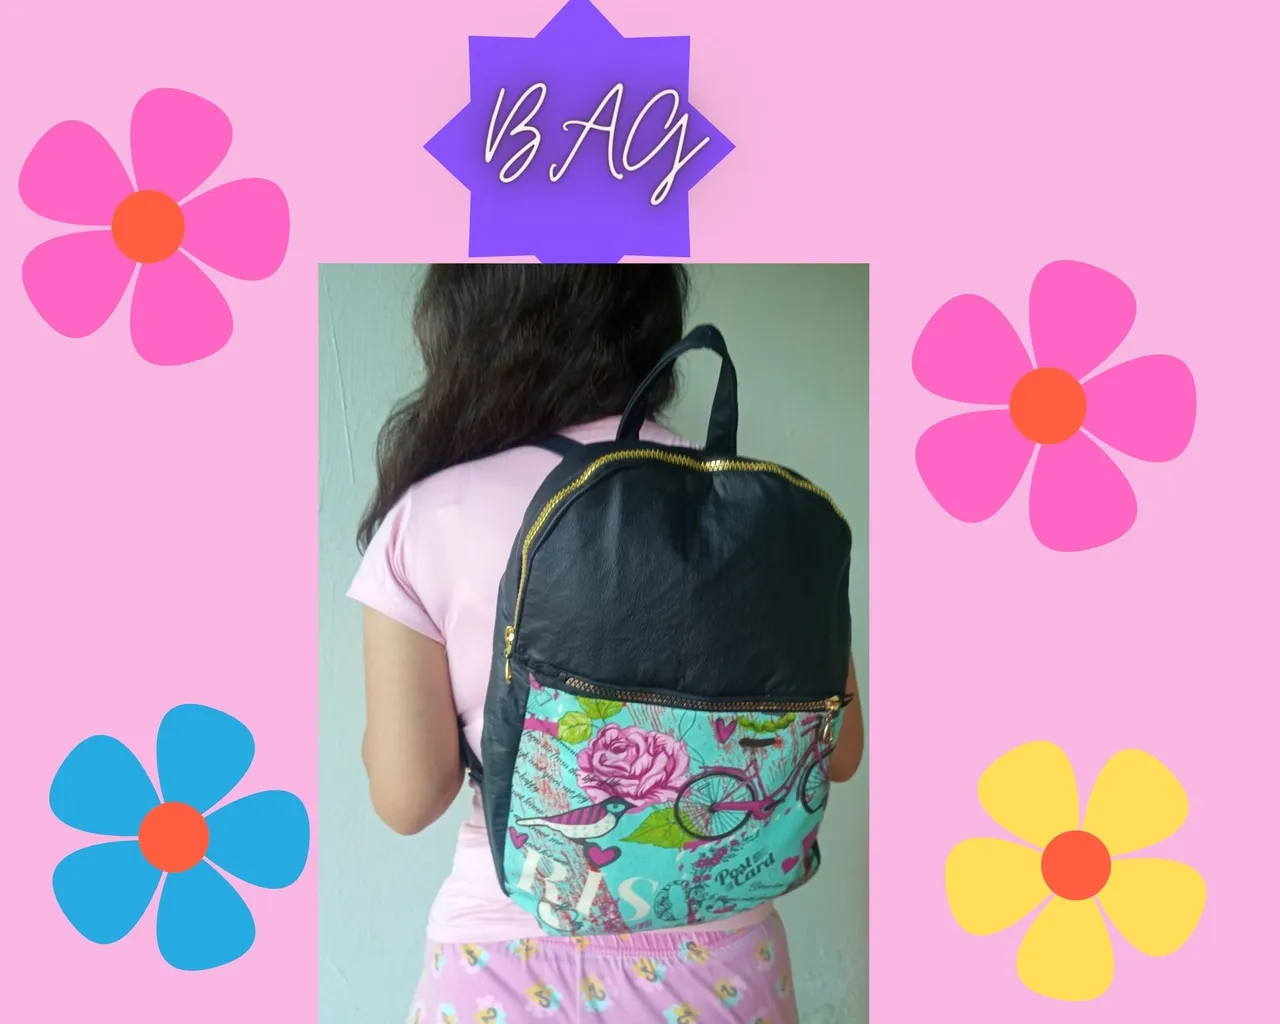
And this is how our cute bag looks, even though the process to make it took me time and a little work, I was happy with the result, I encourage you to try it.
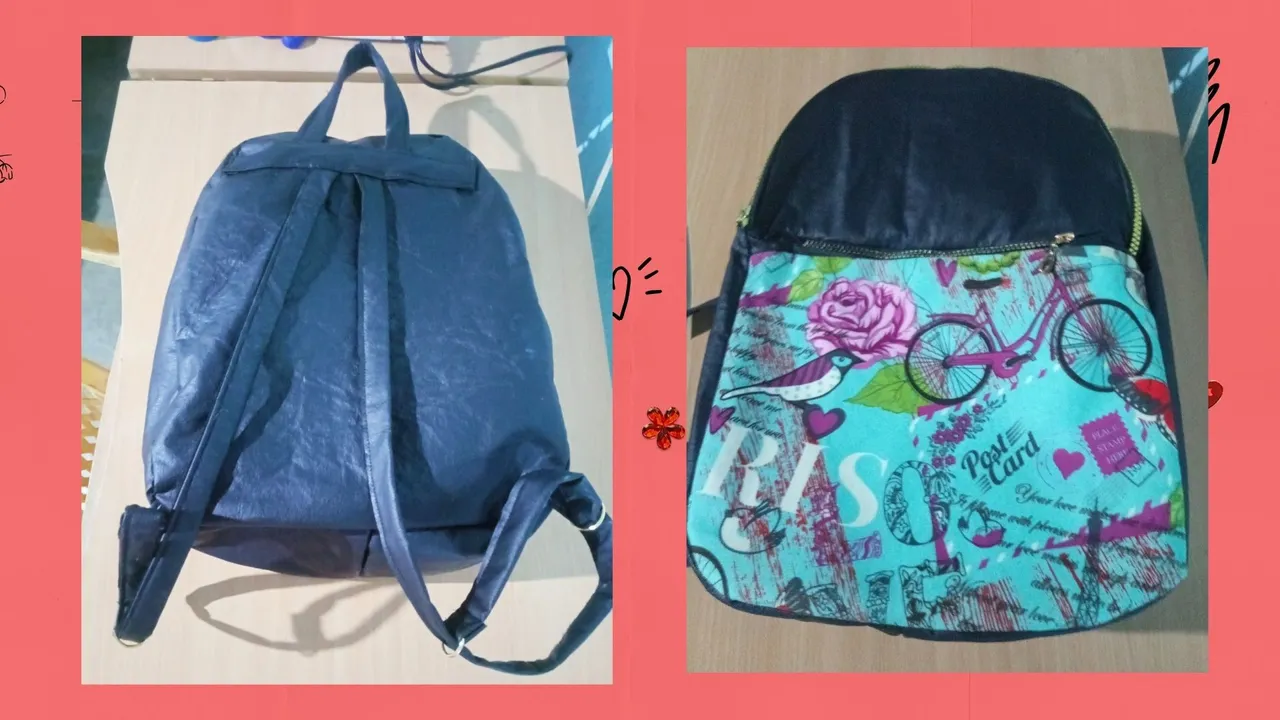
Well this is all from me, I thank the Hive Diy community for giving us the opportunity to show our crafts, it will be until a next project, blessings to all.
Español
Para elaborar este bolso vamos a ocupar los siguientes materiales:
Cuerina de color negro
Tela de tapicería estampada
Tela pop color fucsia
Pelón adhesivo
4 aros para carteras
Patrones de bolso
Un cierre mediano
Un cierre grande
Aguja e hilo
Alfileres
Desbaratador
Máquina de coser
Aguja numero 16
Hilo de color negro
Tijera
Cinta de medir
Plancha.
Pasos
Se toma el patrón de la parte posterior y inferior, se fija a la tela estampada y a la cuerina, se recorta, posteriormente se coloca el pelón adhesivo pegándolo con la plancha, se toma la tela estampada y se mide se recorta un cuadrado de 85 cm de la tela fucsia, se agarra el cierre de 25 cm, se centra, se dobla y se fija el cierre de la tela, se fija con alfileres también con el bolsillo y se cose, tambien se cose la parte posterior de la cuerina con el cierre de 60 cm.
Se recorta con el patrón los lados del bolso de de 87 cm de largo por 9 cm de ancho, se adhiere el pelon y luego se le coloca a la tela fucsia que seria el forro
Se unen la tira buscando el centro y se incorpora a la base del bolso que es la cuerina y se va cosiendo , posteriormente se toma la parte delantera que esta compuesta por la cuerina y la tela estampada y se une junto al cierre pegado en ambos lados
Se pica dos cuerinas de 87 cm de largo por 5 cm de ancho, se plancha con el pelón para reforzar y luego se recorta, se dobla y se cose ambas cintas, luego se coloca los aros, uno de los aros será para darle movilidad a las asas y el otro para que vaya fijado al bolso, se toma un pedacito de cuerina y se mete en el aro y se cose en la esquina inferior del bolso por ambos lados y en la parte de arriba se recorta una tira de cuerina de 25 cm de ancho por 7 centímetros de largo se dobla y se cose junto a las dos asas y un agarradero hecho con una tira de cuerina de 35 cm, doblada y cosida.
Y asi nos queda nuestro coqueto bolso, a pesar de que el proceso para realizarlo me llevo tiempo y un poco de trabajo quede contenta con el resultado, te ánimo para que lo intentes realizar.
Bueno esto es todo por mi parte, le agradezco a la comunidad Hive Diy por darnos la oportunidad de mostrar nuestras manualidades, será hasta un próximo proyecto, bendiciones para todos.