Yesterday it was a freezing cold and windy Sunday here on the Eastern Shore of Maryland. We didn't even bother trying to go outside. I decided it was time for us to work on another DIY project. I saved a coffee creamer container and decided to use it for something to go in one of our latest recycled projects, the DIY recycled cozy cabin play area. I had seen these DIY fairy lanterns on Pinterest and thought they were really cute. They remind me a lot of Tinkerbell from Peter Pan. I figured it would give our cozy forest play area a whimsical vibe. Check out the steps below on how I made it:
Materials:
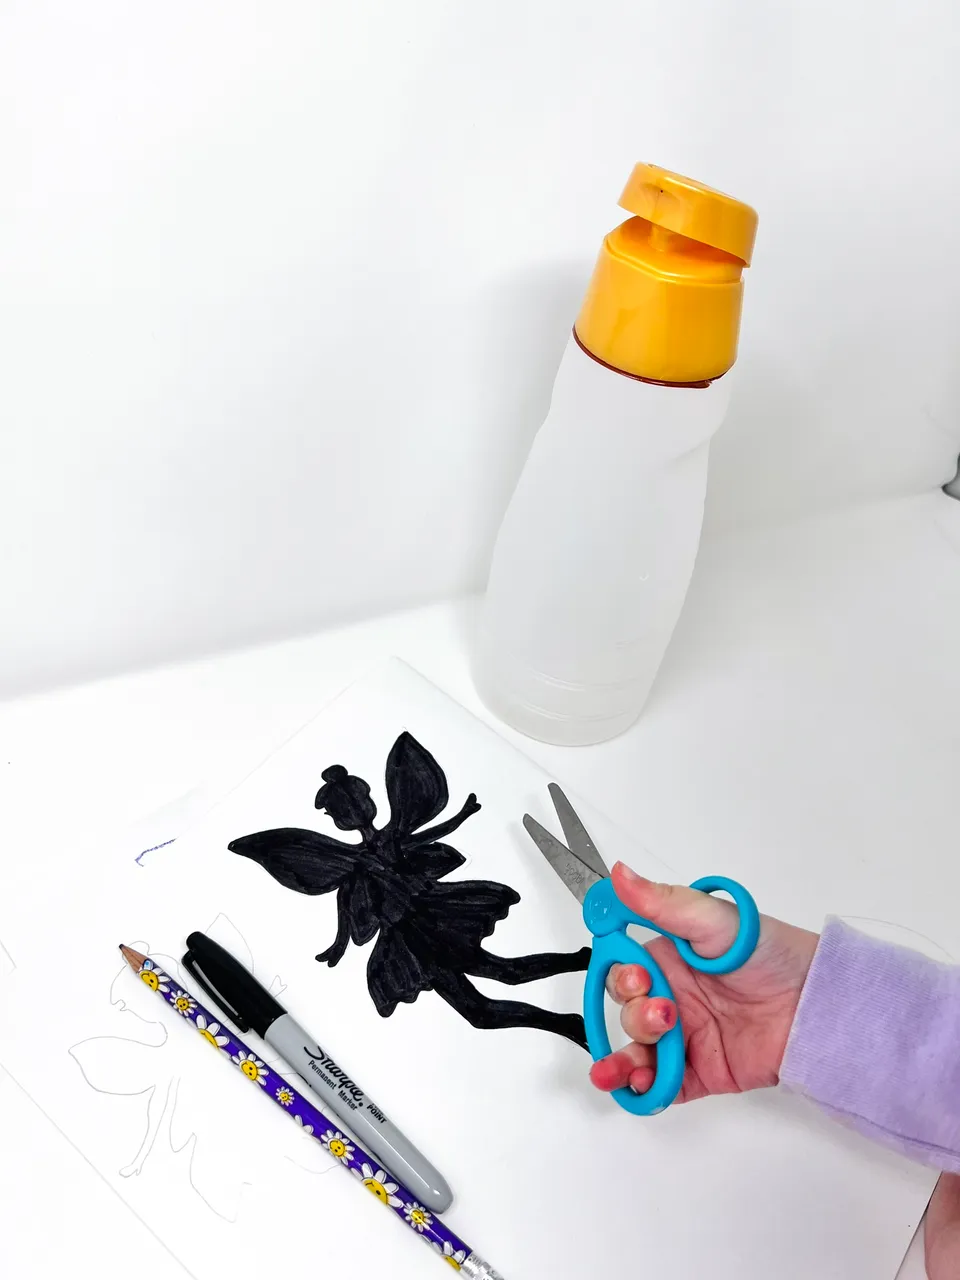
- Scissors
- Glue
- Cardstock
- Pencil
- Black marker
- Knife
- Old coffee creamer container
- Twine
- Hole punch
- Tea light candle(s)
- Forest accessories to decorate

Step 1. I drew fairy with pencil on cardstock.

Step 2. I traced the fairy with black marker and colored it in.

Step 3. I cut out the fairy shape with scissors.

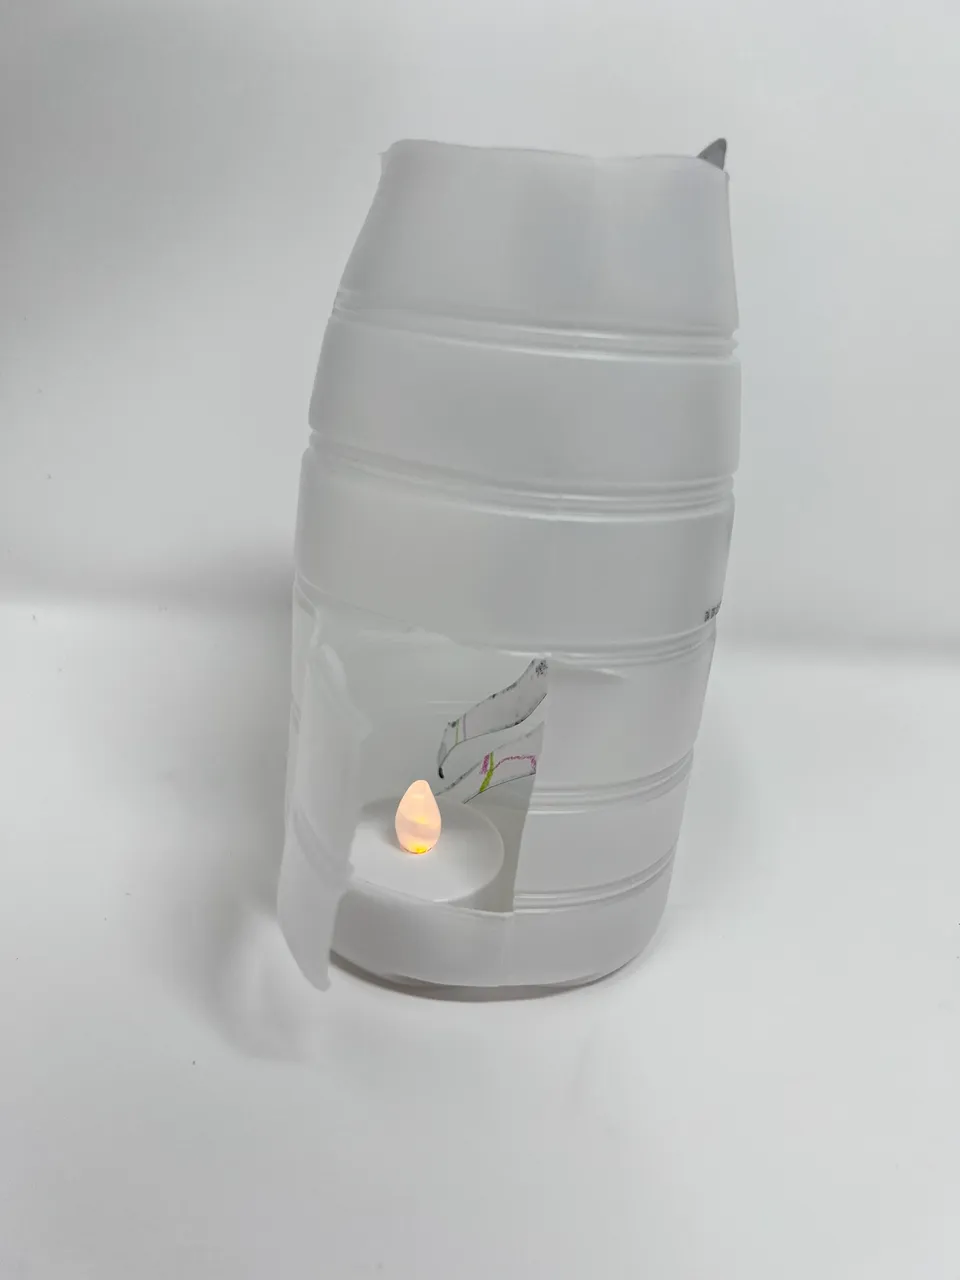
Step 4. I used a knife to cut off the top of the coffee creamer container. Then I cut a small door in the back of the container.


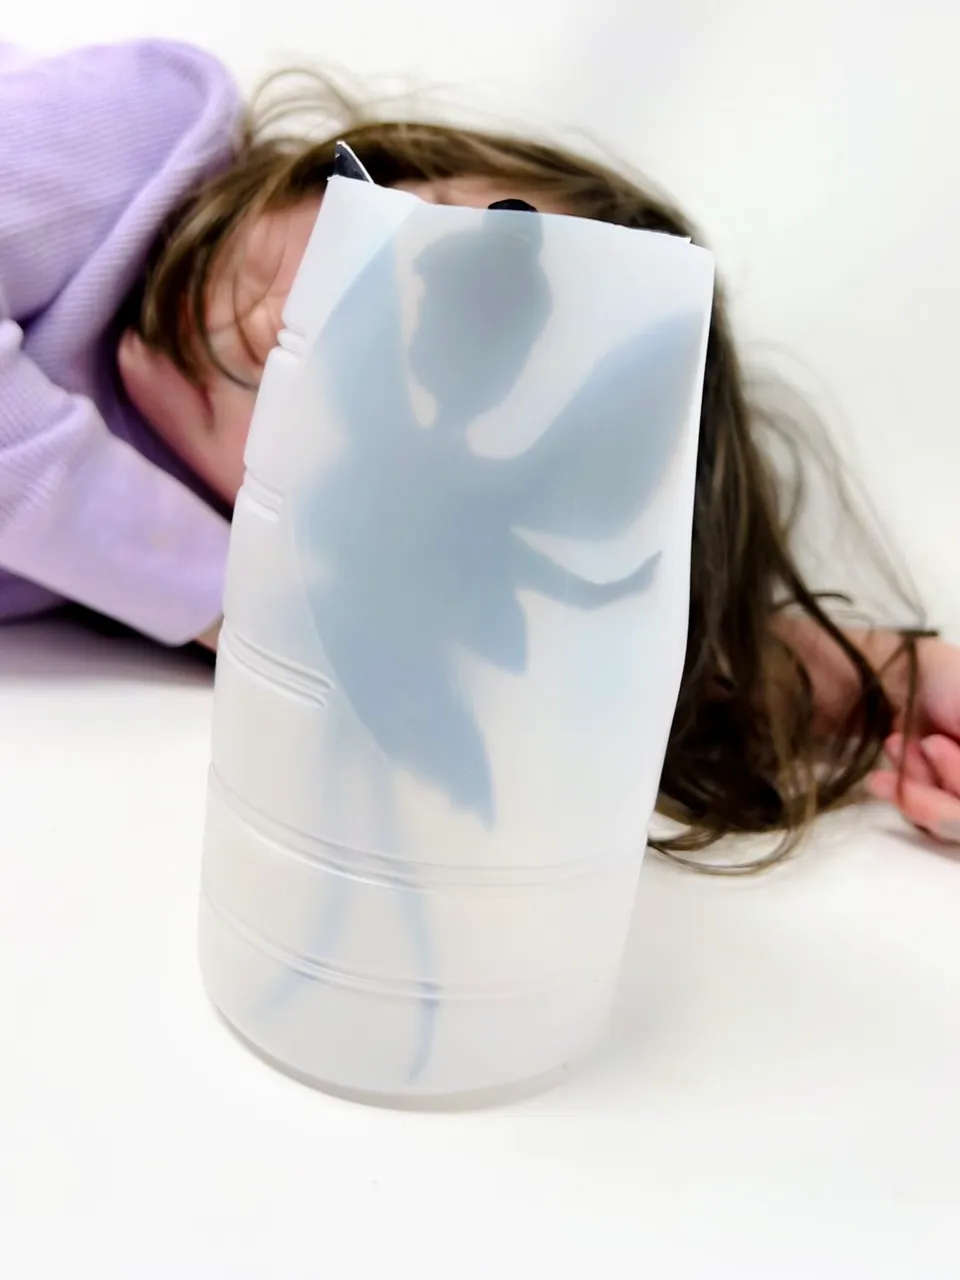
Step 5. I put the fairy in the front. Then I punched holes on two sides on the top of the container to thread the twine.

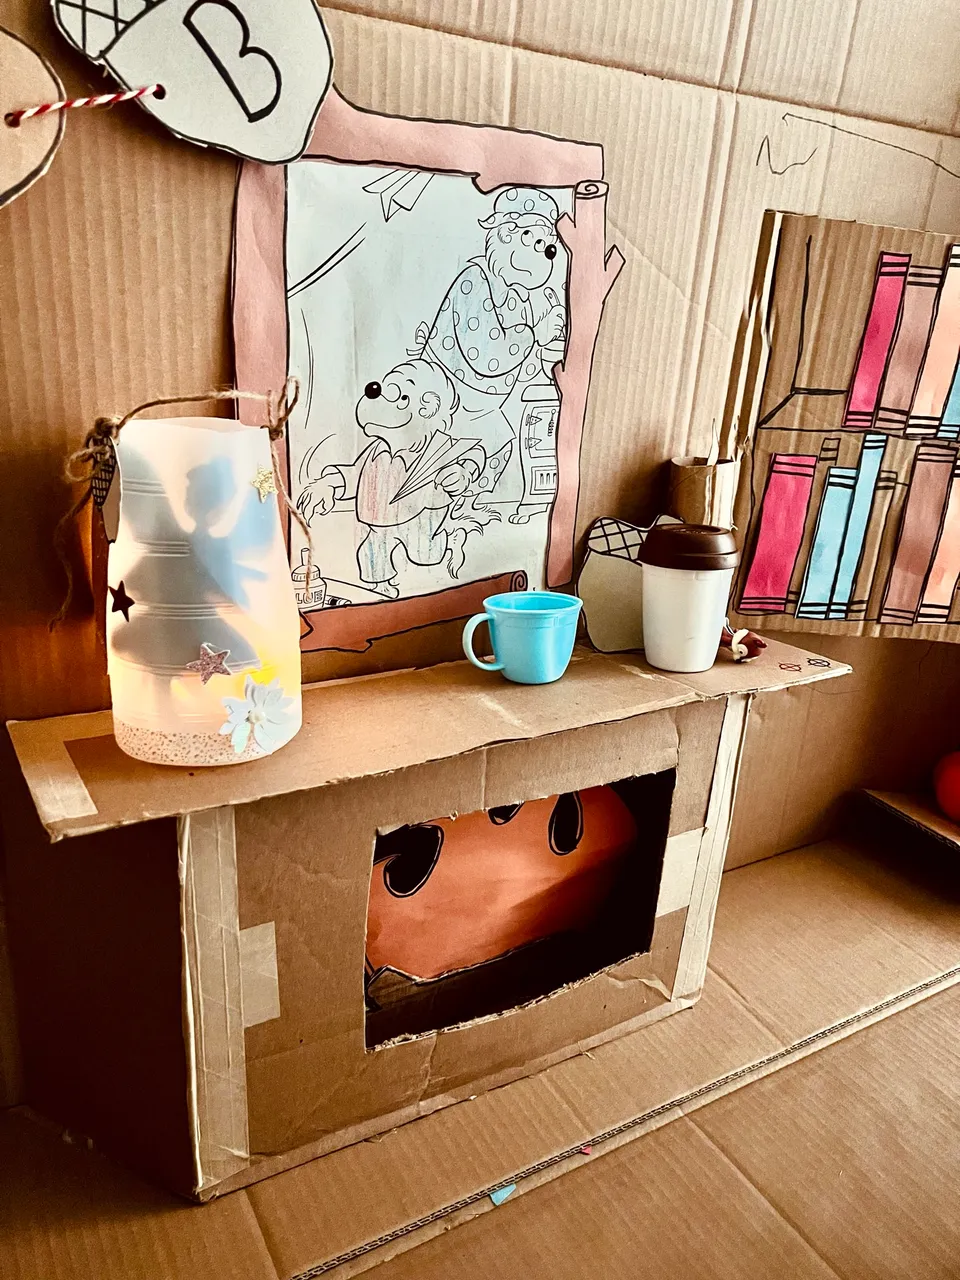
Step 6. Time to decorate!

Step 7. Time to put the candle(s) in through the back door. I ended up using two tea light candles -- I thought it created a better effect.


...And now we've added some a magical Fairycore touch to our recycled Cabincore play area 🍄🧚♂️

⋆₊˚⊹♡ Cozy and whimsical ⋆₊˚⊹♡