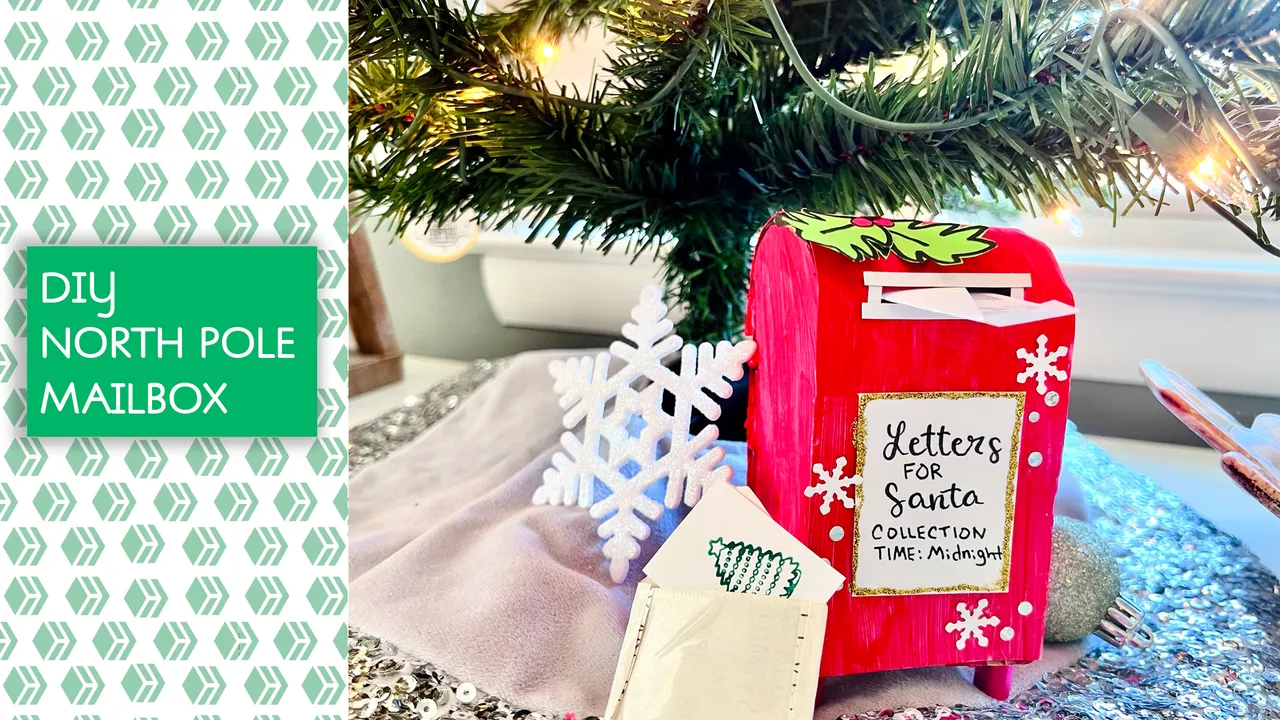
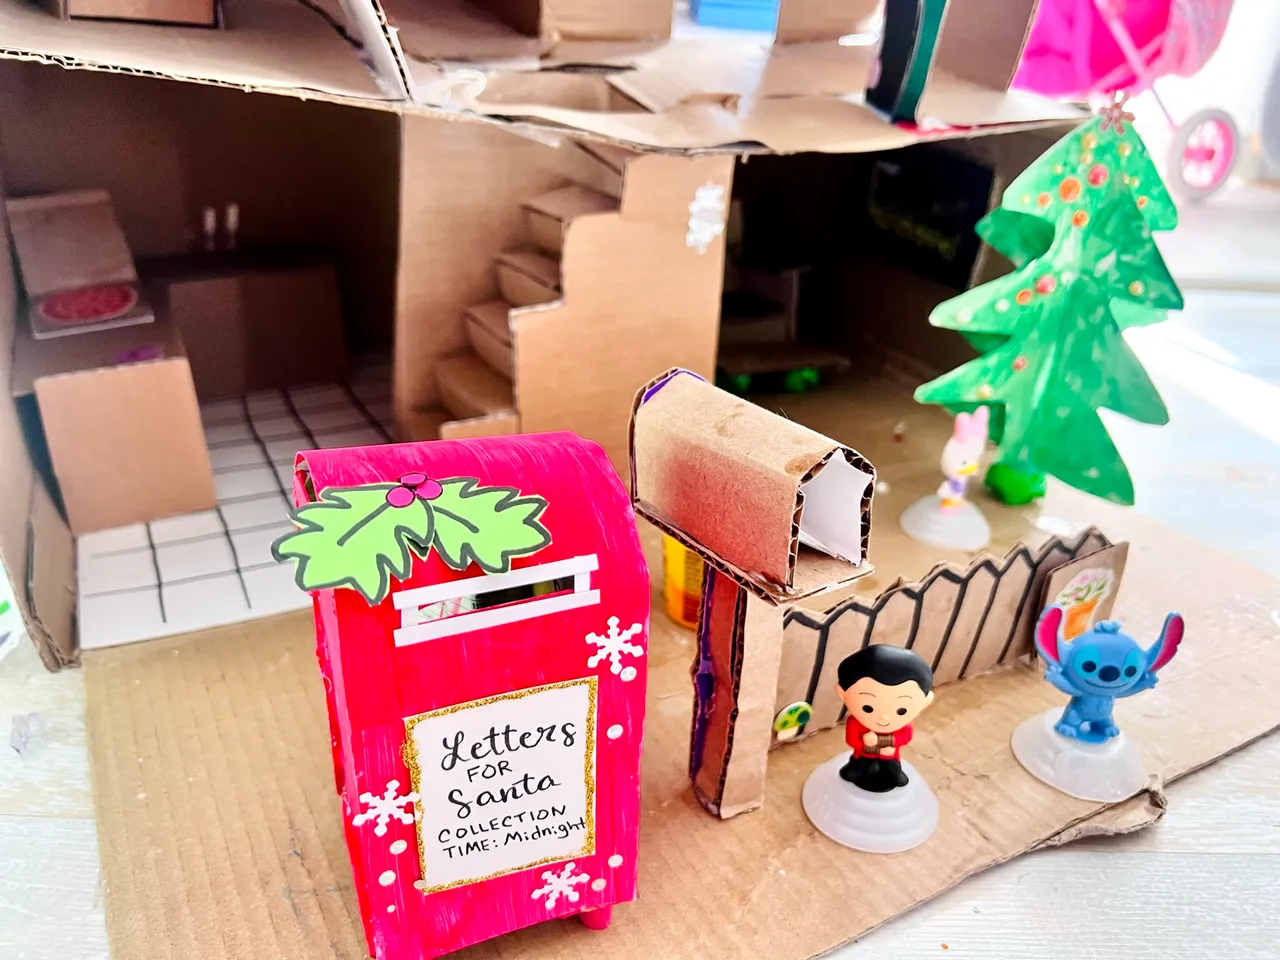
Move over regular mailbox -- it's time for something a little more festive! 🎅 As we continue to construct holiday accessories for our cardboard dollhouse, I've decided the original mailbox is too plain. One of my favorite Christmas decorations is the Letters for Santa postal box, so I decided to make one out of recycled cardboard this weekend. Check out the steps below ⬇️
Materials:
- Scissors
- Hot glue gun
- Paper-crafting glue (Ex. TomBow Glue Pen)
- Thin cardboard
- A strip of even thinner cardboard (For the top bended part)
- White paint
- Red Paint
- Ruler
- Something round (for tracing)
- Pencil
- Permanent Marker

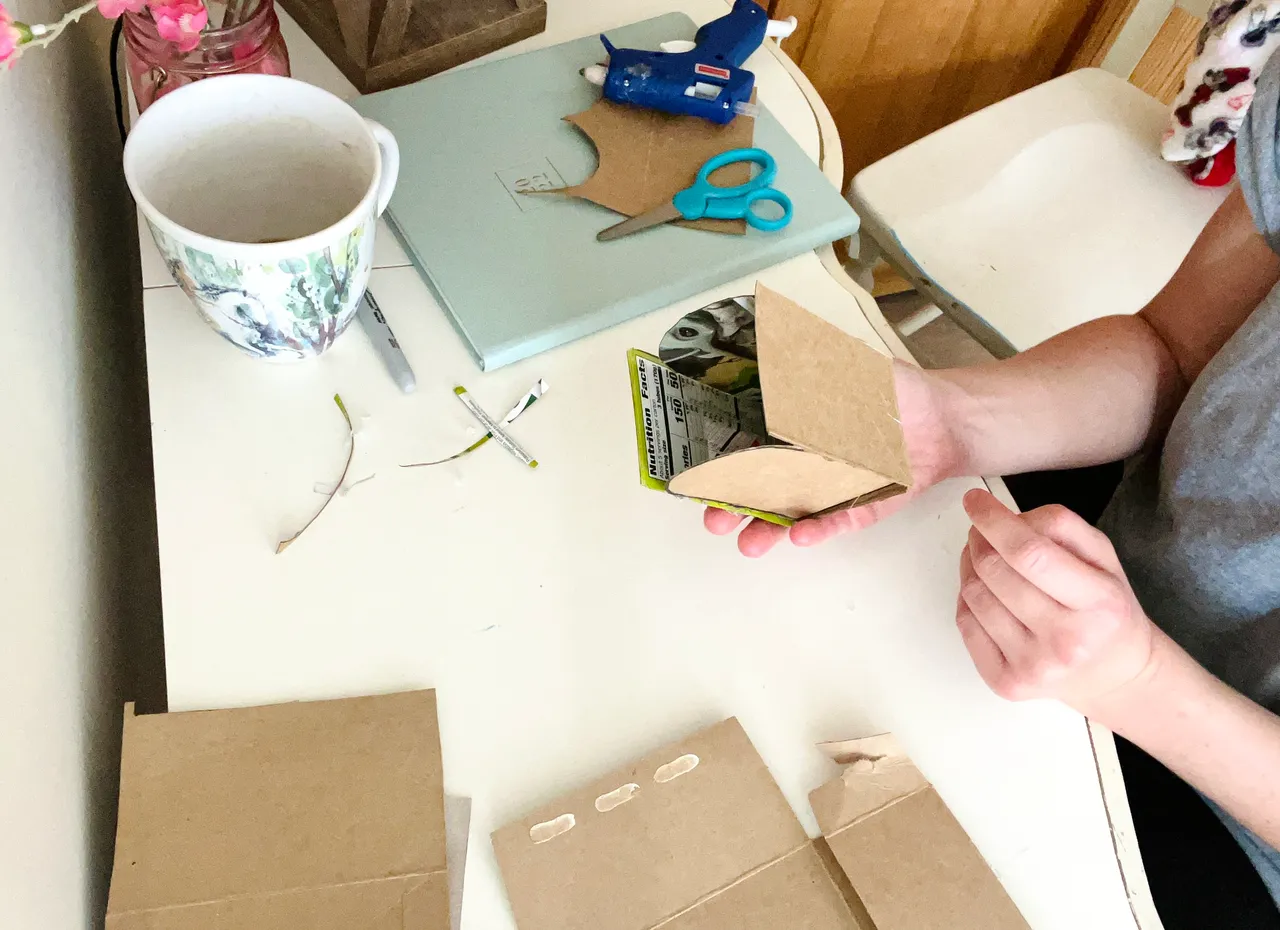
I used a Gogurt box for the thin piece of cardboard. ⬆️
1.) Drawing the Sides of the mailbox:
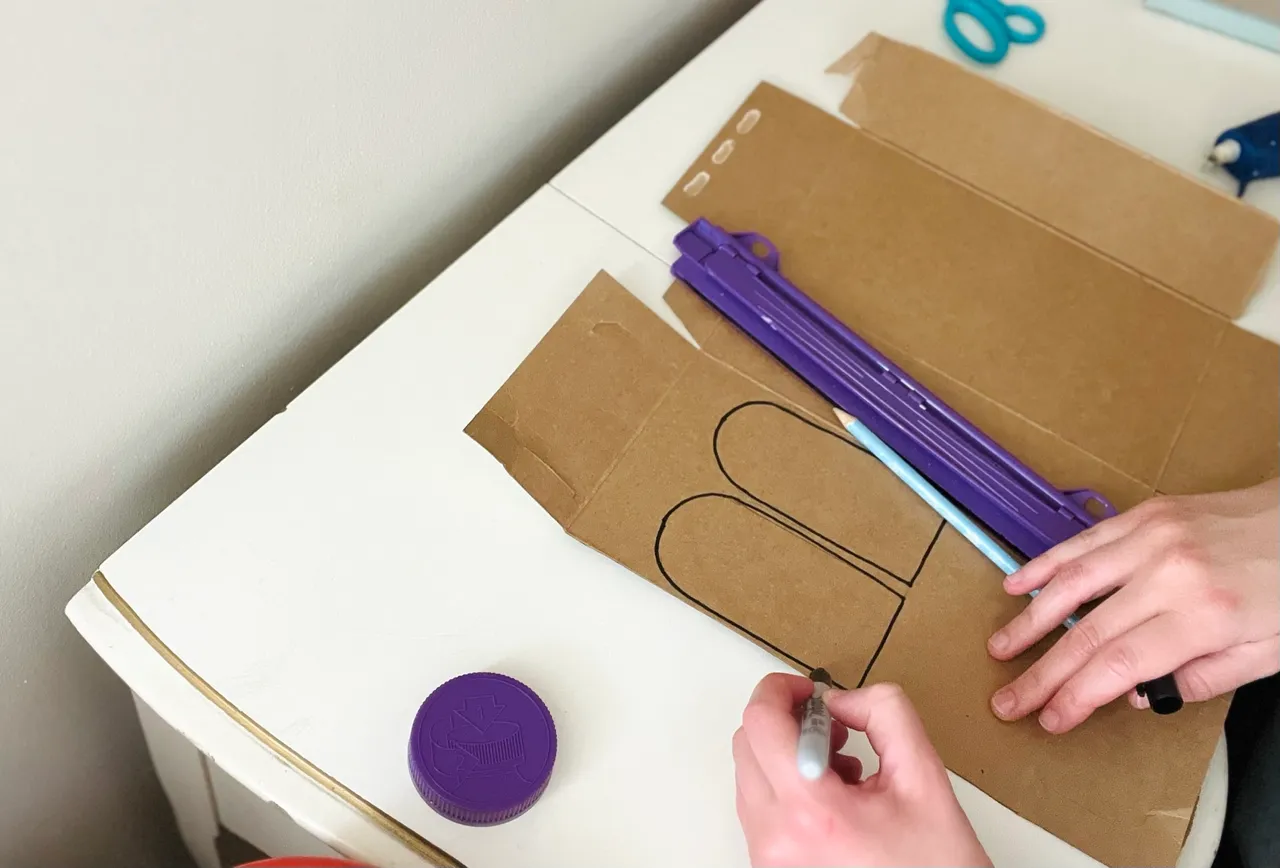
Here's what the sides should look like. ⬆️

- I traced a half-circle for the top of the side shape, using something round as a stencil -- I used the cap from a bottle of vitamins.

- I used a ruler to draw the other side as a rectangle.

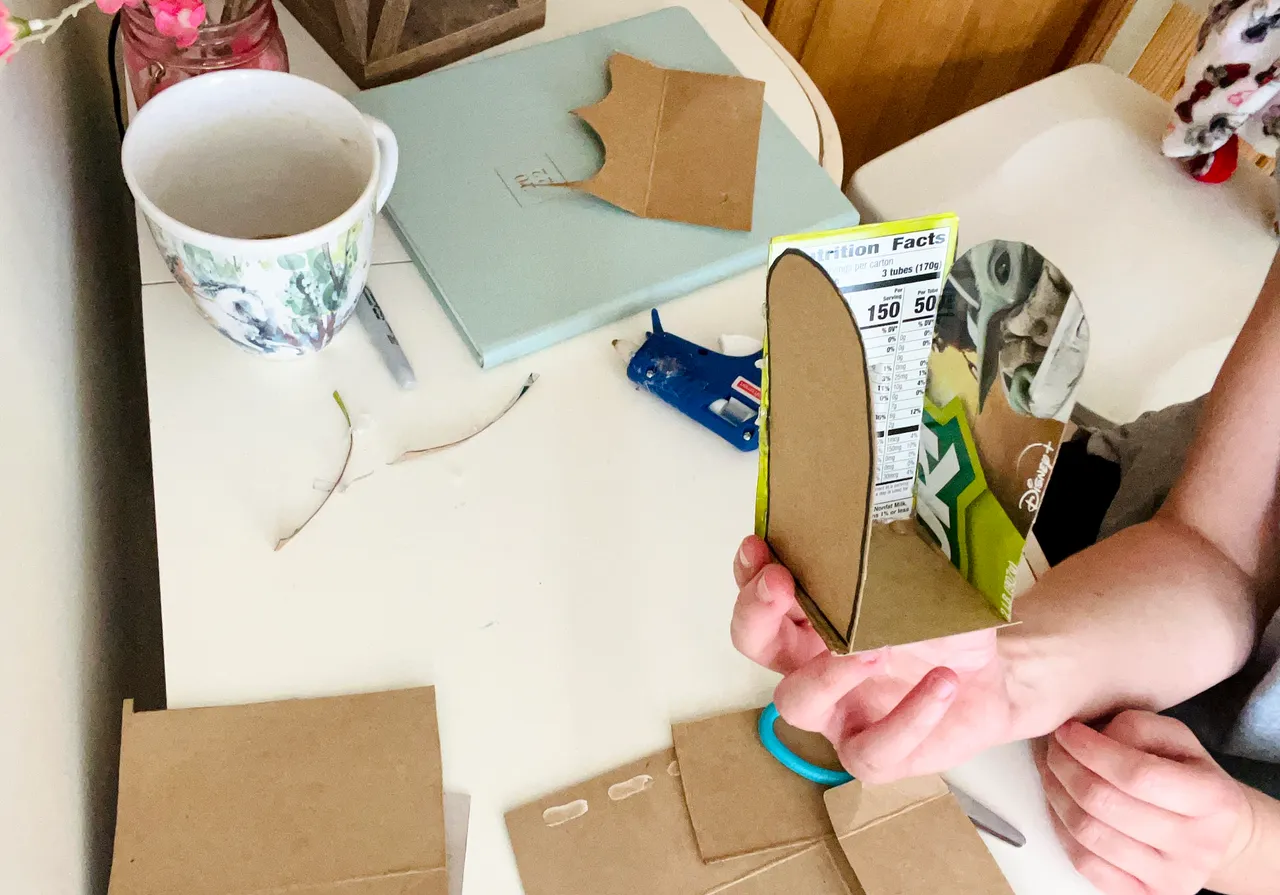
2.) I cut out the side shapes.

3.) I cut a long strip for the front and back of the mailbox. (I cut along the creased line of the Gogurt box.)

4.) I folded it in half and then cut it down the middle. Then I cut the tabs off both ends.

5.) I used the sides of the mailbox to measure a cardboard square for the bottom of the mailbox.

6.) I measured out a long piece of thinner cardboard to drape over the front and back sides. Then I drew a line where I wanted the mailbox slot to be cut.

7.) I hot-glued the sides to the bottom square.

8.) I cut a door in the piece of cardboard that goes on the back. Then I glued it to the back.
9.) I glued on the front.
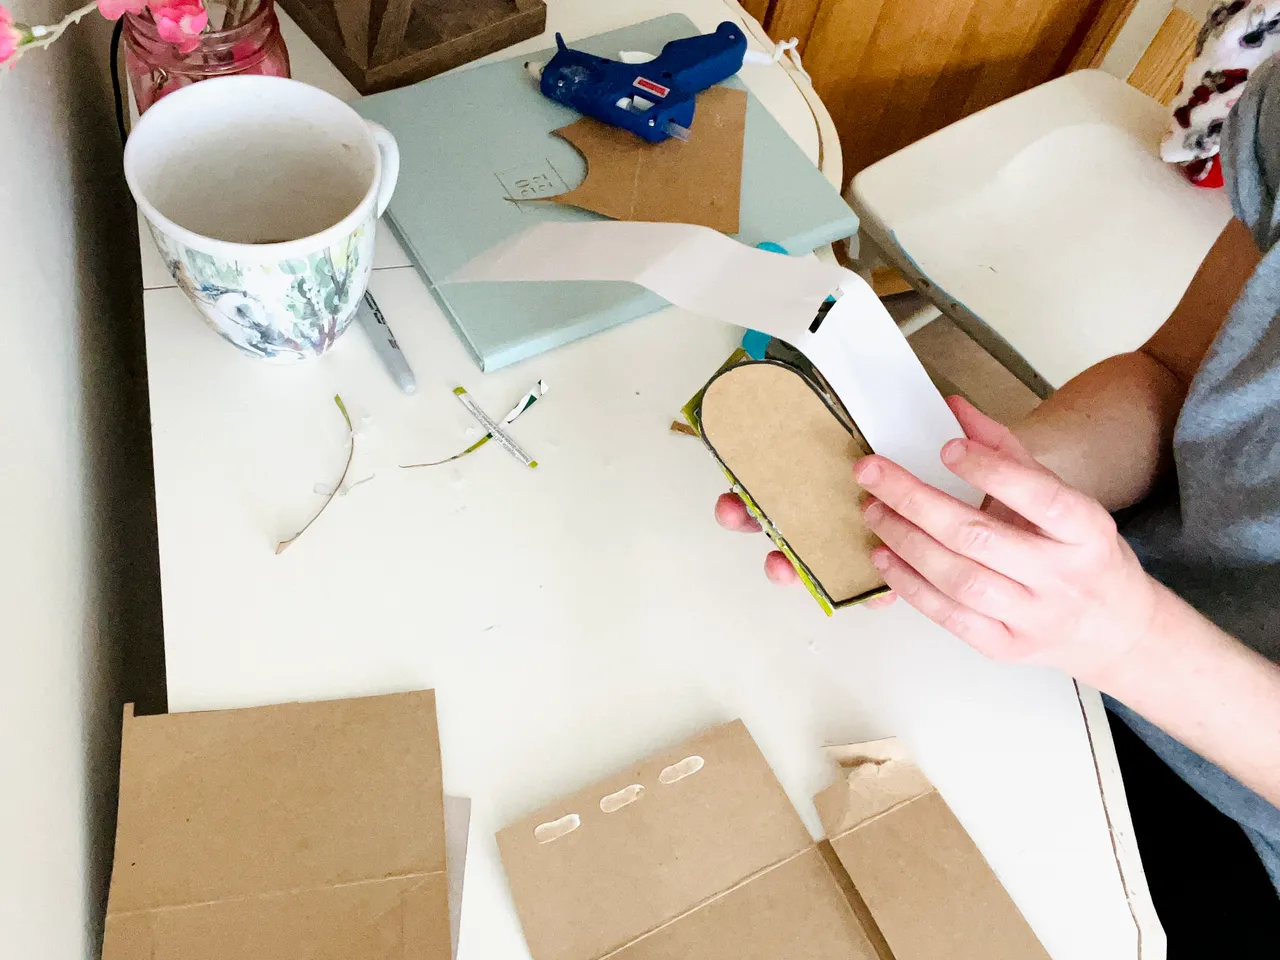
10.) I cut a slot in the thin cardboard and glued it from the front and over the top, making sure there wasn't any cardboard blocking the slot.
11.) I trimmed and glued the thin cardboard so that it didn't block the door on the back.
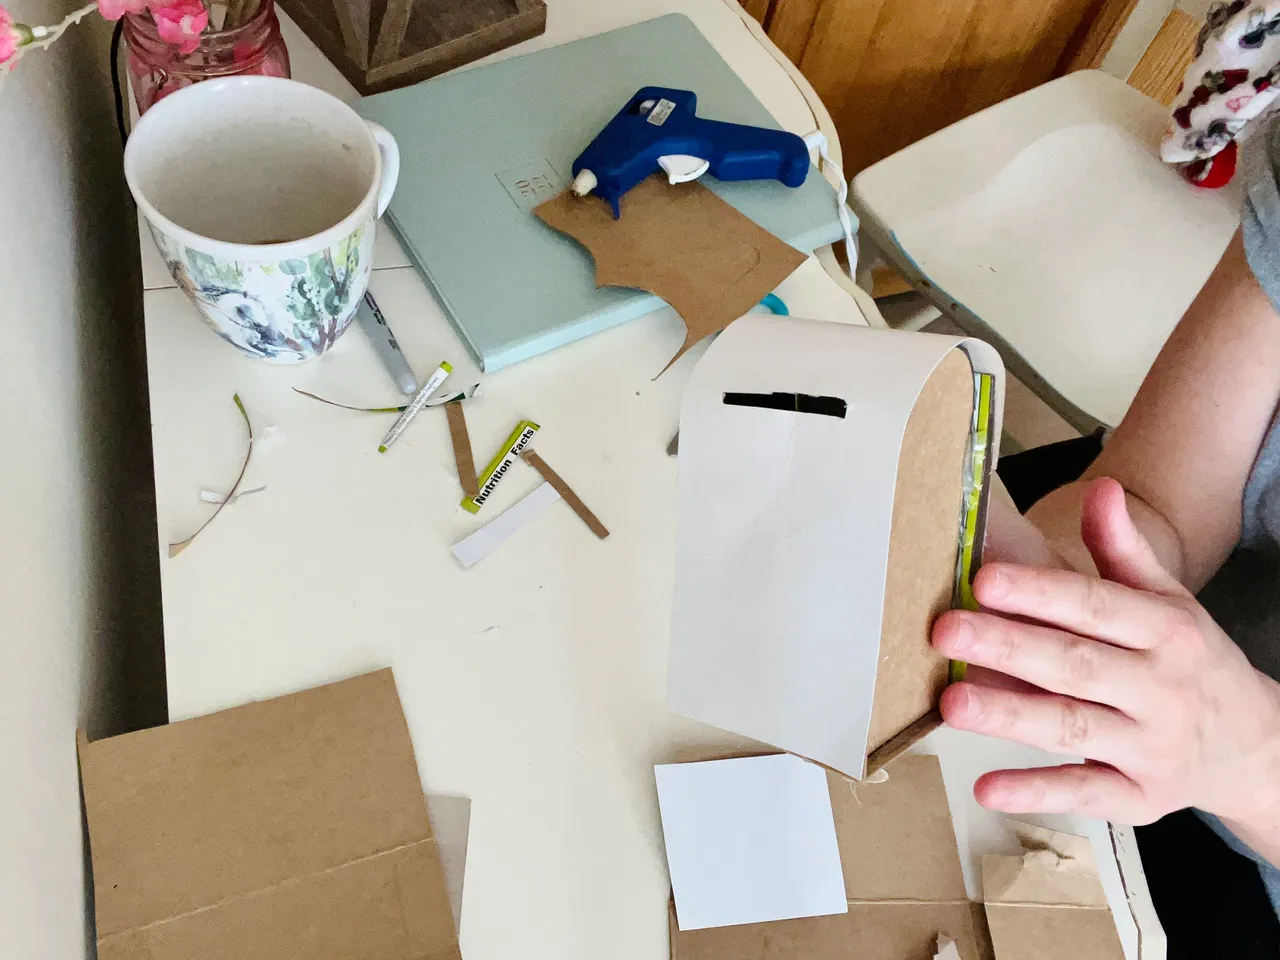
Here's what it looks like so far ⬆️

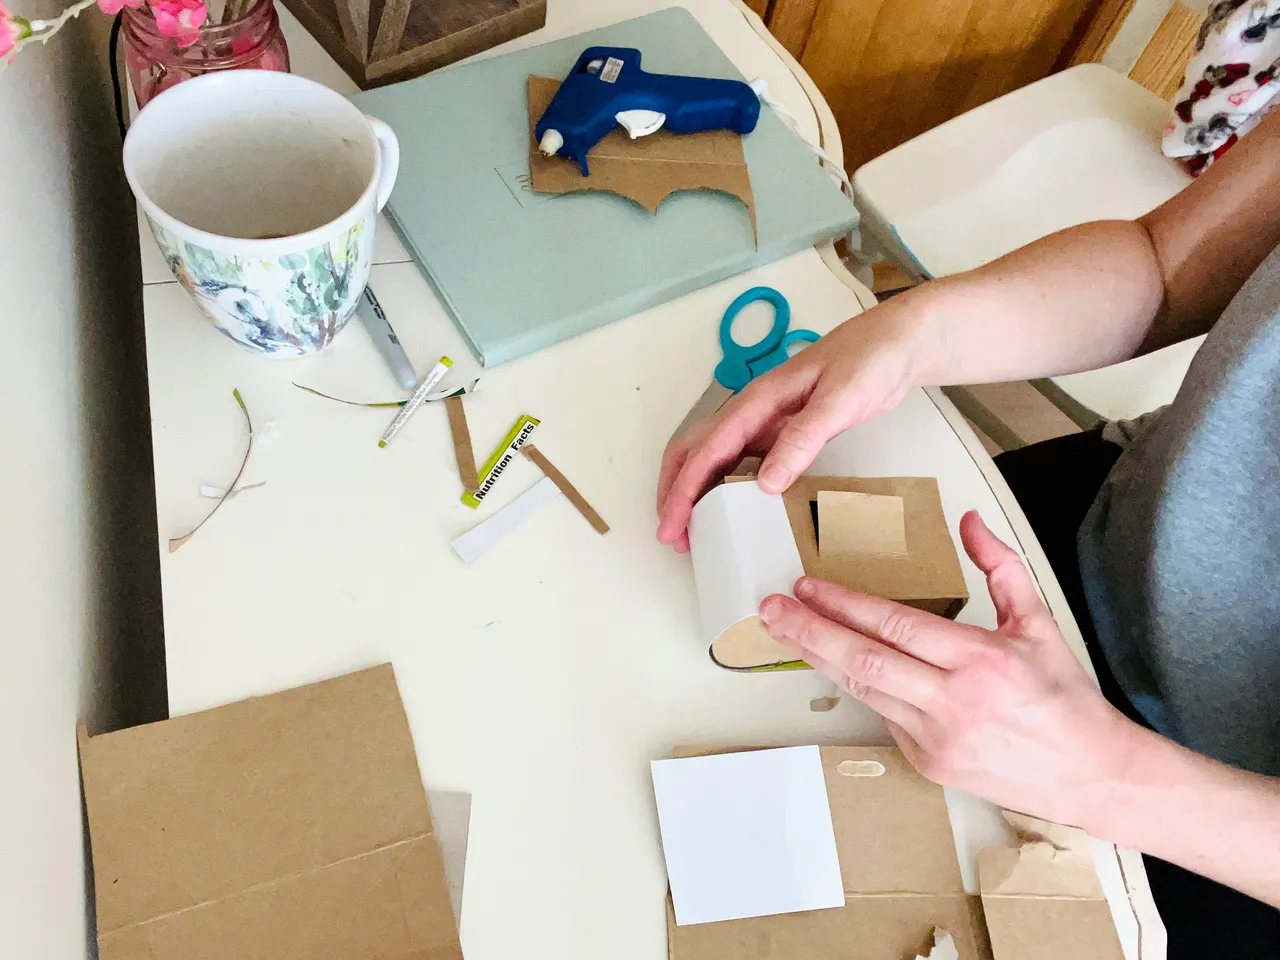
12.) I painted the cardboard white.

13.) Gabby helped to paint it red.

14.) I found my colorful index cards (that I've had for like ten years) and cut four even strips to create the feet of the mailbox.
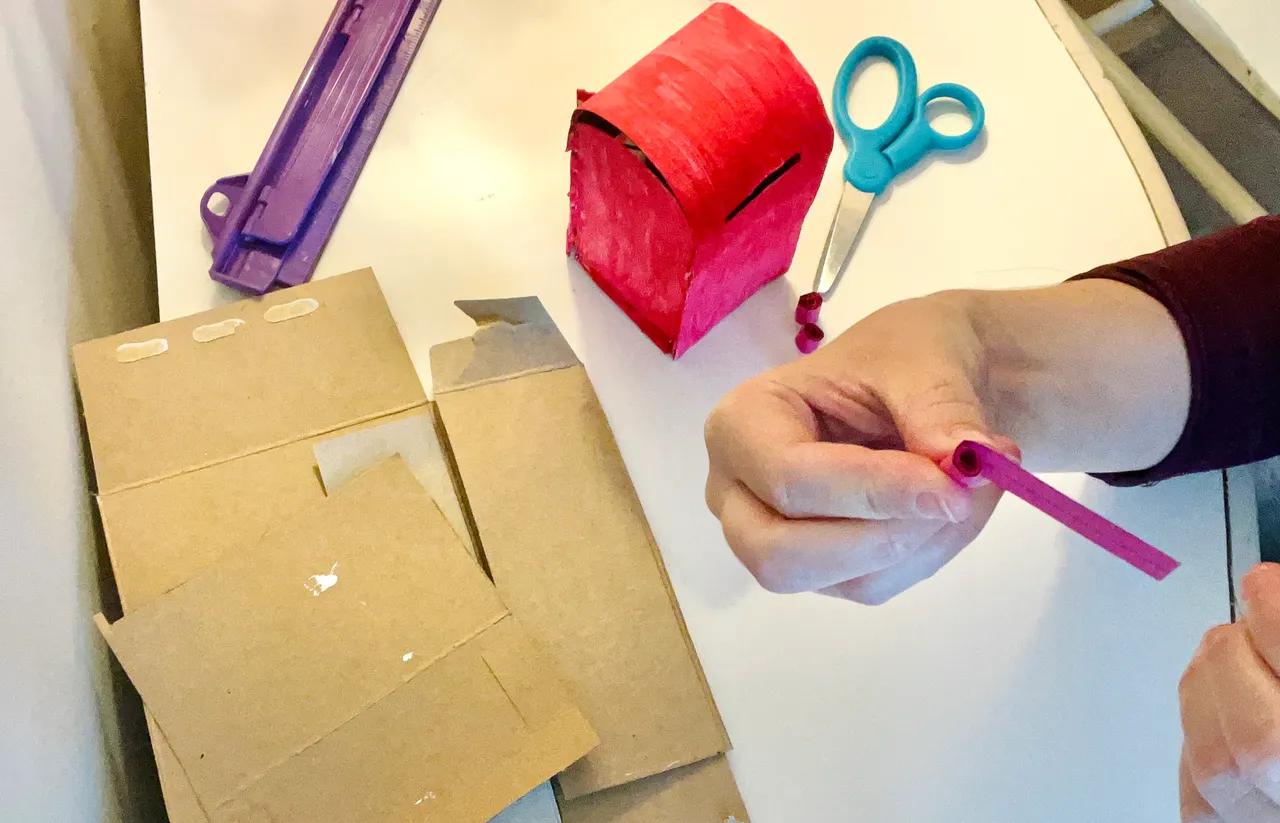

15.) I rolled the strips tightly and hot-glued them to the bottom.

Time to decorate!


... And now it's time to mail some letters
Thanks for reading my DIY blog✂_ _ _ _ _ _ _ _
Laura