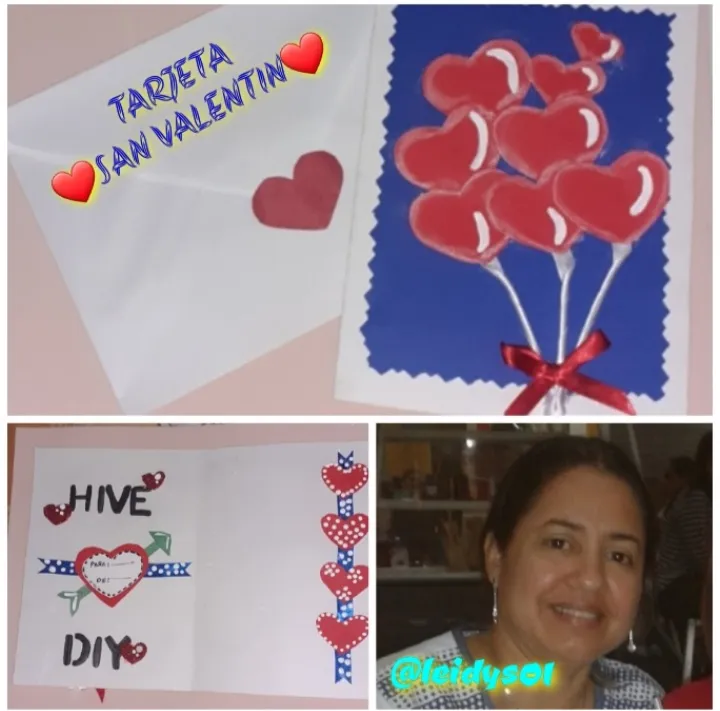
Feliz día de❤ SAN VALENTÍN ❤hoy 14 de febrero celebro con ustedes amigos de #Hive Diy el día del amor y la amistad con esta preciosa tarjeta dedicada a toda la familia Hive, es un verdadero honor para mi compartir con ustedes un día tan especial y esta tarjeta es fácil y rápida de hacer y le va servir para obsequiar un lindo detalle a un enamorado o enamorada , amigos y familia así que amigos les muestro a continuación los tres pasos a seguir.
Happy day of❤ VALENTINE'S DAY ❤Today February 14 I celebrate with you friends of #Hive Diy the day of love and friendship with this beautiful card dedicated to the whole Hive family, it is a real honor for me to share with you such a special day and this card is easy and quick to make and will serve to give a nice gift to a lover, friends and family so friends I show you below the three steps to follow.
MATERIALES:
1- Cartón color blanco, azul, verde y rojo.
2- foami rojo.
3- 2 tijeras normal y de dibujo.
4- 2 listones de cinta azul 1 de 10 cm y otro de 15 cm.
5- silicón barra.
6- pintura blanca.
7- marcador negro, lápiz y borra.
8- 3 listones de cinta blanca de 6 cm.
9- pincel delgado # 1.
10- cinta métrica.
11- molde de letra.
12- 1 lazo de cinta roja.
MATERIALS:
1- white, blue, green and red cardboard.
2- red foami.
3- 2 normal and drawing scissors.
4- 2 strips of blue ribbon 1 of 10 cm and another of 15 cm.
5- Silicone stick.
6- white paint.
7- black marker, pencil and eraser.
8- 3 strips of white ribbon of 6 cm.
9- thin brush # 1.
10- tape measure.
11- letter mold.
12- 1 loop of red ribbon.

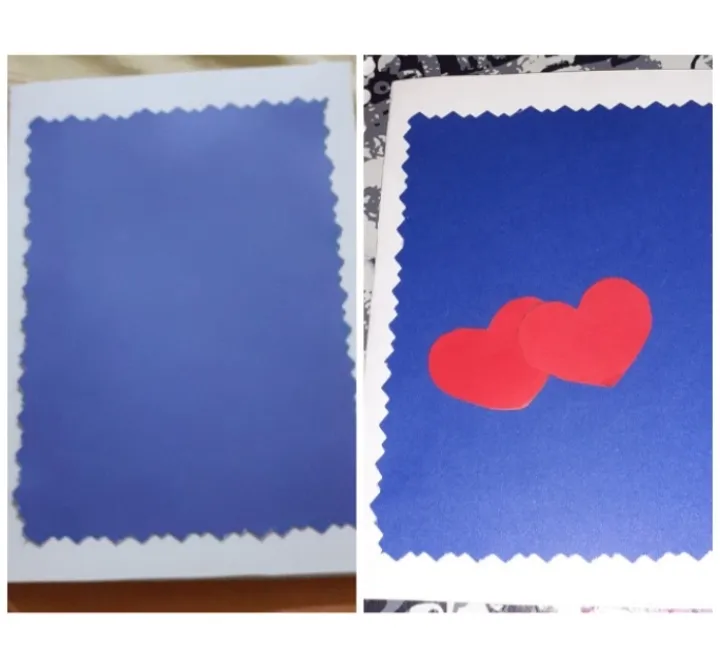
Paso 1 : preparación de la base de la tarjeta.
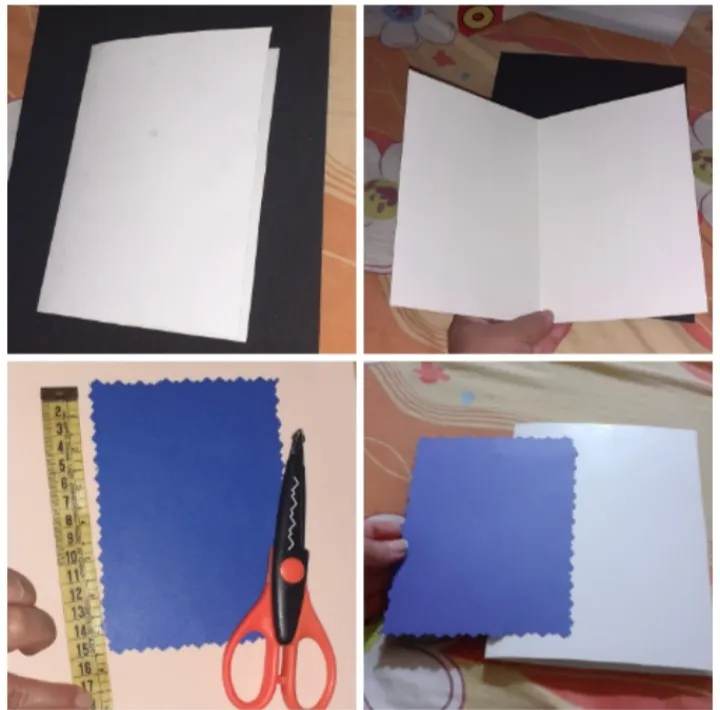
~ Tomamos un cartón blanco por ambos lados medimos con la cinta métrica 25 cm de alto y 17,5 cm de ancho. cortamos con la tijera normal toda la base para la tarjeta . Doblamos en el centro quedando la tarjeta con un excelente tamaño 17,5 cm de alto 12,5 cm de ancho. Luego cortamos el cartón azul del centro de la portada de la tarjeta con la tijera de dibujo 15 cm de alto y 10 cm de ancho.Step 1: Preparation of the card base.
~ We take a white cardboard on both sides and measure with the tape measure 25 cm high and 17.5 cm wide. We cut with the normal scissors the whole base for the card. We fold in the center, leaving the card with an excellent size 17.5 cm high and 12.5 cm wide. Then we cut the blue cardboard in the center of the card cover with the drawing scissors 15 cm high and 10 cm wide.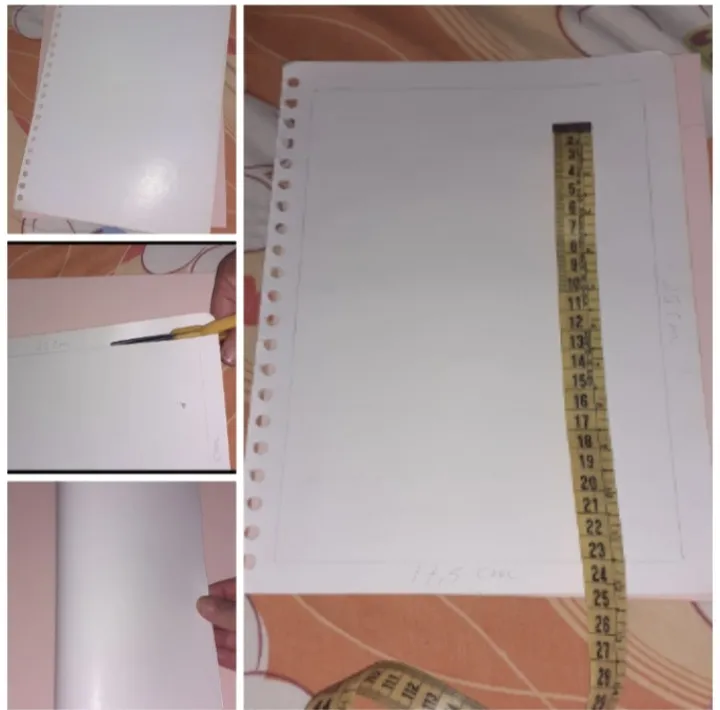
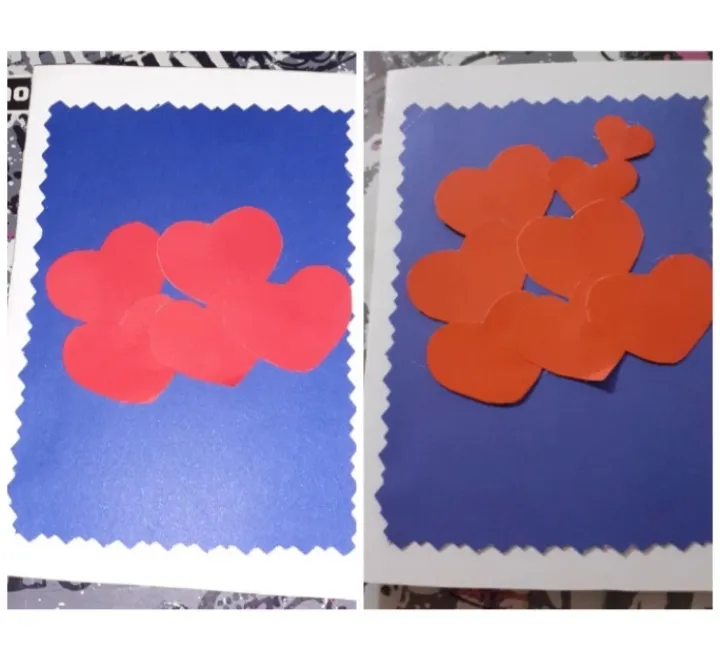
Paso 2 : decoración de la portada de la tarjeta.
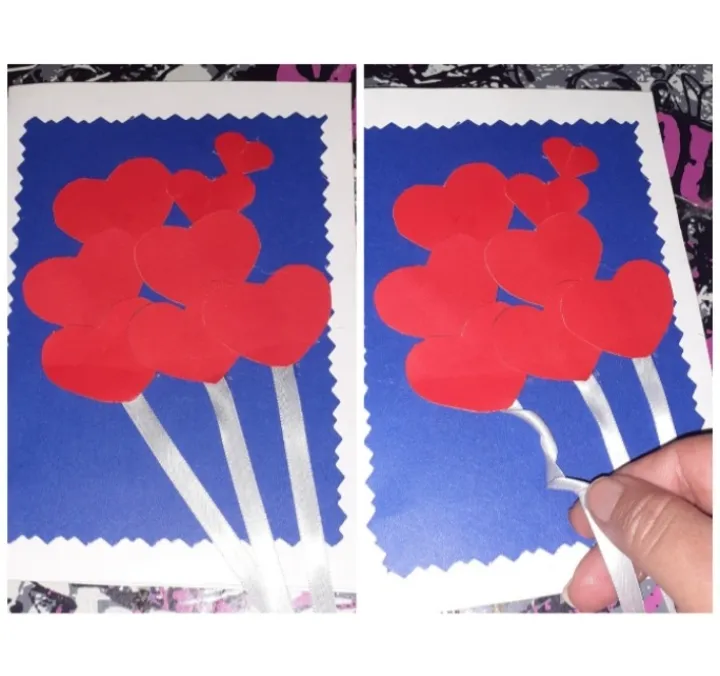
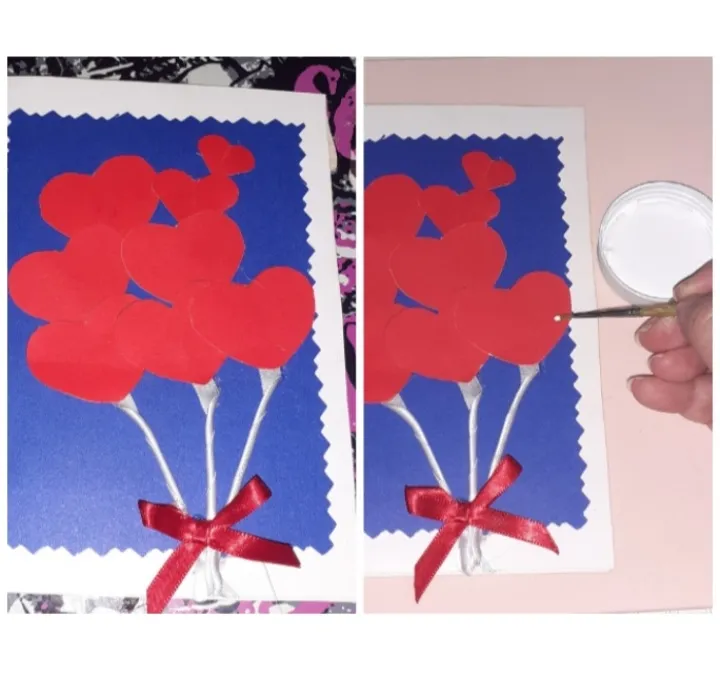
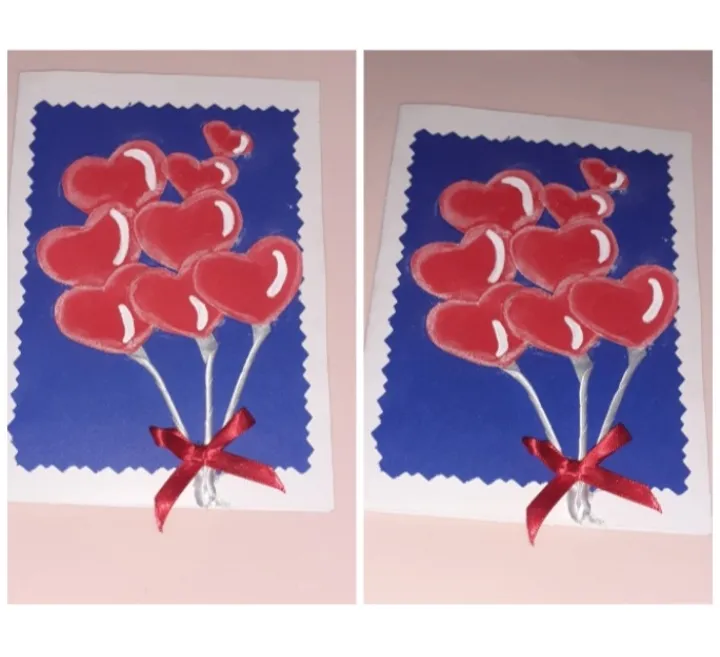
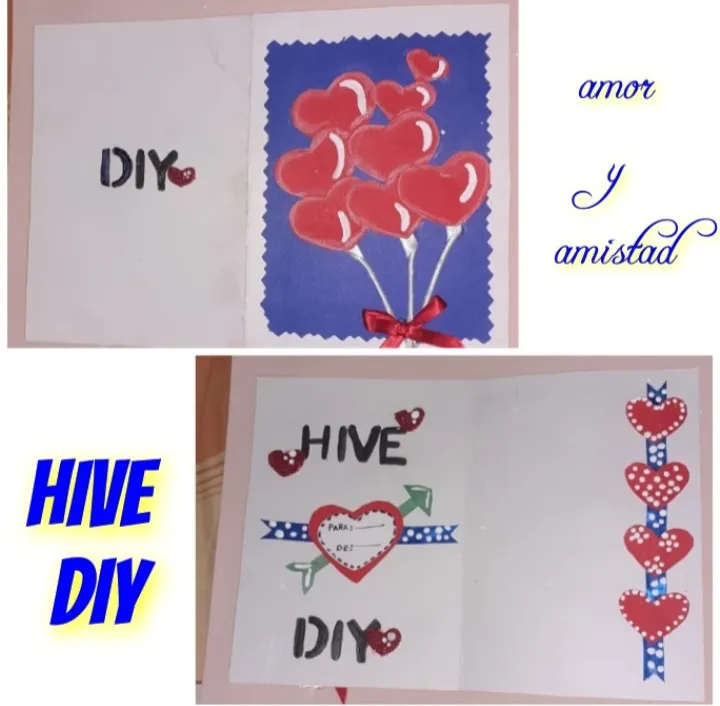
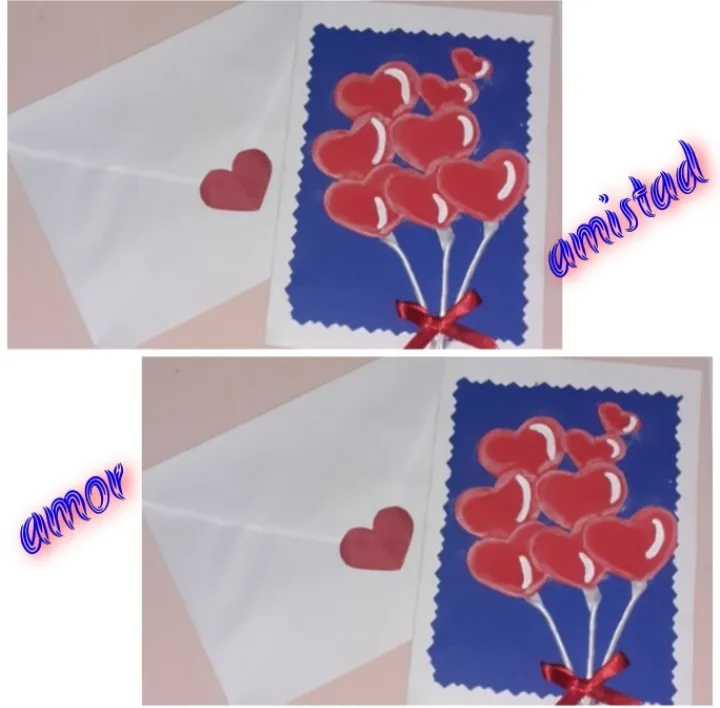
~ Sacamos Tres molde de corazón de diferente tamaño a su gusto lo dibujamos en el cartón rojo. Total recortamos 8 corazones para la portada de la tarjeta. Pegamos todos los corazones en la portada de la tarjeta y en la parte inferior de la primera linea de corazones pegamos los tres tira de cita blanca. Entorchamos cada cinta y la juntamos para formar un ramo de corazones. Luego le pegamos el lazo rojo en el centro del nudo del ramo de corazones las y recortamos los excesos de cinta. Con la pintura blanca y pincel le hacemos unas puntos decorativo a los corazones y le damos sombra al rededor de todos los corazones con la misma pintura.Step 2: Decorating the card cover.
~ We cut out three heart shapes of different sizes to your liking and draw them on the red cardboard. Cut out a total of 8 hearts for the card cover. Glue all the hearts on the card cover and at the bottom of the first line of hearts we glue the three strips of white quote. We twist each ribbon together to form a bouquet of hearts. Then we glue the red ribbon in the center of the knot of the bouquet of hearts and trim the excess ribbon. With the white paint and brush we make some decorative dots on the hearts and shade all the hearts with the same paint.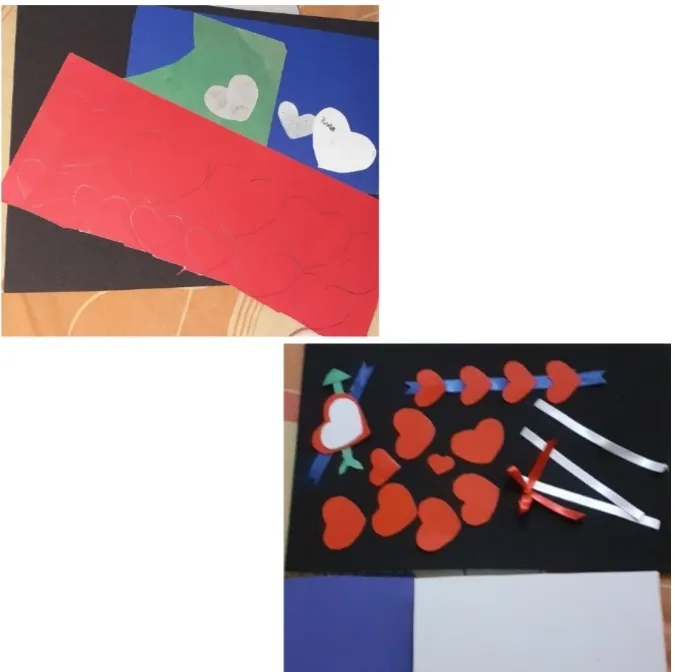
Paso 3: decoramos dentro de la tarjeta.
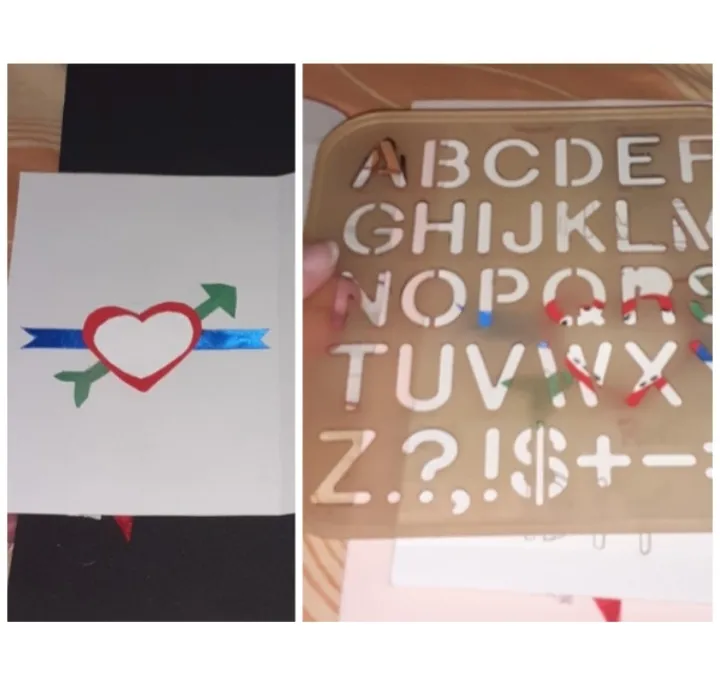
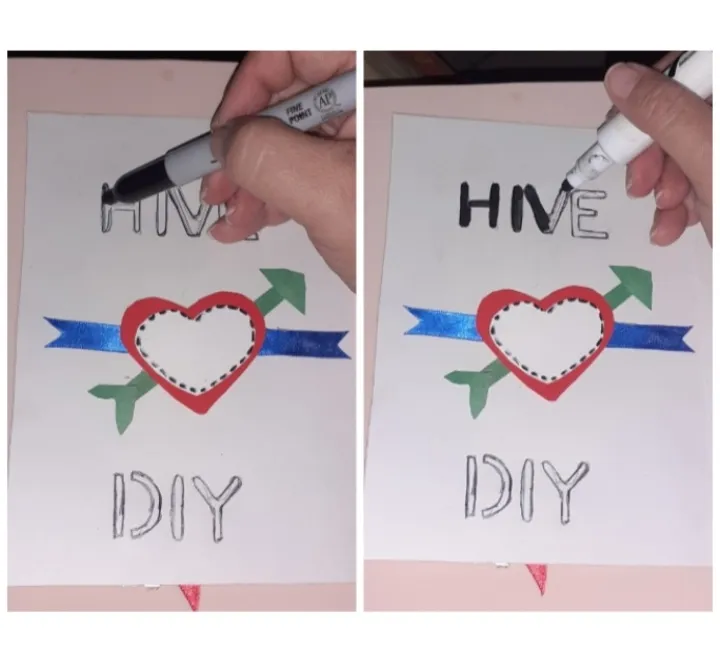
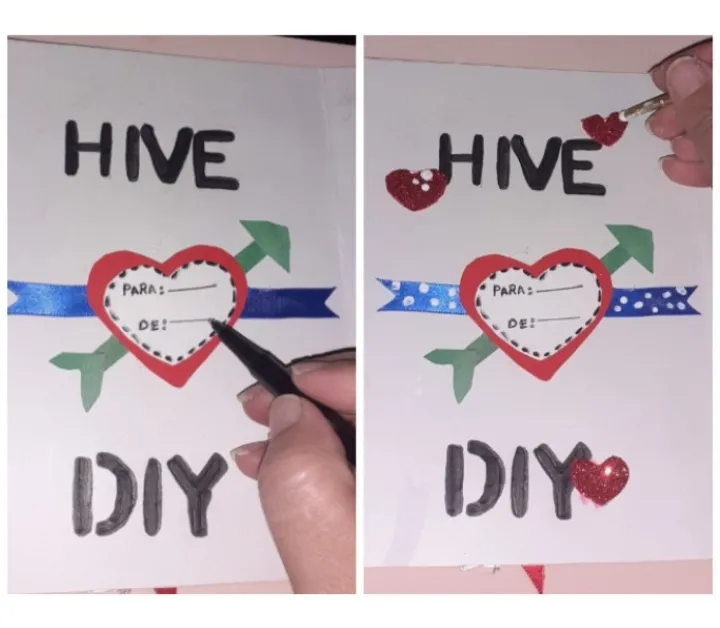
~ Recortamos 4 corazones y lo pegamos separado en la cinta azul de 15 cm y lo pegamos en el lateral derecho de la tarjeta. Recortamos otro corazón rojo de los moldes el más grande y otro que va sobre ese más pequeño de color blanco. Hacemos la flecha con el cartón color verde se la pegamos al corazón de forma atravesada y luego lo pegamos a la cinta azul de 10 cm. Pegamos el detalle del corazón en el centro del lateral izquierdo de la tarjeta. Con el molde de letra escribimos con el lápiz´ Hive Diy y repasamos con el marcador negro. Terminamos pegando unos corazones de foami y con el pincel y la pintura blanca le hacemos unos puntos decorativos a la cinta y los corazones. Y detrás de la tarjeta también escribimos diy y le colocamos un corazón.Step 3: Decorate the inside of the card.
~ Cut out 4 hearts and glue them separately on the 15 cm blue ribbon and glue it on the right side of the card. Cut out another red heart from the molds, the biggest one and another one that goes on top of the smaller one in white. We make the arrow with the green cardboard and we glue it to the heart and then we glue it to the blue ribbon of 10 cm. Glue the heart detail in the center of the left side of the card. With the letter mold we write with the pencil' Hive Diy and go over it with the black marker. We finish by gluing some foami hearts and with the brush and white paint we make some decorative dots on the ribbon and the hearts. And on the back of the card we also write diy and place a heart.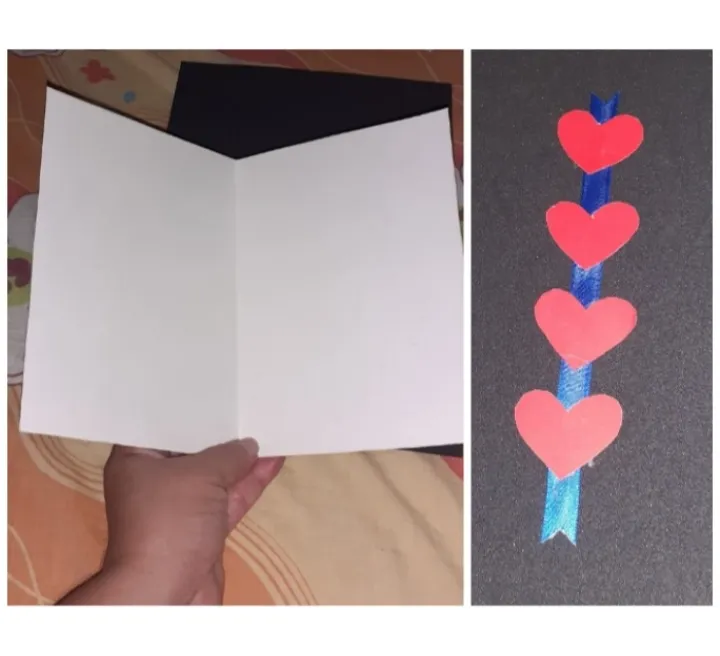
Los corazones ❤❤ representa todo el amor que tenemos para repartirlo con toda esta colmena Hive amigos así que no te quedes sin hacer tu tarjeta #Hive Diy para que celebre en grandes con el amor ❤ de tu vida o con tus amigos especiales.
The hearts ❤❤ represents all the love we have to spread with all these Hive hive friends so don't be without making your #Hive Diy card to celebrate in big with the love ❤ of your life or with your special friends.
Sea feliz ☺ y recuerde que todo el año se celebra este día, debemos llevarlo en el corazón ❤ siempre y practicar cada día las bondades y beneficios que irradia el amor.
Be happy ☺ and remember that all year long this day is celebrated, we must carry it in our hearts ❤ always and practice every day the goodness and benefits that love radiates.
Feliz día de 💘SAN VALENTÍN💘 que la pasen excelente .
Gracias por mirar y visitar mi blog, espero que le guste.💞
Fotos mias tomadas de mi samsung A 10, editada por frame y traducida por deepl.
Happy 💘SAN VALENTÍN💘 day have a great time .
Thanks for looking and visiting my blog, hope you like it 💞.
Pictures of me taken from my samsung A 10, edited by frame and translated by deepl.