Hello! How are you, everybody? In a week by now, Inktober is coming and I decided to make my sketchbook for this coming art challenge and I am ready for that. Last year was not good for me because I only lasted a day LOL in the challenge so this year I will fully commit to finishing the whole month's challenge.
I am supposed to use the sketchbook I made before but I want to share how I make handmade sketchbooks. I am now happy and confident to show you how. I almost got all the materials (some are recycled) I invested in this sketchbook. I hope you will like it! Enjoy! :)
The Process for sketchbook making is a lot so I will do my best to explain it as simple as it is. To make it easier to understand.
Materials I Used:
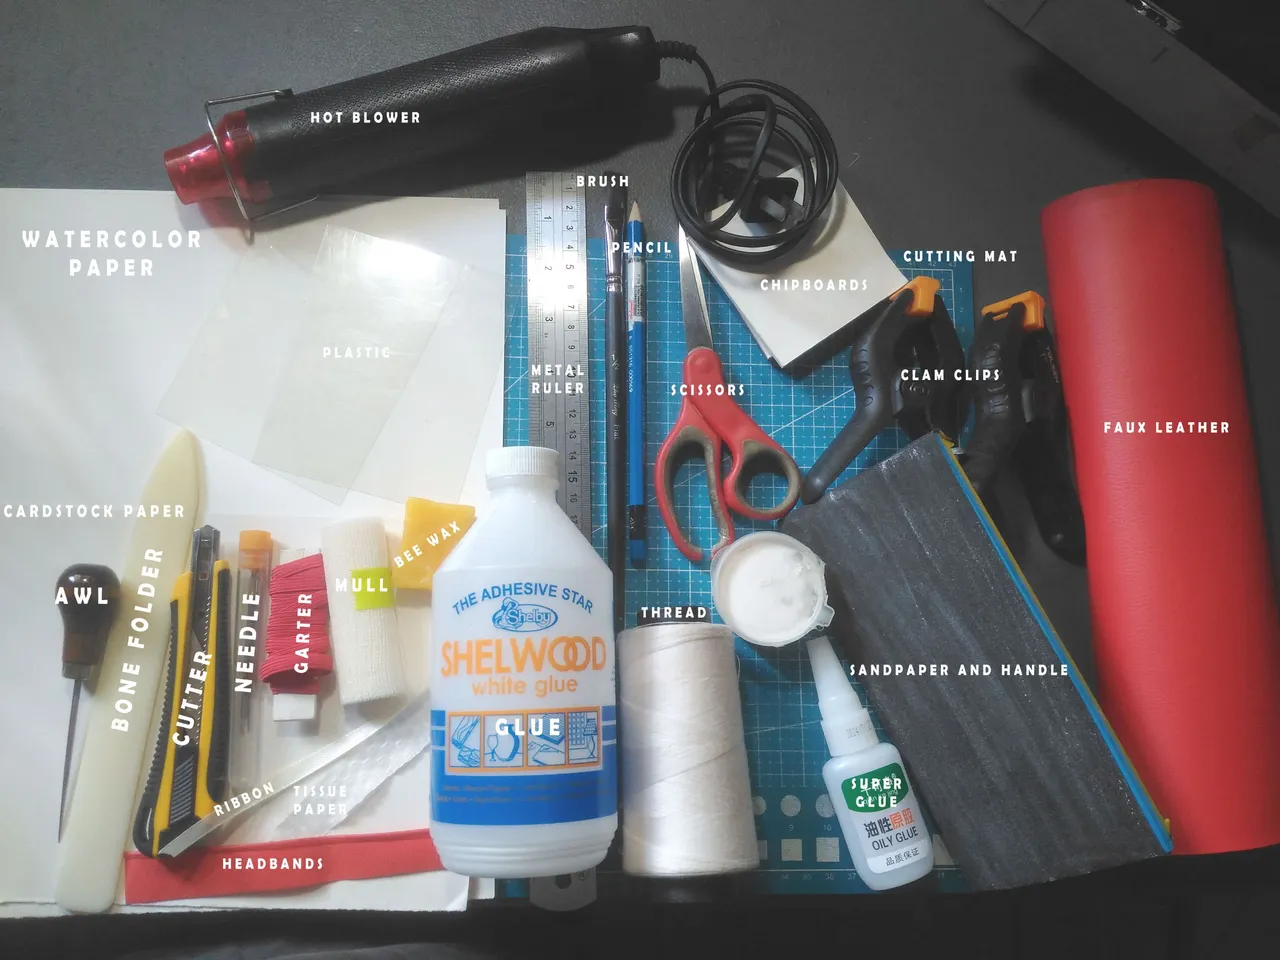
- Watercolor Paper 200 gsm
- Cutter
- Bone Folder
- Metal Ruler
- Cutting Mat
- Pencil
- Awl
- Needle
- Thread
- Bee Wax
- Clips
- Glue
- Container for Glue
- Hot Blower
- Scissors
- Ribbon
- Mull
- Tissue Paper
- Headbands
- Cardstock Paper 200 gsm
- Brush
- Sandpaper
- Sandpaper Handle
- Chipboard
- Faux Leather
- Garter
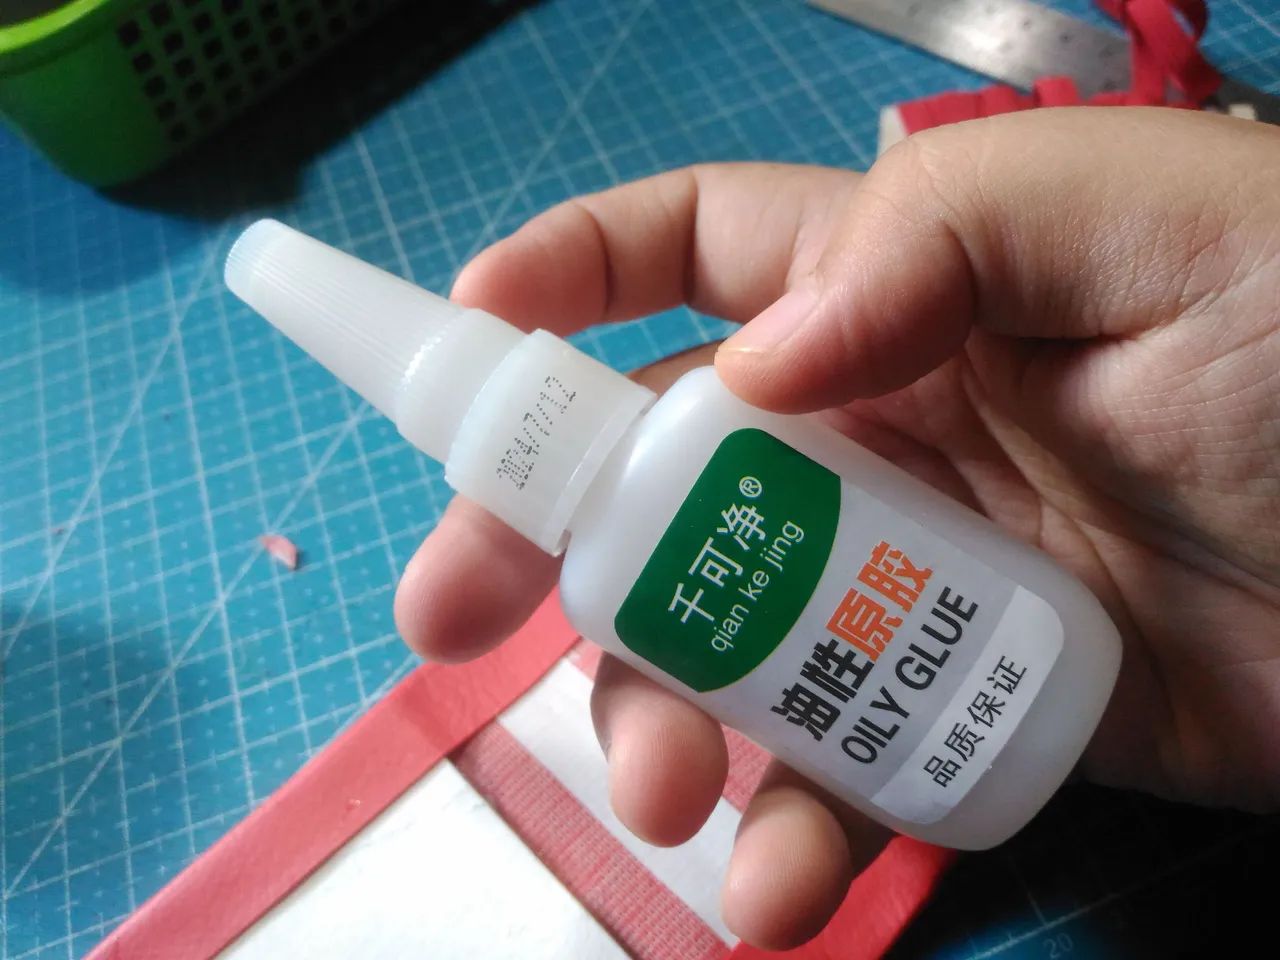
- Super Glue
- Plastic Cover
- Heavy Books
Cutting and Folding The Watercolor Paper:
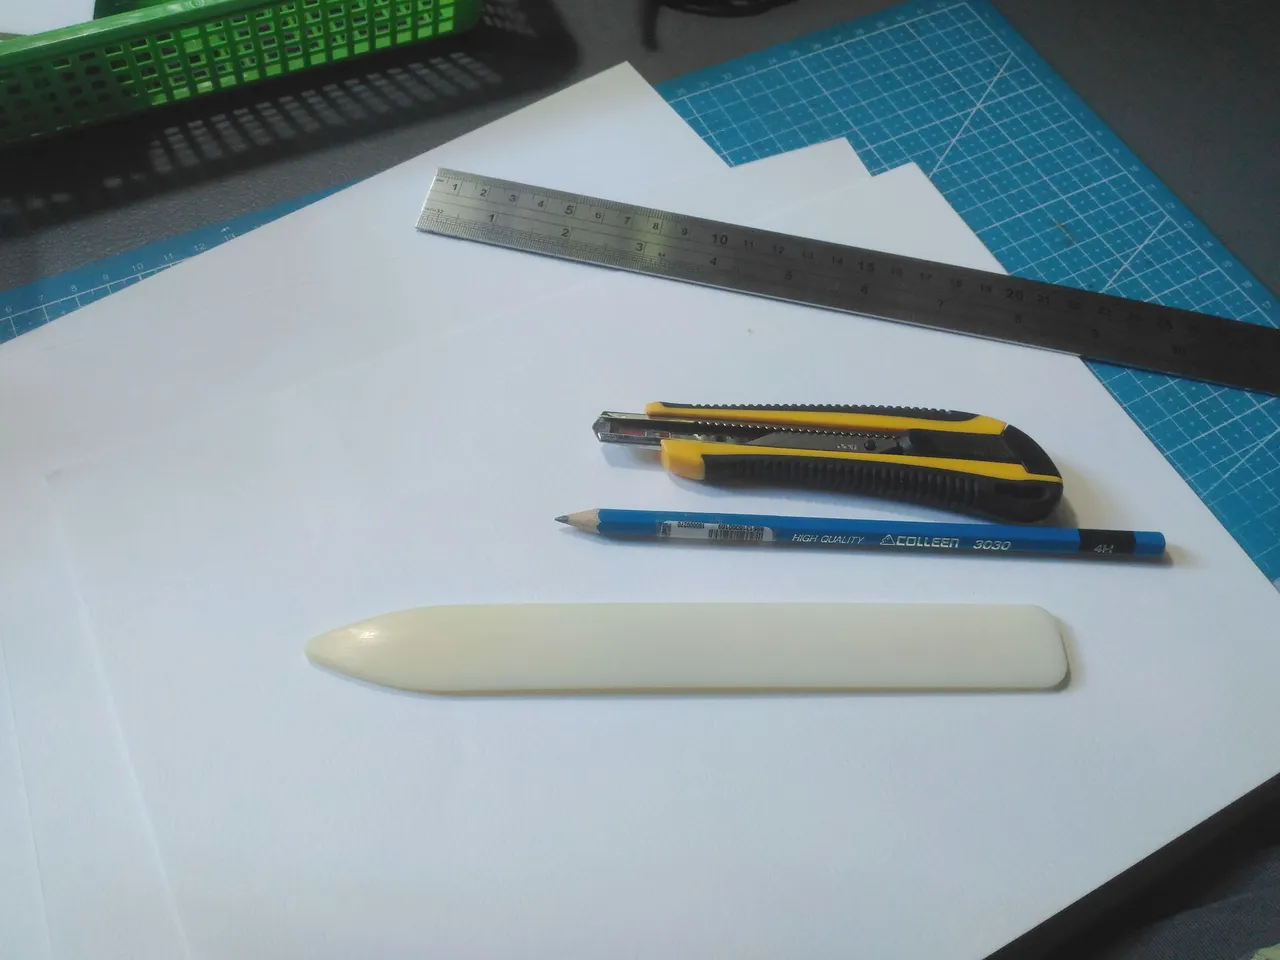
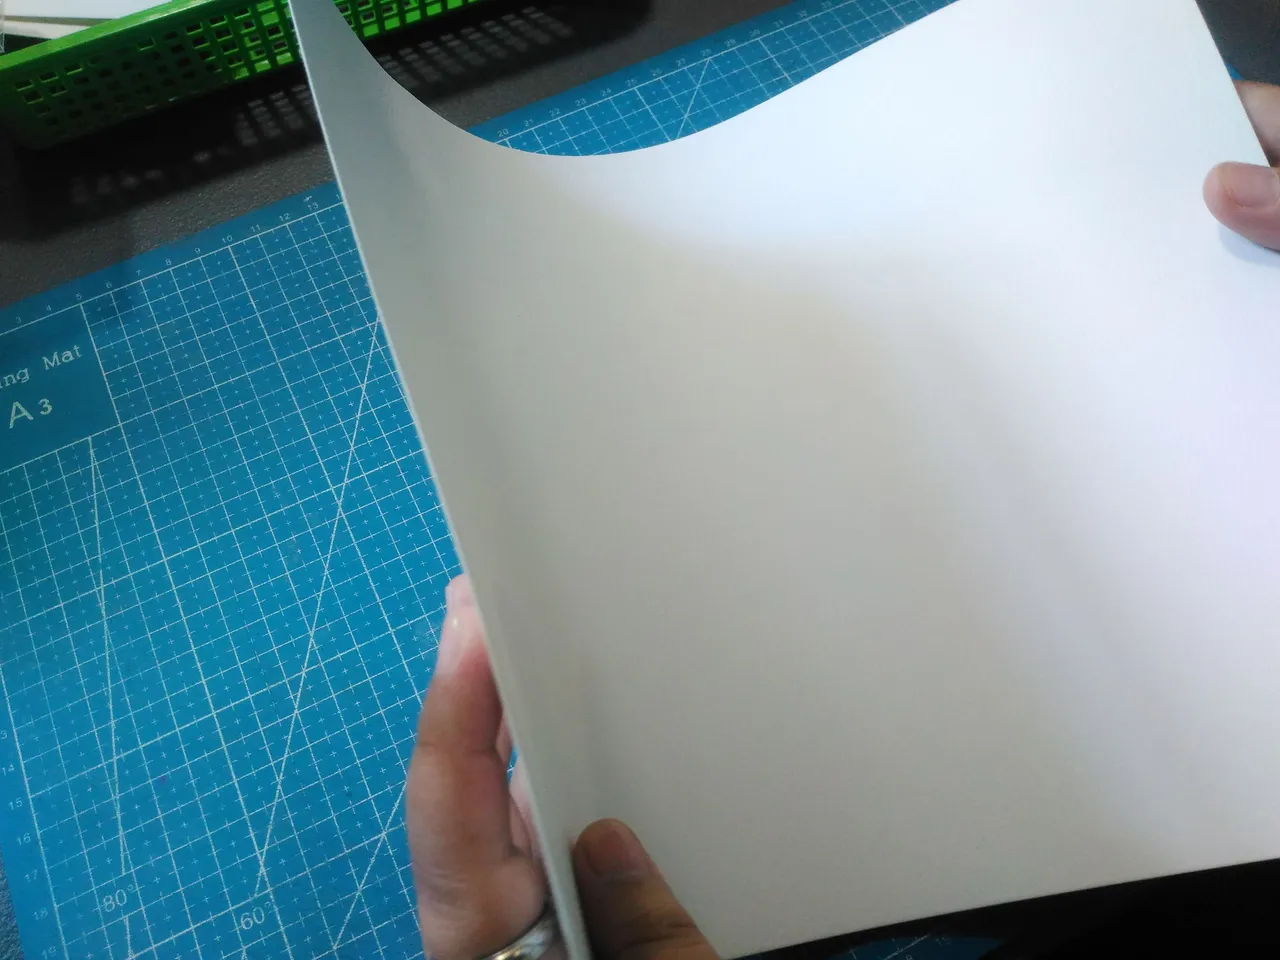
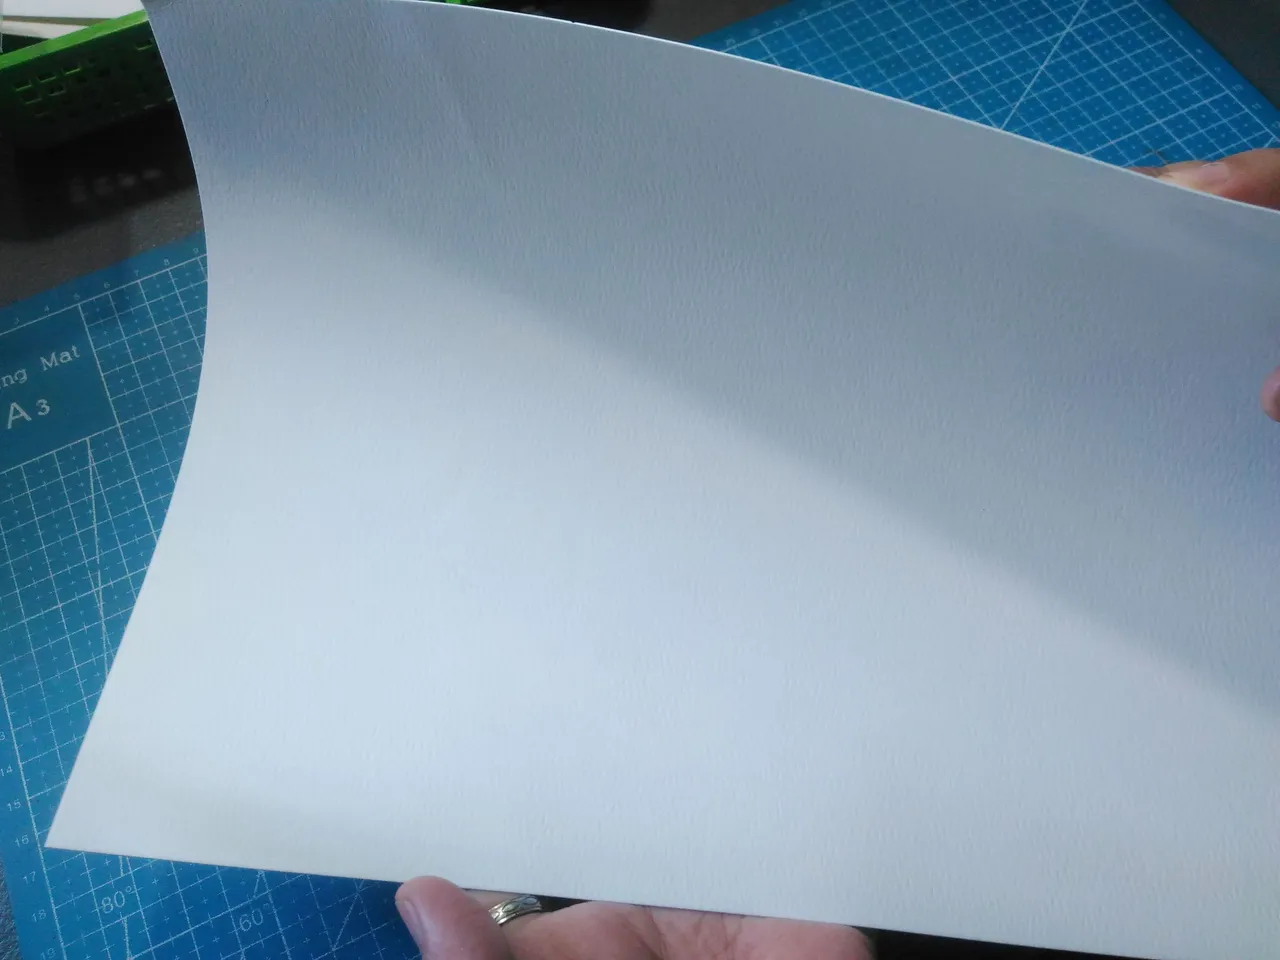
The first thing I do is to find where the grain of the paper is by gently curling the paper into the middle if the paper feels like folding easily that is the part where I am going to fold the paper.
The purpose of doing the grain test is to make sure that folding that way reduces the paper tear-out.
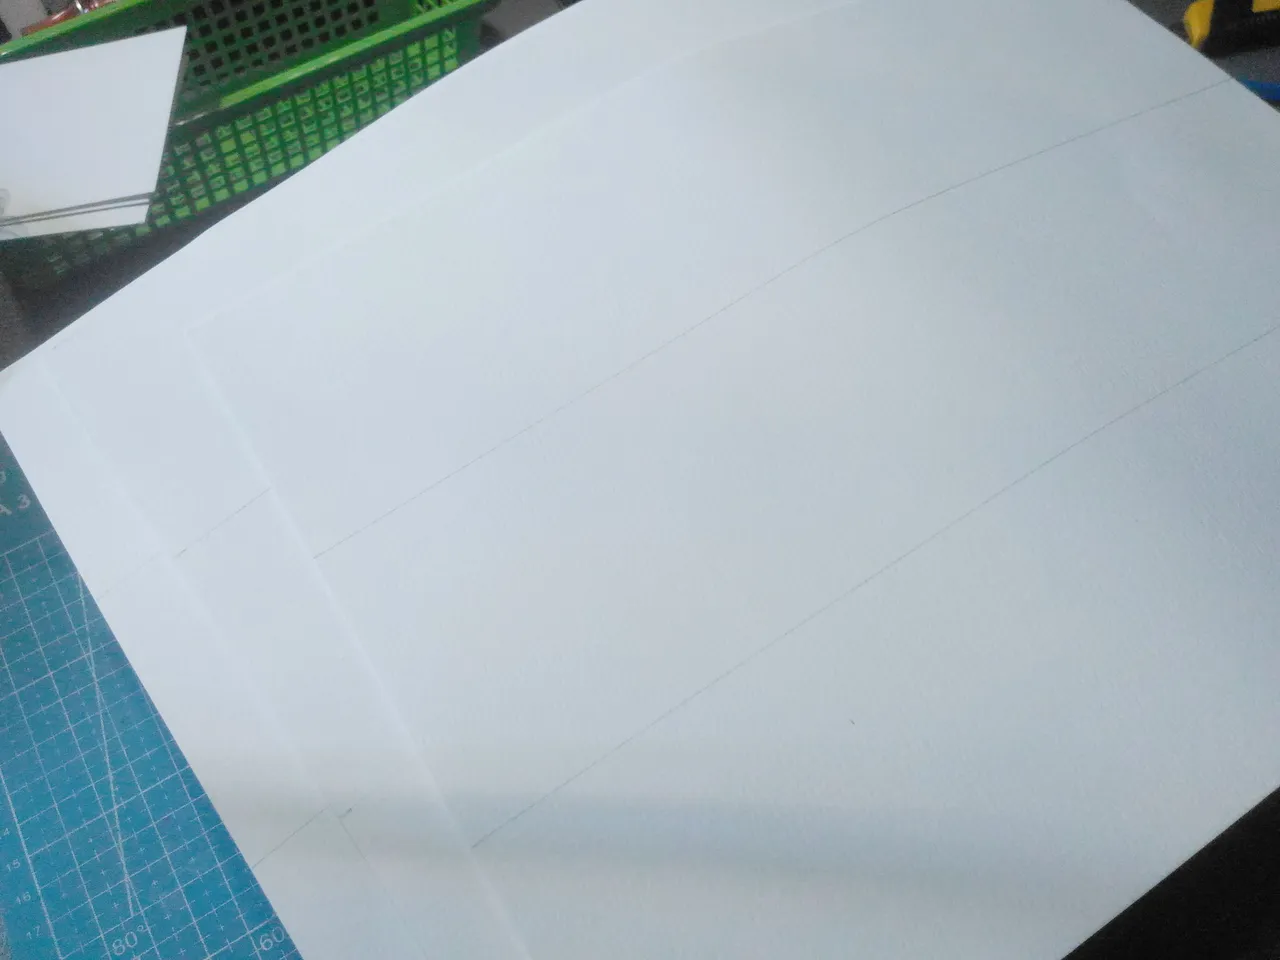
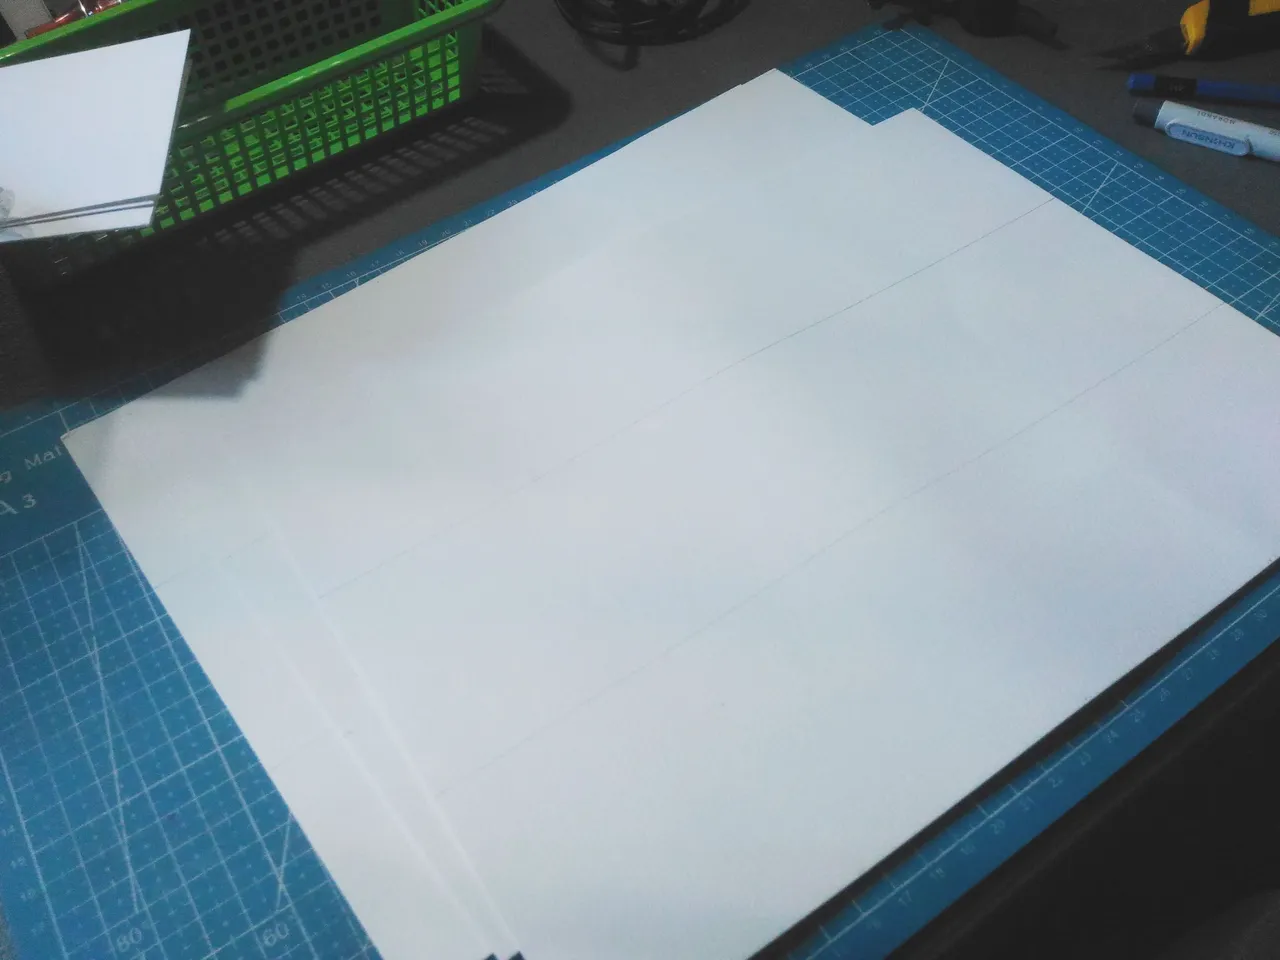
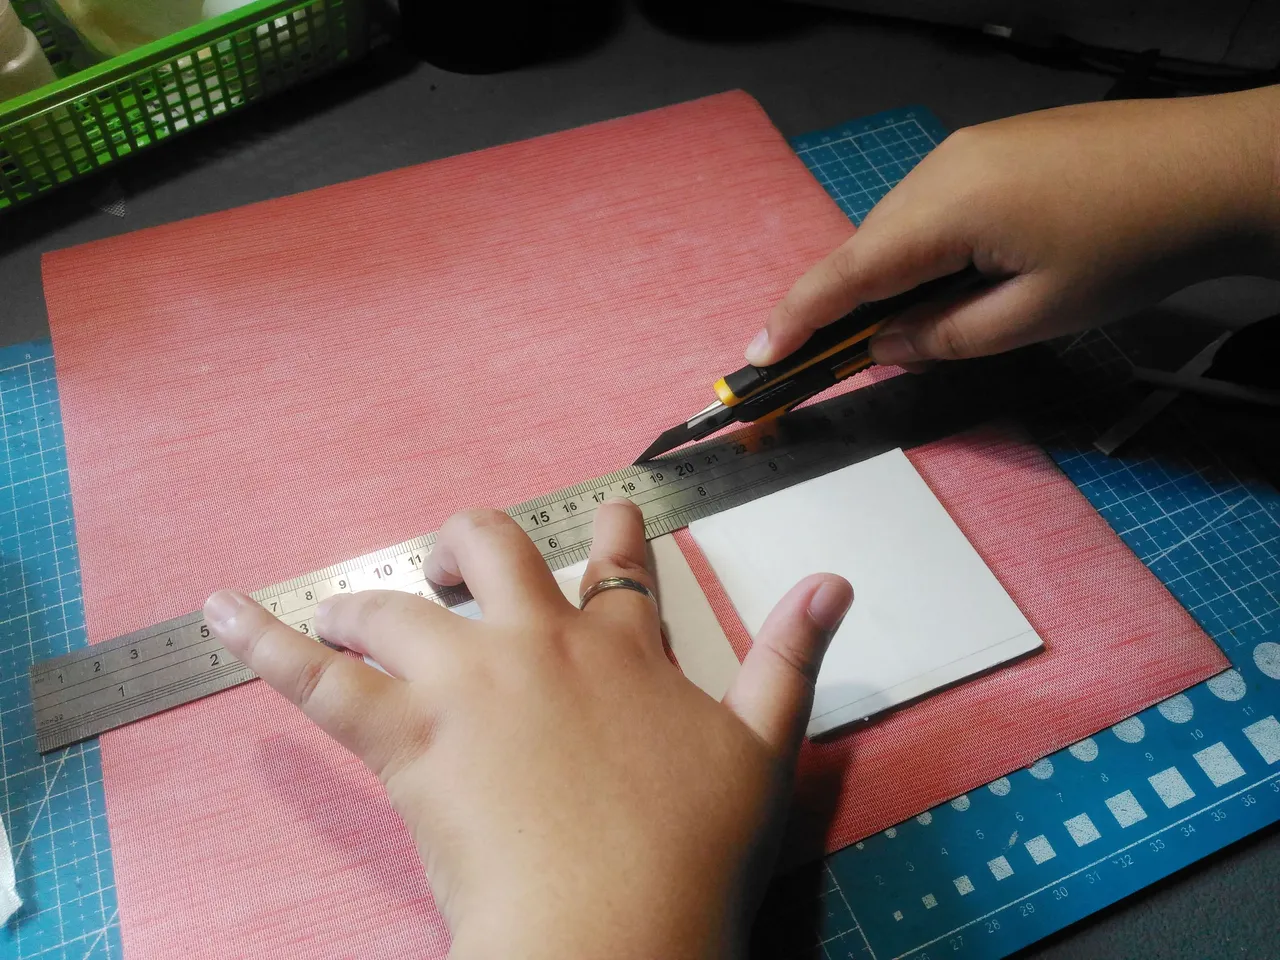
Next, I measure and mark the paper 9x12 inches what I want to do is a 3x3 inches sketchbook. I am going to use 3 sheets of watercolor paper to make 32 pages.
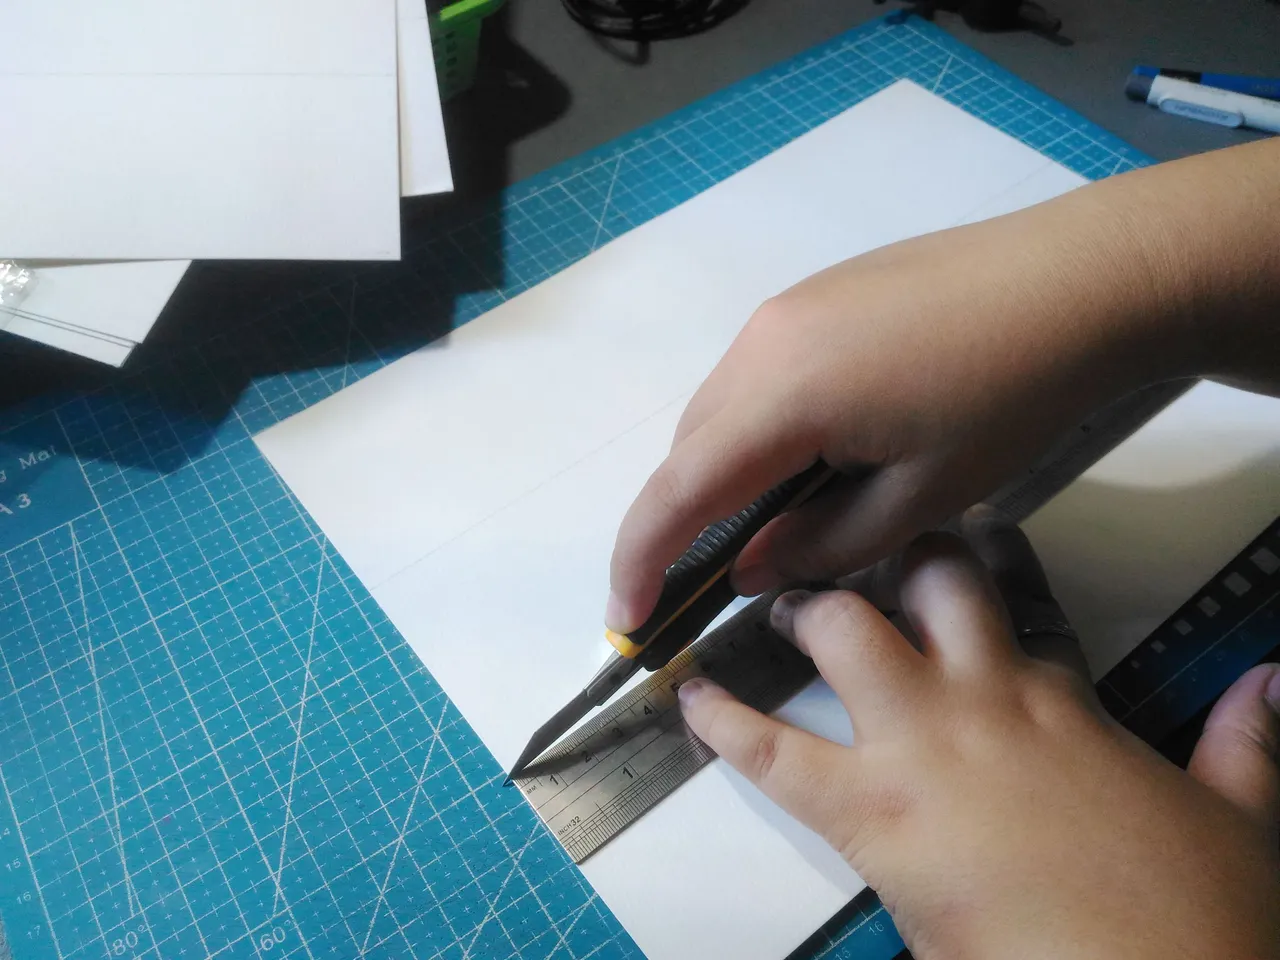
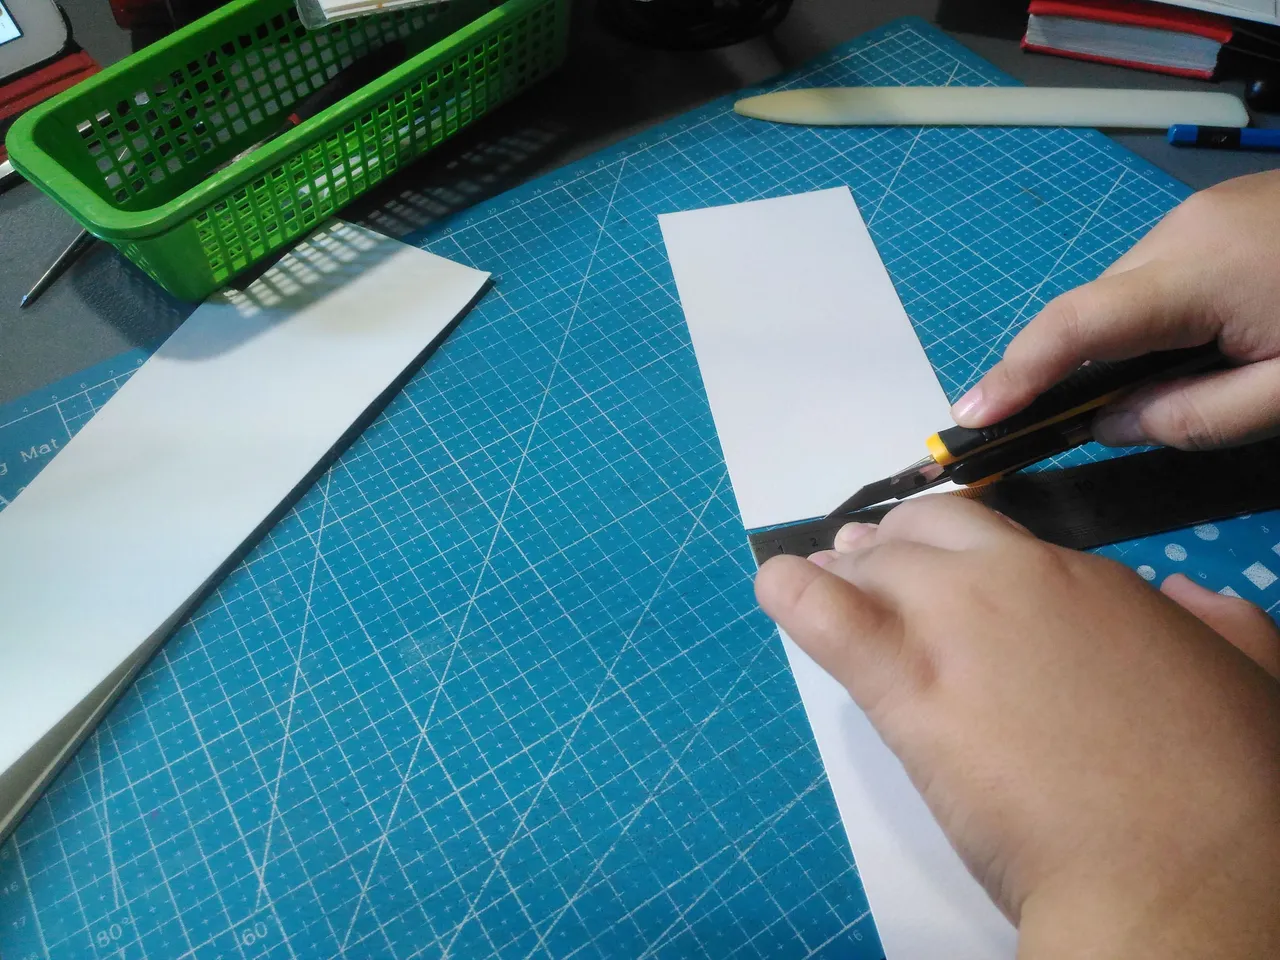
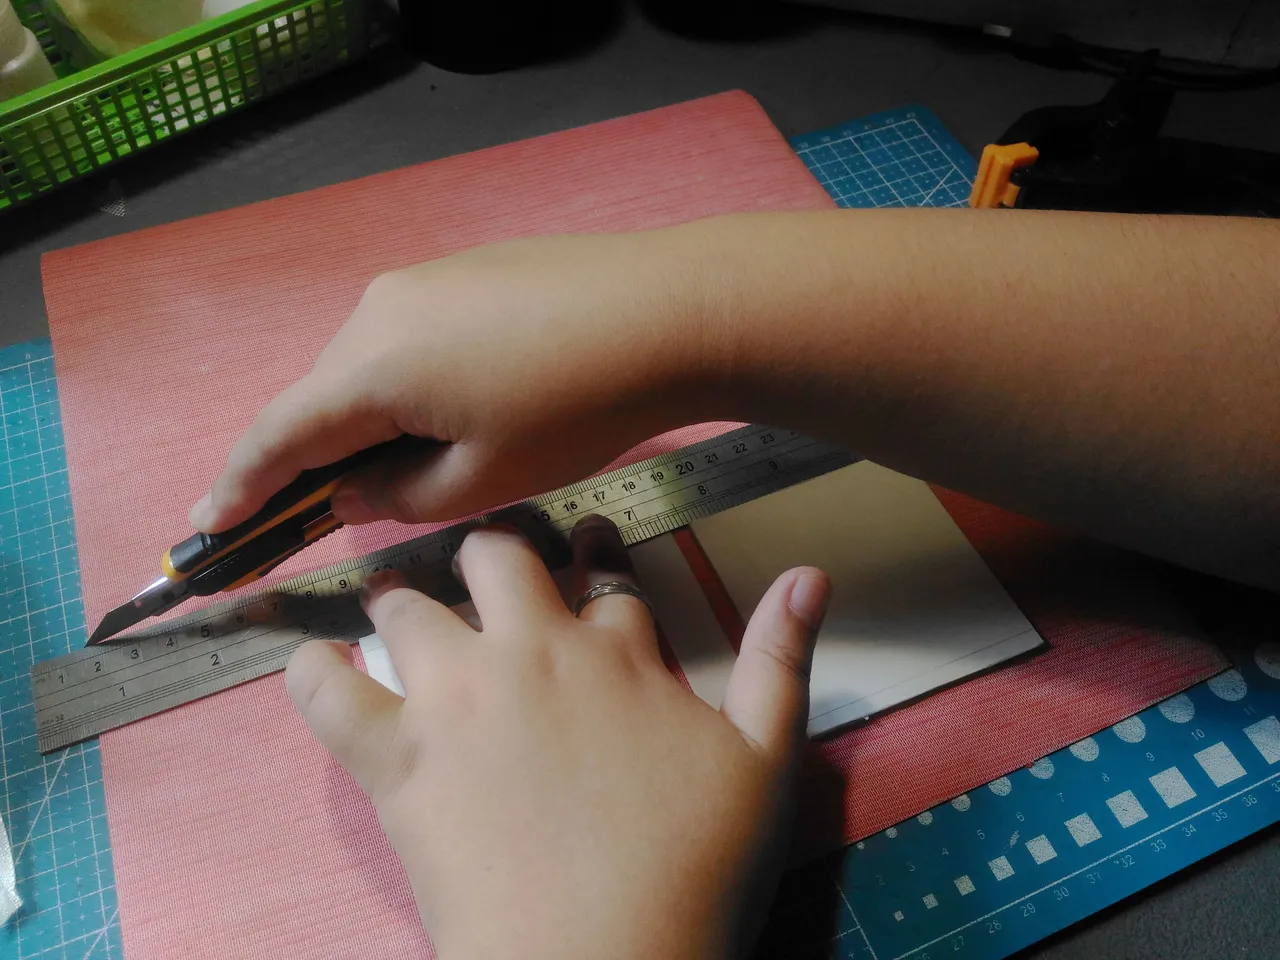
I cut the paper and made sure to do this using a metal ruler because if you use a regular ruler you are risking it from damaging from the cutter. And then I proceeded to cut it in half again.
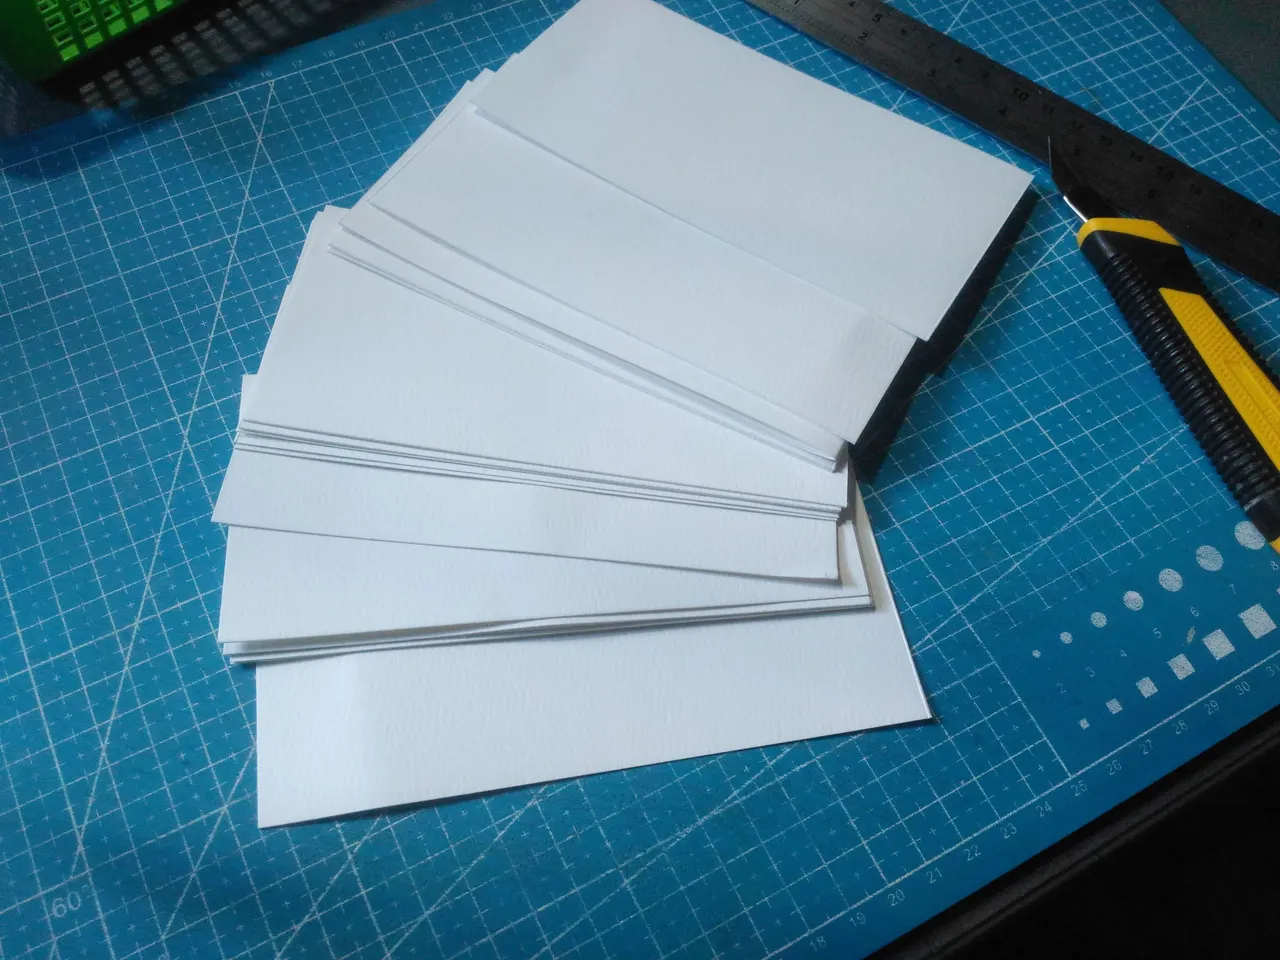
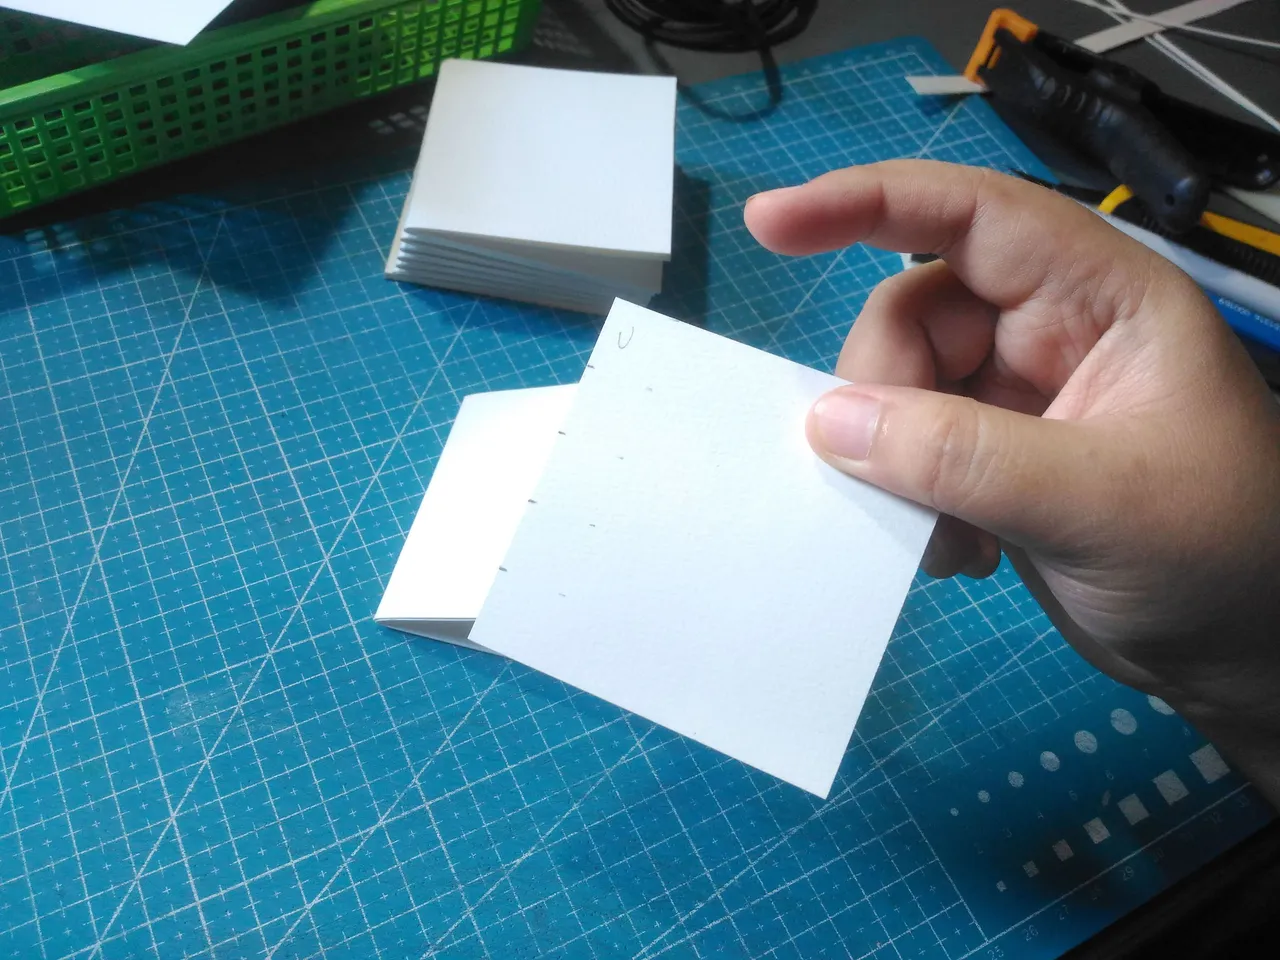
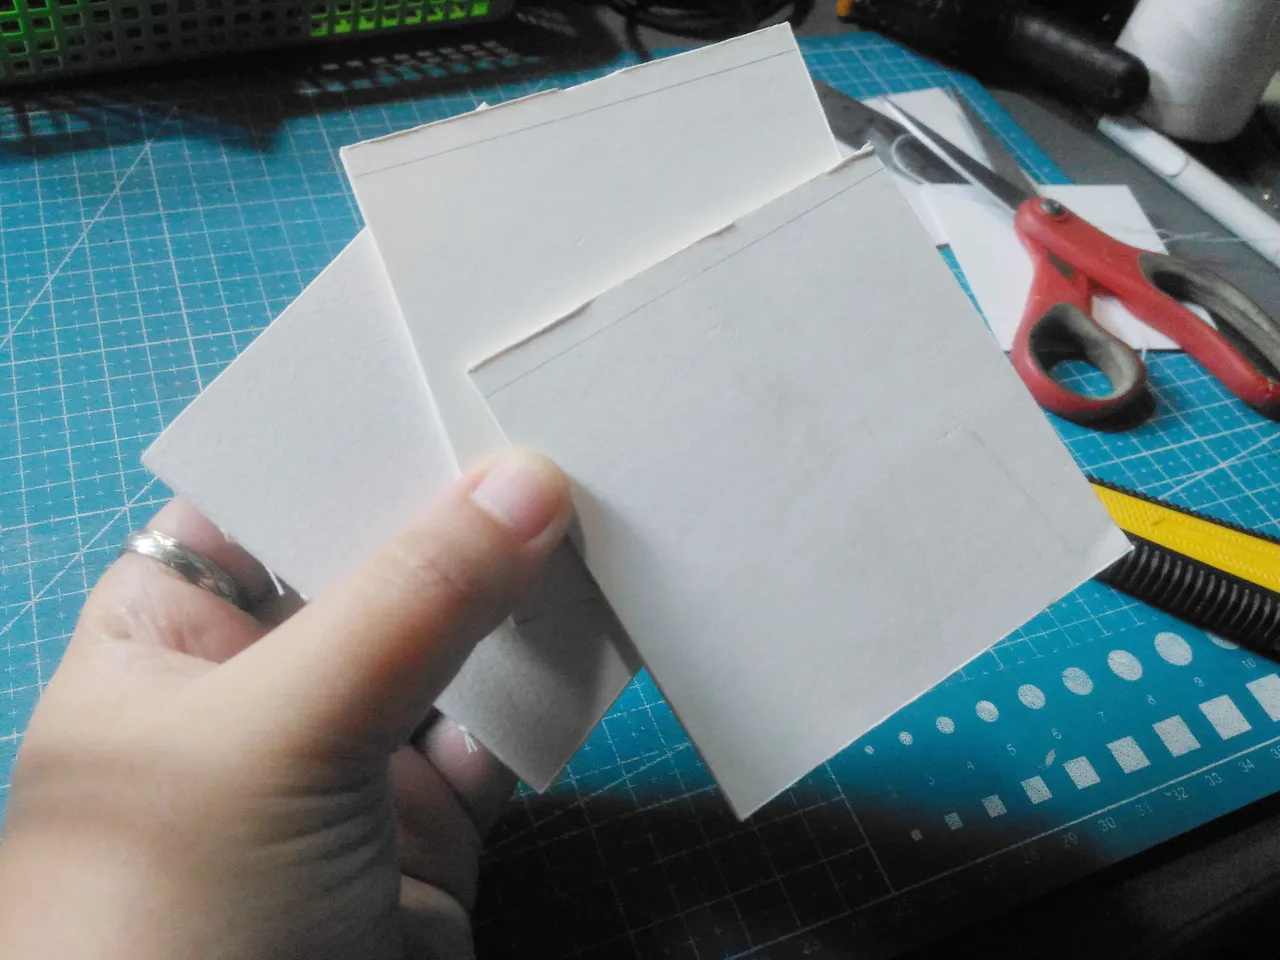
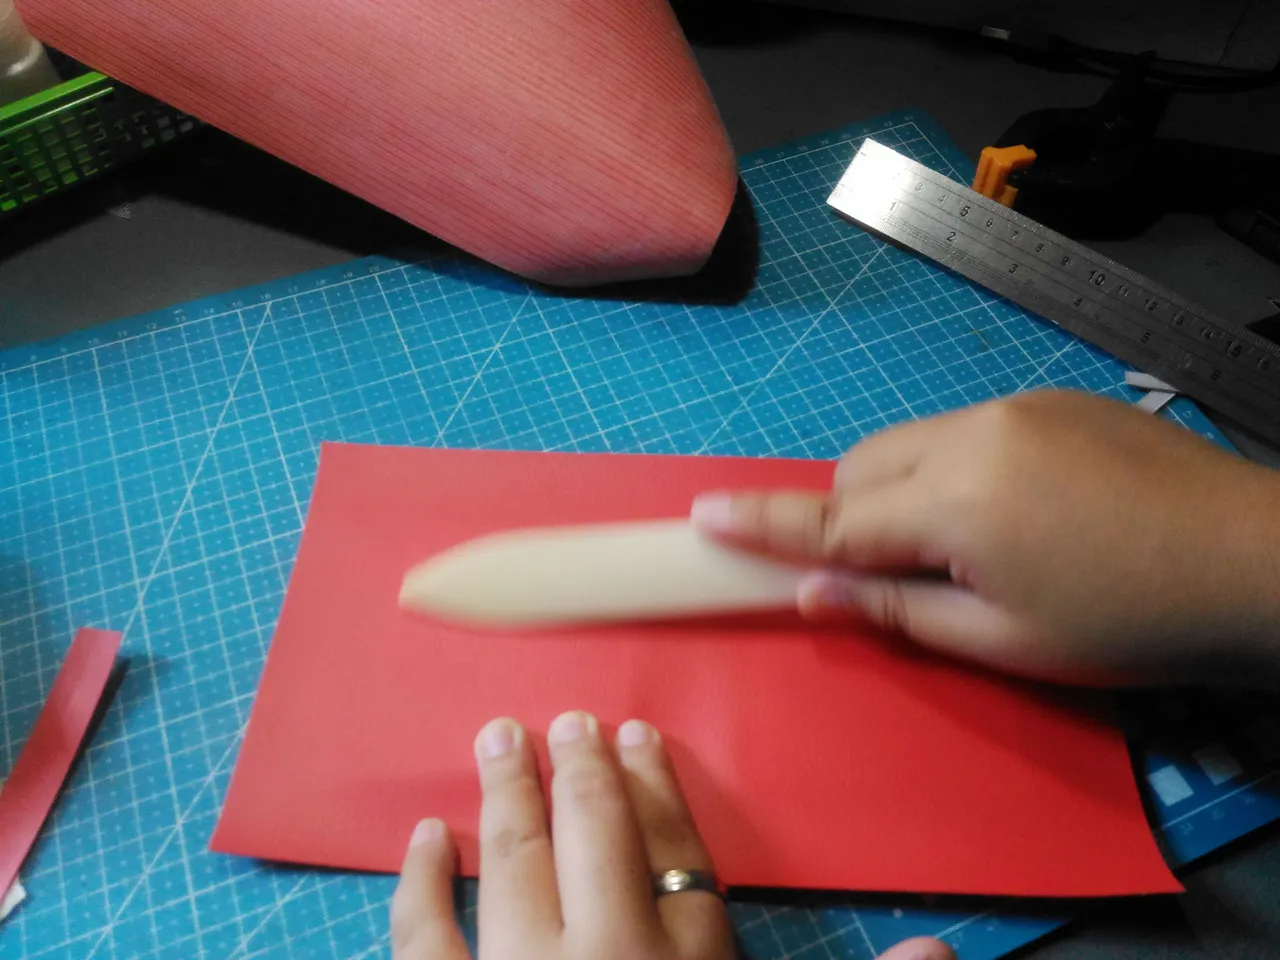
They are ready to be folded. What I do is grab two sheets of paper I cut earlier.
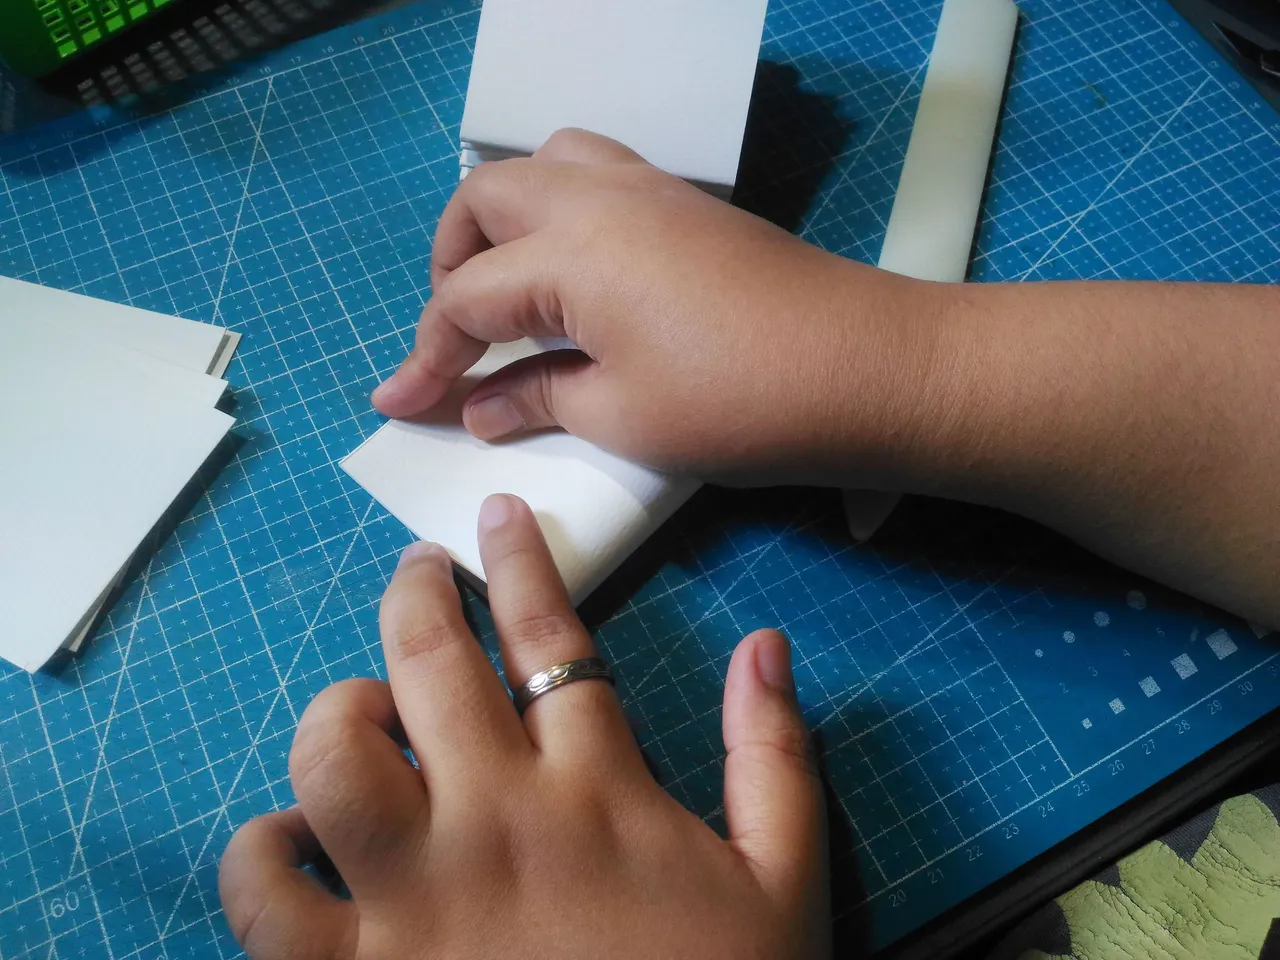
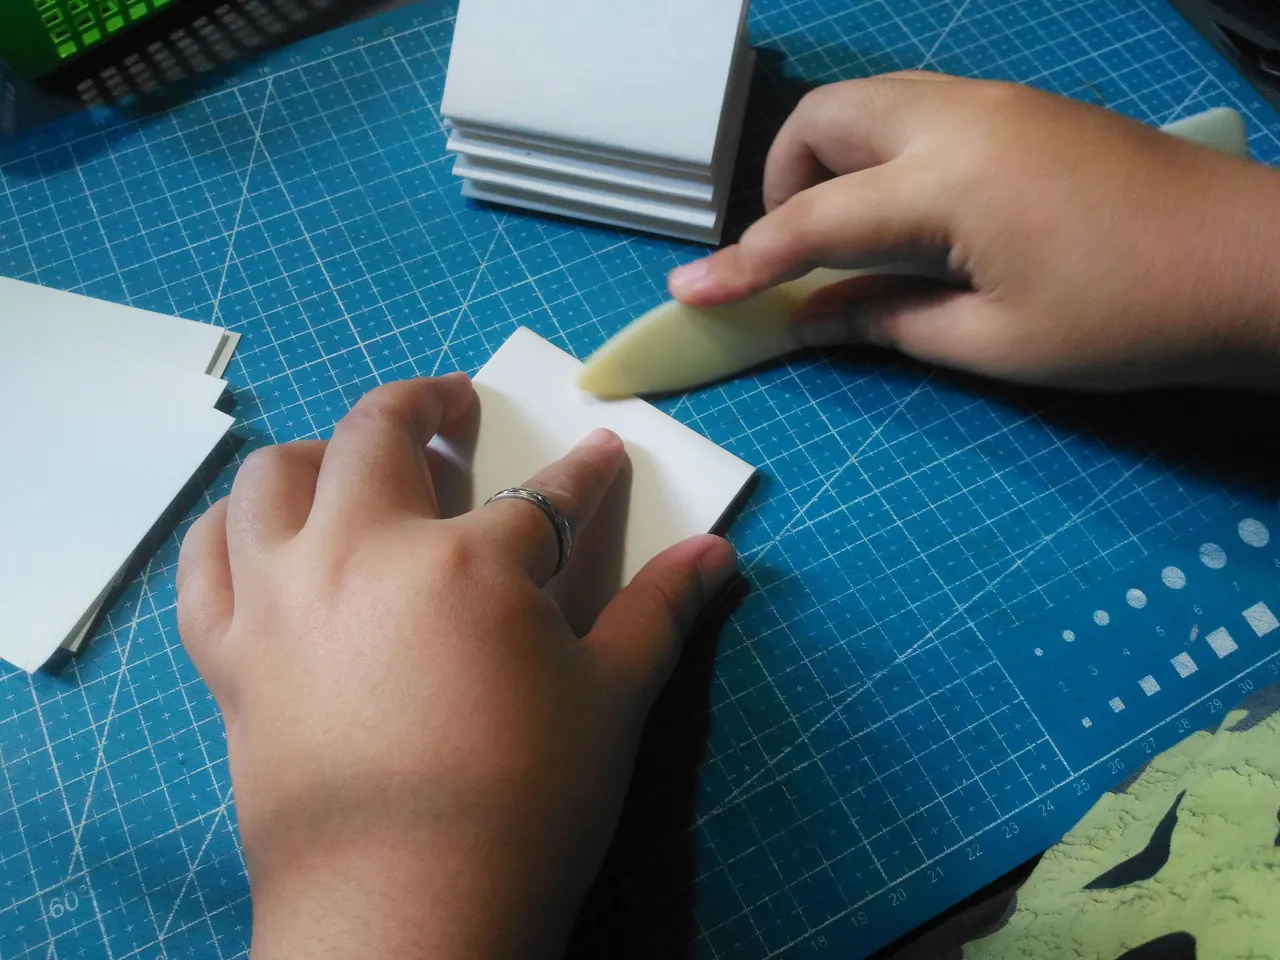
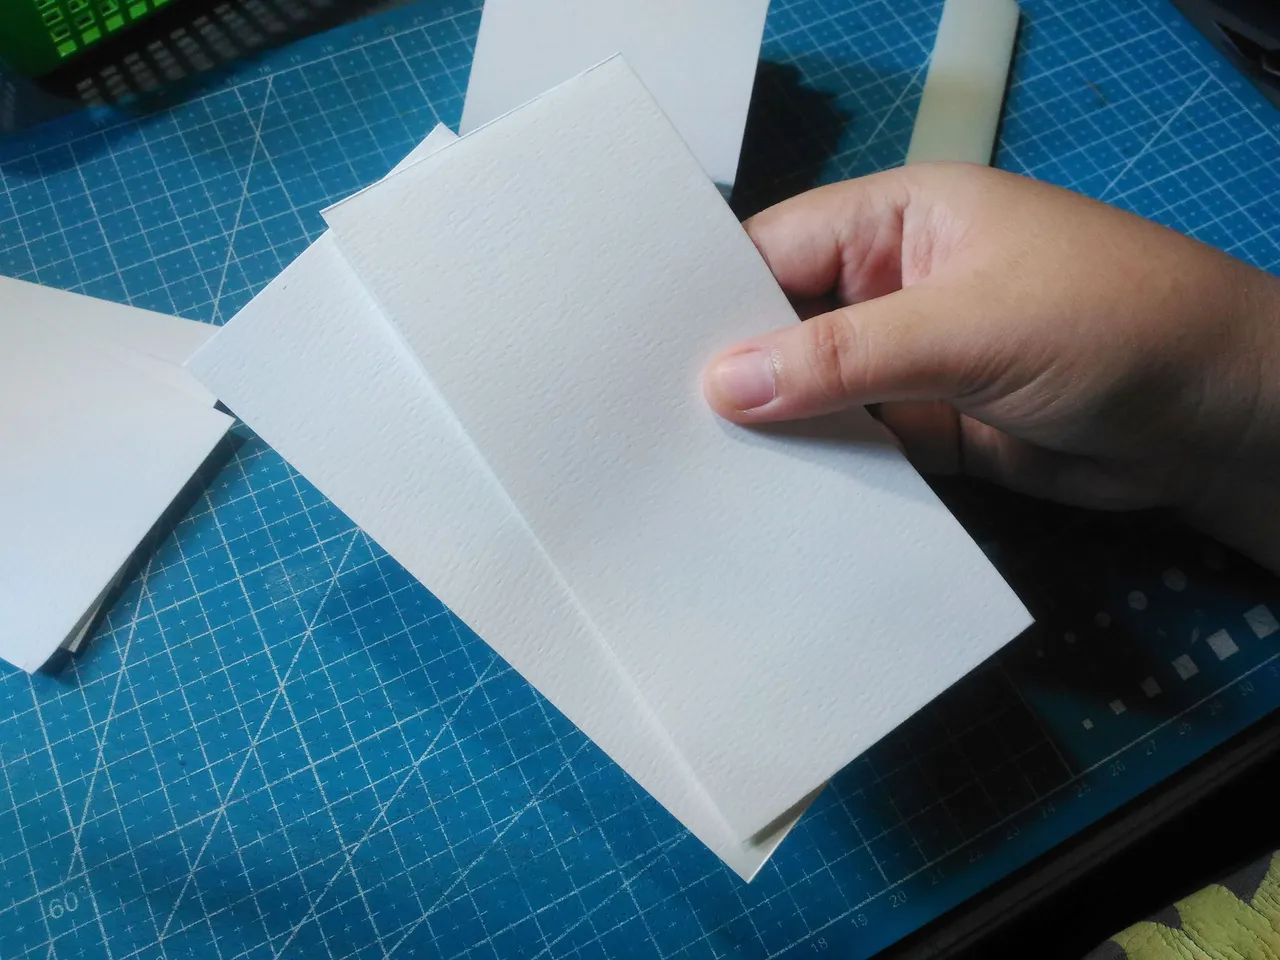
Fold both of them using my hand first. then I used the bone folder I made sure that I folded it as evenly as possible.
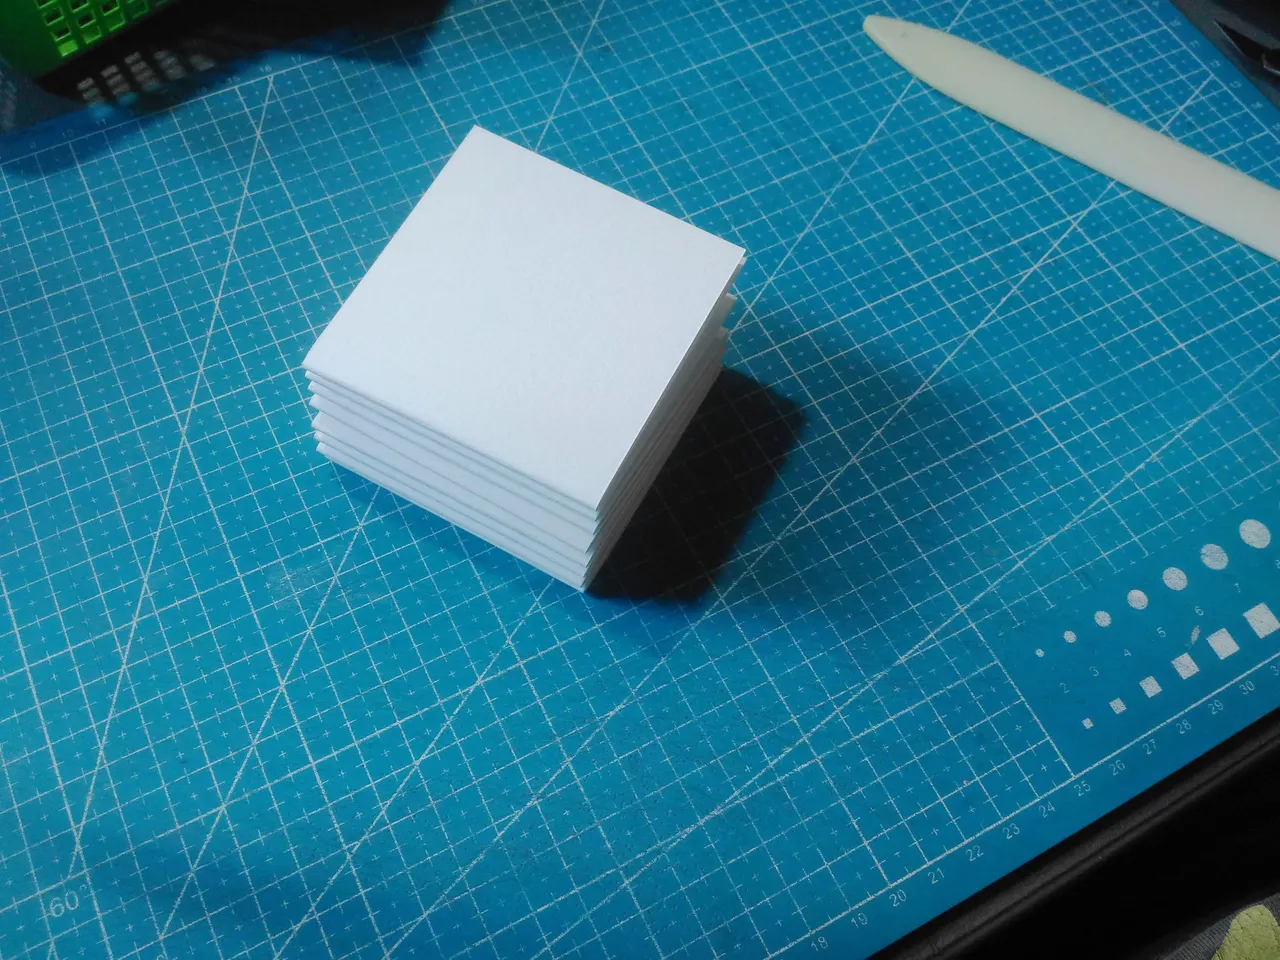
Now I have nine signatures. They are ready to punch holes.
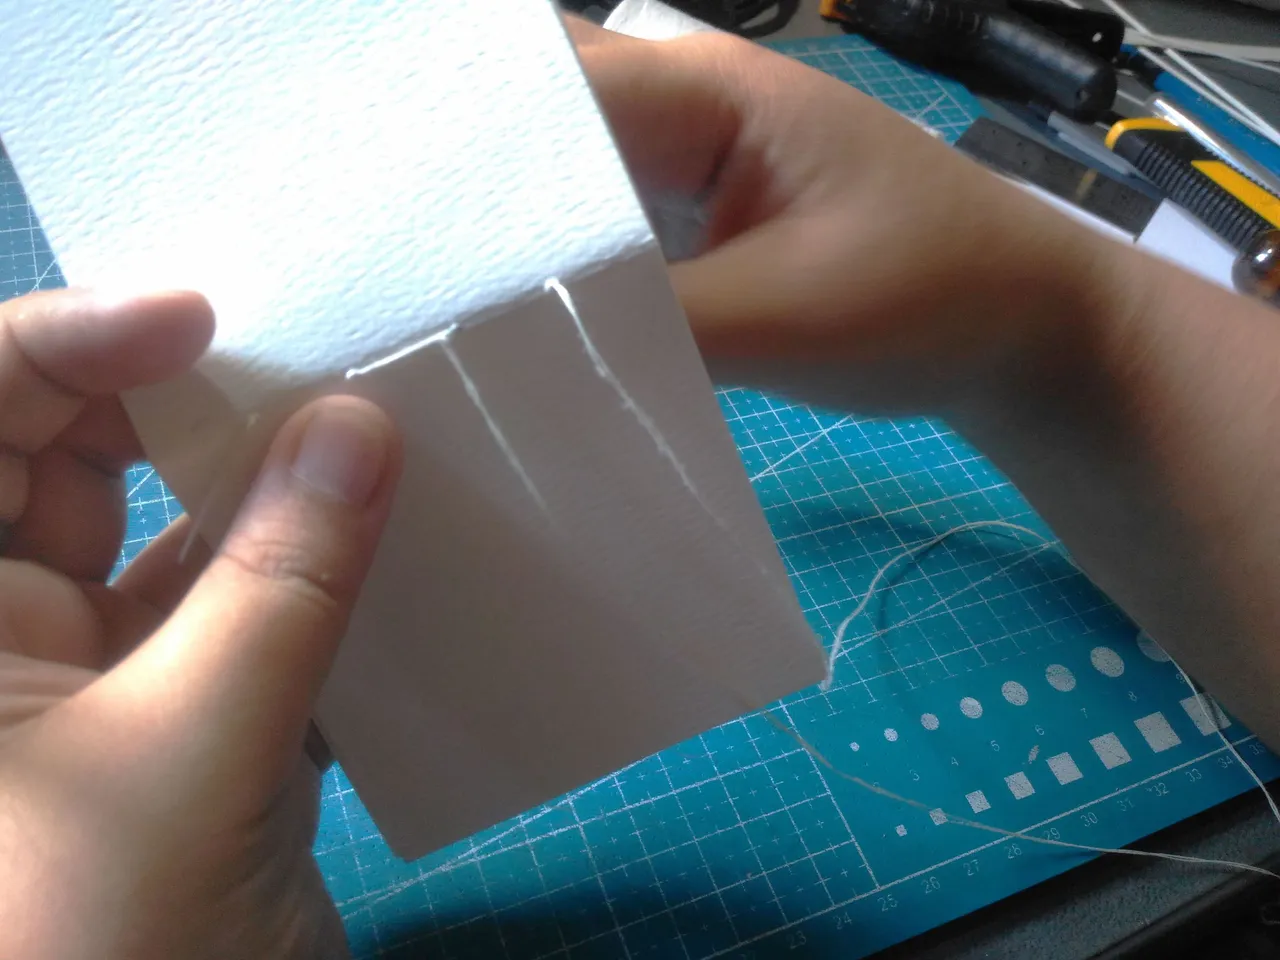
Punching Holes Time:
Before I punch a hole in it I let it be pressed first.
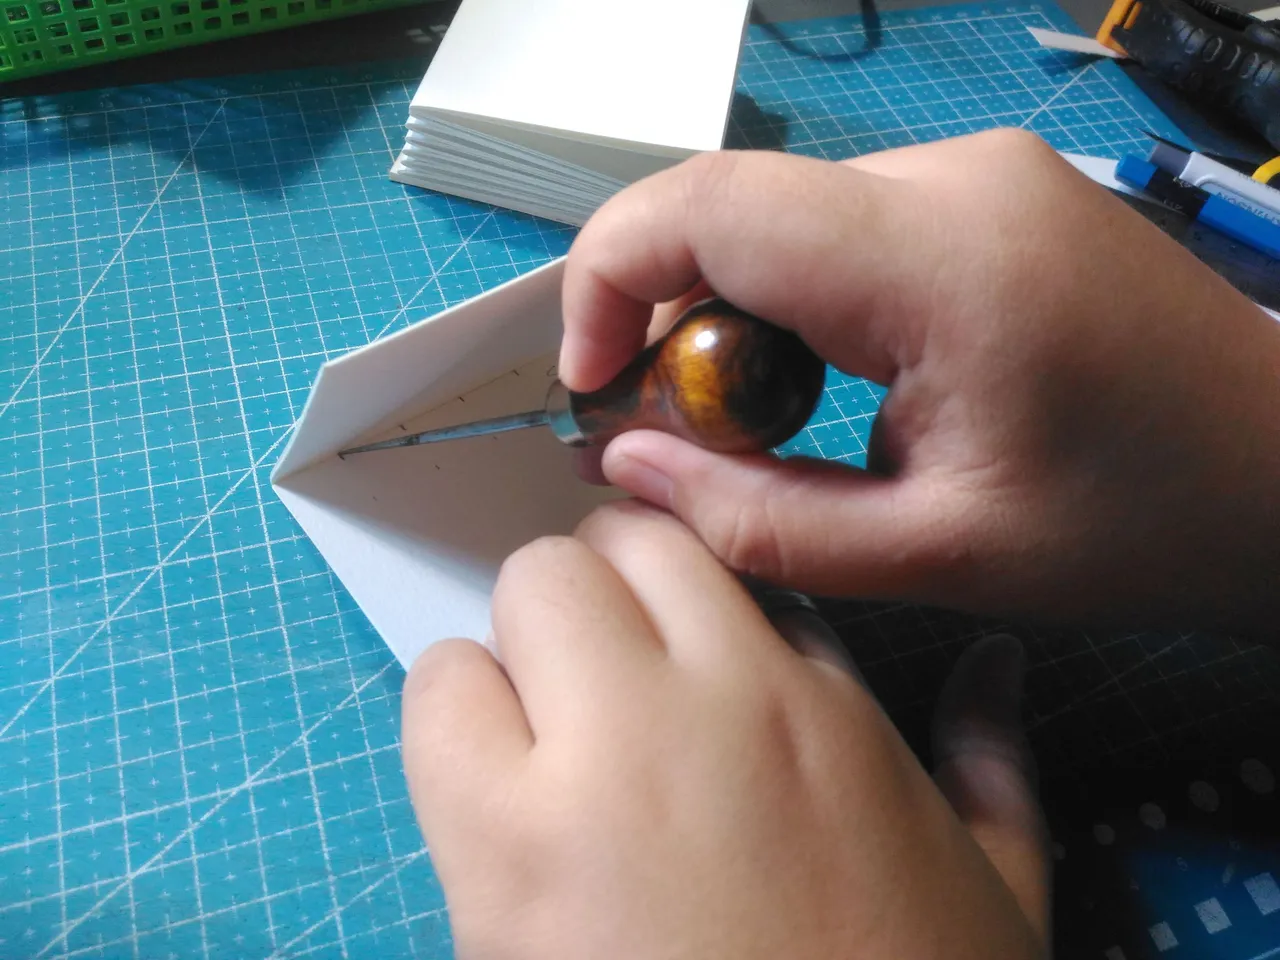
I next prepare a paper with a measurement reference which is where I am going to punch a hole. I align the reference in the signature first and use awl to punch a hole and repeat the process.

They are ready to be sewed.
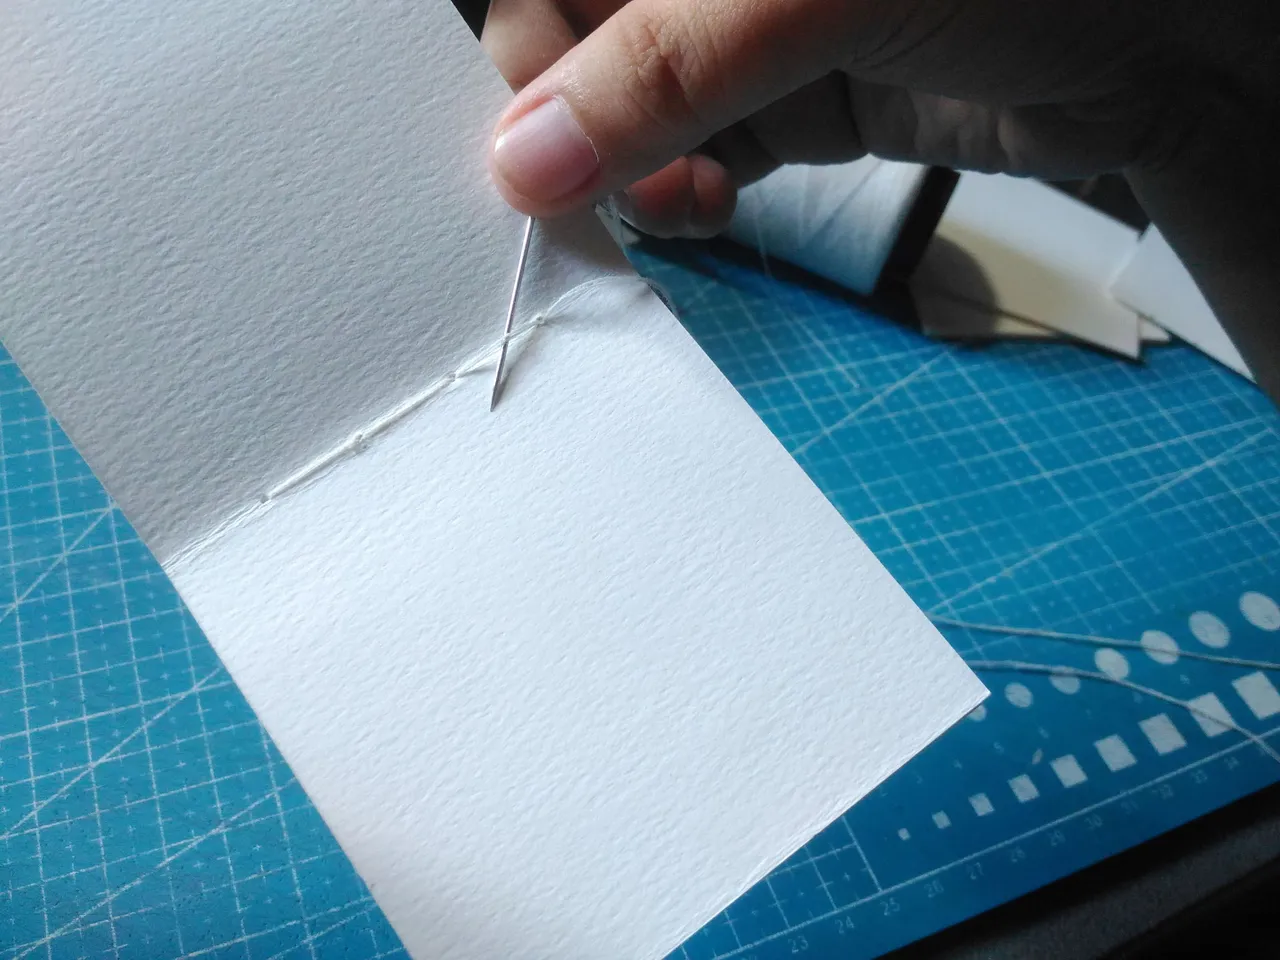
Sewing Time:
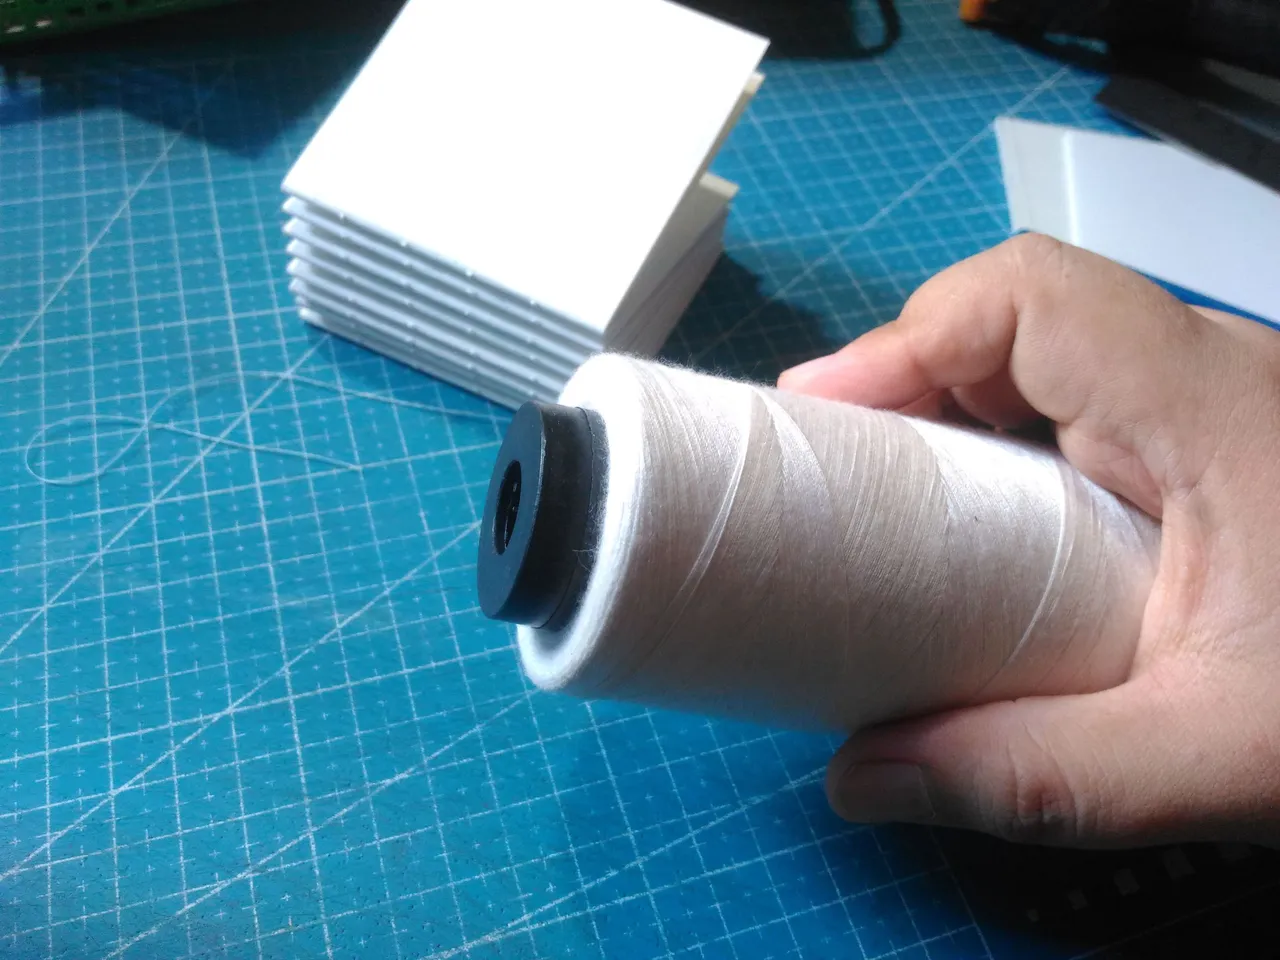
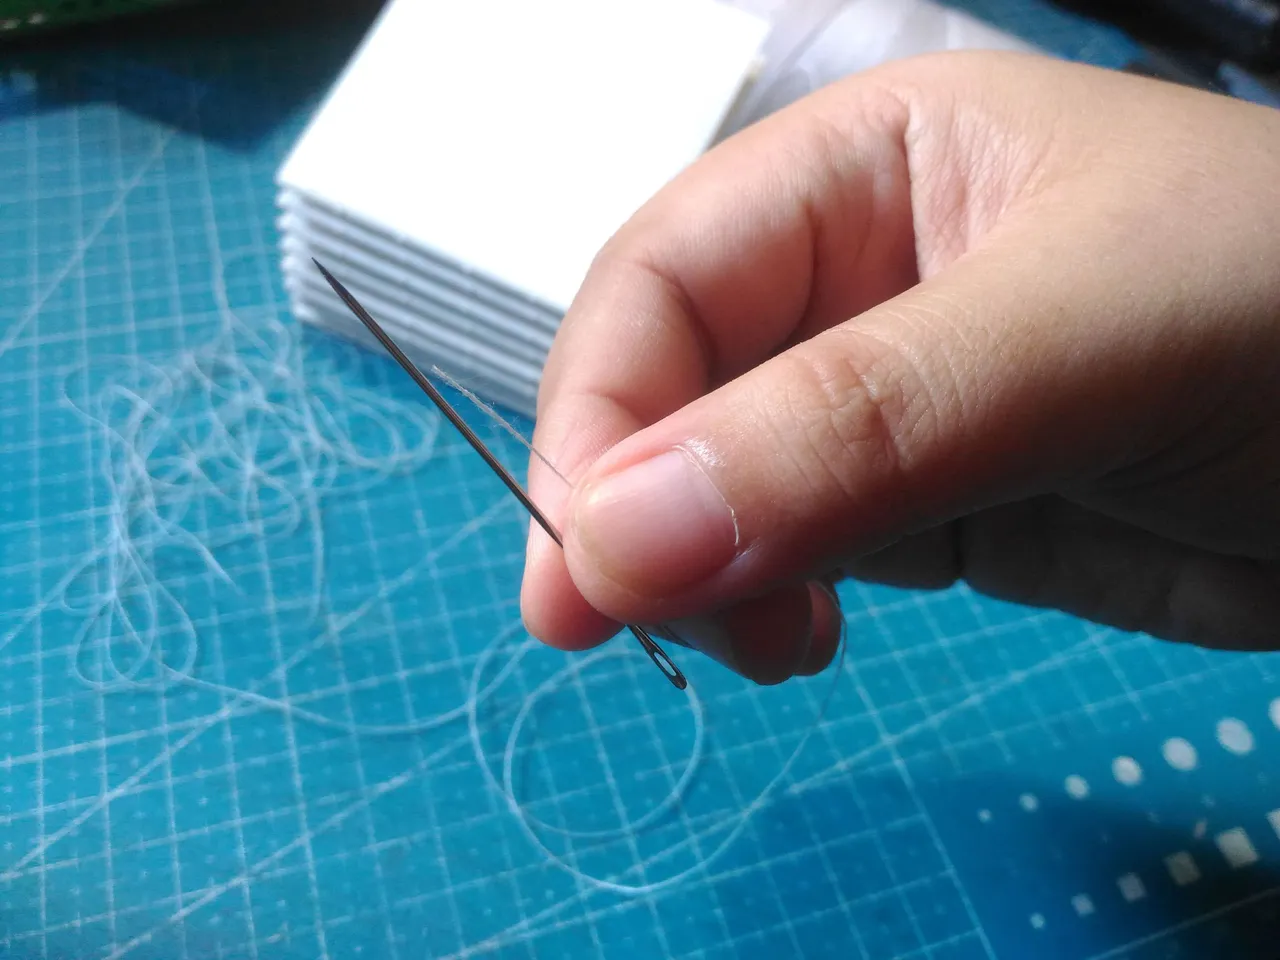
I prepare the thread and needle. I size of the thread is how many signatures and the width of it.

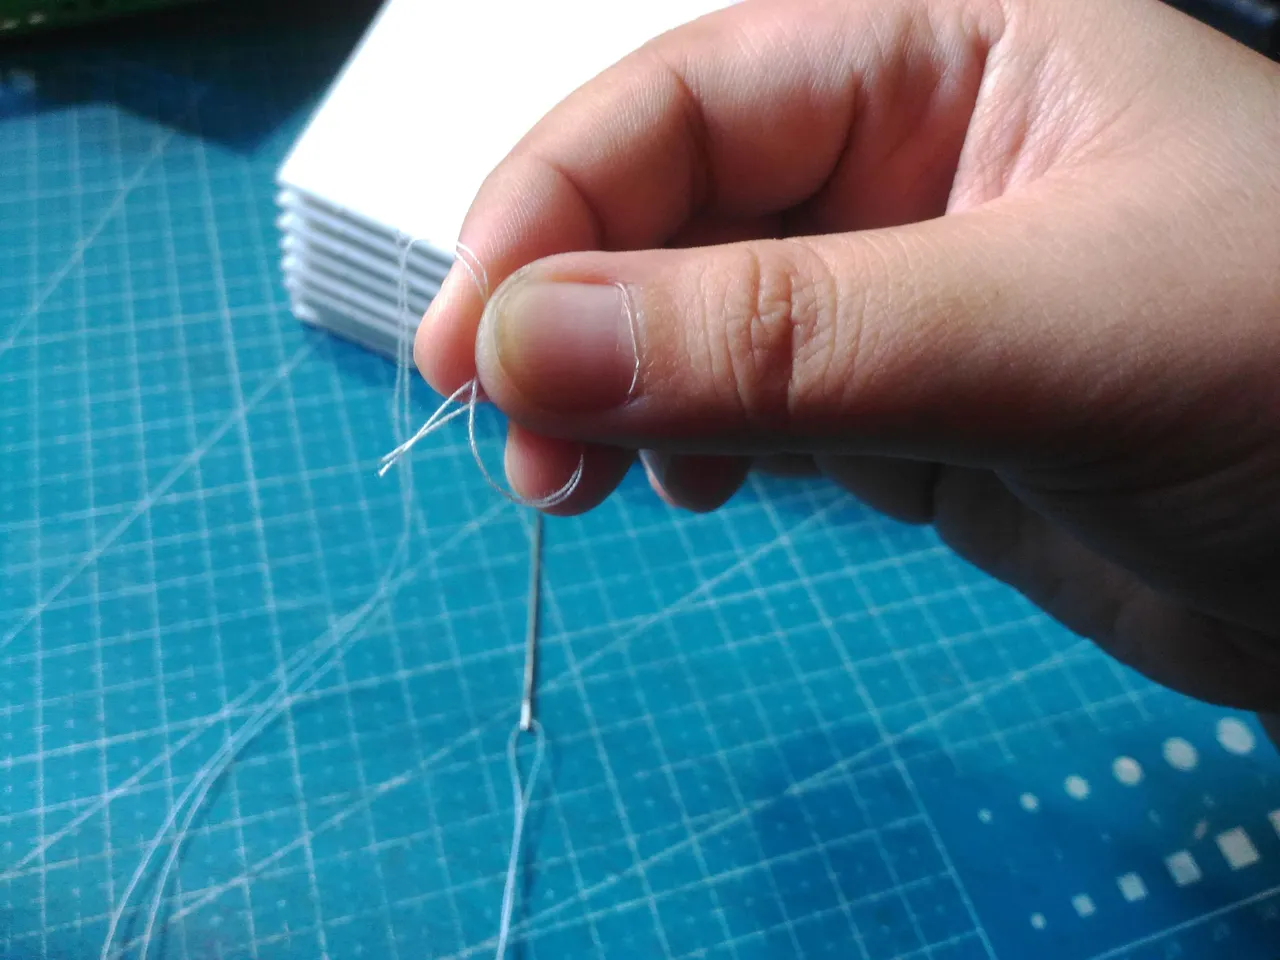
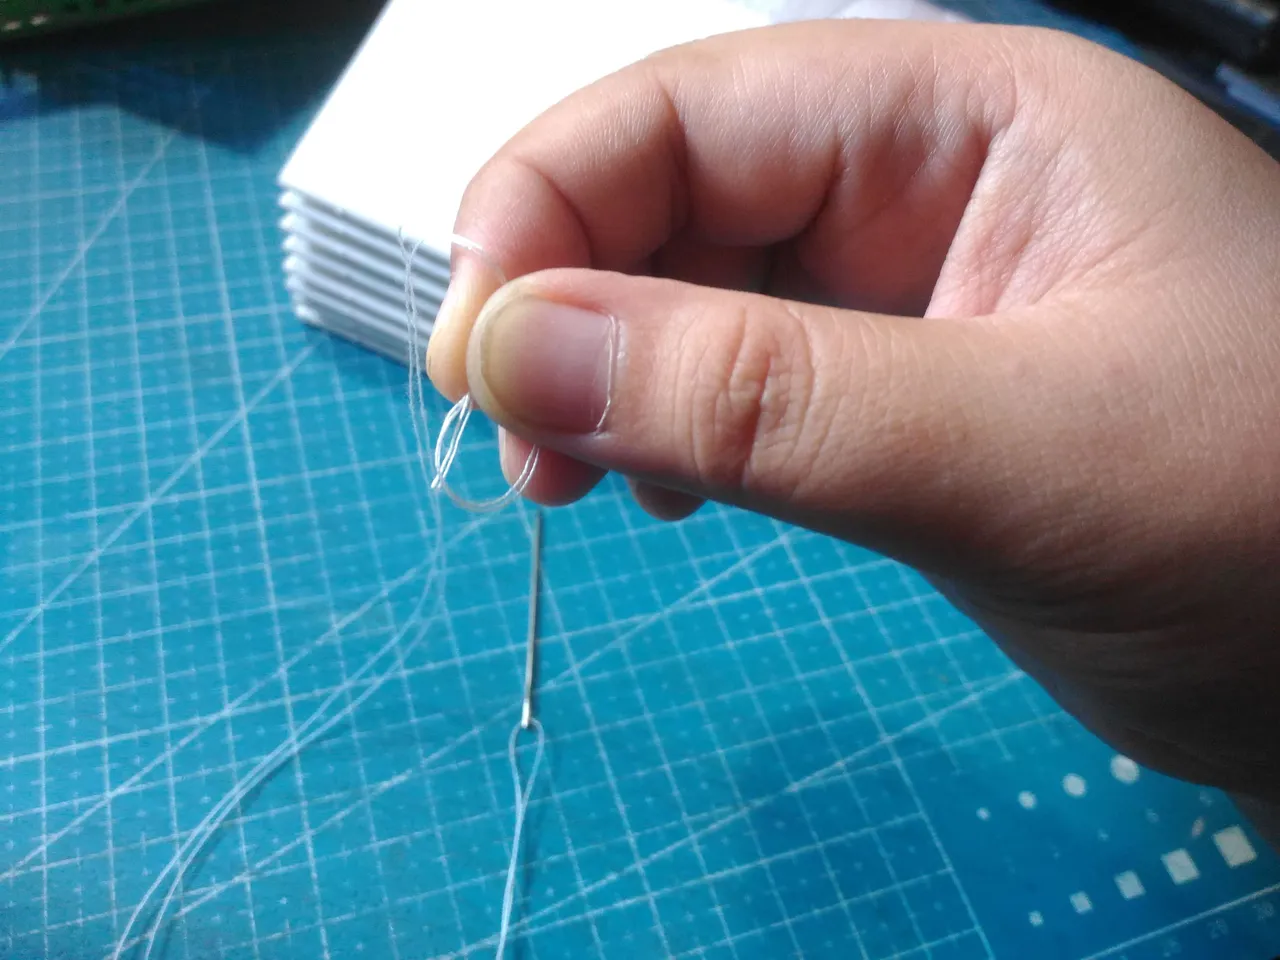
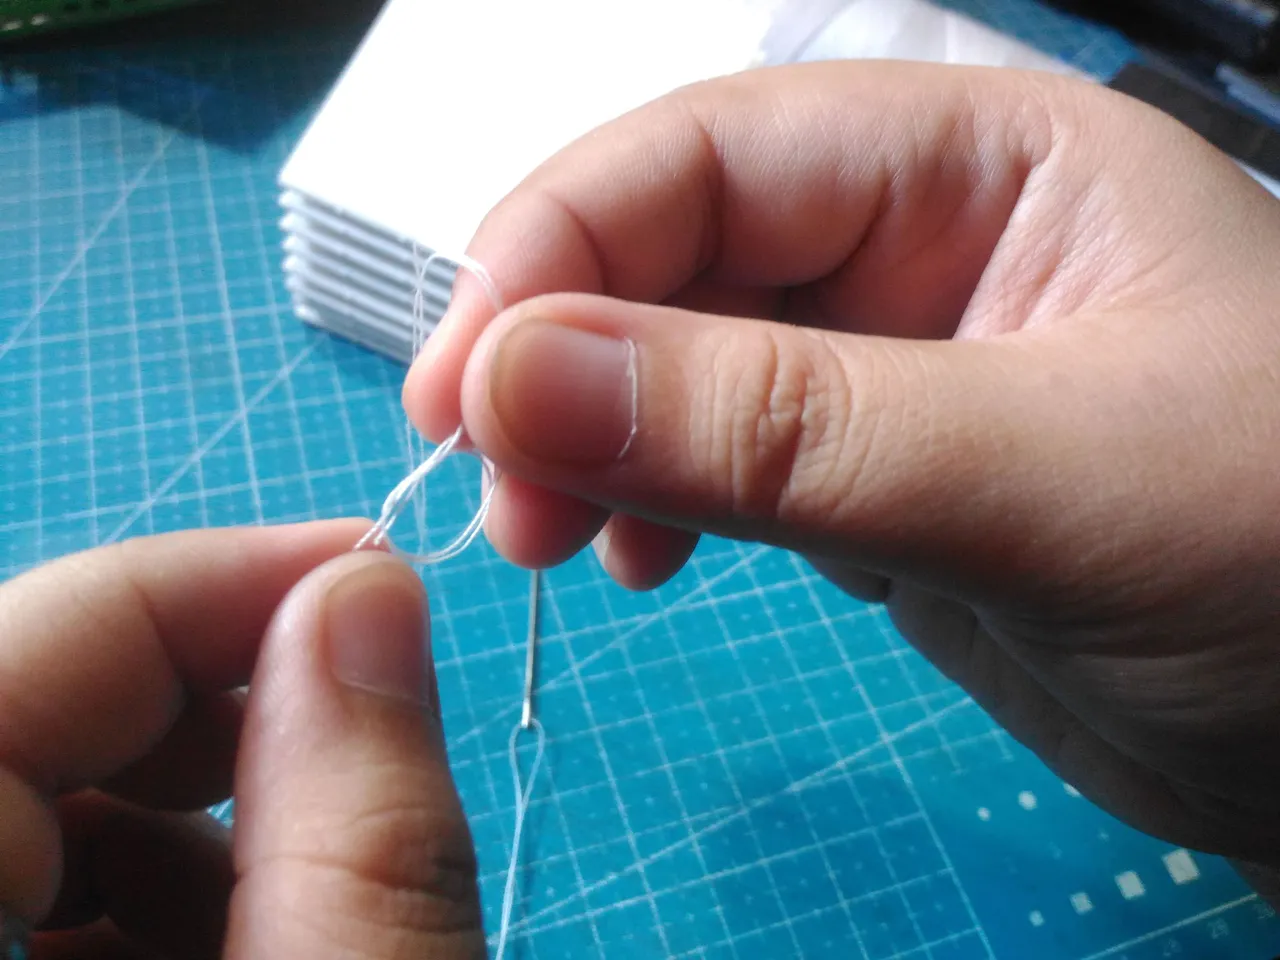
And then I knot the thread two times.
This how it looks like.
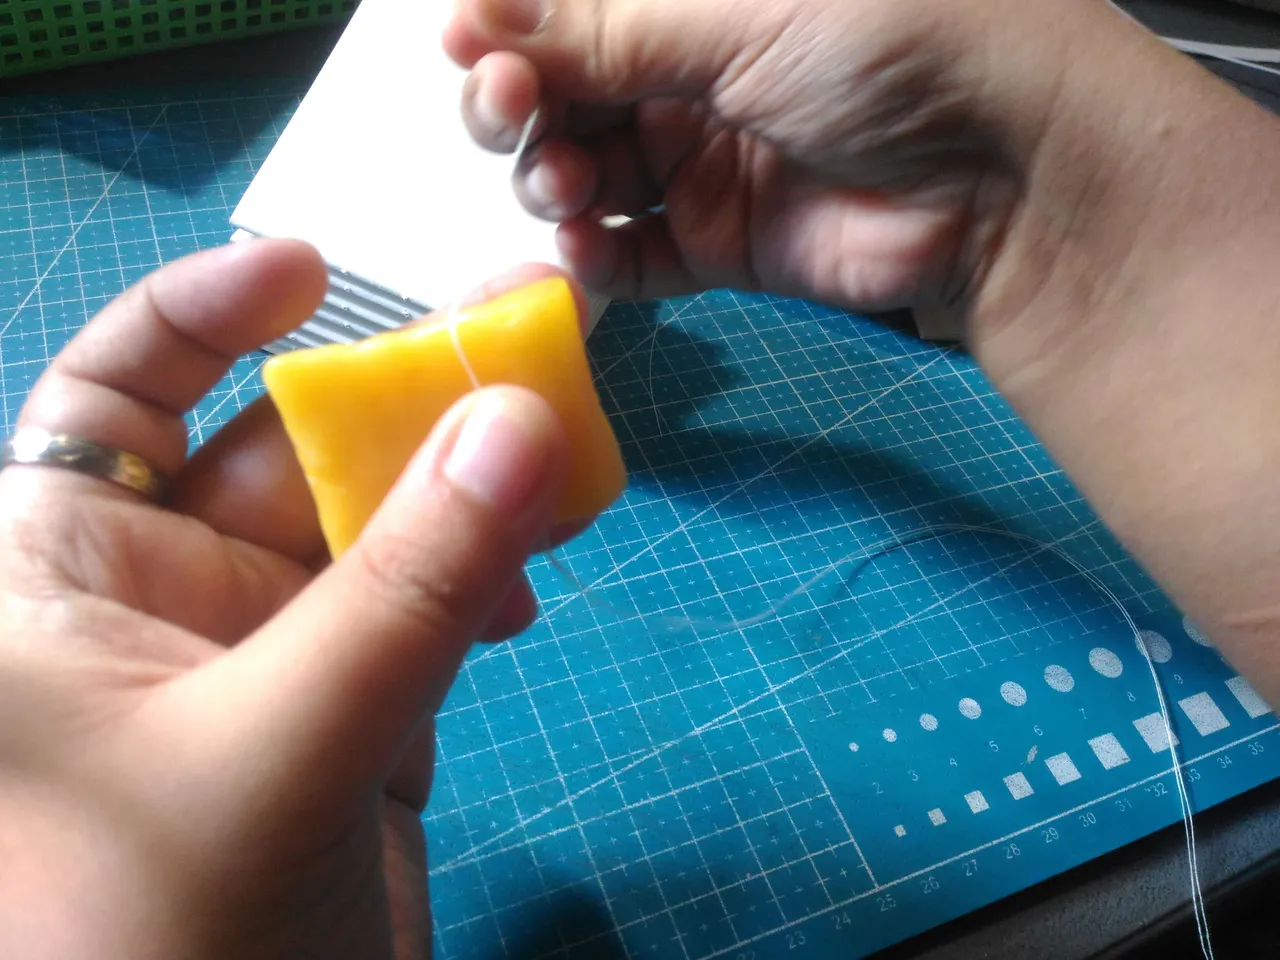
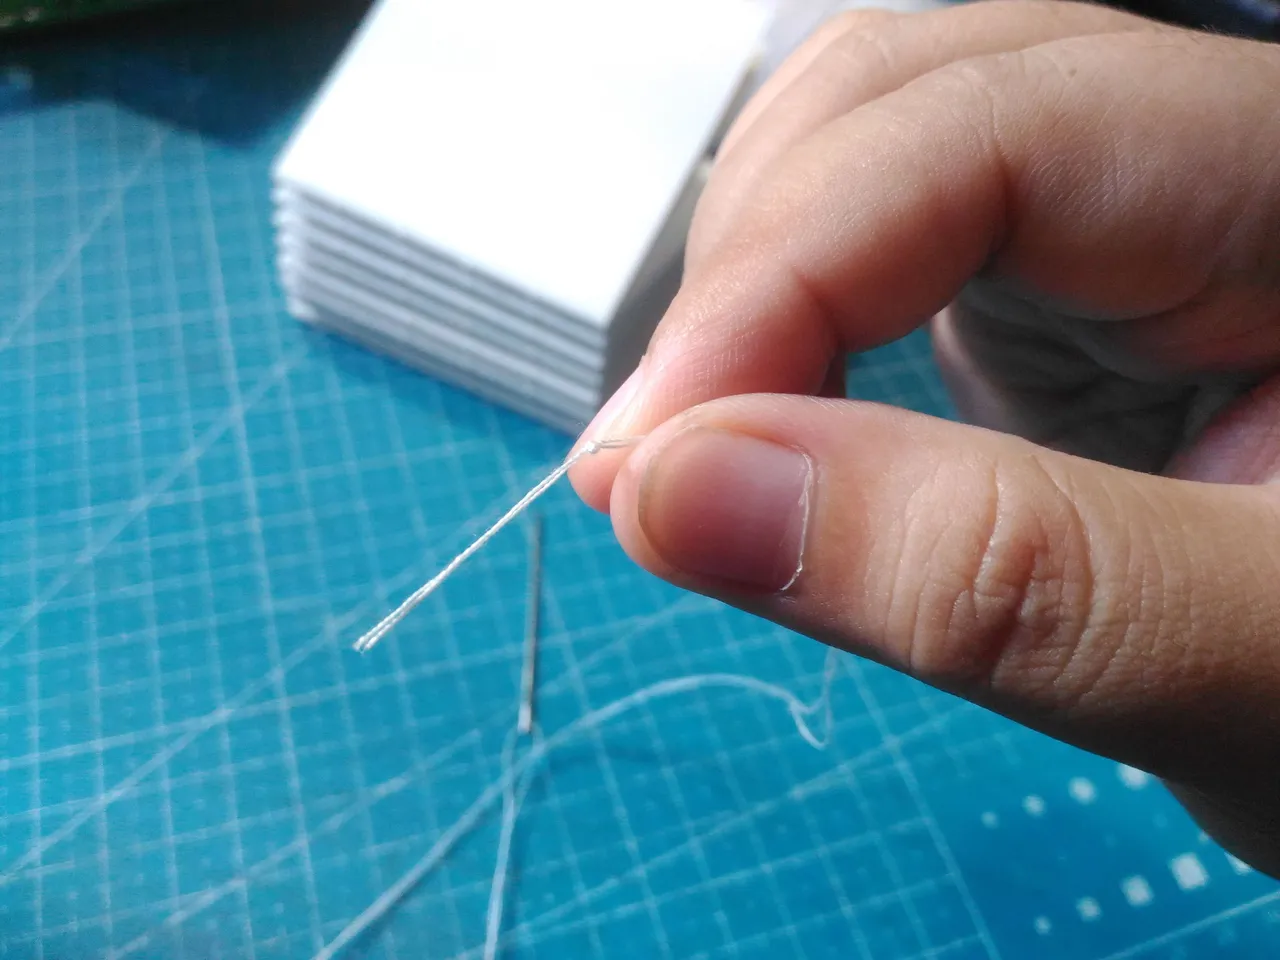
Then I run the thread through the beeswax two times this will help the thread not get tangled.
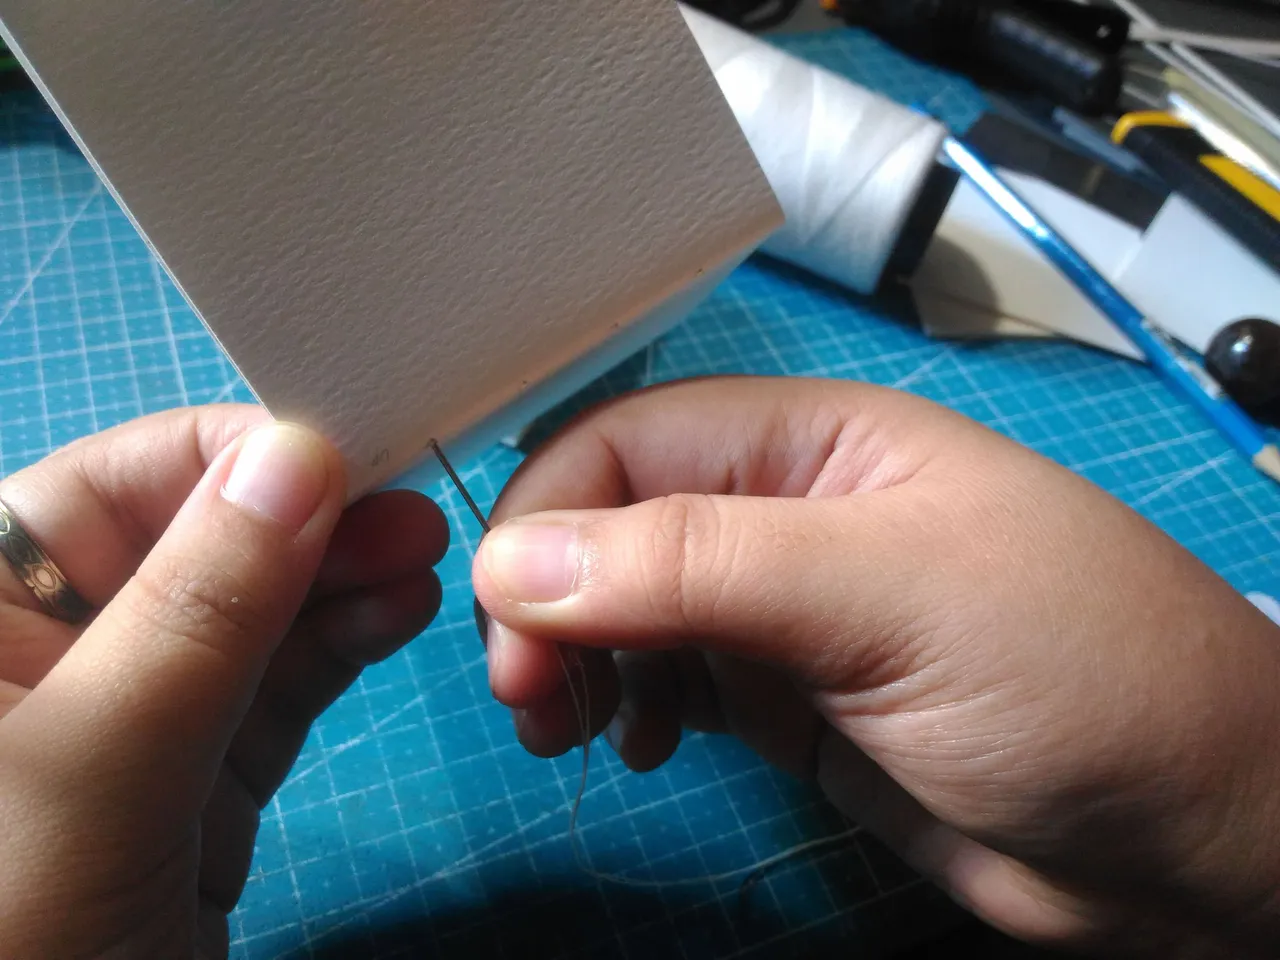
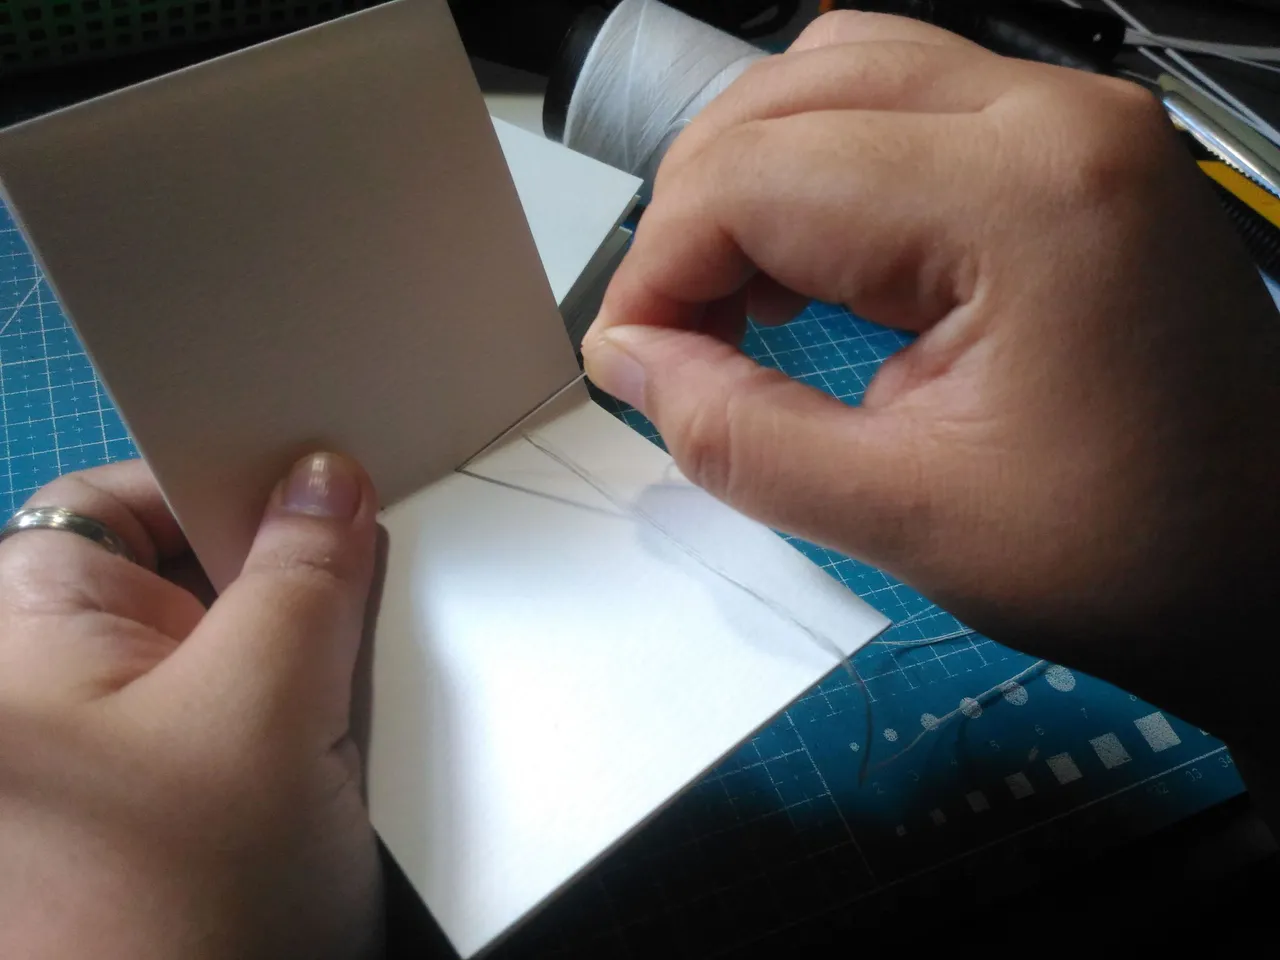
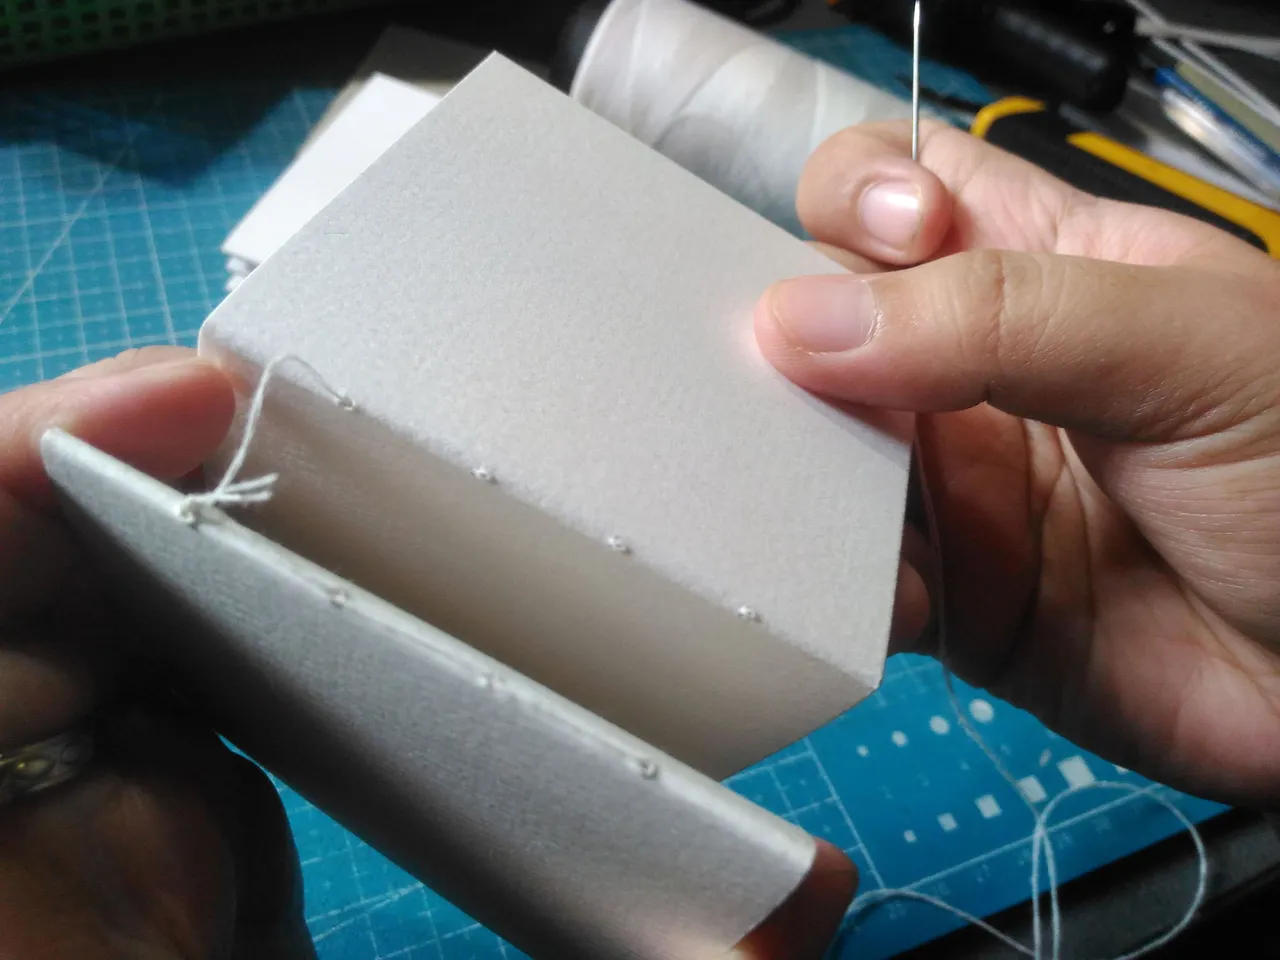
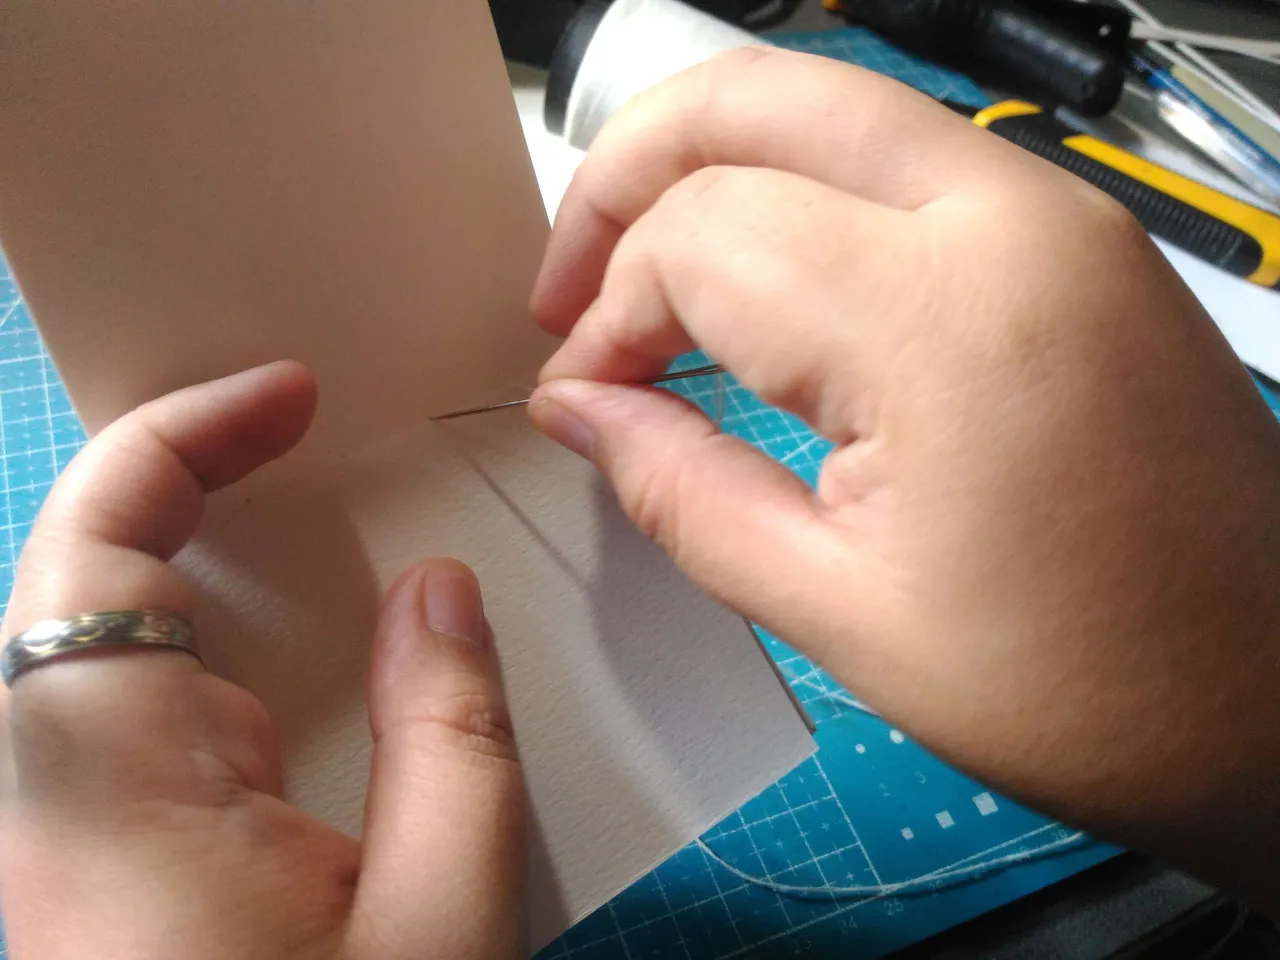
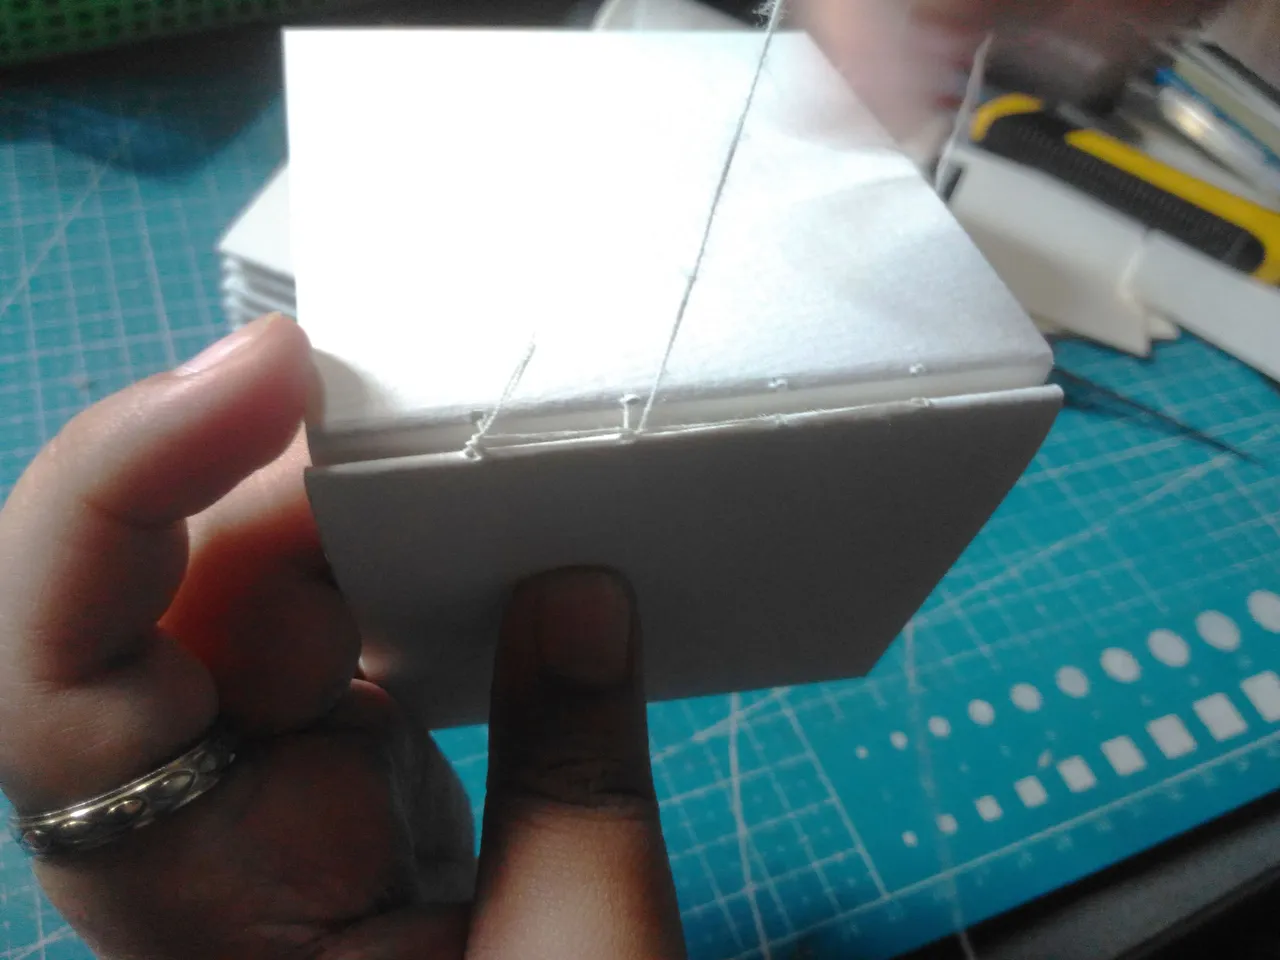
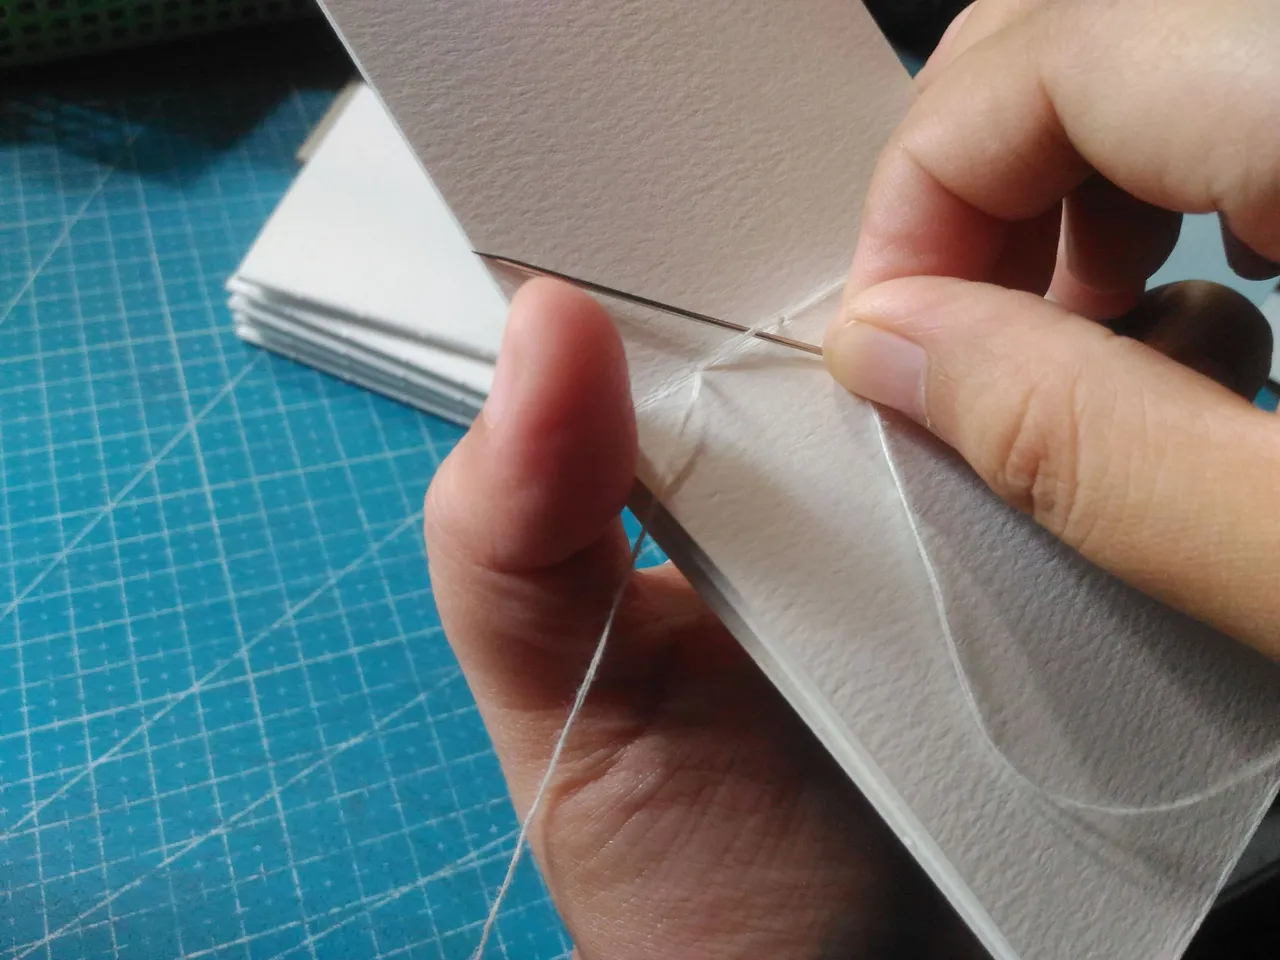
I stitch into the first hole on the signature, then through the next hole, and out the second.

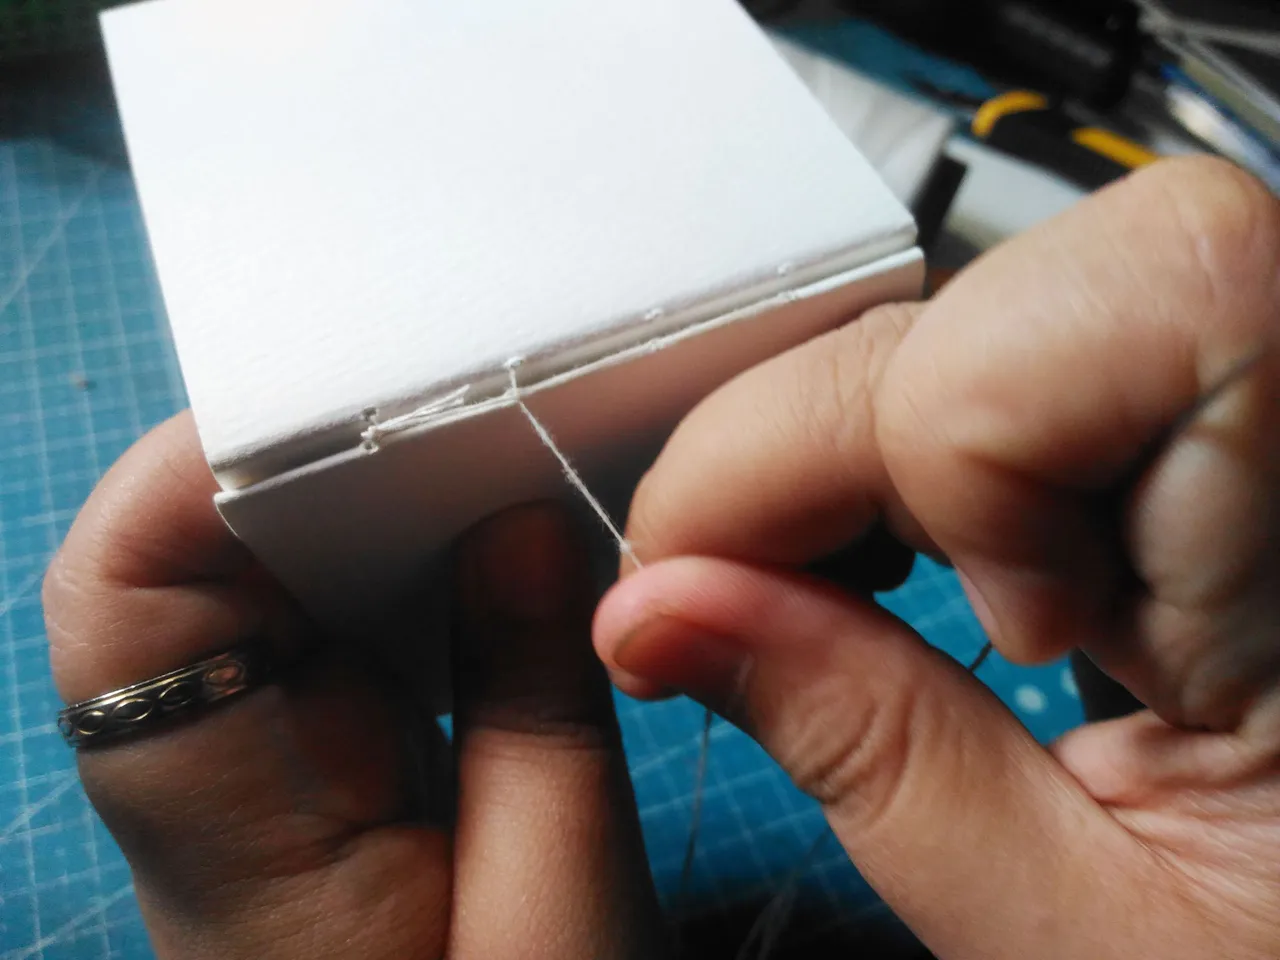
I continue sewing until the final few holes are reached. When I reach the last hole, I go through it as I did with others and return to the previous hole on the inside. To get to the first hole, I was just going to make my way back through the previous one. I thread the needle through the first hole, tie a knot next to it, and then remove the needle.

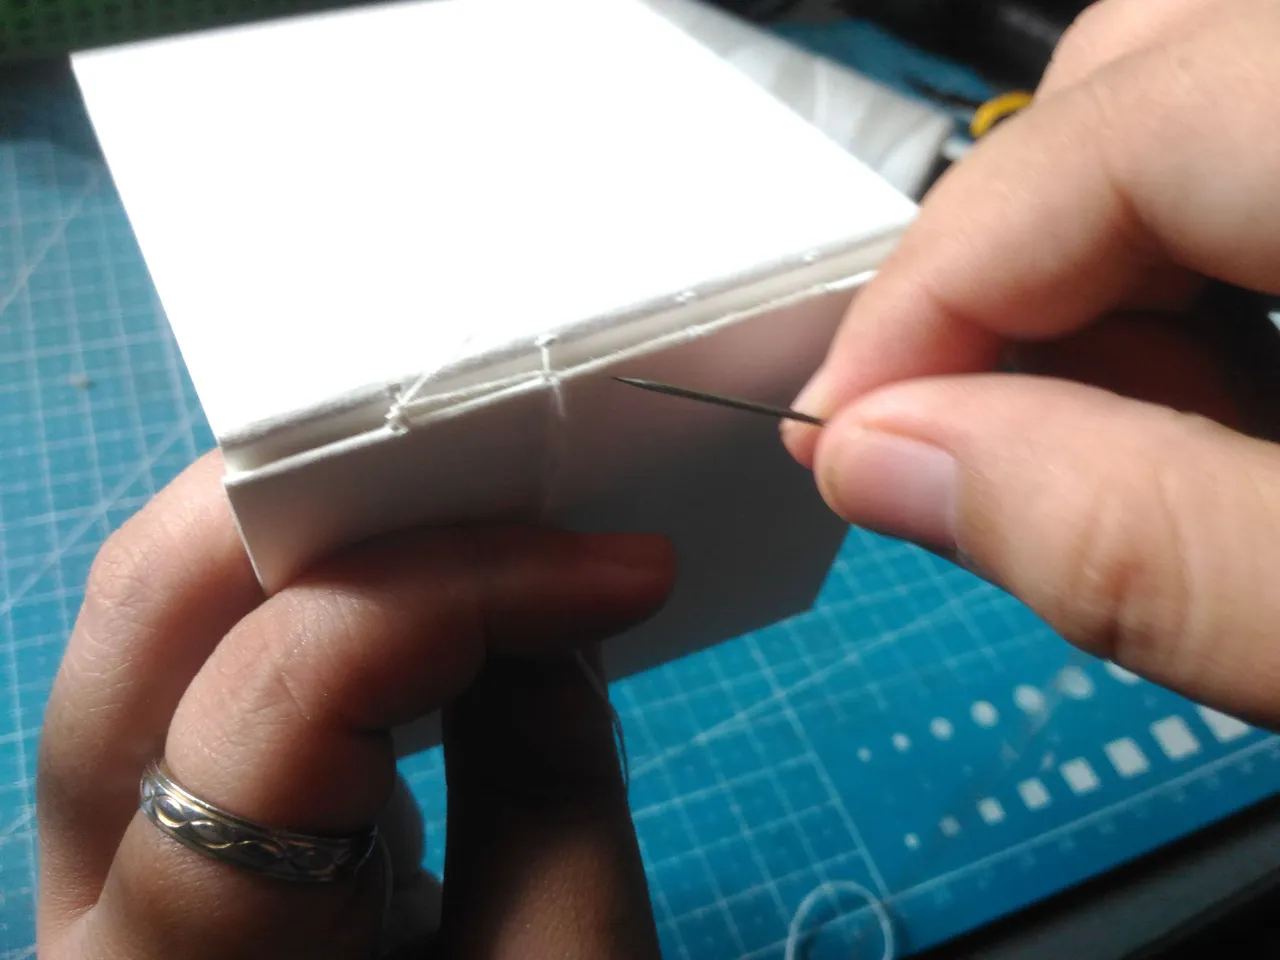
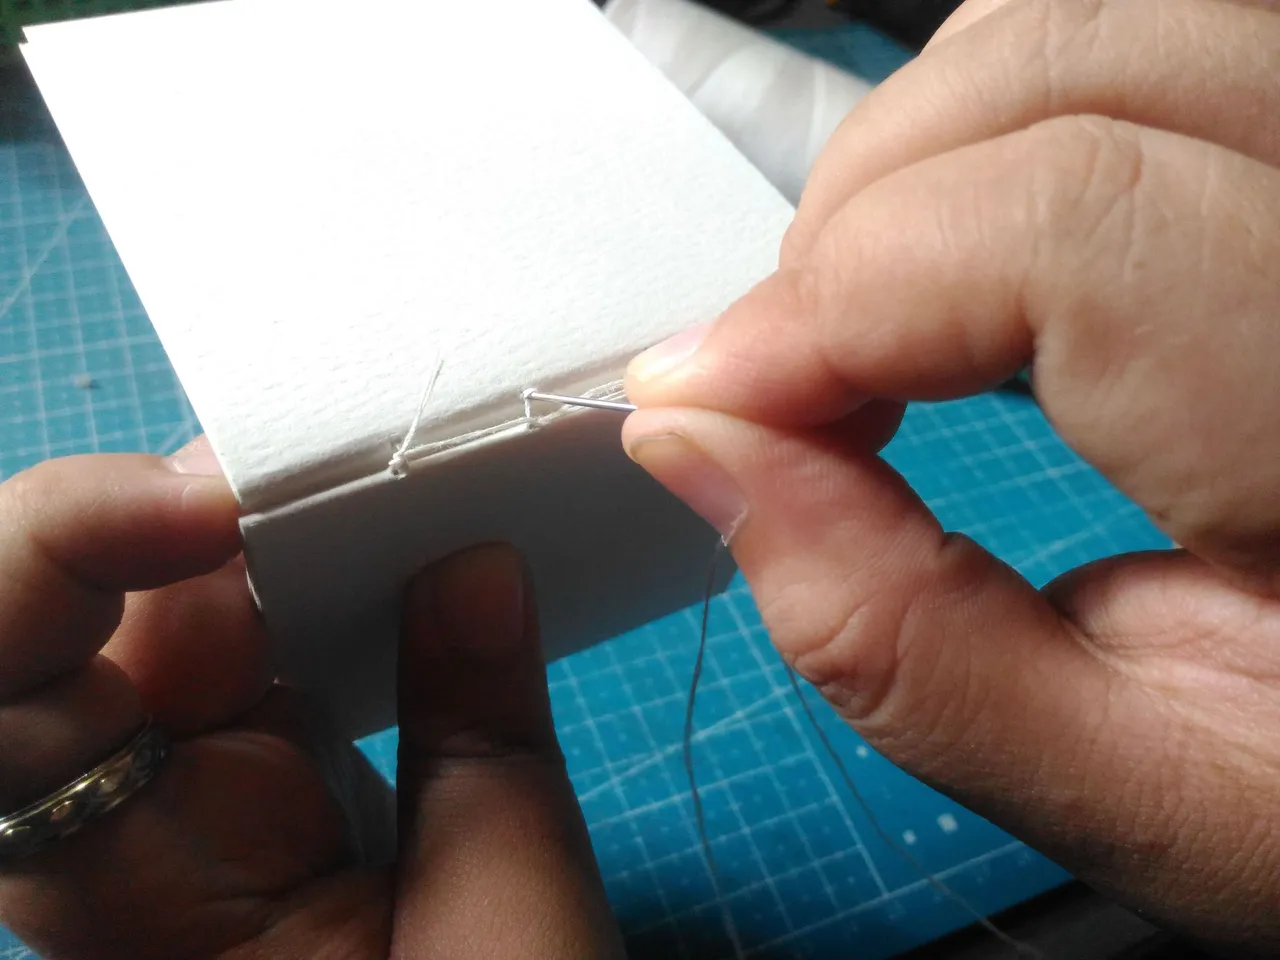


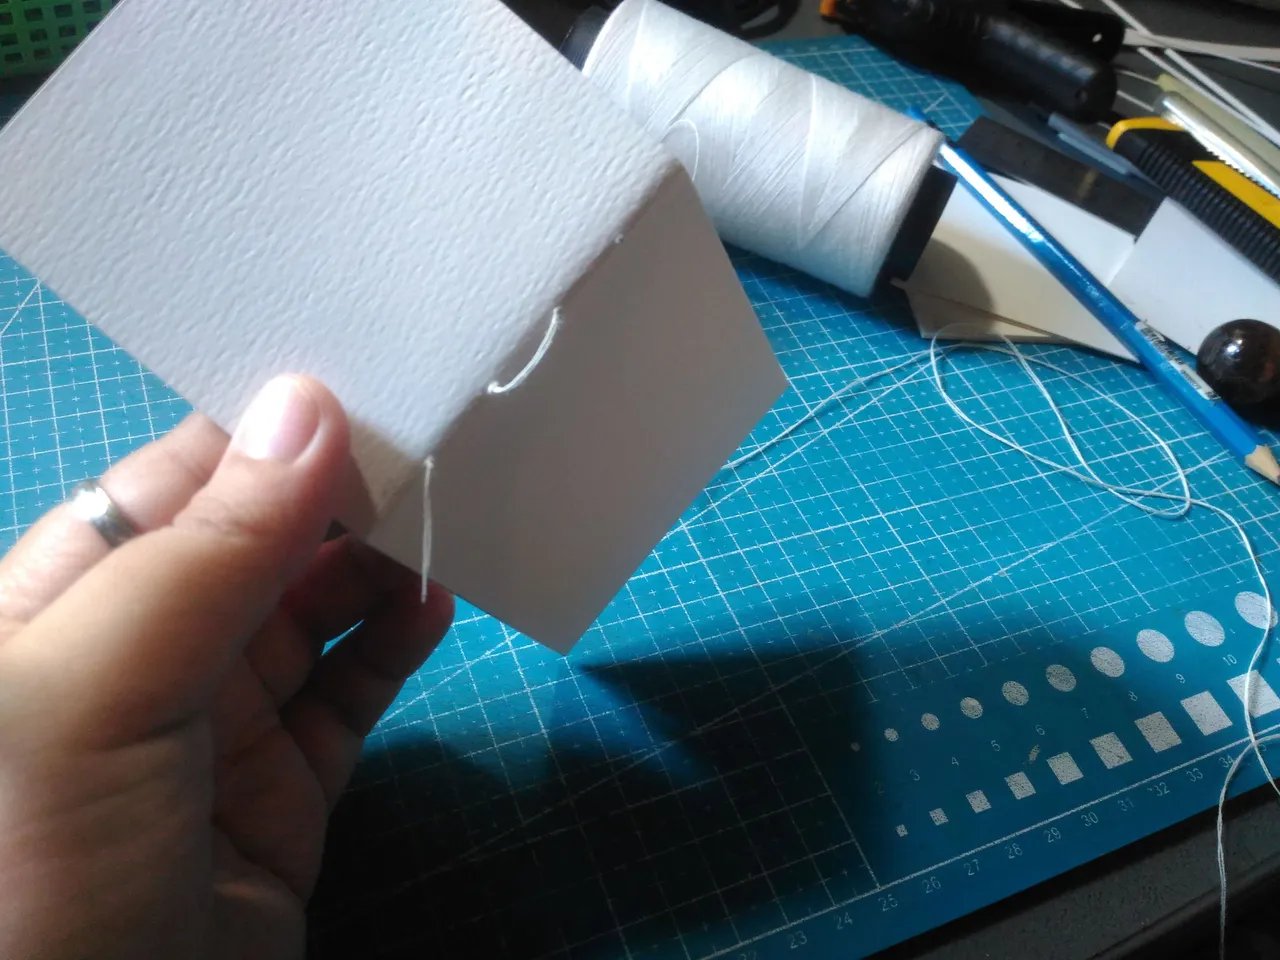
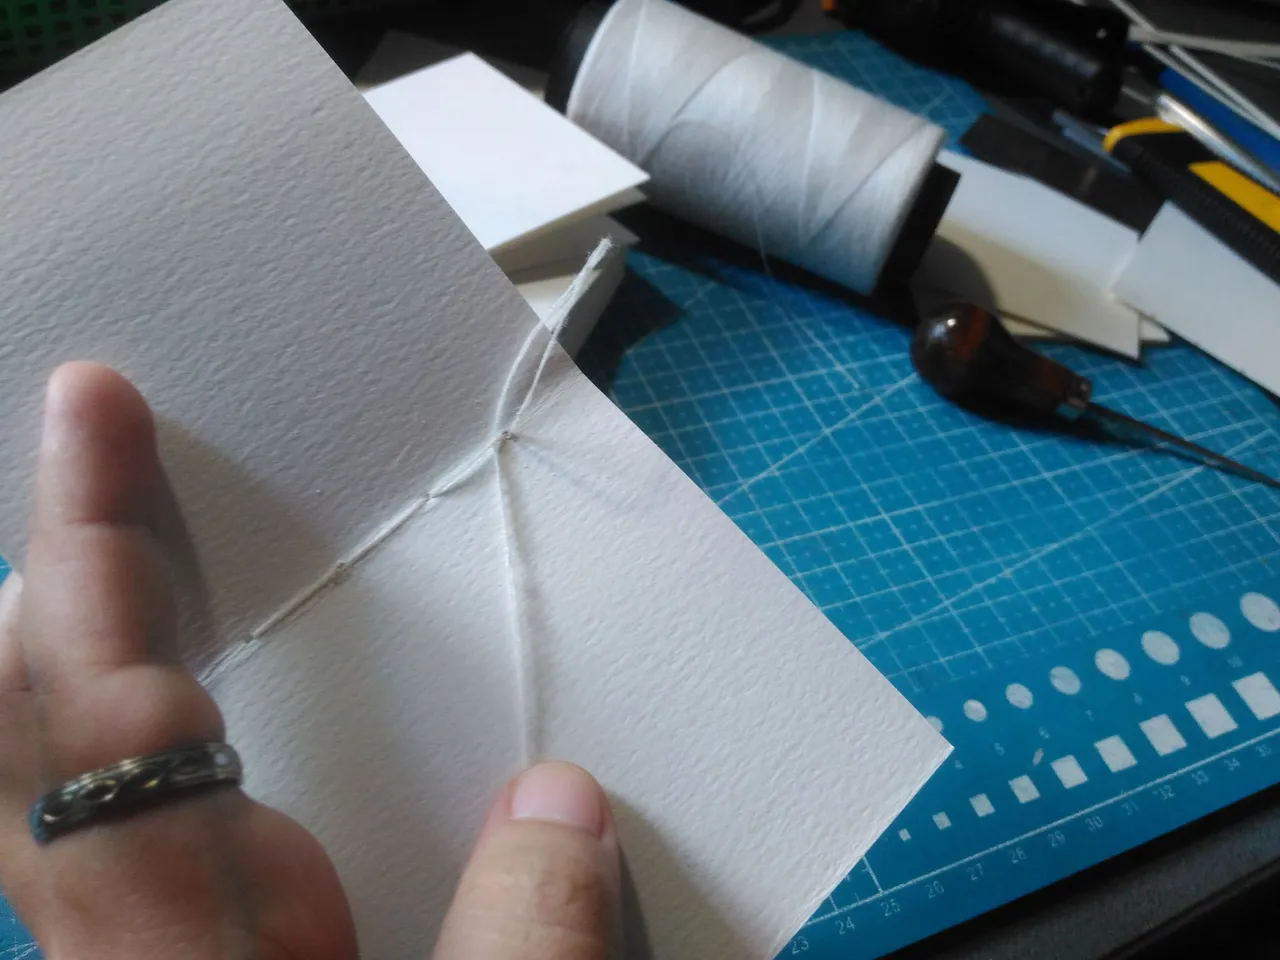
I add another signature to the top stitch through the first hole
and back on the next one like I did before but this time I am going to sew the needle behind the thread below it and back up the thread next to it
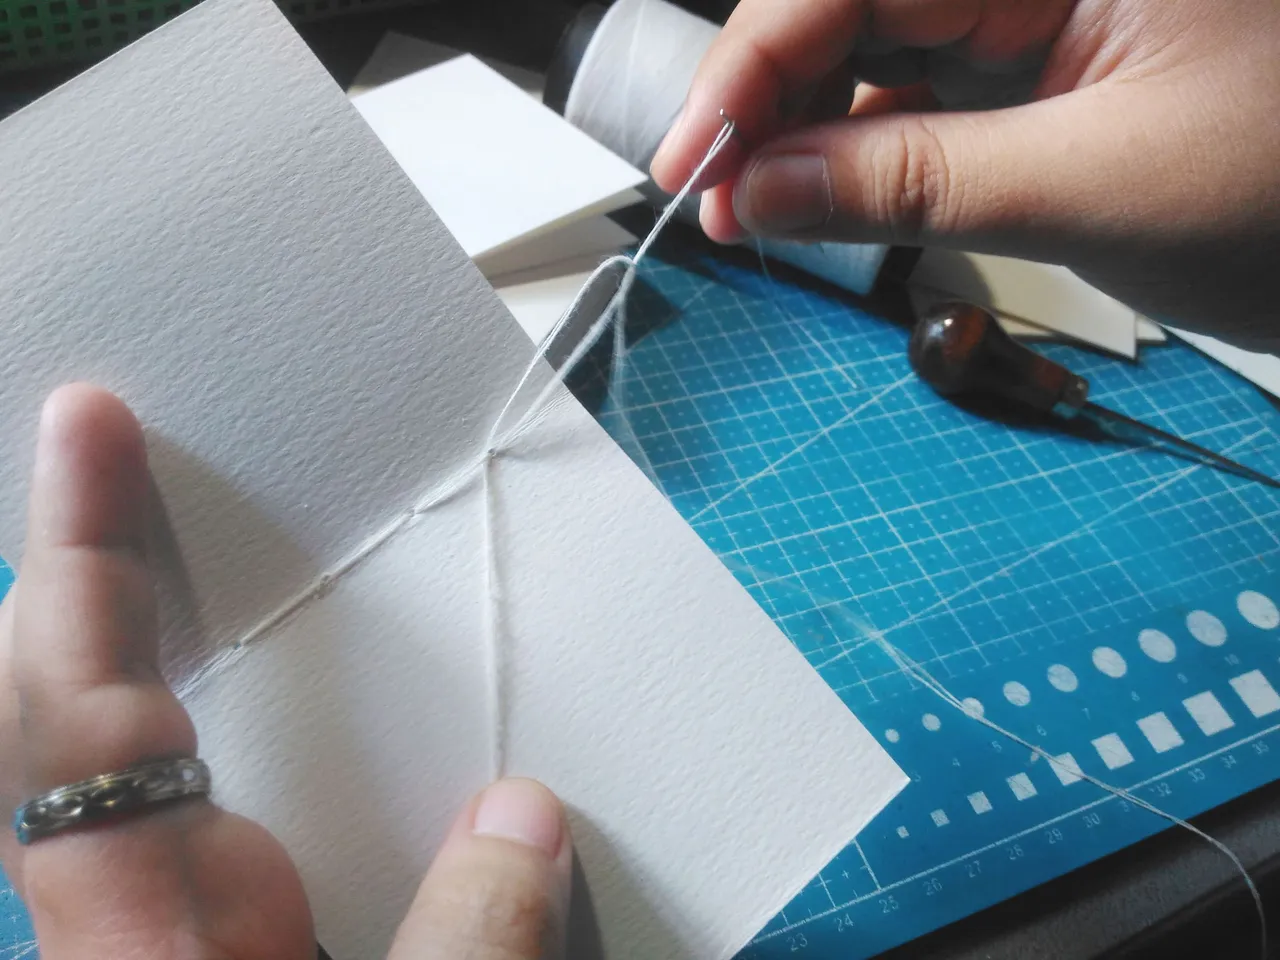
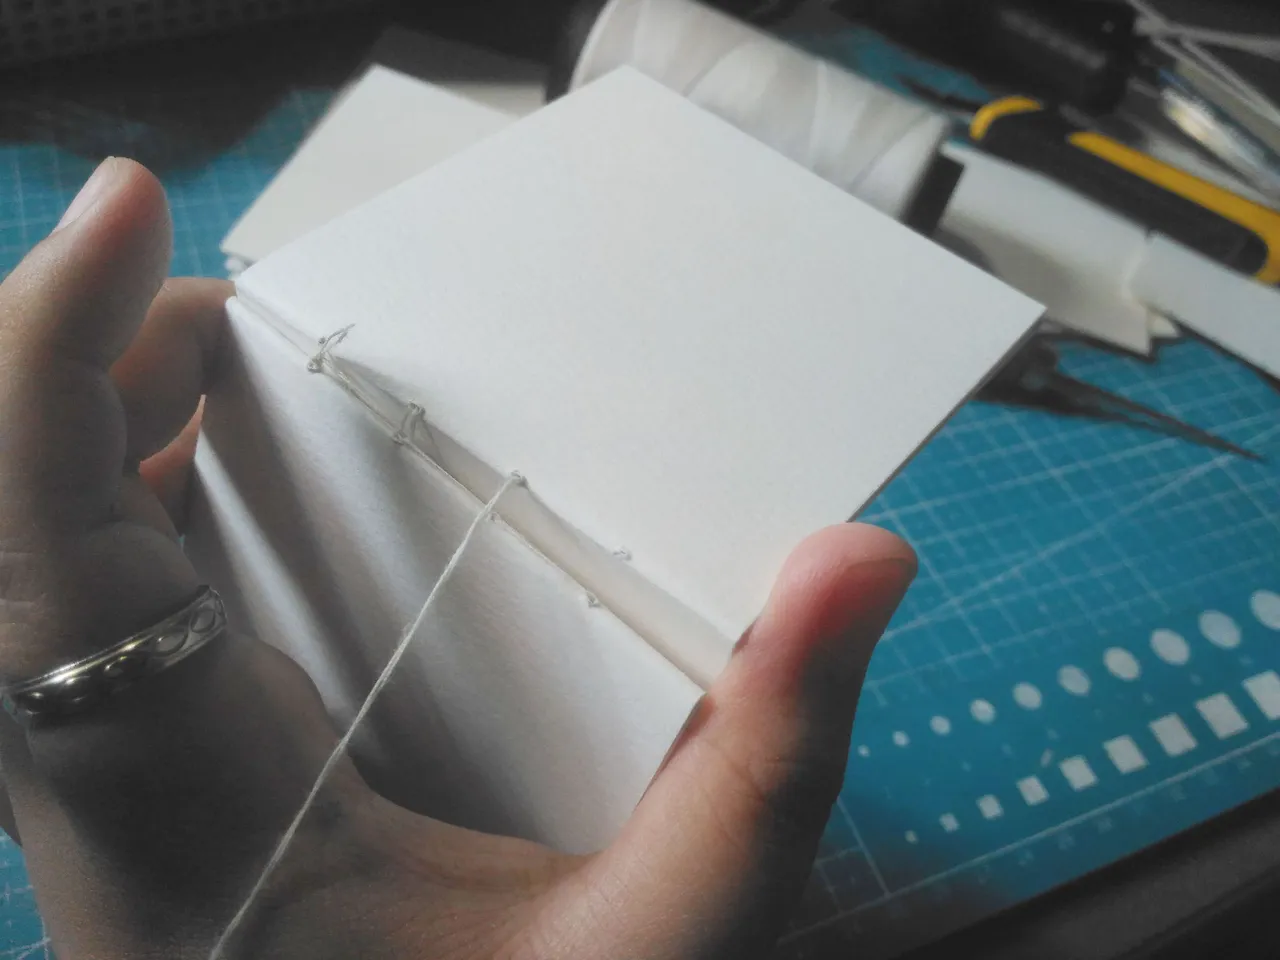
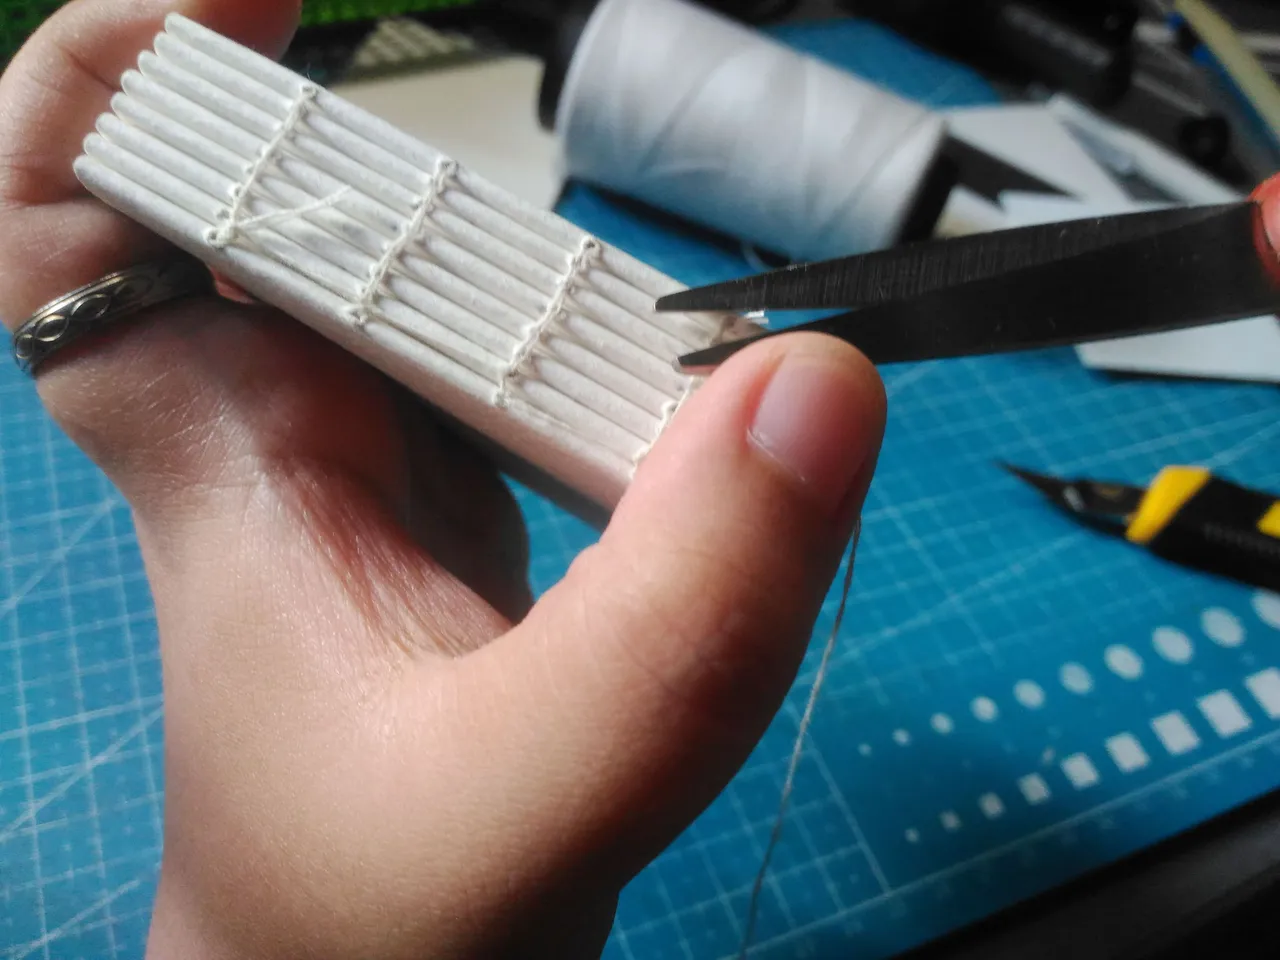
I am stitching a loop around that binding hole below it and returning that needle into that signature pulling the thread through and repeating that sew process on the last hole the thread through and going underneath that thread alongside but this time I am going to return the needle into a new signature.
return the needle out and I go underneath the previous signature
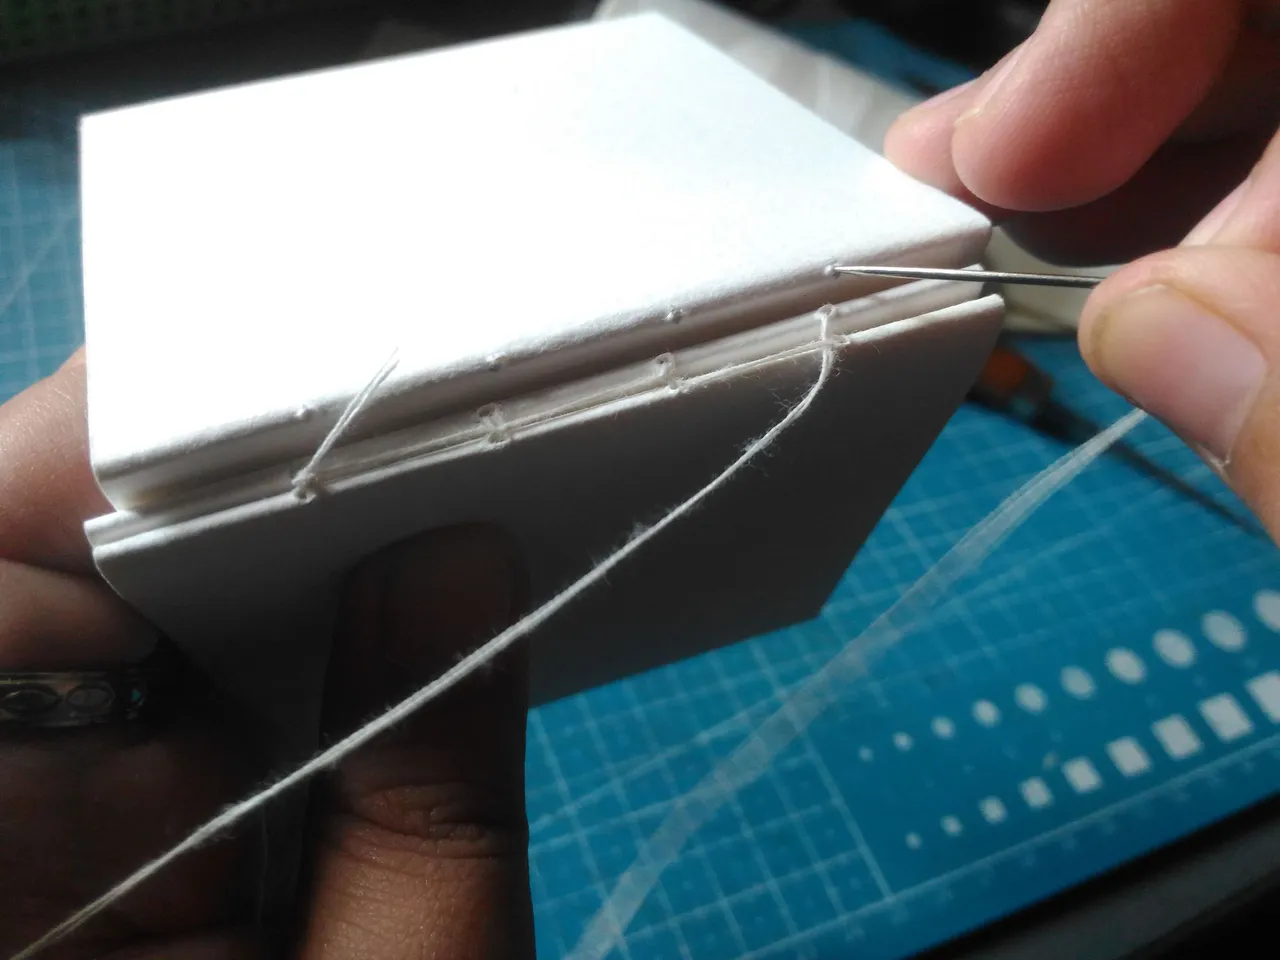
and return the needle inside and repeat that on the next one
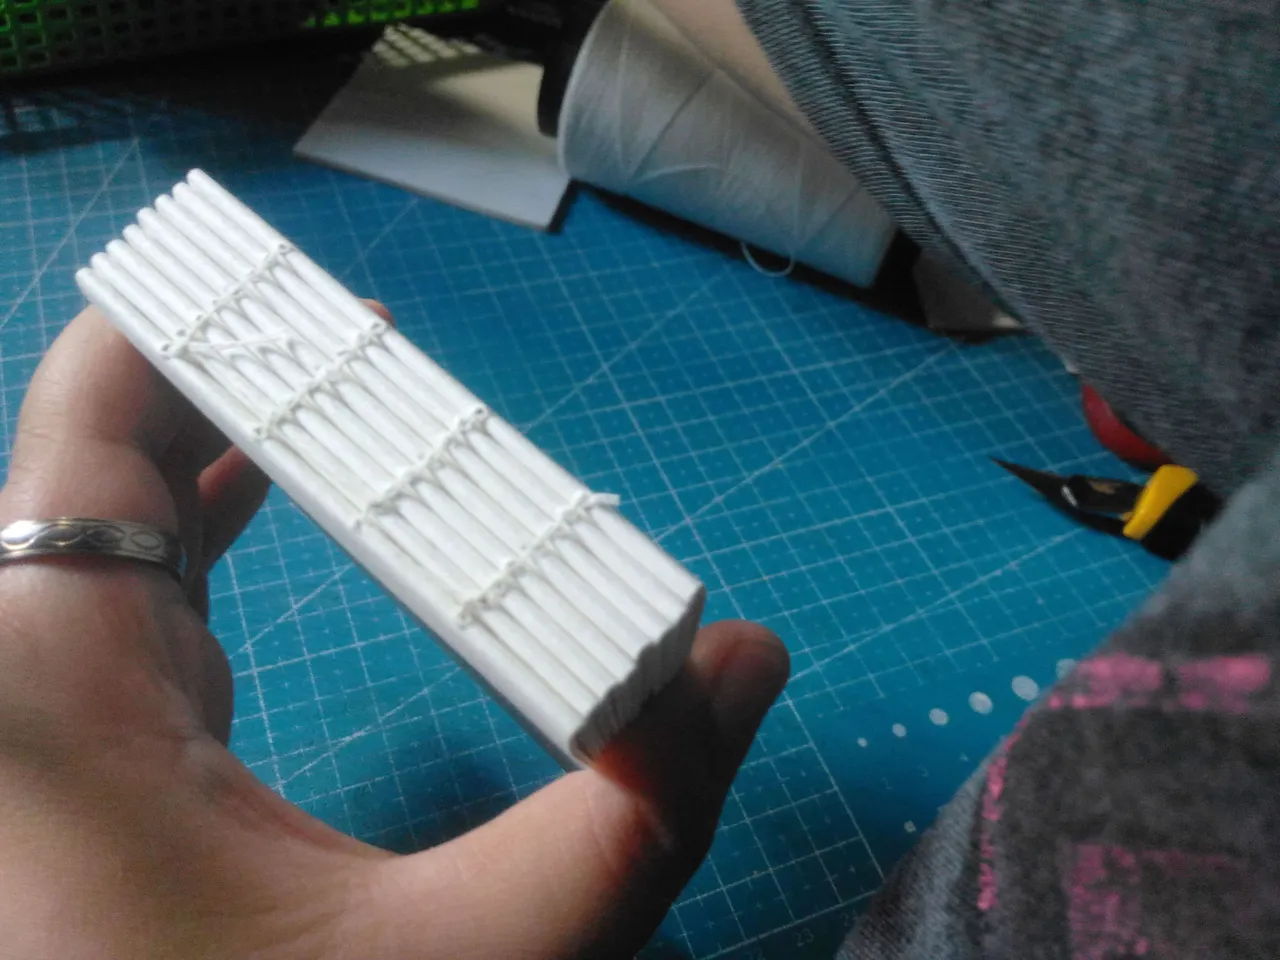
as I came to the last hole and returned the needle to the new signature.
Glue Time:
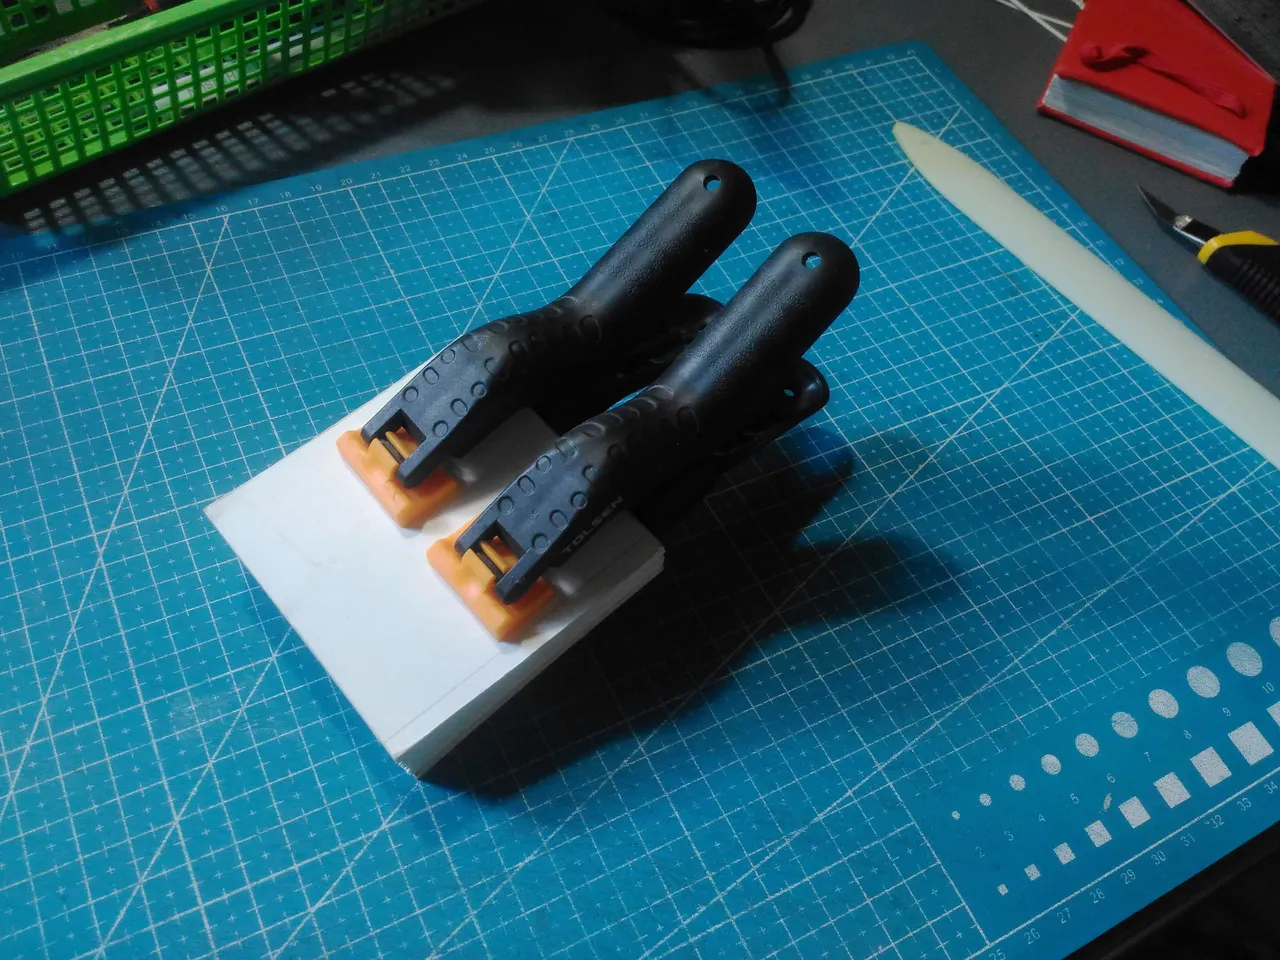
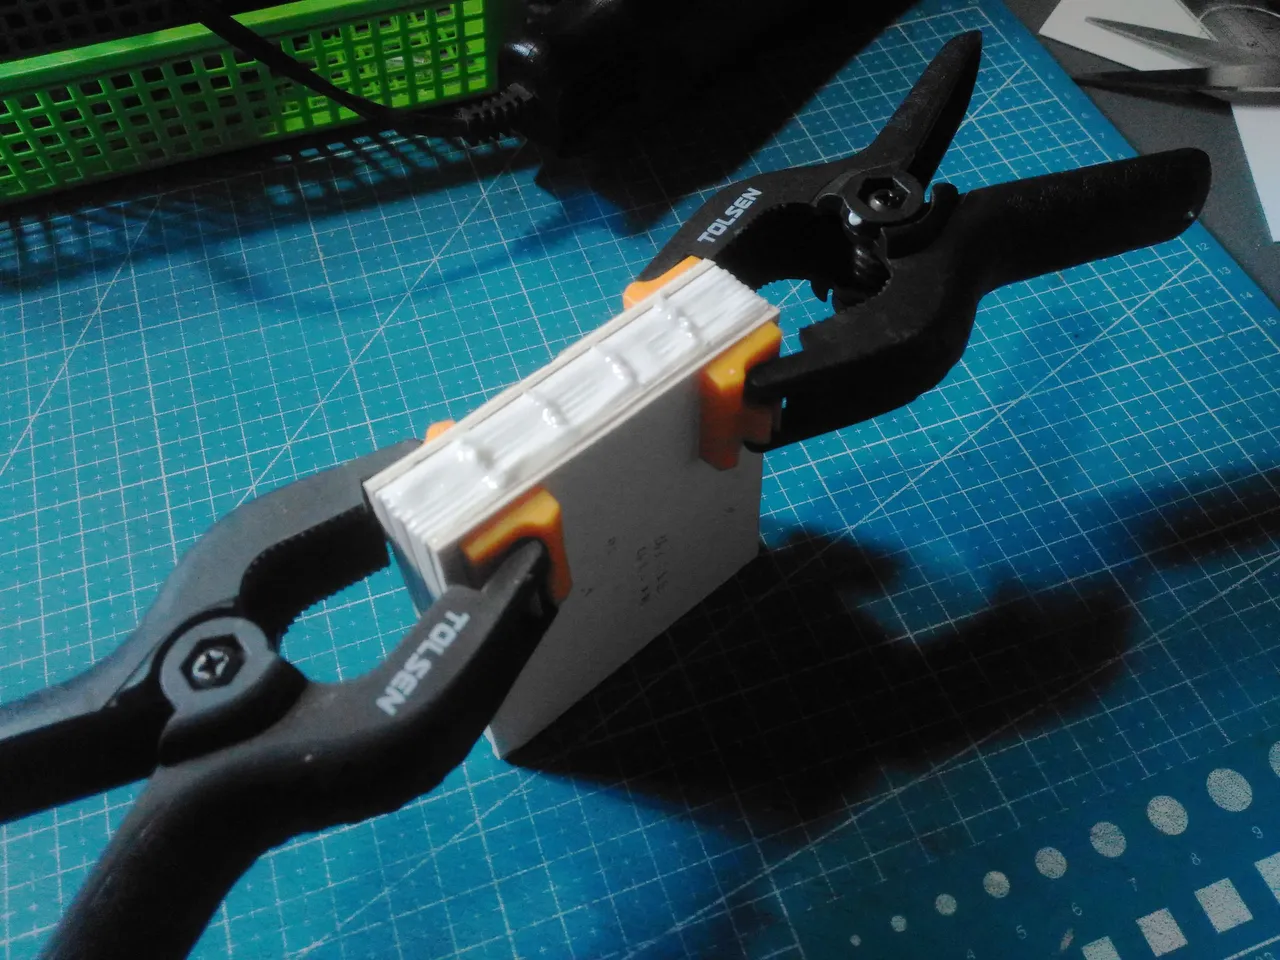
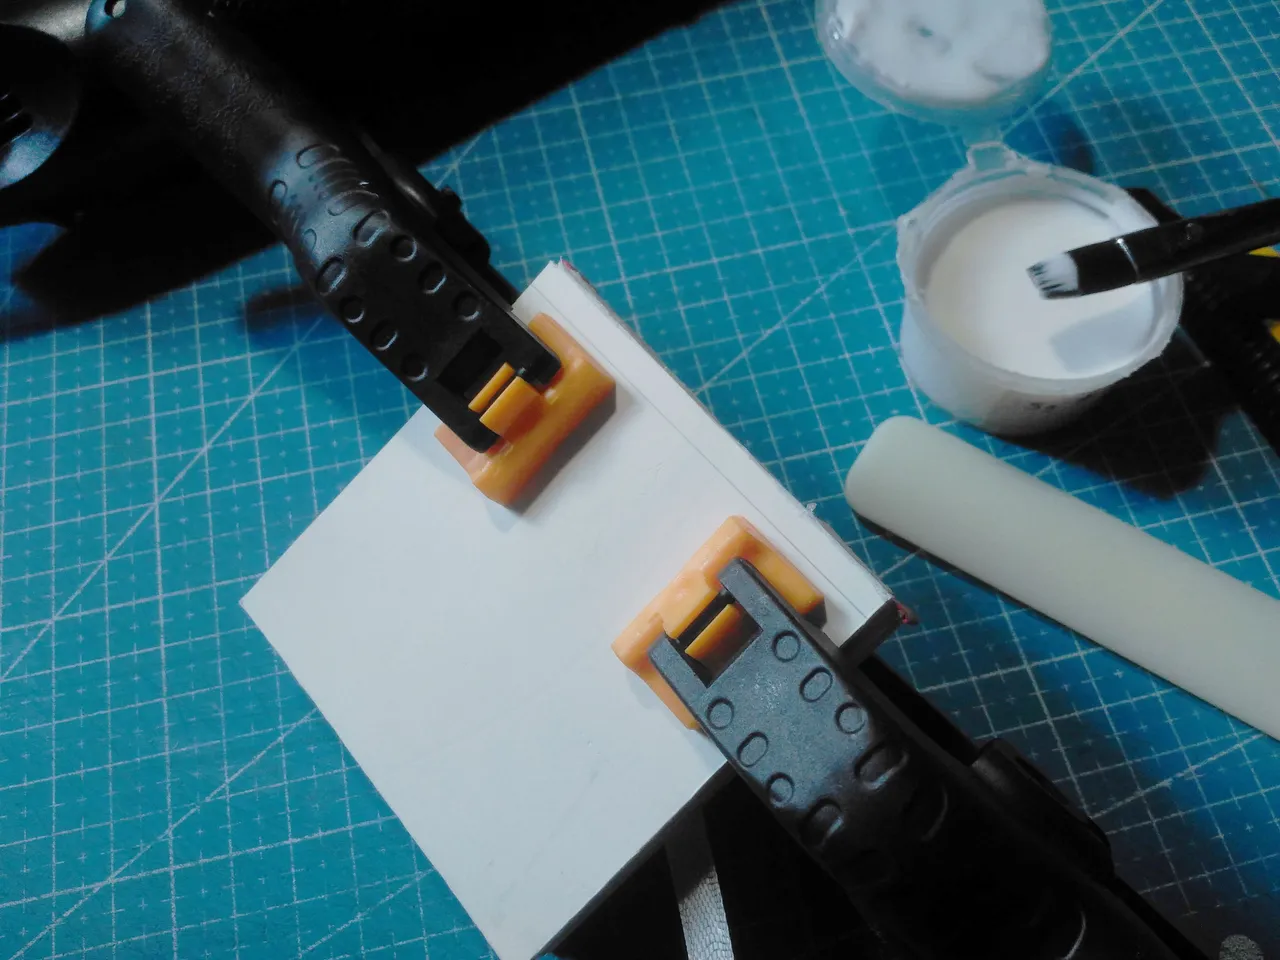
Using the two chipboards I sandwich the signature I sewed between them.
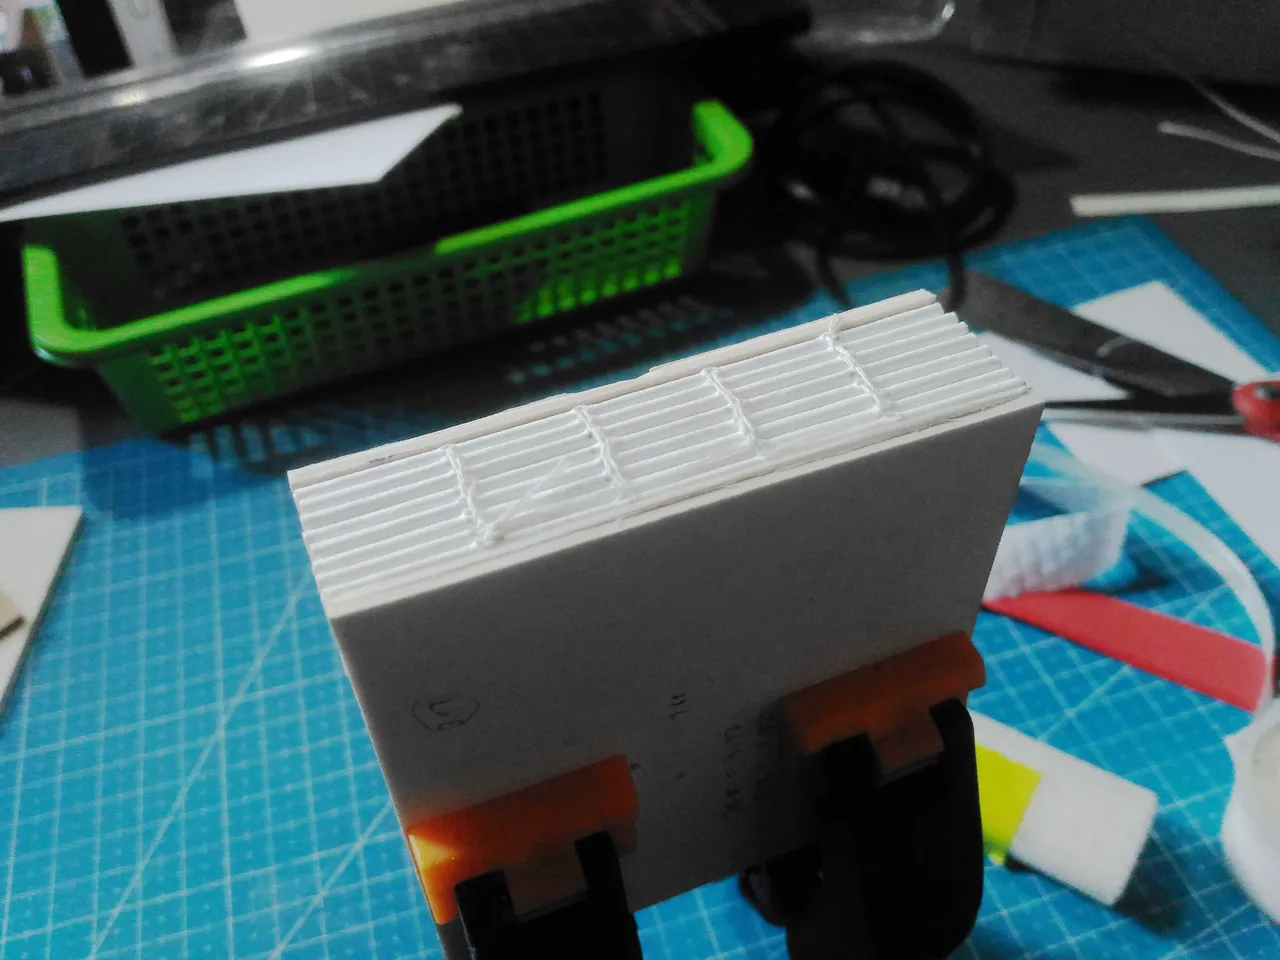
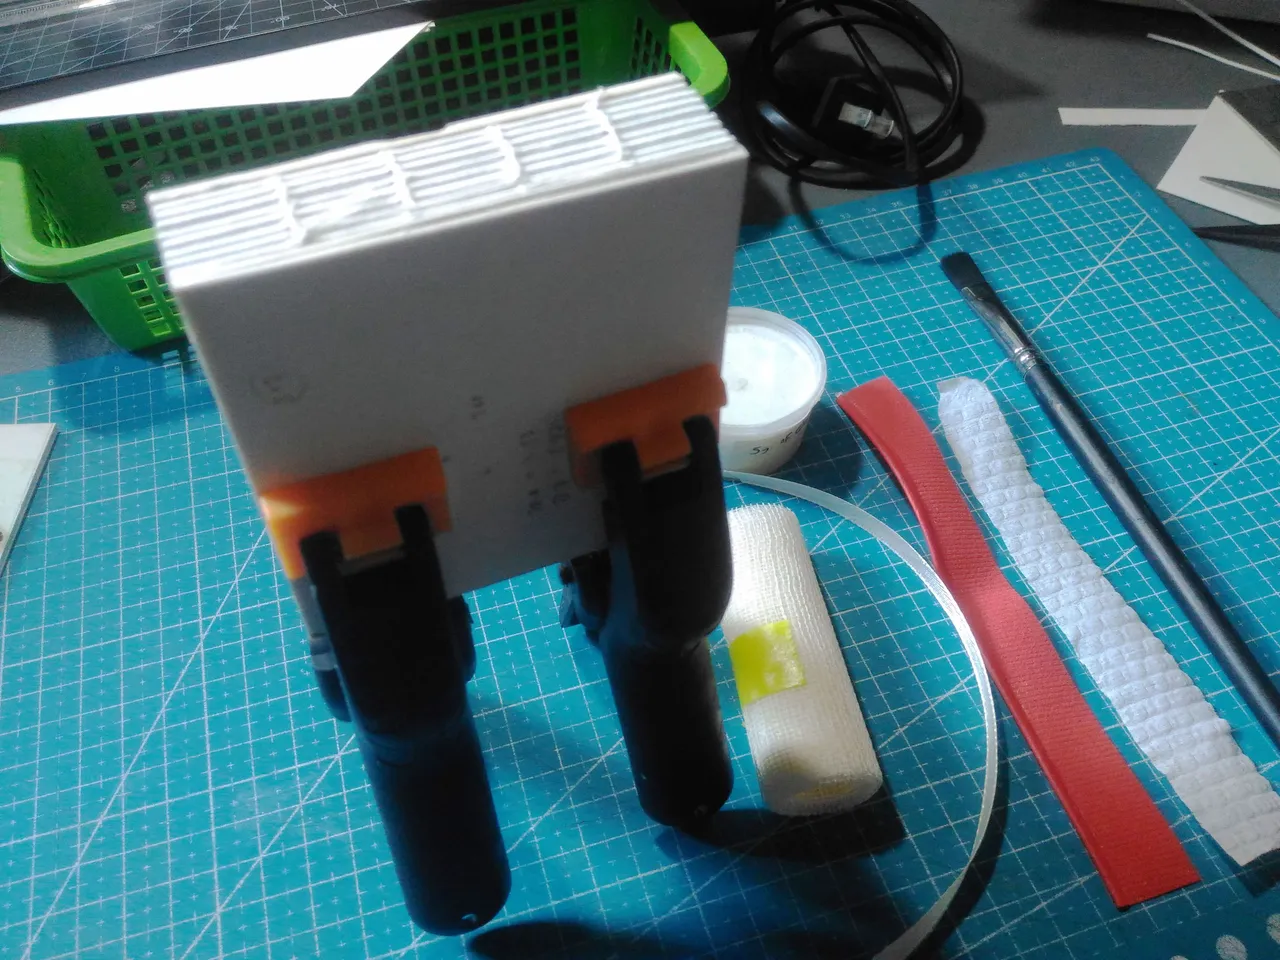
I use a spring clip clamp to secure both chipboards. And then I line up the materials I am going to use.

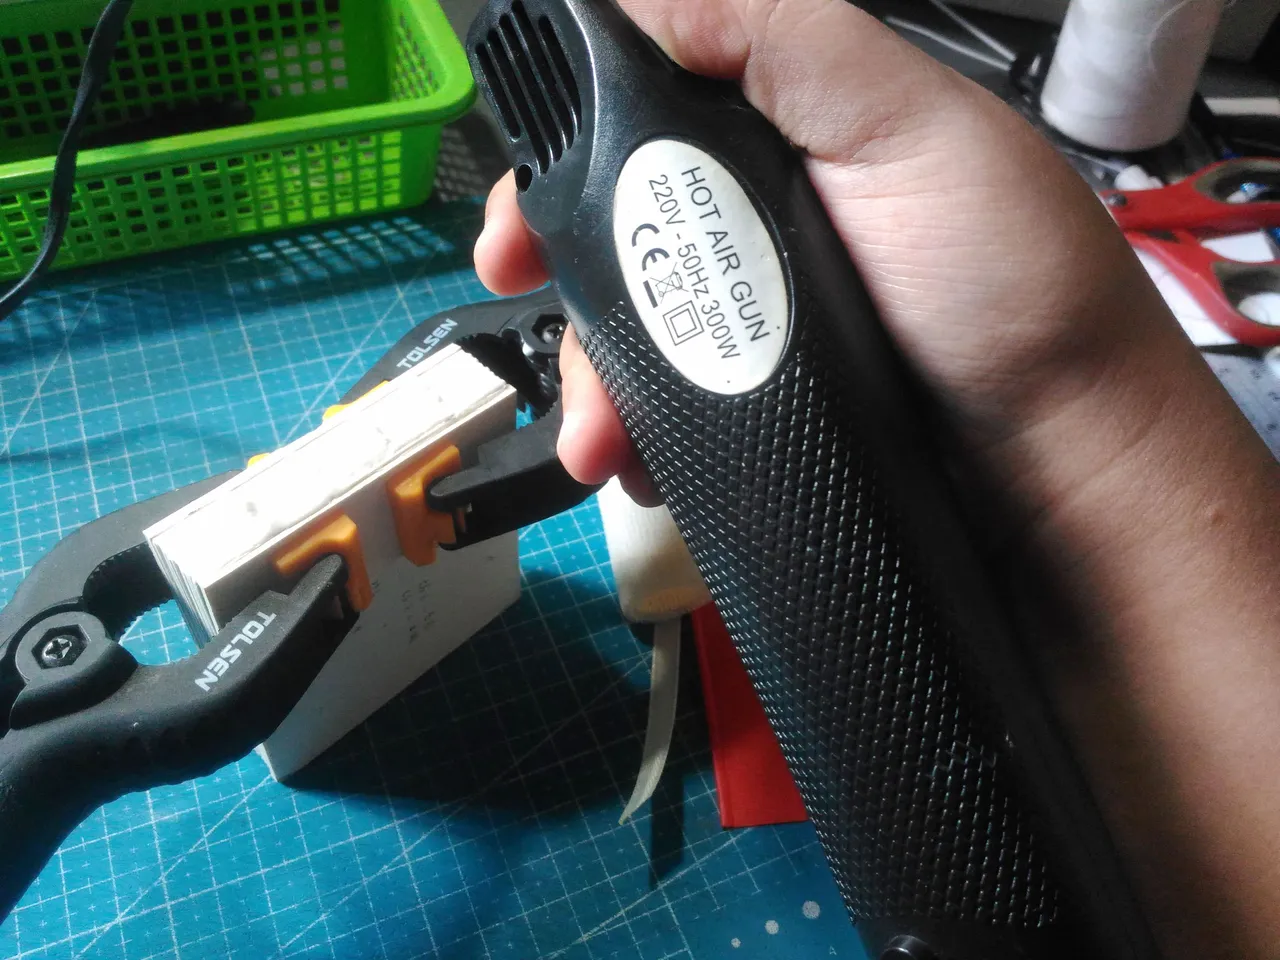
I first apply a layer of glue, to fasten the drying time I use hot air glue.
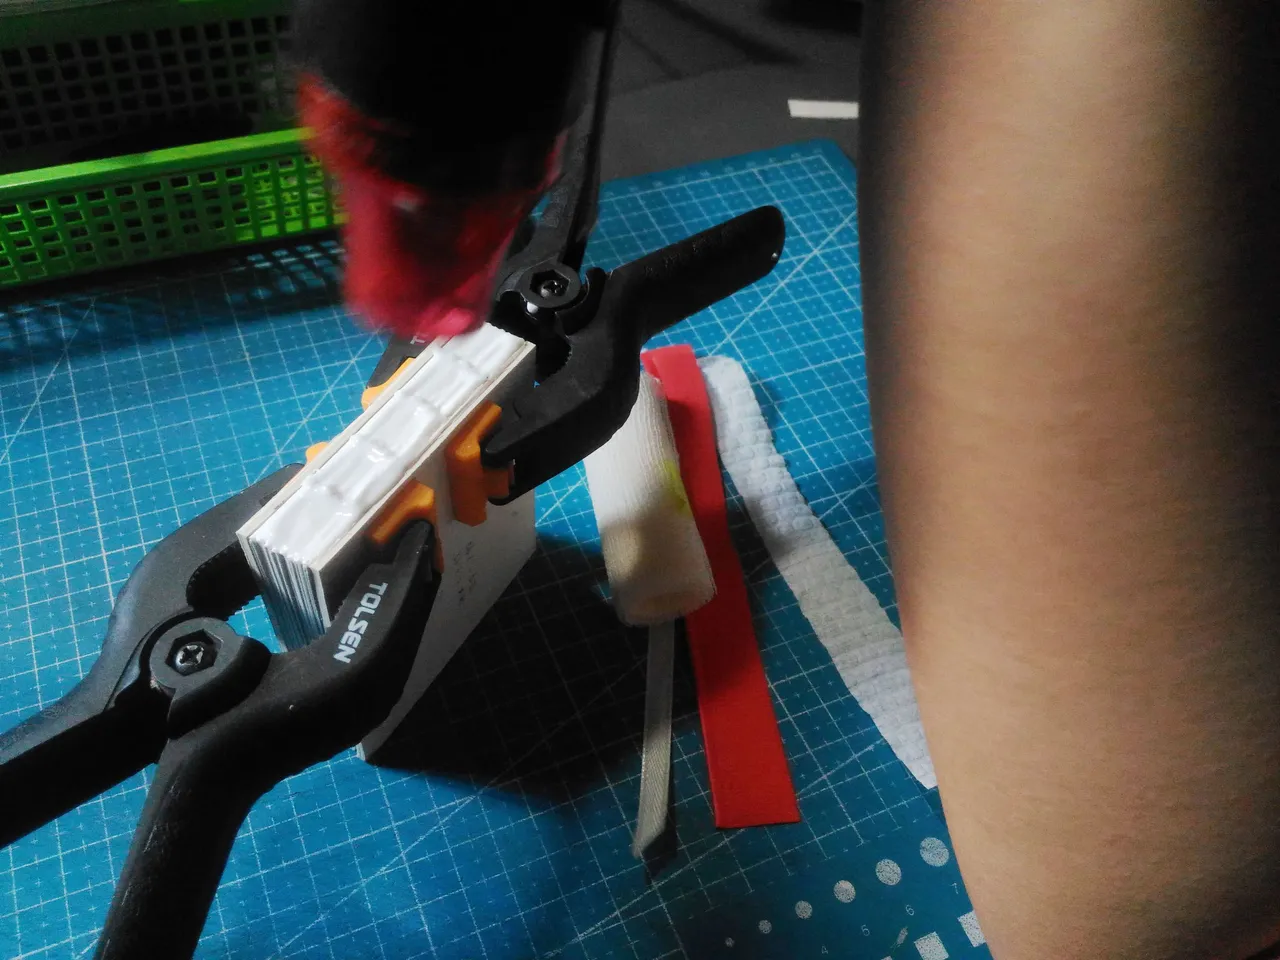
I let it cool down for a minute.
After the first layer dries down I remove the chipboard that is glued down on the text block to adjust the space to make it easier to glue the other materials.
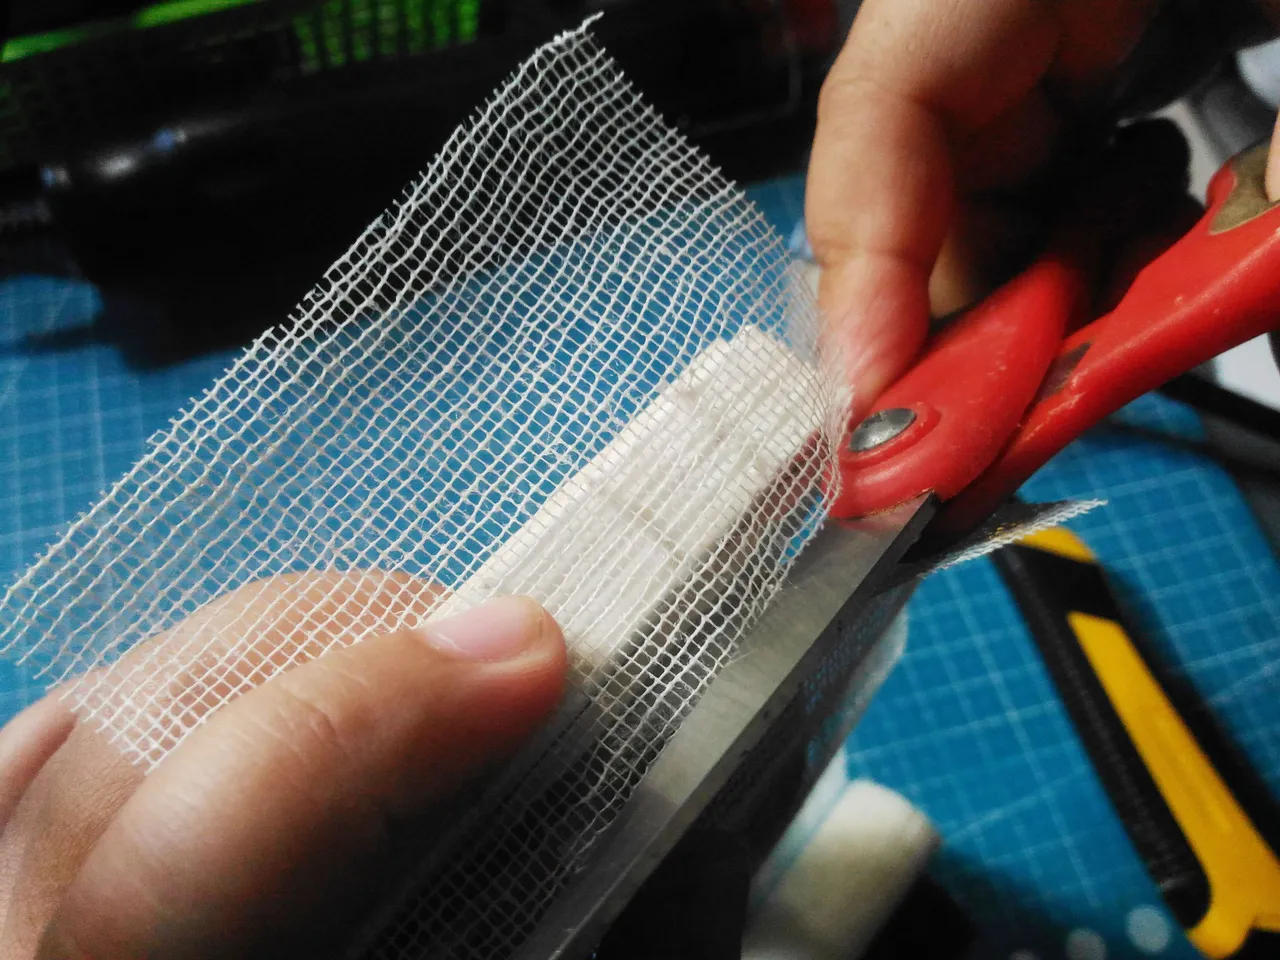
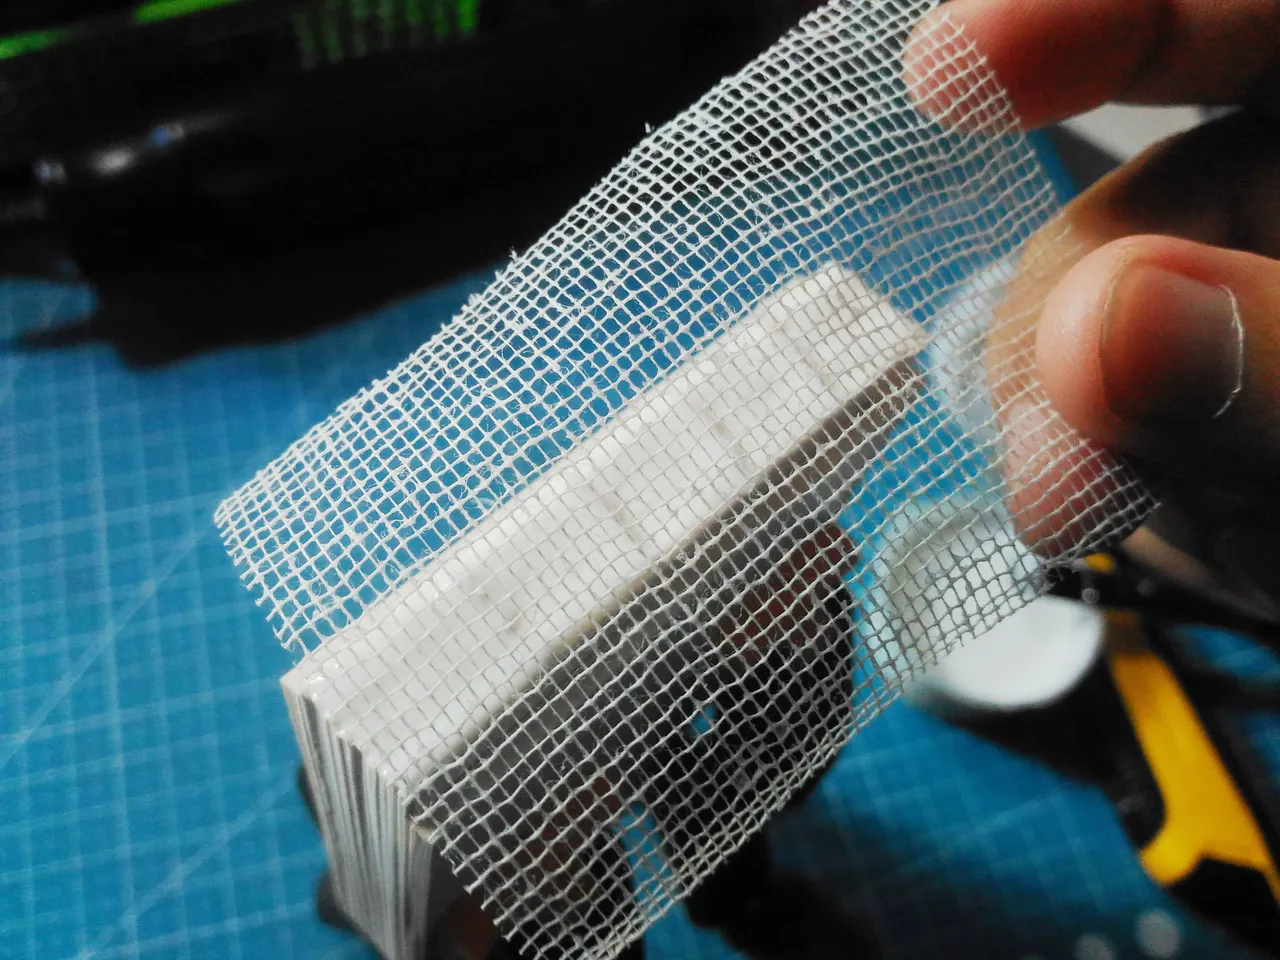
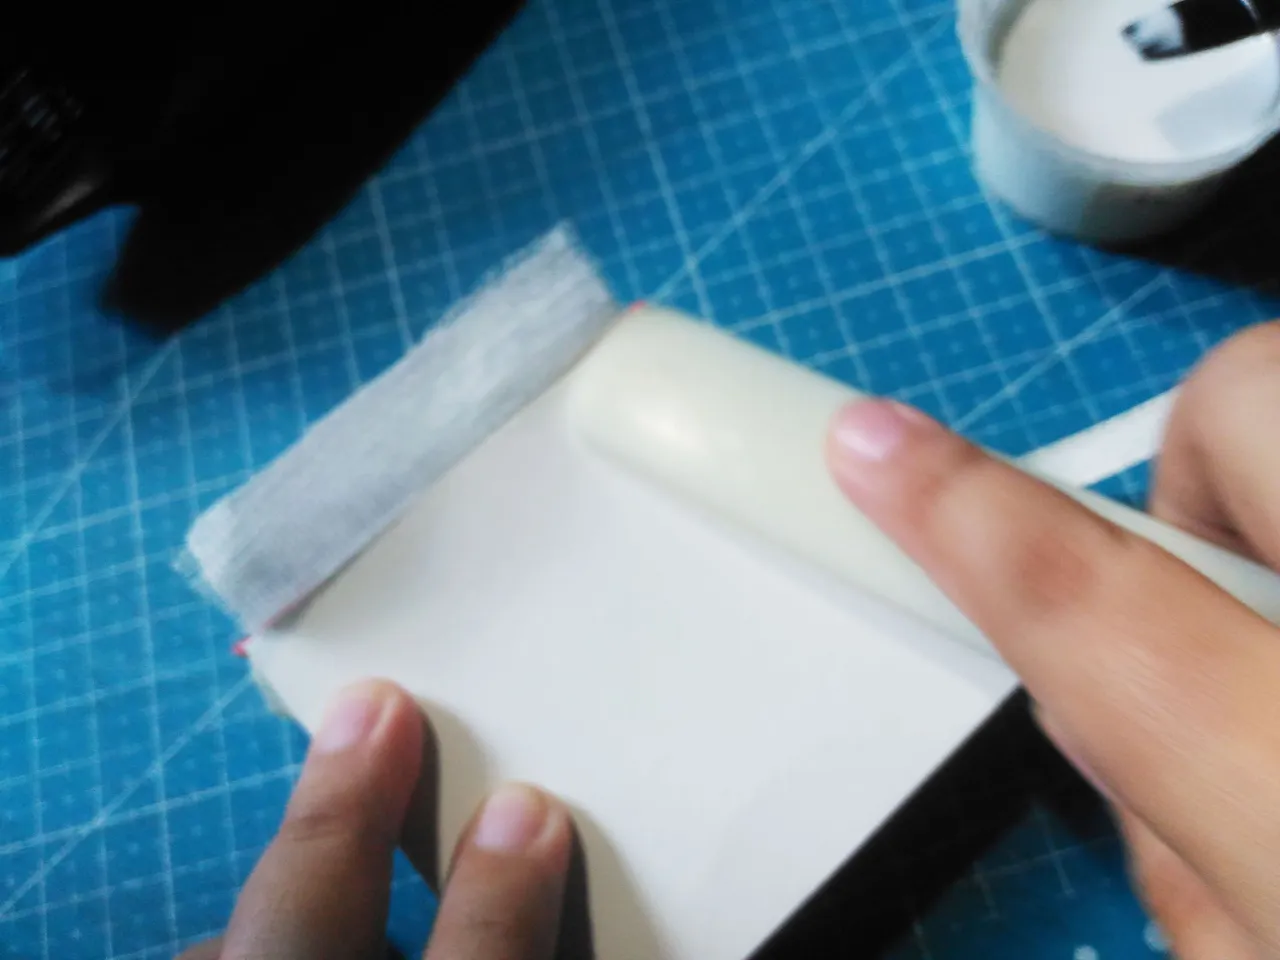
I next glue the mull but I first cut it in the right size.
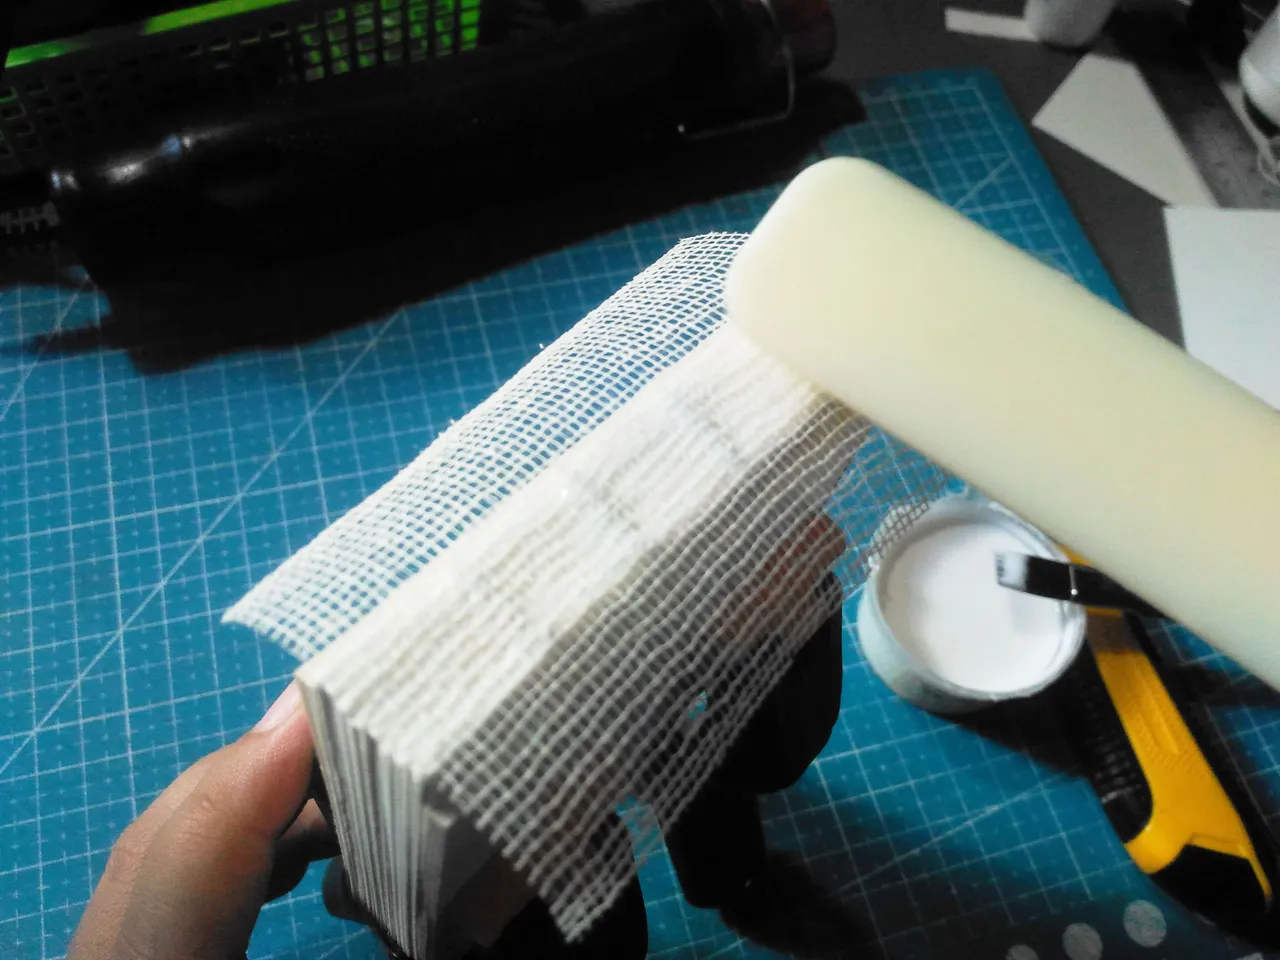
And then press the mull evenly using the bone folder.
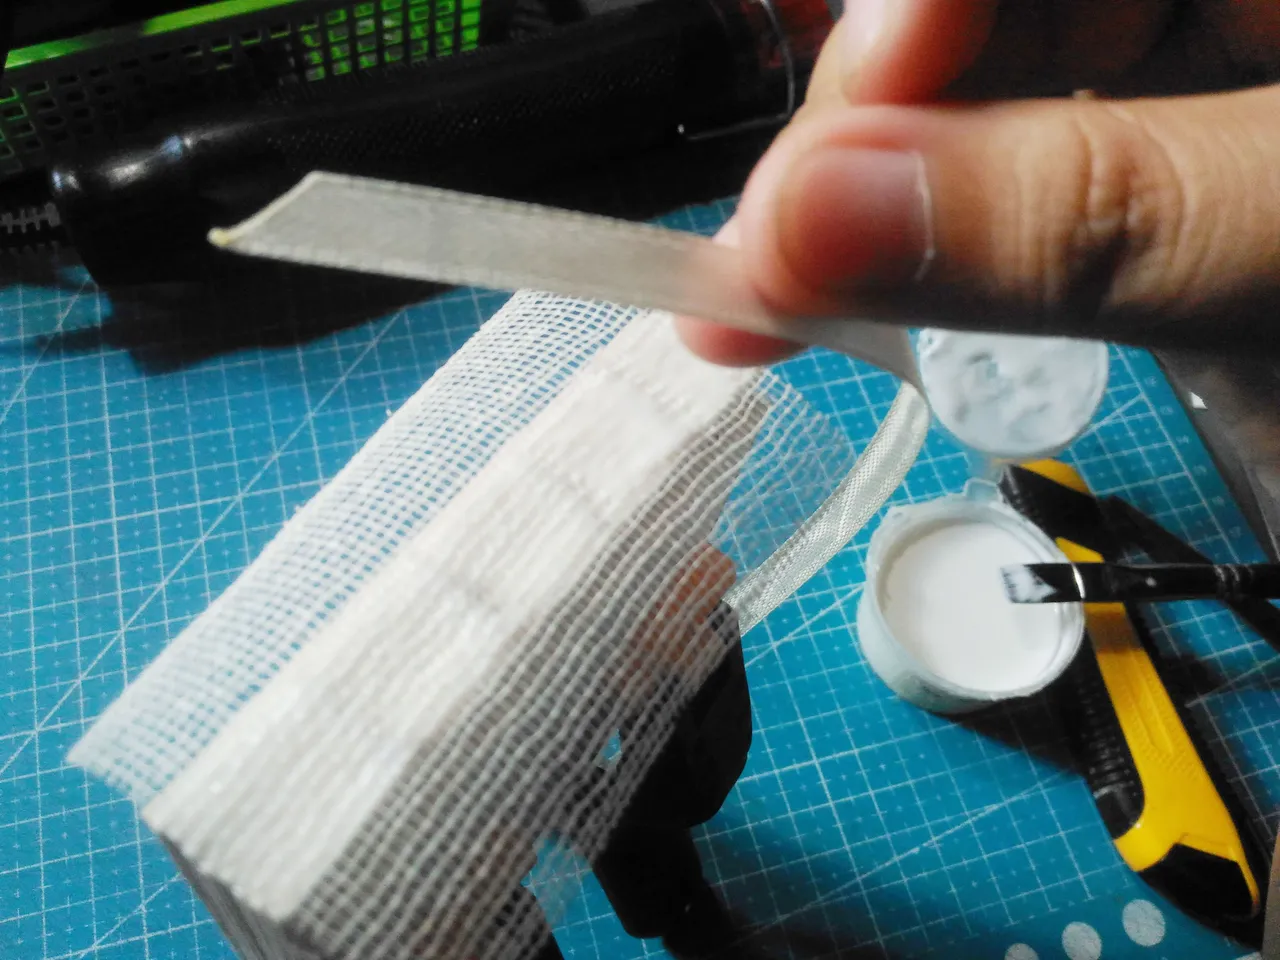
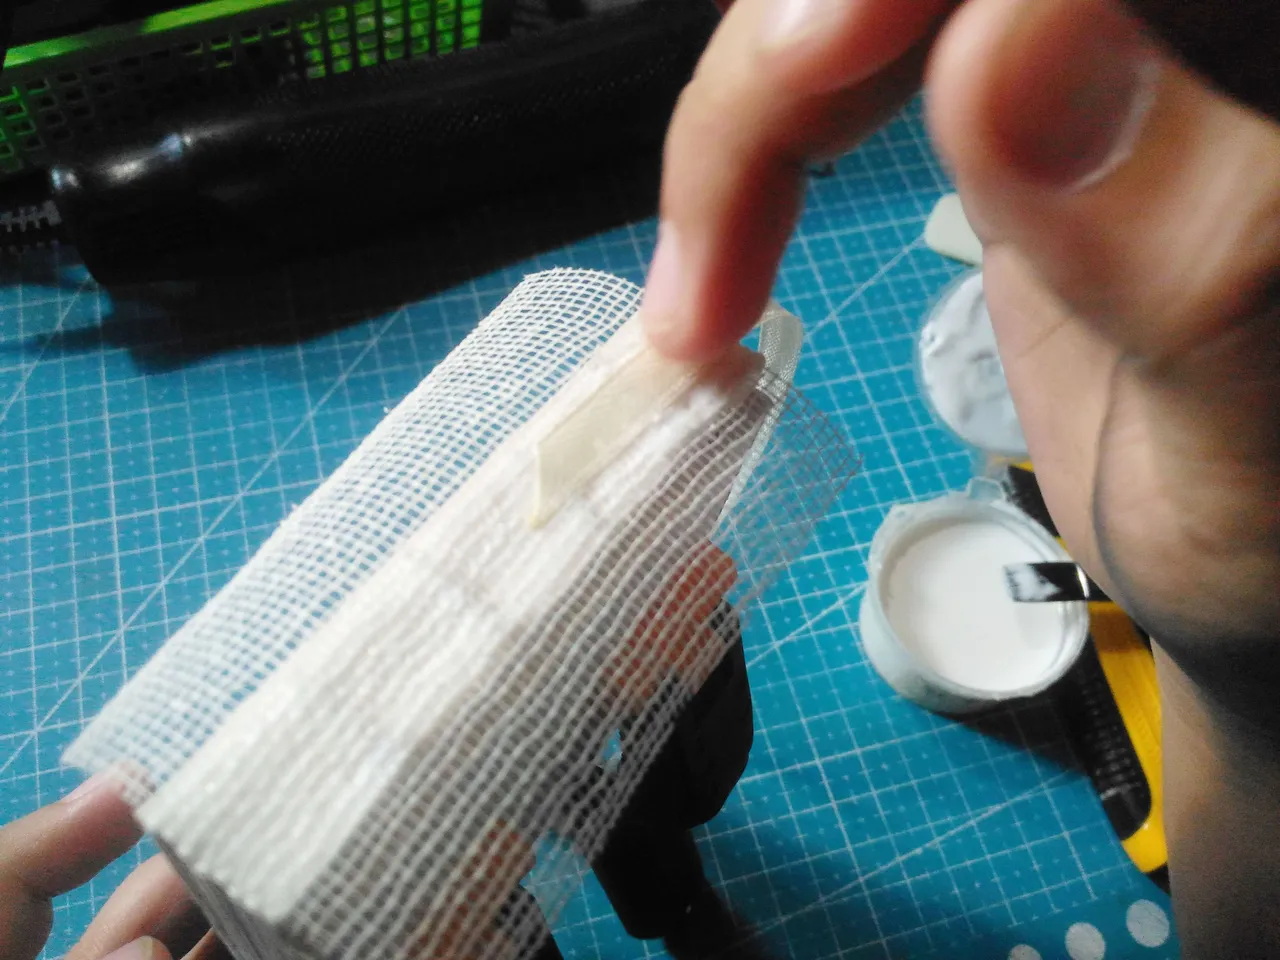
And I glue the ribbon.
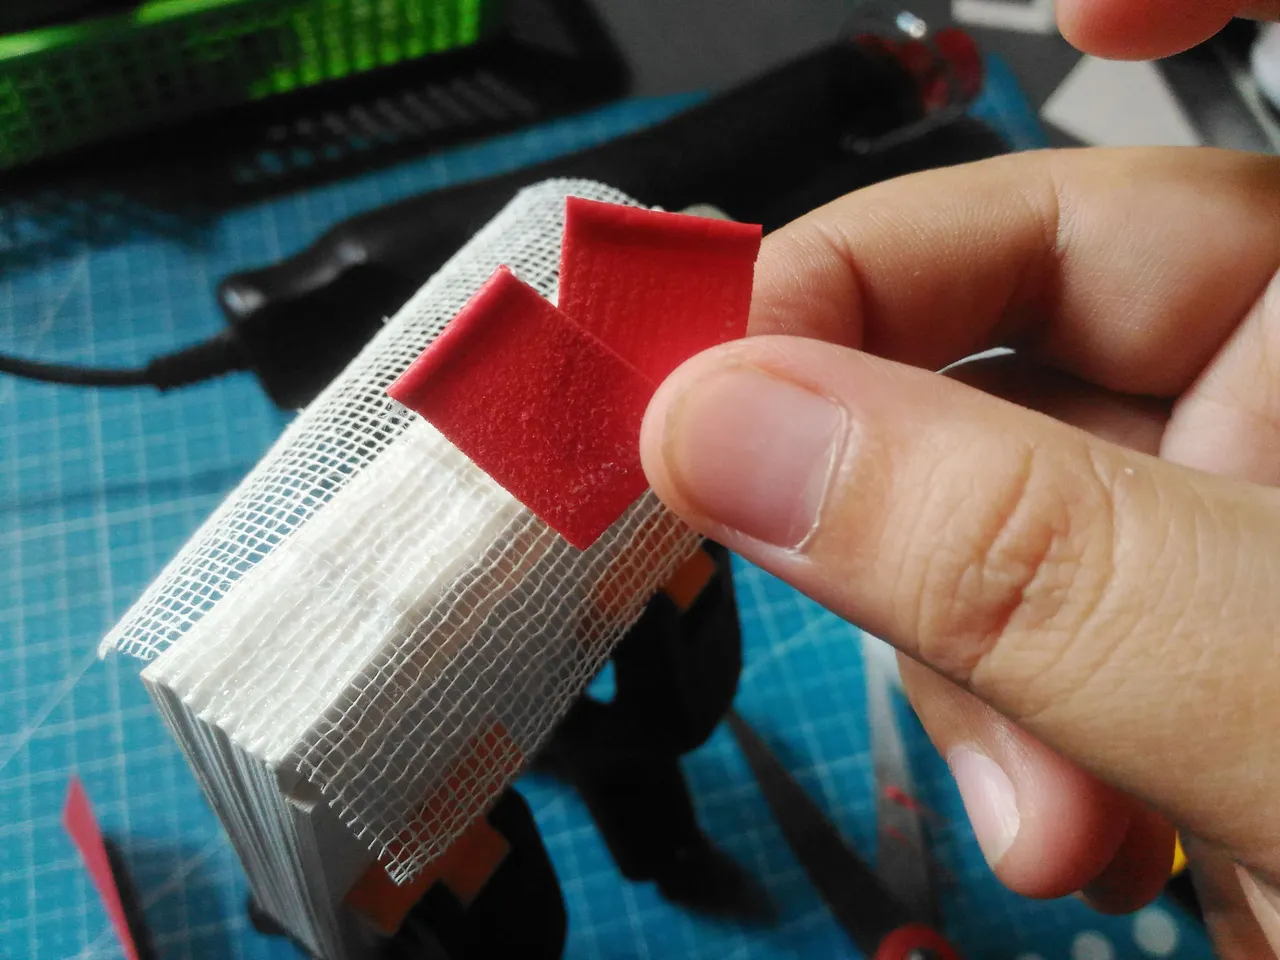
And then I glue the headbands.
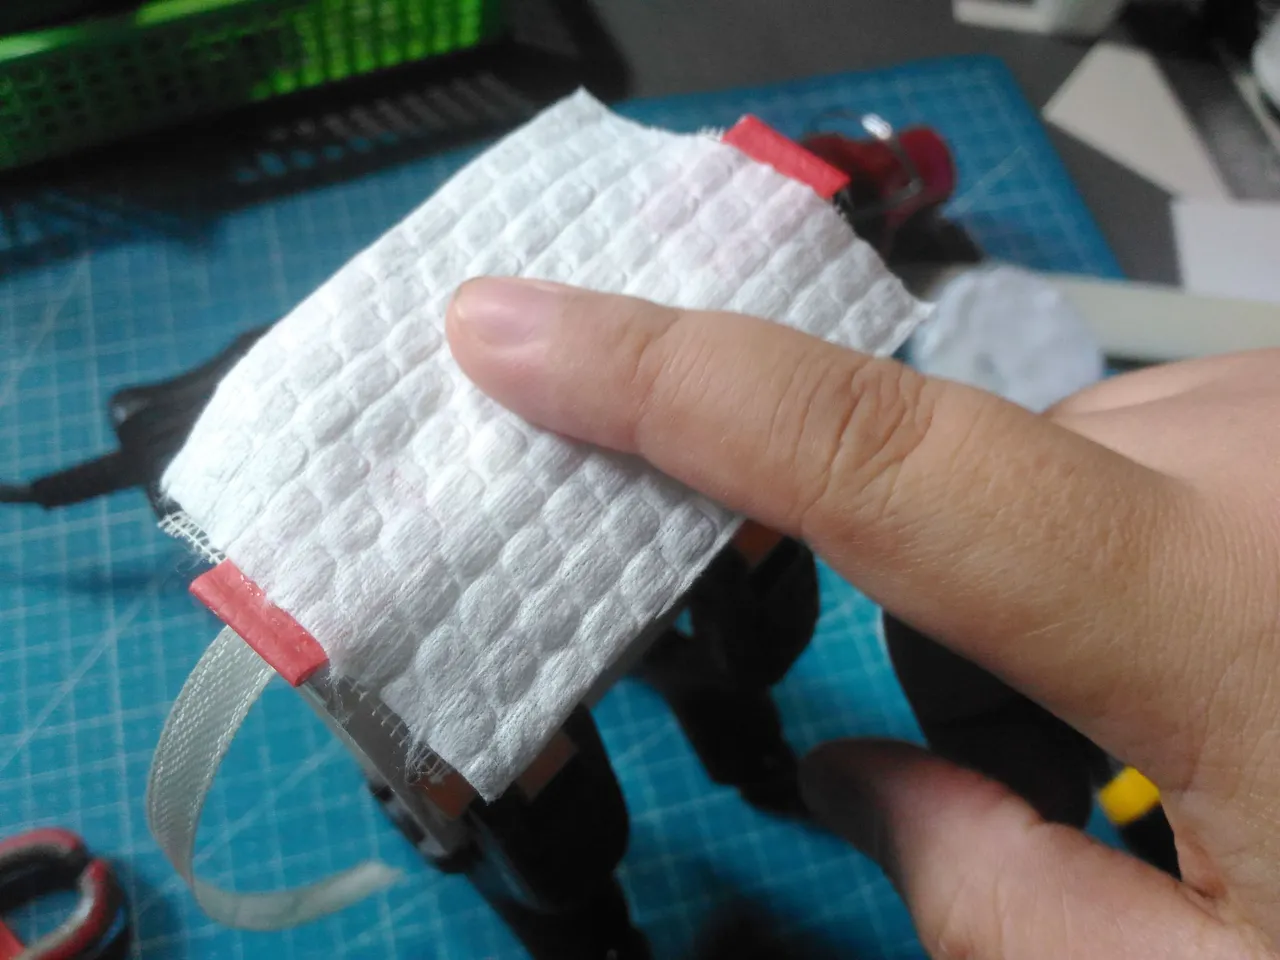
Then I glue the tissue paper.


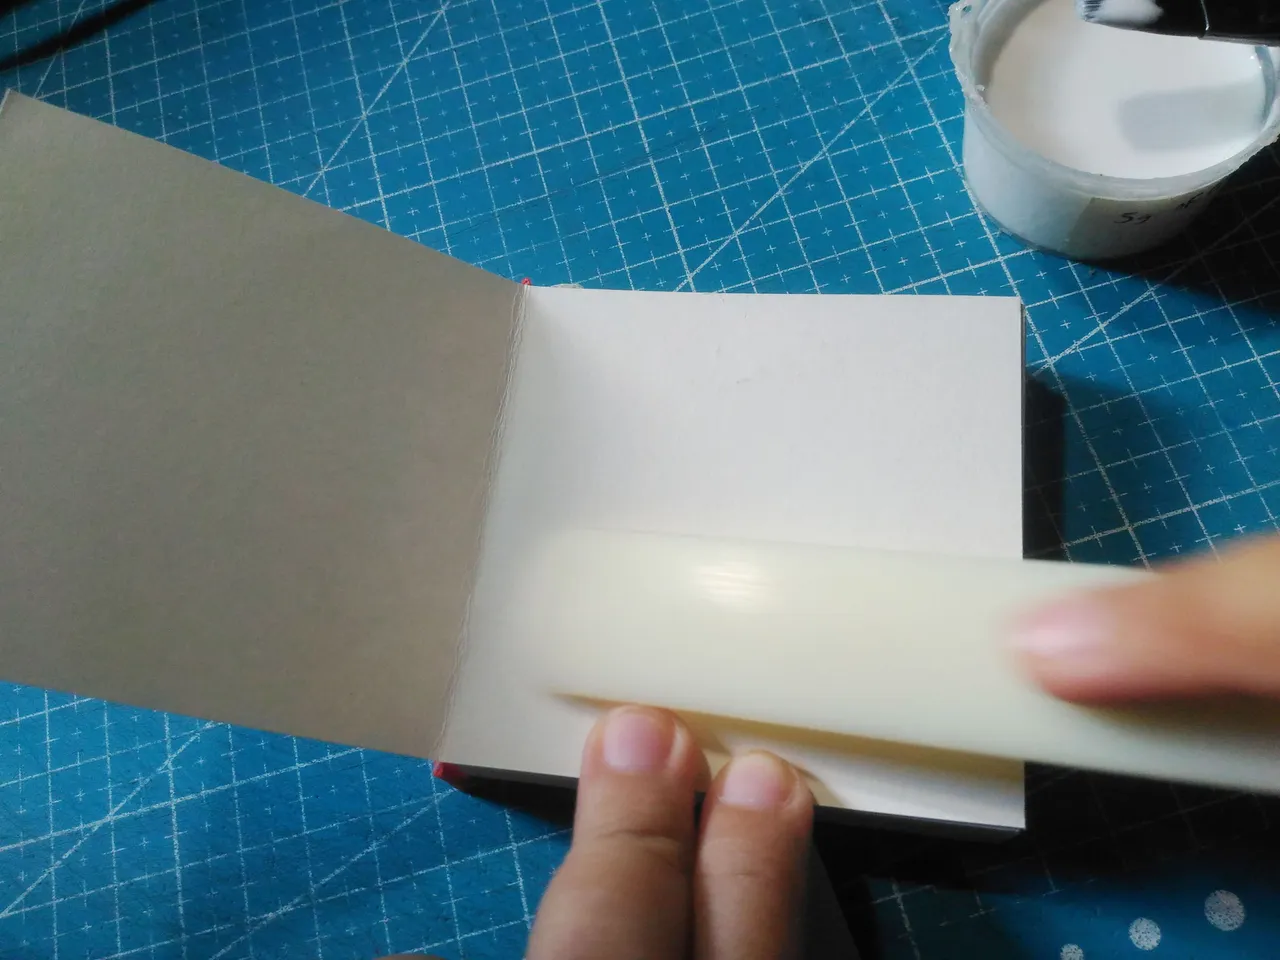
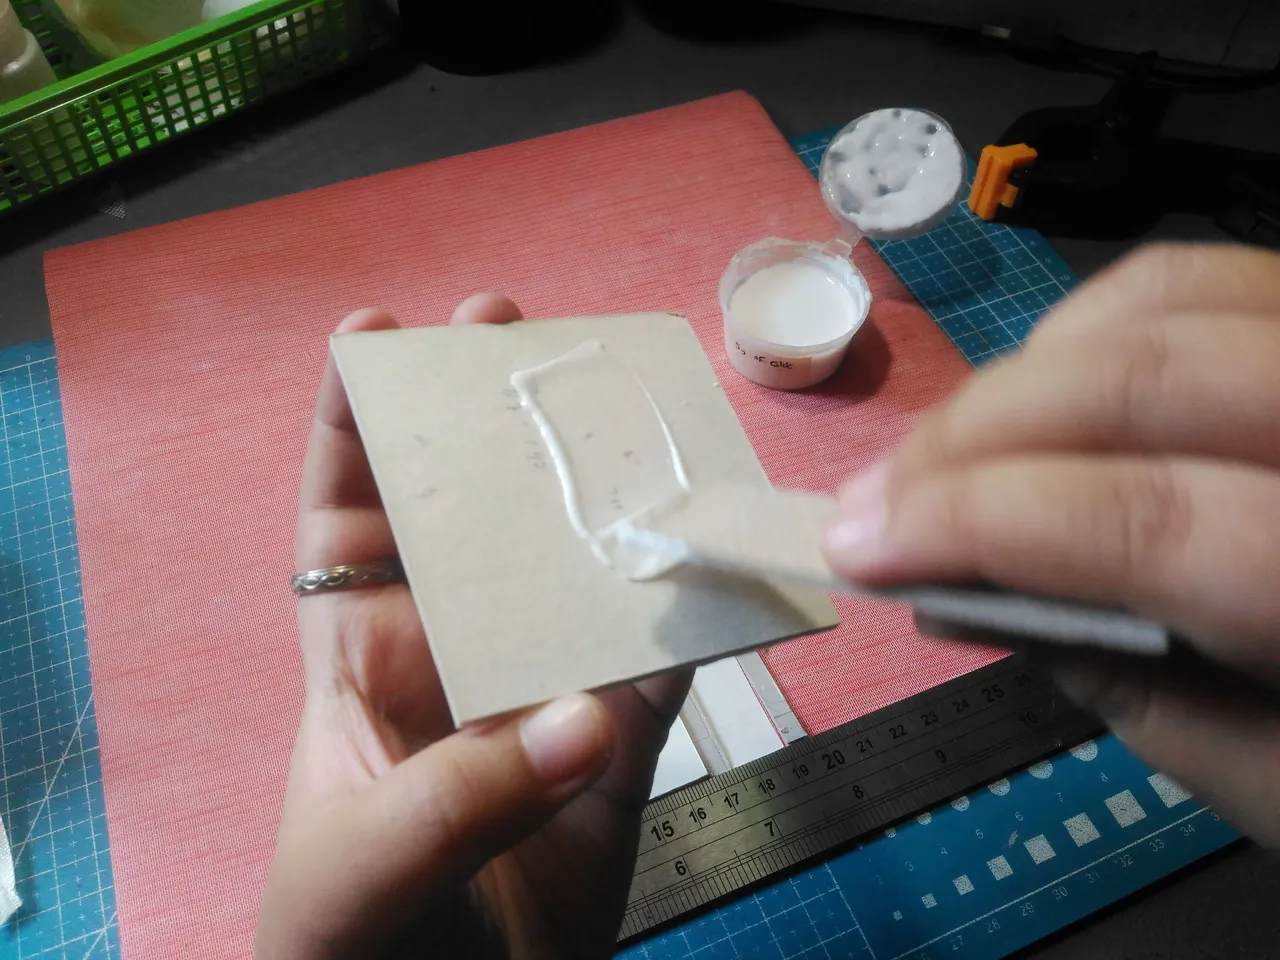
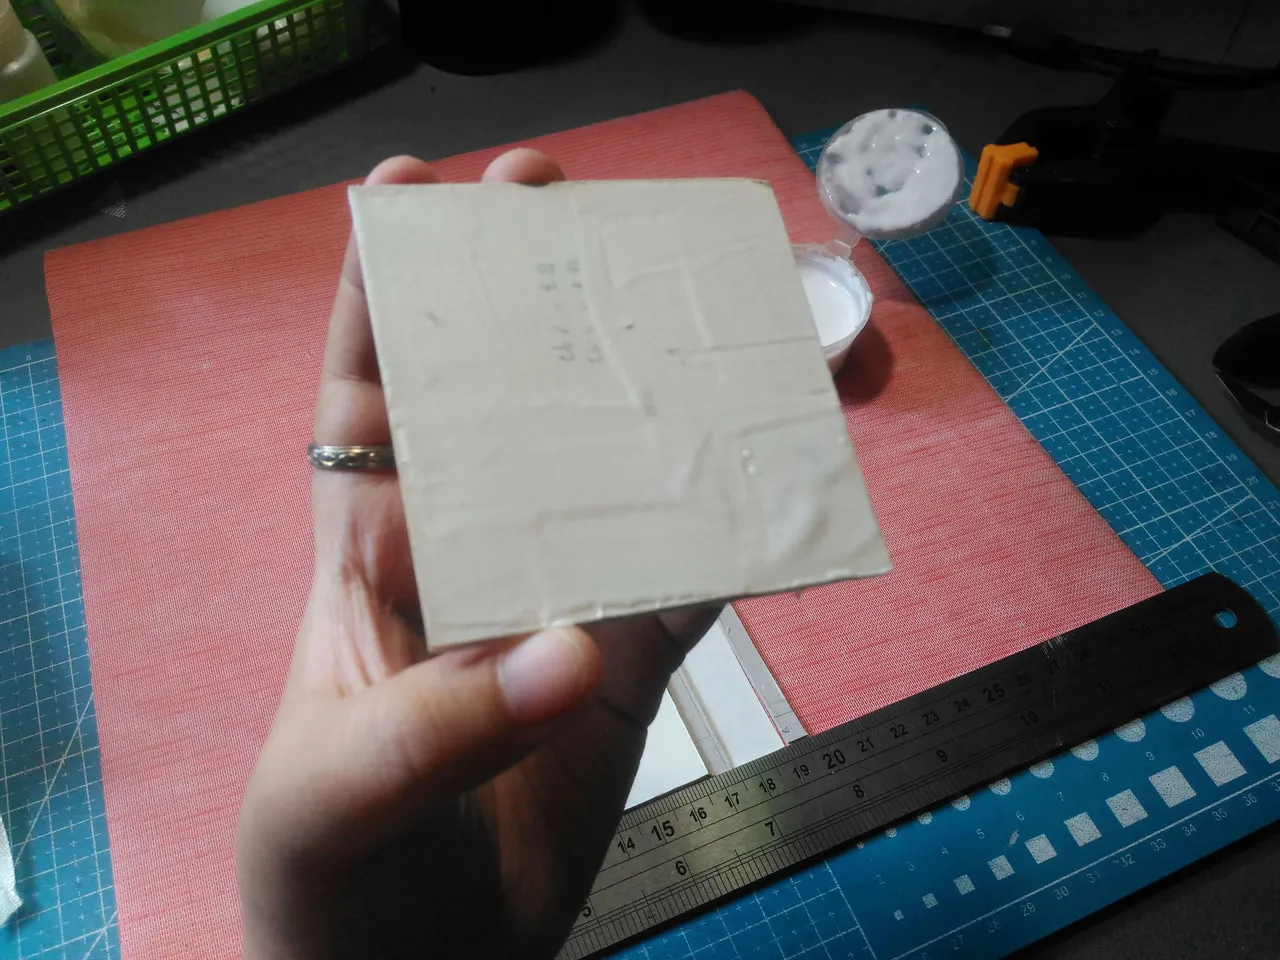
Then using the thick cardstock I cut it the same measurement as the text blocks and then glued a little at the edge and applied it.
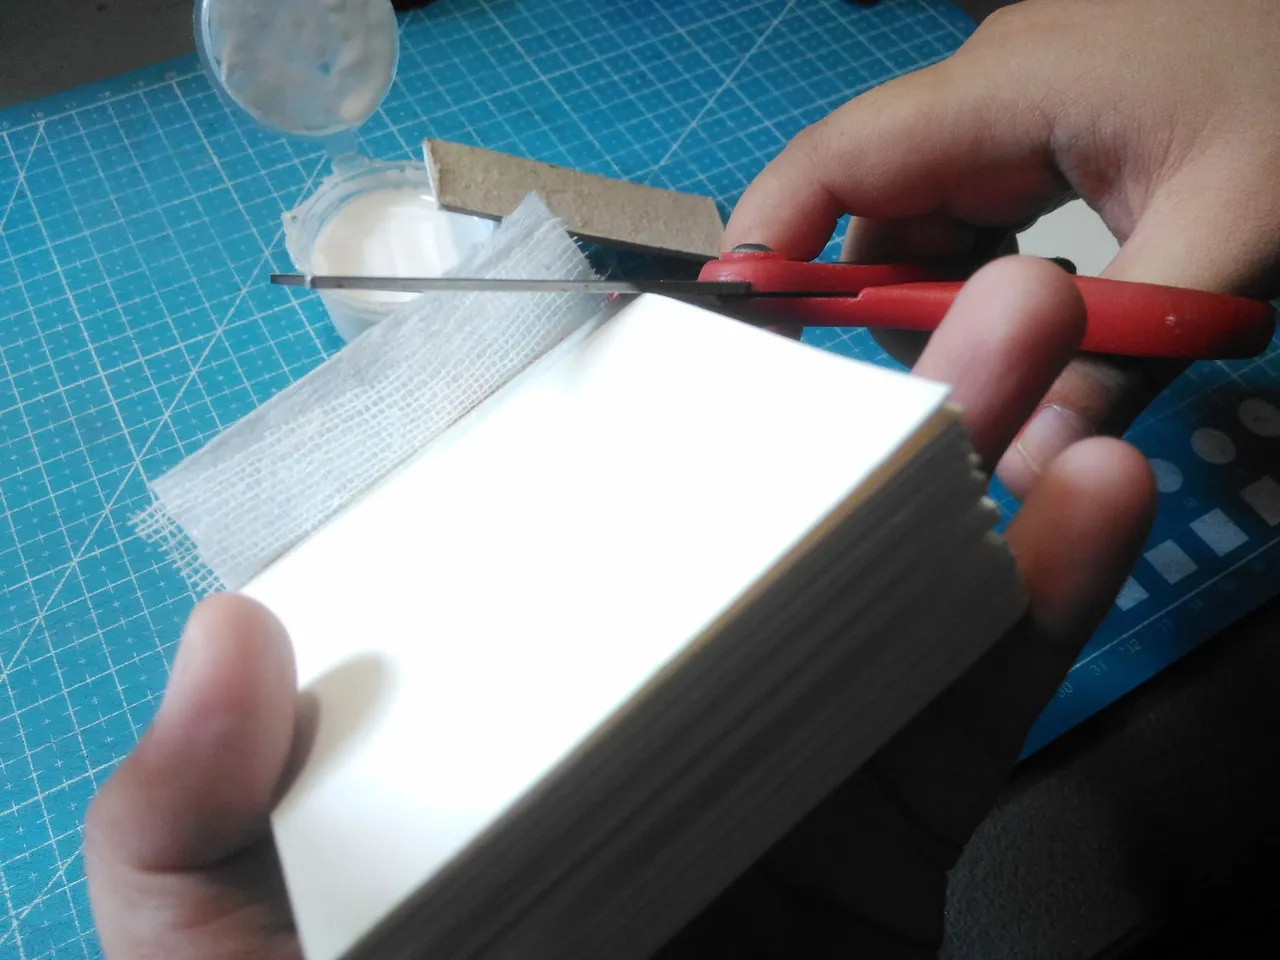
I cut the top and bottom of the mull and tissue paper.
I press the text block using the chipboard and clamp and let it dry for a moment.
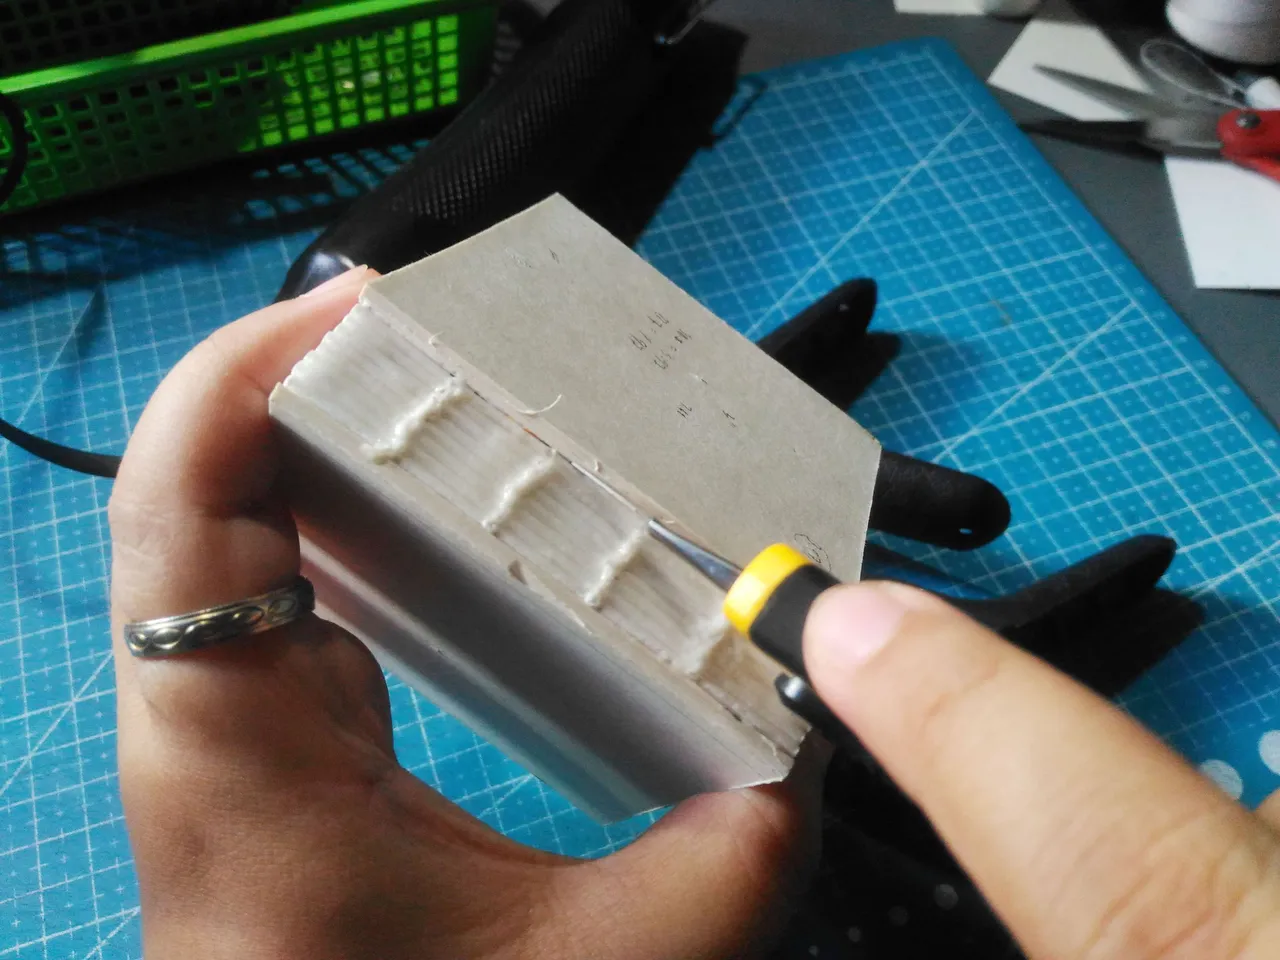
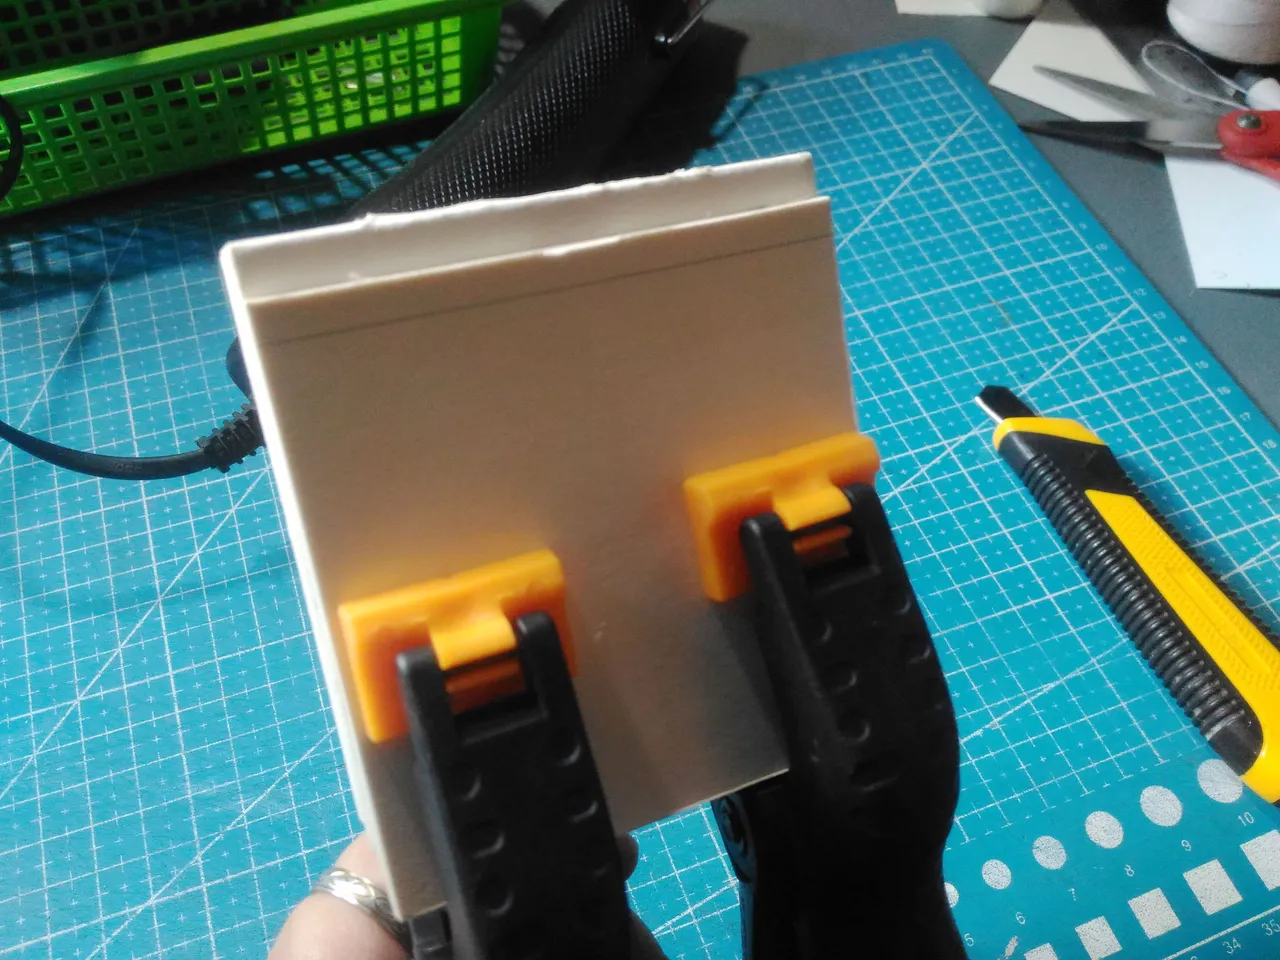
Sanding the Textblock:
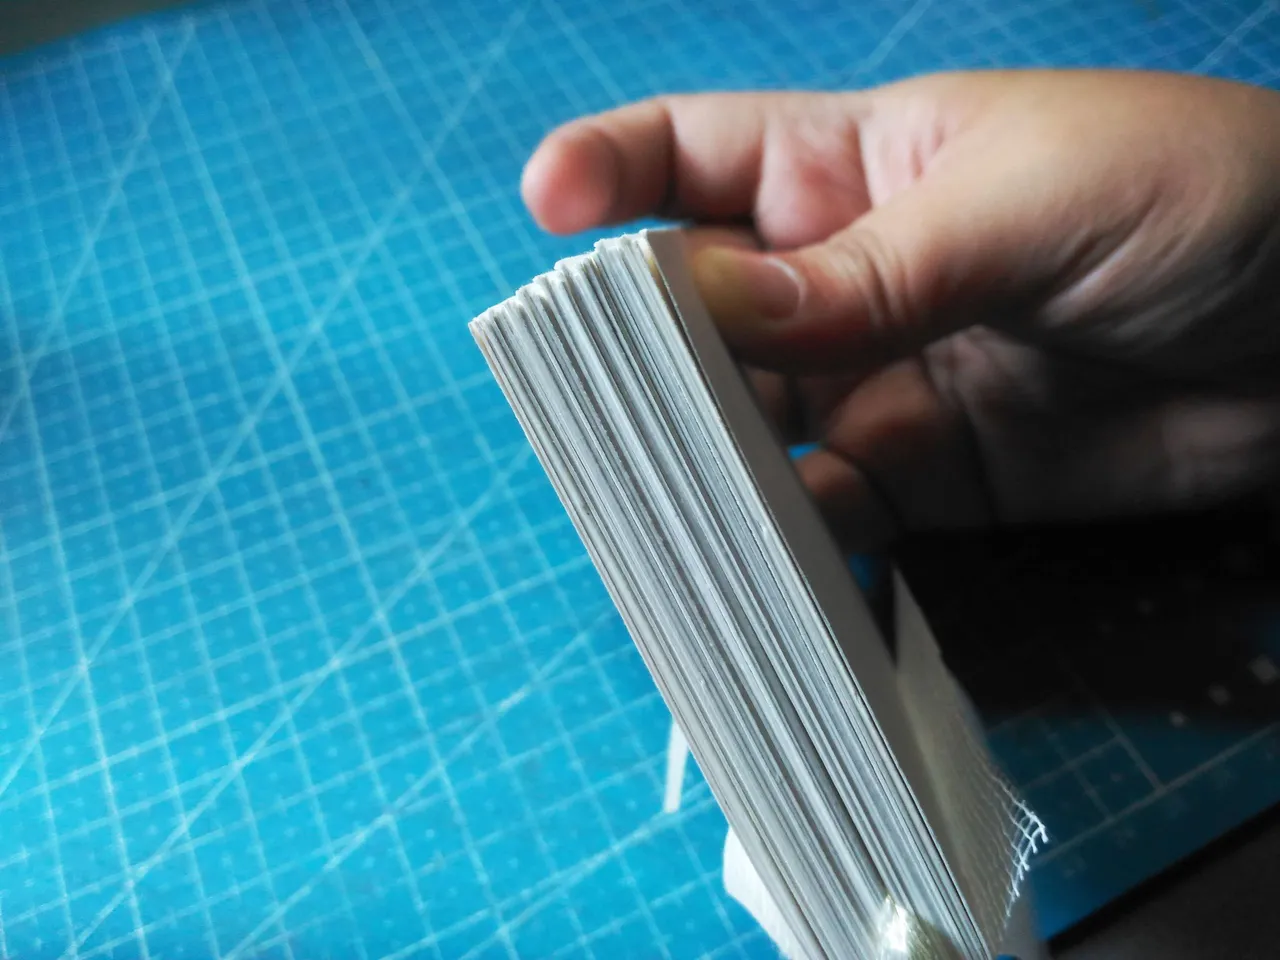
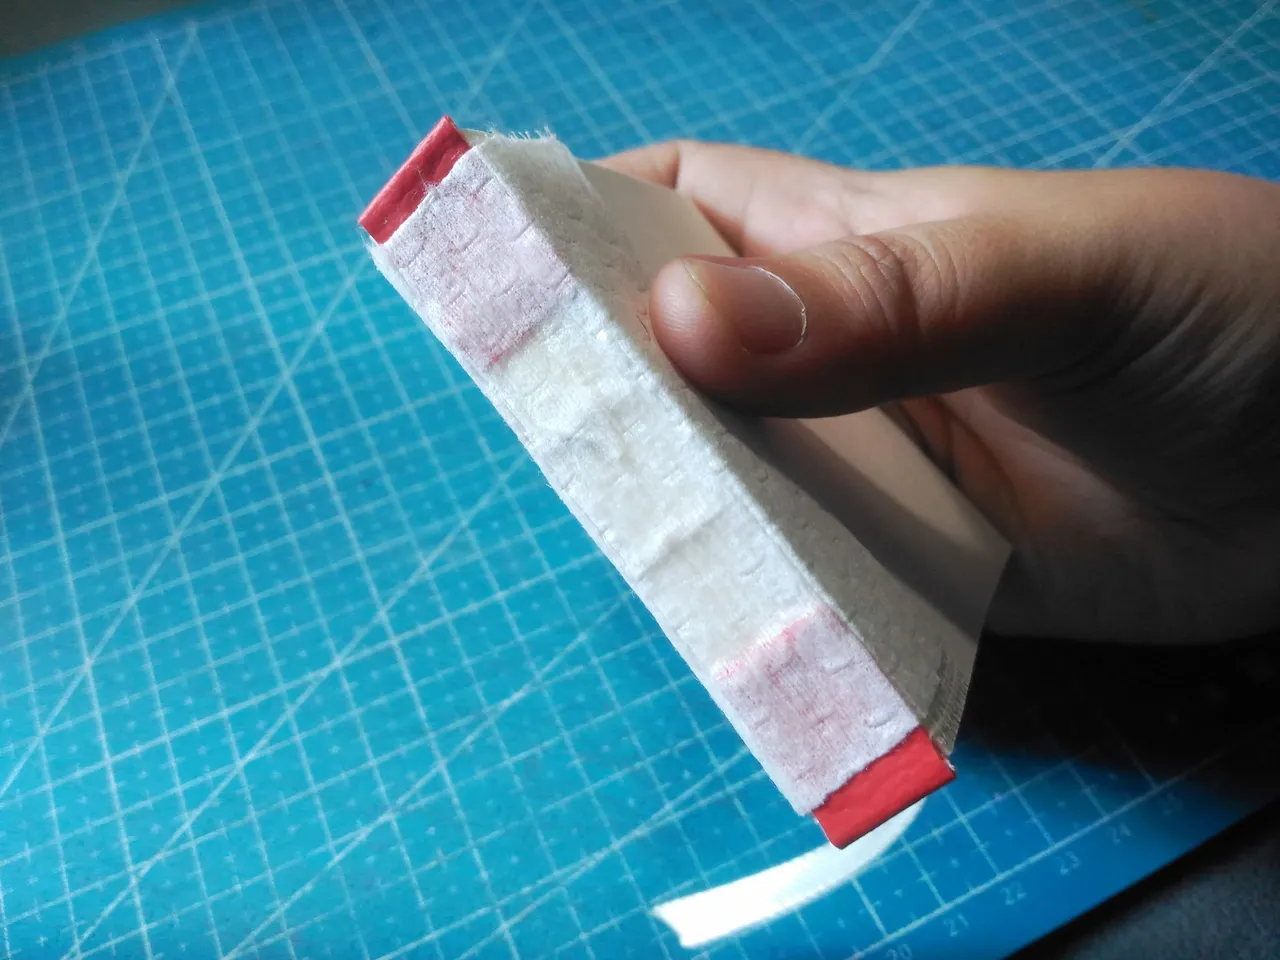
After the text block is dried I will be going to sand evenly the fore-edge of the text block.
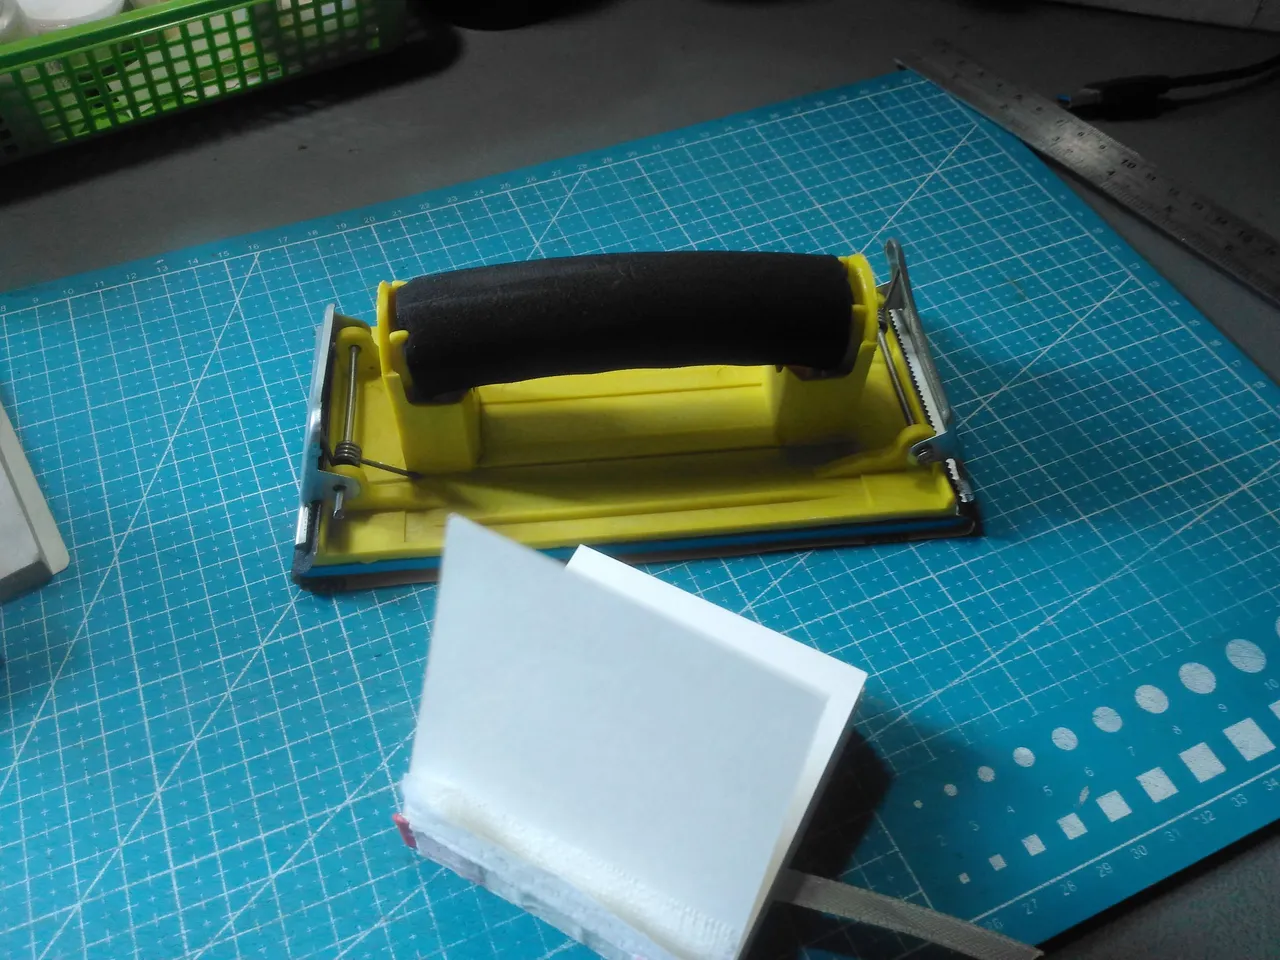
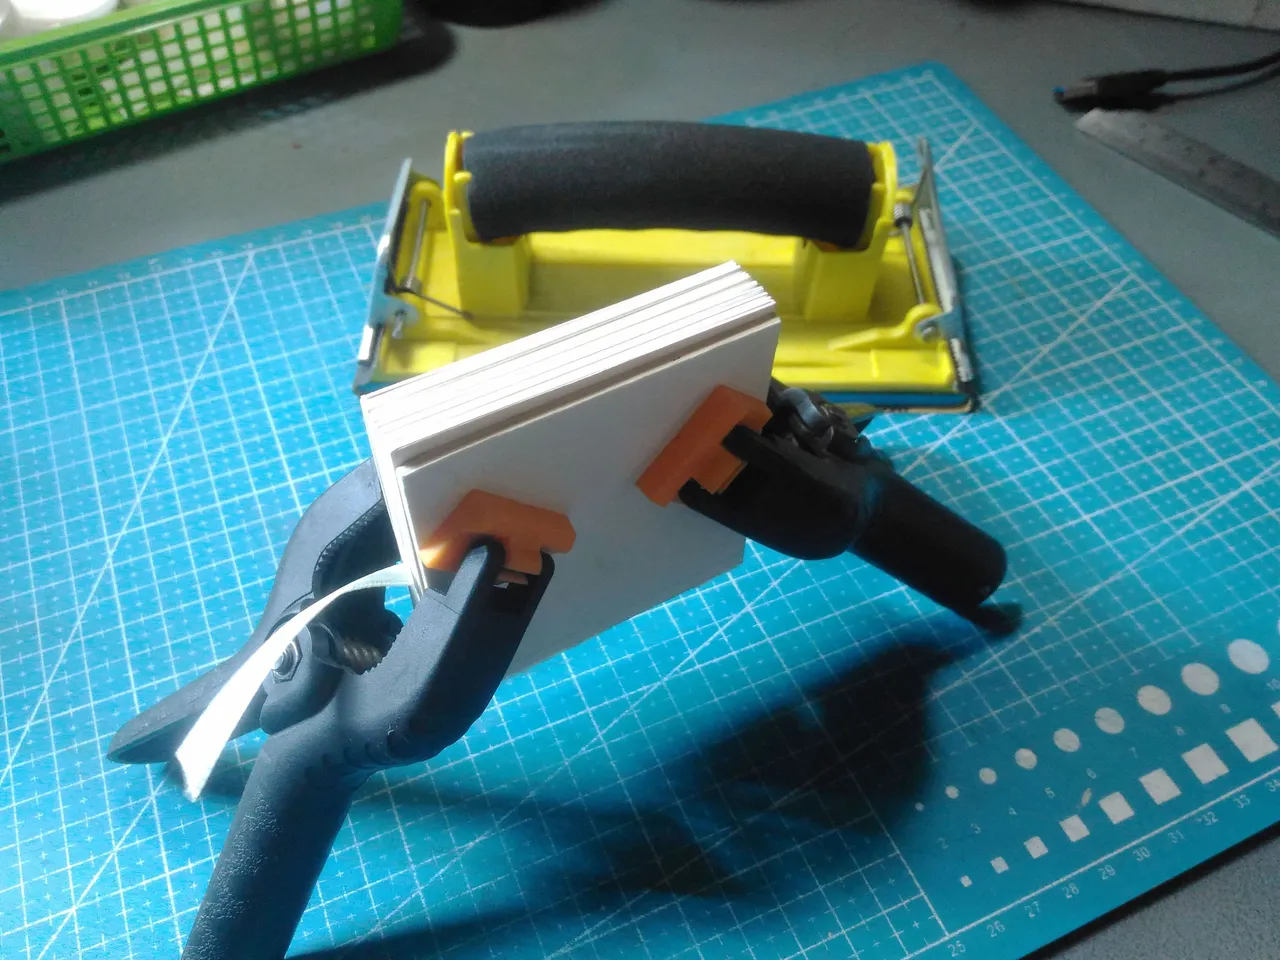
Before that, I sandwich the text block between the two chipboards and clip it using the clamps.
I sand the text block one way to another until the paper sands evenly.
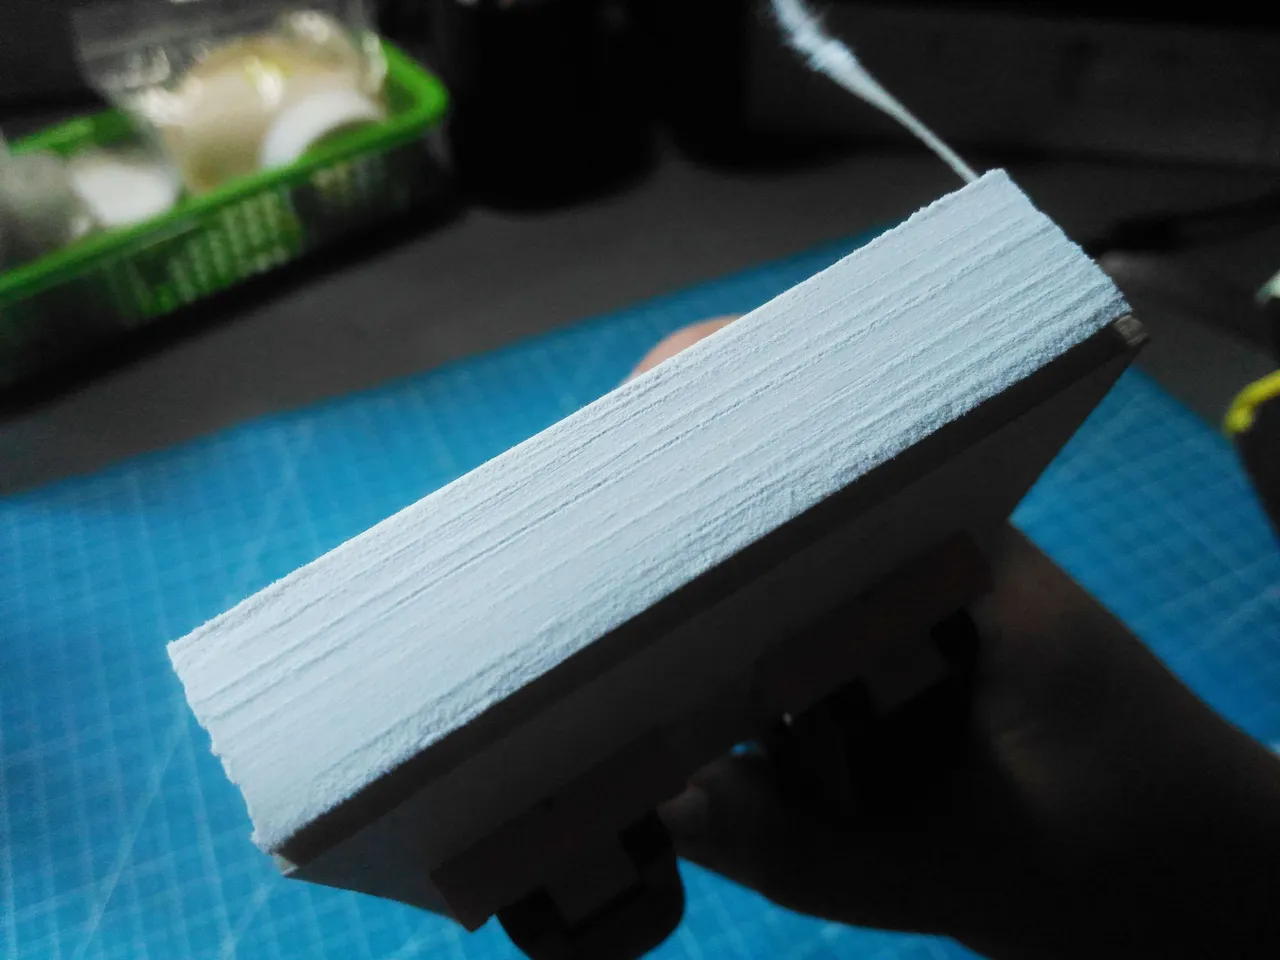
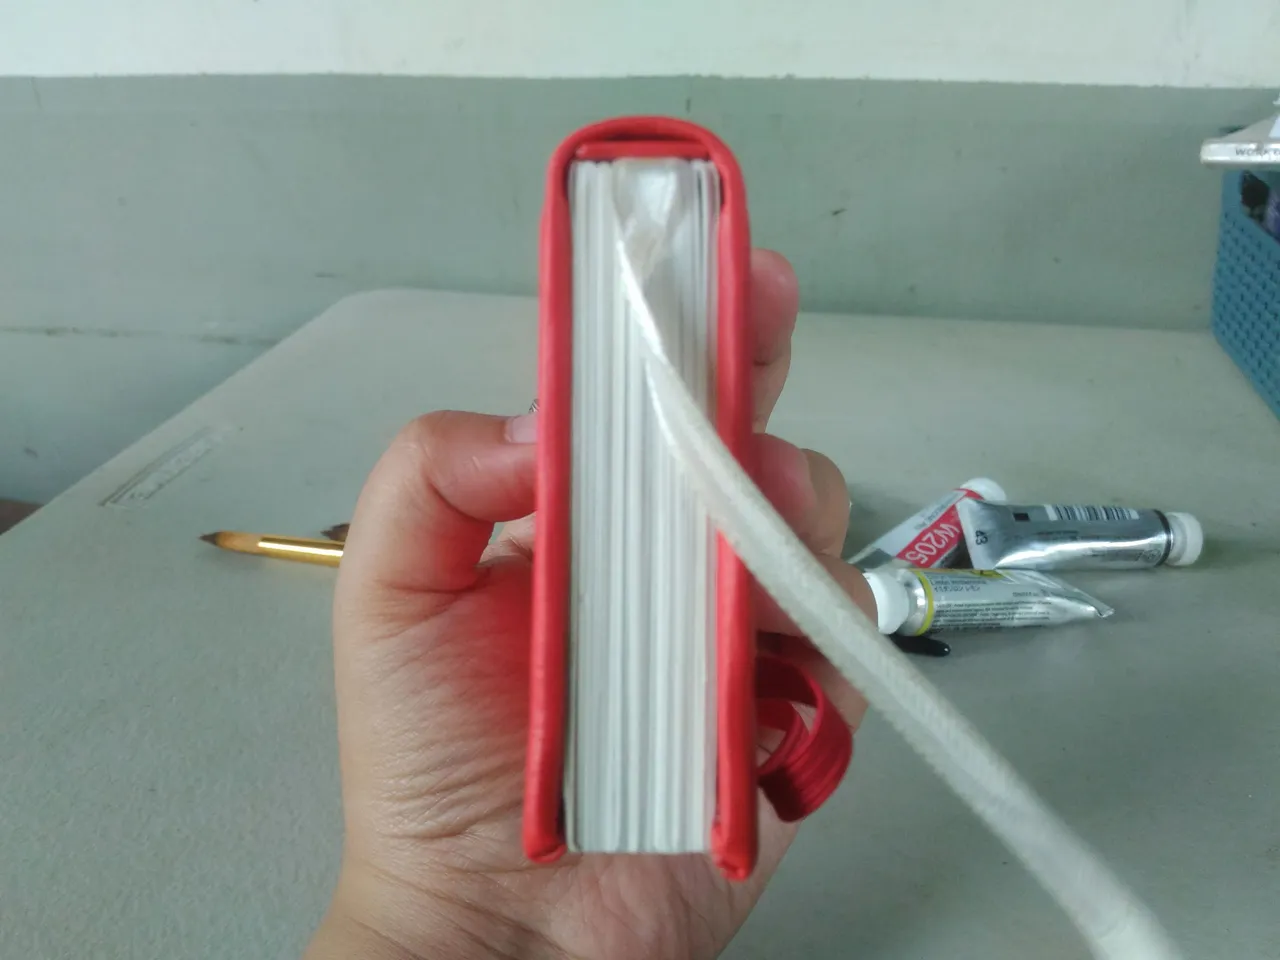
This is what it looks like the text block fore-edge looks cleaner and more even.
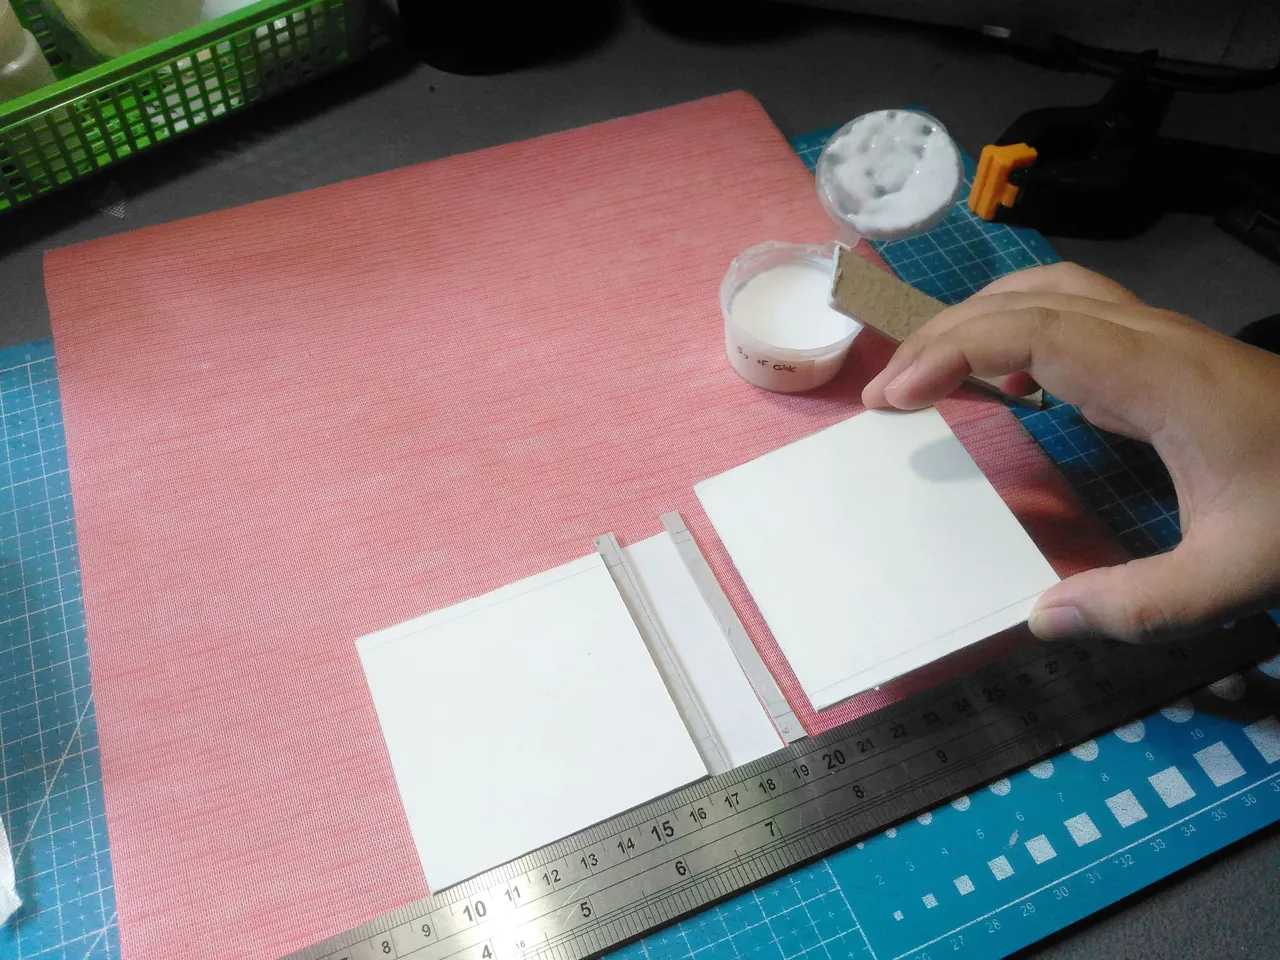
Making The Hard Cover:
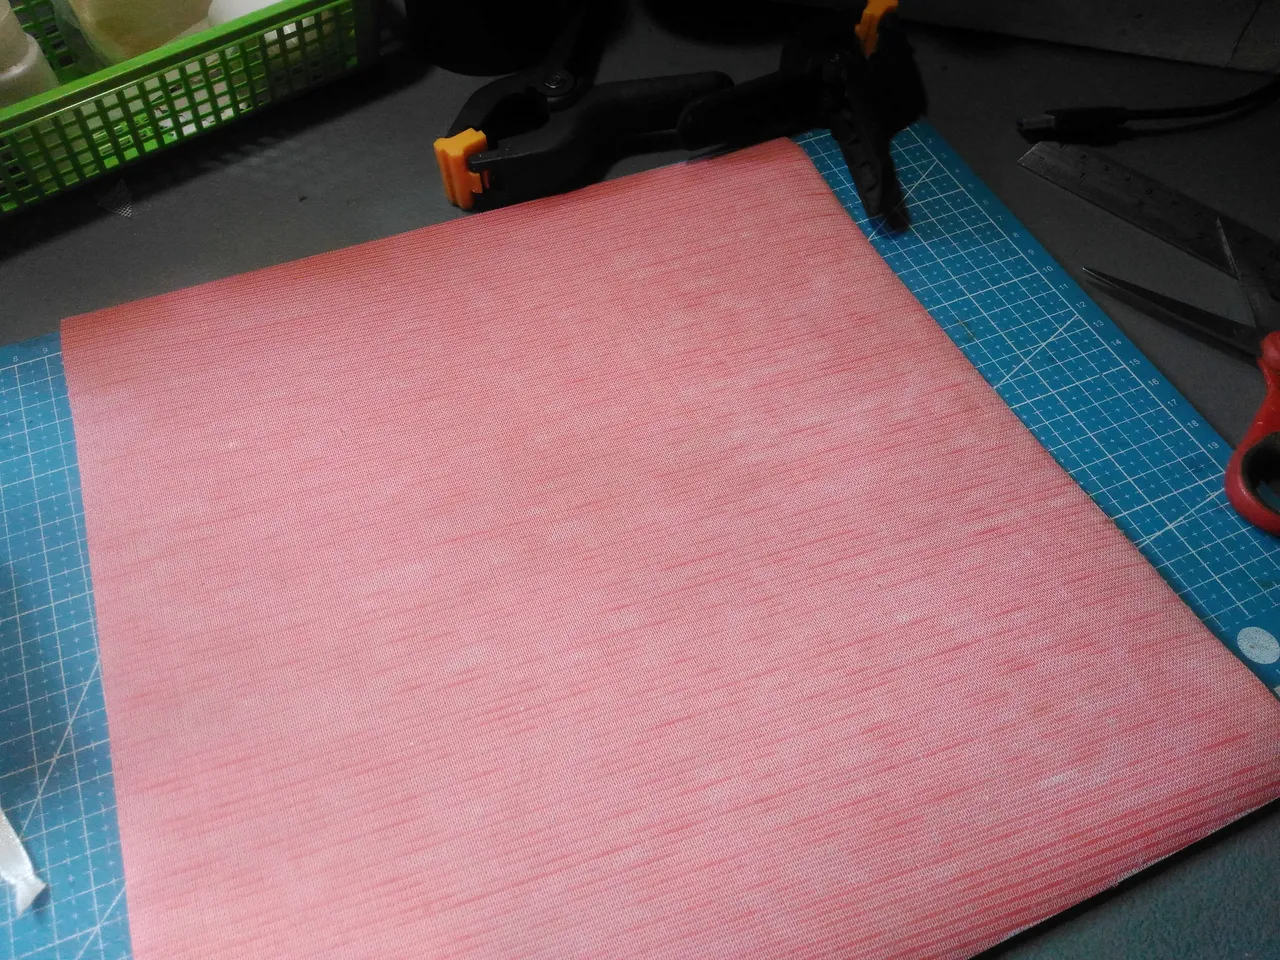
I lay the faux leather face down.
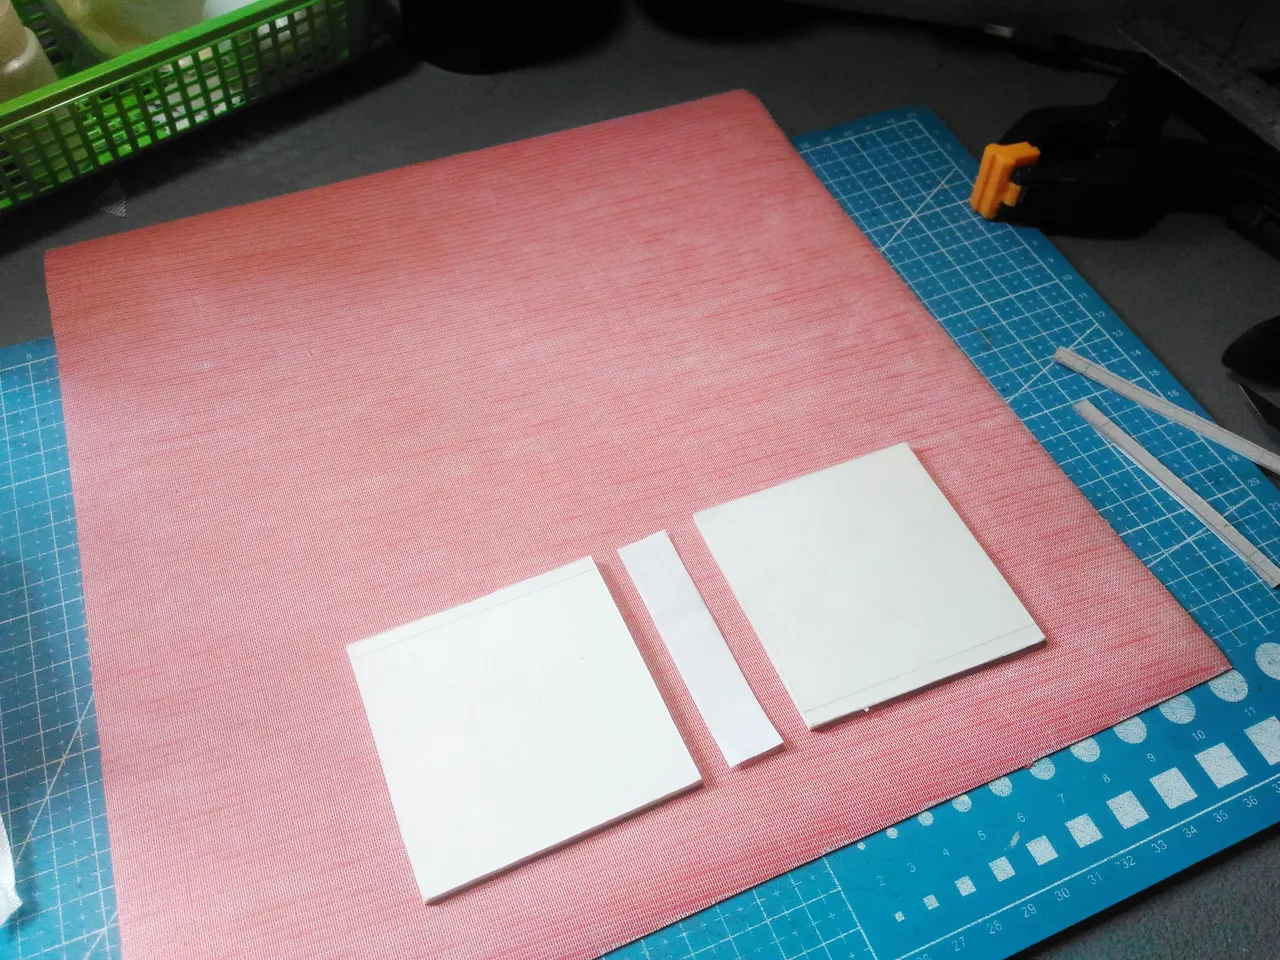
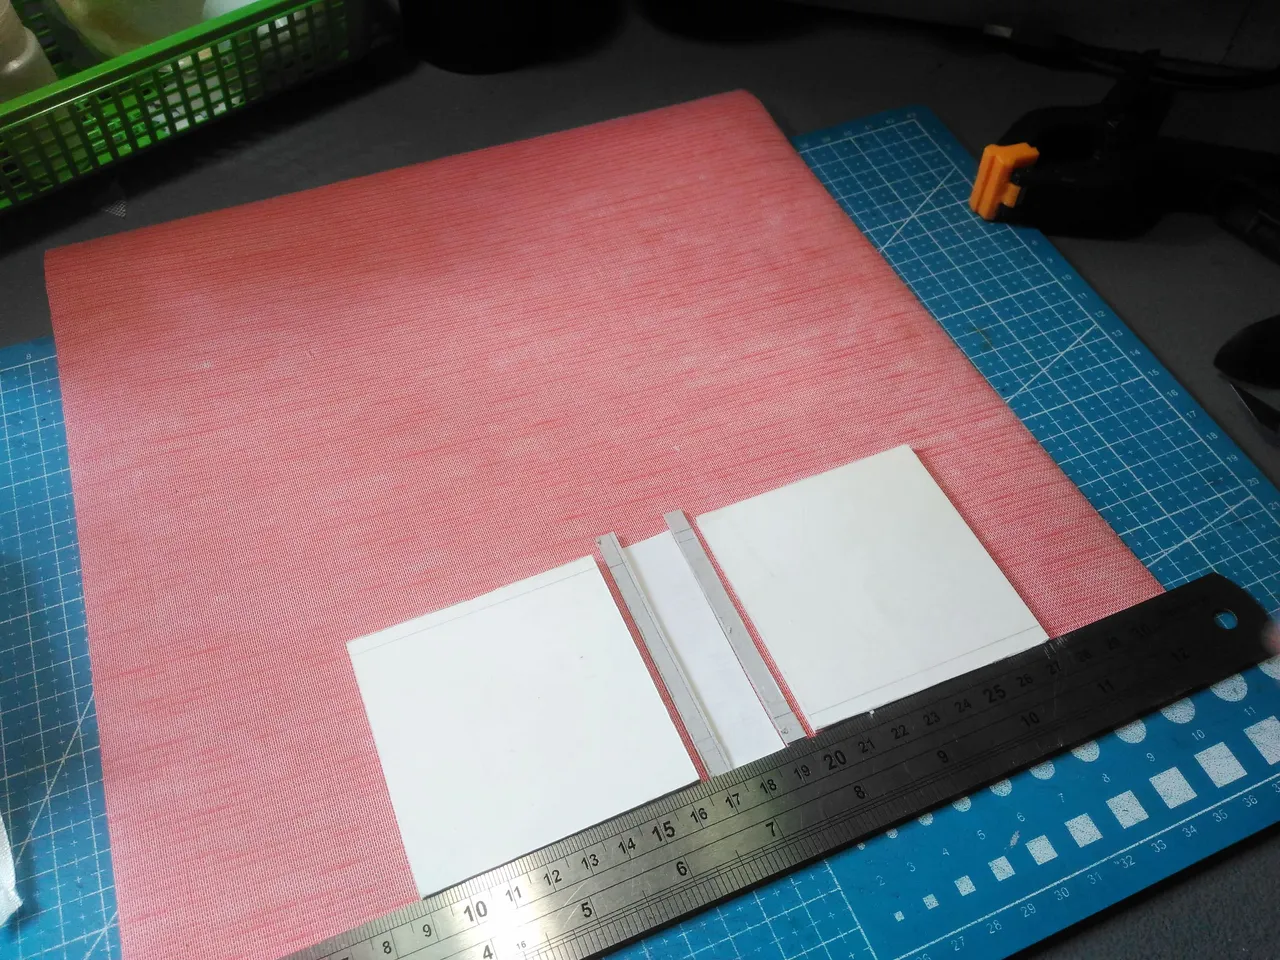
Then I cut the chipboard 3x3 as a hardcover and then I cut the spine using normal thin paper and then I aligned the three with an 8 mm hinge gap.
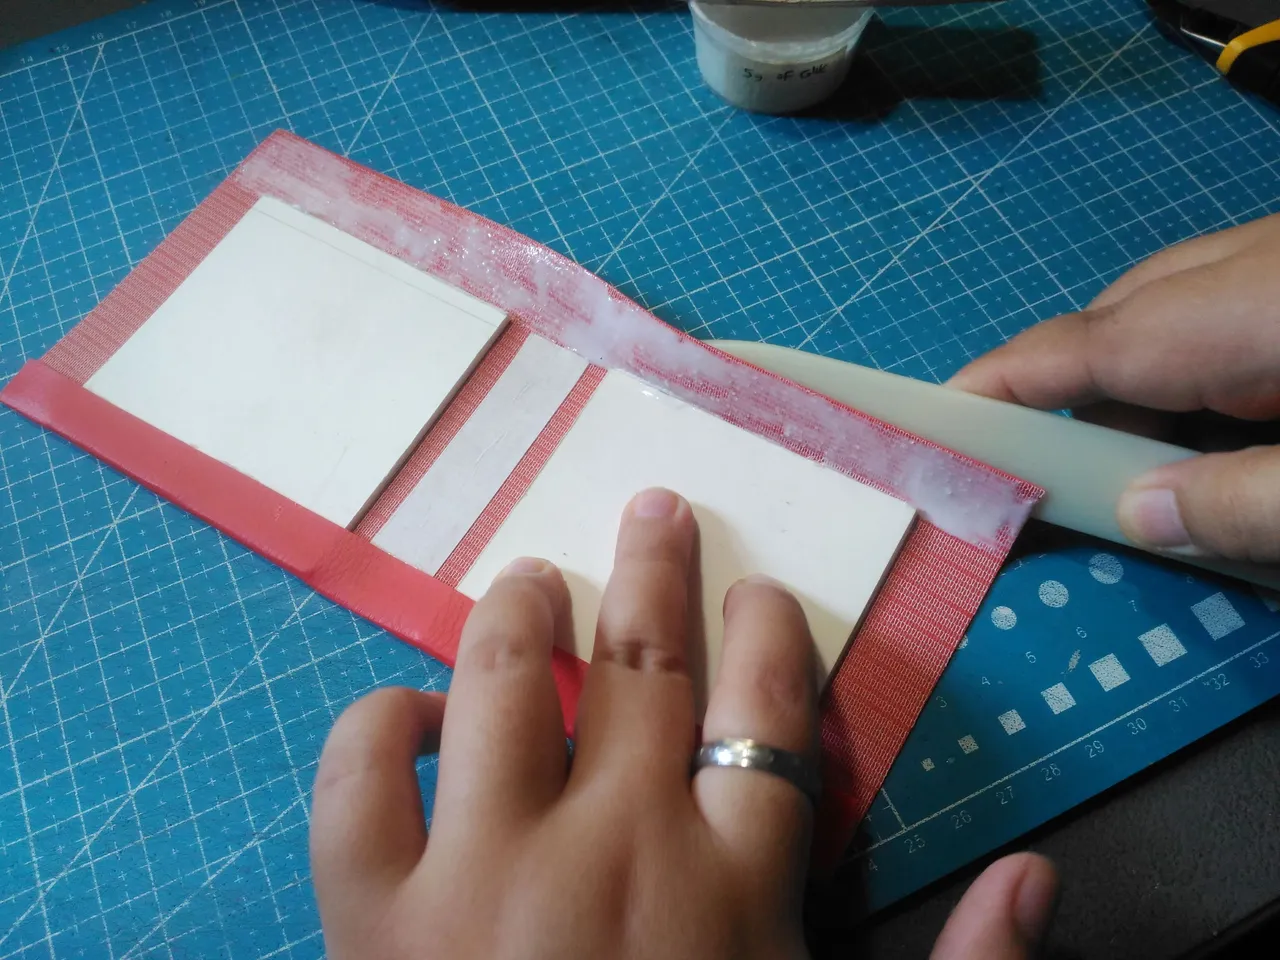
After measuring and aligning the chipboards and spine I apply enough glue to it.
I cut the faux leather with the size of the ruler as a border.
Using the the bone folder I get rid of the bubbles from the faux leather.
Then I apply glue to the top and bottom border of the hardcover.
Then I fold the glued border using the bone folder.
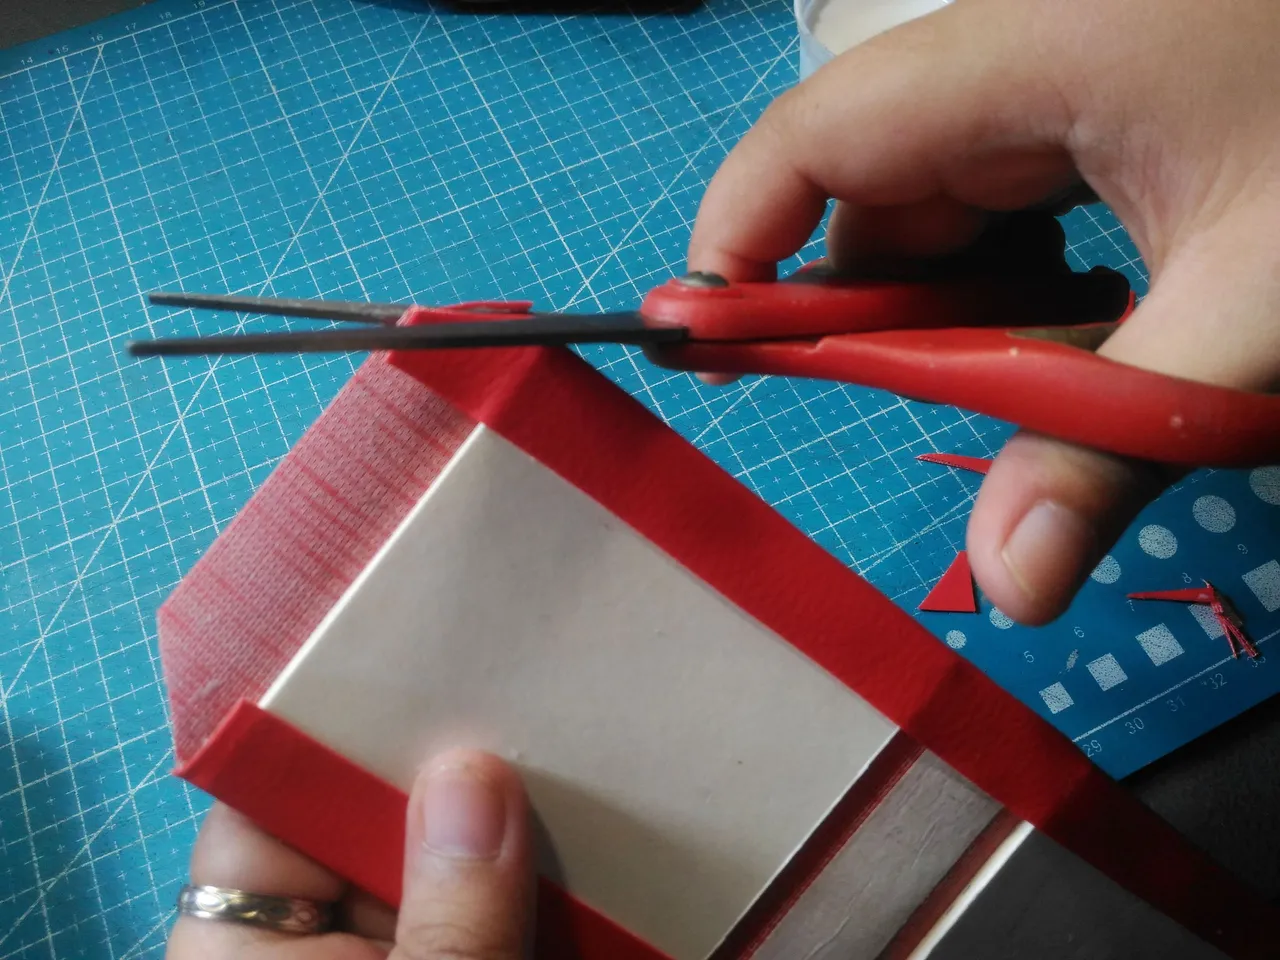
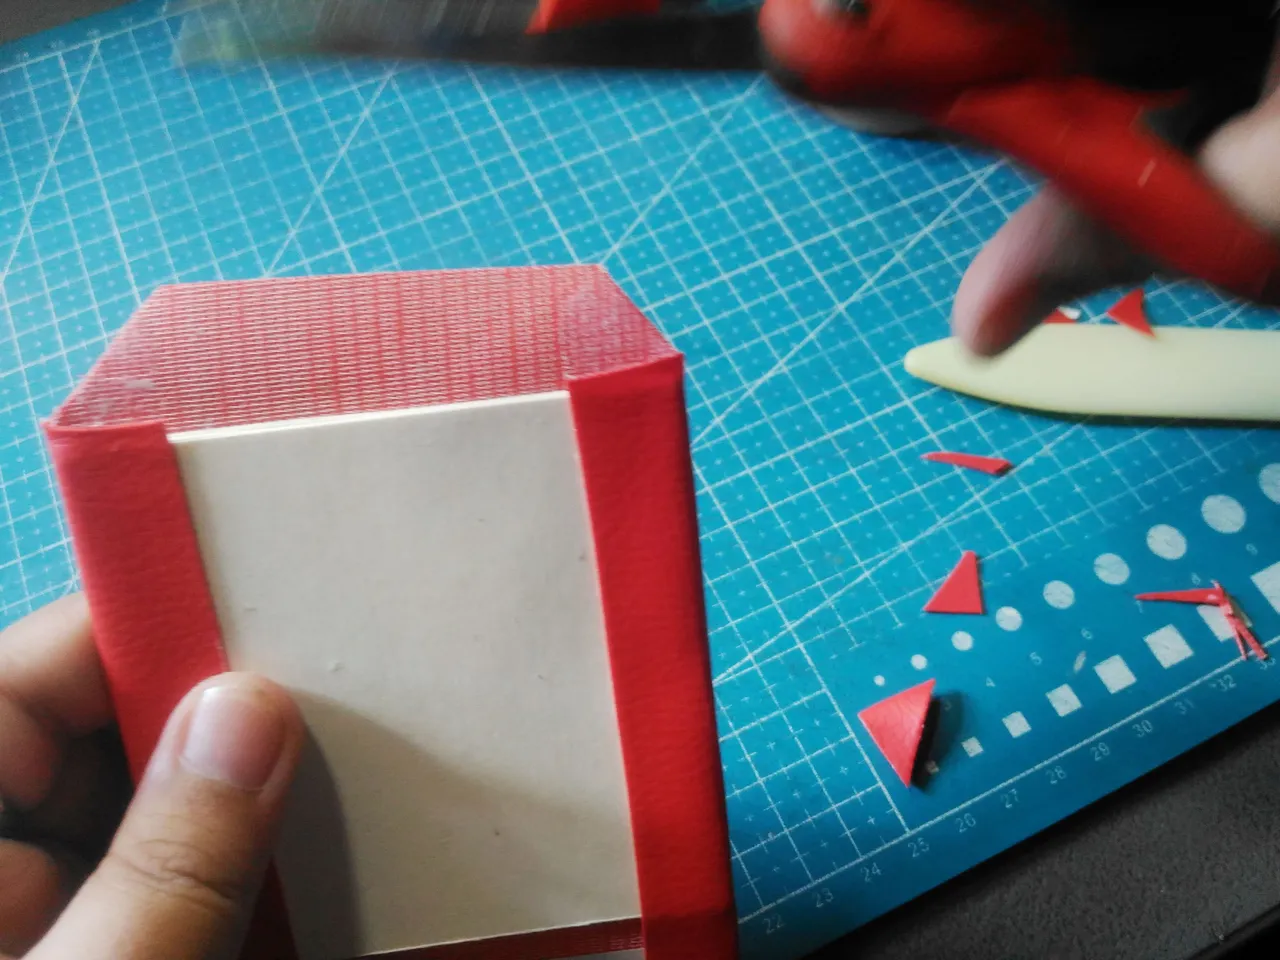
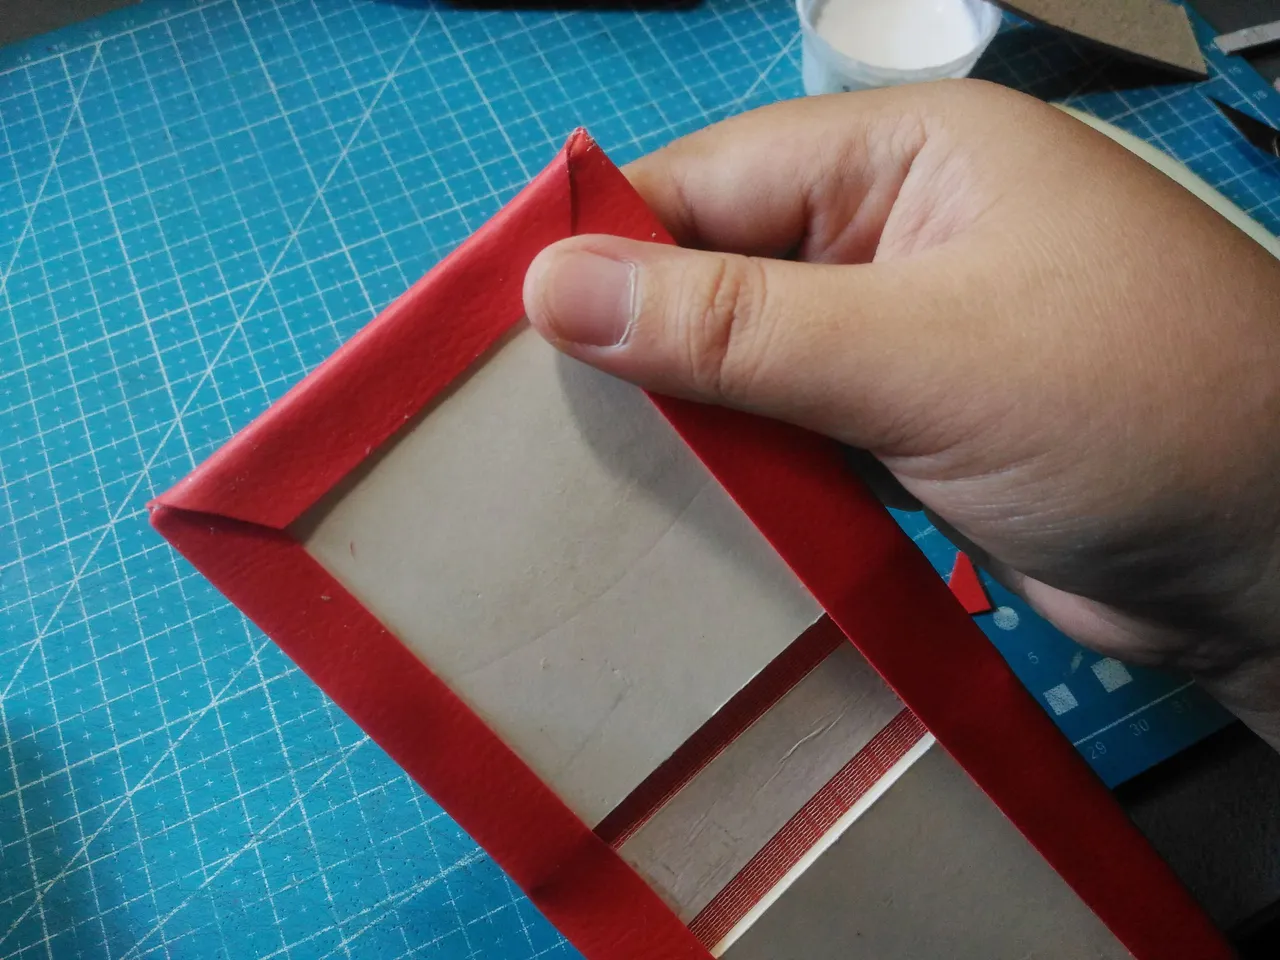
And glue the border.
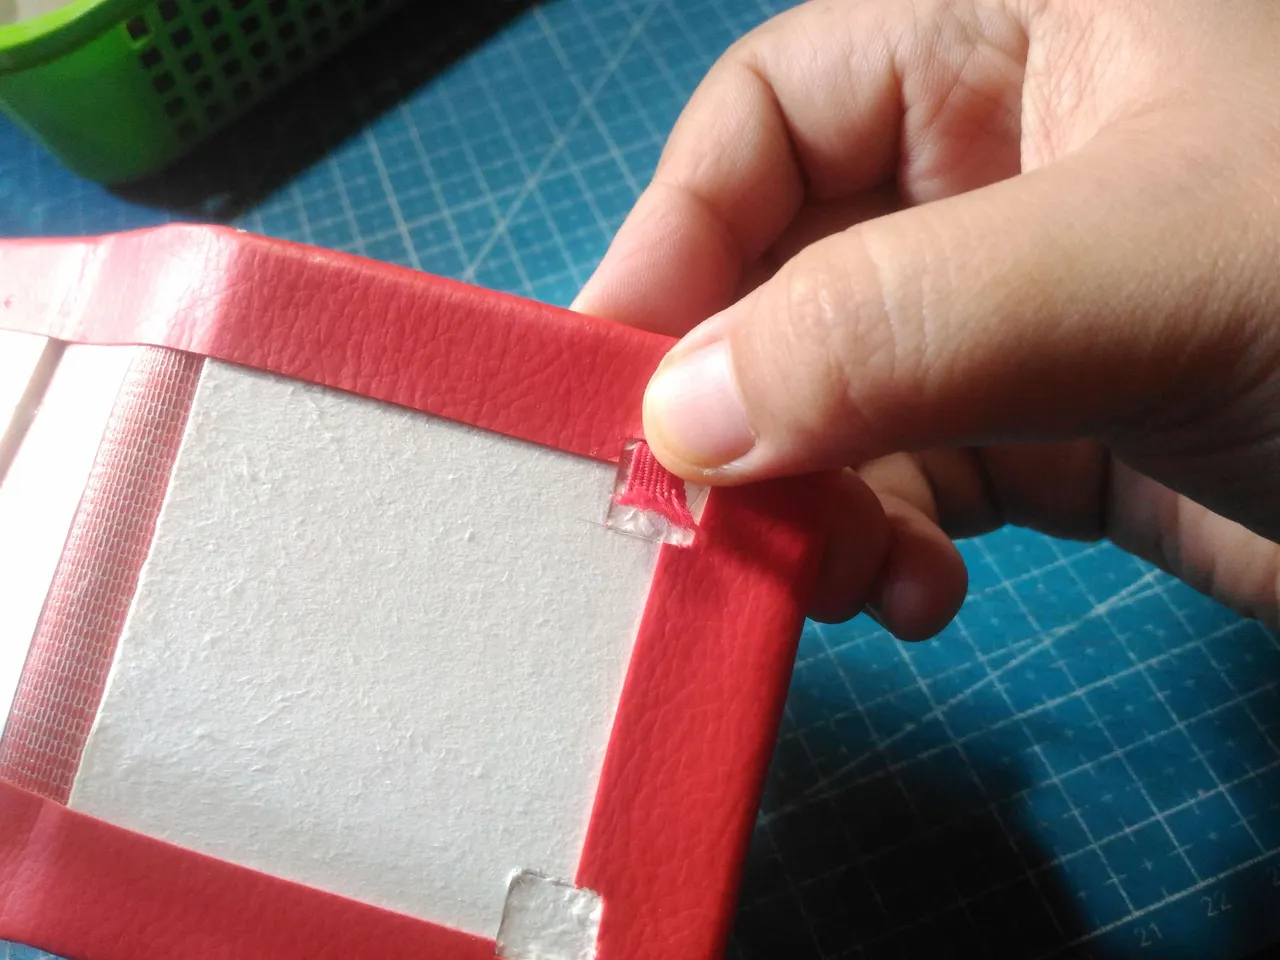
Adding The Garter:
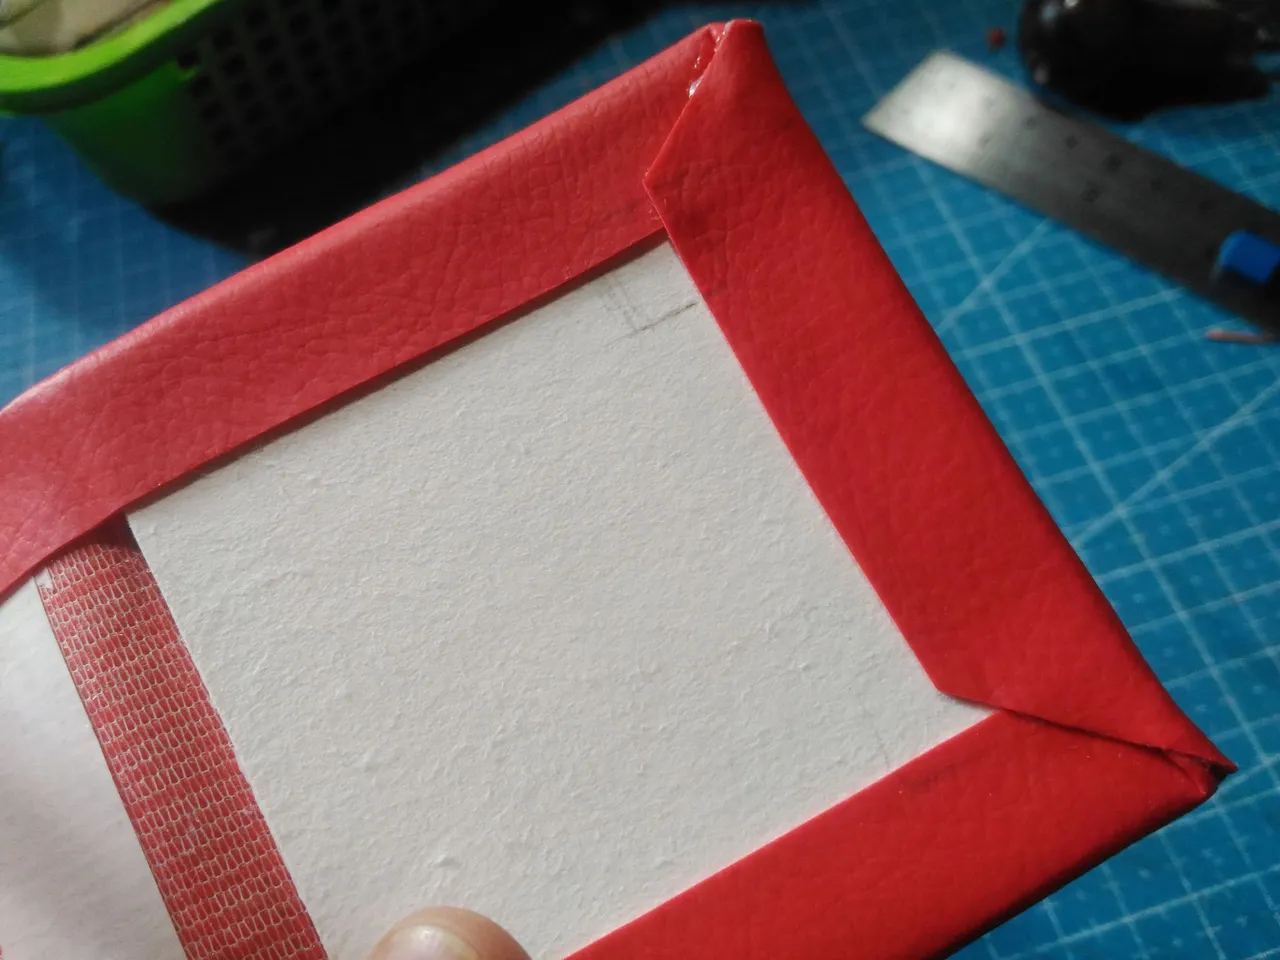
I mark the place I am going to cut. with a border of 1 cm.

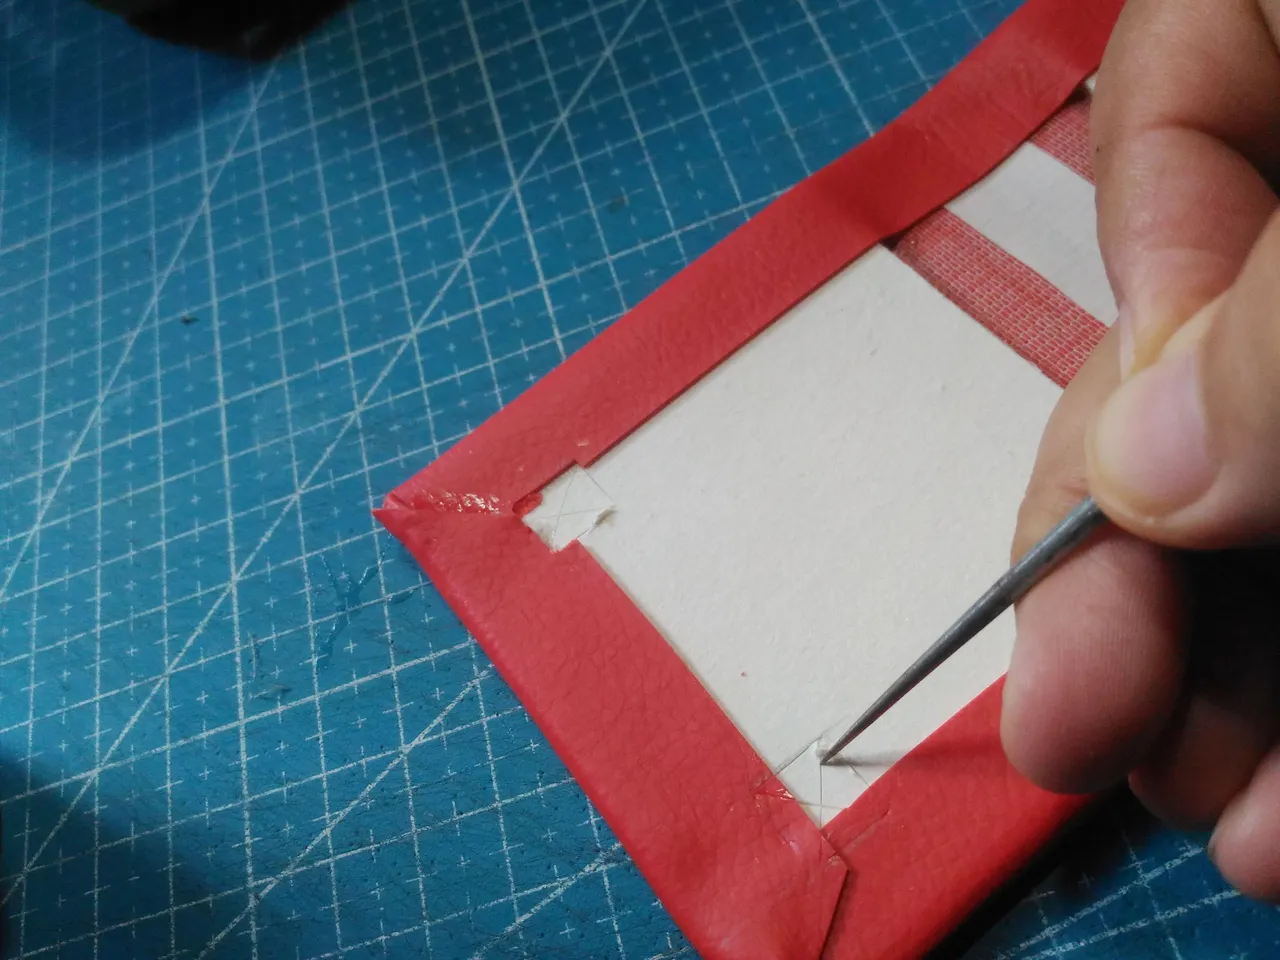
I cut a few layers of the chipboard using the cutter. Using the awl I remove the remove chipboard.
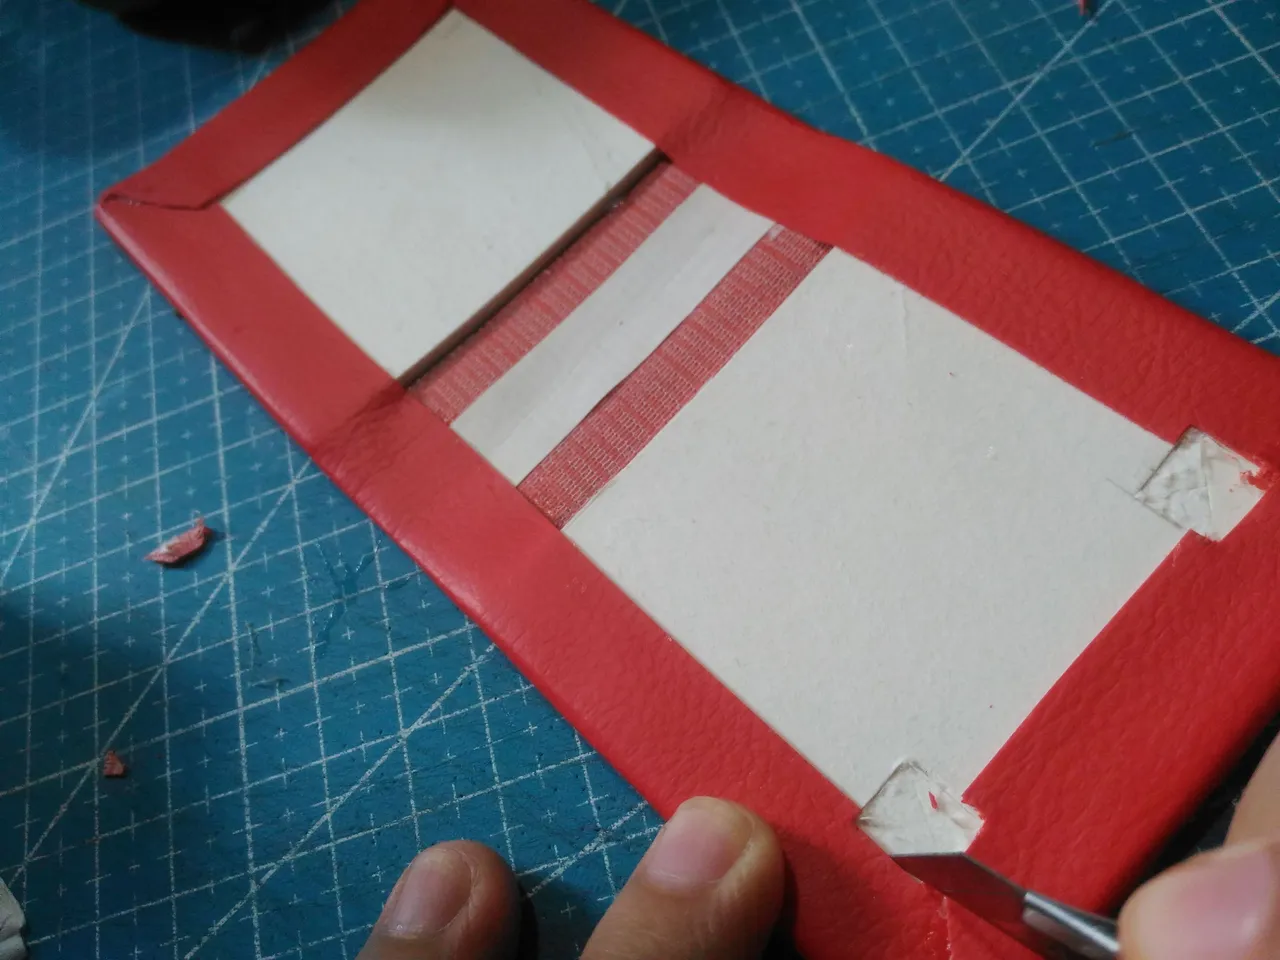
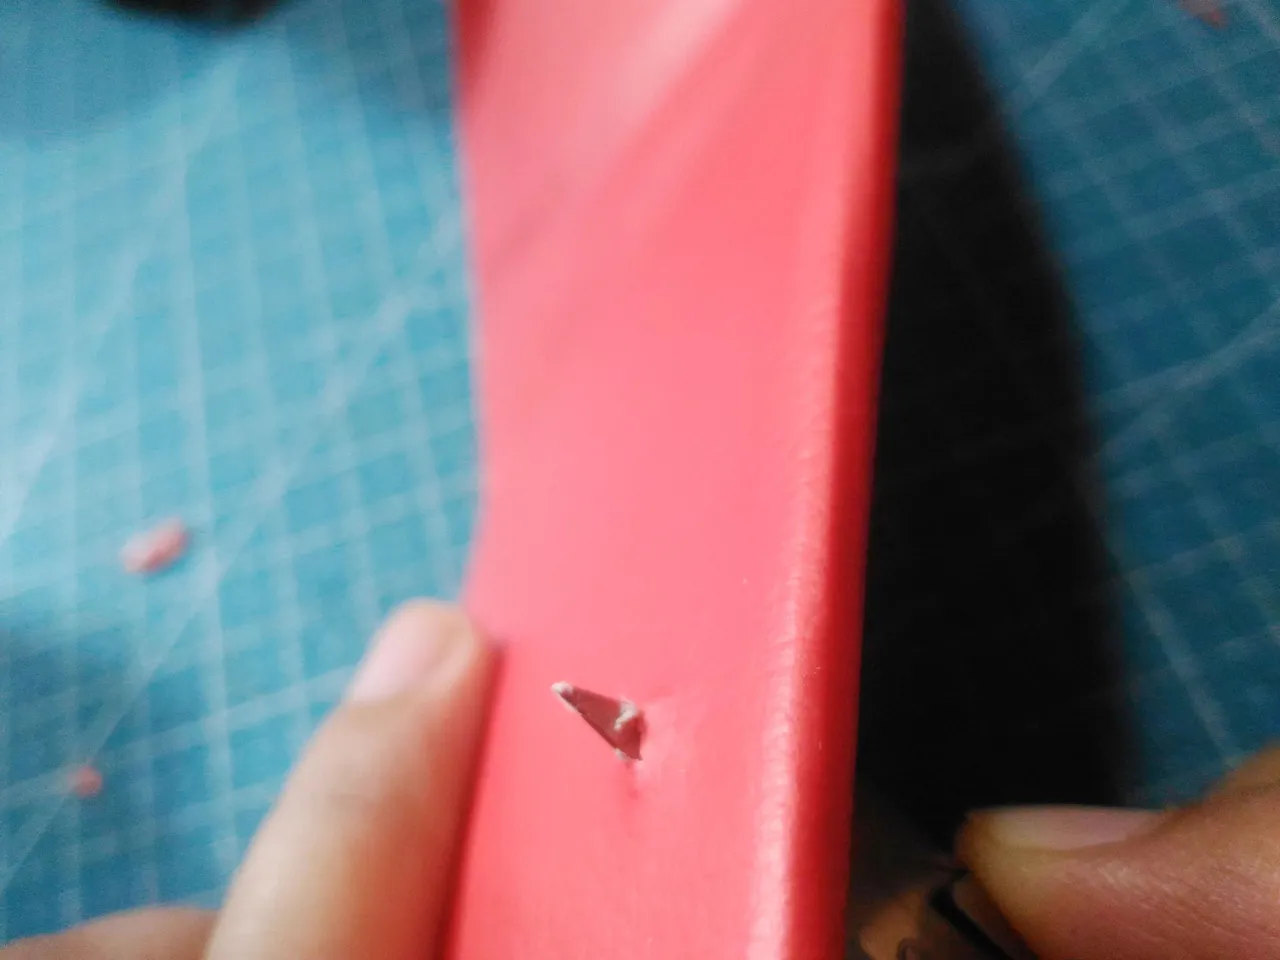
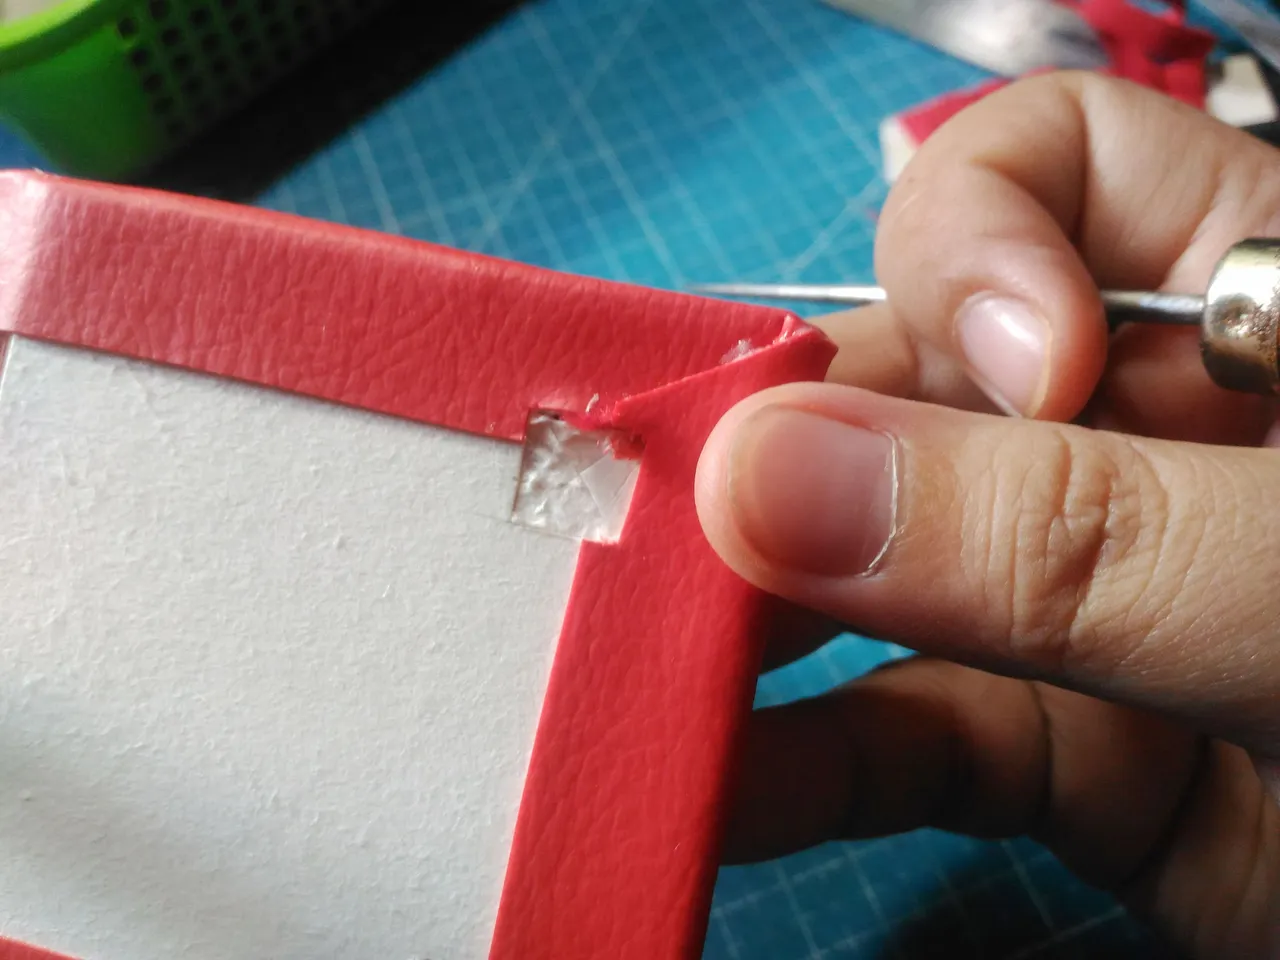
After cutting a square, I cut a slit at the top of it through the cover and do the same thing at the bottom but the opposite.
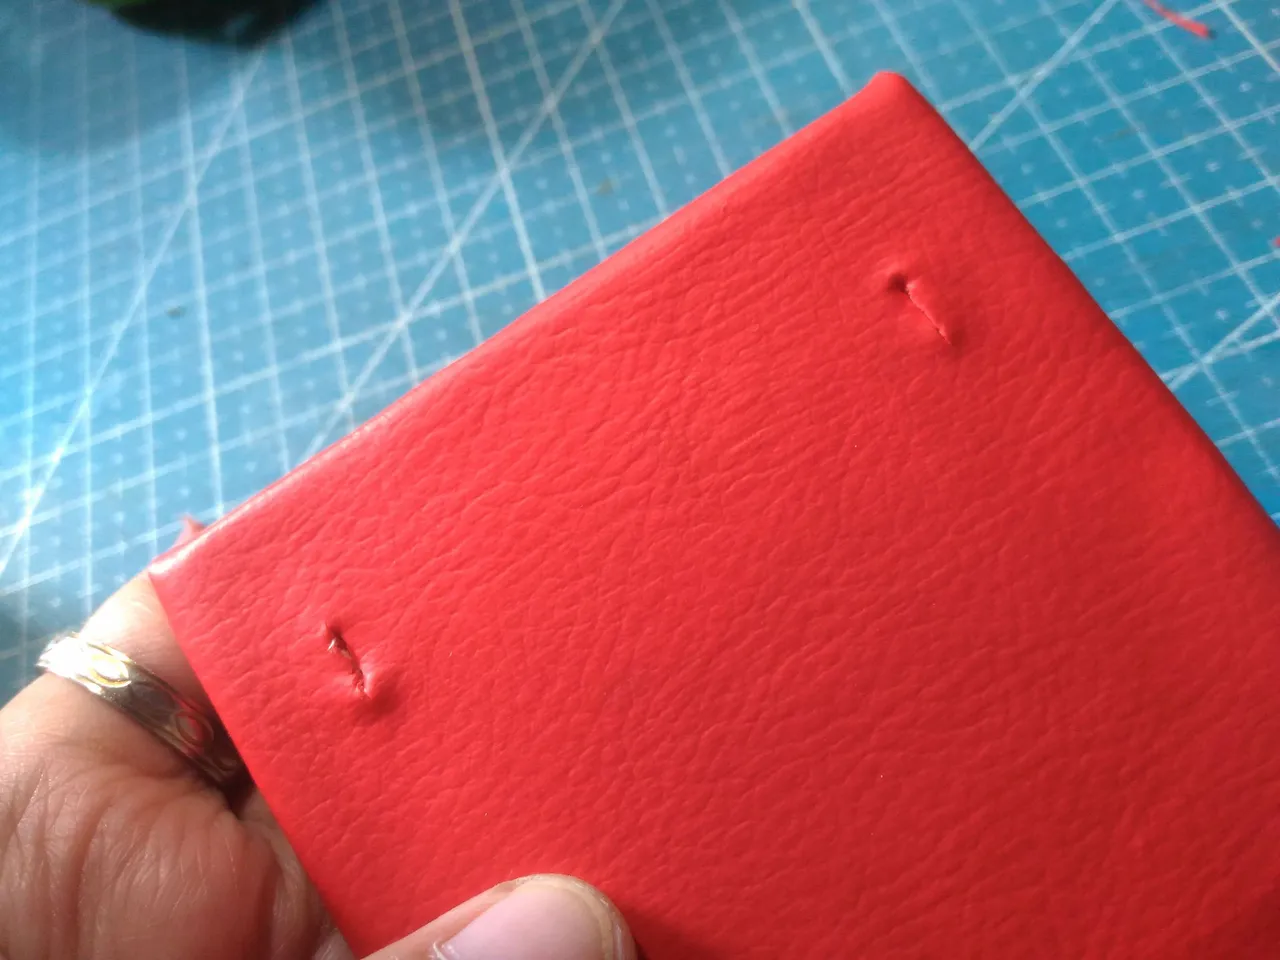
It should look like this. Now it is ready to put a garter.
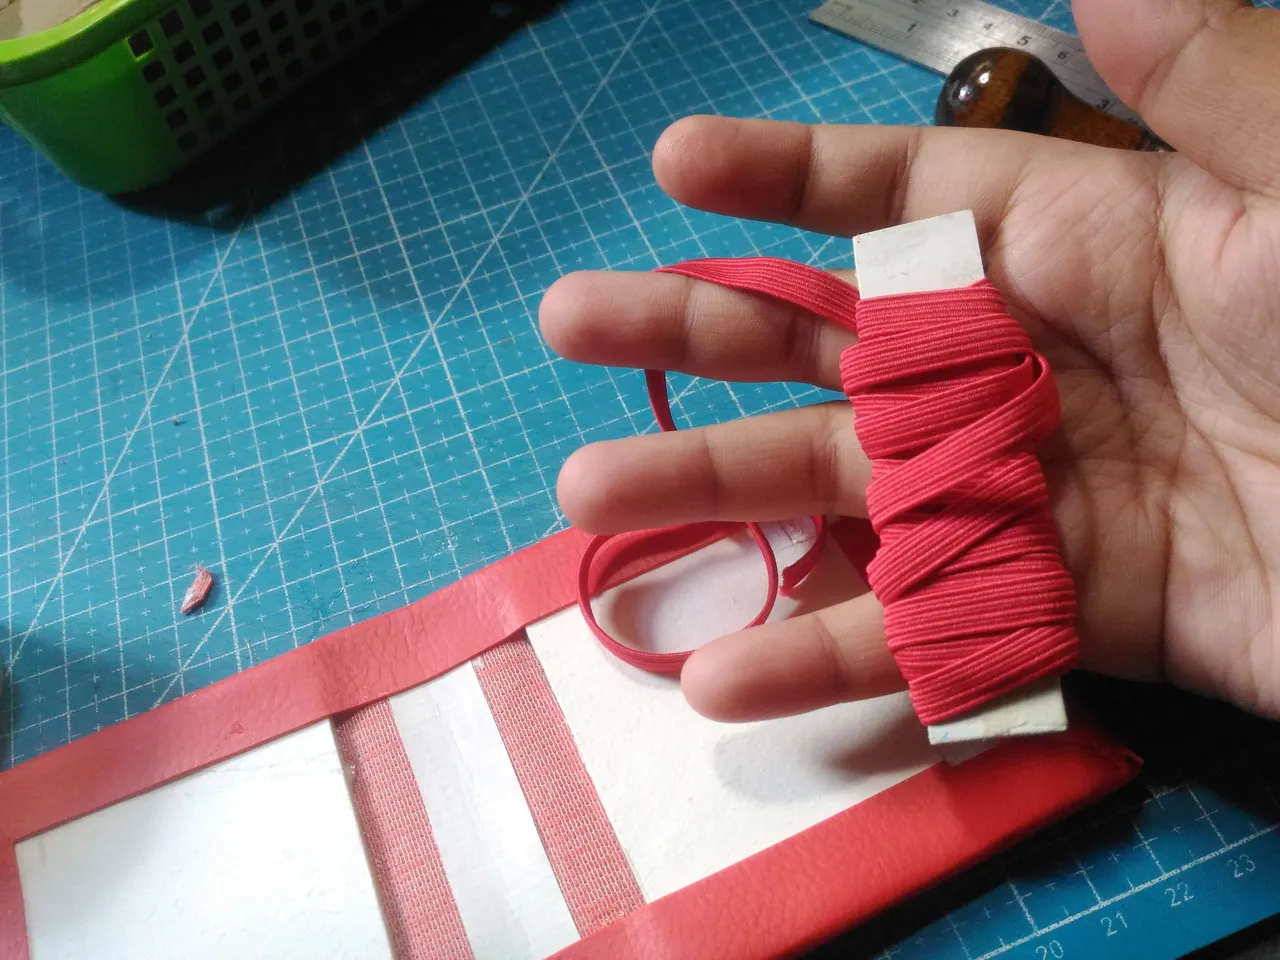
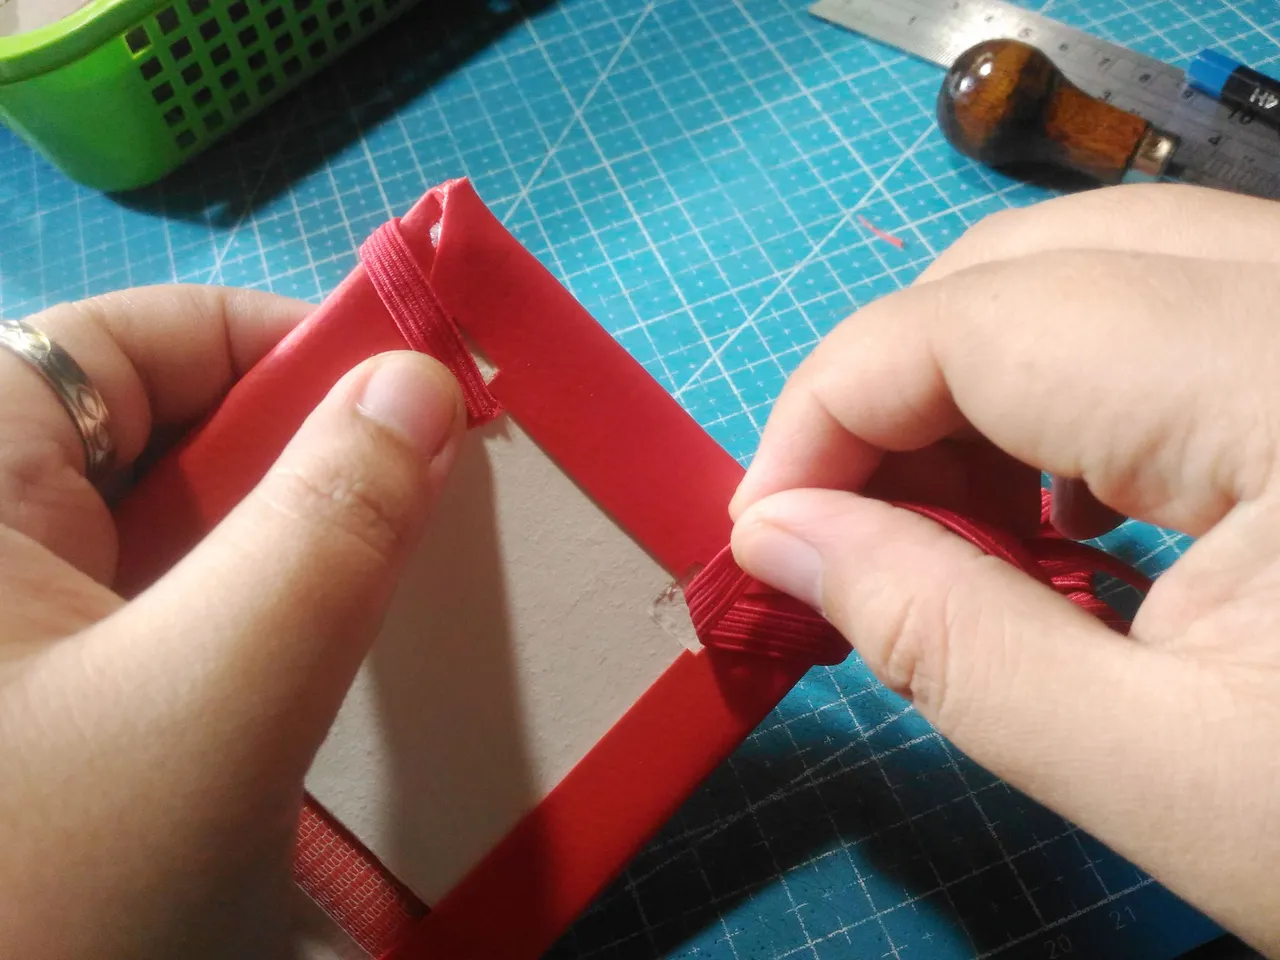
It is time to put the garter at the back part of the hardcover.
Next, I estimate the measurement of the garter I am going to use, I wrap around the hardcover.
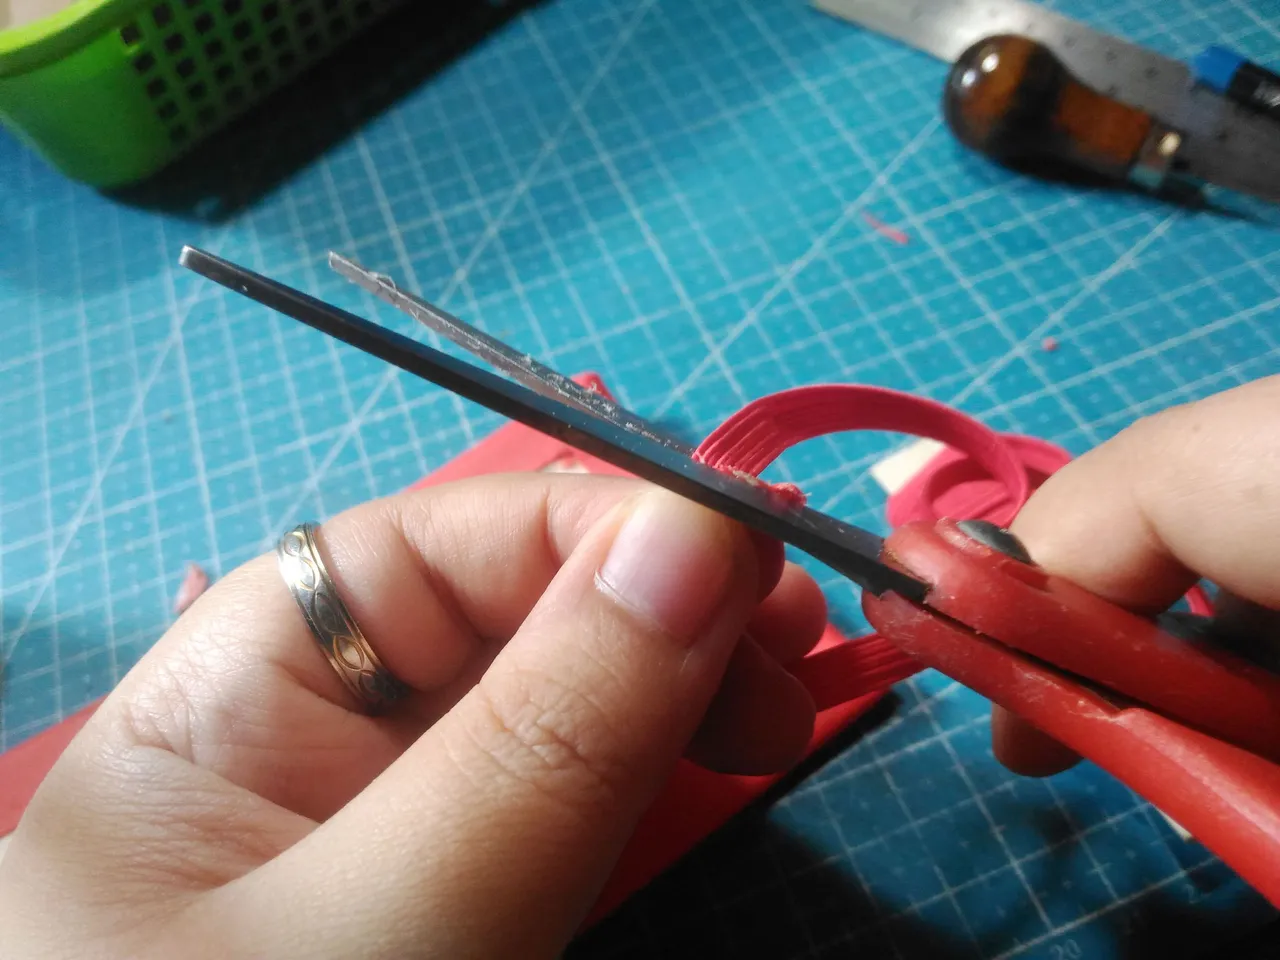
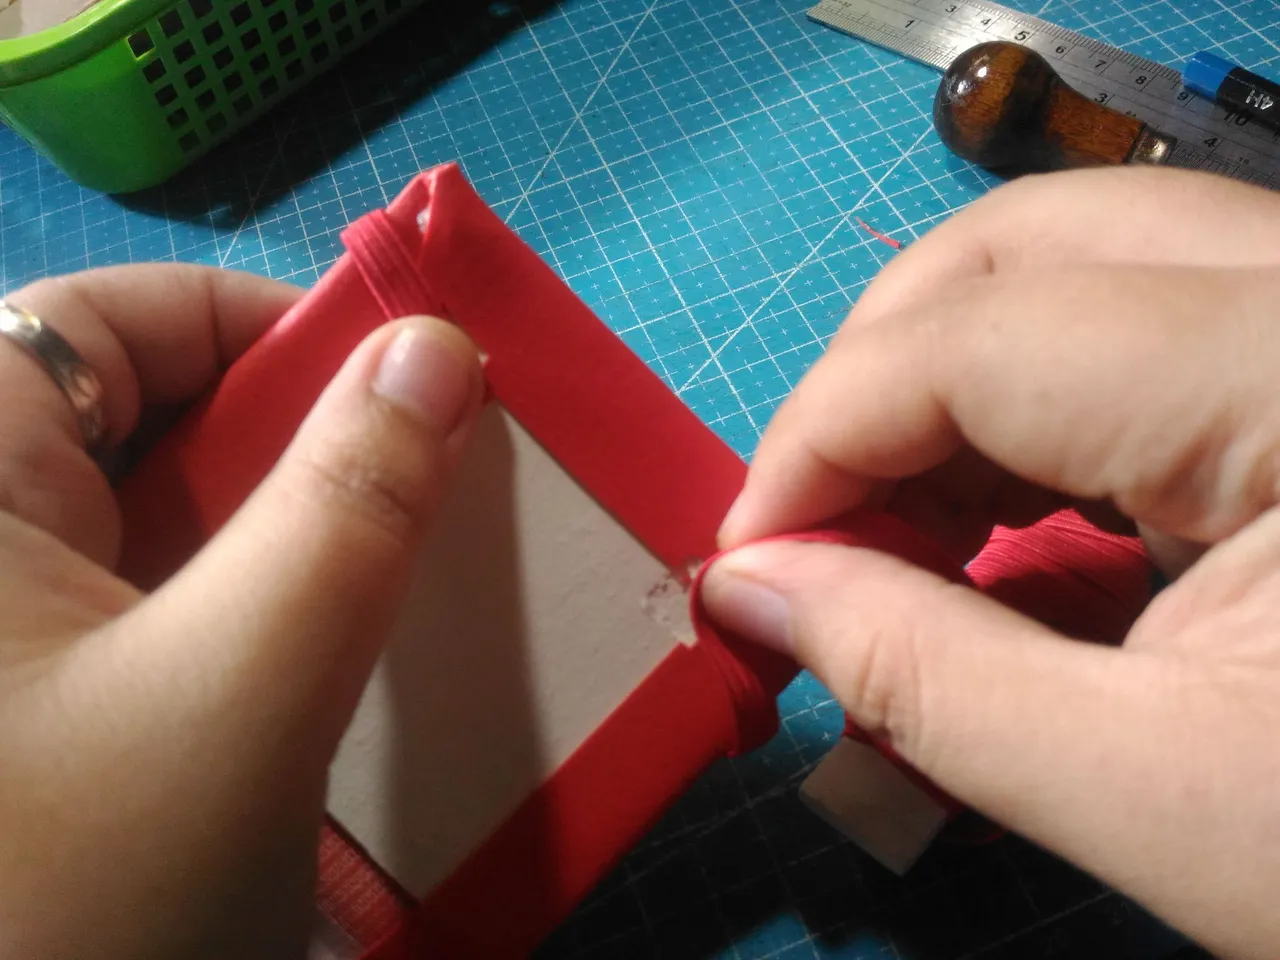
After that, I cut the garter.
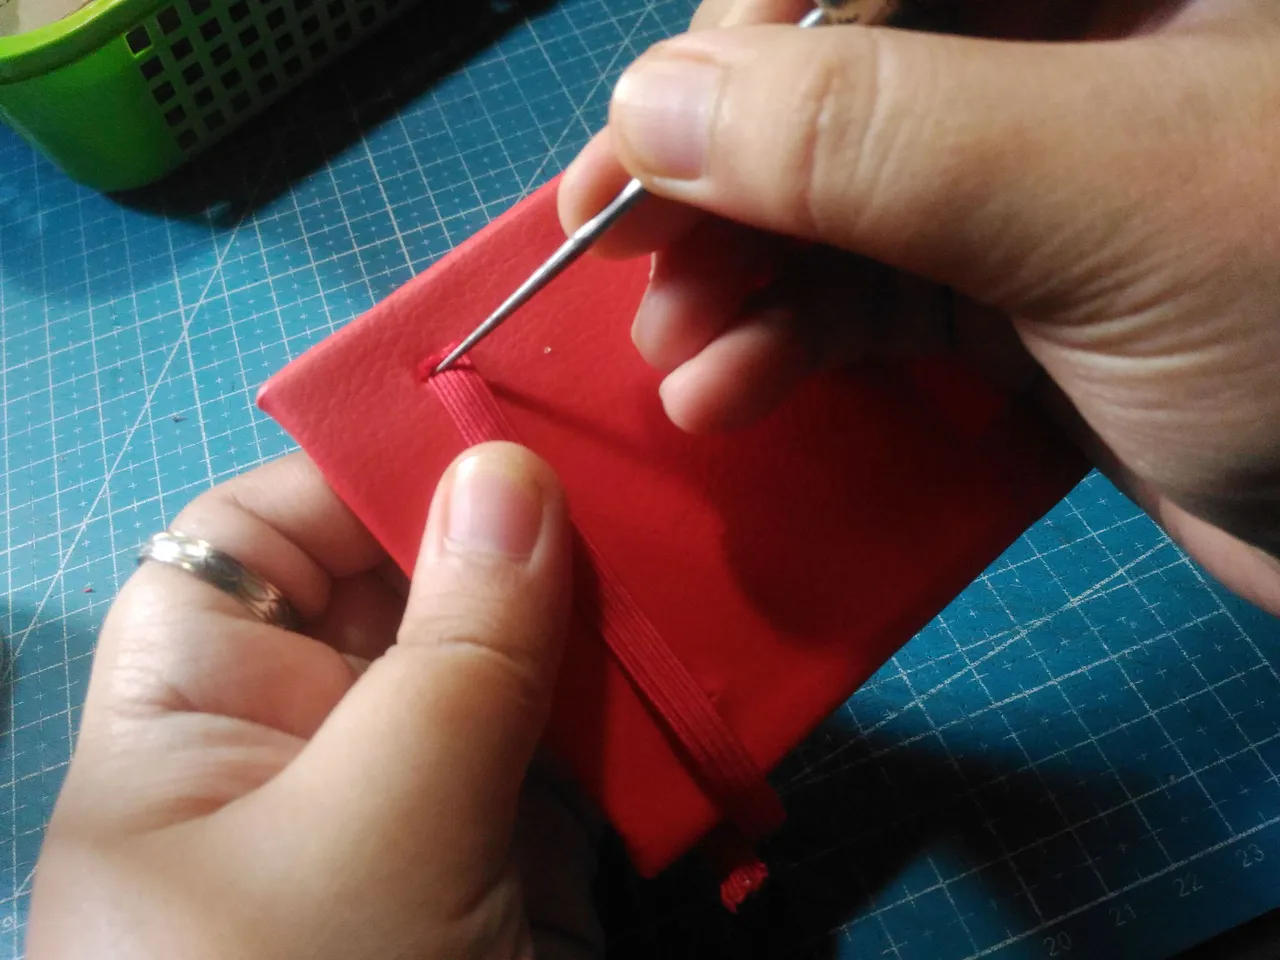
Using the awl I poke the end of the garter through the slit inside.
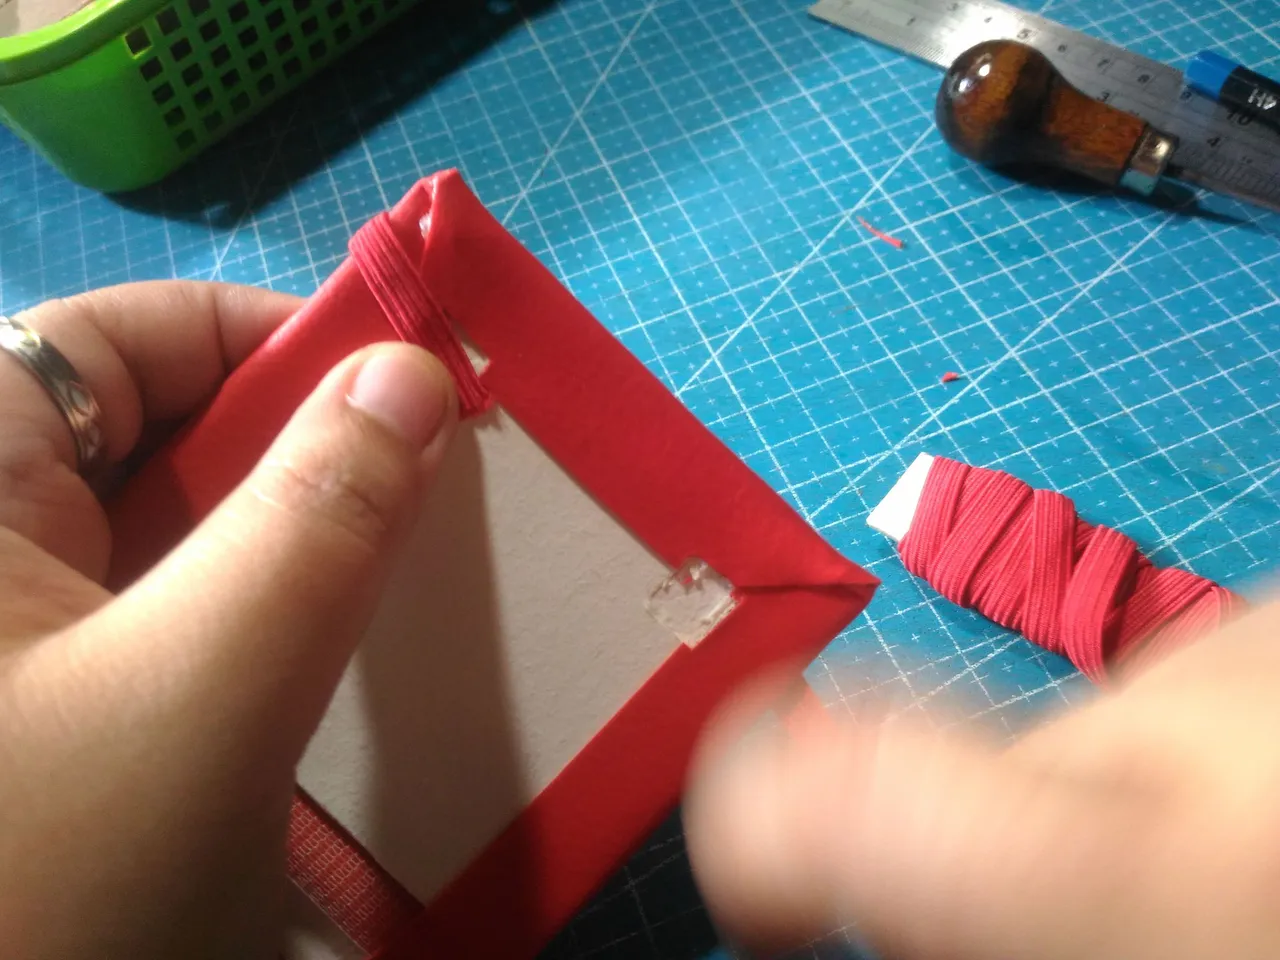
I glue the garter using super glue because it makes it easier to dry.
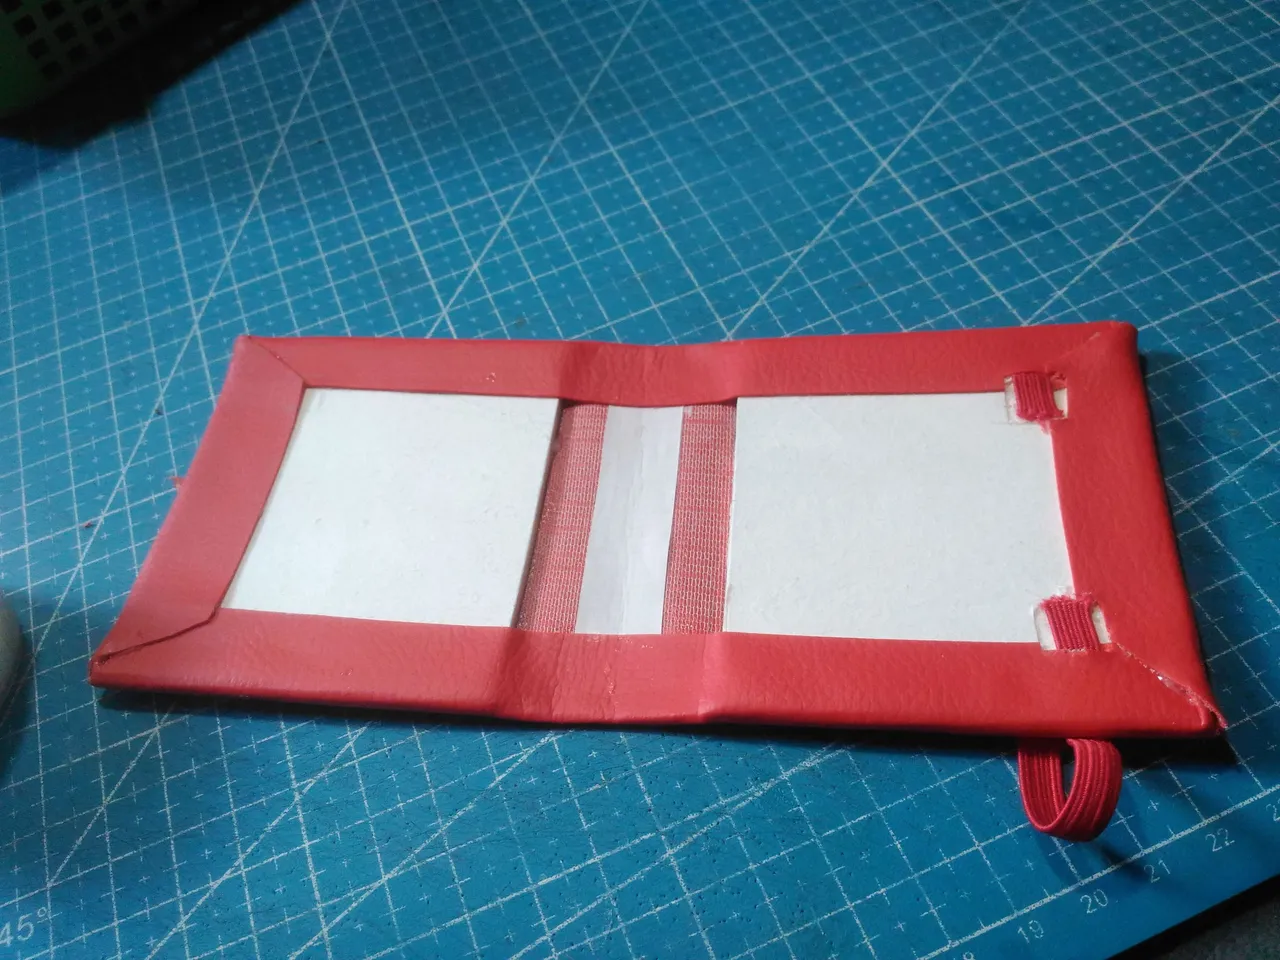
Hardcover is done.
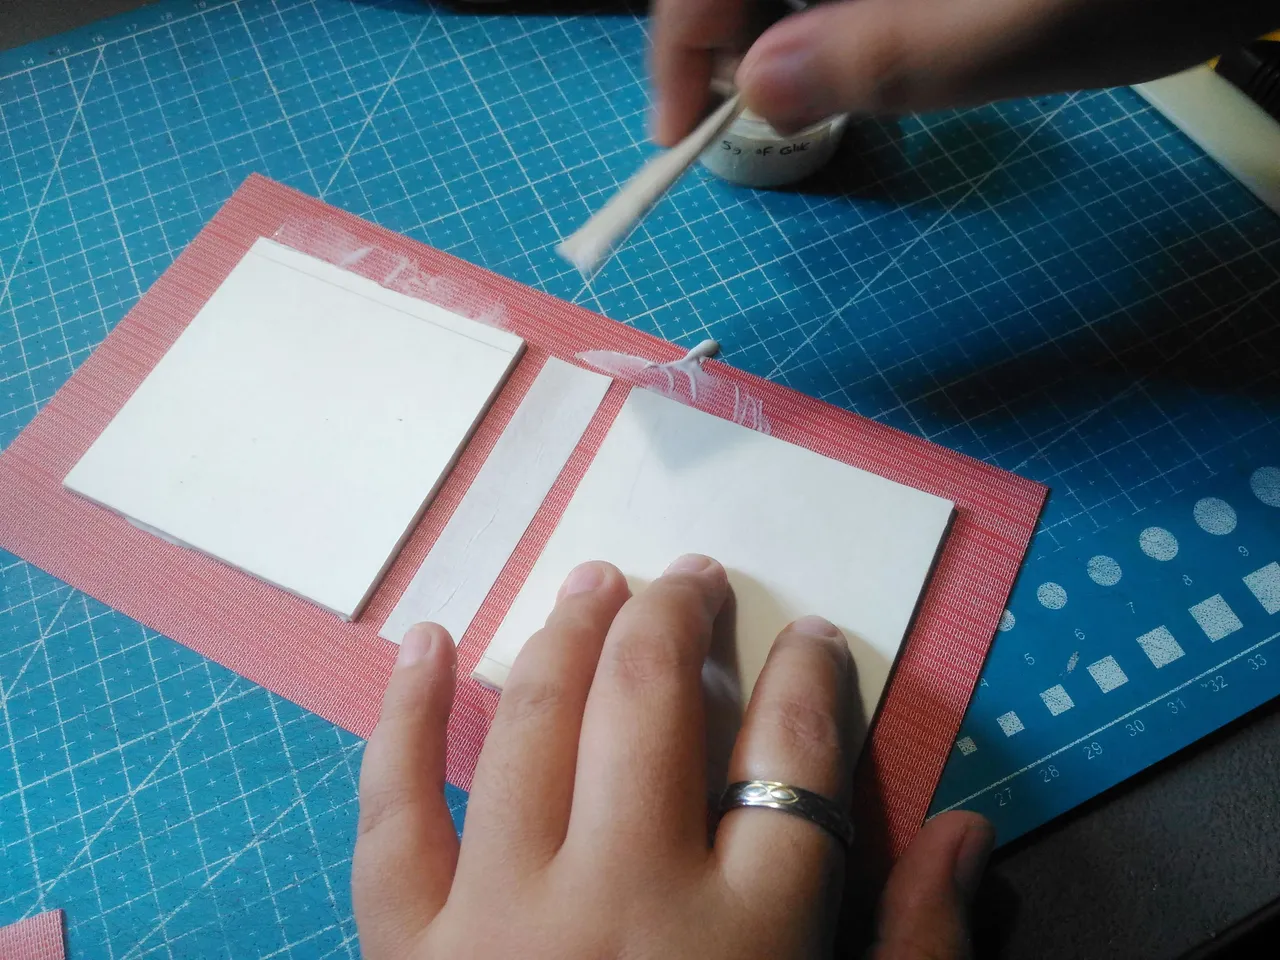
Gluing The Endpapers:
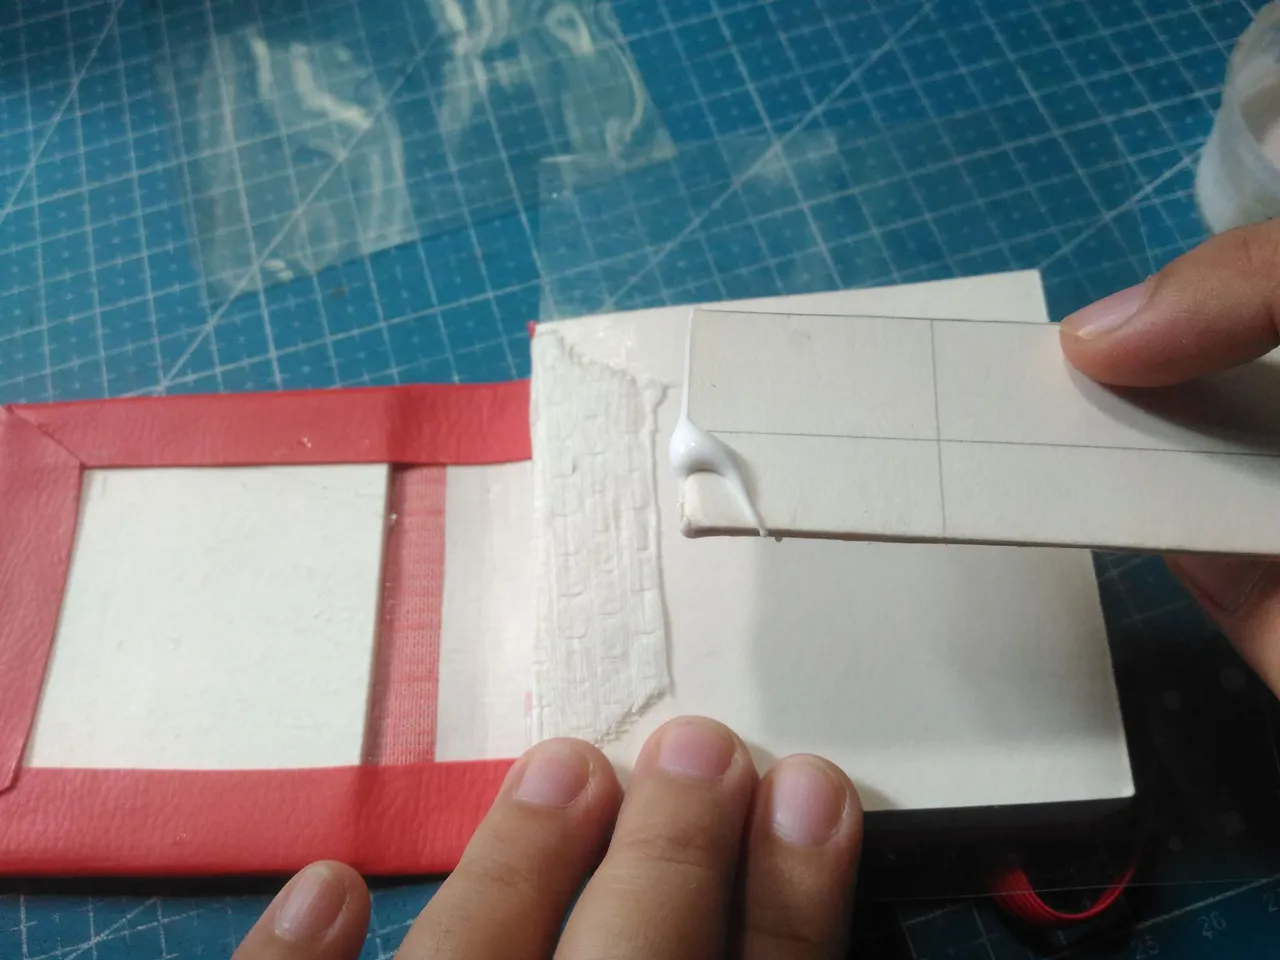
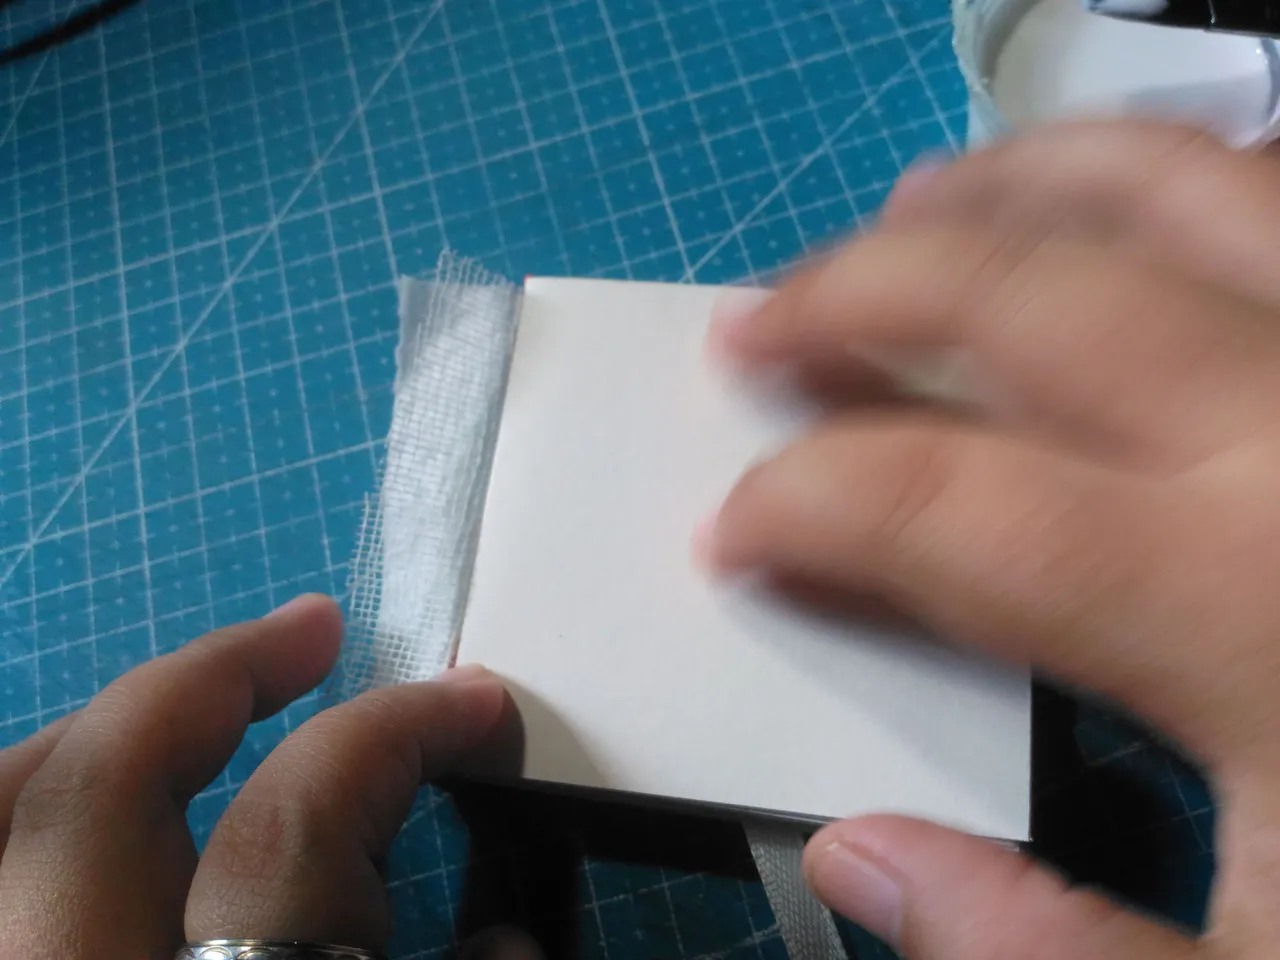
I put plastic in the end paper to protect the paper below it from getting glue and then I apply the glue enough evenly.
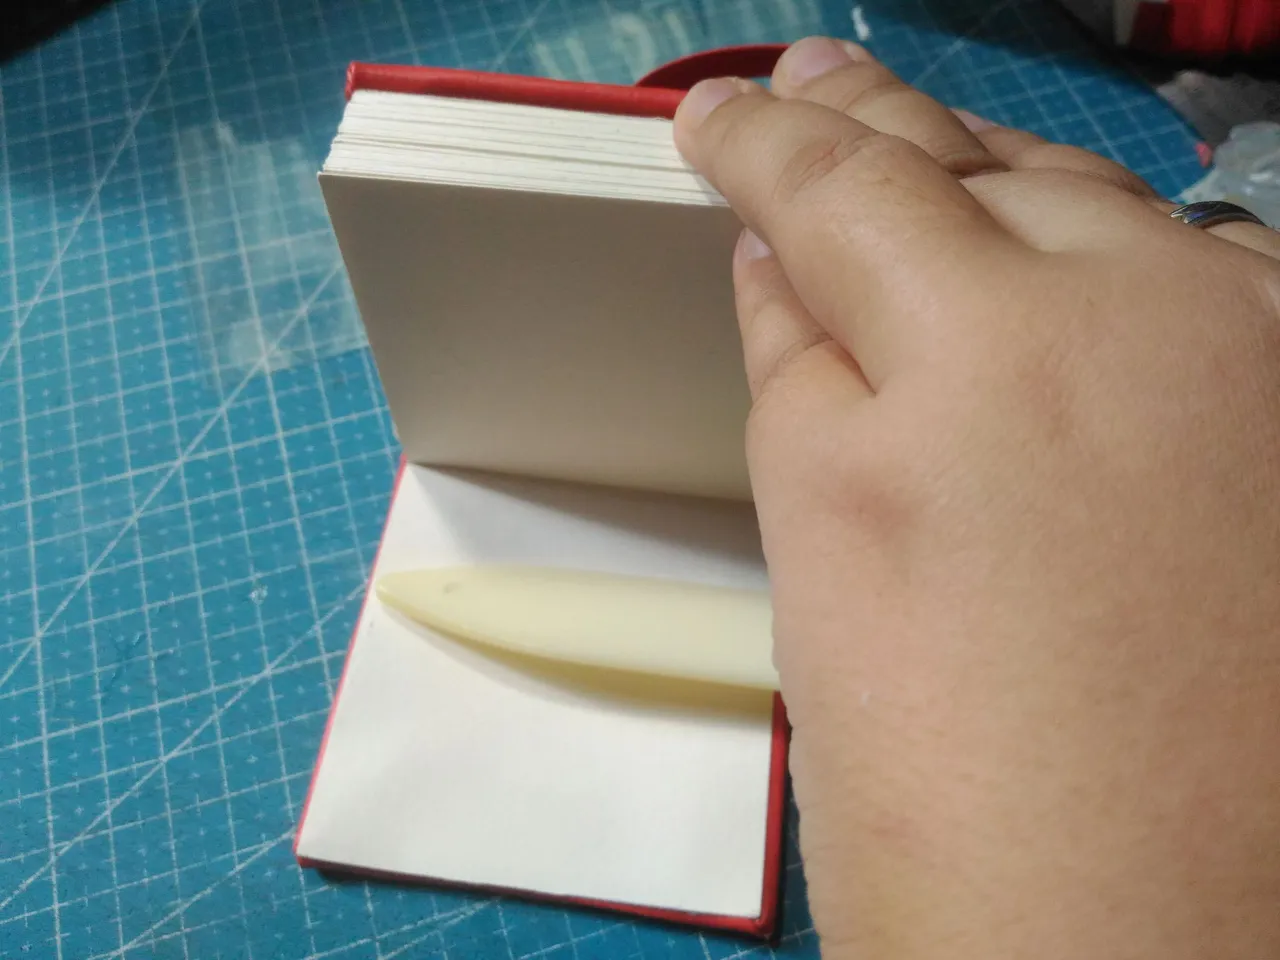
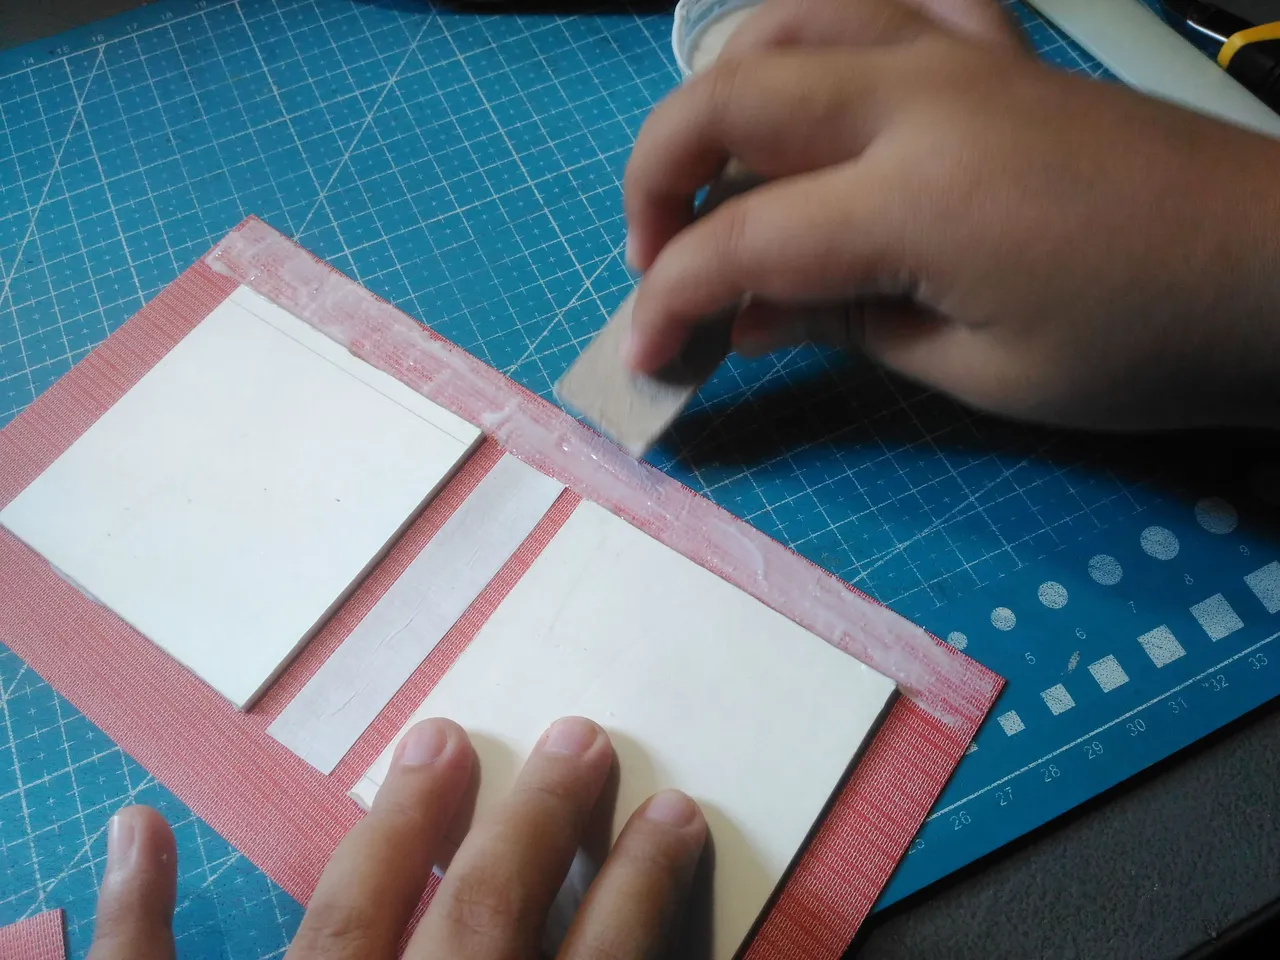
Using the bone folder I remove excess air bubbles.
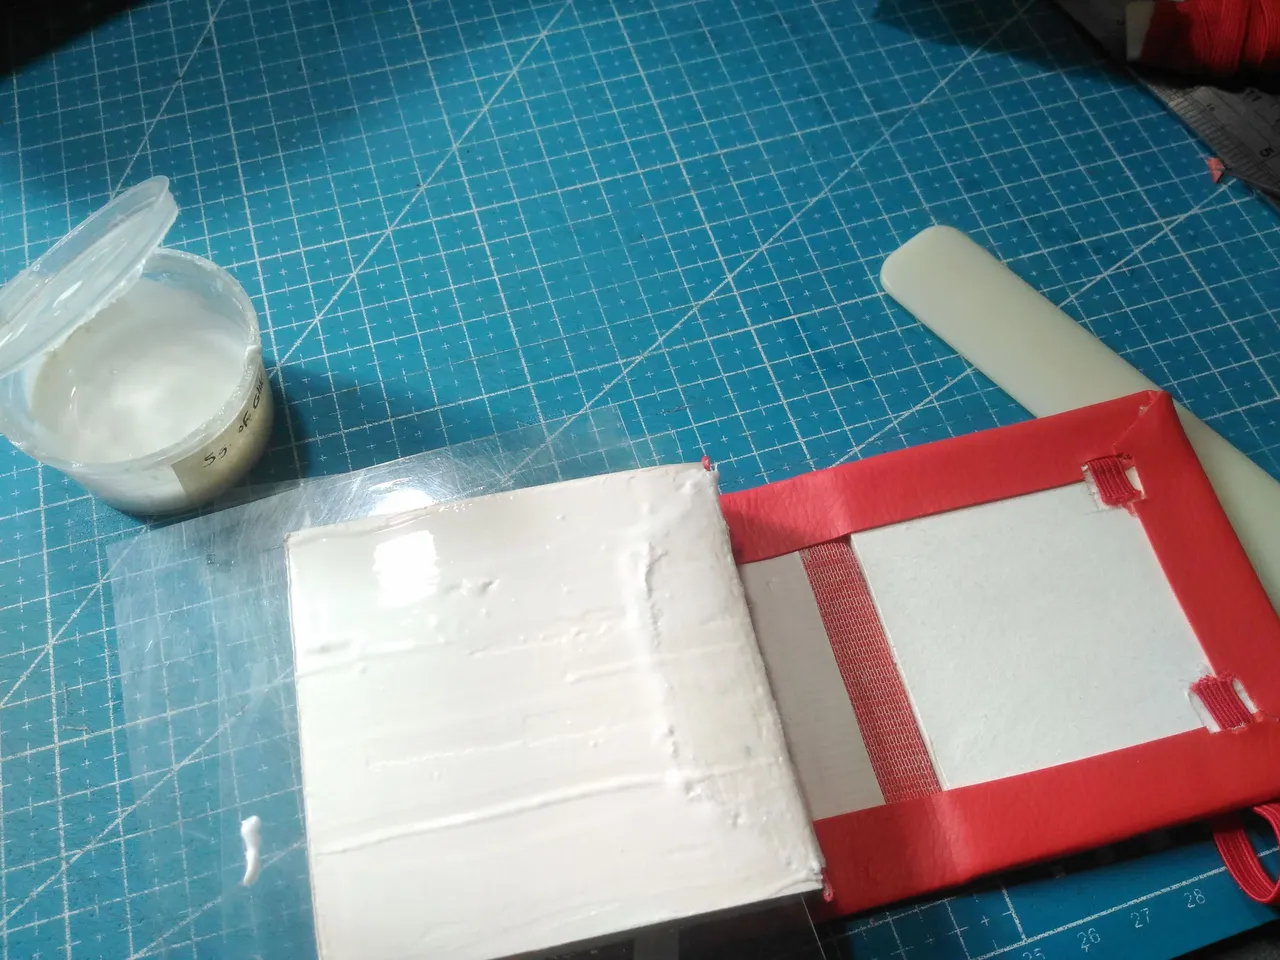
I do the same thing for the back part.
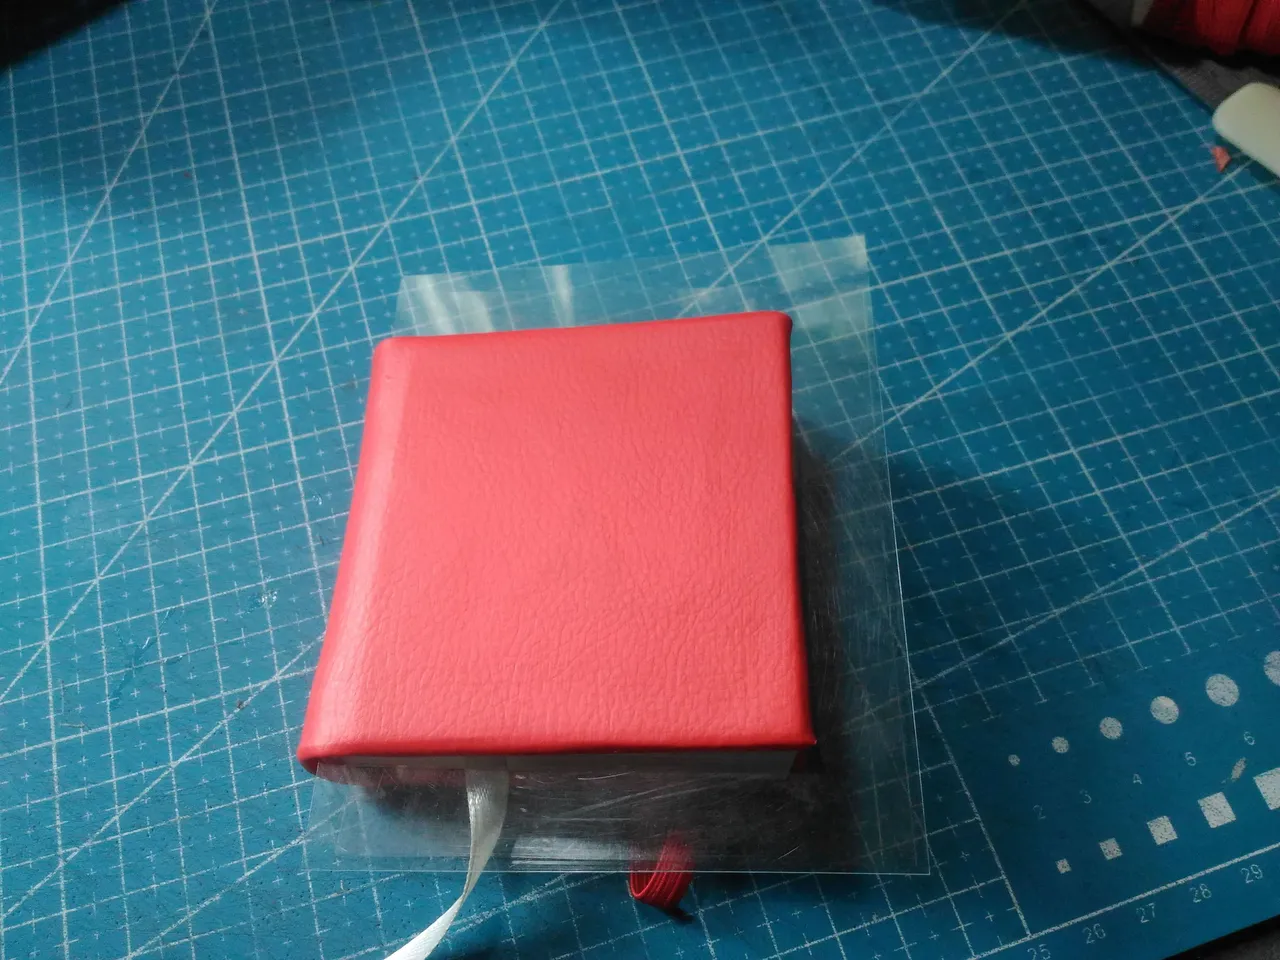
After gluing the endpapers I put the plastic cover to protect the paper from wrapping when drying.
Drying Time:
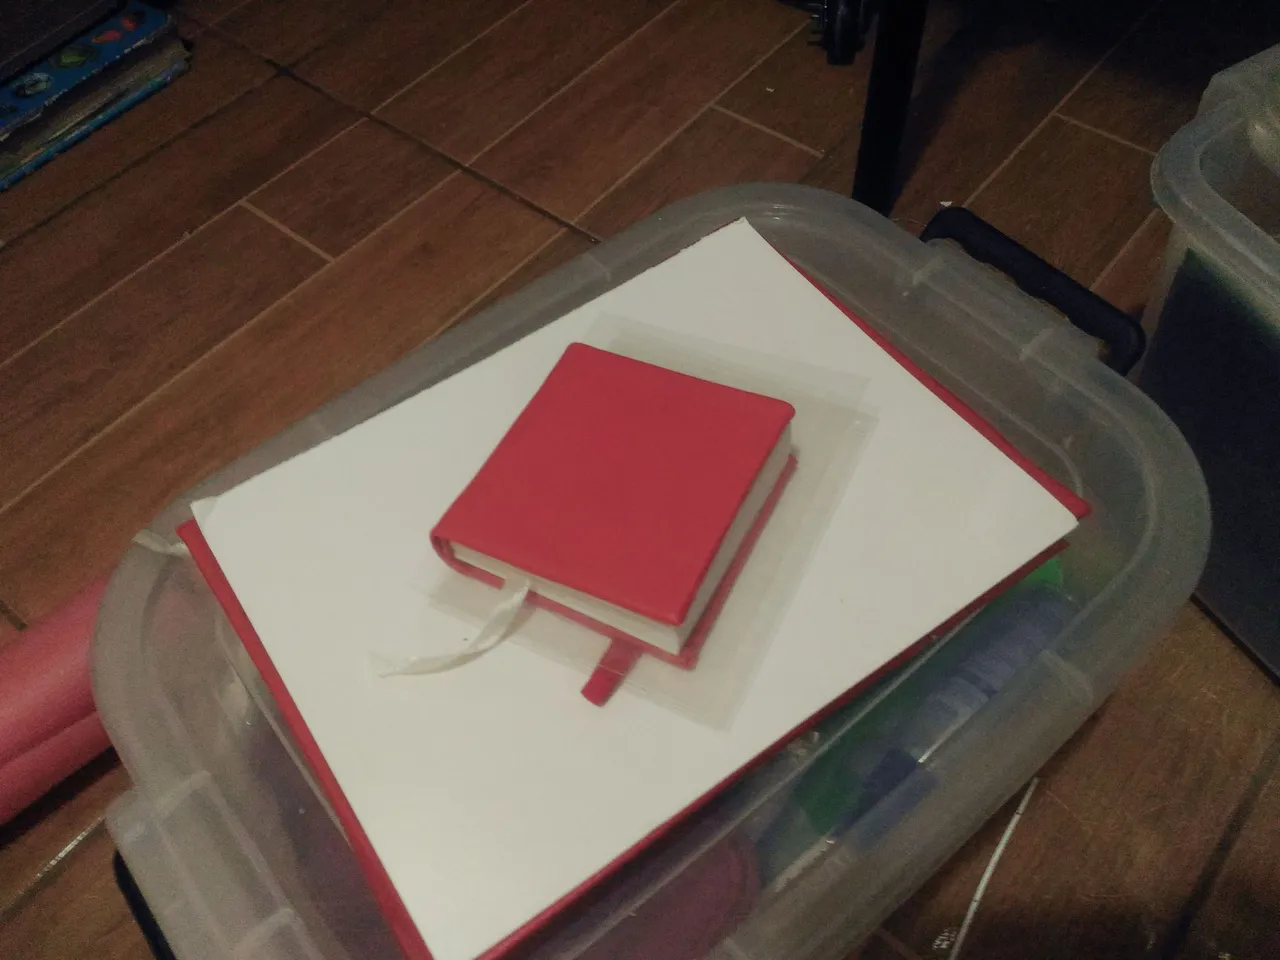
I put the sketchbook on a flat surface and then put a heavy book above it to press it. Let it dry for the whole day.
Finish Sketchbook:
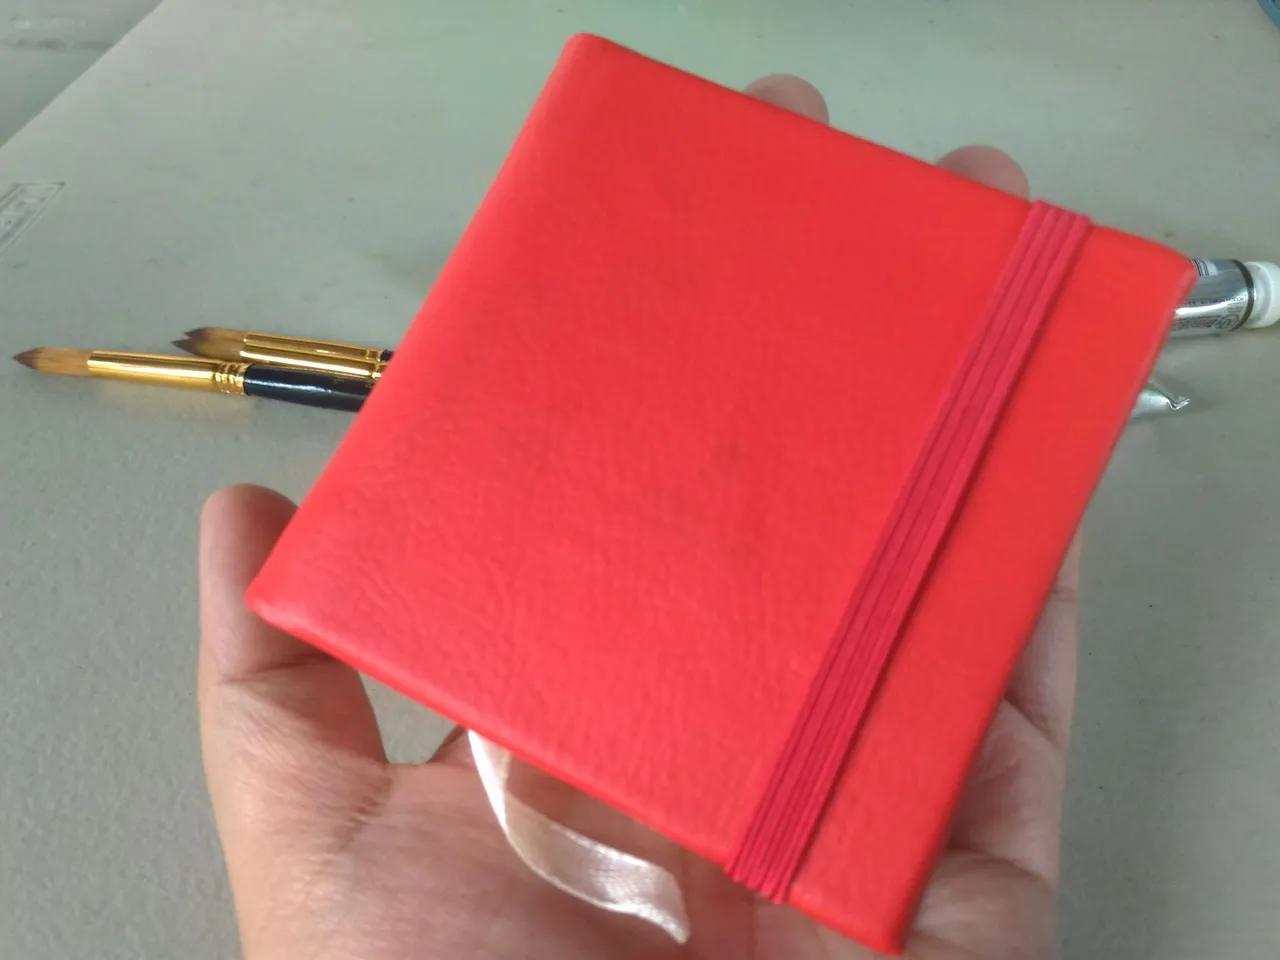
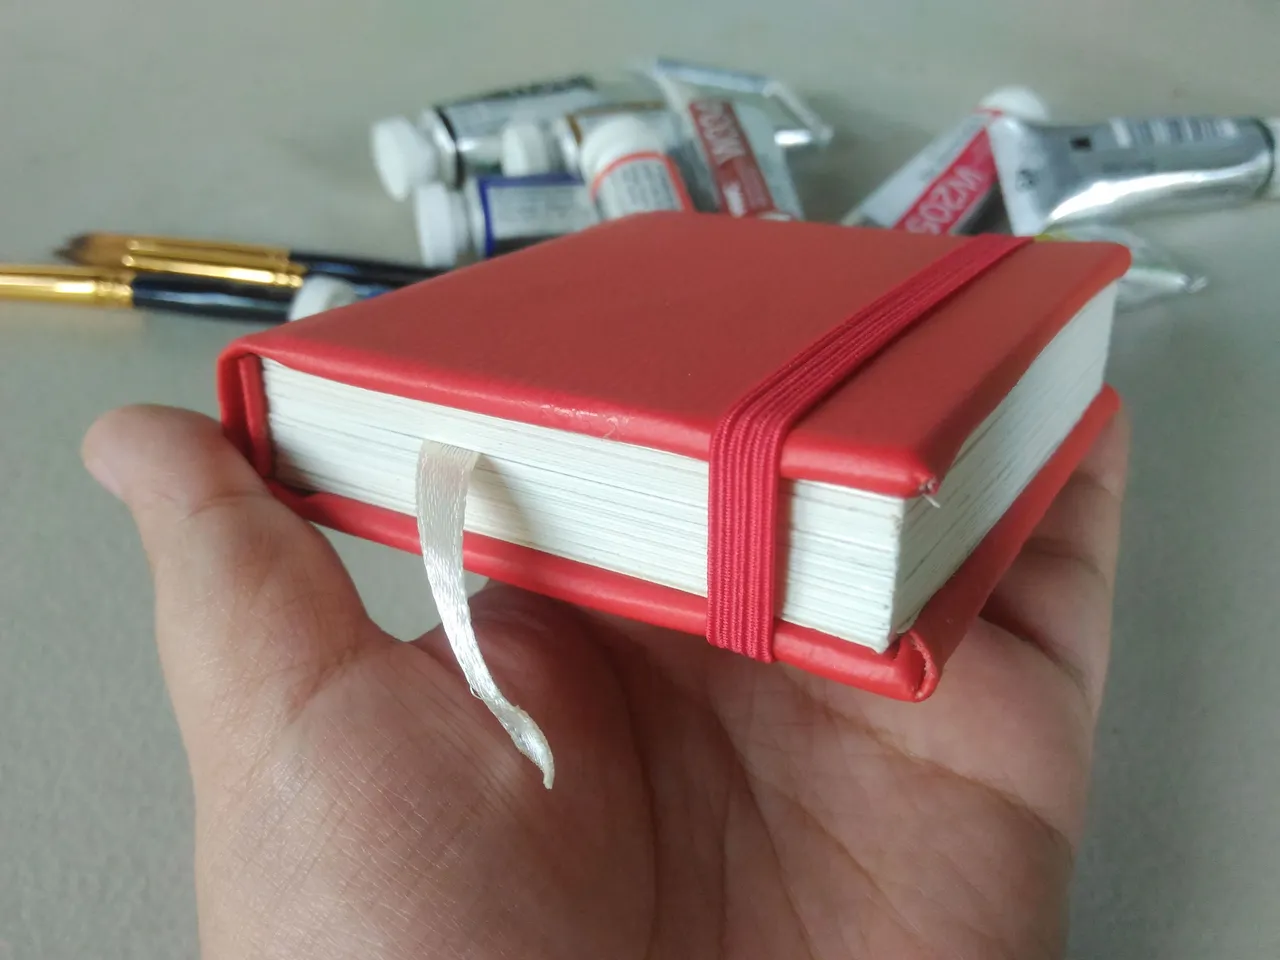

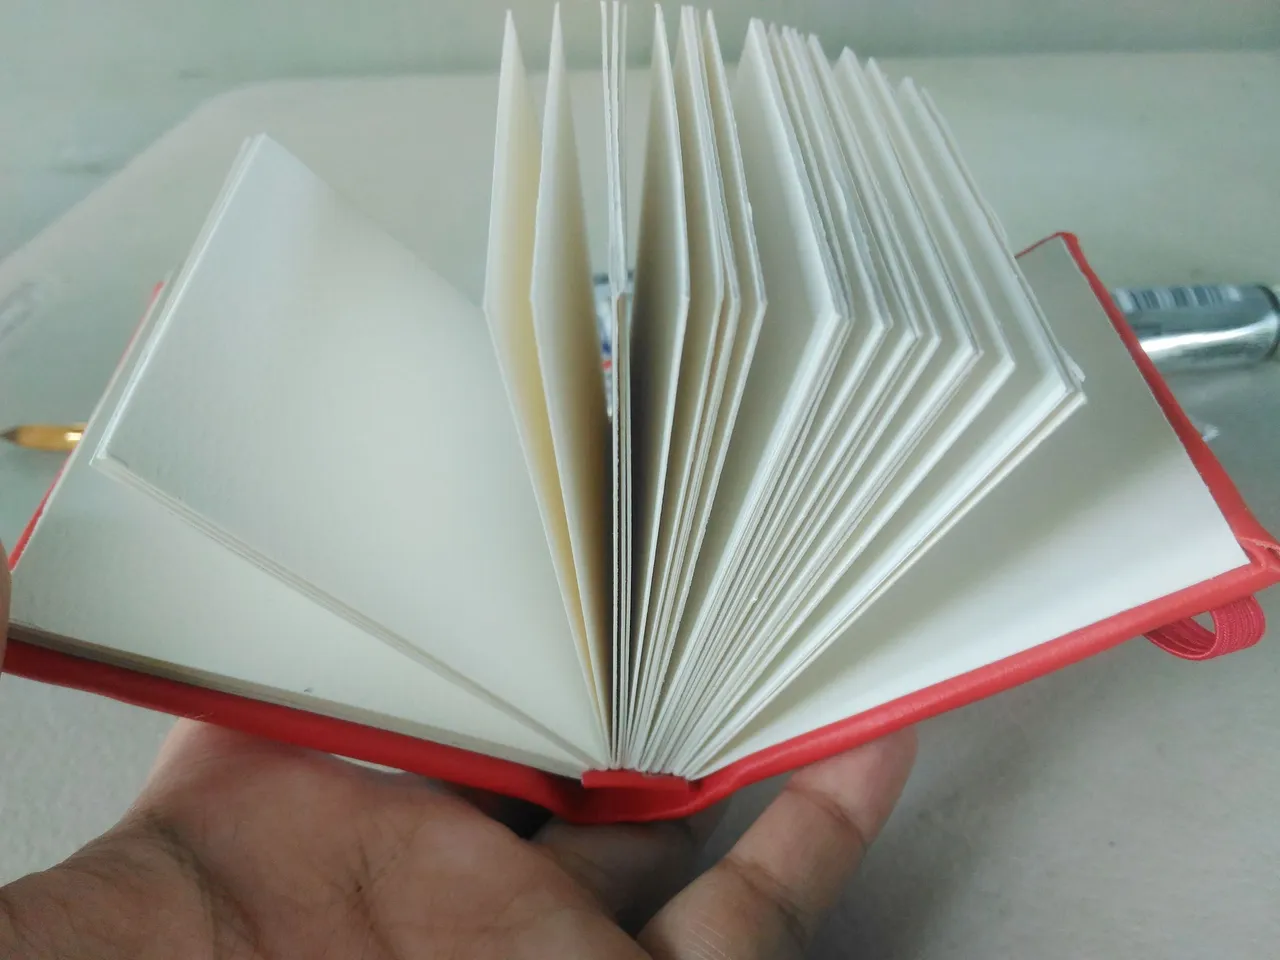
I am so happy with the result of the sketchbook, I've been planning on showing how I made my handmade sketchbook a few years ago but I never did but now I did it is so rewarding. I hope in the future I will post more and more blogs about my hobbies.
Thank you for visiting, See you on my next blog.