
Español
Un placer saludarles mis estimados(as) lectoras, no he mantenido el ritmo de publicaciones y tiempo dedicado a la comunidad pero @Hive @peakd están siempre presente en mi mente y corazón. Estoy actualmente inmersa en varios cosas y aunque sigo creando y realizando manualidades semana a semana me ha resultado dificil ponerme al día y sí, tengo muchos trabajos pendientes por publicar… muchos, pero los iré cargando en la medida de mis posibilidades.
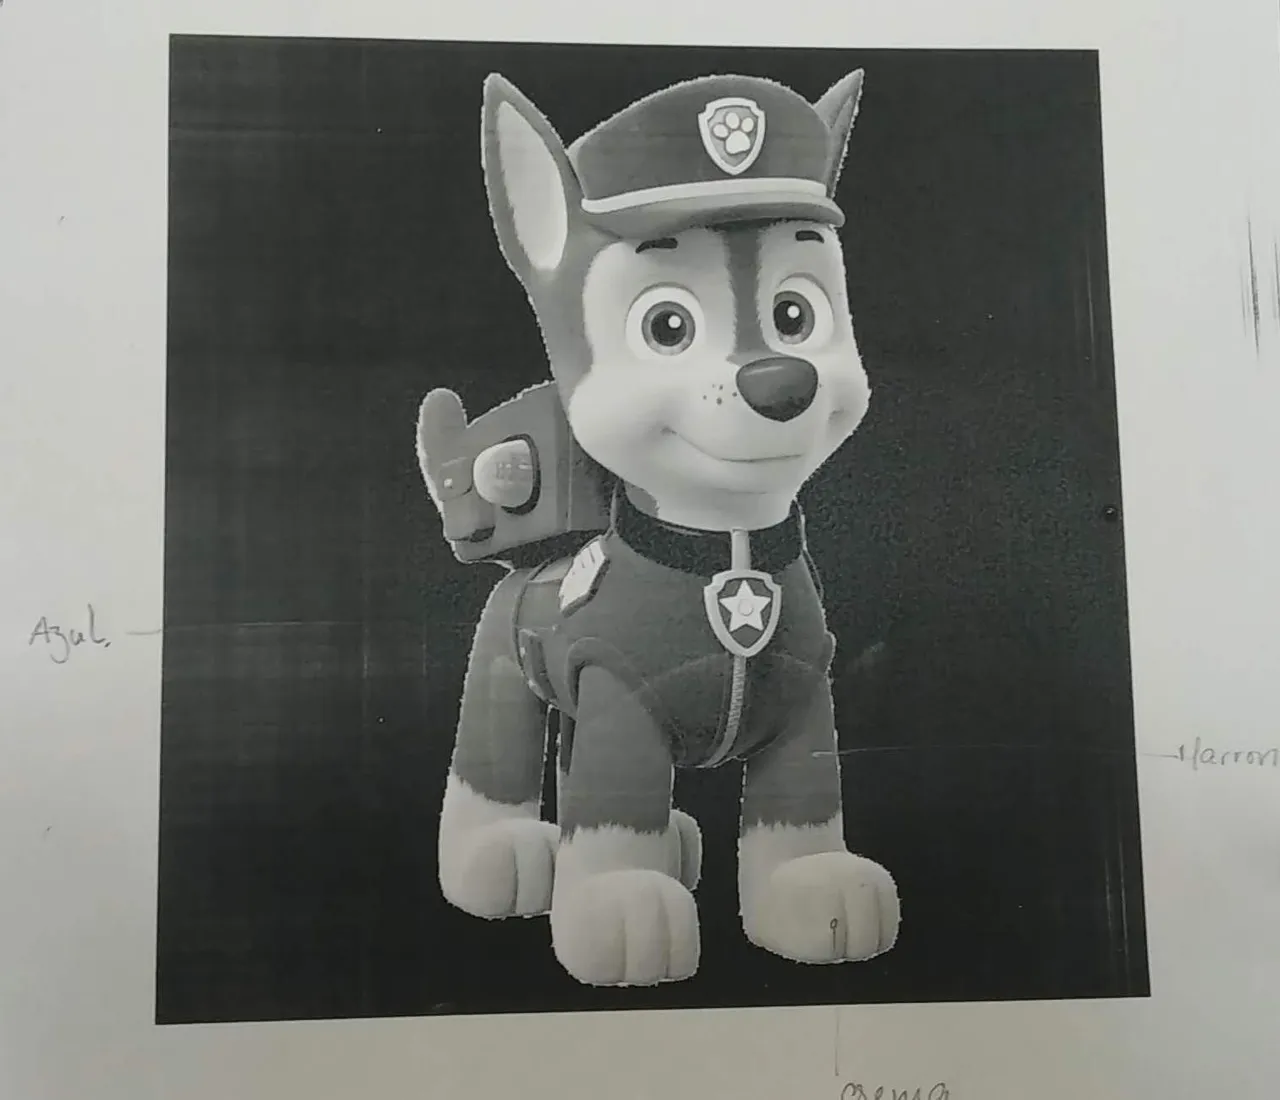
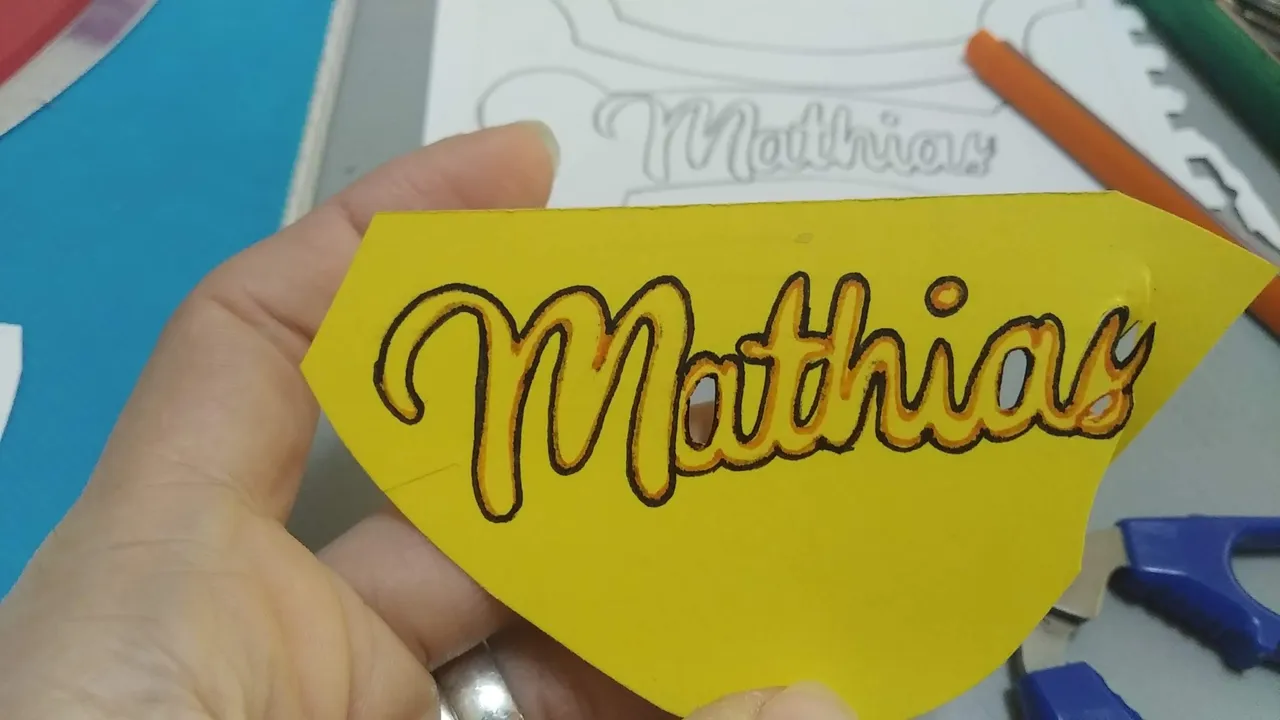
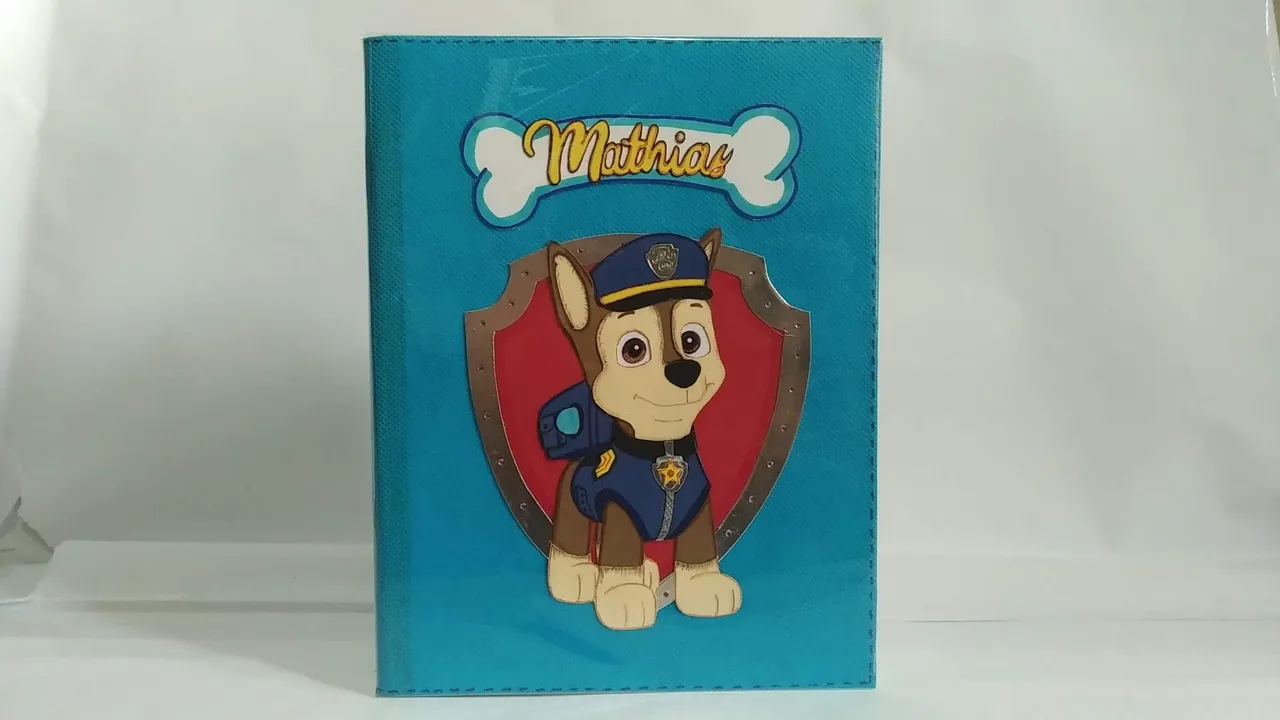
Hoy quiero compartir un proyecto pequeño que realicé para un hermoso vecino llamado Mathias (se llama igual que mi hijo) que ama los dibujos animados y Pawpatrol es uno de sus favoritos. Estaba comenzando a escribir cuando realice el cuaderno y fue para él, una fuente de inspiración sentir a su personaje favorito en su cuaderno.
Le agradezco a su mamá la confianza por creer en mi para decorar su libreta, y confiar en el trabajo artesanal que realizo.
- Libreta escolar de una linea
- Patrón del diseño (dibujo)
- Cartulina de colores (según diseño a realizar)
- Marcadores de colores (finos y gruesos)
- Lápiz
- Lapices de colores
- Hoja reciclada
- Tela POP, color azul cielo.
- Tijera
- Silicón frío
- Cutter
- PlatiCristal (protección del cuaderno)
- Cinta adhesiva transparente.
English
A pleasure to greet you my dear readers, I haven't kept up the pace of publications and time dedicated to the community but @Hive @peakd are always present in my mind and heart. I am currently immersed in several things and although I keep creating and making crafts week after week it has been difficult for me to catch up and yes, I have many pending works to publish... many, but I will upload them as far as I can.
Today I want to share a small project I made for a beautiful neighbor named Mathias (he has the same name as my son) who loves cartoons and Pawpatrol is one of his favorites. He was just starting to write when I made the notebook and it was a source of inspiration for him to feel his favorite character in his notebook.
I thank his mom for believing in me to decorate his notebook, and for trusting in the handmade work I do.
Translated with DeepL.com (free version)
- Single line school notebook
- Design pattern (drawing)
- Colored cardboard (according to the design to be made)
- Colored markers (thin and thick)
- Pencil
- Colored pencils
- Recycled paper
- POP cloth, sky blue color.
- Scissors
- Cold silicone
- Cutter
- PlatiCristal (notebook protection)
- Transparent adhesive tape.
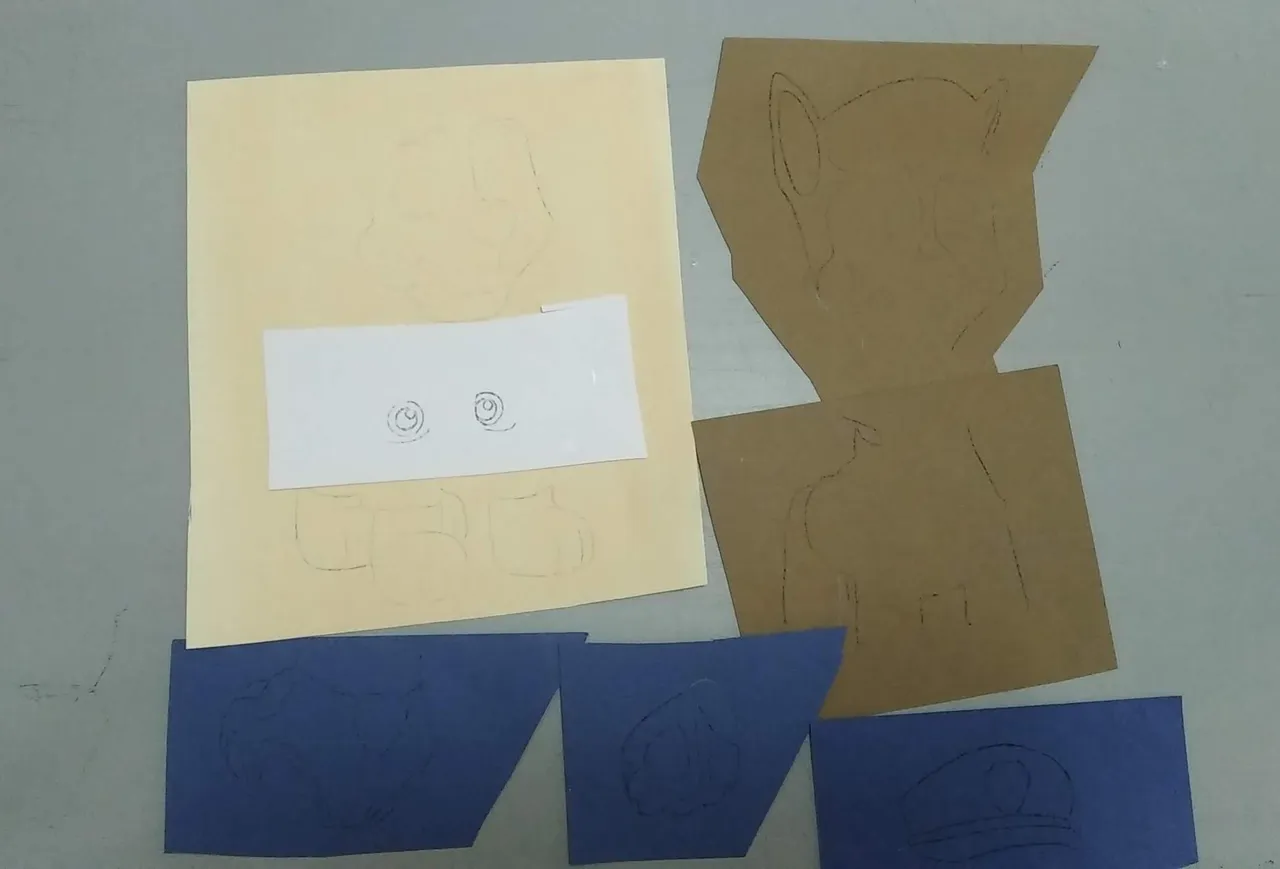
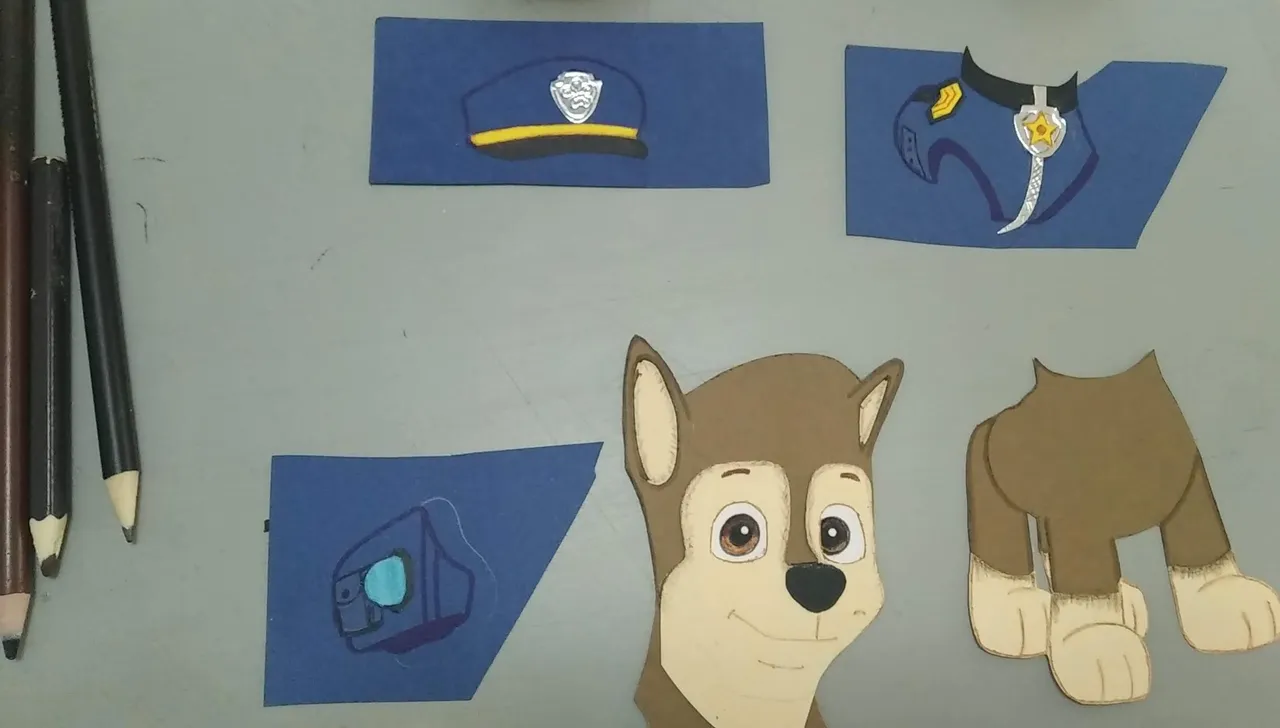
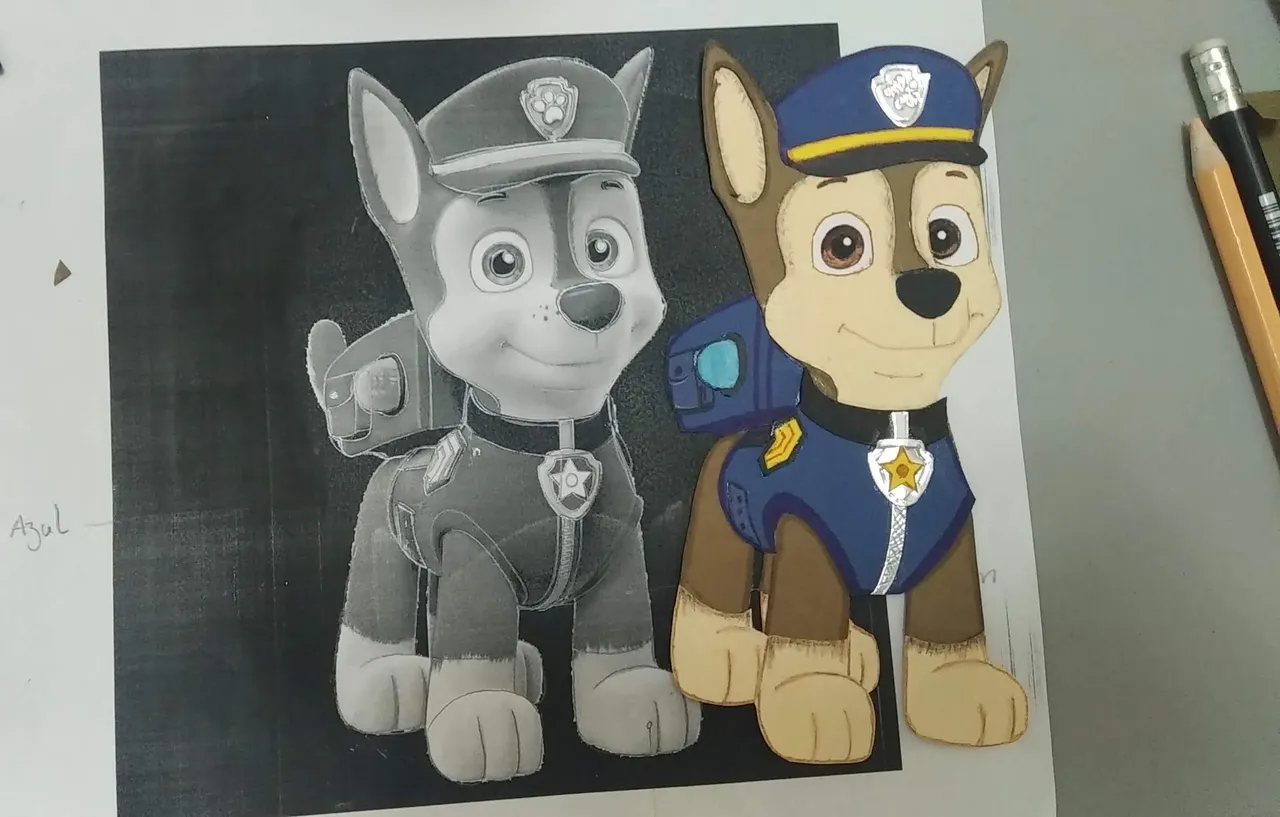
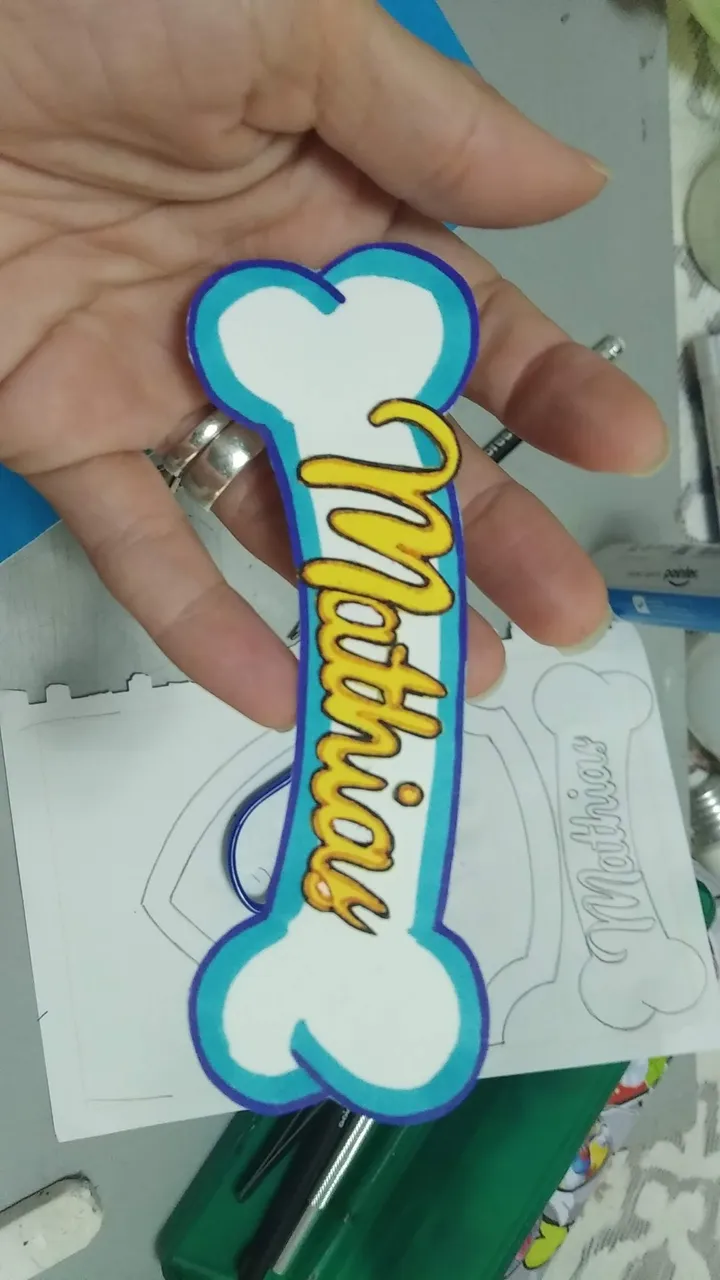
1.- Tomar el patrón del diseño , en este caso una copia de la imagen, y transferir cada una de las partes a las cartulinas de colores correspondientes.
1.- Take the pattern of the design, in this case a copy of the image, and transfer each of the parts to the corresponding colored cardstock.
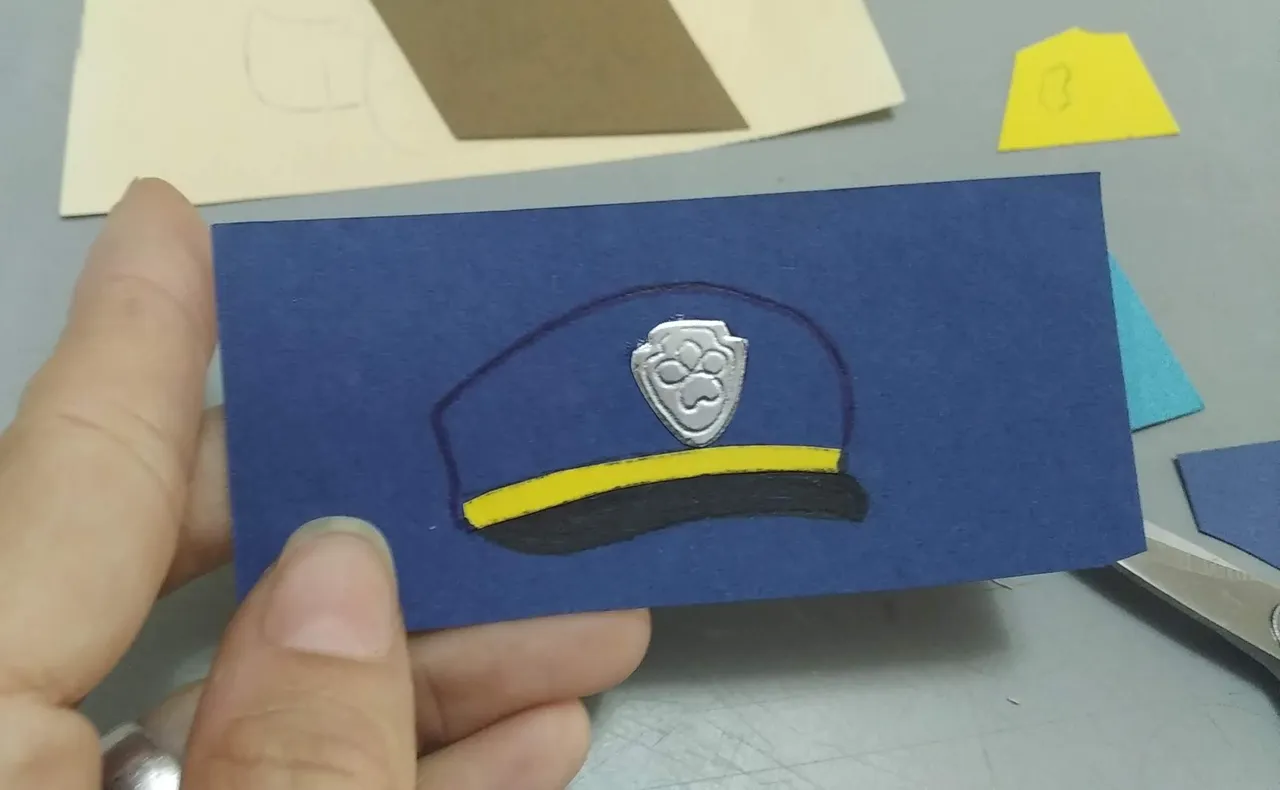
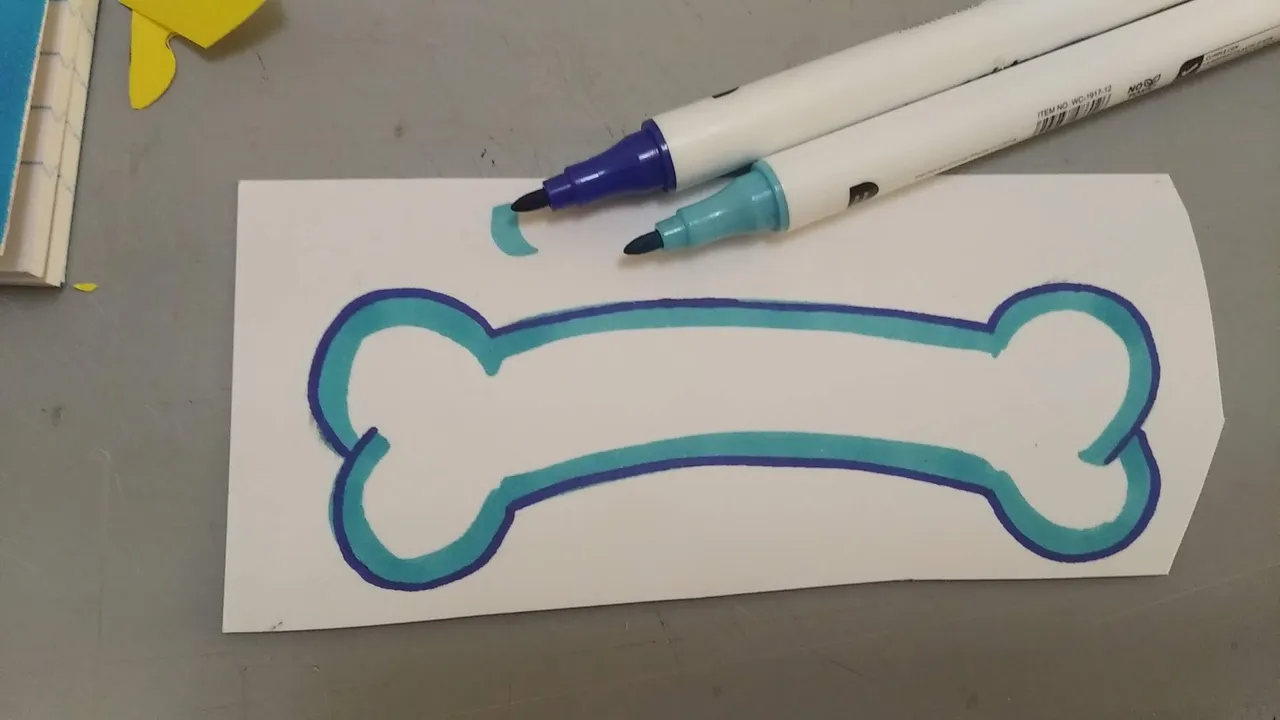
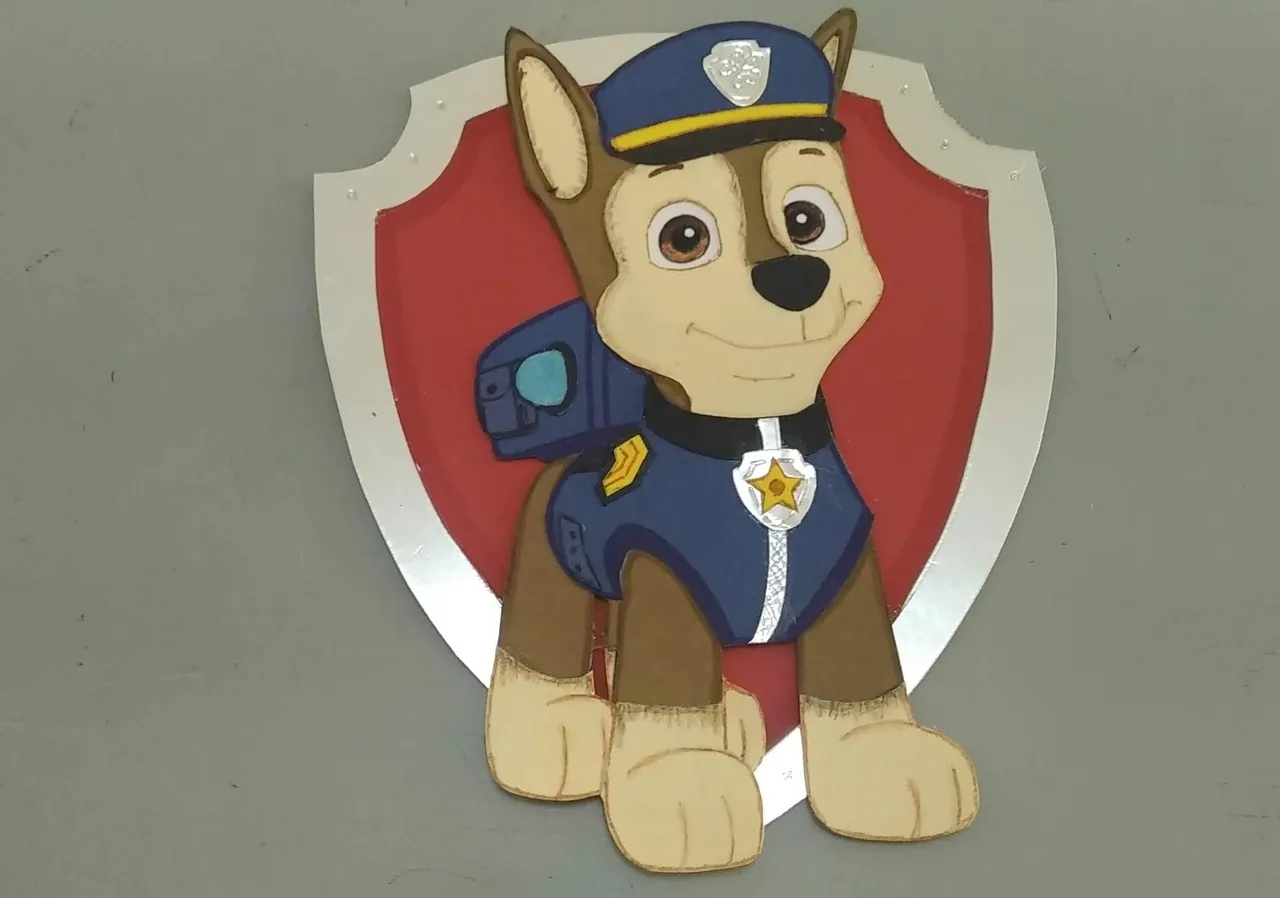
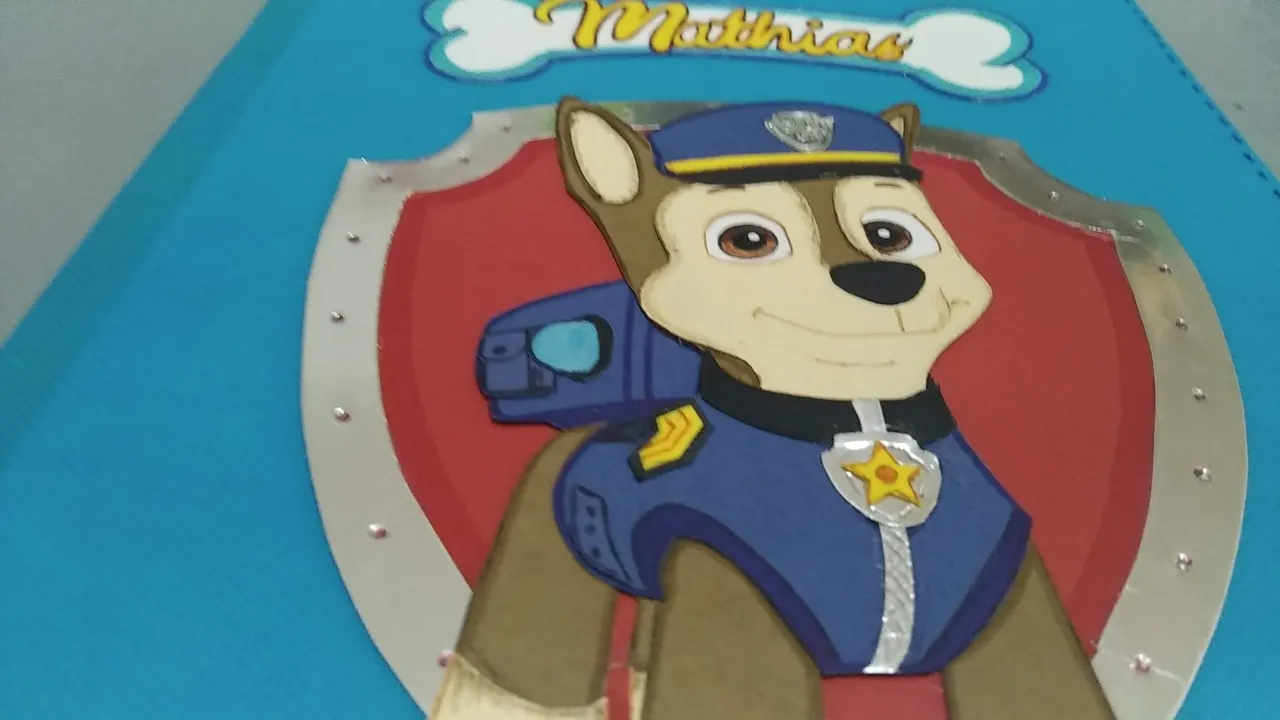
2.- A cada pieza por separado, realizar los detalles correspondientes con el uso de los colores, marcadores y cartulinas de otros colores. La intención es mantener fidelidad en el diseño haciendo todas las partes muy detalladas y vistosas.
2.- To each piece separately, make the corresponding details with the use of colors, markers and cardboard of other colors. The intention is to maintain fidelity in the design making all the parts very detailed and showy.

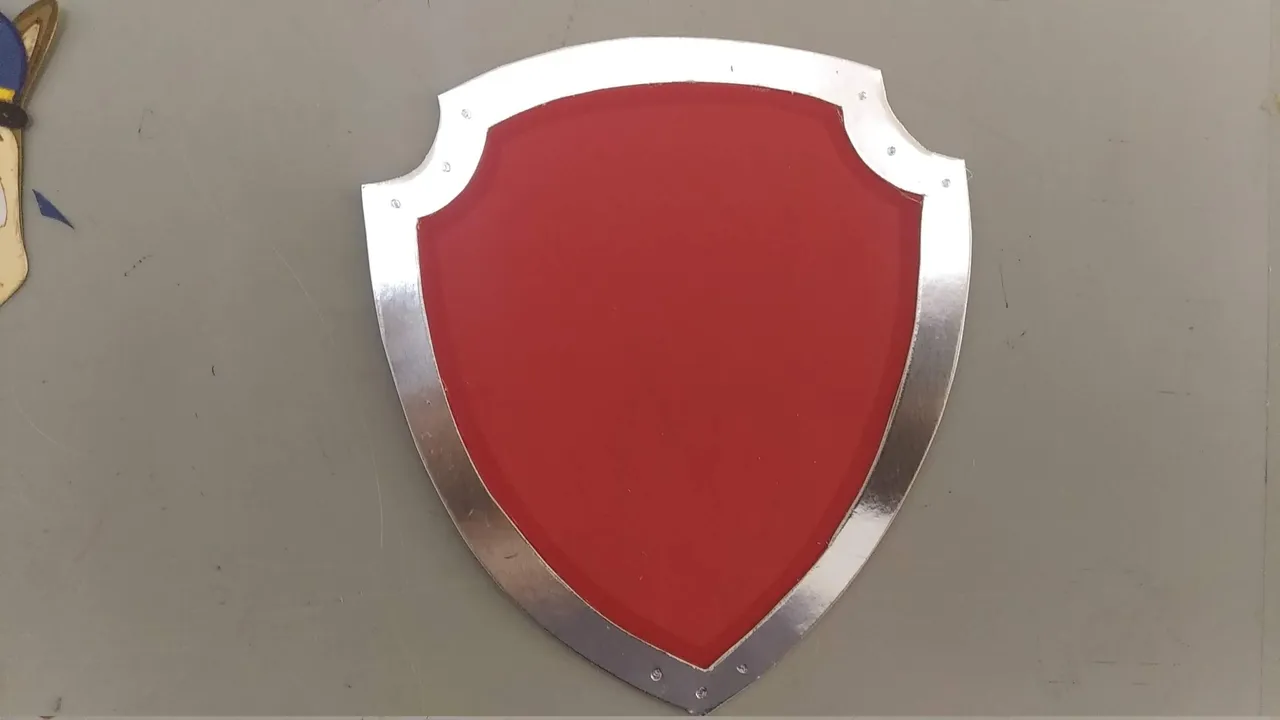
3.- recortar todas las piezas marcadas en las cartulinas con mucho cuidado para no alterar el diseño y forma original del dibujo.
3.- cut out all the pieces marked on the cardboard carefully so as not to alter the original design and shape of the drawing.
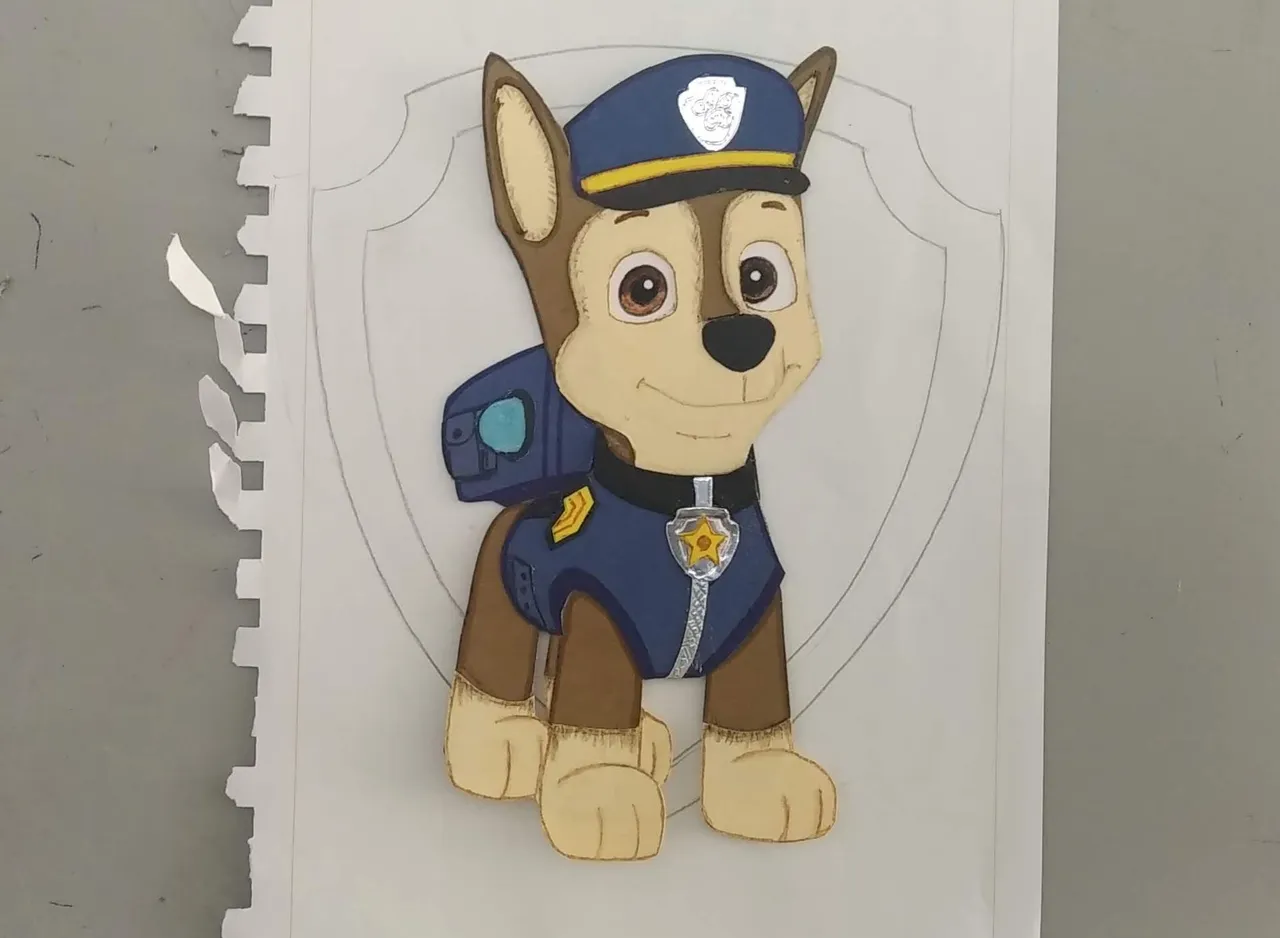
4.- Cuando se tengan todas las piezas recortadas y resaltadas con colores y/o marcadores, se deberá tomar el patrón del diseño e ir ensamblando y pegando con silicón frío todas las piezas hasta completar el diseño original.
4.- Once all the pieces have been cut out and highlighted with colors and/or markers, take the pattern of the design and assemble and glue all the pieces together with cold silicone until the original design is complete.
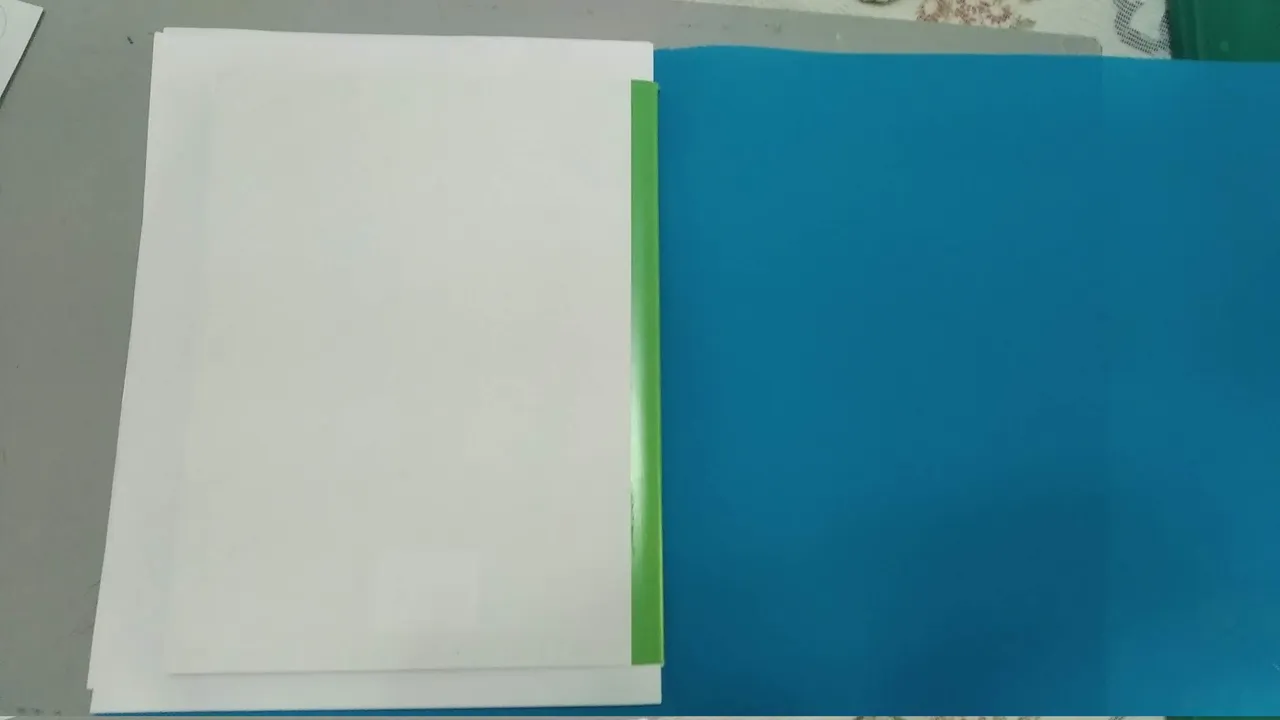
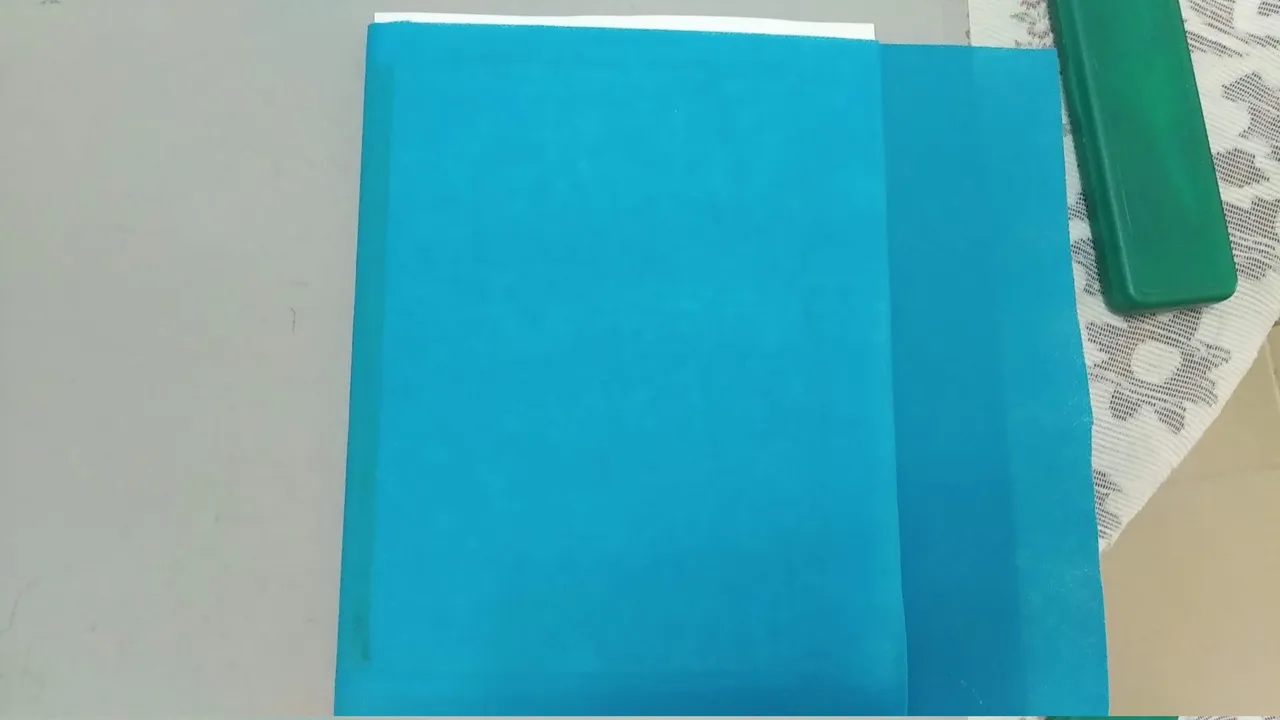
5.- Tomar la libreta y forrarla con la Tela POP. Para esto, es importante hacerlo en un lugar plano y limpio, pegando muy bien los bordes de la libreta y cortando la tela sobrante con el cutter para que queden exactamente al ras del borde del cartón.
5.- Take the notebook and line it with the POP fabric. For this, it is important to do it in a flat and clean place, gluing the edges of the notebook very well and cutting the excess fabric with the cutter so that they are exactly flush with the edge of the cardboard.
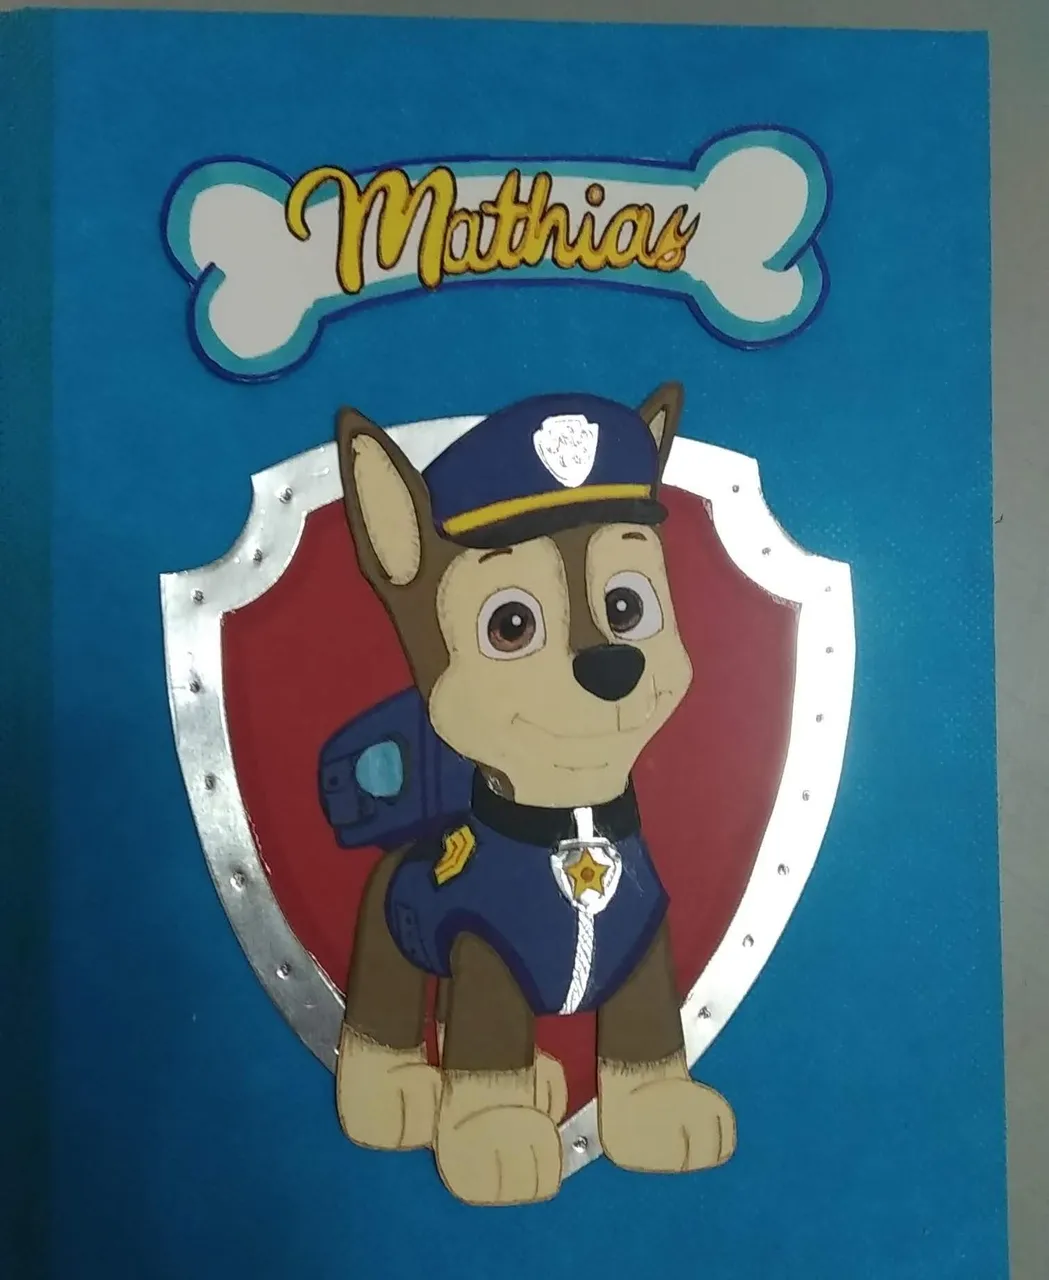
6.- Al tener la libreta forrada con la tela, ubicar la forma a colocar las piezas ya ensambladas del dibujo y pegar con silicón frío. Terminar de completar algún detalle al diseño si así se desea.
6.- Once the notebook is lined with fabric, place the assembled pieces of the drawing and glue them with cold silicone. Finish completing some details to the design if desired.
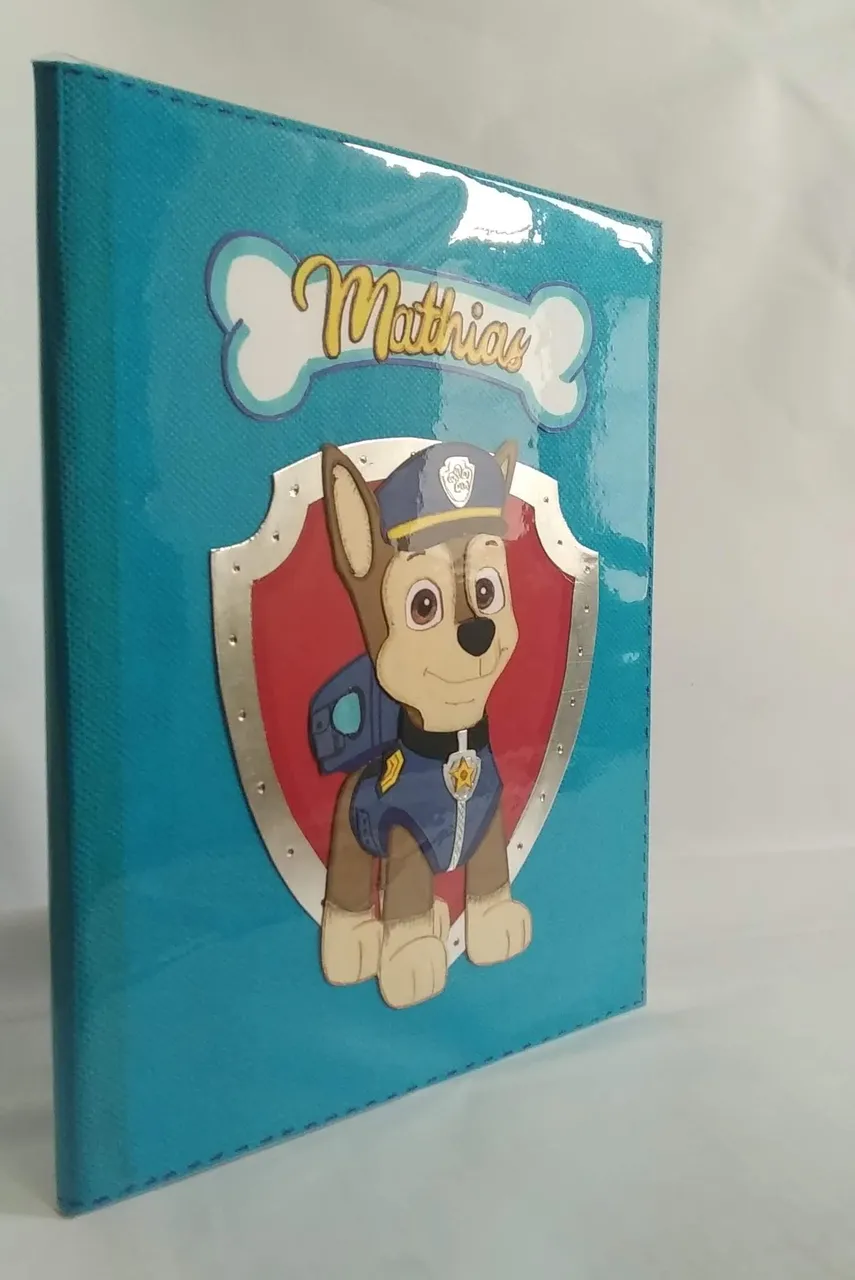
7.- Terminar la elaboración colocando el plasti-cristal. Para esto se forra el cuaderno de tradicional, cuidando de dejar un pequeño borde hacia el lado de adentro de las caratulas a fin de proteger los bordes y fijar correctamente el plástico con la cinta adhesiva transparente. De esta manera, tanto la libreta como el diseño, están protegidos de cualquier elemento y suciedad.
7.- Finish the elaboration by placing the glass-plastic. For this, the traditional notebook is lined, taking care to leave a small border towards the inside of the covers in order to protect the edges and correctly fix the plastic with the transparent adhesive tape. In this way, both the notebook and the design are protected from any element and dirt.
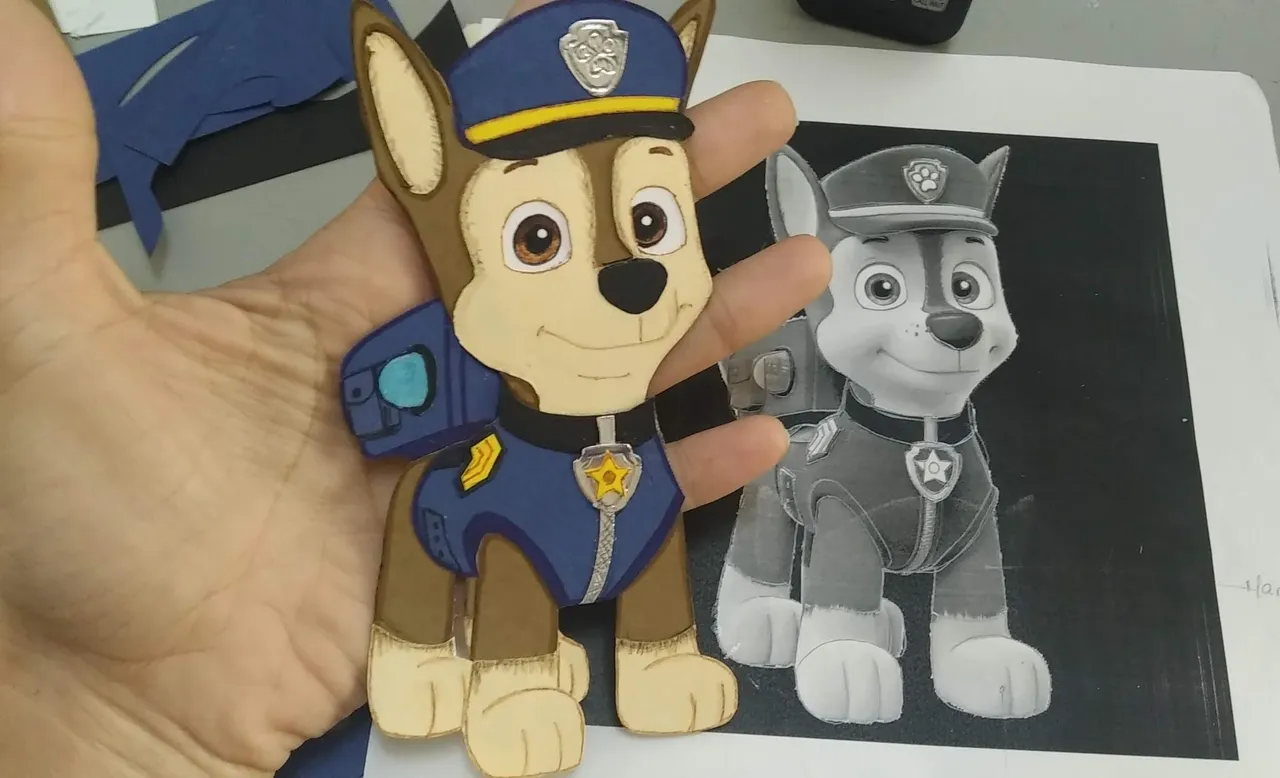
FOTOS FINALES DEL TRABAJO
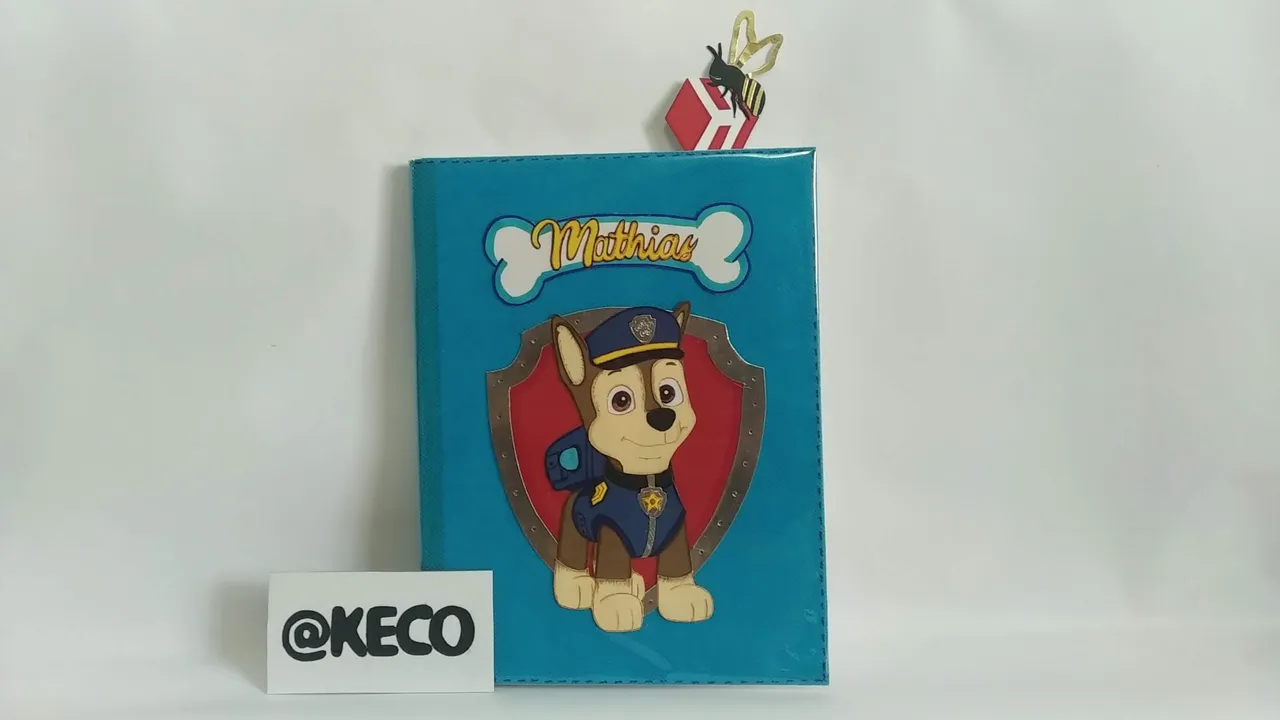
Espero les haya gustado y sobre todo se entusiasmen a crear algo parecido para sorprender a familiares y amigos. Hacer este tipo de decoración de libretas resulta hermoso y económico, no se requiere mucho esfuerzo y presupuesto así que les invito a intentarlo.
I hope you liked it and above all I hope you get excited to create something similar to surprise your family and friends. Making this type of notebook decoration is beautiful and economical, it does not require much effort and budget so I invite you to try it.

Fuente
SALUDOS / REGARDS
Todas las Fotos fueron tomadas con mi teléfono
Contenido original de @keco (fotos y texto) - Todos los derechos reservados Publicado en HIVE así como en mi instagram : http://instagram.com/carton_pintura_algo_mas
Original content from @keco (photos and text) - All rights reserved Posted on HIVE as well as on my instagram: http://instagram.com/carton_pintura_algo_mas