Español
Hola mis estimados lectores, si abriste mi post quiero que leas esta historia. Volví a @hive, volví a @hivediy … volvi….
Esta es como mi primera publicación, porque ha pasado mucho tiempo, si te animas chequea mi publicaciones de años anteriores…
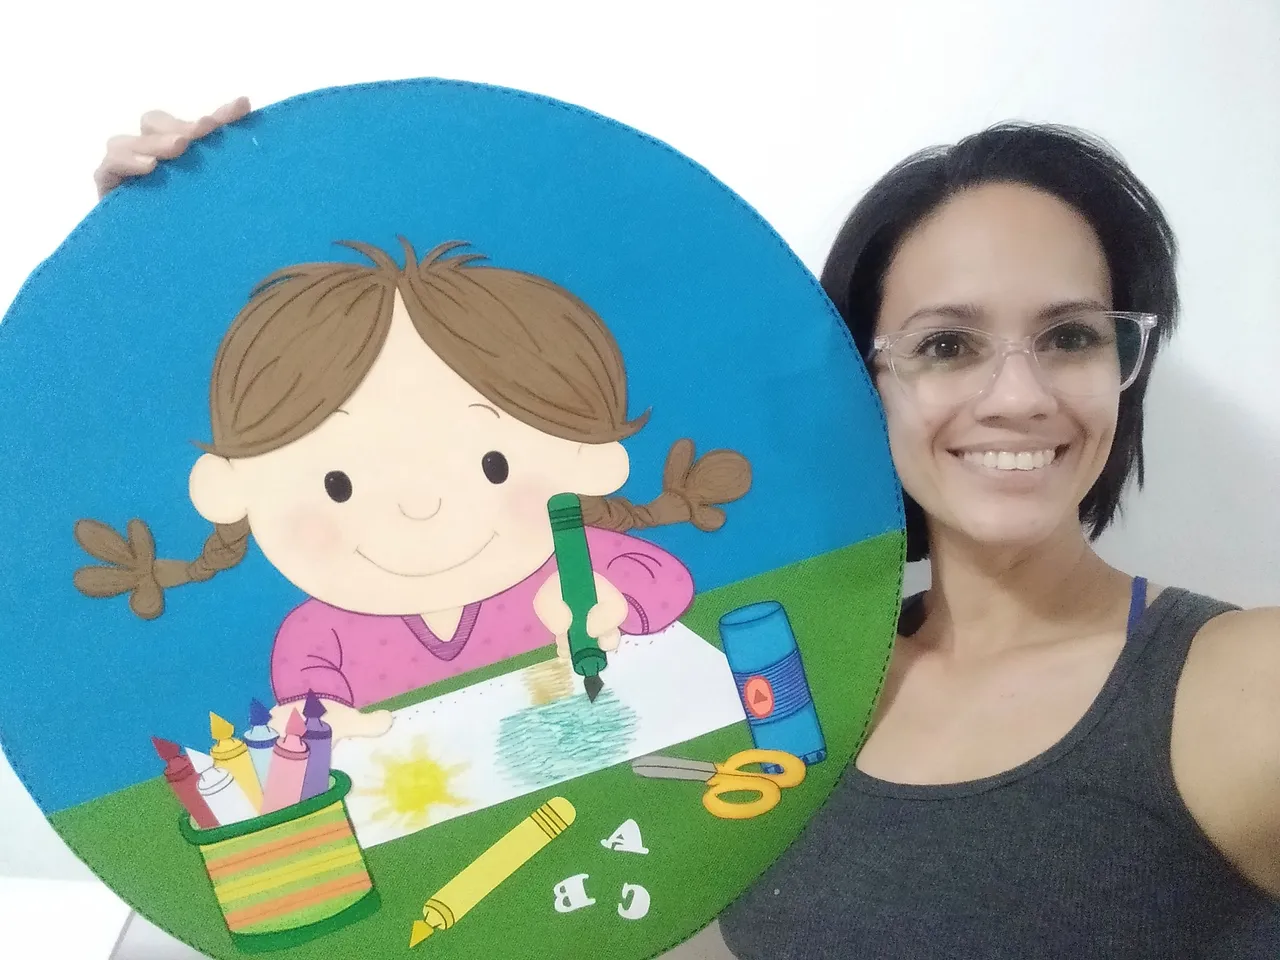
Tengo un amiga que necesitaba llevar algo a la escuela de sus hijos para ambientar el salón de clases, por lo general este tipo de actividades las realizan las maestras, sin embargo, esta maestra quería involucrar a los padres en tal actividad; mi amiga reconociendo no posee habilidades ni para recortar, acudió a mi para que le ayudase a crear algo que motivara a los niños(as) del aula de clases en sus actividades diarias, más sin embargo quería algo colorido. Fue algo sencillo pero cargado de color y motivador.
Sin más, y esperando disfruten del trabajo realizado les dejo los materiales utilizados, el proceso y las imágenes del trabajo.
- Cartón grueso
- Cartulina de Colores
- Marcadores de colores
- Lapices de colores
- Papel Blanco (para plantilla)
- Tela POP verde y Azul
- Silicón liquido
- Tijera
- Borra Blanca
- Papel Carbón
English
Hello my dear readers, if you opened my post I want you to read this story. I'm back to @hive, I'm back to @hivediy ... I'm back....
This is like my first post, because it's been a long time, if you're up for it check my posts from previous years....
I have a friend who needed to bring something to her children's school to set the atmosphere in the classroom, usually this kind of activities are done by the teachers, however, this teacher wanted to involve the parents in such activity; my friend recognizing that she doesn't even have skills to cut, she came to me to help her to create something that would motivate the children in the classroom in their daily activities, however she wanted something colorful. It was something simple but colorful and motivating.
Without further ado, and hoping you enjoy the work done, I leave you with the materials used, the process and the images of the work.
Translated with DeepL.com (free version)
- Thick cardboard
- Colored cardboard
- Color markers
- Colored pencils
- White paper (for stencil)
- Green and blue POP cloth
- Liquid Silicone
- Scissors
- White Borra
- Carbon paper
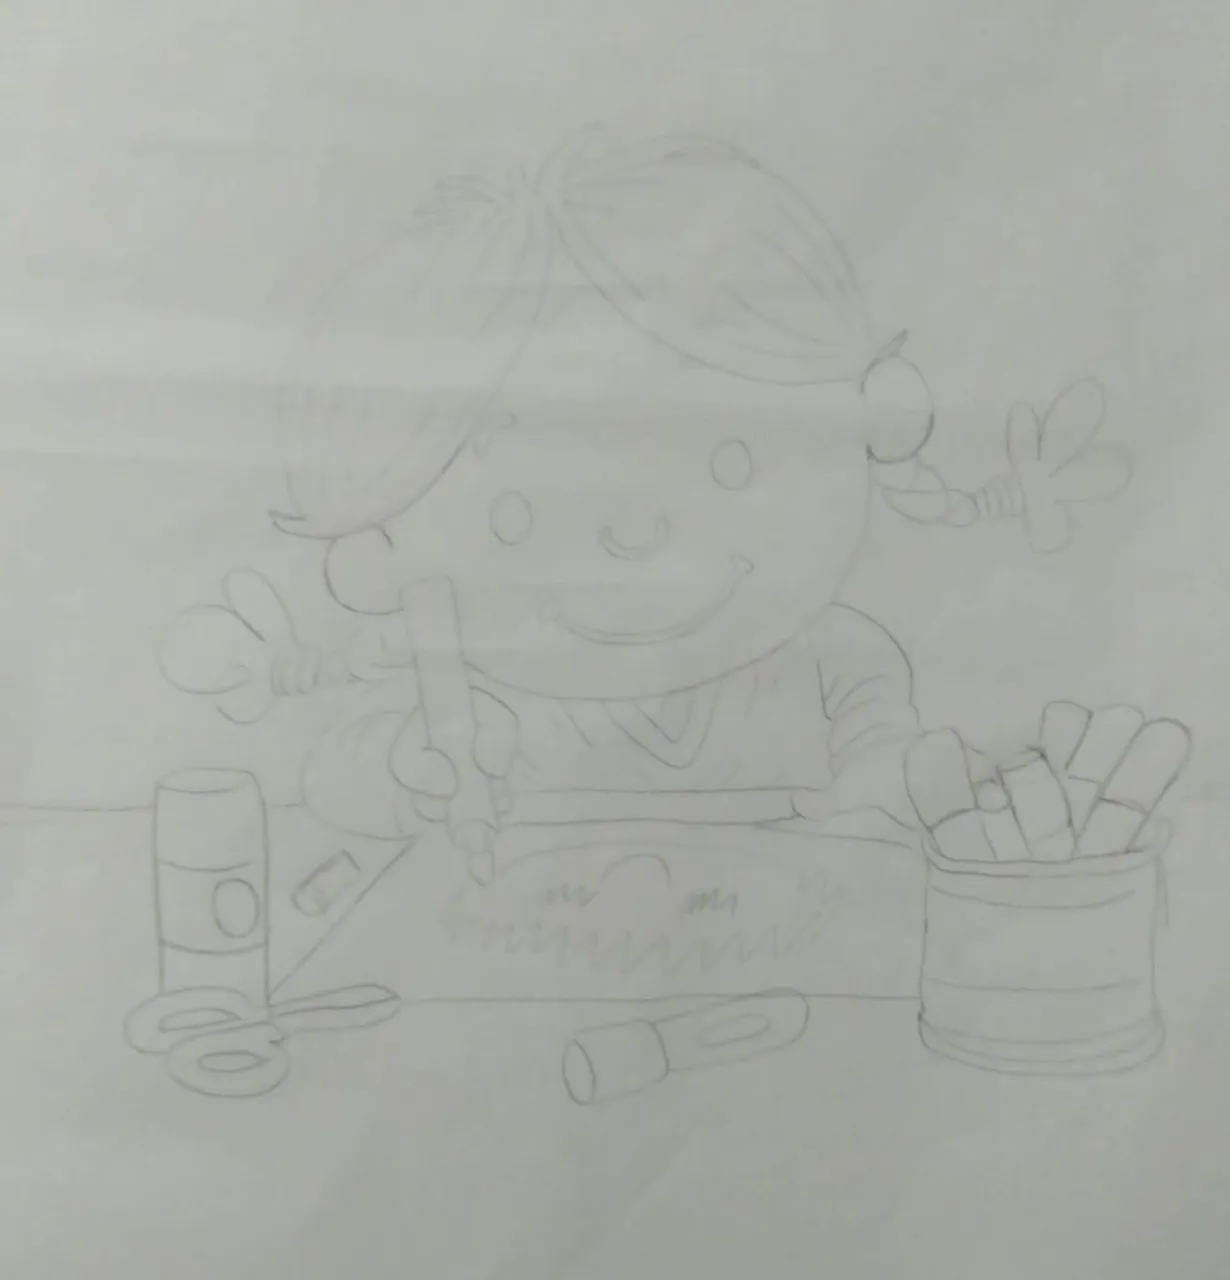
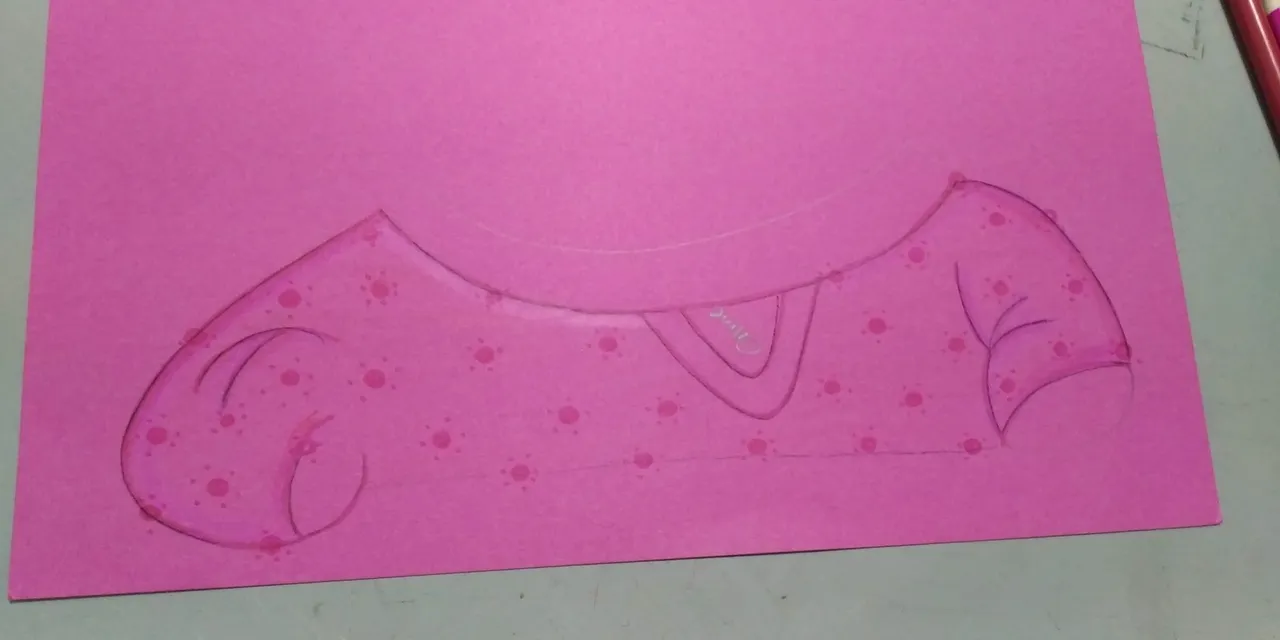
1.- Dibujar en el papel blanco el diseño a realizar, de acuerdo a las medidas establecidas.
1.- Draw on the white paper the design to be made, according to the established measurements.
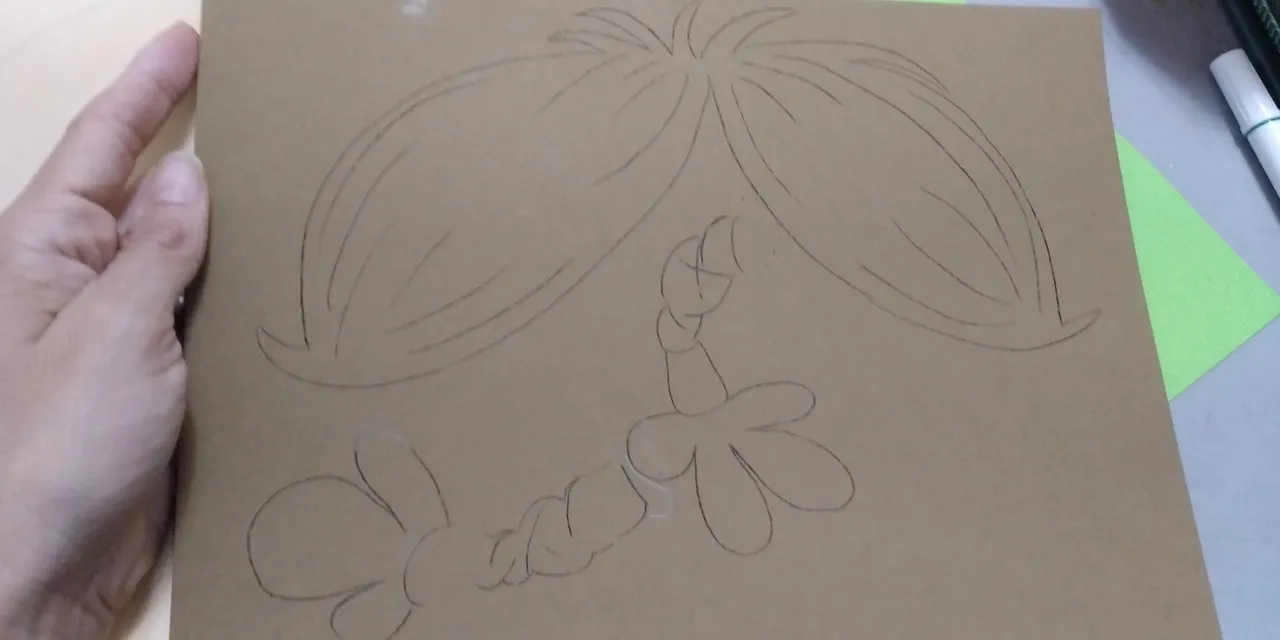
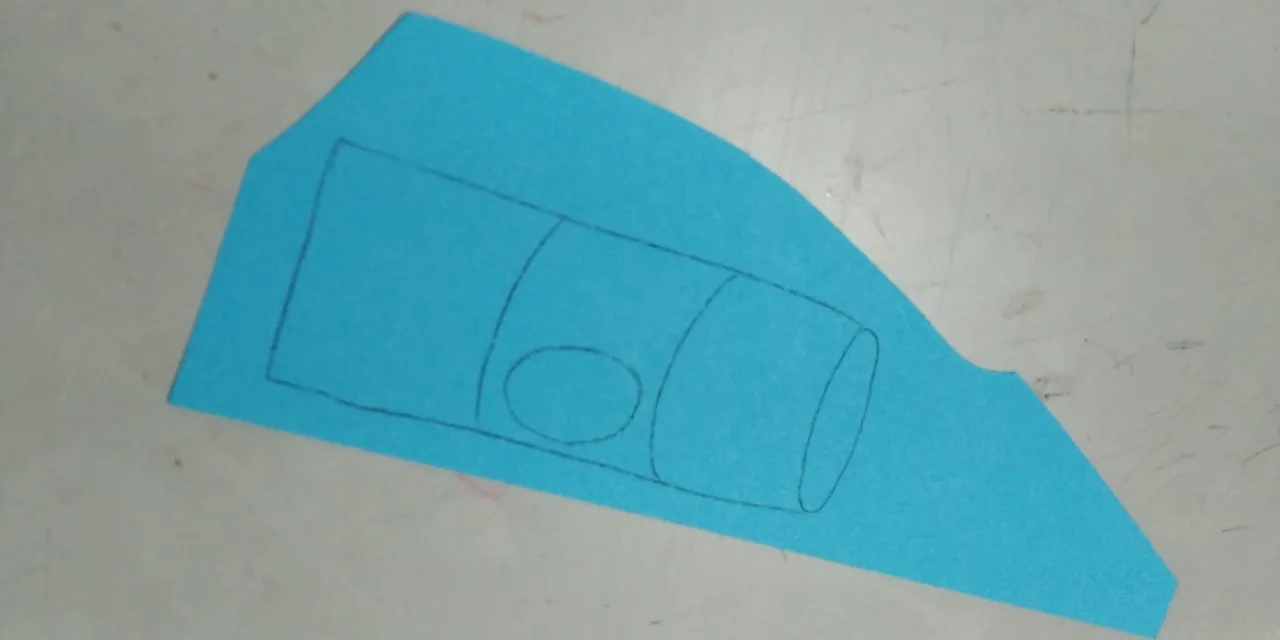
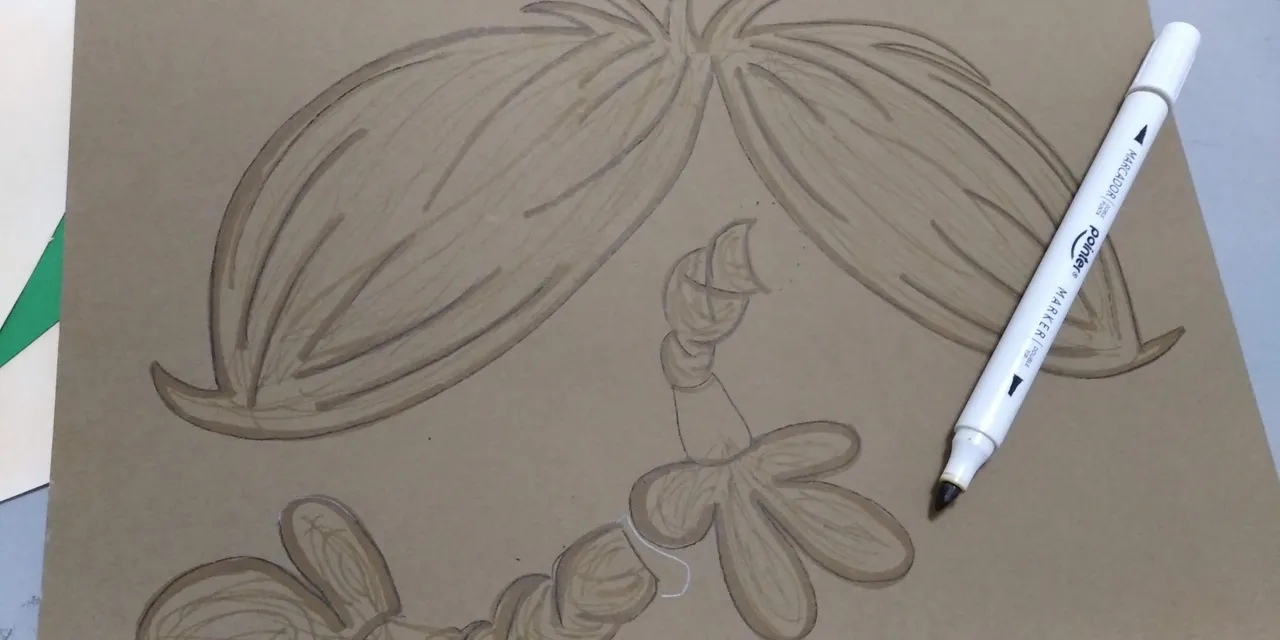
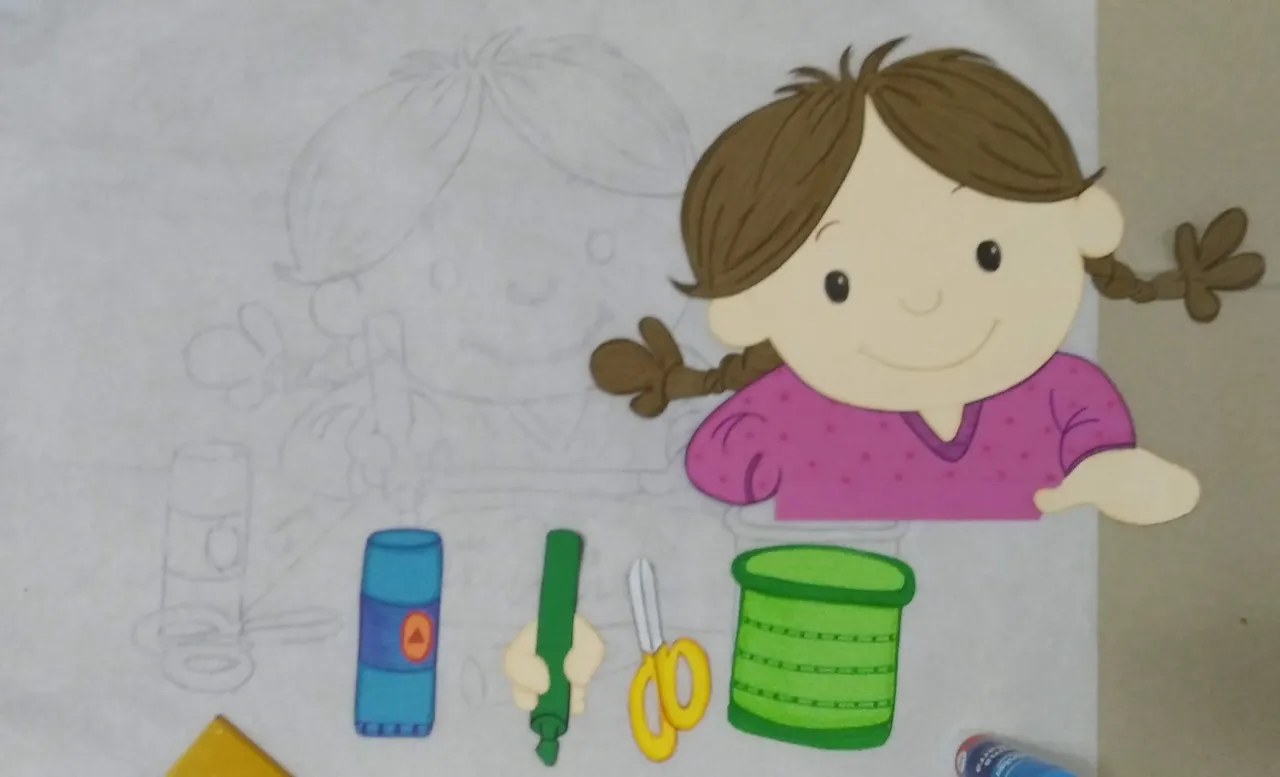
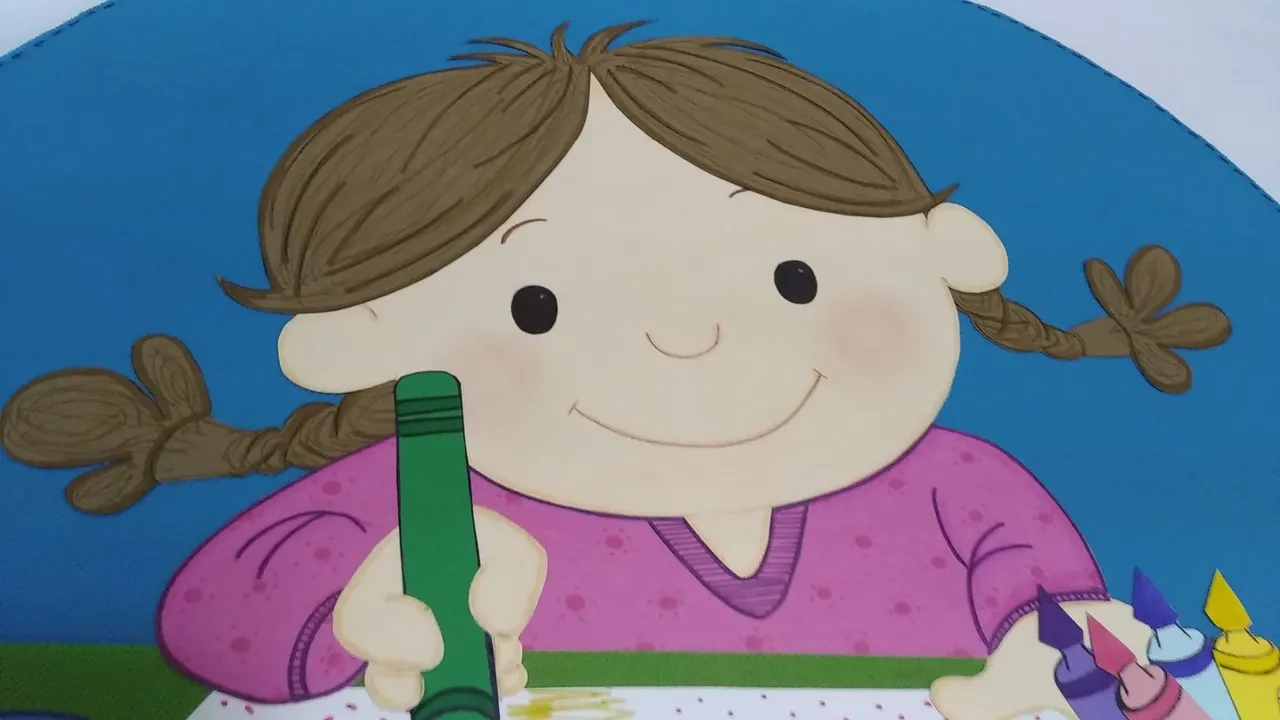
2.- Trabajar cada parte del diseño por separado. Tomar el diseño y utilizando el papel carbón trasferir cada parte del dibujo a la cartulina del color que corresponda. Para esto se debe remarcar cada parte con delicadeza para que no se marque en exceso el carbón. Luego borrar el exceso con la borra blanca para lápiz.
2.- Work each part of the design separately. Take the design and using the carbon paper transfer each part of the drawing to the cardboard of the corresponding color. To do this you must mark each part delicately so that the charcoal does not mark too much. Then erase the excess with the white pencil eraser.
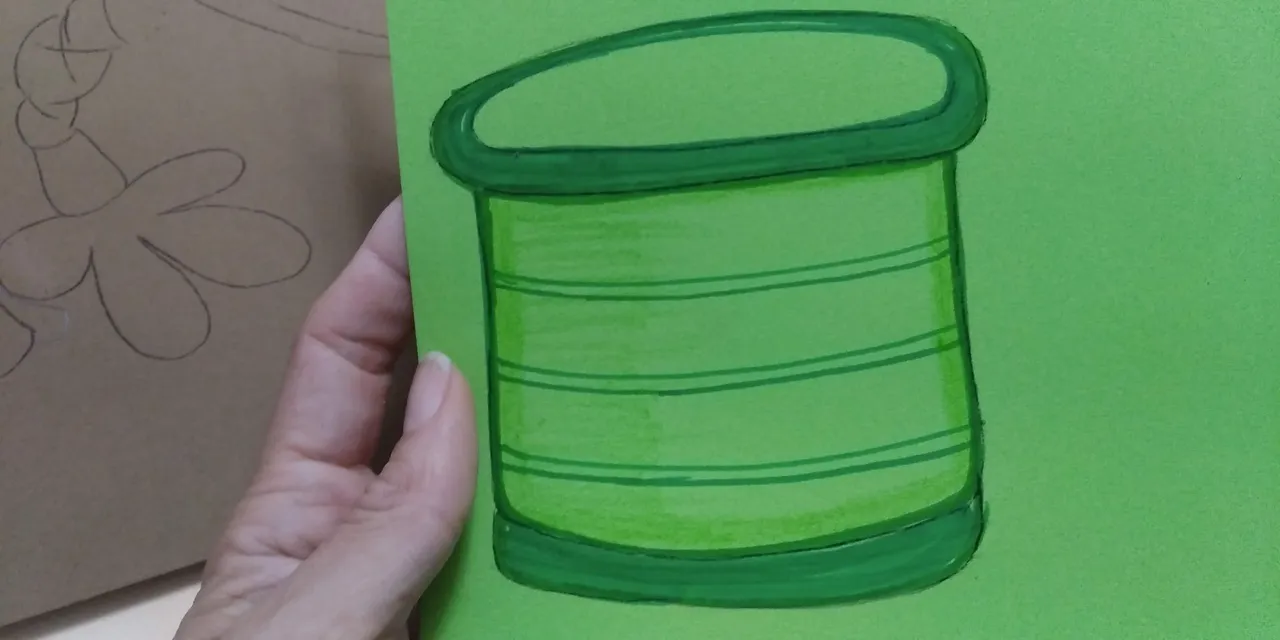
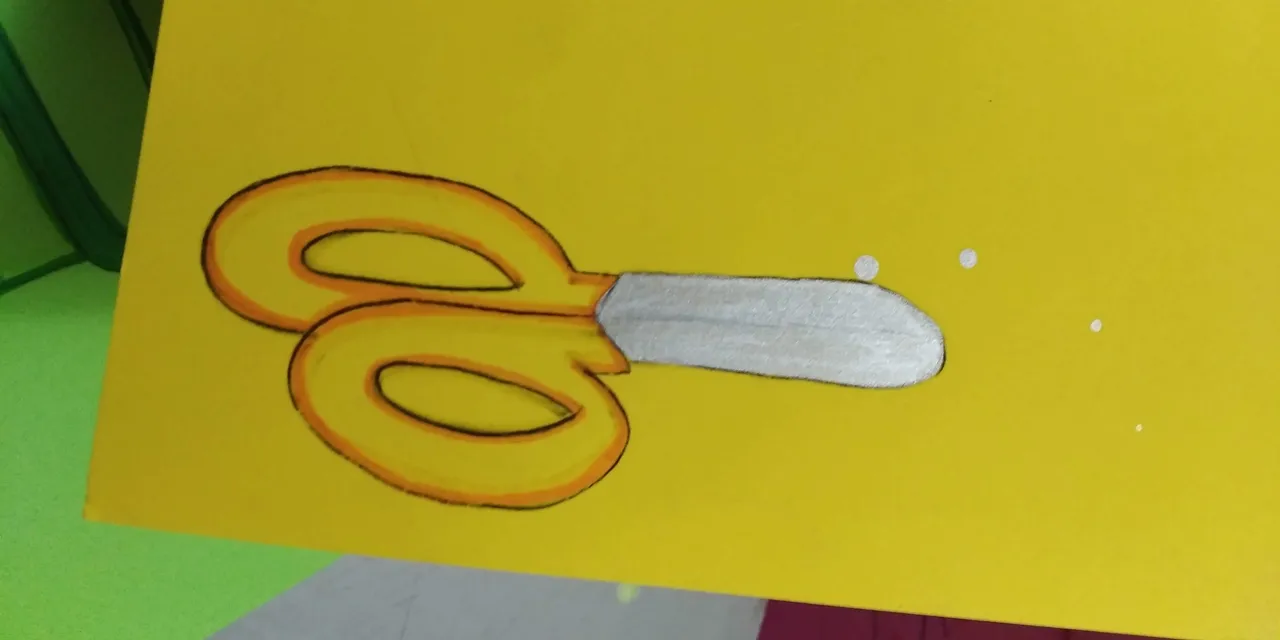
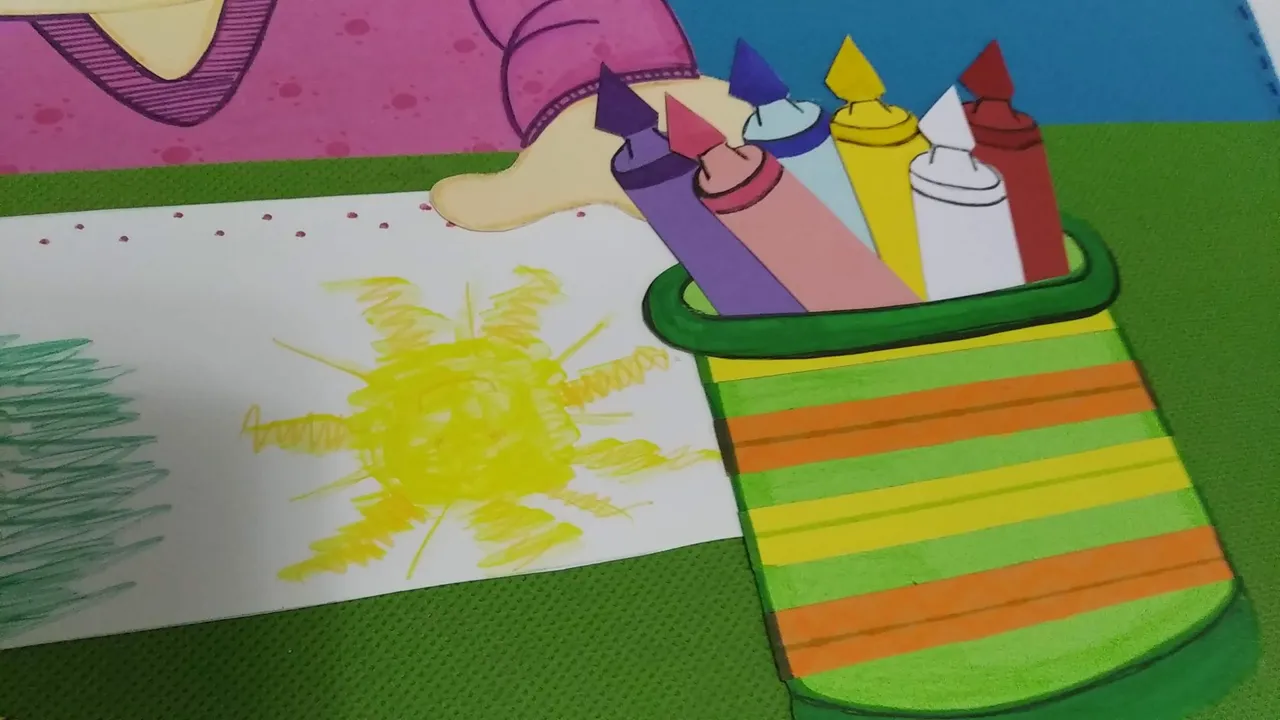
3.- A Cada parte trasferida a las distintas cartulinas, se deberá colorear y decorar a gusto personal. Se puede hacer uso de técnicas mixtas y materiales diversos. Para este trabajo solo con marcadores y lapices de colores fue suficiente.
3.- Each part transferred to the different cardboards should be colored and decorated according to personal taste. Mixed techniques and different materials can be used. For this work only markers and colored pencils were enough.
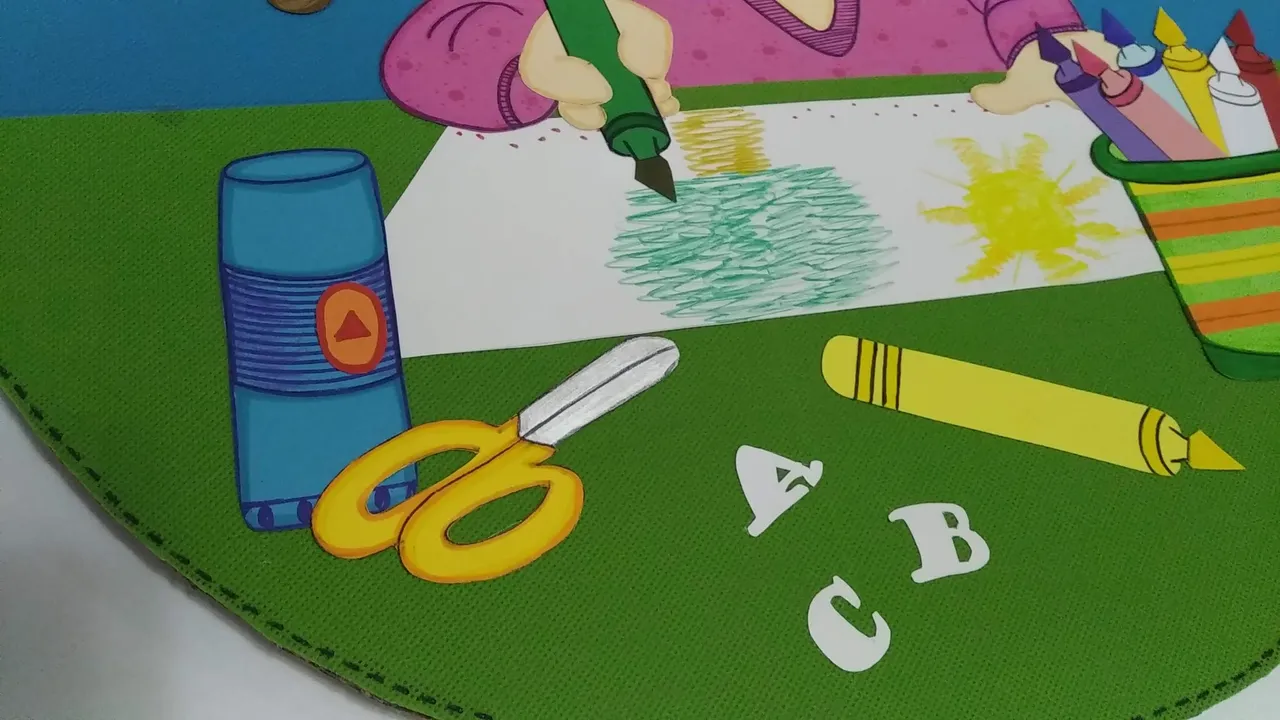
4.- Una vez todas las piezas que conforman el diseño estén resaltadas con colores y materiales a gusto, se deberán recortar por todos sus bordes, respetando el tamaño definido, e incluso pegando las partes que correspondan.
4.- Once all the pieces that make up the design are highlighted with colors and materials to taste, they should be cut along all their edges, respecting the defined size, and even gluing the corresponding parts.
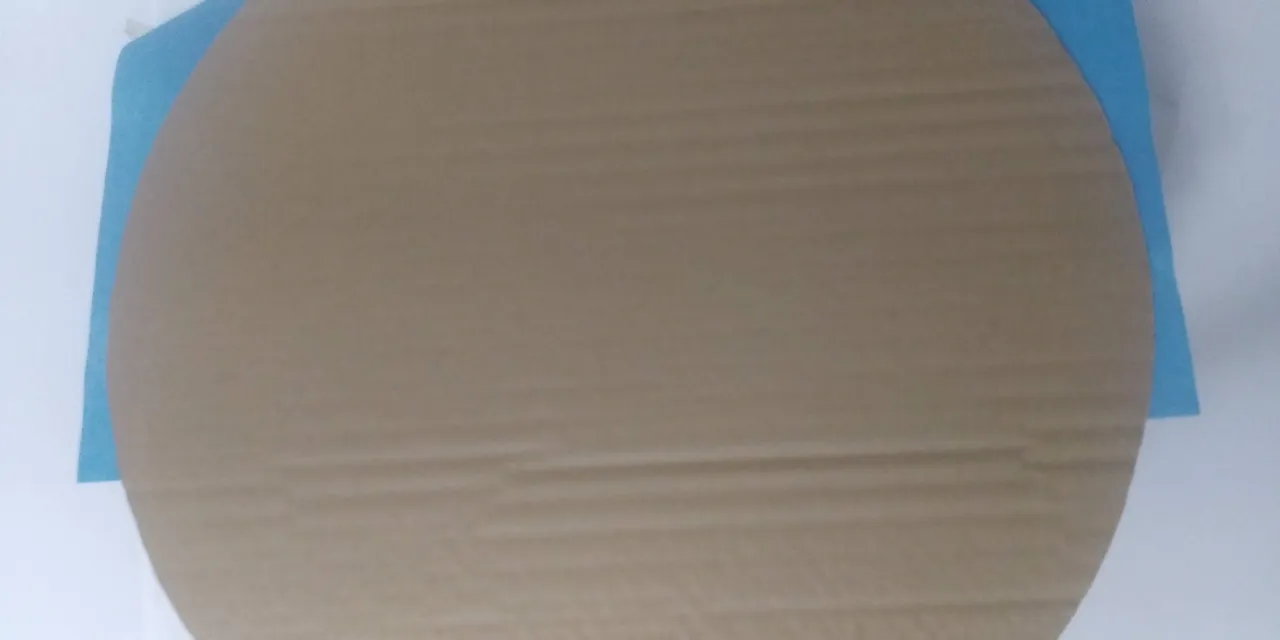
5.- Dependiendo de la forma que se desee, se debe recortar el cartón de manera tal que el diseño del dibujo se vea bien. Para este trabajo, el cartón se cortó de forma redonda.
5.- Depending on the desired shape, the cardboard must be trimmed in such a way that the design of the drawing looks good. For this job, the cardboard was cut in a round shape.
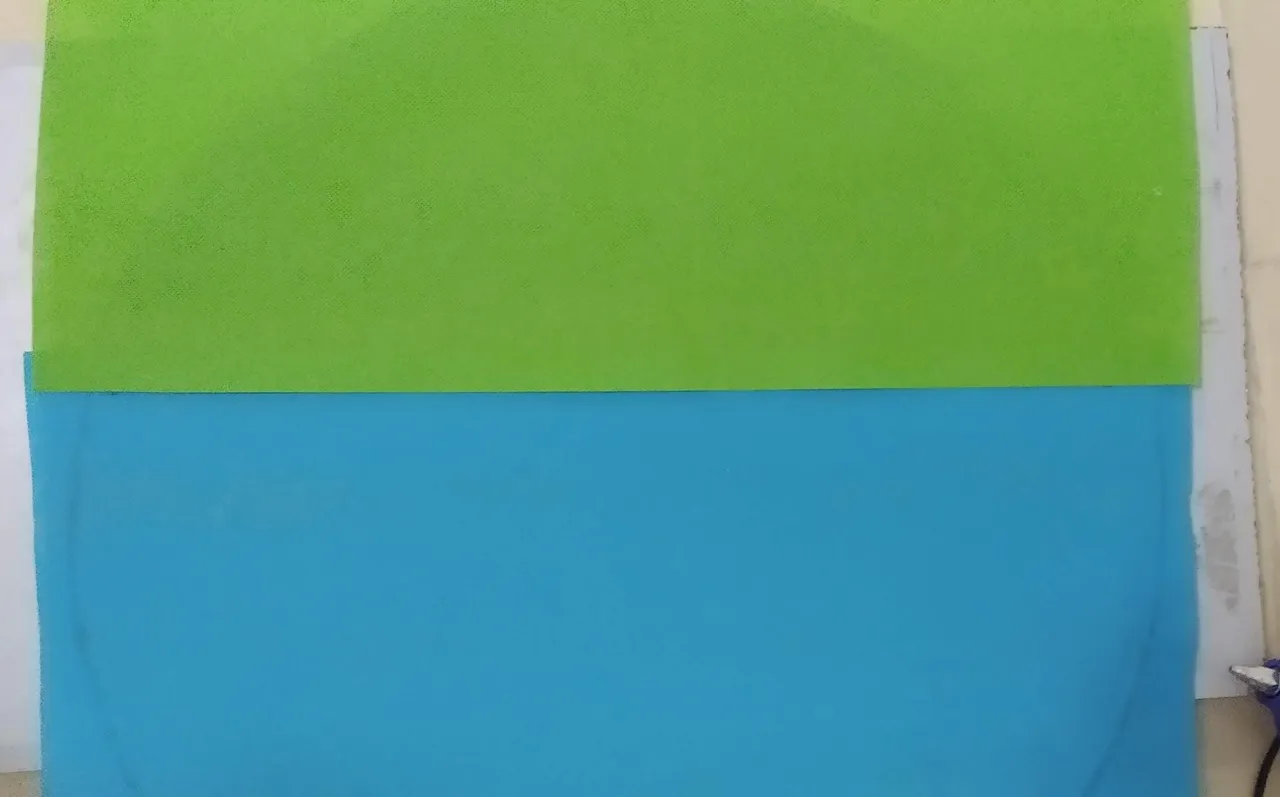
6.- Para darle color al cartón, se utilizó tela POP, el acabado y las terminaciones son muy hermosas, ademas que se ahorra tiempo y queda precioso. Para este diseño se utilizó la mezcla de dos tonos unicolores, pero dependeré del gusto de cada creador.
6.- To give color to the cardboard, POP fabric was used, the finish and finishes are very beautiful, plus it saves time and looks beautiful. For this design I used a mixture of two unicolor tones, but it will depend on the taste of each creator.
7.- Se recorta la tela de acuerdo a la forma dada al cartón y se pegan las piezas marcadas y pintadas por separado según el diseño original de la plantilla.
7.- The fabric is cut out according to the shape given to the cardboard and the marked and painted pieces are glued separately according to the original design of the template.
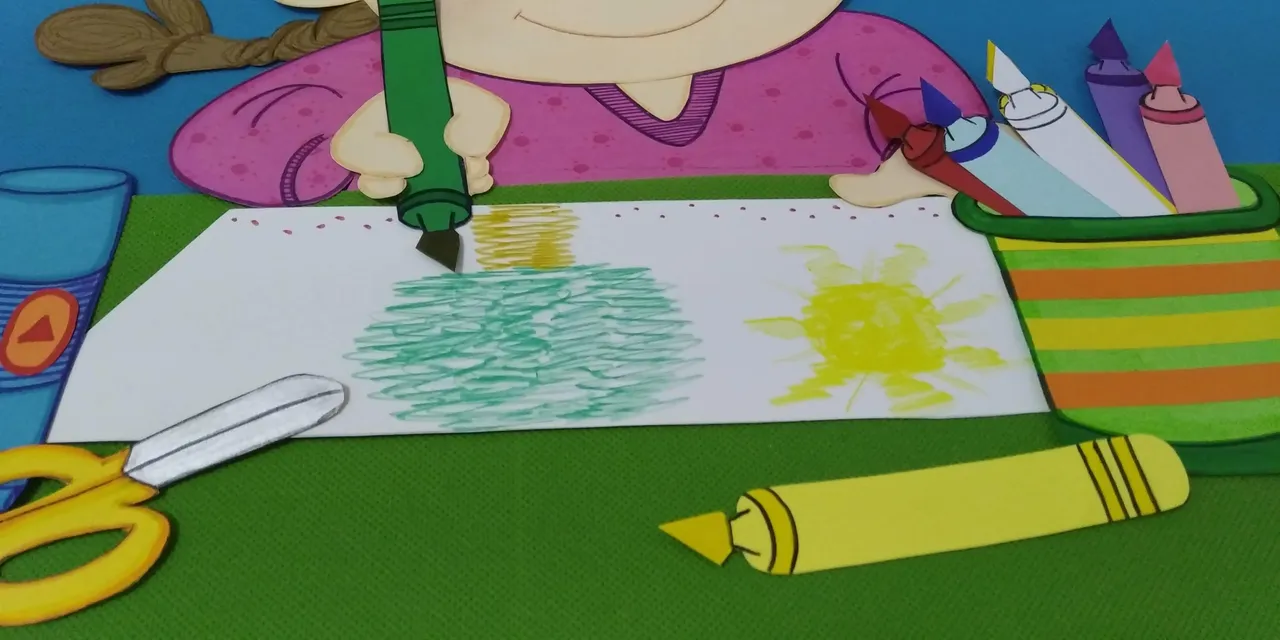
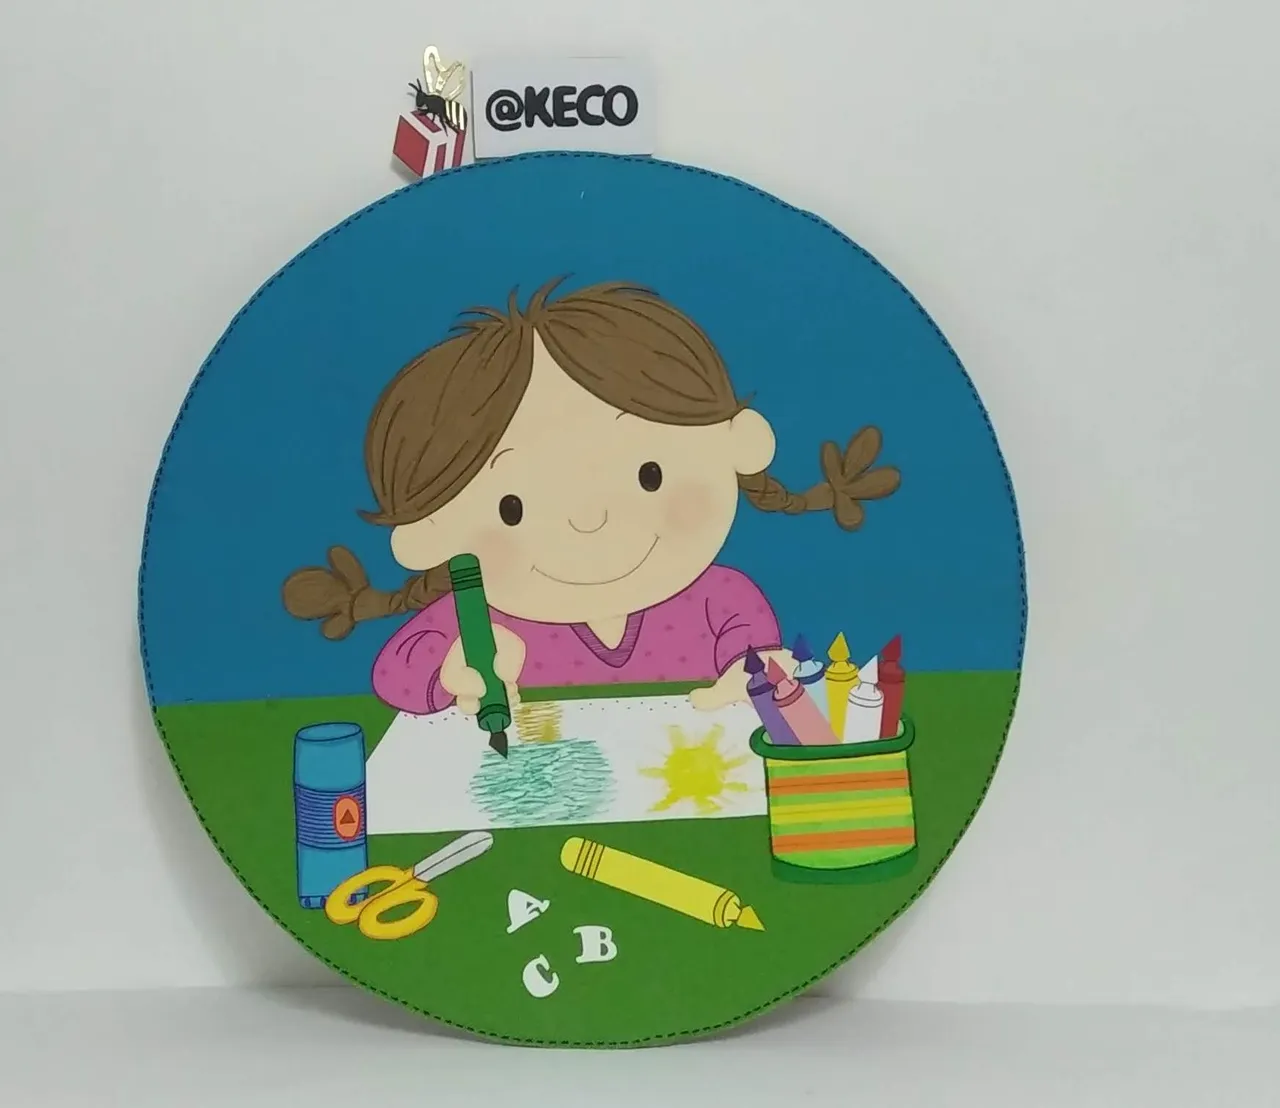
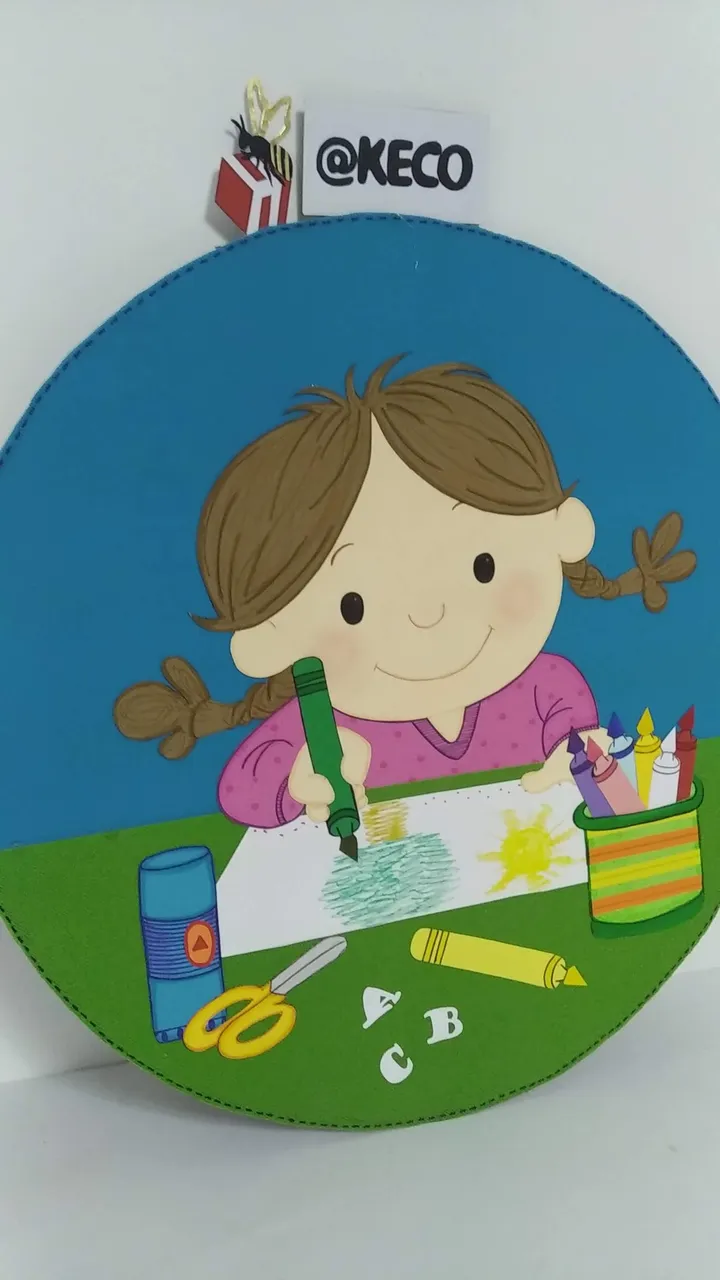
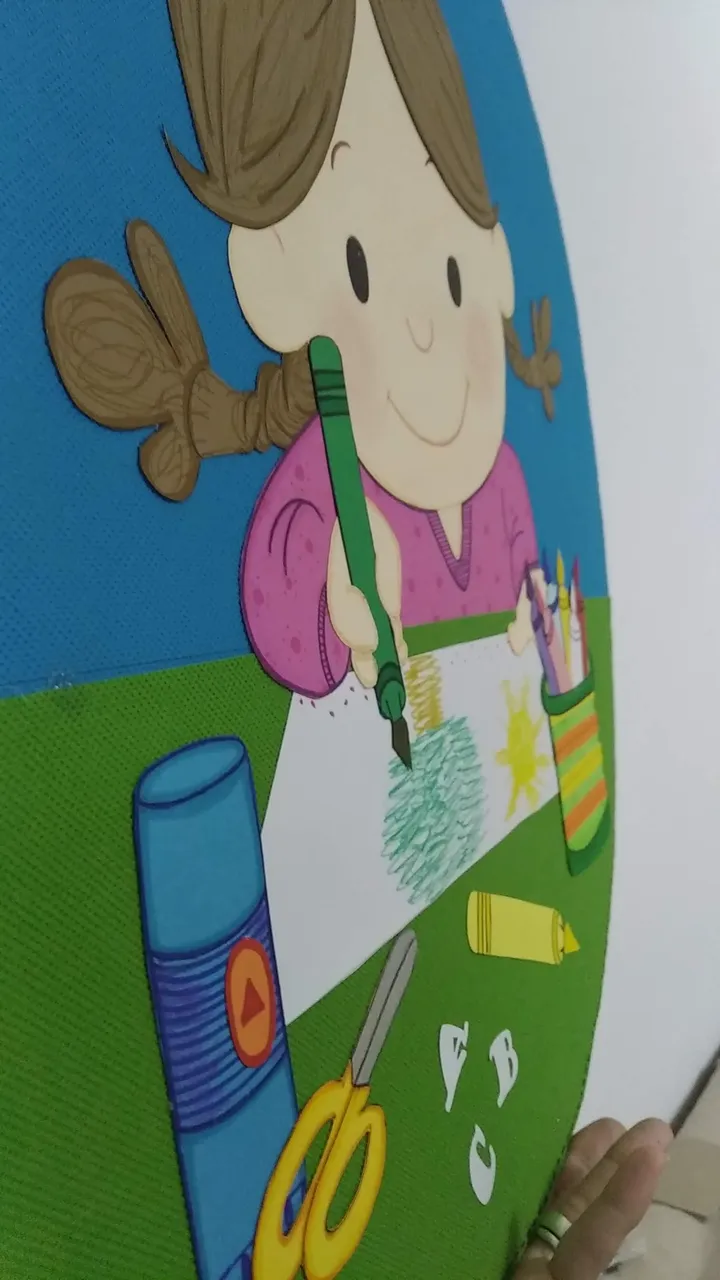
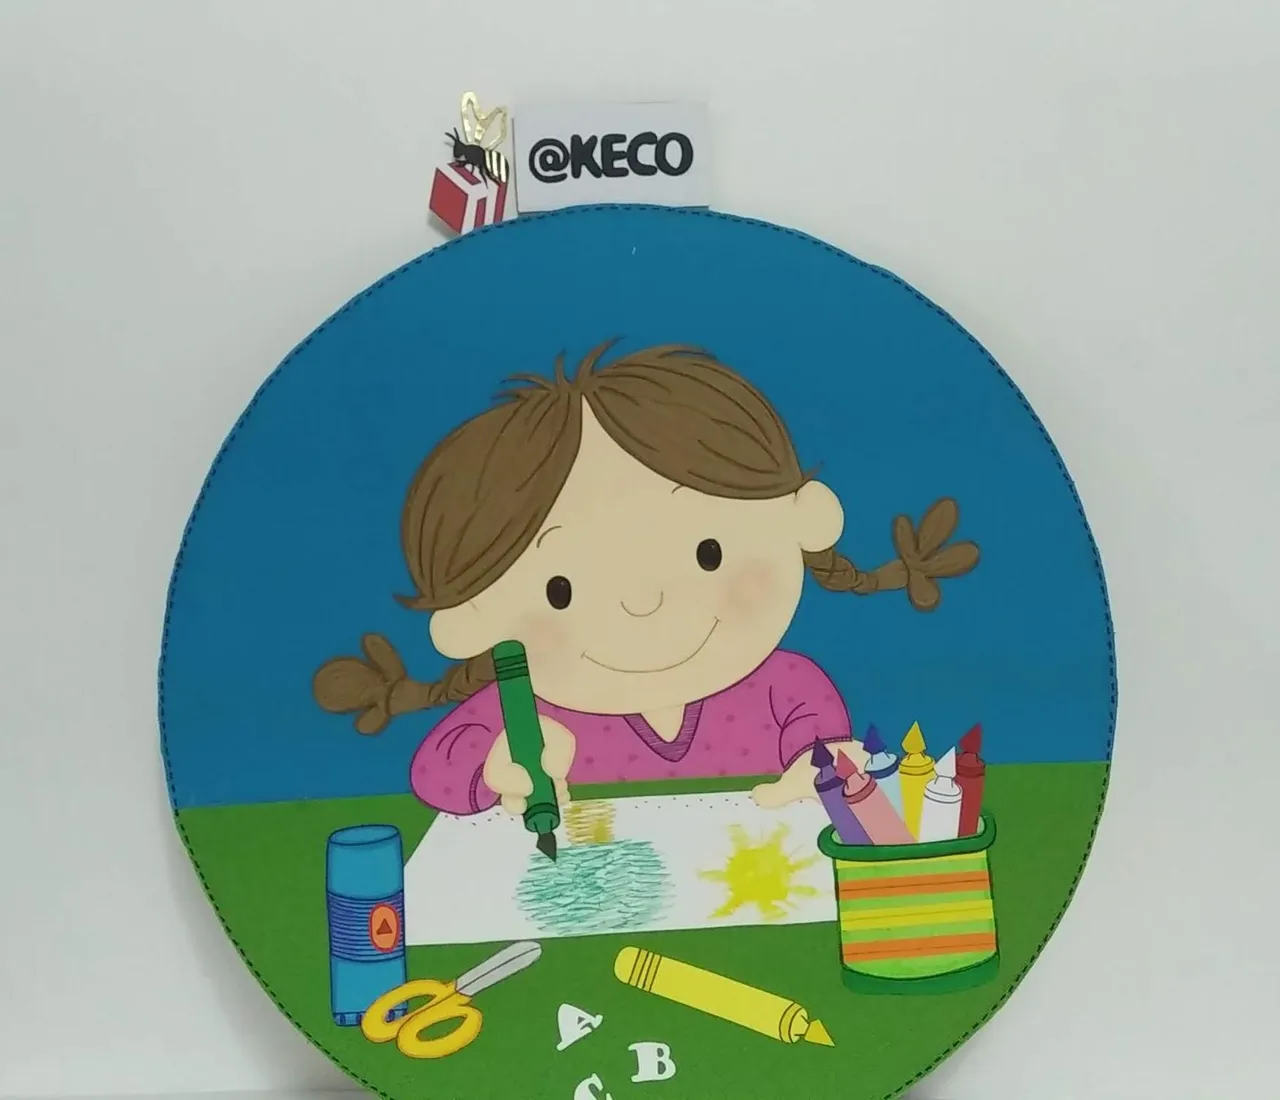
8.- Se terminan de dar los últimos diseños , como los bordes por ejemplo. En este caso se hizo simulación de costura con marcador azul oscuro punta fina. ¡Y LISTO!, Afiche decorativo listo. Realizado de una manera rápida y con un acabado maravilloso, porque los colores de las cartulinas son muy alegres y divertidos.
8.- The last designs are finished, like the borders for example. In this case, we simulated sewing with a dark blue fine tip marker, and READY, decorative poster ready. Done in a quick way and with a wonderful finish, because the colors of the cardboard are very cheerful and fun.
Espero les haya gustado el trabajo realizado y sobre todo se entusiasmen a crear algo parecido para sorprender a familiares y amigos.
I hope you liked the work done and above all I hope you will be enthusiastic to create something similar to surprise your family and friends.
SALUDOS / REGARDS
Todas las Fotos fueron tomadas con mi teléfono Personal
Contenido original de @keco (fotos y texto) - Todos los derechos reservados Publicado en HIVE.
All Photos were taken with my phone.
Original content from @keco (photos and text)- All rights reserved Posted on HIVE.