Un saludo mis queridos amigos hiverianos, espero este súper bien, para este post quiero mostrarles como realicé una linda y tierna Pavita Real mágica, por qué mágica? Pues en nuestra creatividad, lo que le da vida es la mágia que le transmitimos con nuestras buenas vibras jeje, o bien lo podríamos llamar amor a lo que hacemos lo que realmente le da el significado a cada cosa que hacemos. Amigos míos los invito a seguir este grandioso y fácil paso a paso con el programa de Photoshop.
Greetings my dear Hiverian friends, I hope you are doing great, for this post I want to show you how I made a cute and tender magical Royal Turkey, why magical? Well, in our creativity, what gives it life is the magic that we transmit with our good vibes hehe, or we could call it love to what we do, what really gives meaning to everything we do. My friends, I invite you to follow this great and easy step by step with the Photoshop program.

Antes de comenzar es importante aclarar que trabajaremos con elipses y líneas; siempre en capas separadas, para que esto nos dé la oportunidad de cualquier modificación. Estaremos utilizando la herramienta “brocha” en su máxima opacidad y jugaremos con sus diferentes escalas de transparencias para lograr determinados efectos oportunos en el diseño. De la misma manera modificaremos cada figura con la herramienta “opciones de difusión” con la que nos permitiremos darle a nuestro diseño relieves, contornos, luces y sombras; acercándonos de esta manera a darle a nuestro diseño un efecto más 3D.
Before starting it is important to clarify that we will work with ellipses and lines; always on separate layers, so that this gives us the opportunity for any modification. We will be using the "brush" tool at its maximum opacity and we will play with its different transparency scales to achieve certain opportune effects in the design. In the same way we will modify each figure with the “diffusion options” tool with which we will allow ourselves to give our design reliefs, contours, lights and shadows; approaching in this way to give our design a more 3d effect.
Pasos. // Steps
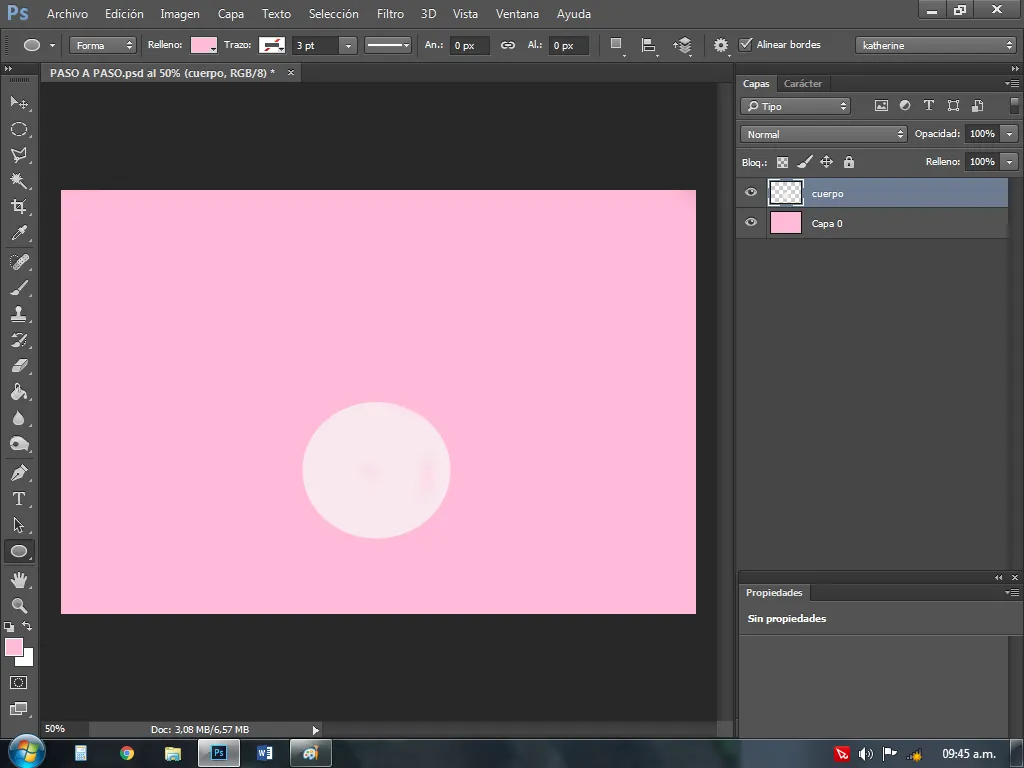
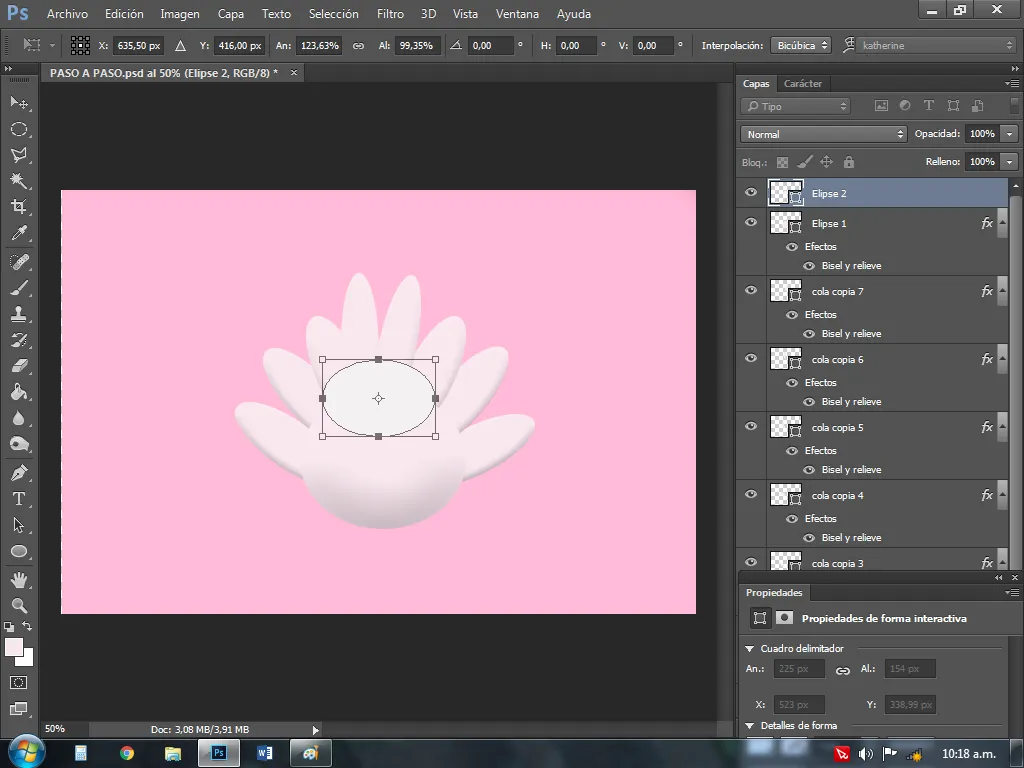
1: comenzaremos con una elipse ovalado, lo que será el cuerpo de nuestra pavita.
1: we will start with an oval ellipse, which will be the body of our pavita.
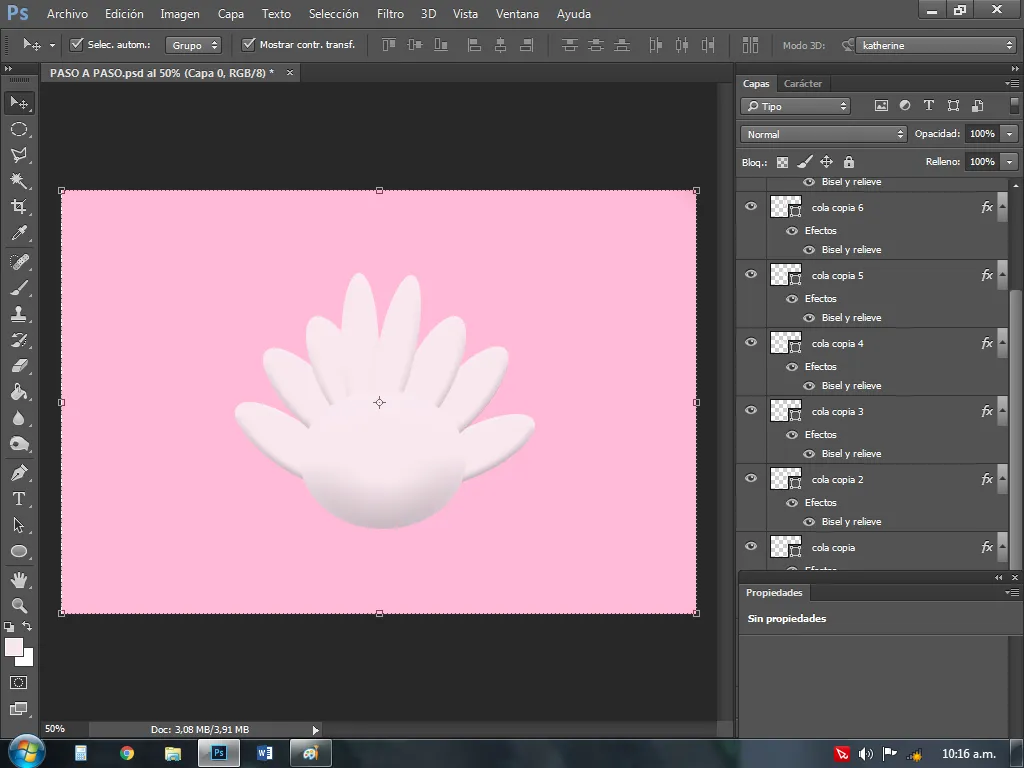
2: for the tail we will add several ovals with the ellipse tool.
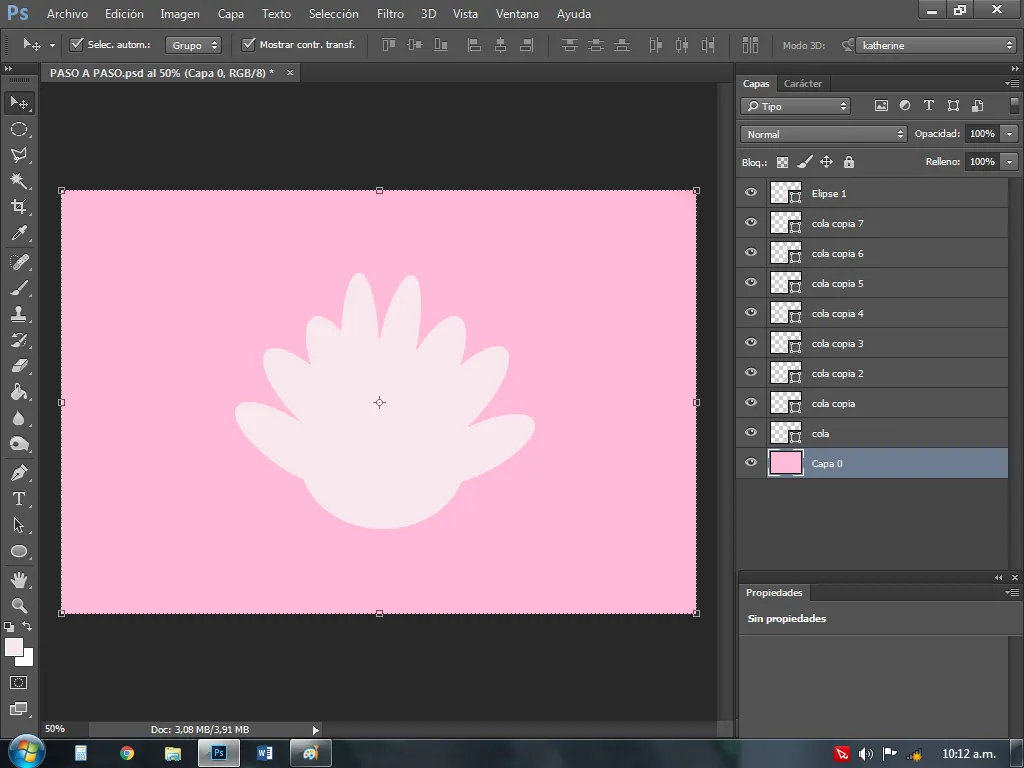
3: pueden notar que, no se diferencia los límites de cada figura y no se percata con facilidad laq figura por lo que continuamos con la herramienta “opción de difusión” para darle sobras y relieves uno por uno.
3: You can notice that the limits of each figure are not differentiated and the figure is not easily noticed, so we continue with the “diffusion option” tool to give it shadows and reliefs one by one.
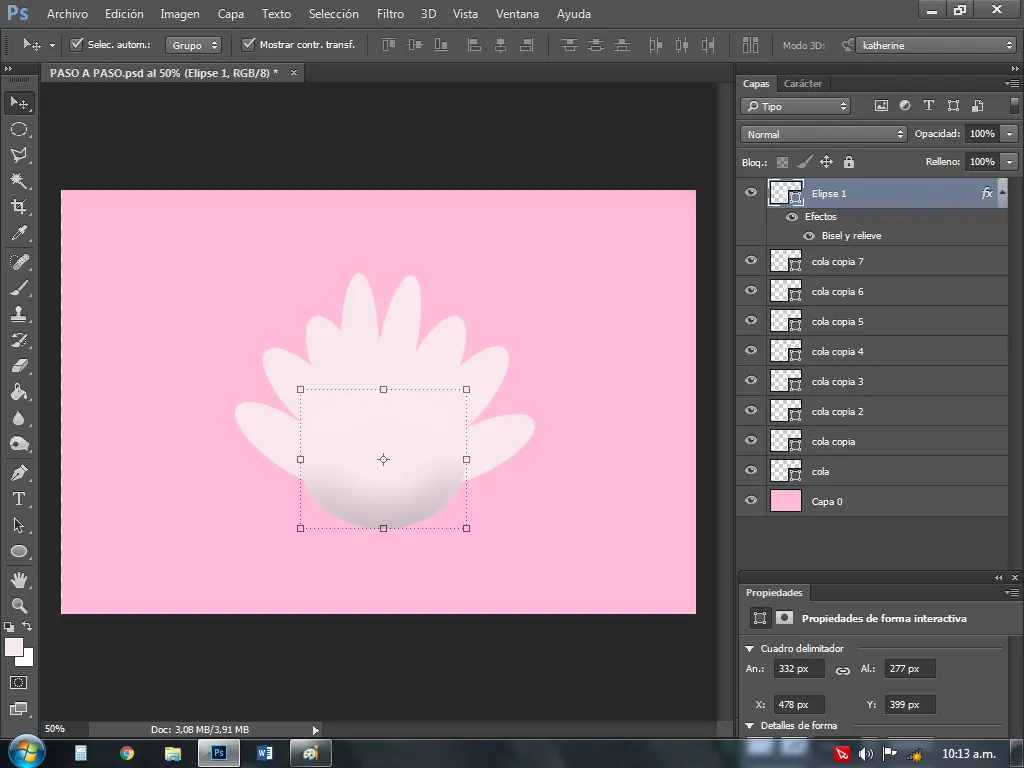
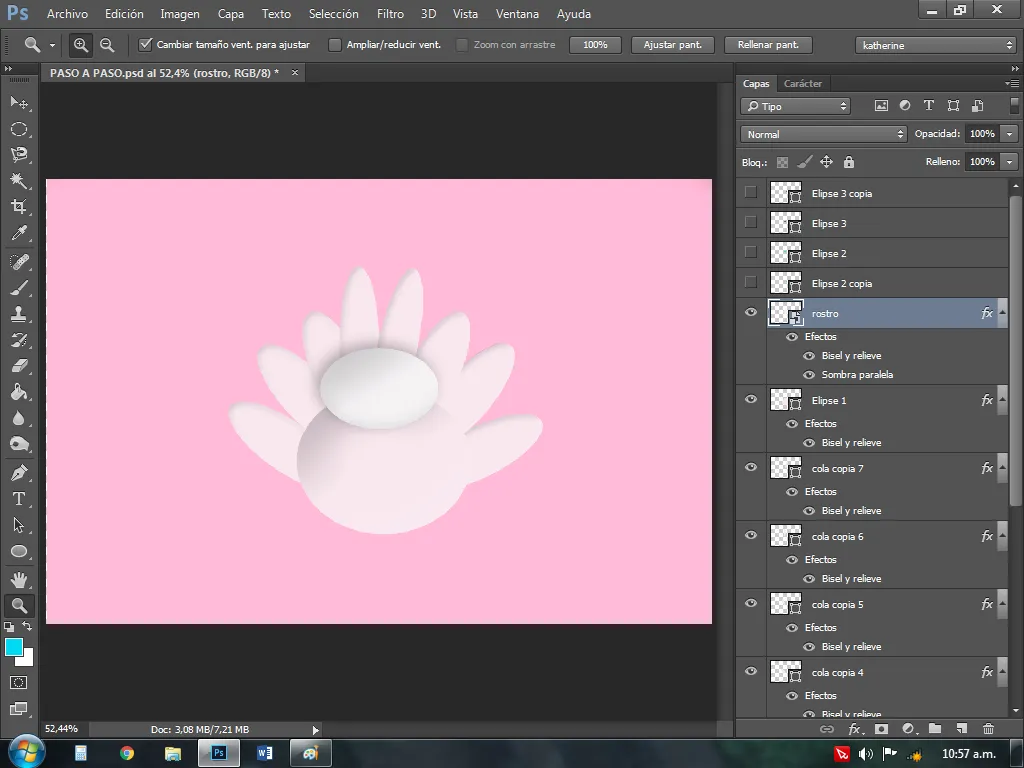
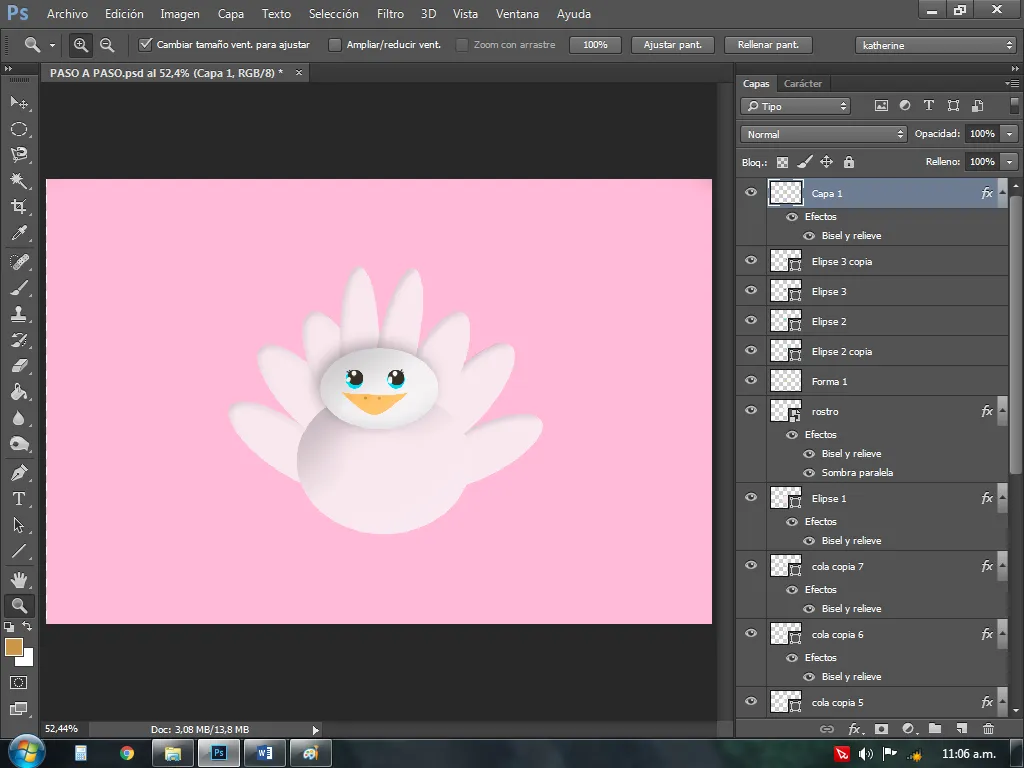
4: luego trazamos un ovalo superior, la cual será nuestra cabeza y le haremos el mismo proceso de sombreado en “opción de difusión”.
4: then we draw a superior oval, which will be our head and we will do the same shading process in “diffusion option”.


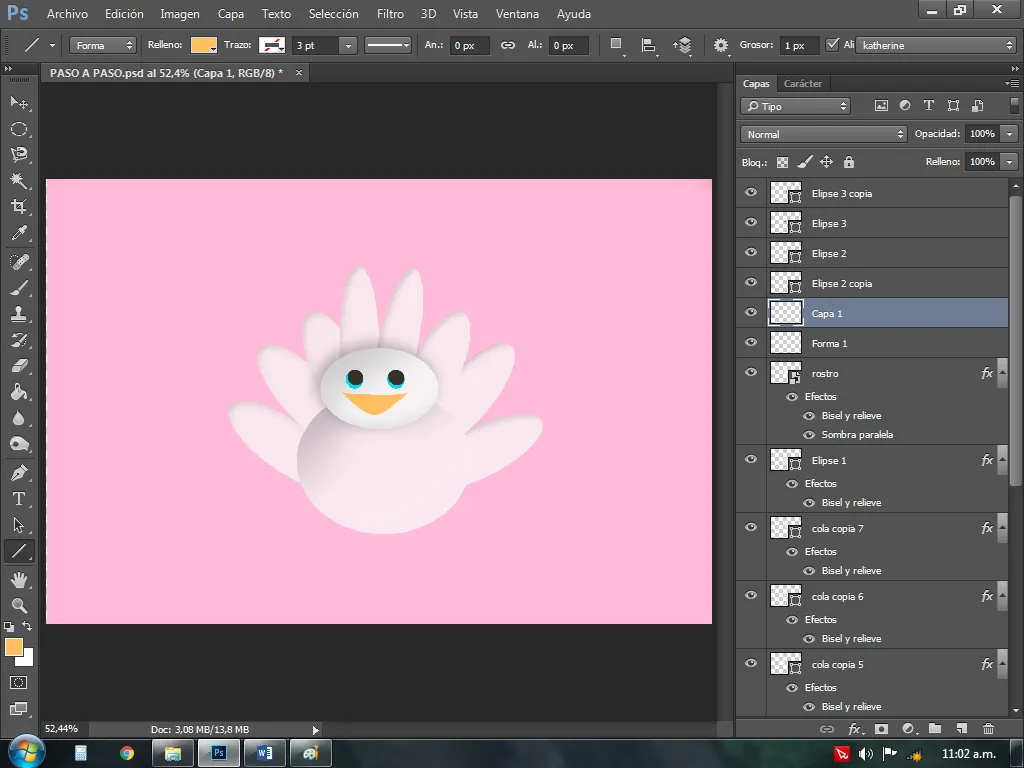
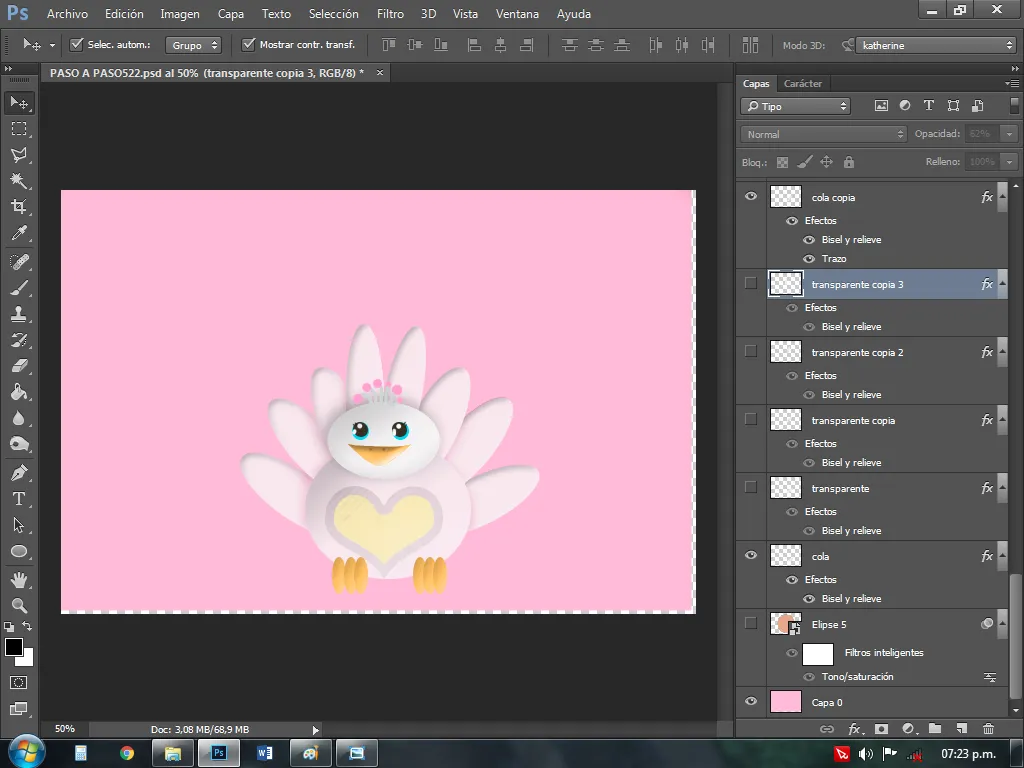
5: decoré el pecho con un corazón con la herramienta “formas” y le di textura ligera en “opciones de difusión”
5: I decorated the chest with a heart with the “shapes” tool and gave it a light texture in “diffuse options”
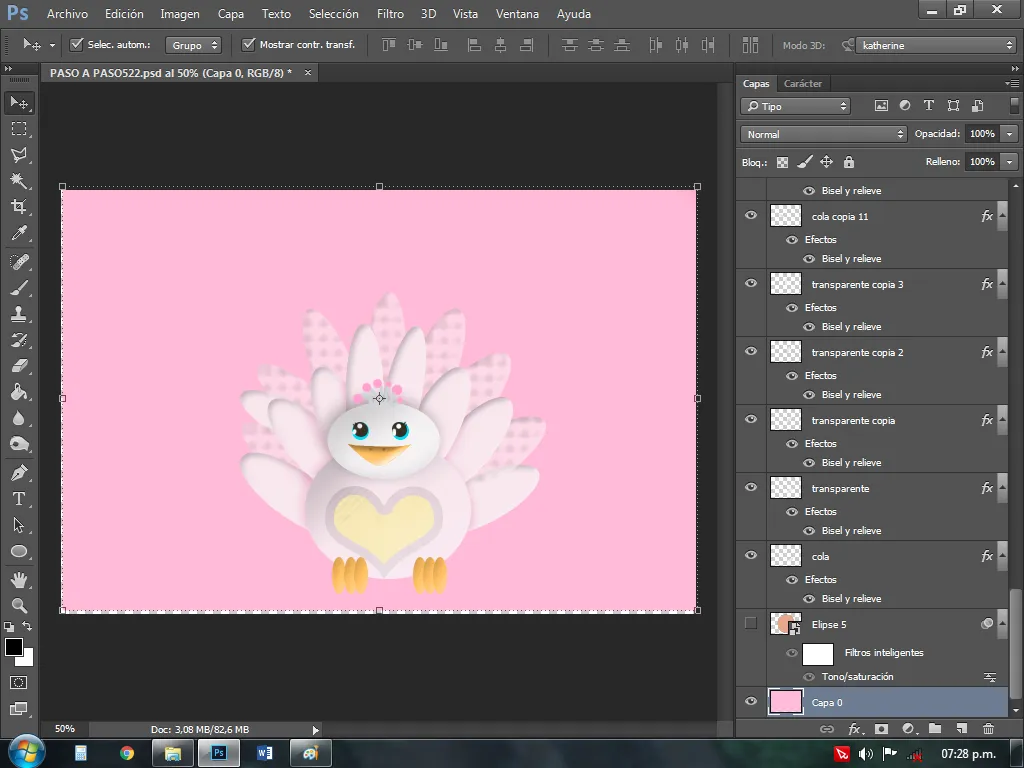
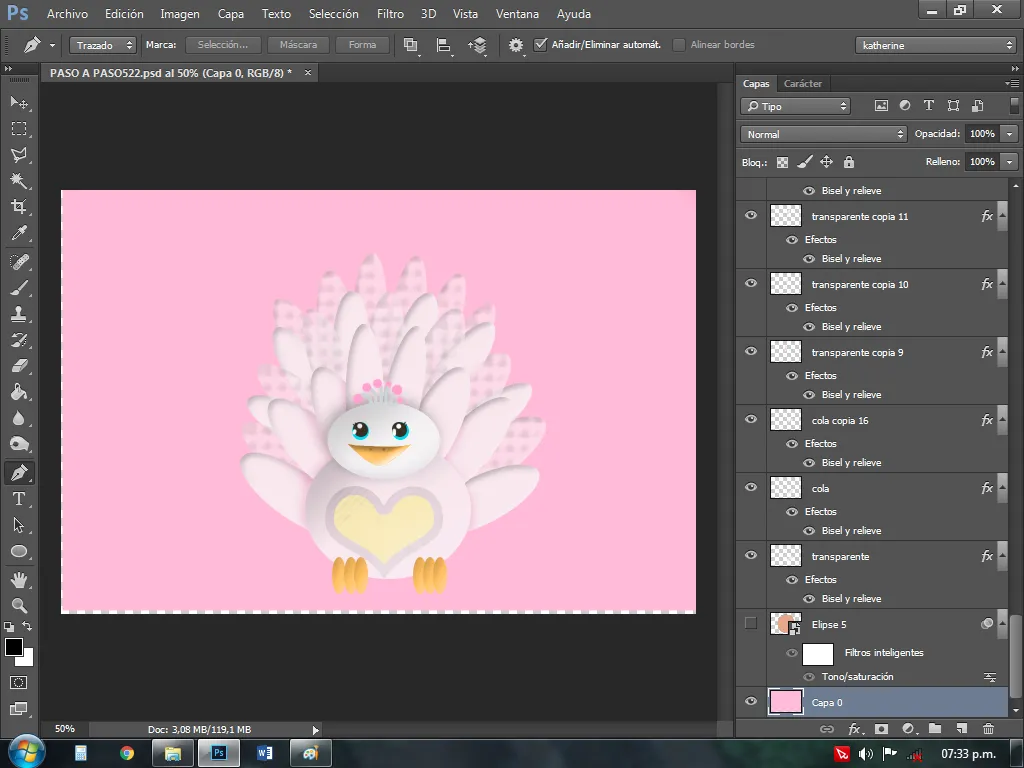
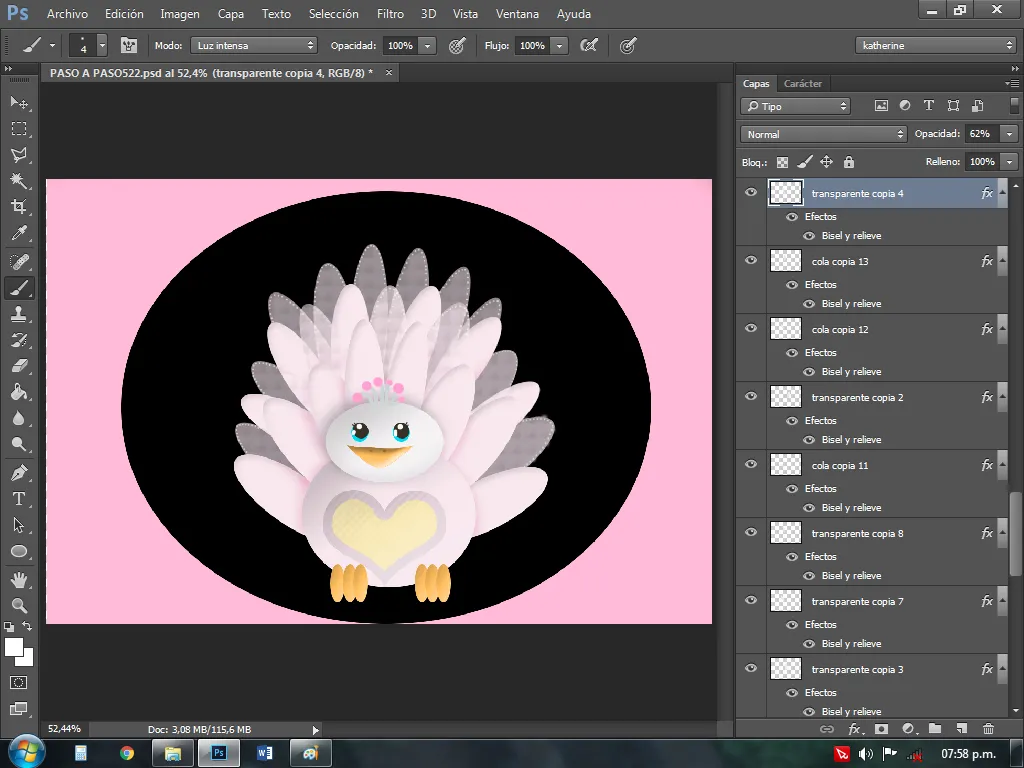
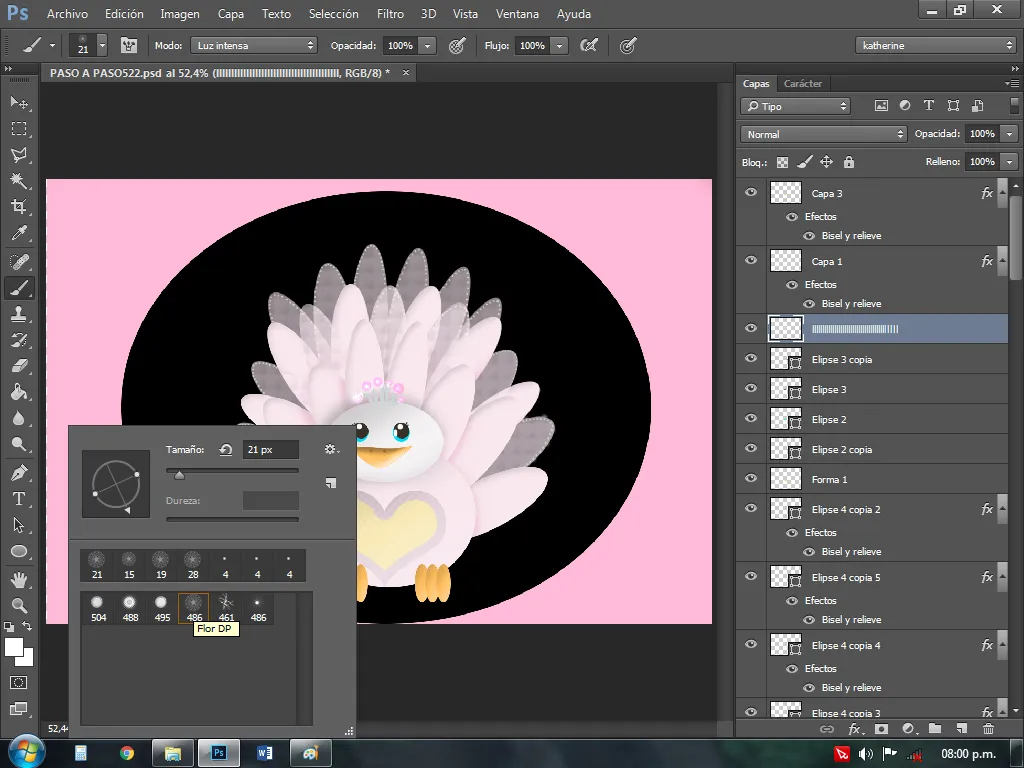
6: le agregué más plumas, pero quise varias un poco con unas semitransparentes y con textura.
6: I added more feathers, but I wanted several a bit with semi-transparent and textured ones.


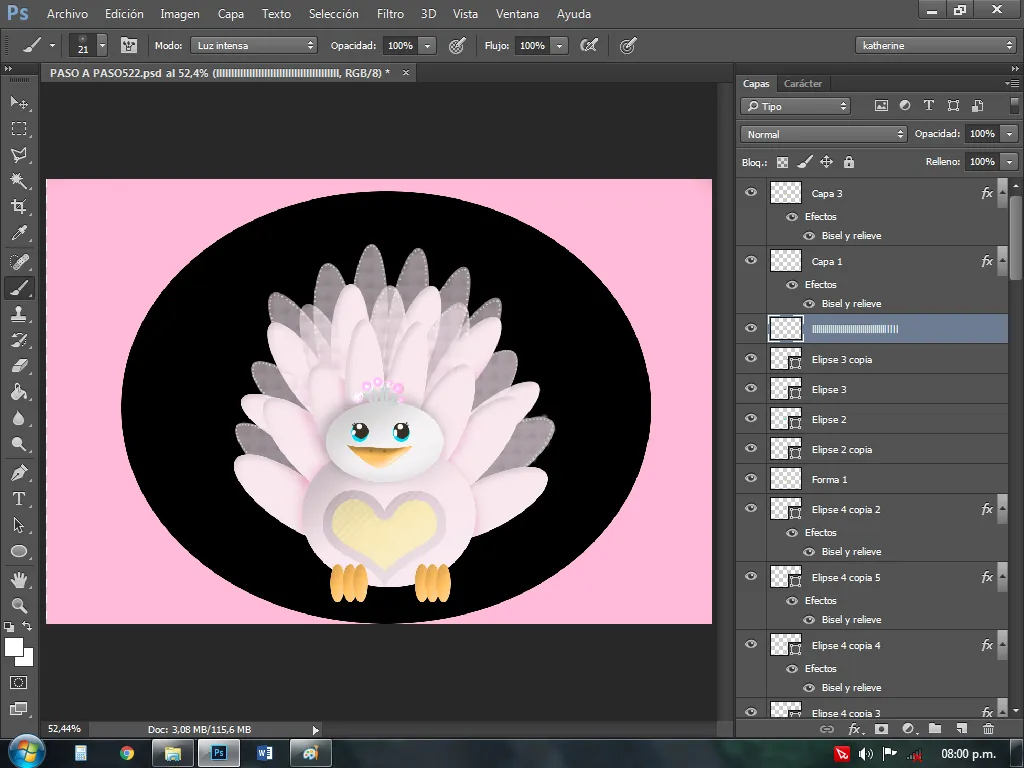
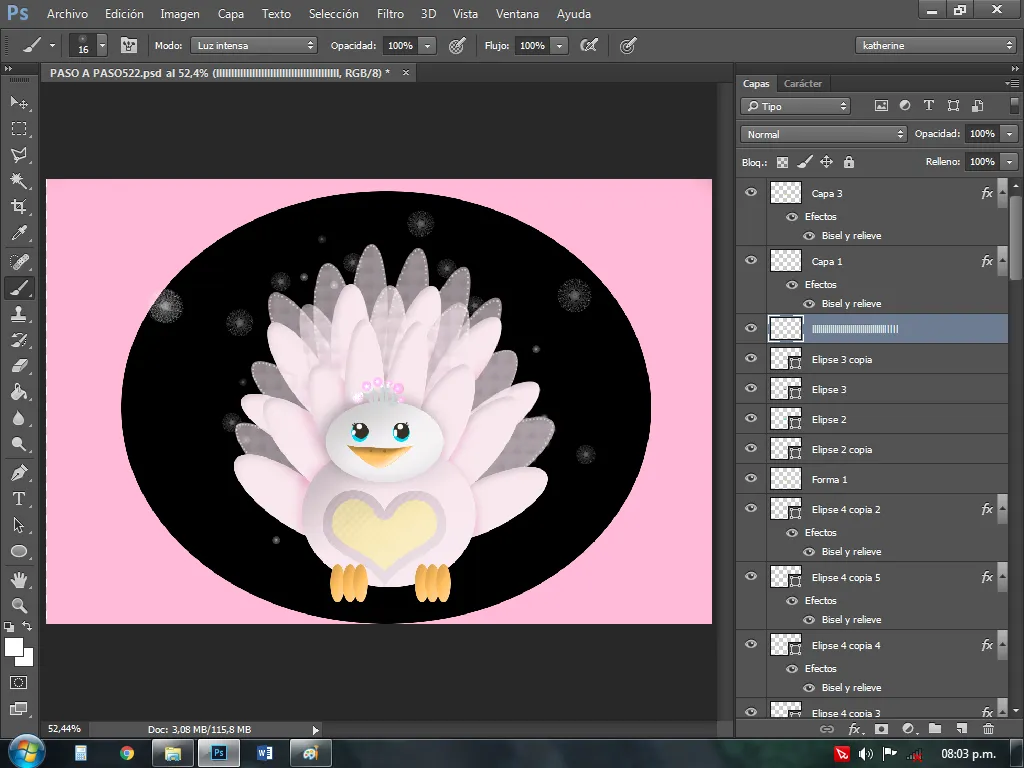
7: detrás de la pavita coloqué un óvalo negro para resaltar el plumaje, a las plumas semitransparentes les agregué puntitos claros, dando parecer que son pequeñas lucecillas, esto da el toque mágico y fantasioso en esta creación.
7: behind the pavita I placed a black oval to highlight the plumage, I added light dots to the semi-transparent feathers, giving the appearance that they are small lights, this gives the magical and fanciful touch in this creation.

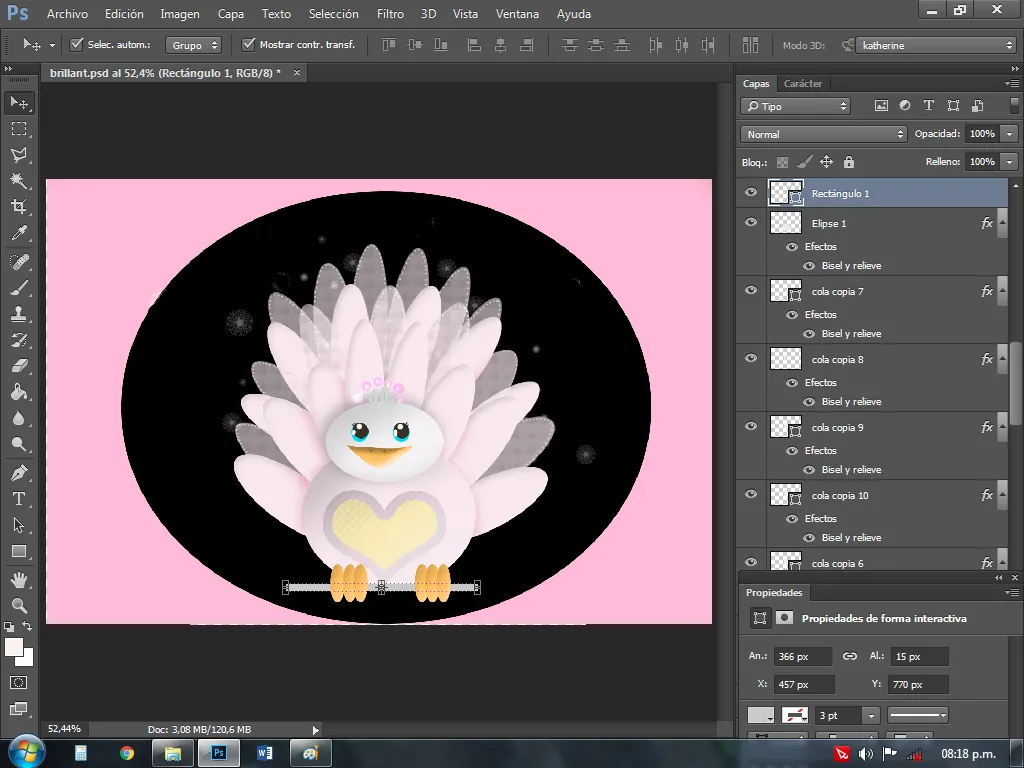
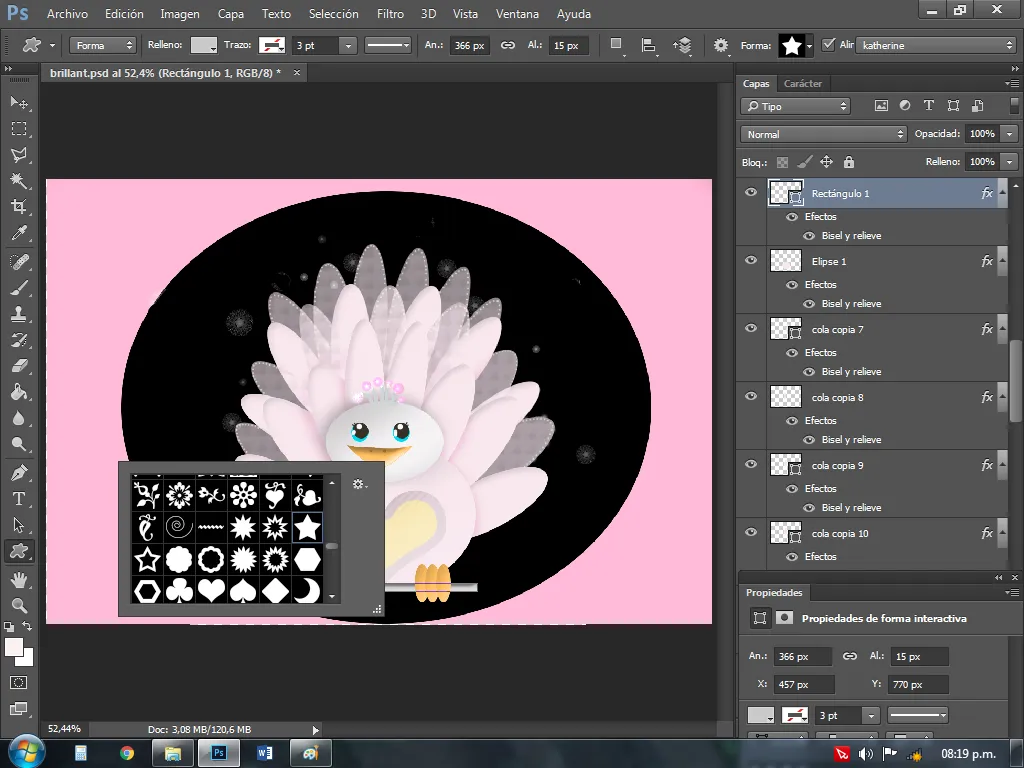
8: a una pavita real mágica no le podía faltar su famosa varita mágica, así que con la herramienta rectángulo tracé la varilla y con la herramienta “formas” le coloqué la figura de una estrella amarilla.
8: a magical royal turkey could not miss its famous magic wand, so with the rectangle tool I traced the wand and with the “shapes” tool I placed the figure of a yellow star.
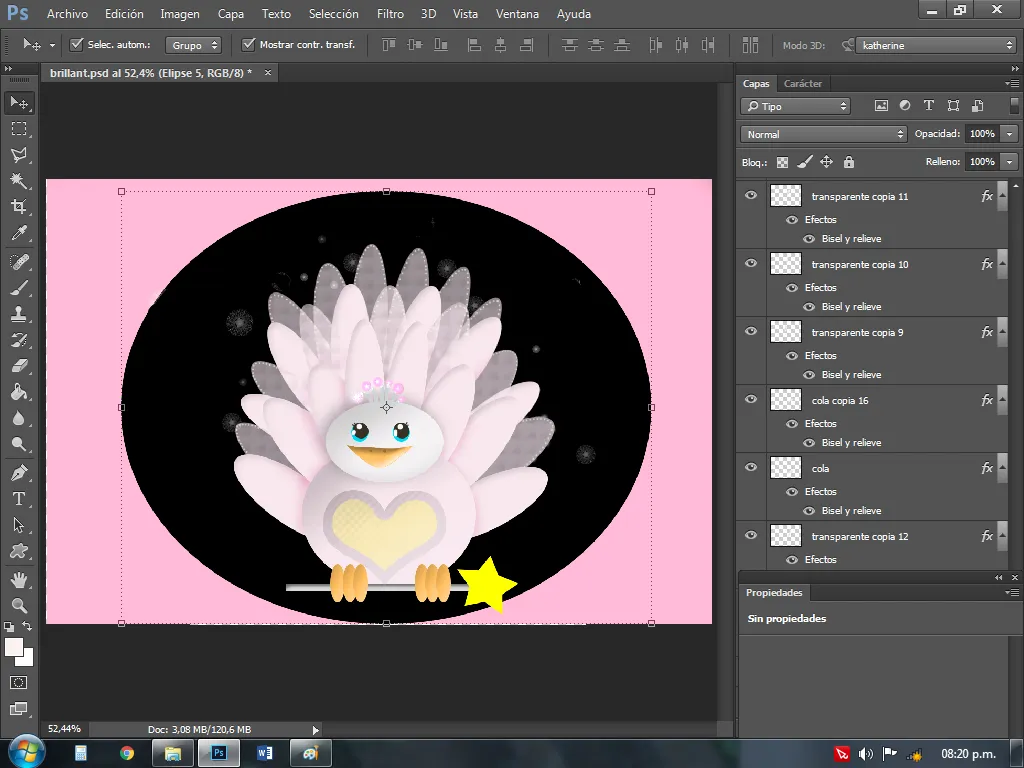
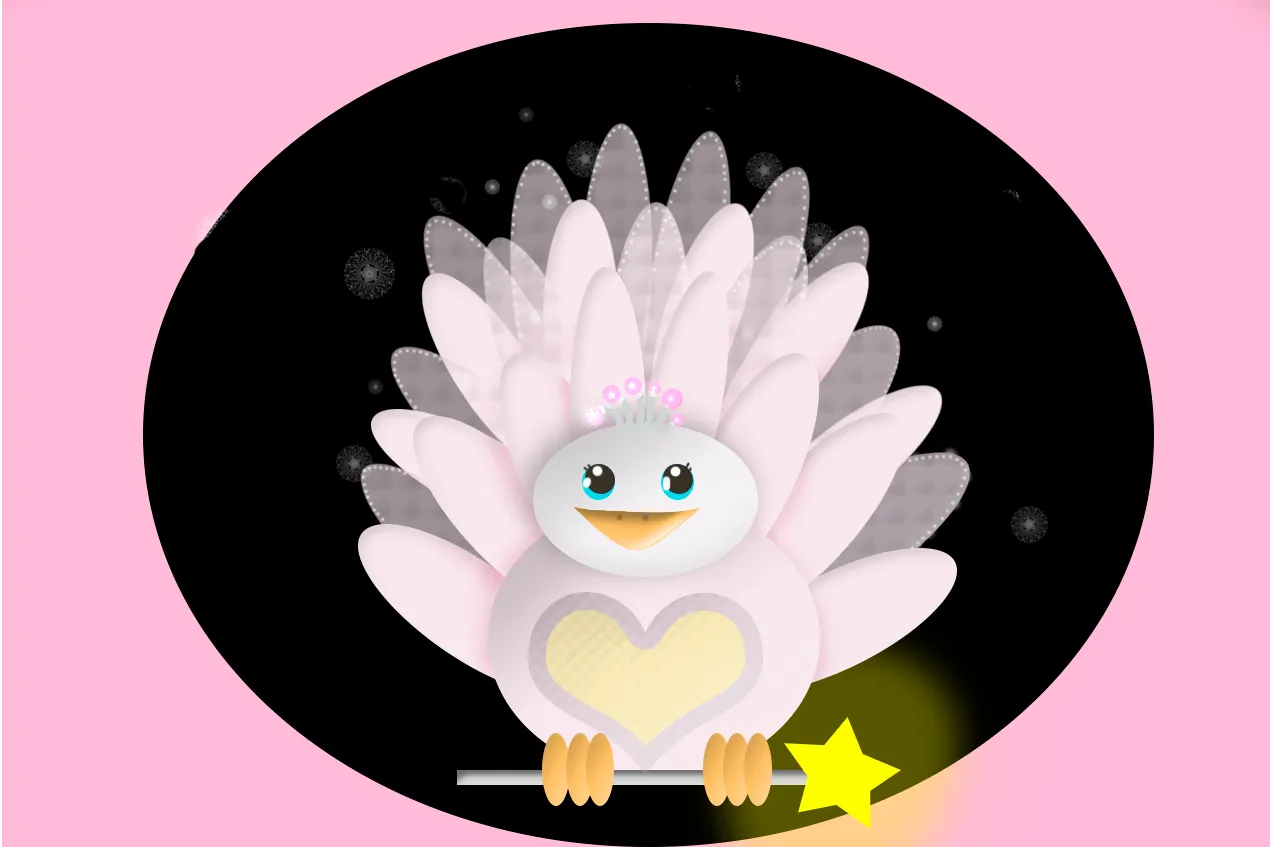
¡Enhorabuena! esta Pavita Real mágica esta lista para cumplir sus primeros deseos.
! Congratulations!! This magical Peacock is ready to fulfill your first wishes.
Hemos llegado al final de este post, espero les haya sido de su agrado tanto como a mí, como siempre muy agradecida de permitirme formar parte de esta hermosa comunidad en donde nos permiten expresar nuestras virtudes y despertar nuestra creatividad; en los próximos post les estaré mostrando algunas técnicas de Photoshop para hacer efectos que nos ayuden a mejorar los acabados en el arte digital; cabe aclarar que no soy especialista en el tema pero humildemente les estaré compartiendo lo que tengo en conocimiento sobre el tema. Se les quiere un montón, éxitos y muchas bendiciones.
We have reached the end of this post, I hope you liked it as much as I did, as always very grateful to allow me to be part of this beautiful community where they allow us to express our virtues and awaken our creativity; In the next post I will be showing you some Photoshop techniques to make effects that help us improve the finishes in digital art; It should be clarified that I am not a specialist on the subject, but I will humbly be sharing with you what I know about the subject. I wish you a lot, success and many blessings.


Fotografía por | Photography by: @kathysteele, Android A10.Edición por | Edition by: @kathysteele, Photoshop.Separador y stikers| Separator and stikers: autoria propia.Translated with www.traductorgoogle