Hola feliz noche tengan todos mis amigos ,espero que se encuentren bien, aprovecho la ocasión para desearles un feliz y bendecido fin de semana , hoy les quiero compartir un Marcapáginas qué creé a mi gusto, se supone que estamos de (vacaciones) pero siempre he dicho que algo que debemos mantener de hábitos en nuestras vidas es la (Lectura) es muy importante llenarnos de conocimientos , por ello en ésta ocasión realicé éste diseño
Hello happy evening to all my friends, I hope you are well, I take this opportunity to wish you a happy and blessed weekend, today I want to share a Bookmark which I created to my liking, it is assumed that we are on (vacation) but I have always said that something we must keep habits in our lives is the (Reading) is very important to fill us with knowledge, so this time I made this design
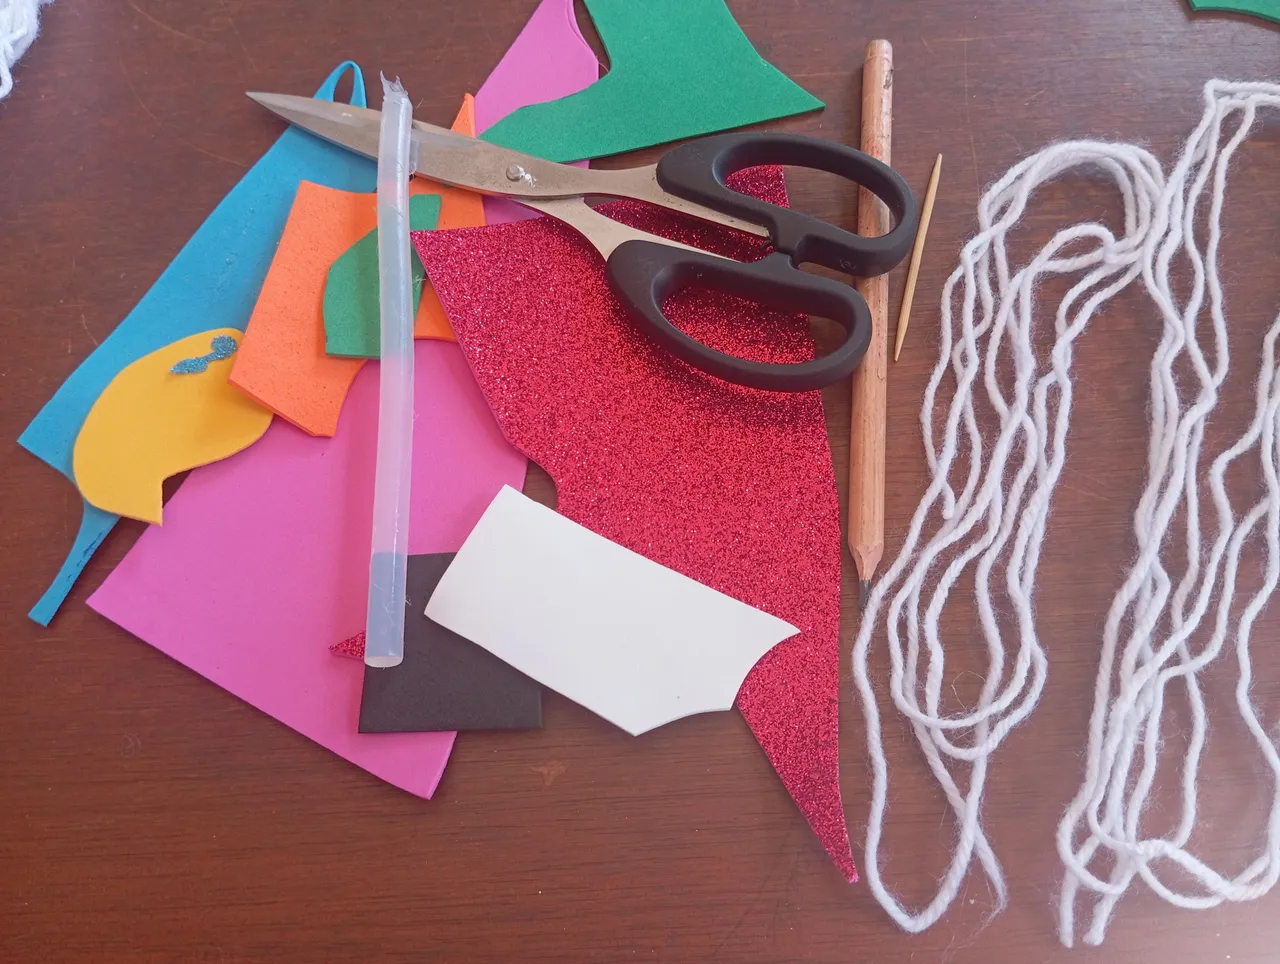
Materiales qué utilicé para crear mi Marcapáginas:
-Foamis (recortes)
-Estambre
-Tijera
-Silicon
-Lapiz y papel
Materials I used to create my bookmark:
-Foamis (cut-outs)
-Wire
-Scissors
-Silicon
-Paper and paper
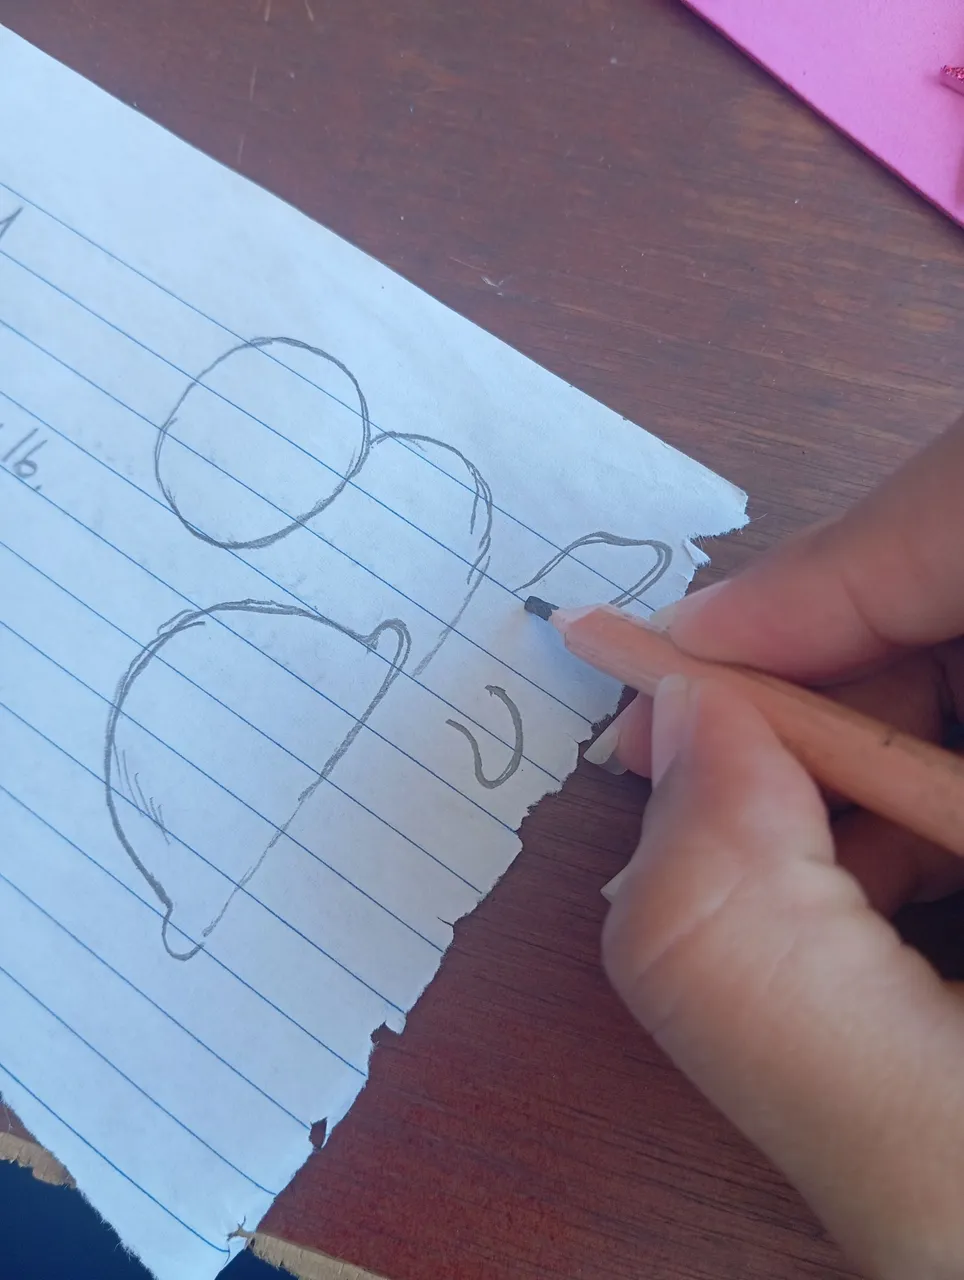
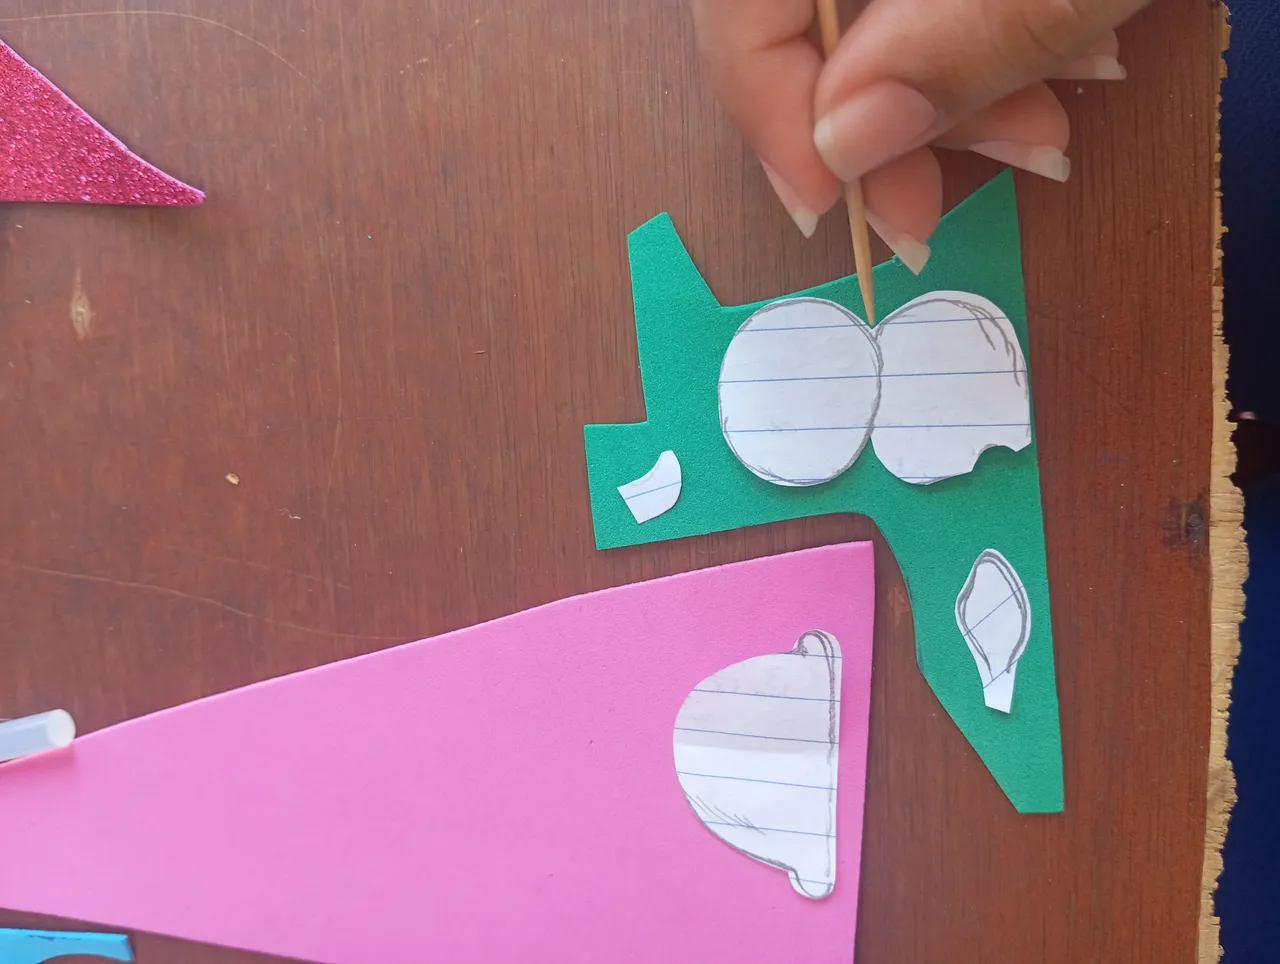
A continuación los pasos a seguir:
Iniciaremos realizando un patrón con el cuál trabajaremos pieza por pieza , en esta ocasión mi temática es sobre un adorable tortuga con gafas , una tortuga inteligente y lectora , sólo trabajaremos con su caparazón, cabeza y mitad del cuero, por último sus patas
Here are the steps to follow:
We will start by making a pattern with which we will work piece by piece, this time my theme is about an adorable turtle with glasses, a smart and reading turtle, we will only work with its shell, head and half of the leather, and finally its legs.
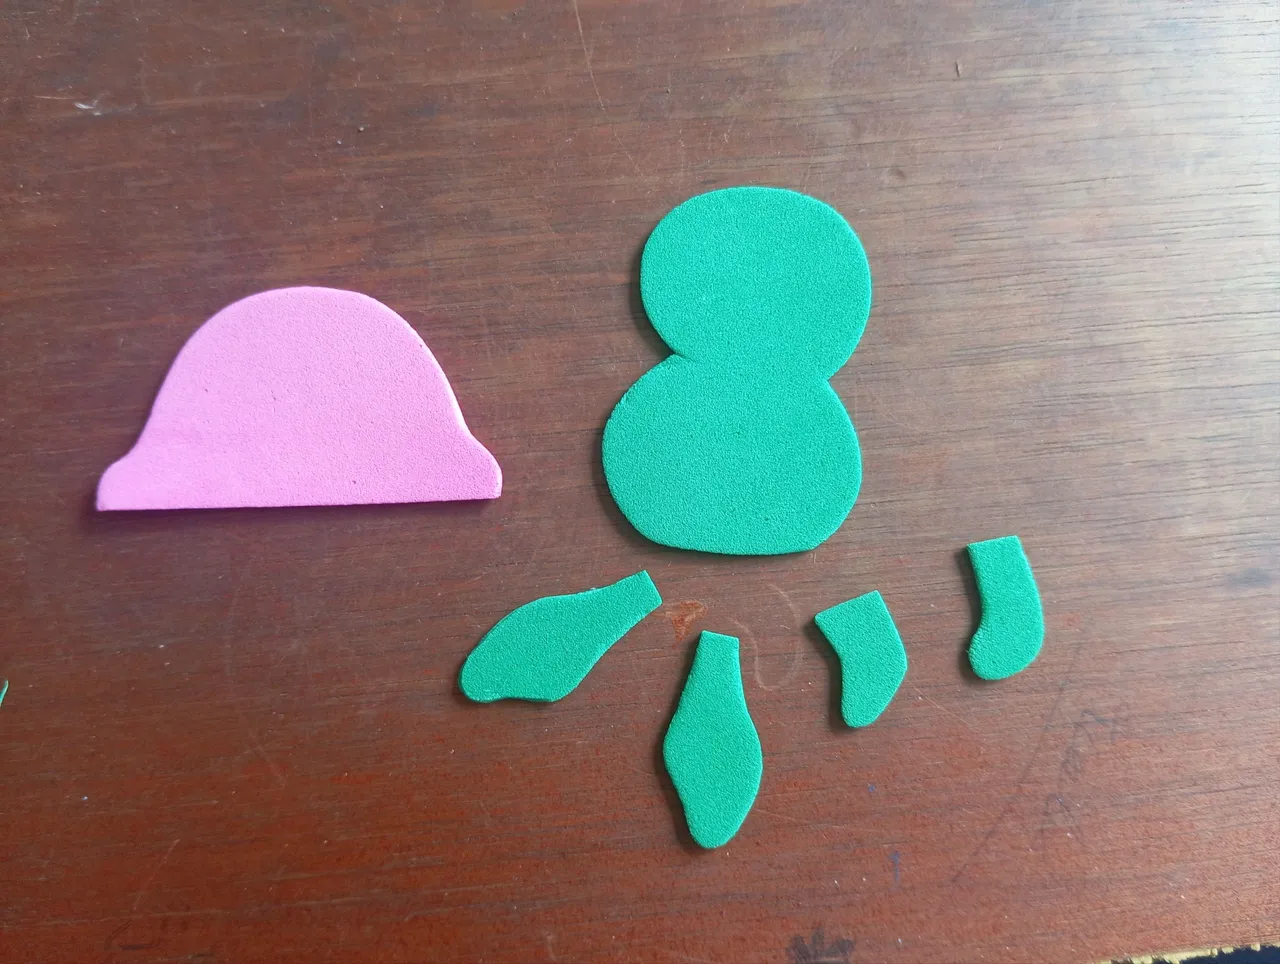
Seguidamente teniendo listo nuestro patrón,vamos a continuar marcando las piezas en los siguientes colores, utilicé verde para el cuerpo y las patas y rosa para el caparazón
Next having our pattern ready, we will continue marking the pieces in the following colors, I used green for the body and legs and pink for the shell.
Luego que marcamos nuestras piezas a continuación en este presente paso ,vamos a proceder recortando con una tijera
After we have marked our pieces, we will proceed to cut them out with scissors.
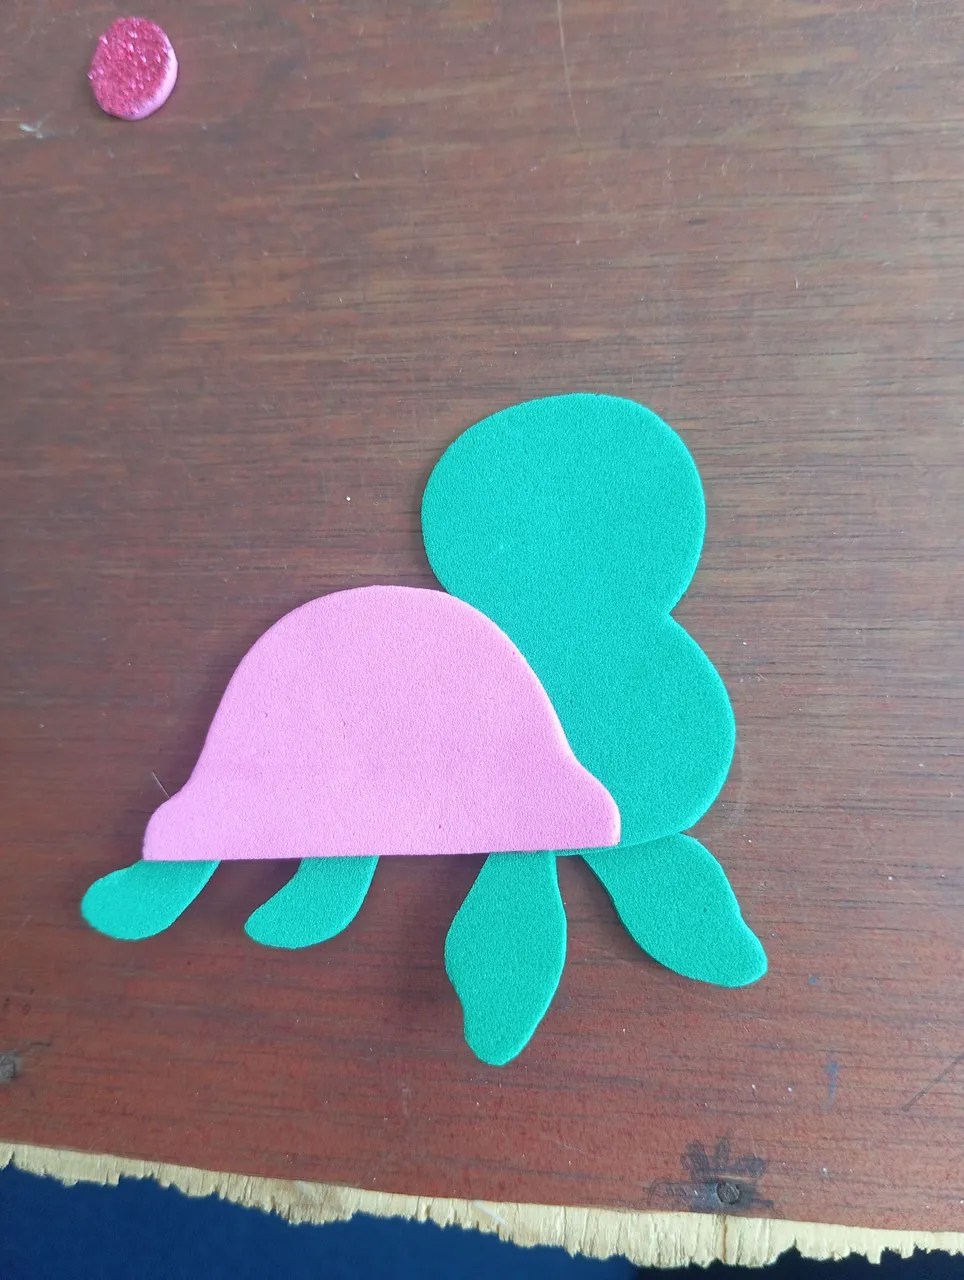
A continuación en este siguiente paso vamos a pegar , Iniciaremos pegando al cuerpo el caparazón primeramente, luego en la parte de abajo de forma separada pegaremos las patas , dos irán ubicadas en la parte de adelante y dos apuntando hacia atrás
Then in this next step we are going to glue, we will start by gluing the shell to the body first, then in the bottom we will glue the legs separately, two will be located in the front and two pointing backwards.
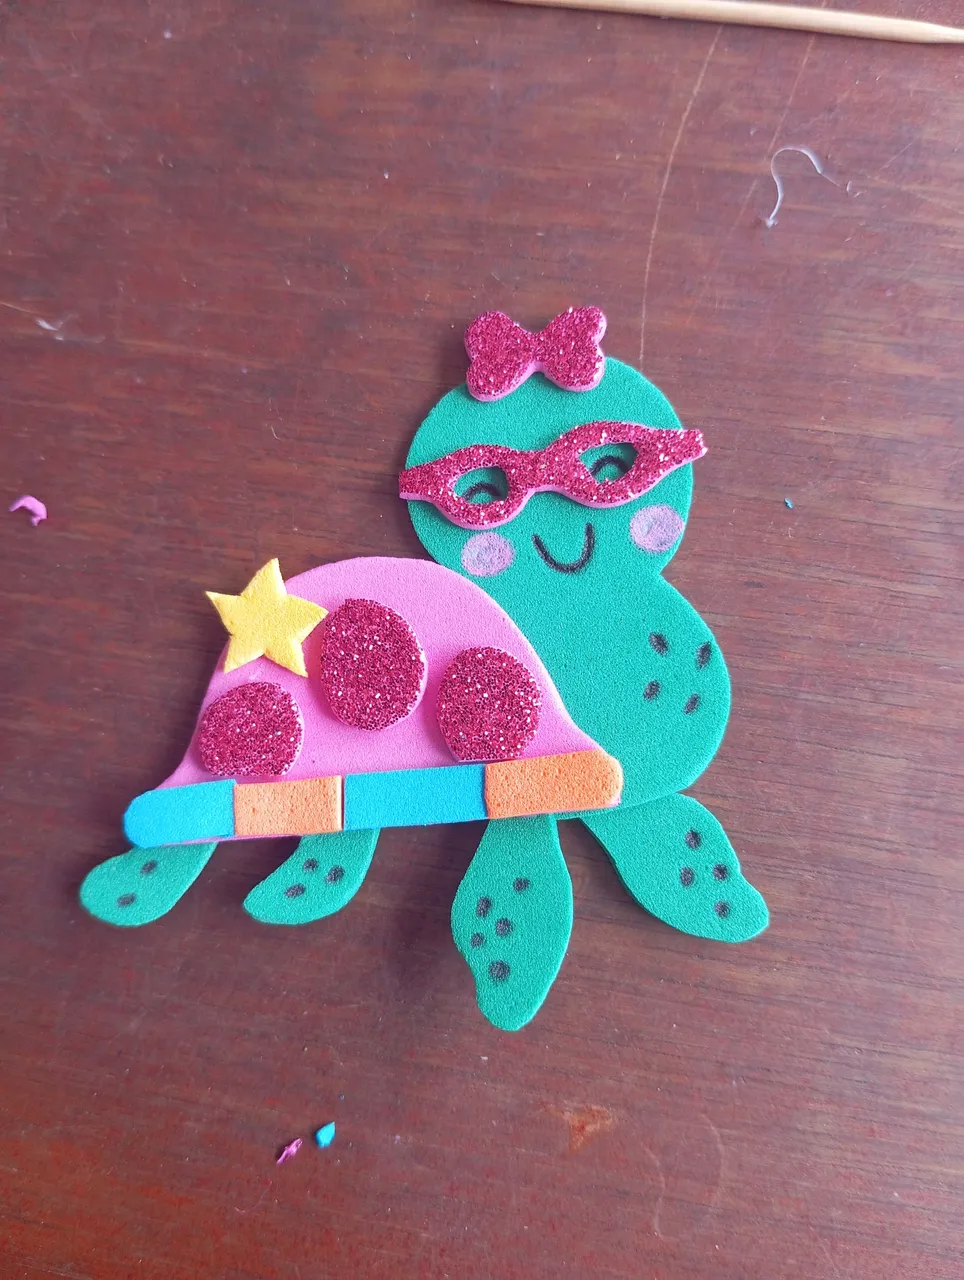
Seguidamente amigos vamos a proceder decorando el caparazón de nuestras tortugas ,pegando unos círculos escarchados , unas tiras de colores azul y naranja , por último vamos a realizar el rostro de la tortuga , lo primero es pegar sus lentes y el lazo en la parte de arriba de la cabeza, dibujando su rostro alegre
Next friends we will proceed decorating the shell of our turtles, gluing some frosted circles, some strips of blue and orange colors, finally we will make the face of the turtle, the first thing is to paste his glasses and the bow on the top of the head, drawing his cheerful face
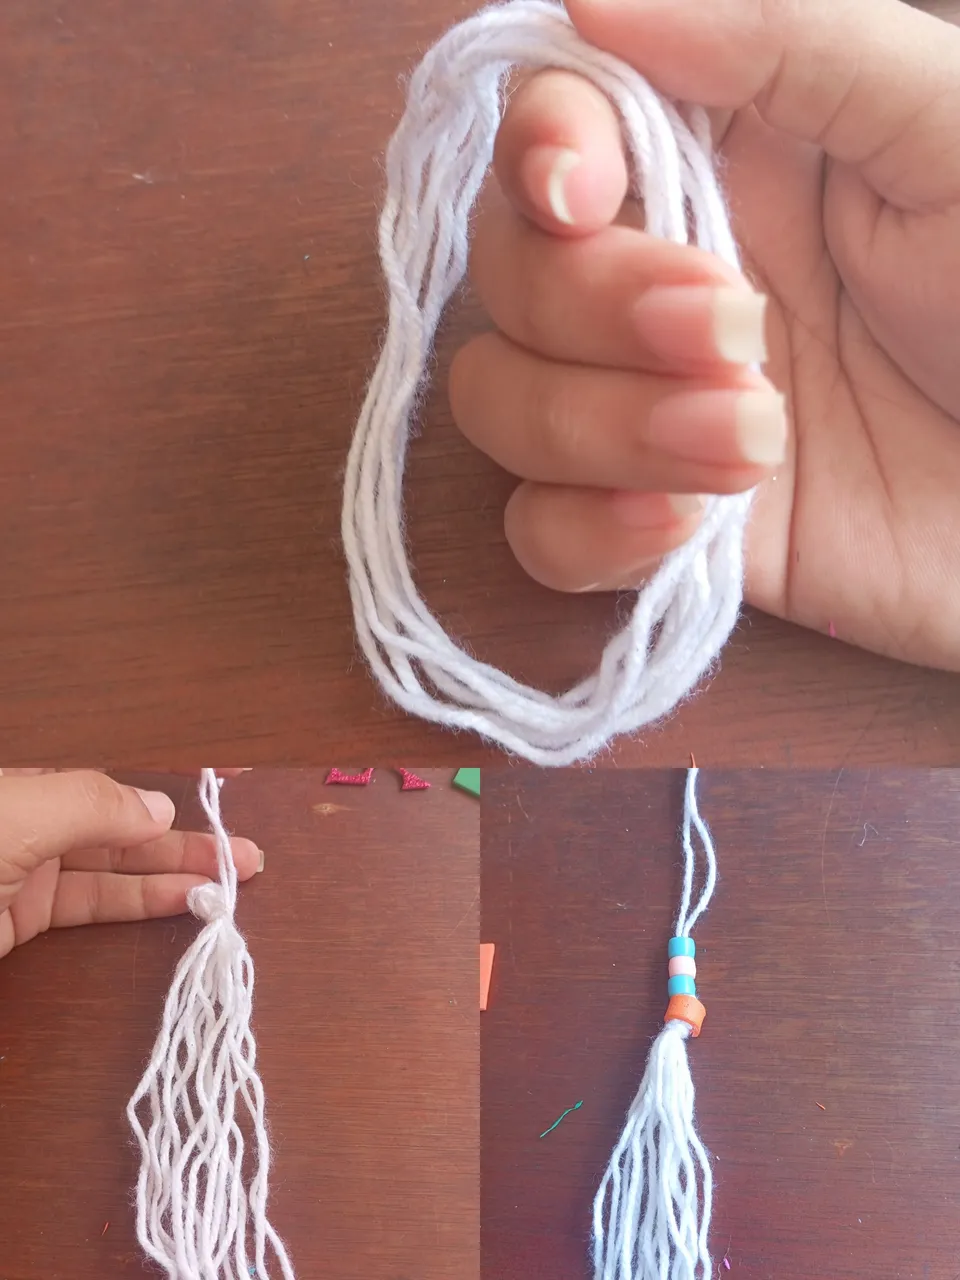
A continuación vamos a realizar una pieza con el estambre algo tipo borla que cuelgue ,tomaremos el estambre y comenzaremos a enrollar hasta el bulto o abundancia que queramos , luego vamos a tomar la pieza y realizaremos un corte en la parte baja , convirtiendo la pieza en flecos , seguidamente crucé un hilo de estambre hacia la parte de arriba e introduje unas piedras plásticas para combinar
Next we are going to make a piece with the yarn something like a tassel that hangs, we will take the yarn and begin to wind up to the bulk or abundance that we want, then we will take the piece and make a cut at the bottom, turning the piece into bangs, then I crossed a thread of yarn to the top and introduced some plastic stones to combine.
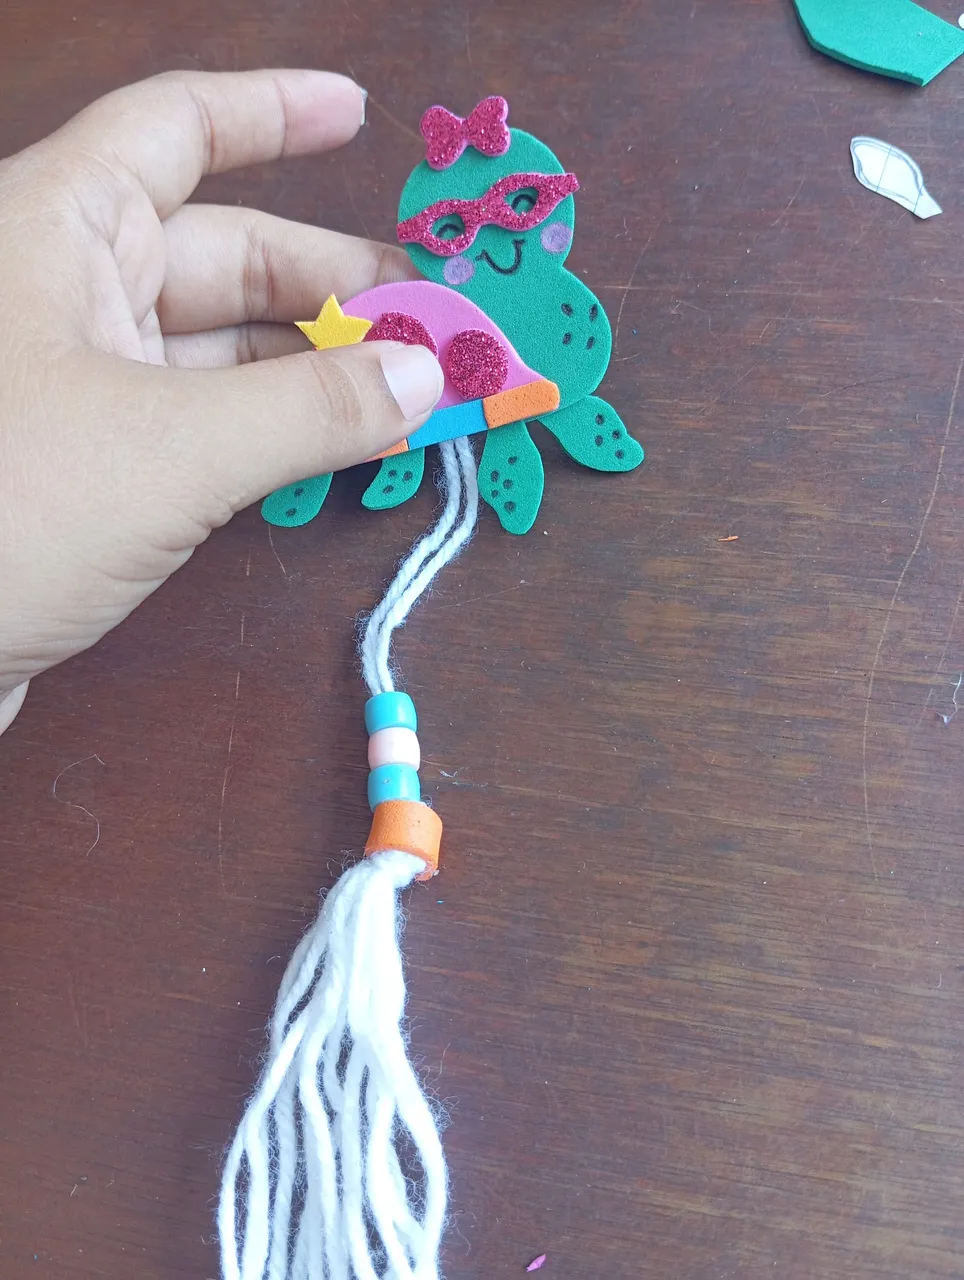
Una vez lista la tortuga inteligente vamos a continuar pegando los flecos o borla en la parte de abajo de la tortuga ubicada exactamente detrás
Once the smart turtle is ready we will continue gluing the bangs or tassel on the bottom of the turtle located exactly behind it.
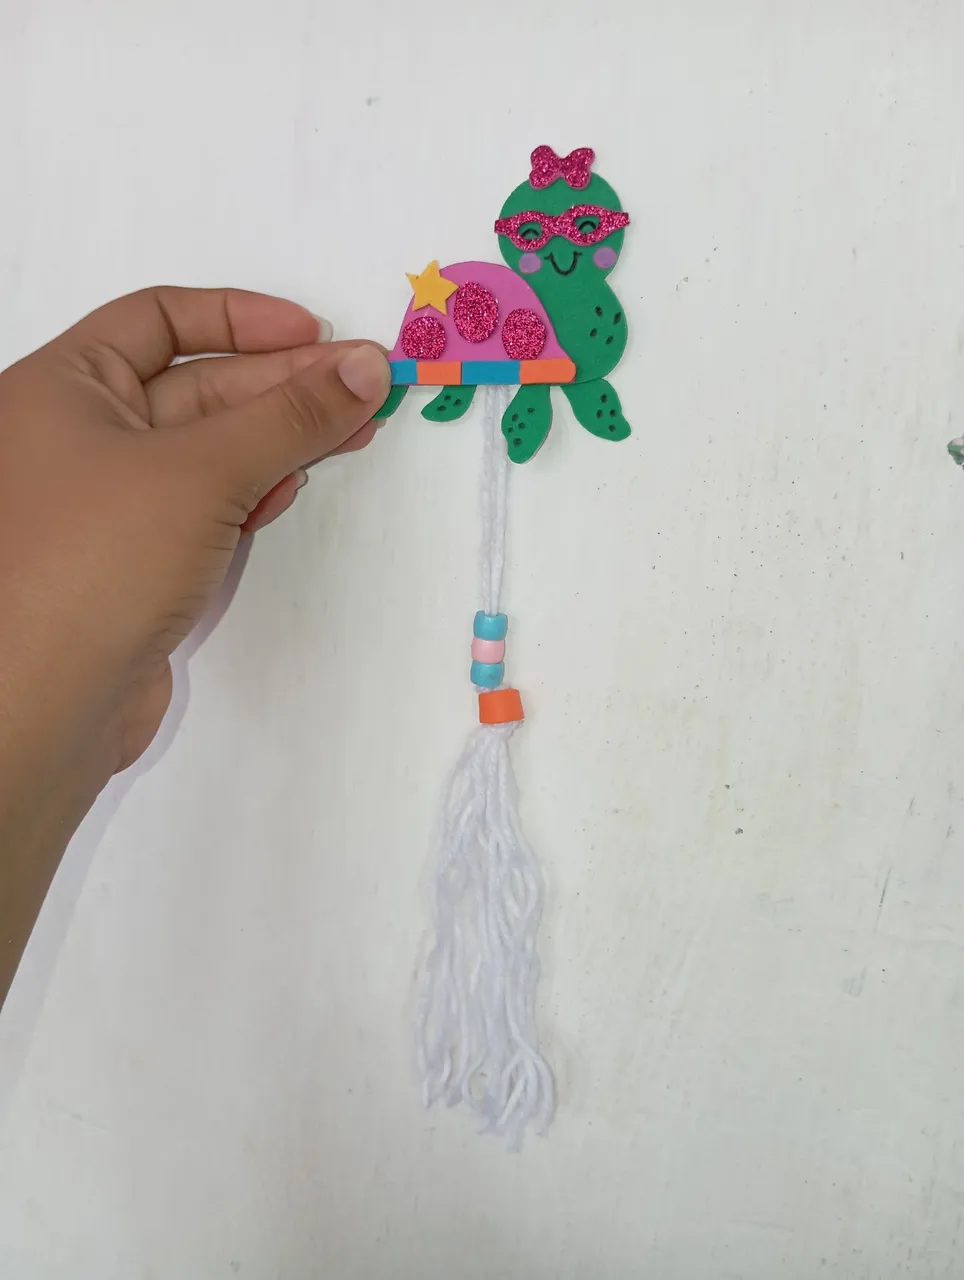
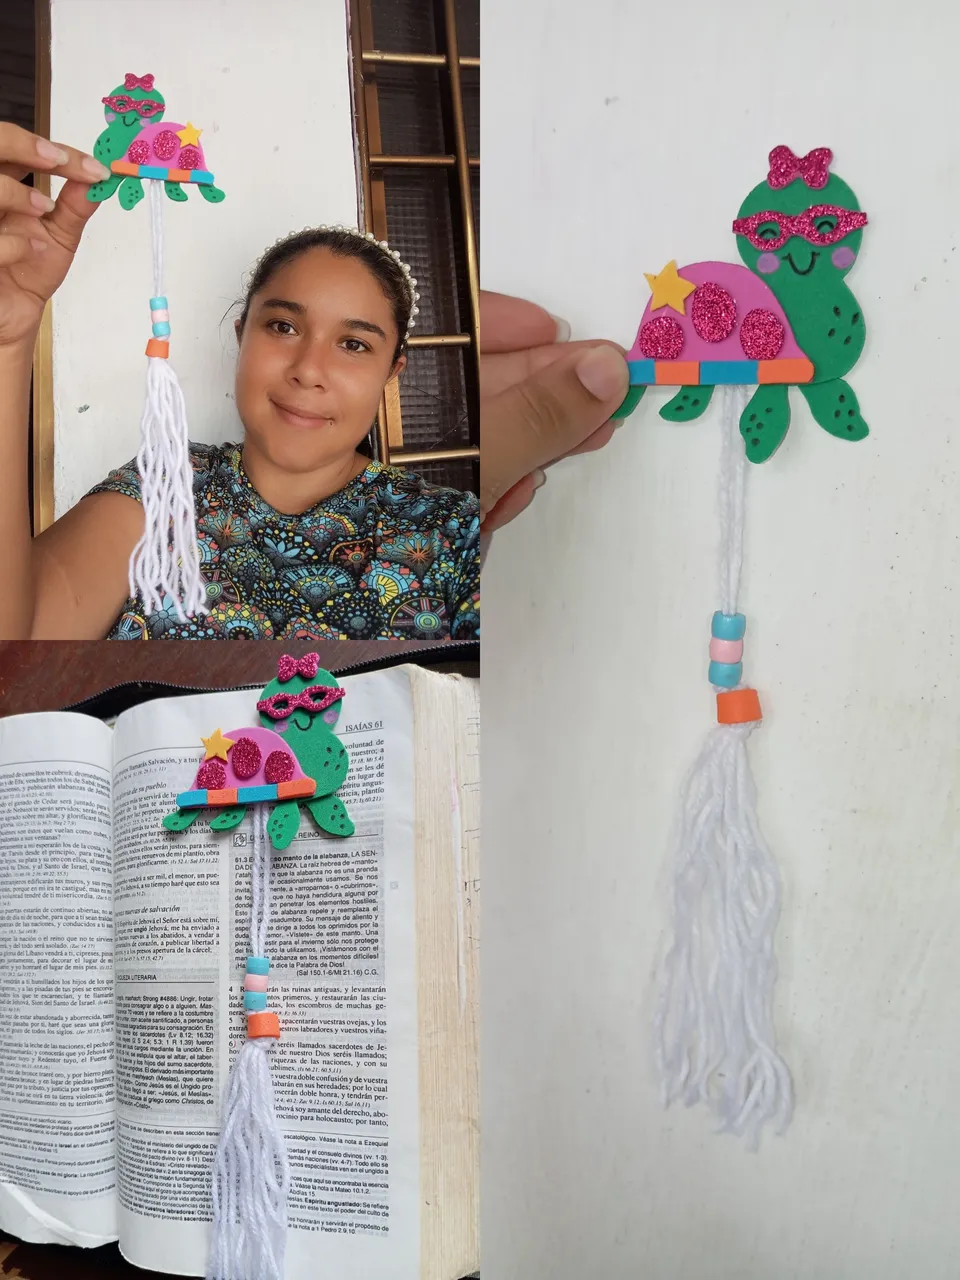
Este es el resultado final de mi hermoso Marcapáginas creado a mi propio gusto , espero puedan servirle de utilidad y mostrarme el resultado de su manualidad
Créditos: las fotos las tomé con mi redmi 12 y traduje los textos con el traductor deepl , feliz noche
This is the final result of my beautiful bookmark created to my own taste, I hope you find it useful and show me the result of your craft.
Credits: the pictures were taken with my redmi 12 and I translated the texts with the deepl translator , happy evening