English Version
Sometimes we want to create something great and we focus on making something complicated and eye-catching, not realising that we can do great things with something as simple as a sheet of paper. Paper, for example, is a very versatile and readily available material that can be used to make an infinite number of crafts. And that is exactly what I am here to show you.
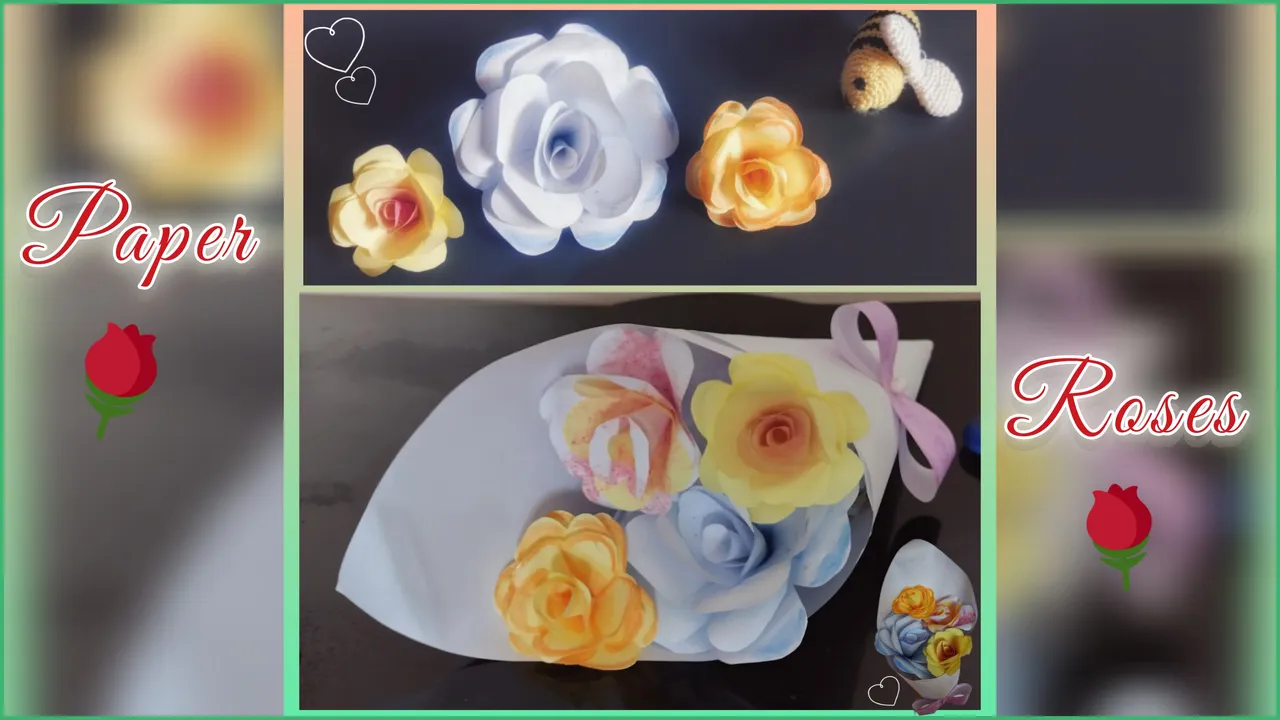
I've been wanting to make something for days, but the truth is that I don't have a lot of materials. Then, a few days ago, I read a post about origamis and my brain immediately clicked and I thought that paper would be a great subject to experiment with a craft. Since I love flowers so much, I decided that making them out of paper would be a good option, and here I share my creative process with you.
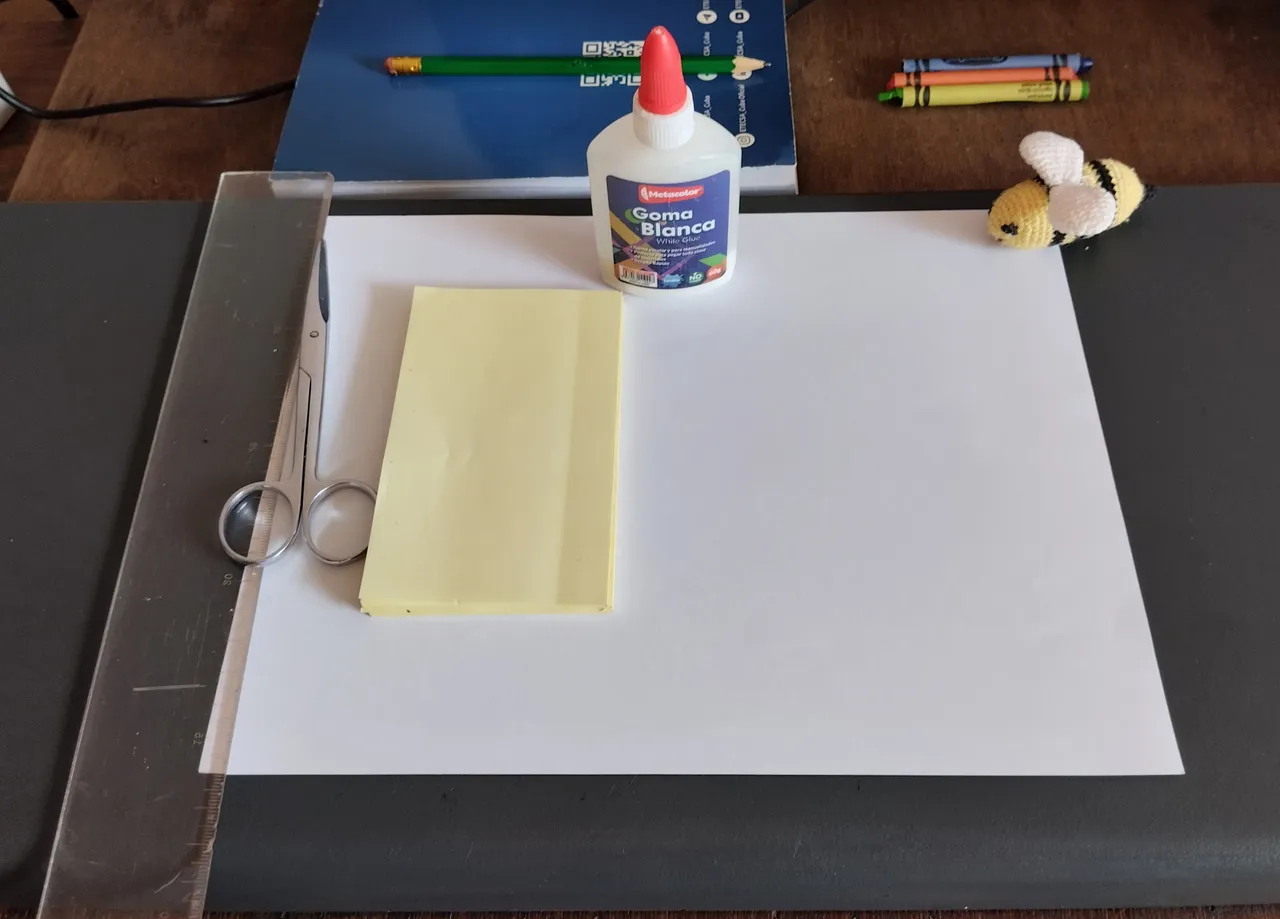
My materials were few, I only used:
- Paper
- Glue
As auxiliary tools I used
- Scissors
- A ruler
- Coloured crayons
Steps for the creation of the flower
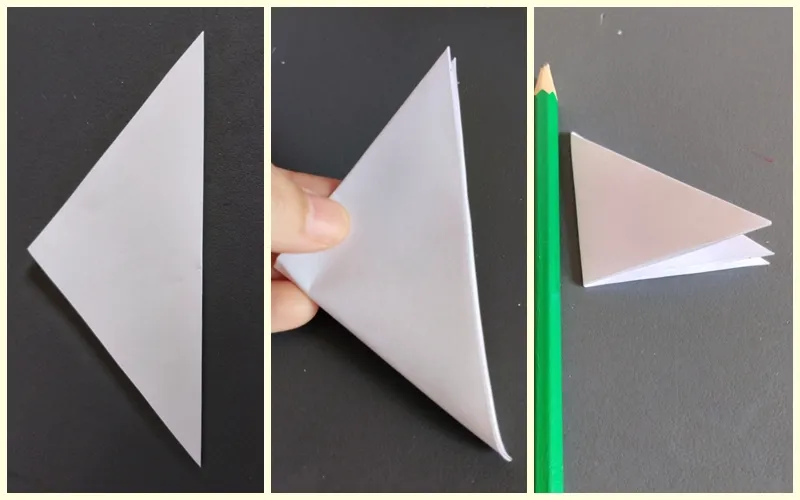
The first thing was to cut out three pieces of paper in the shape of a square. The size can vary depending on how you want to make the flower. I decided to make four roses of different sizes. I will explain the process for the first one as I made them all in the same way.
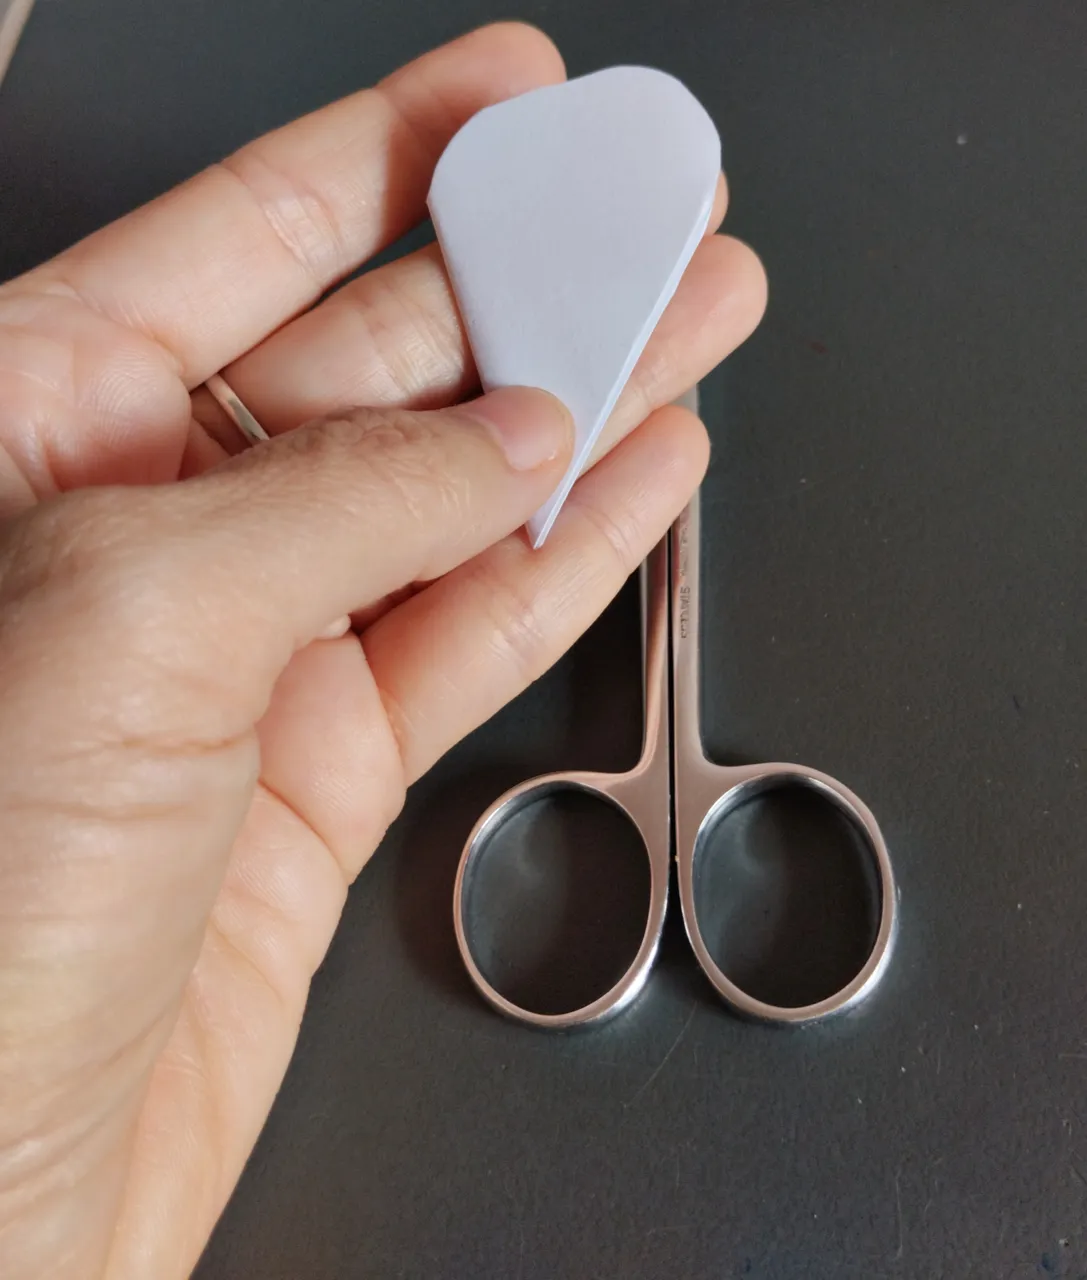
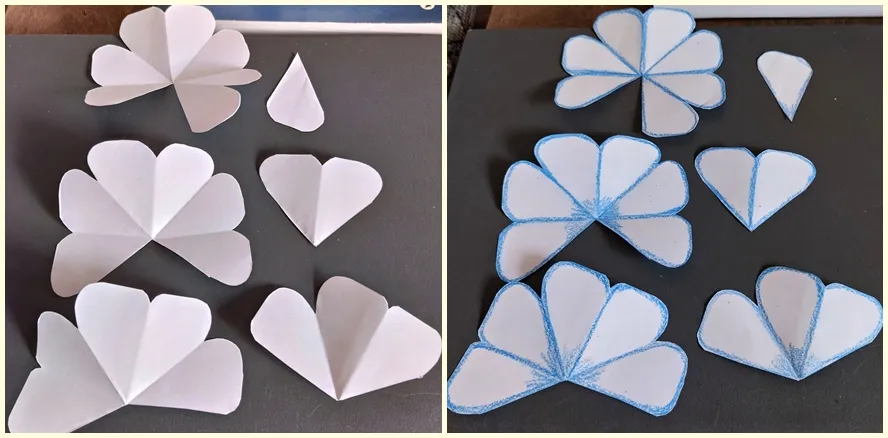
My first three squares of paper had dimensions of 10 x 10 cm. Each sheet is folded in half, joining two of its ends and forming a triangle 📐. I then fold that first triangle again to form a smaller one, which I fold a third time, making it even smaller. You should fold the paper into a triangular shape three times. When I have finished, I make a semicircular cut at the end that is facing upwards and when I unfold the paper I obtain a shape similar to a flower with its petals.

Now that the three pieces have been made, I have to cut out some petals from each one. From one flower I cut one petal, from another two and from the third three. The cut petals are kept because they are also used in the elaboration.
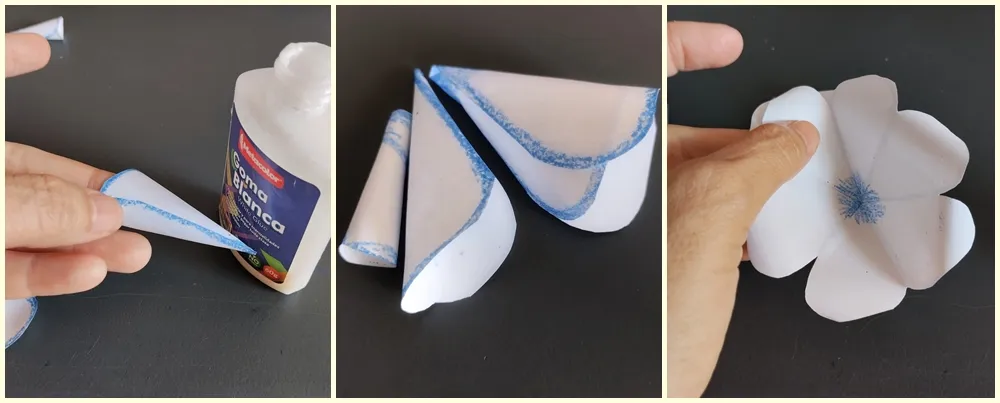
The next step is to glue each layer of the flower by joining the two ends that I have left in the space cut in the middle, forming a kind of circular shape where the size of the piece will depend on the number of petals that we have cut. The petals that have been separated are also glued together, forming three smaller cones in different sizes.
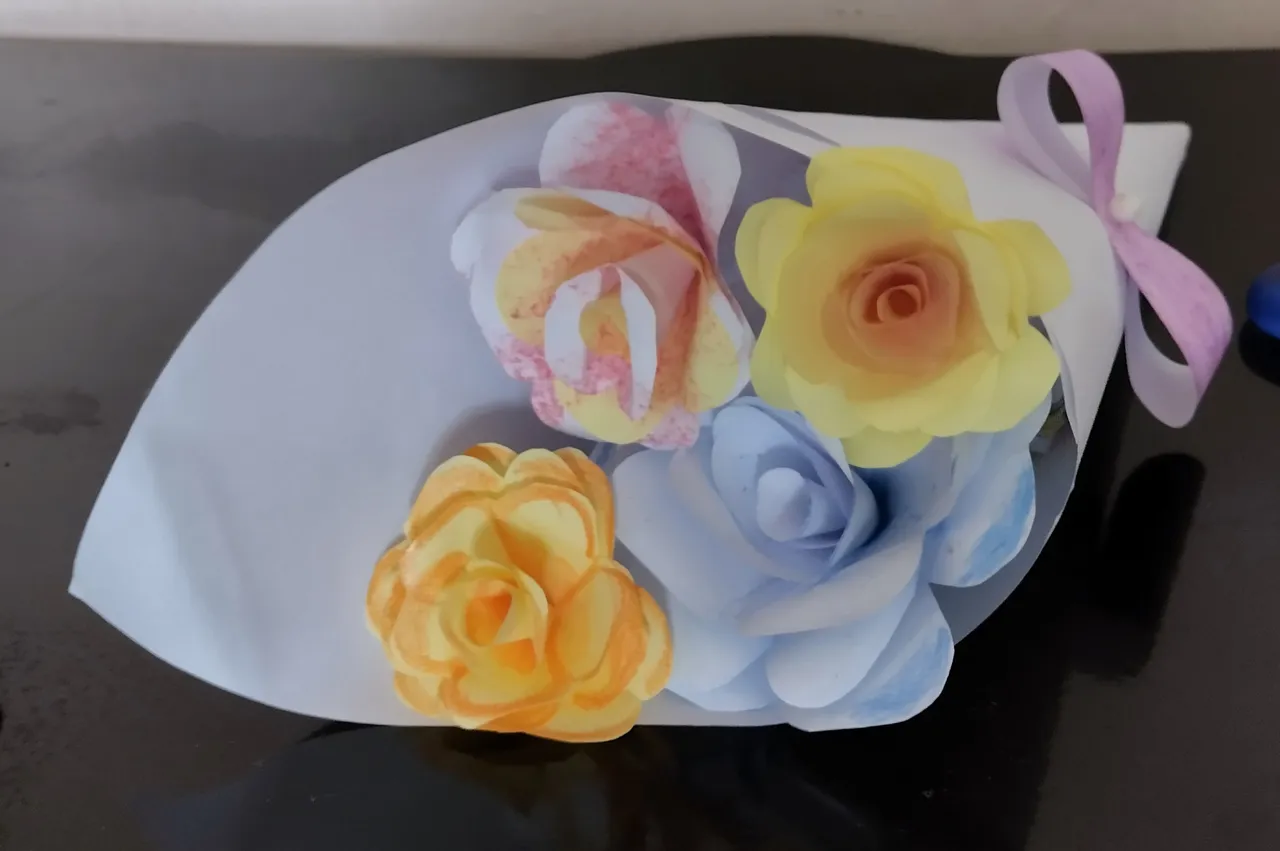
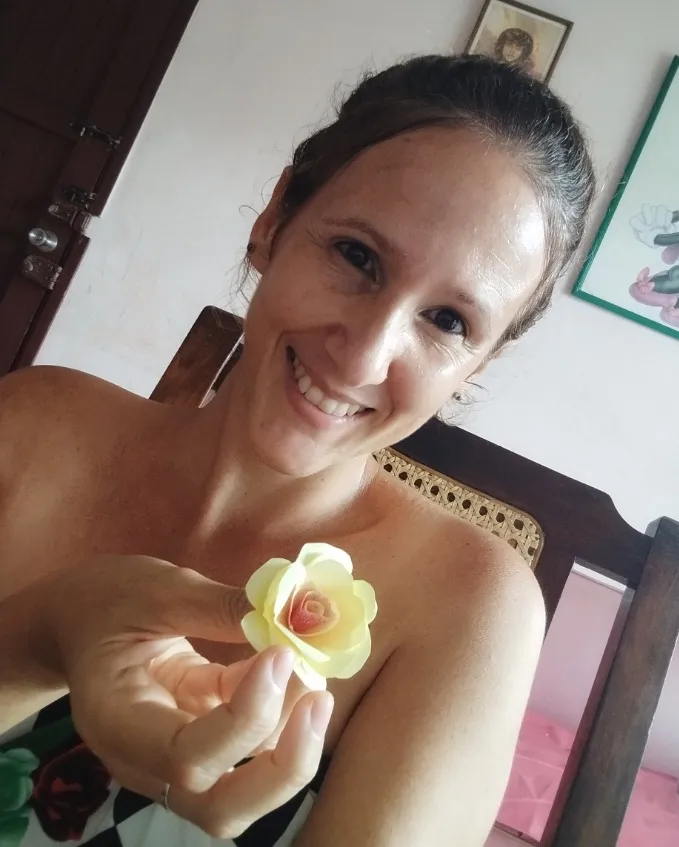
Once you have all the pieces separately, start to join them together, gluing each one inside the other, starting with the largest and ending with the smallest. The tips of the petals I bend them downwards a bit to make them resemble more the shape of an open rose. And my flowers are done 🌹.
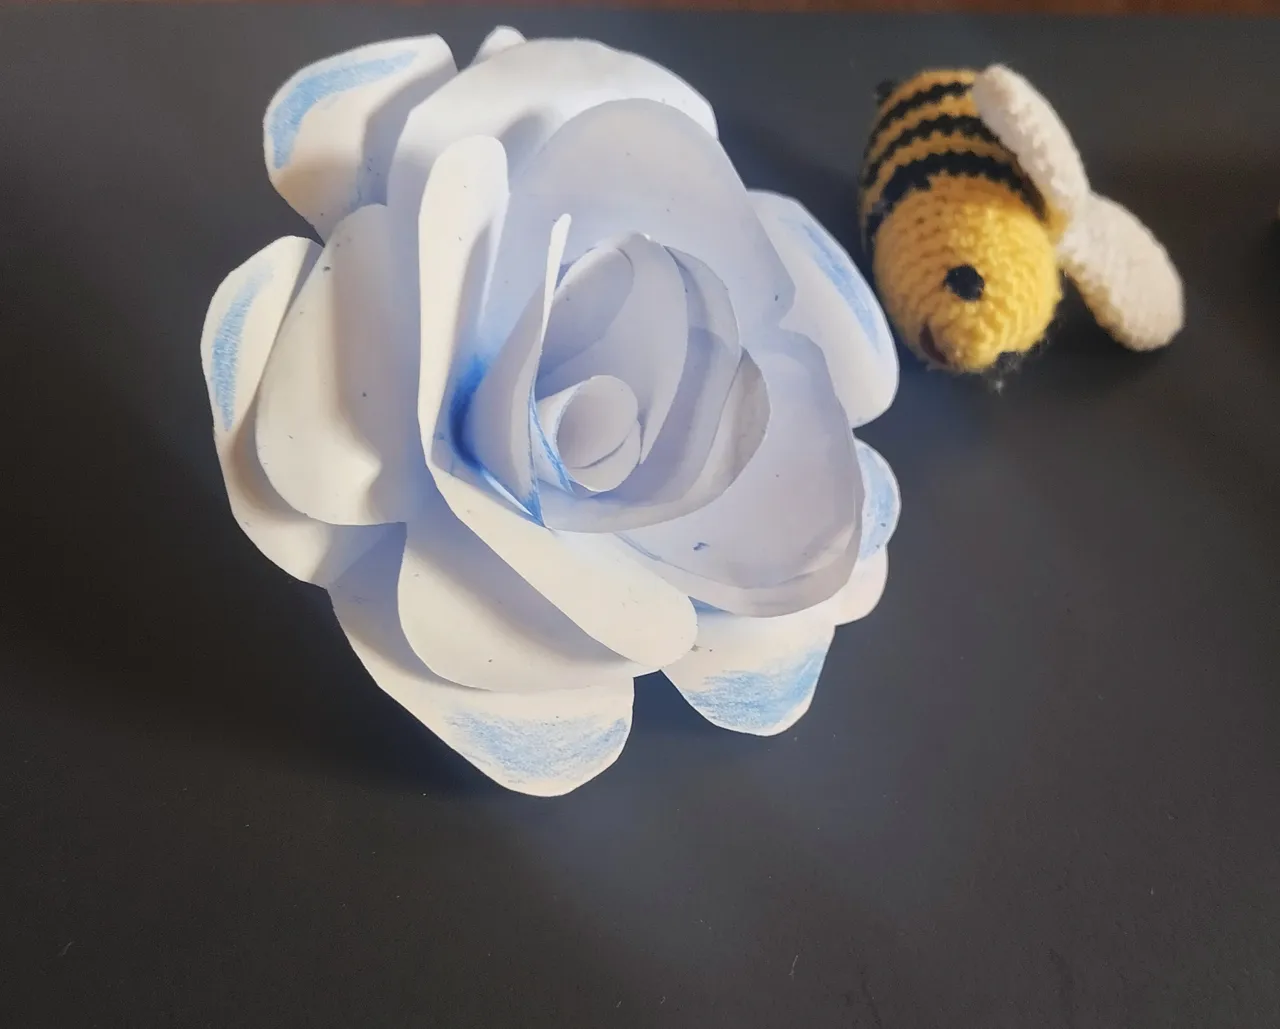
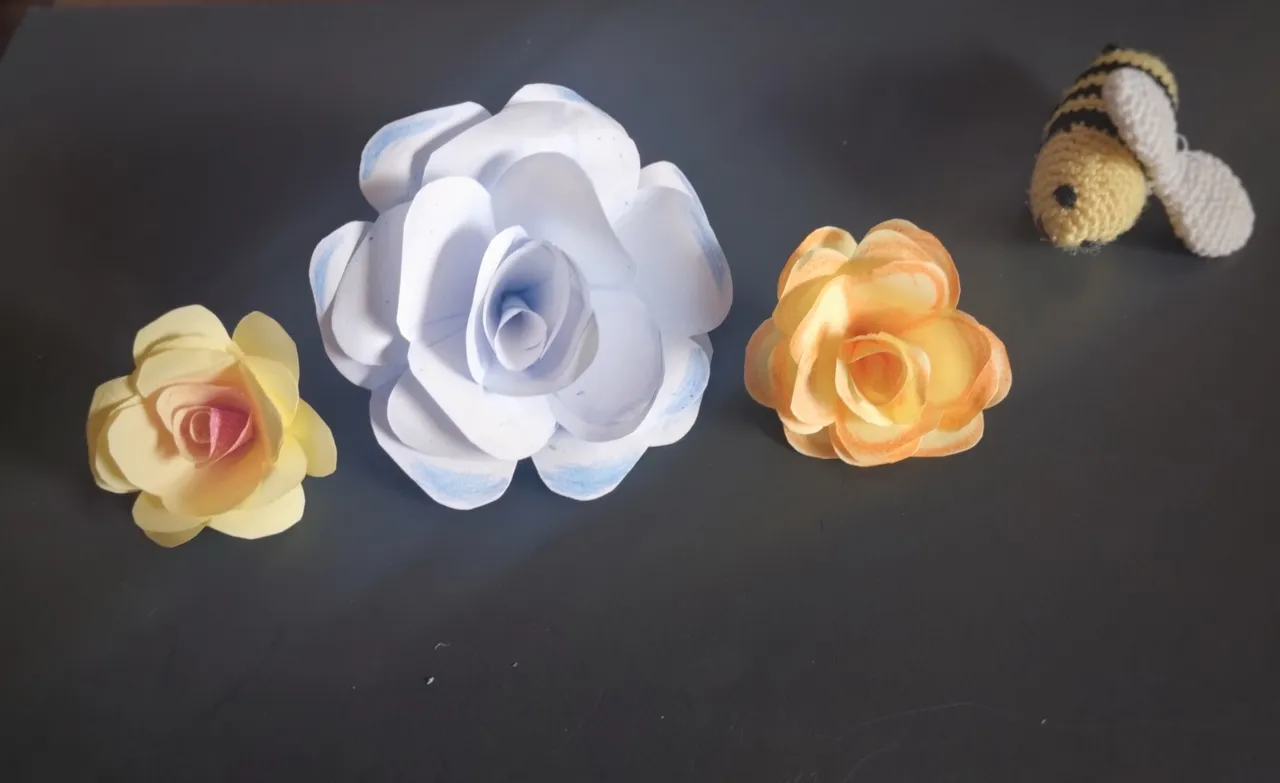
Before starting to glue the pieces together I coloured them a bit to make them look nicer, but ideally I would like to make them with coloured paper to have more variety and contrasts.
Steps for the bouquet
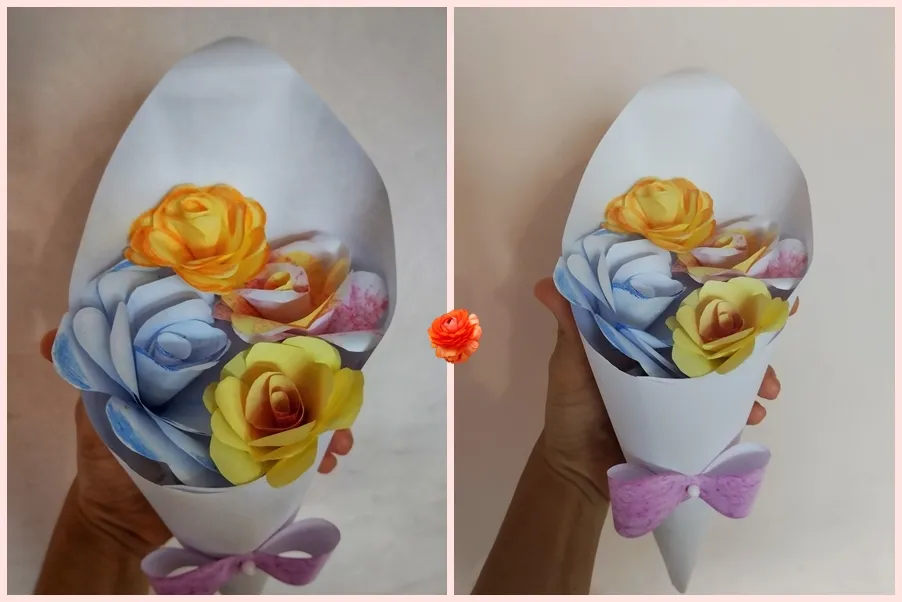
After I had my four roses I thought that they would look more elaborate if I made a bouquet with them, and to make it simpler I recreated a bunch made of the same paper so that they would look better all together.
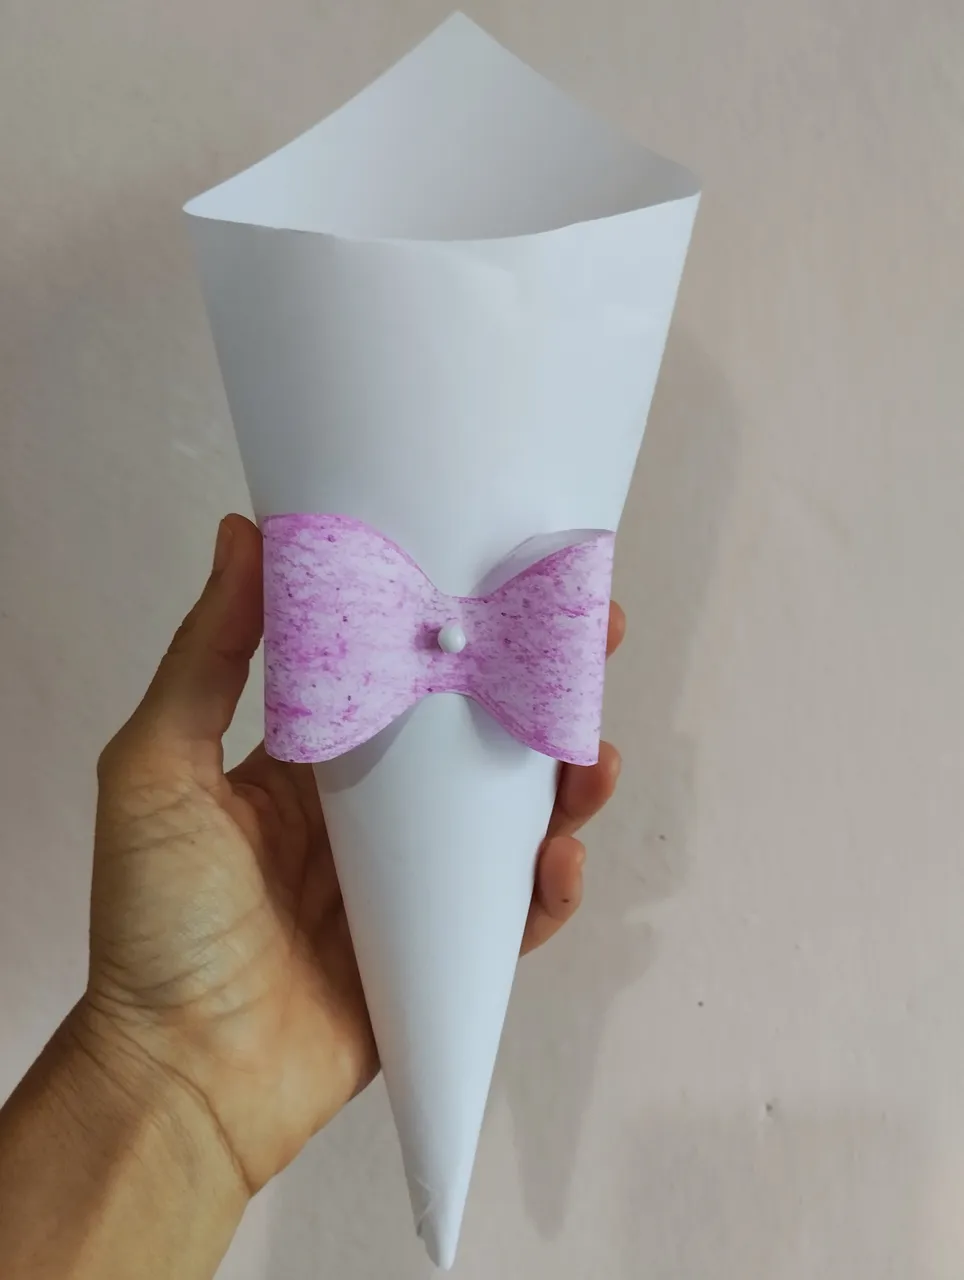
This is very easy to do, you just make a cone with the paper, adjust the size according to how you want it and glue it at one end. The next thing I did was to fill it with paper cuttings so that the flowers would not go to the bottom and stay on the surface. And as a final touch to give it a touch of elegance I put a bow 🎀 also made with paper.
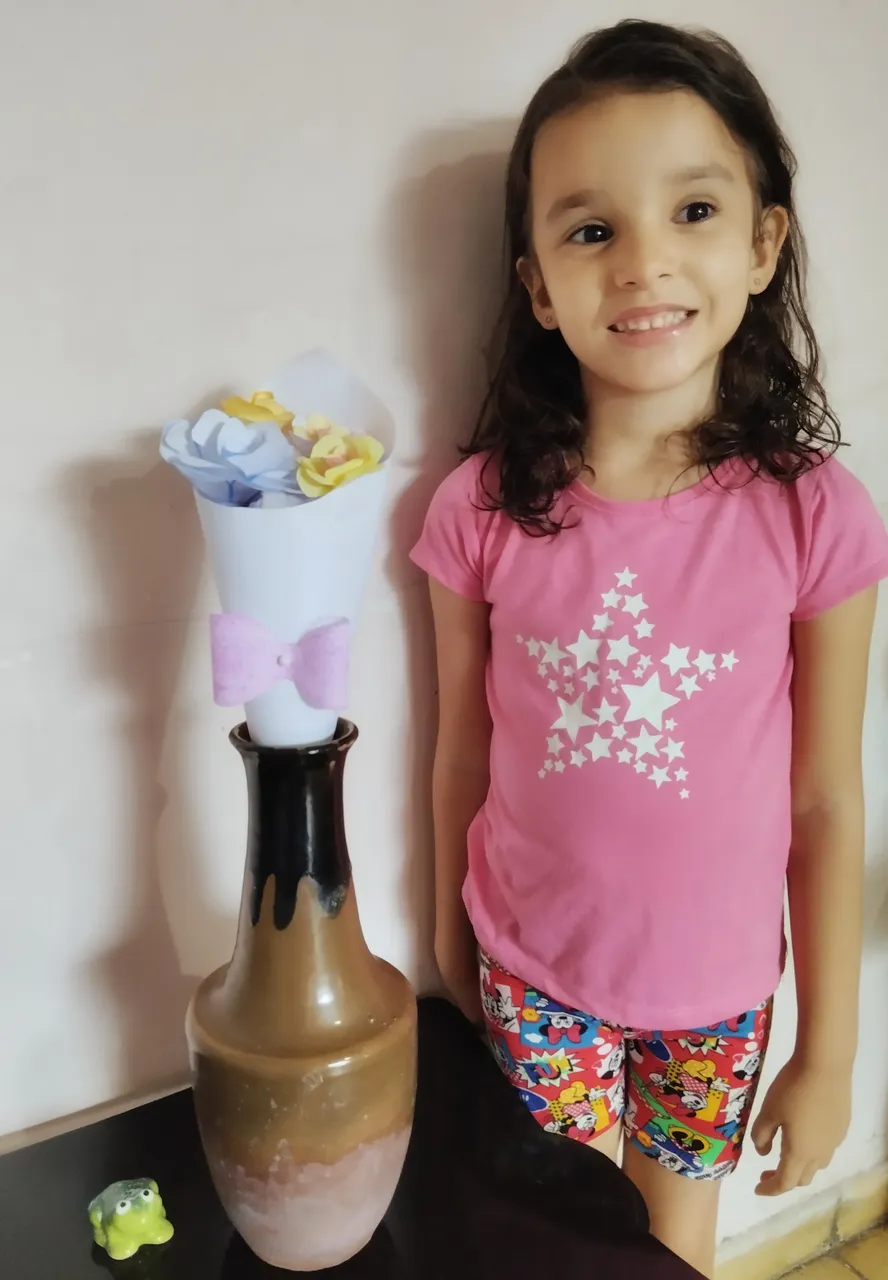
This is how my bouquet of roses finally turned out. My little girl, who is always very enthusiastic, didn't want to miss the photo with the bouquet.
The whole thing took me a bit of time to make, but the main thing was that I managed to make something that I liked. I also liked working only with paper, it's a very easy material to manipulate.
I hope you also liked it and that you were able to learn something in the process.
Versión en Español
A veces, queremos crear algo grandioso y nos enfocamos en hacer algo complicado que llame la atención, sin darnos cuenta de que también podemos hacer grandes cosas con algo tan simple como una hoja de papel. El papel, por ejemplo, es un material muy versátil y fácil de obtener con el que se pueden hacer infinidad de manualidades. Y eso es precisamente es lo que vengo a mostrar.
Llevaba días queriendo hacer algo, pero la verdad es que tengo pocos materiales. Entonces hace unos días, leí una publicación sobre origamis y enseguida mi cerebro hizo click, y pensé que el papel sería muy buen tema para experimentar con una manualidad. Como me gustan tanto las flores decidí que una buena opción sería hacerlas de papel, y aquí les comparto mi proceso creativo.
Mis materiales fueron pocos, solo usé:
- Papel
- Goma de pegar
Como herramientas auxiliares usé:
- Tijeras
- Una regla
- Crayolas de colores
Pasos para la creación de flor
Lo primero fue recortar tres trozos de papel en forma de cuadrado. El tamaño puede variar dependiendo de cómo se quiera hacer la flor. Yo decidí hacer cuatro rosas de diferentes tamaños. Explicaré el proceso de la primera ya que todas las hice de la misma manera.
Mis tres primeros cuadrados de papel tenían dimensiones de 10 x 10 cm. Cada hoja se dobla a la mitad, juntando dos de sus extremos y formando un triángulo 📐. Luego ese primer triángulo lo doblo nuevamente para formar uno más pequeño que vuelvo a doblar por tercera vez, haciéndolo más pequeño aún. Se debe doblar el papel en forma triangular tres veces. Al terminar, hago un corte semicircular en el extremo que queda hacia arriba y al desdoblar el papel obtengo una forma semejante a una flor con sus pétalos.
Ya con las tres piezas realizadas hay que recortar algunos pétalos de cada una. De una flor recorto un pétalo, de otra dos y de la tercera tres. Los pétalos cortados se conservan porque también se utilizan en la elaboración.
Lo siguiente es pegar cada capa de la flor uniendo los dos extremos que quedan con el espacio recortado en medio formando una especie de forma circular donde el tamaño de la pieza va a estar en dependencia de la cantidad de pétalos que hayamos recortado. También se pegan los pétalos que se han separado, formando con ellos tres conos más pequeños en diferentes tamaños.
Al tener todas las piezas por separado se comienzan a unir, pegando cada una en el interior de la otra comenzando con la más grande y terminando con la más pequeña. Las puntas de los pétalos las doblo un poco hacia abajo para que asemejen más la forma de una rosa abierta. Y ya están hechas mis flores 🌹.
Antes de comenzar a pegar las piezas las coloree un poco para que lucieran más bonitas, pero lo ideal sería hacerlas con papeles de colores para tener más variedad y contrastes.
Pasos para el bouquet
Después de tener mis cuatro rosas pensé que se veían mucho más elaboradas si hacia un ramillete con ellas, y para hacerlo más sencillo recreé un ramo hecho del mismo papel y que lucieran mejor todas juntas.
Esto es muy sencillo de hacer, solo se hace un cono con el papel, se ajusta el tamaño según como lo queramos y se pega por un extremo. Lo siguiente que hice fue rellenarlo con recortes de papel para que al colocar las flores no se fueran al fondo y quedaran en la superficie. Y como toque final para darle un toque de elegancia le coloque un lazo 🎀 hecho también con papel.
Así quedó finalmente mi ramo de rosas. Mi niña, que siempre es muy entusiasta, no quiso perderse la foto junto al ramo.
Todo el conjunto me tomo un poco de tiempo de realizar, pero lo principal fue que logre hacer algo que me gustara. Me gustó además trabajar solo con papel, es un material muy fácil de maniobrar.
Espero que también les haya gustado y que hayan podido aprender algo en el proceso.