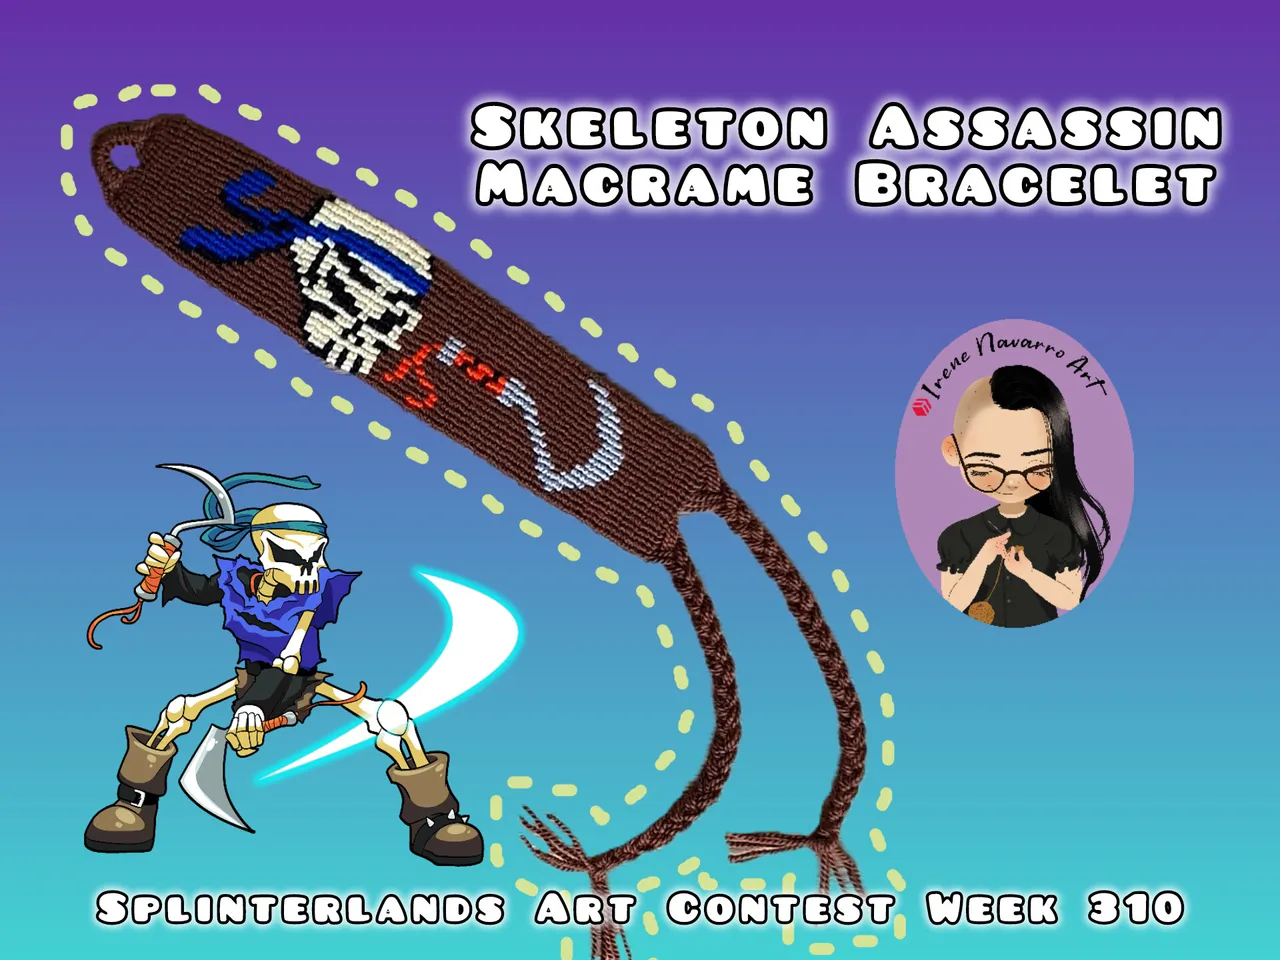
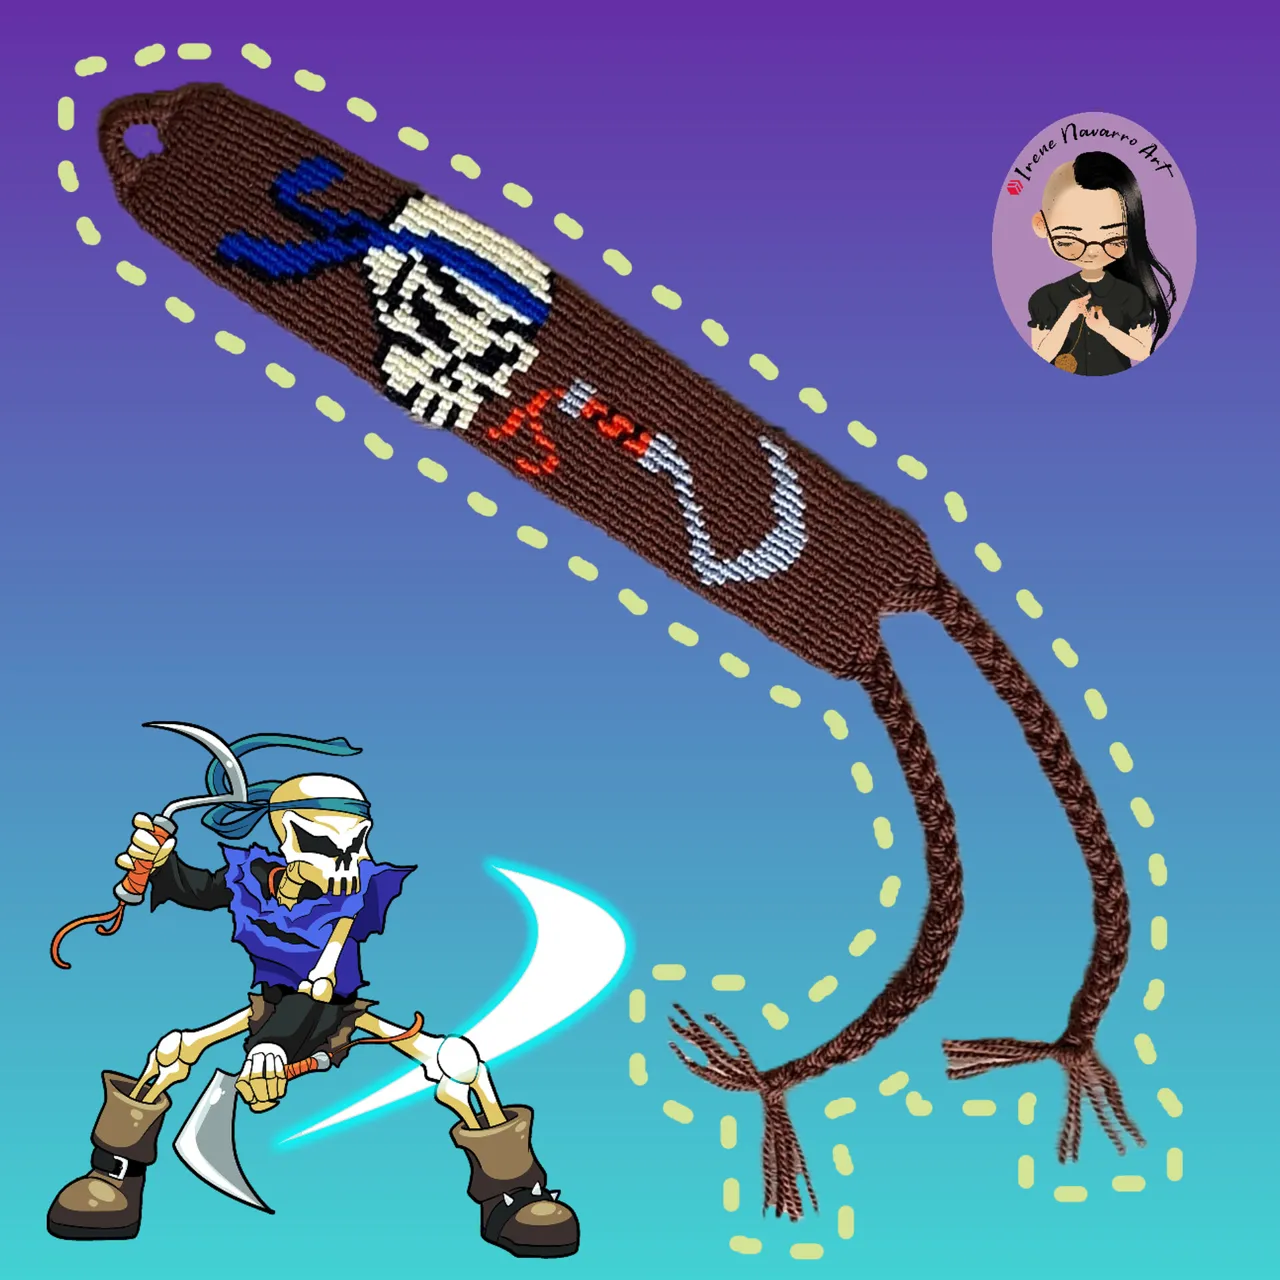
Saludos querida comunidad Hive DIY, espero estén bien, hacía un buen rato que no participaba en el Splinterlands Art Contest entonces decidí hacerlo buscando inspiración en una carta para hacer un brazalete en la técnica de macramé, es así como encontré la carta de Skeleton Assassin y de inmediato llamo mi atención, porque siempre me han gustado los cráneos y calaveras, estos personajes son usados por el Lord of Darkness como guardias de su palacio, son sigilosos y acaban con sus enemigos usando unos cuchillos. Espero les guste 😊
Greetings dear Hive DIY community, I hope you are well, it had been a while since I participated in the Splinterlands Art Contest so I decided to do it looking for inspiration in a card to make a bracelet in the macramé technique, that’s how I found the Skeleton Assassin card and immediately caught my attention, because I have always liked skulls, these characters are used by the Lord of Darkness as guards of his palace, they are stealthy and finish off their enemies using knives. I hope you like it 😊

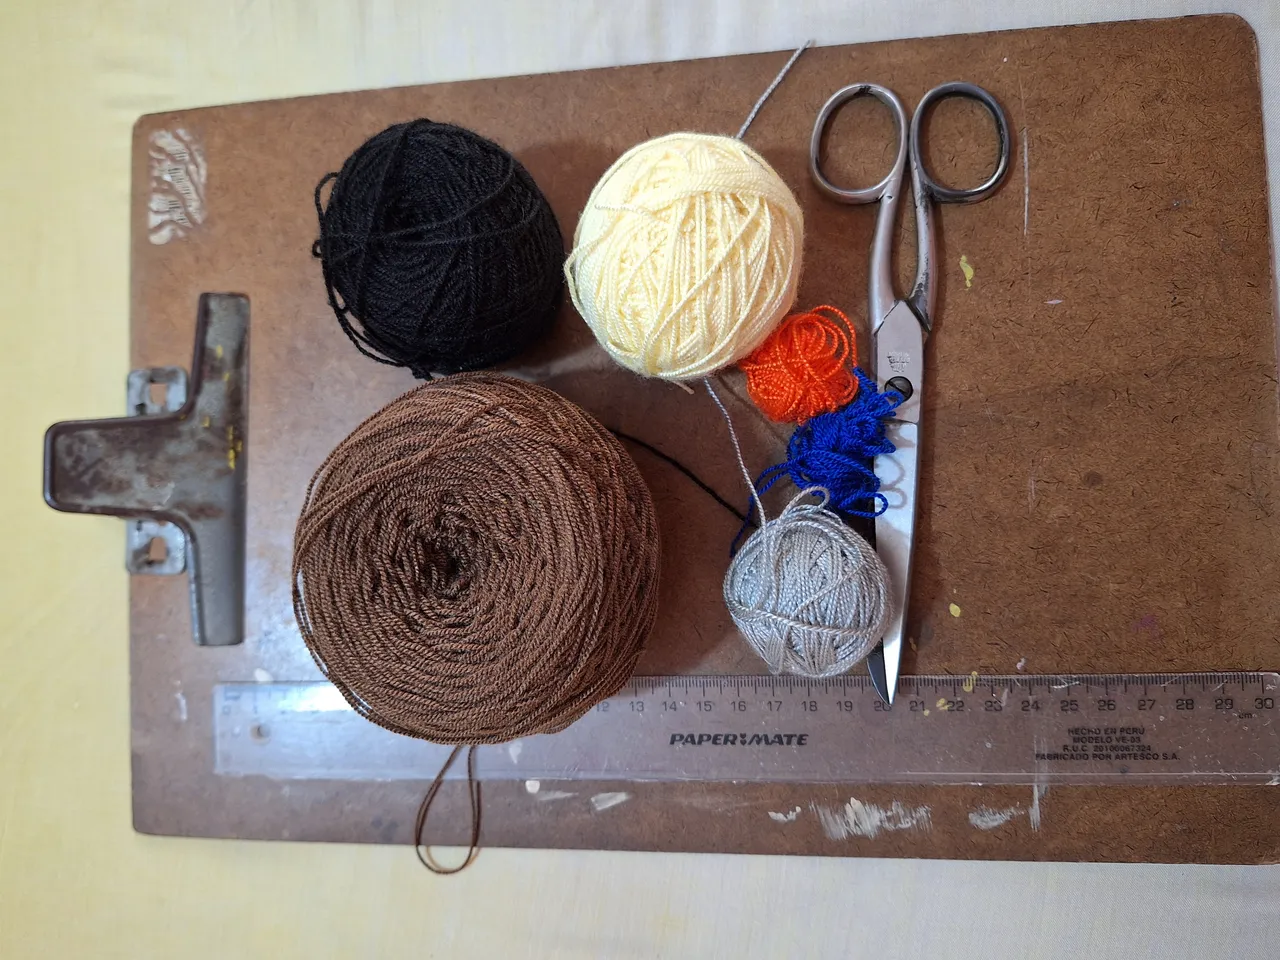
Materiales / Materials
- Hilo acrilico para crochet: marrón, negro, amarillo claro, azul, gris y naranja.
- Tabla con clip
- Tijera
- Regla
- Patrón
- Acrylic crochet thread: brown, black, light yellow, blue, grey and orange.
- Clipboard
- Scissors
- Ruler
- Pattern
Proceso / Process
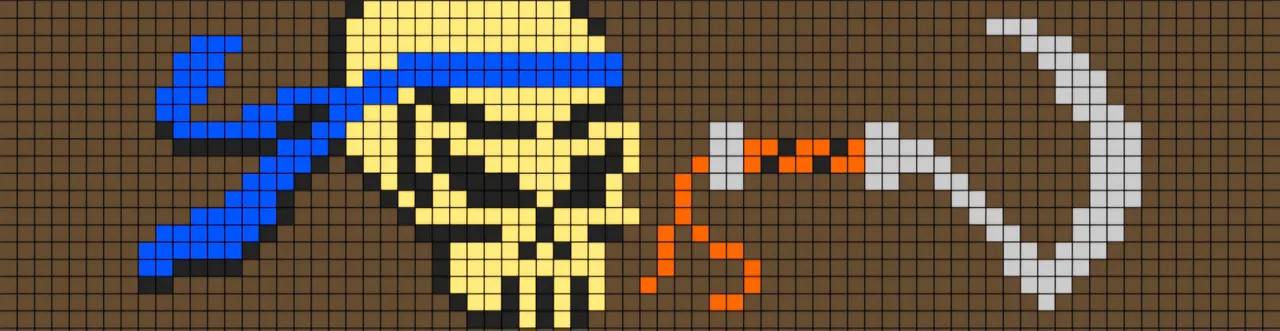
Para elaborar el patrón usé como inspiración la imagen del cráneo y también el cuchillo, usé la aplicación Pixel Station para pintar los cuadros, con un lienzo de 74 cuadros en horizontal y 19 cuadros en vertical, eso indica que se necesitan 19 hilos guía y se harán 74 hileras de nudos, porque cada cuadro representa un nudo.
To make the pattern I used the image of the skull as inspiration and also the knife, I used the Pixel Station application to paint the squares, with a canvas of 74 squares horizontally and 19 squares vertically, this indicates that 19 guide threads are needed and 74 rows of knots will be made, because each square represents a knot.
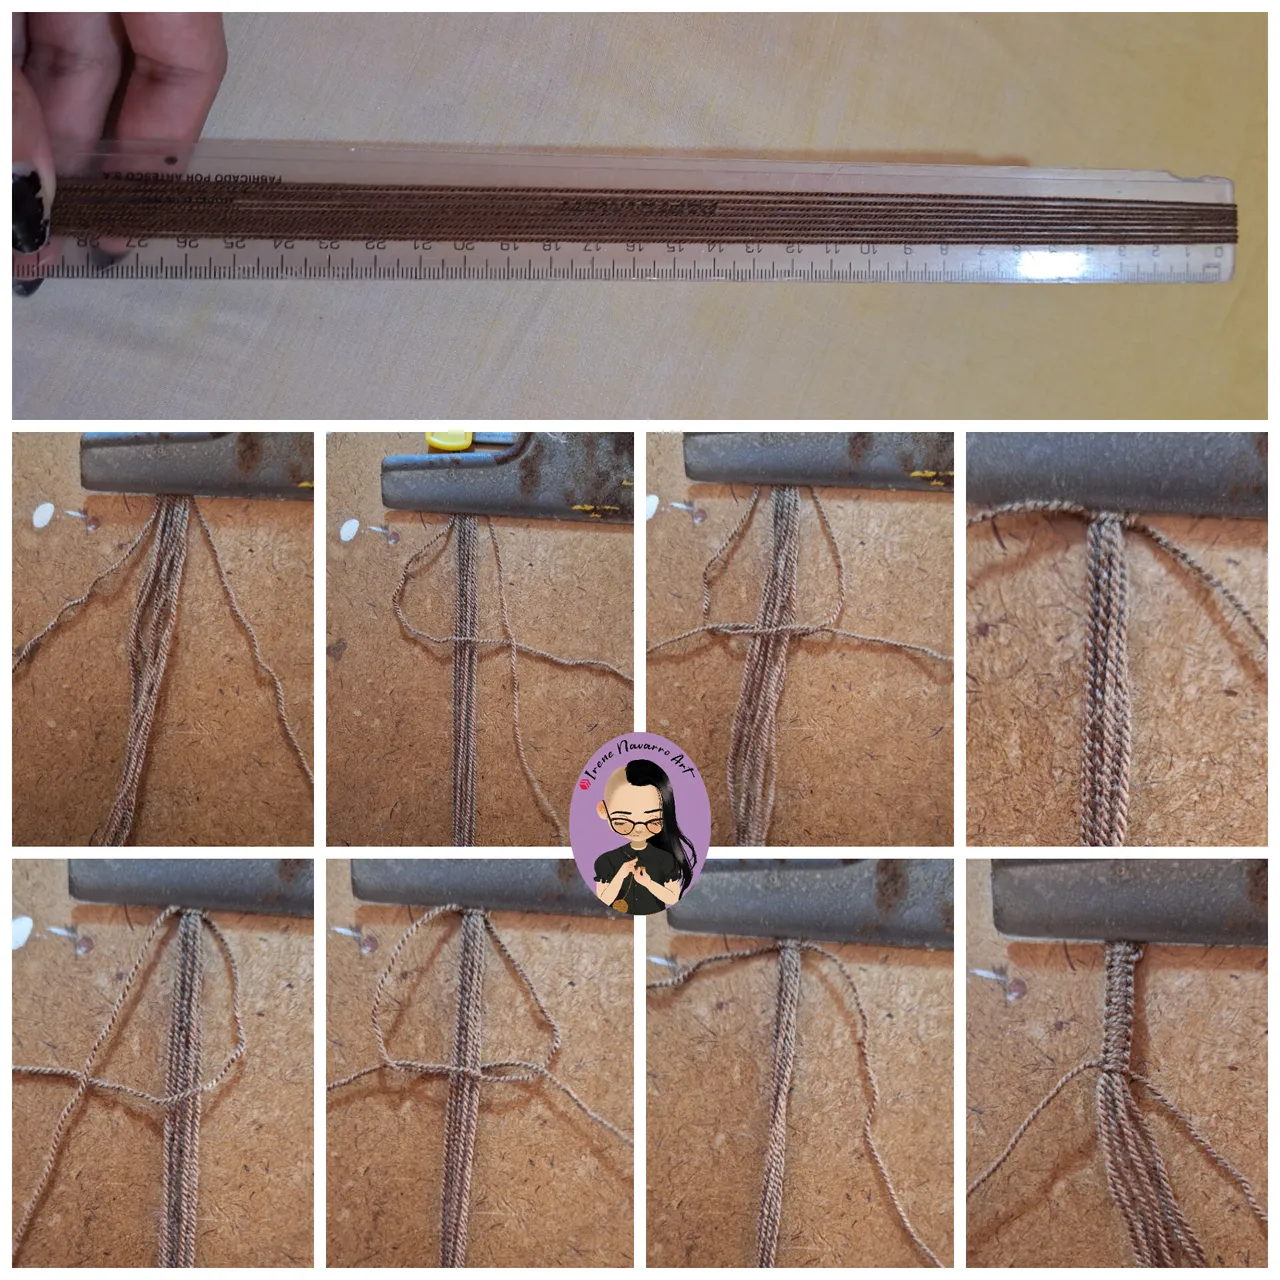
Con el hilo marrón cortar 8 hebras de 60 cm, una hebras de 70 cm y una hebra unida al ovillo. Colocar las hebras de 60 cm al centro y las largas a cada lado, sujetar por la mitad con el clip de la tabla, con las hebras largas hacer 20 nudos planos, los nudos planos se hacen alternando el nudo con forma de 4 y el nudo con forma de P, en las imágenes pueden observar el proceso.
With the brown thread, cut 8 strands of 60 cm, one strand of 70 cm and one strand attached to the ball. Place the 60 cm strands in the center and the long ones on each side, hold them in the middle with the clip on the board. With the long strands, make 20 flat knots. The flat knots are made by alternating the knot in the shape of a 4 and the knot in the shape of a P. You can see the process in the images.
Doblar en forma de U y sujetar con la tabla ubicando el hilo unido al ovillo de primer lugar a la izquierda. El hilo largo será el hilo anudador y los otros 19 los hilos guía. Hacer 8 hileras solo con el hilo anudador marrón, agregar los hilos anudadores azul, negro y amarillo para hacer los cambios de color correspondientes al cráneo. Los cambios de color de hilo anudador se hacen cruzando las hebras por detrás.
Fold into a U shape and fasten with the board, placing the thread attached to the first ball on the left. The long thread will be the knotting thread and the other 19 will be the guide threads. Make 8 rows with only the brown knotting thread, add the blue, black and yellow knotting threads to make the color changes corresponding to the skull. The knotting thread color changes are made by crossing the strands from behind.
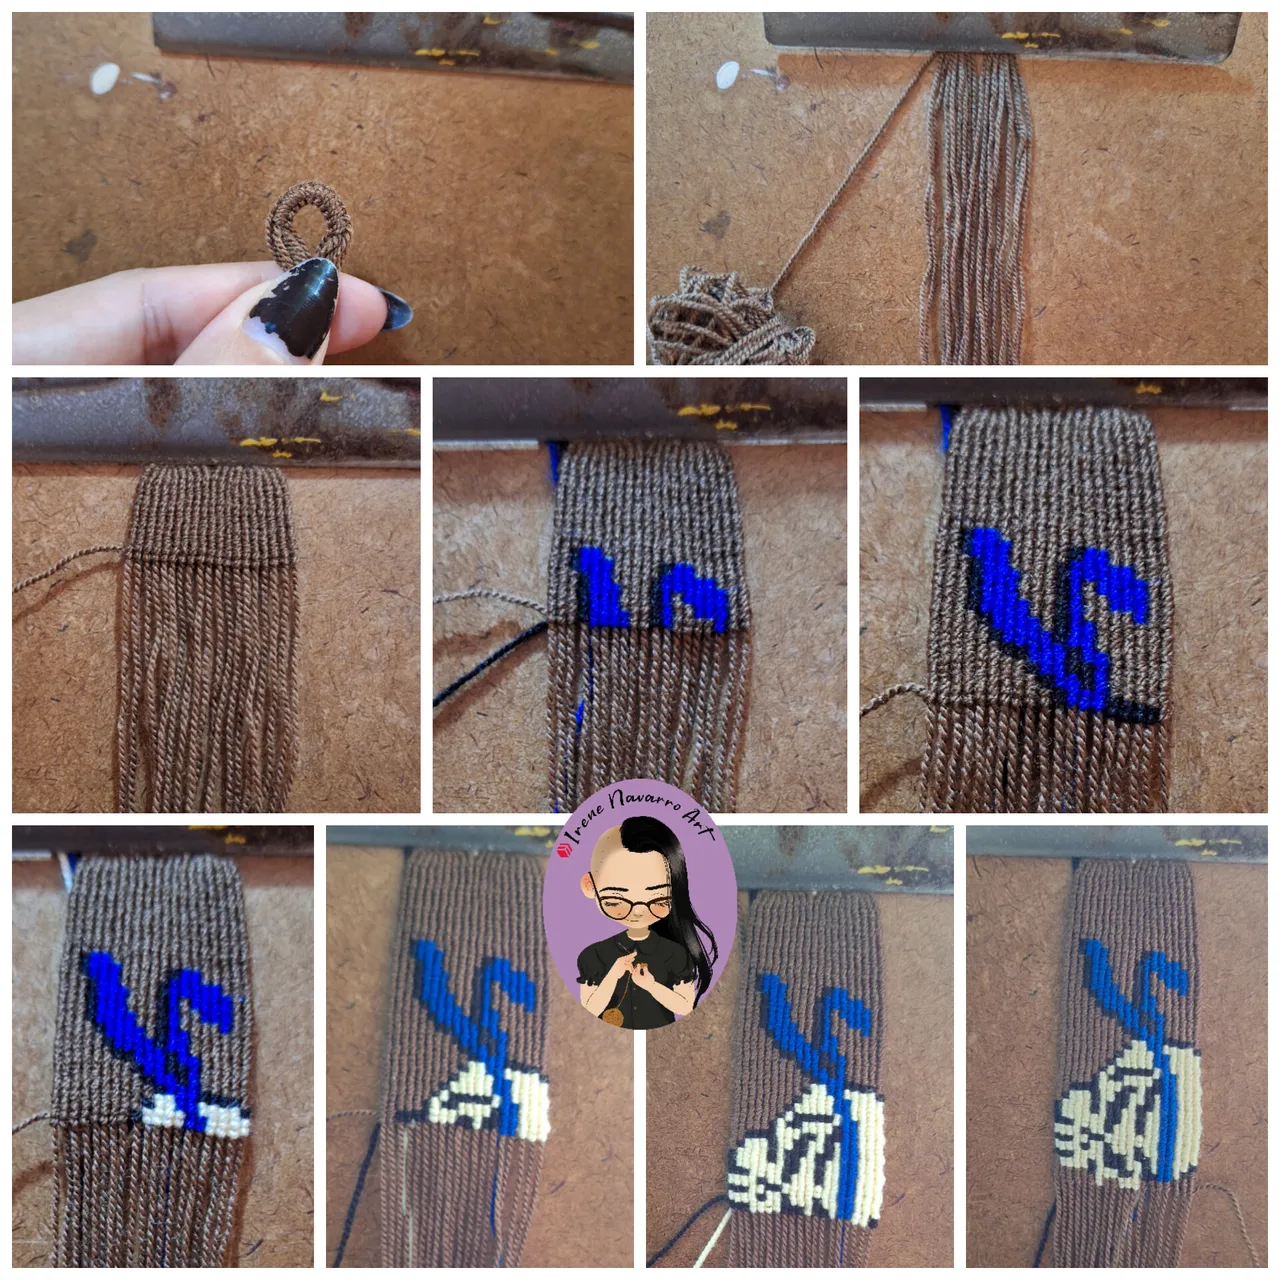
Una vez finalizado el cráneo, cortar el hilo azul y el amarillo, agregar los hilos naranja y gris y hacer las hileras de nudos correspondientes a la figura del cuchillo.
Once the skull is finished, cut the blue and yellow thread, add the orange and grey threads and make the rows of knots corresponding to the shape of the knife.
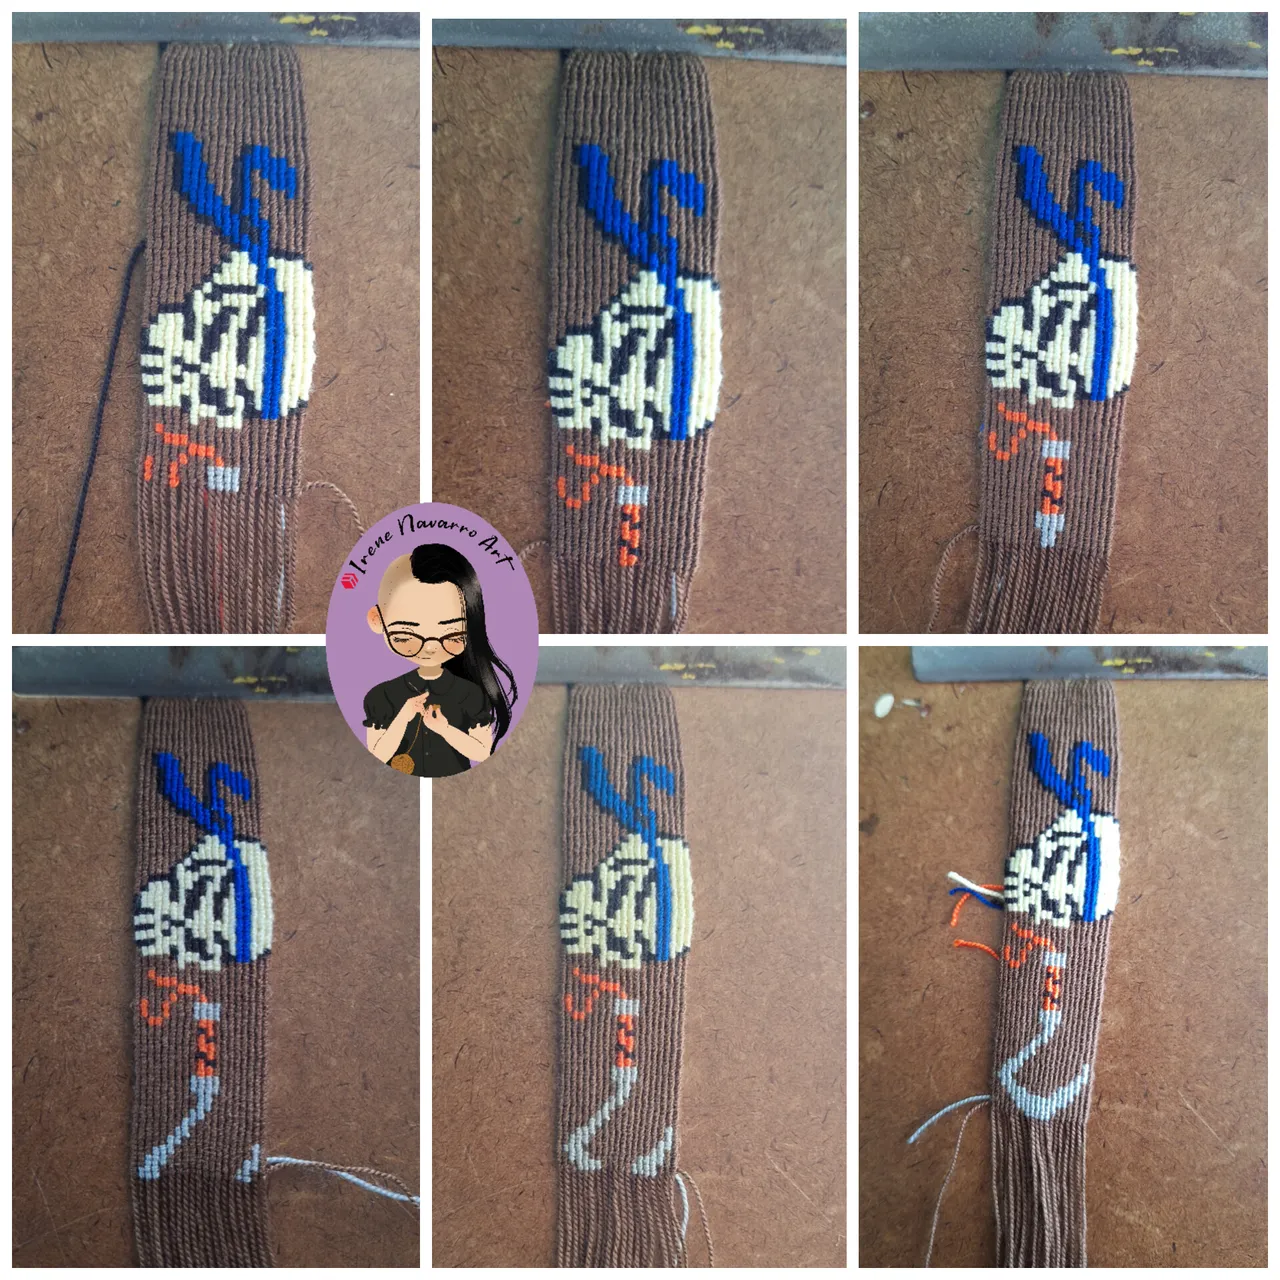
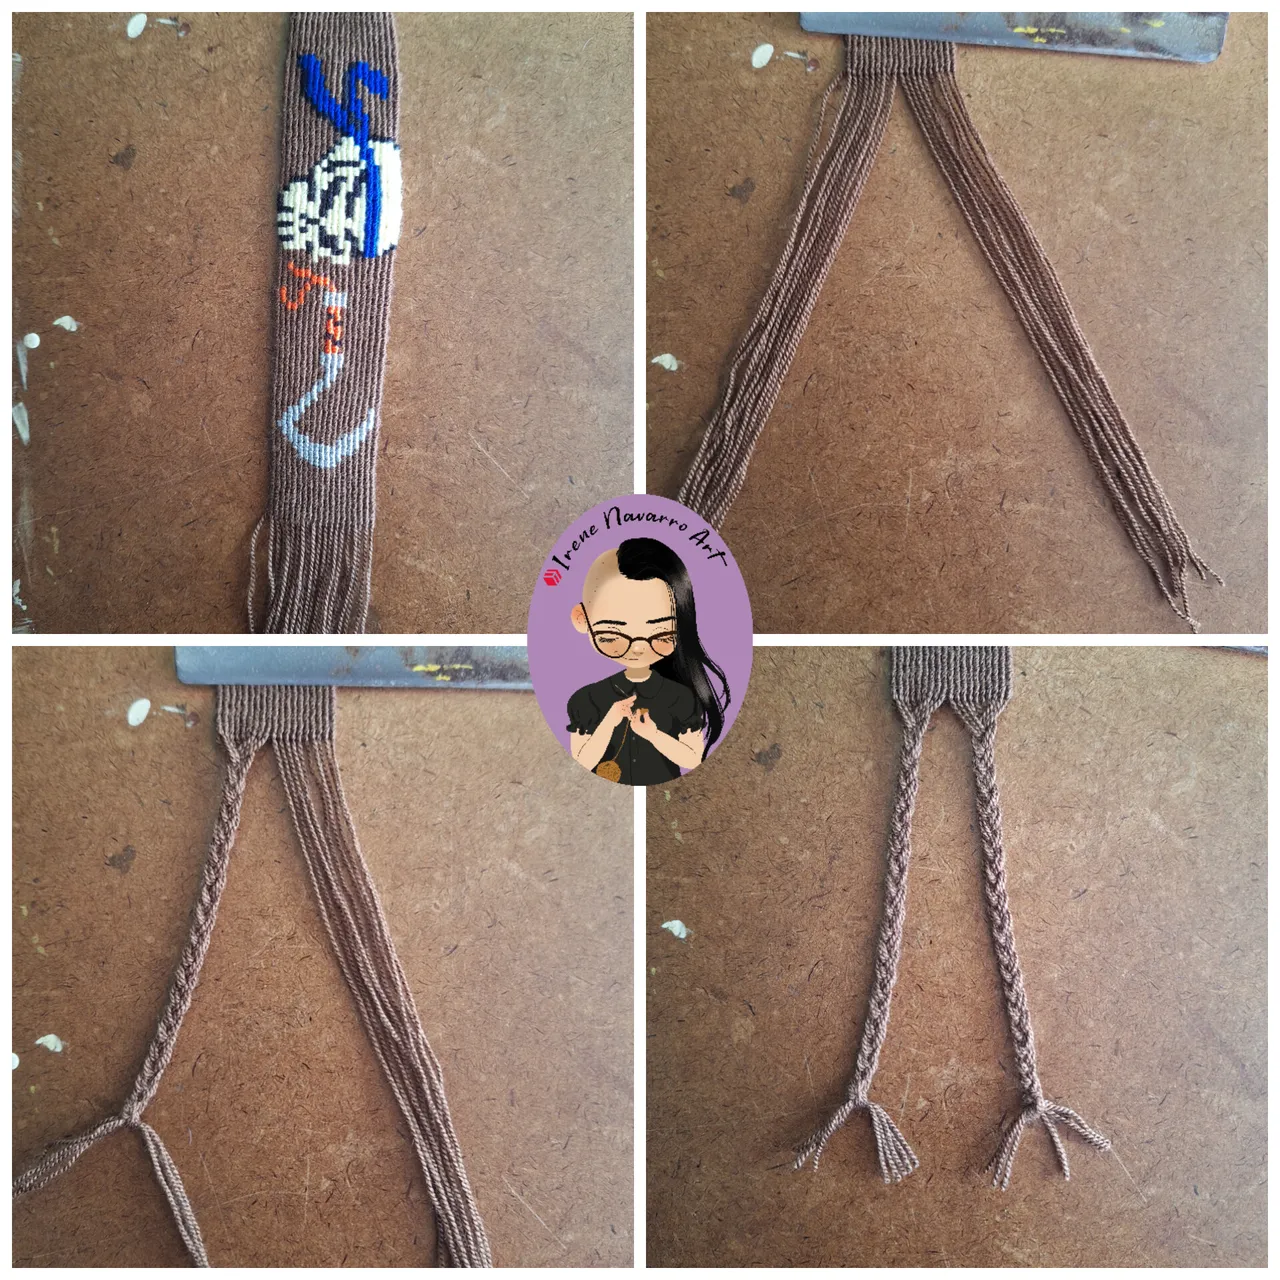
Una vez finalizada la figura del cuchillo, cortar los hilos y solo dejar el anudador marrón y hacer 8 hileras de nudos. Separar las hebras y hacer dos trenzas.
Once the knife figure is finished, cut the threads and leave only the brown knotter and make 8 rows of knots. Separate the strands and make two braids.
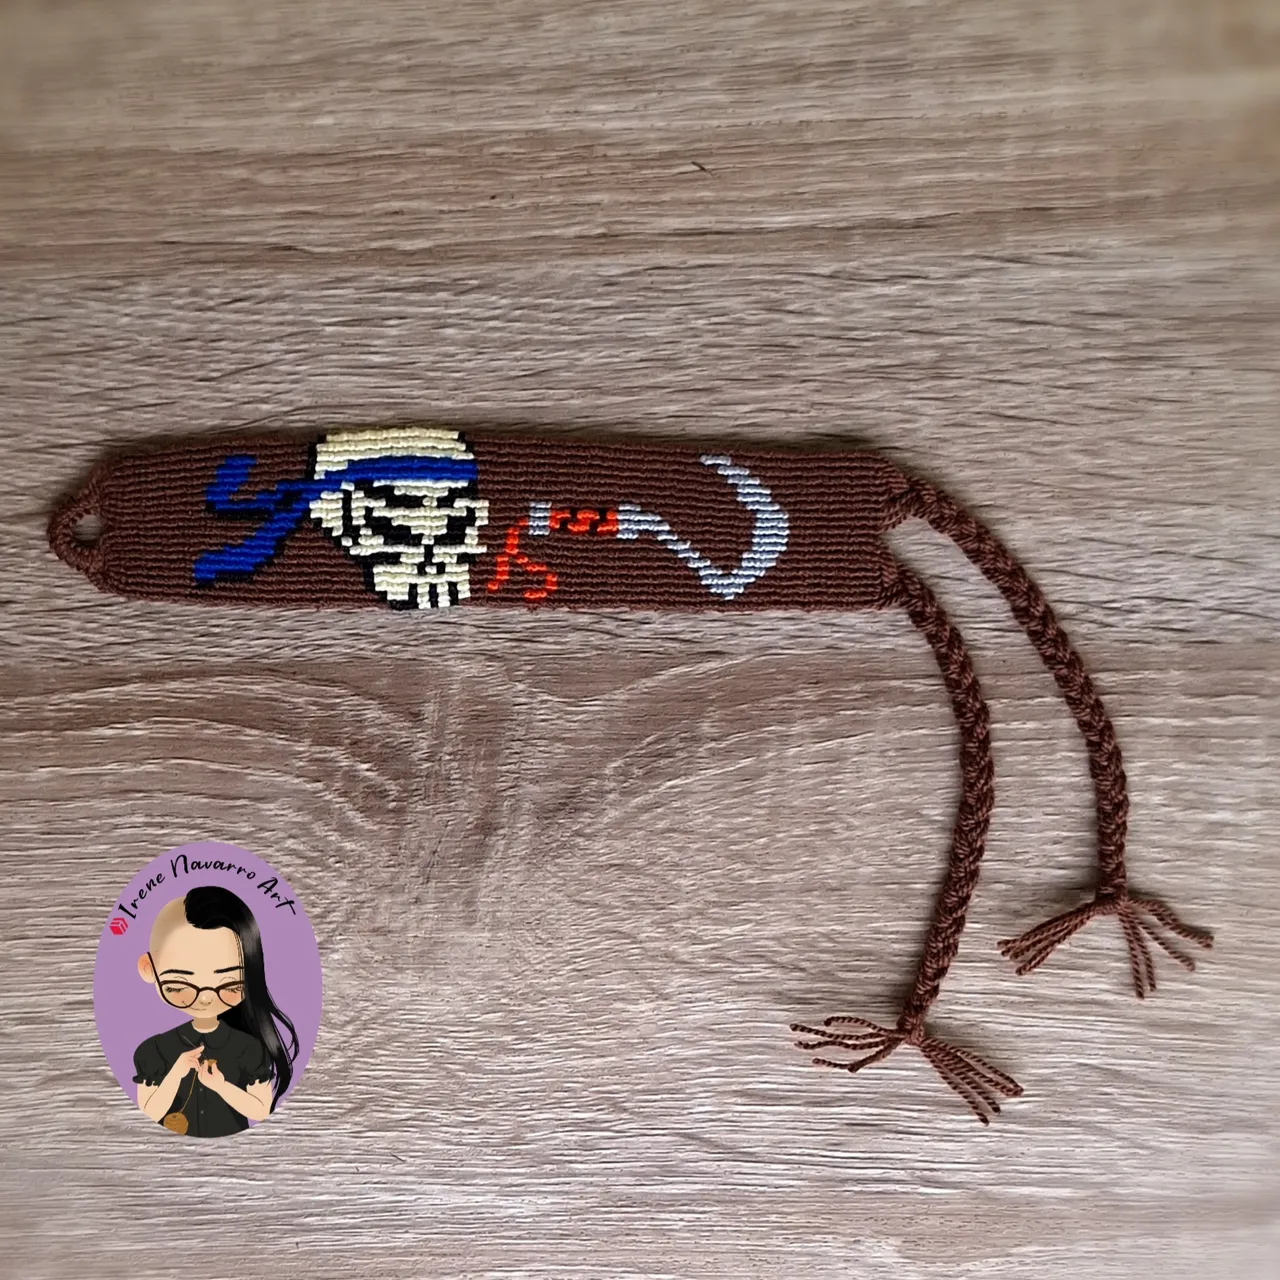
Resultado / Result
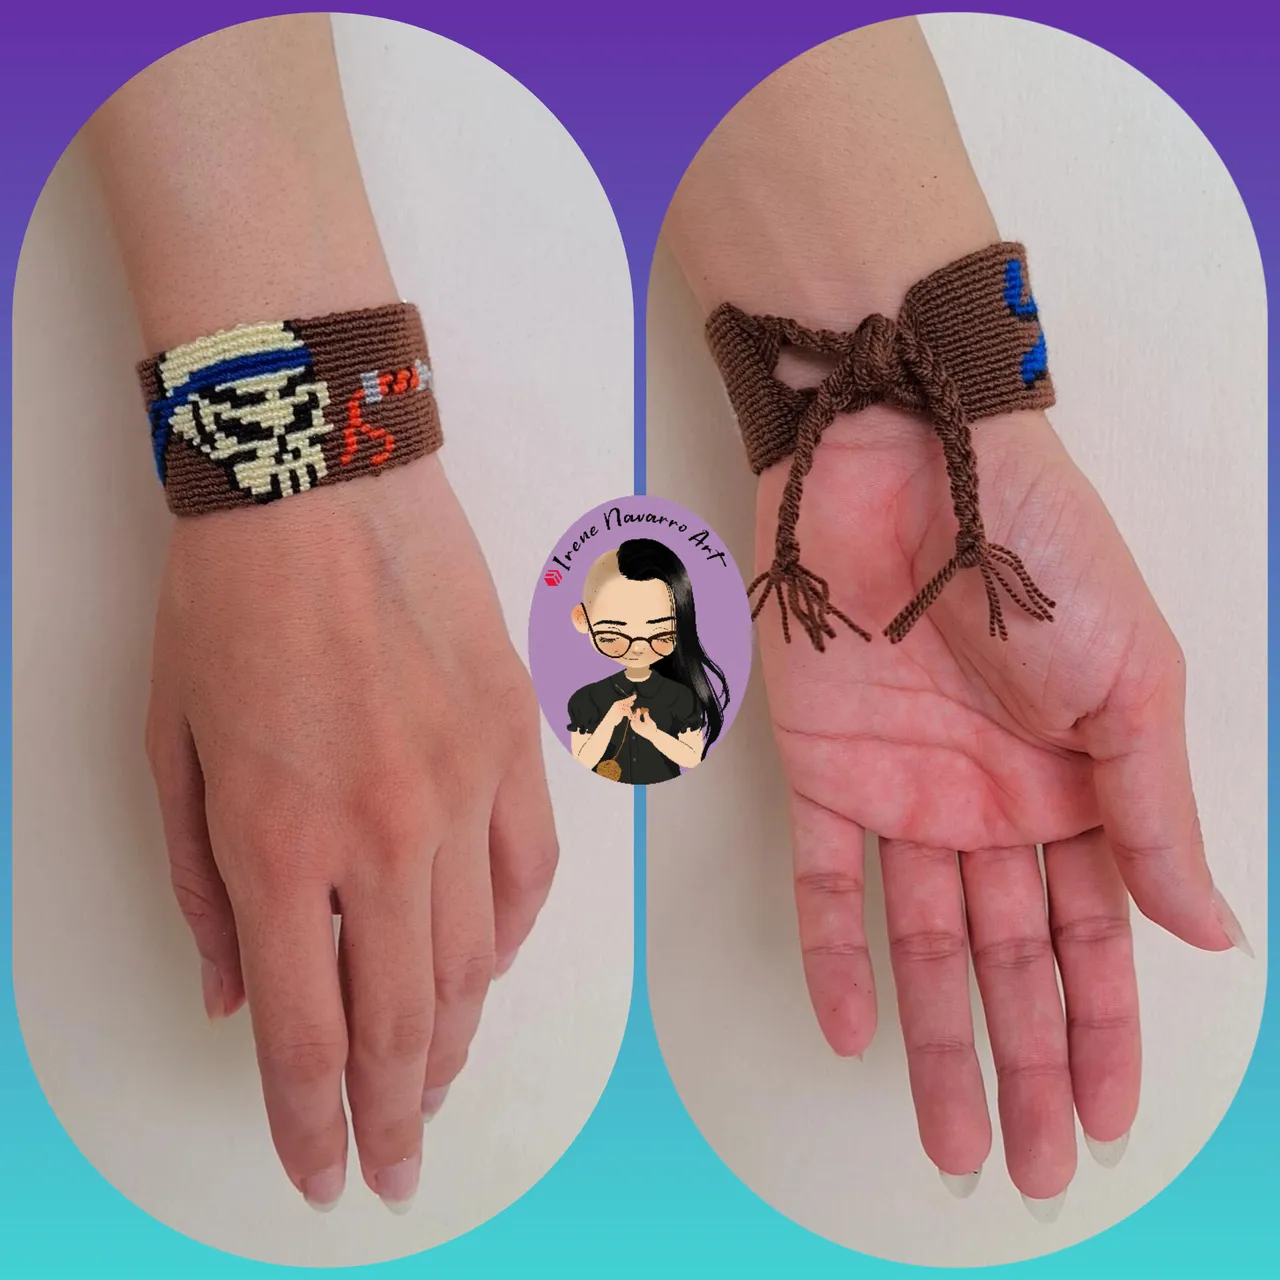
Me gustó mucho hacer este brazalete y se une a mi colección de trabajos inspirados en Splinterlands 🥰
I really enjoyed making this bracelet and it joins my collection of Splinterlands inspired works 🥰
Imágenes tomadas con dispositivo Samsung A54. Portada editada en Inshot
Pictures taken with Samsung A54 device. Cover edited in Inshot

Espero les haya gustado. Les invito a leer mis próximas publicaciones y siempre estaré dispuesta a responder sus preguntas y comentarios, también pueden seguirme y contactarme en cualquiera de mis redes sociales. ¡Muchas gracias!
I hope you liked it. I invite you to read my next publications and I will always be willing to answer your questions and comments, you can also follow me and contact me on any of my social networks. Thank you!
Facebook
Twitter
Instagram
Ko-Fi
Discord: irenenavarroart#0361