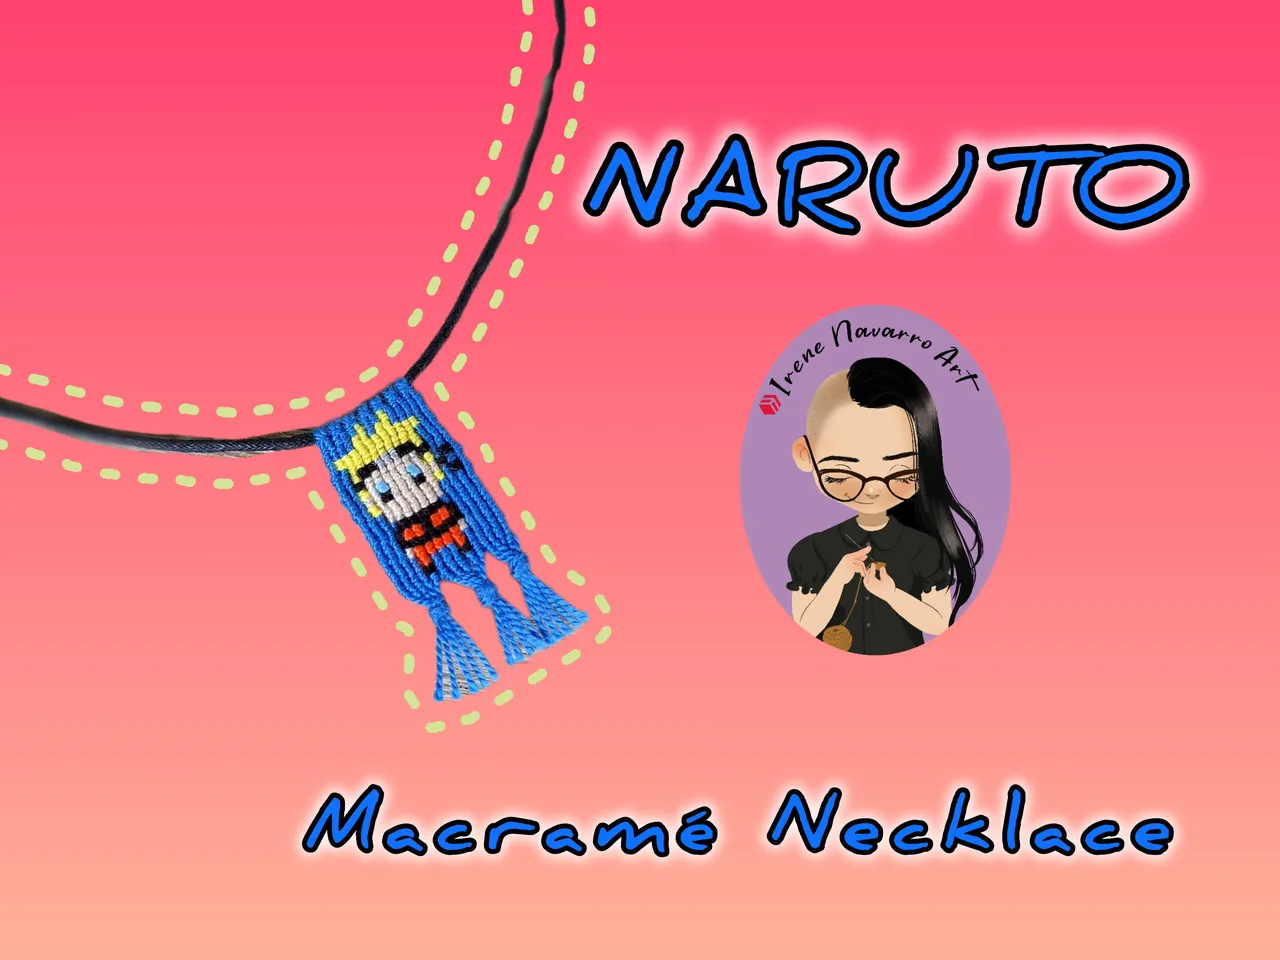
Saludos a todos en la comunidad Hive DIY, feliz inicio de semana, mi hijo y yo amamos Naruto y hace ya bastante tiempo había compartido un tutorial para hacer un brazalete de este personaje, pero últimamente a mi hijo le está gustando más usar collares qué brazaletes así que decidí hacer un collar para él, aquí les comparto el patrón con la numeración para guiarse y el paso a paso esperando sea de utilidad para ustedes 😊
Greetings to everyone in the Hive DIY community, happy start to the week, my son and I love Naruto and a long time ago I shared a tutorial to make a bracelet of this character, but lately my son is liking to wear necklaces more than bracelets so I decided to make a necklace for him, here I share the pattern with the numbering to guide you and the step by step hoping it will be useful for you 😊

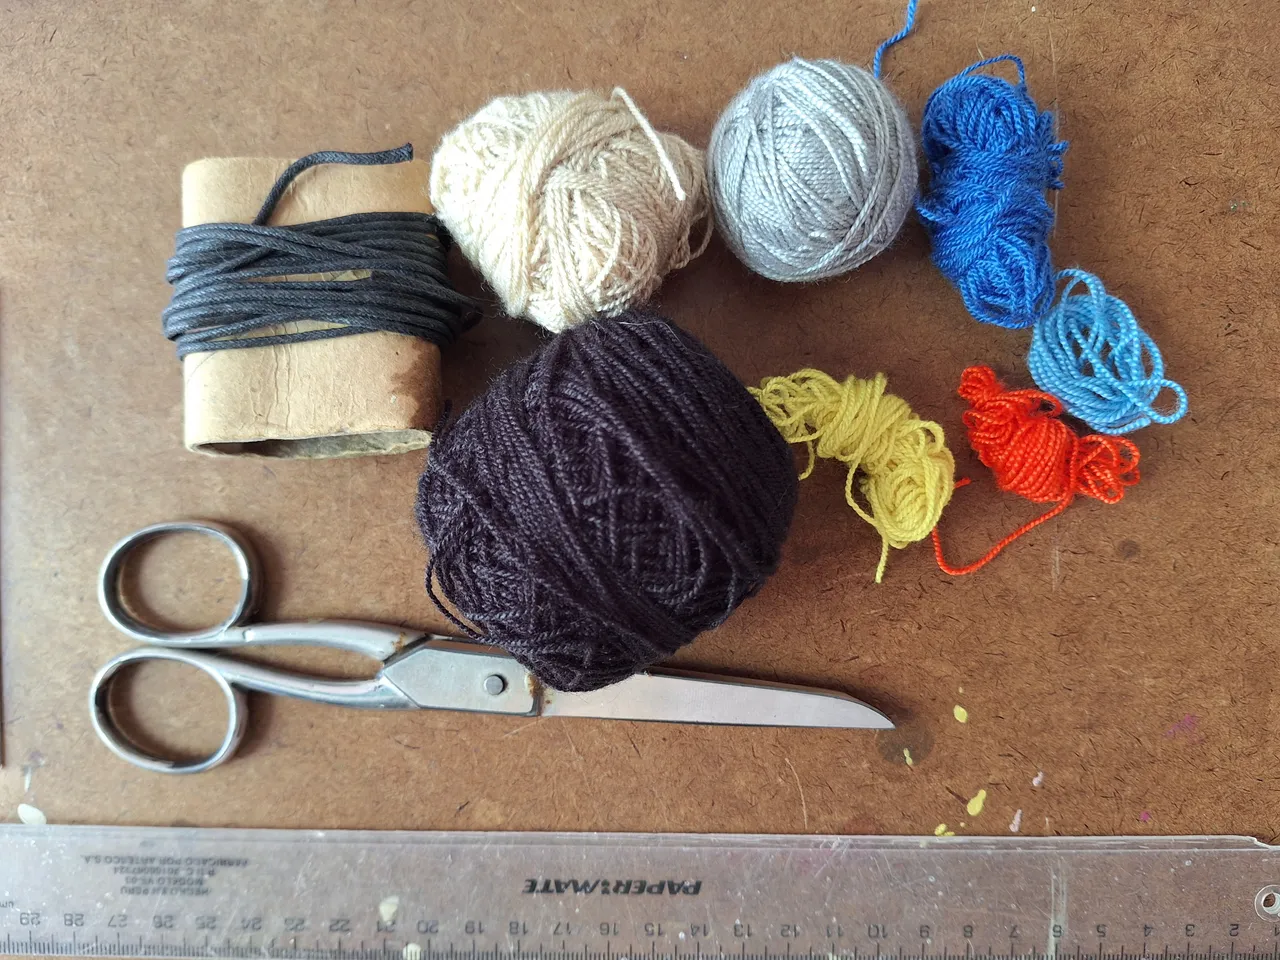
Materiales / Materials
- Hilo acrílico para crochet de 1mm: azul oscuro y azul claro, naranja, negro, gris, blanco y beige.
- Cordón de yute.
- Tijera
- Tabla
- Regla
- 2 pinzas para ropa
- Patrón
- Acrylic crochet yarn: dark and light blue, orange, black, grey, white and beige.
- Jute cord.
- Scissors
- Board
- Ruler
- 2 clothespins
- Pattern

Proceso / Process
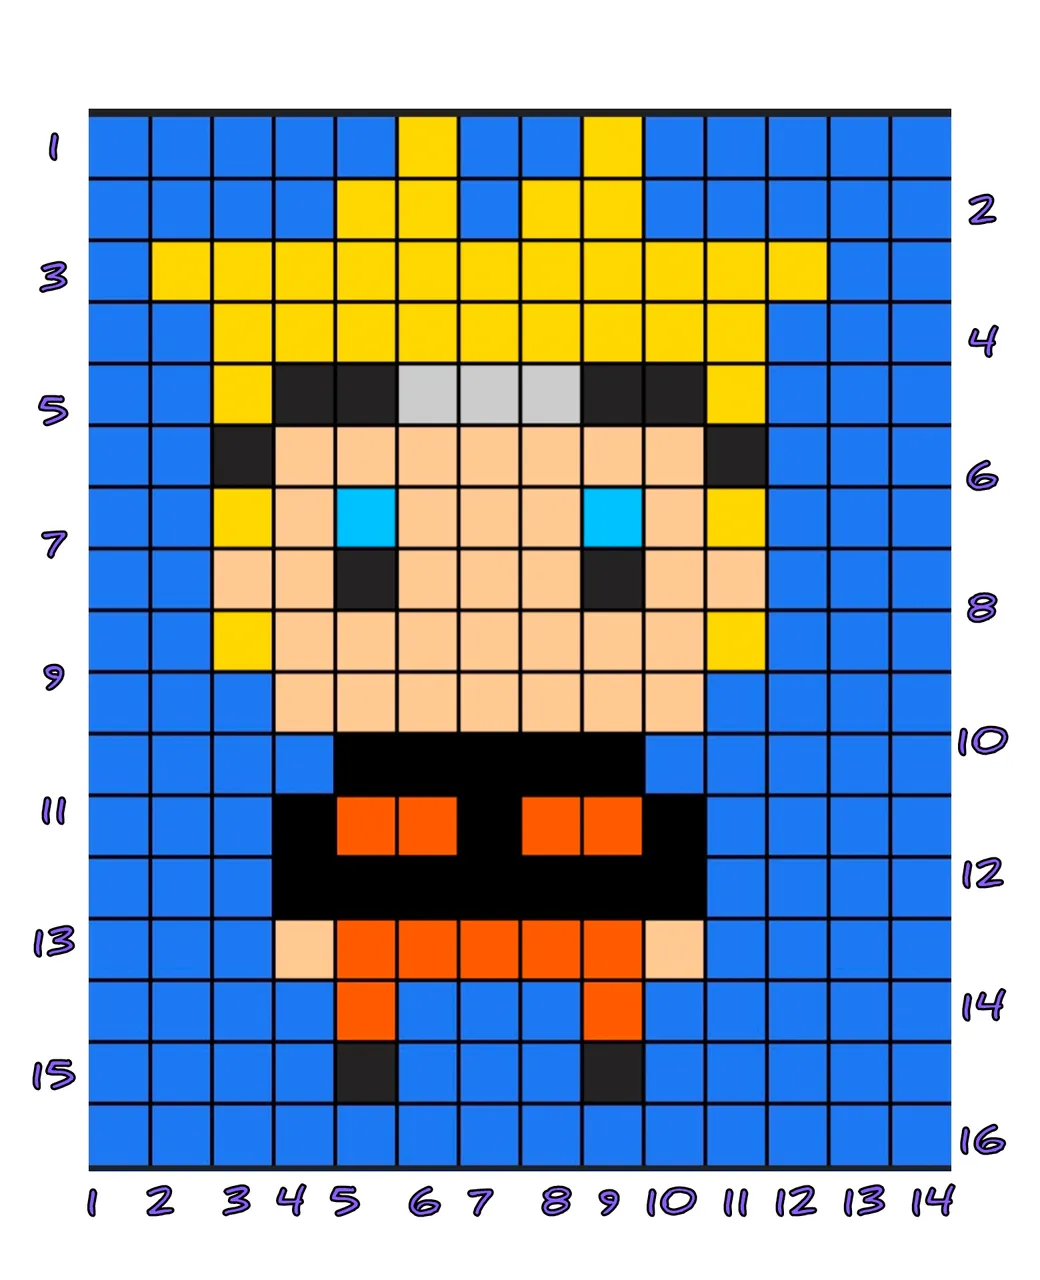
Para este patrón usé la misma imagen de referencia que para el tutorial del brazalete, pero esta vez lo hice con la aplicación Pixel Station, para esto creé un lienzo de 14 cuadros de ancho por 16 cuadros de alto, es decir, que se necesitan 14 hilos guía y se harán solo 16 hileras de nudos.
For this pattern I used the same reference image as for the bracelet tutorial, but this time I made it with the Pixel Station app. For this I created a canvas 14 squares wide by 16 squares high, meaning that 14 guide threads are needed and only 16 rows of knots will be made.

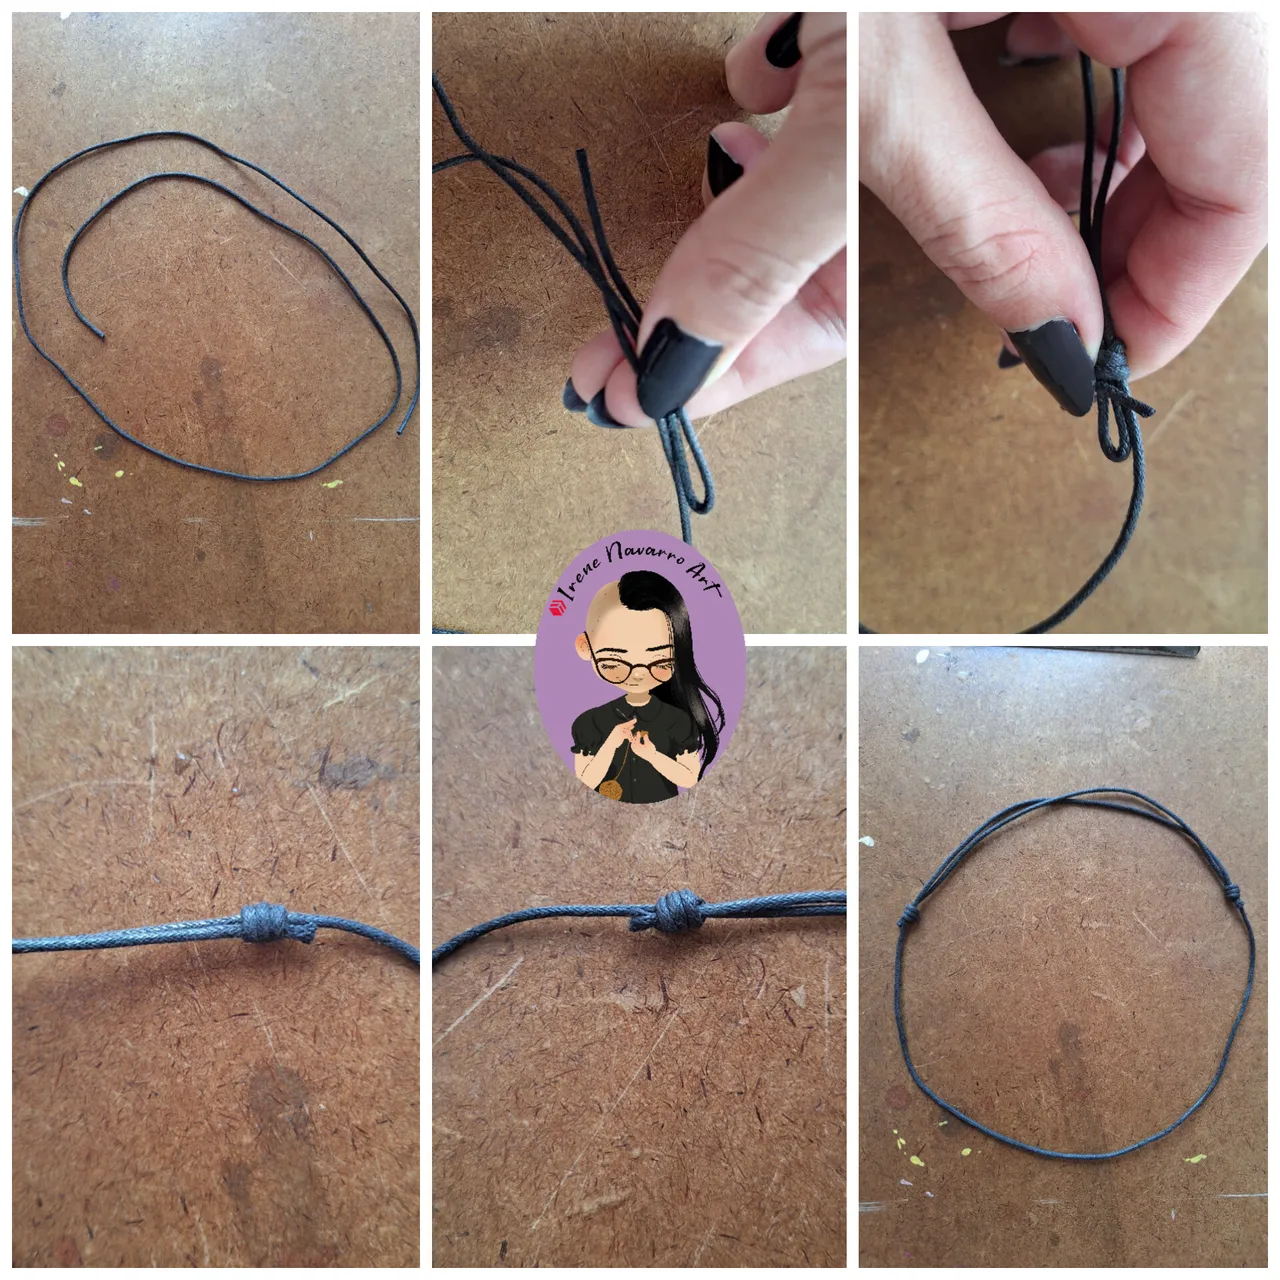
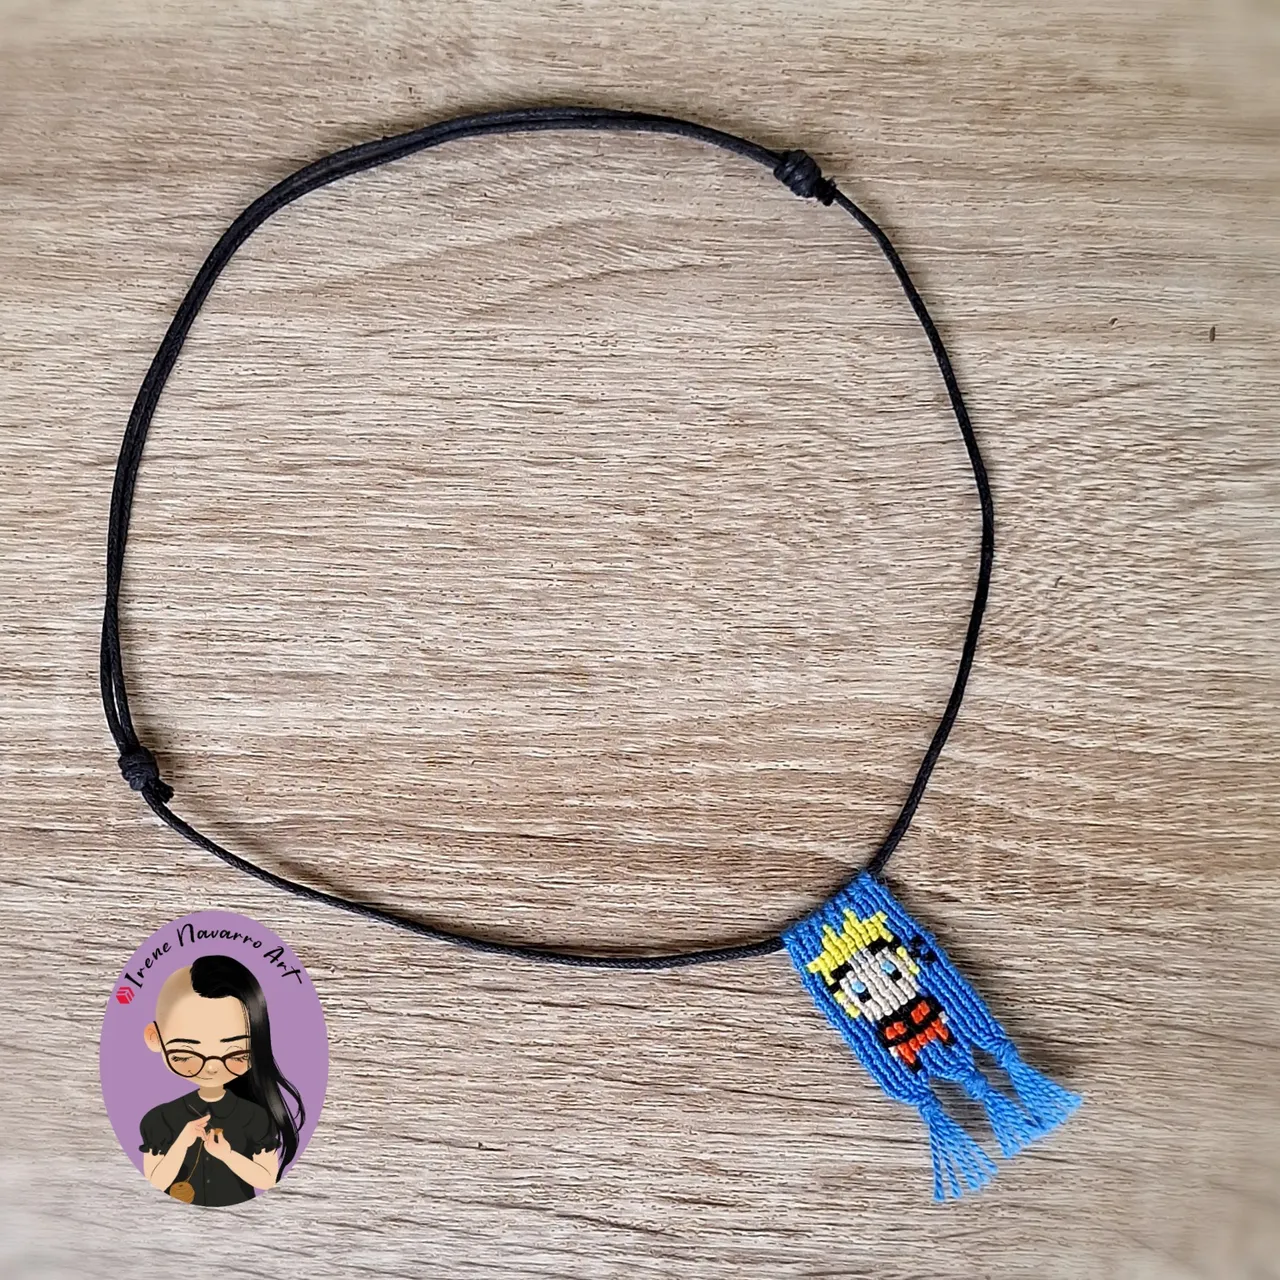
El primer paso es cortar 80 cm de cordón y hacer en cada extremo un nudo corredizo que envuelva al otro extremo, de modo que el collar se pueda ajustar, como se muestra en las imágenes.
The first step is to cut 80cm of cord and tie a slip knot at each end that wraps around the other end, so that the necklace can be adjusted, as shown in the images.

Colocar el cordón o collar rodeando la tabla. Con el hilo azul oscuro cortar 7 hebras de 28 cm, anudar las hebras por la mitad, de este modo se obtienen los 14 hilos guía, sujetar el cordón con las pinzas de ropa y agregar el hilo anudador de azul oscuro unido al ovillo.
Place the cord or necklace around the board. Using the dark blue thread, cut 7 strands of 28 cm each, knot the strands in the middle, thus obtaining the 14 guide threads, hold the cord with the clothespins and add the dark blue knotting thread attached to the ball.


En esta técnica el hilo anudador envuelve dos veces cada uno de los hilos guía. Tal como se muestra en los números del patrón, se trabaja de izquierda a derecha en las hileras impares y de derecha a izquierda en la hileras pares. Cuando se necesita de otro color se agrega y se cruza por detrás con los demás hilos anudadores. Cada cuadro del patrón representa un nudo y los cambios de color de hilo anudador se hacen siguiendo ese patrón.
In this technique, the knotting thread wraps around each of the guide threads twice. As shown by the numbers in the pattern, it is worked from left to right on odd rows and from right to left on even rows. When another color is needed, it is added and crossed behind with the other knotting threads. Each square in the pattern represents a knot and the knotting thread color changes are made following that pattern.
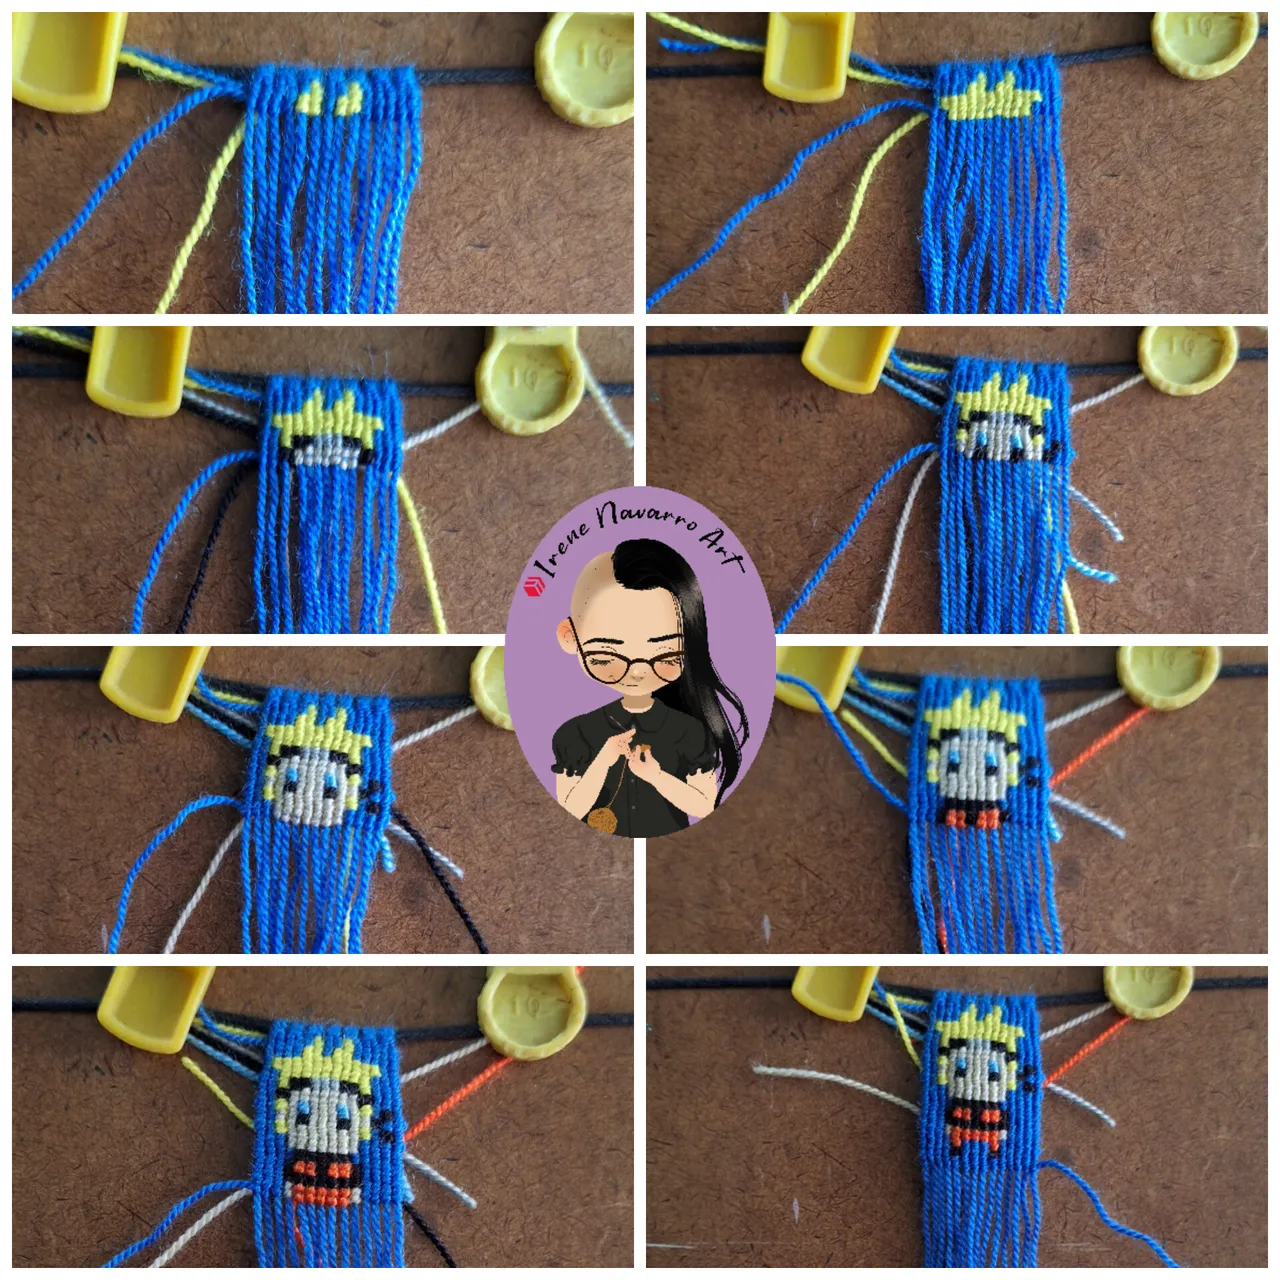

Al finalizar las 16 hileras de nudos. Separar las hebras azules en tres partes y hacer nudos. Cortar las hebras para formar nudos, cortar y esconder los hilos anudadores por detrás.
After finishing 16 rows of knots, separate the blue strands into three parts and tie knots. Cut the strands to form knots, cut and hide the knotting threads behind.


Resultado / Result
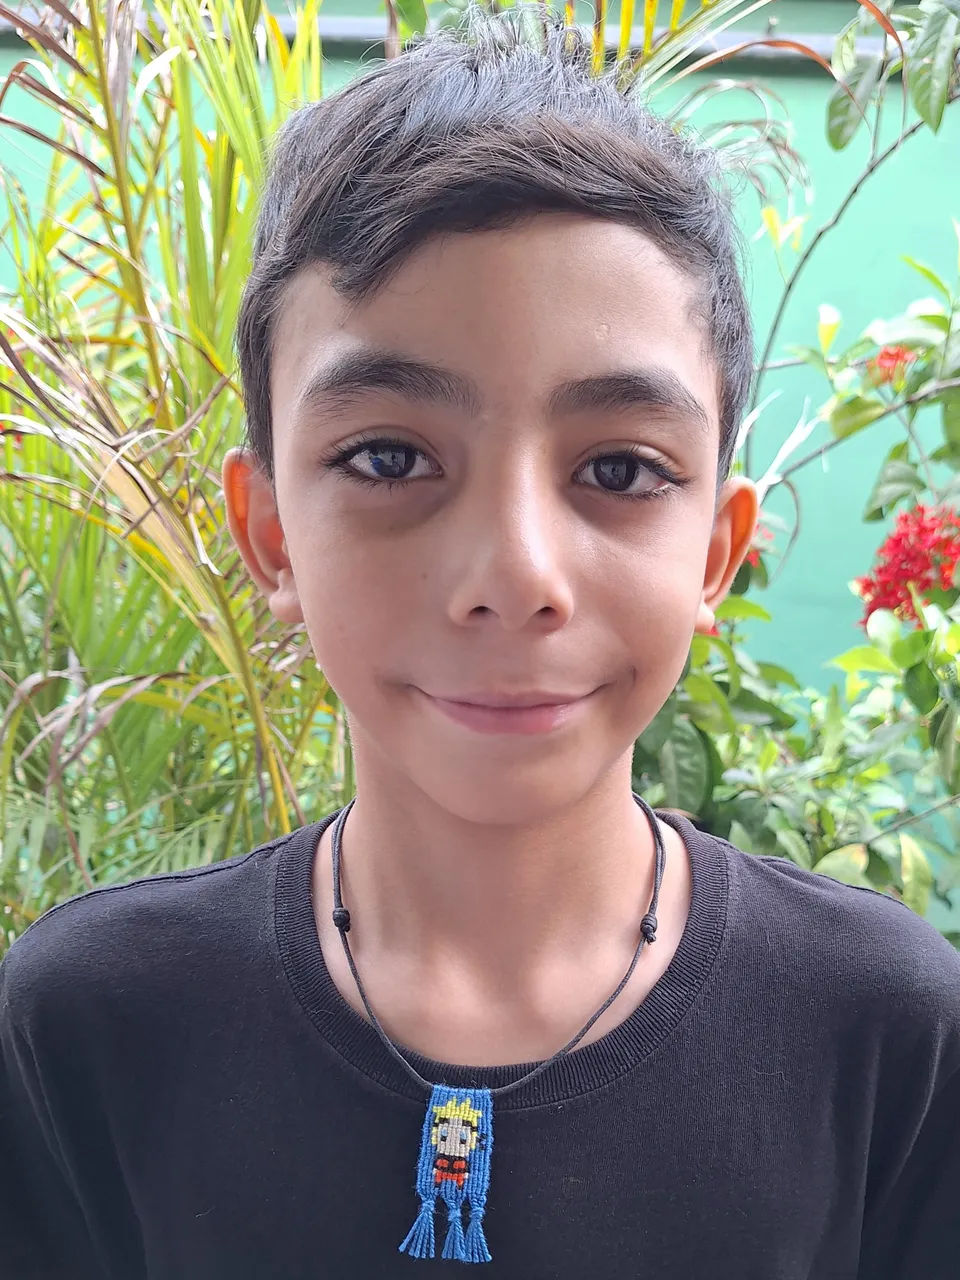
A mi me encanta como quedó el collar y más aun en el cuello de mi hijo 🥰
I love how the necklace turned out, even more so on my son’s neck 🥰
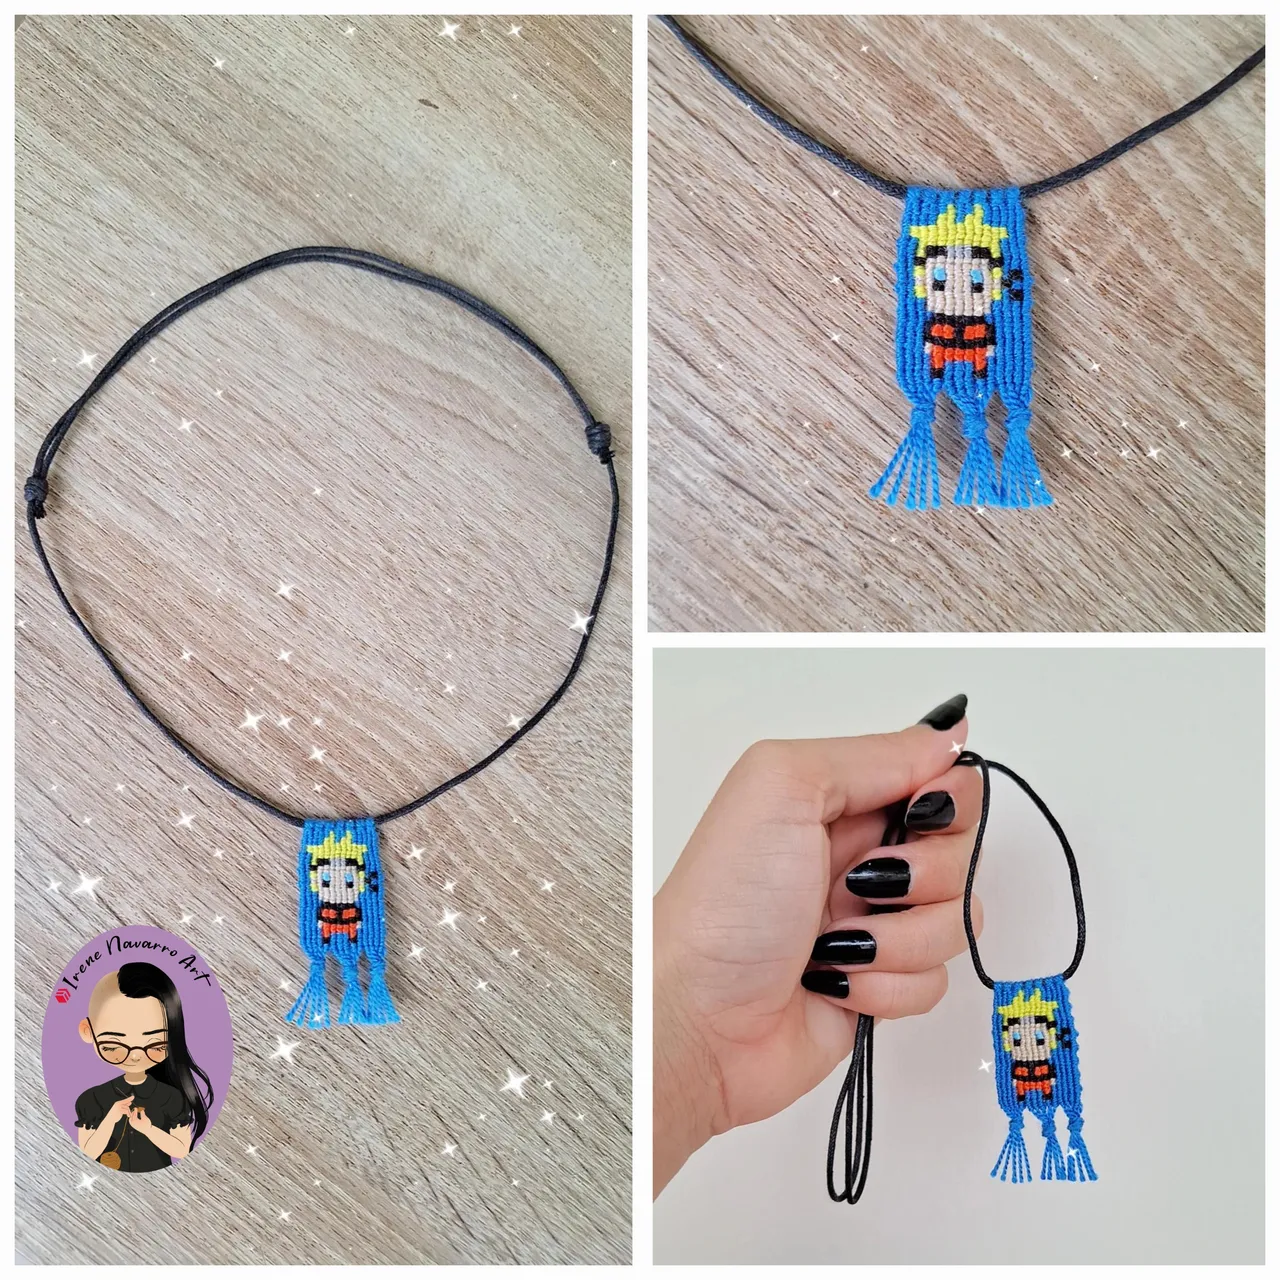

Imágenes tomadas con dispositivo Samsung A54. Portada editada en Inshot
Pictures taken with Samsung A54 device. Cover edited in Inshot

Espero les haya gustado. Les invito a leer mis próximas publicaciones y siempre estaré dispuesta a responder sus preguntas y comentarios, también pueden seguirme y contactarme en cualquiera de mis redes sociales. ¡Muchas gracias!
I hope you liked it. I invite you to read my next publications and I will always be willing to answer your questions and comments, you can also follow me and contact me on any of my social networks. Thank you!
Facebook
Twitter
Instagram
Ko-Fi
Discord: irenenavarroart#0361