Hello, dear craft community. I had a couple of days absent due to home and family occupations. Today I have come to show you a very nice idea for kids decoration or even baby welcome. I have always liked crafts, especially children's things have caught my attention, I think it's because of the details and how creative we can be. I hope you like this tutorial.

Hola, querida comunidad de artesanos. Tenía un par de días ausente debido a ocupaciones del hogar y la familia. Hoy he venido a mostrarles una idea muy bonita para decoración de niños o incluso para la bienvenida de bebés. A mí siempre me han gustado las manualidades, las cosas de niños en especial me han llamado mucho la atención, creo que es por los detalles y lo creativos que podemos llegar a ser. Espero sea de su agrado este tutorial.
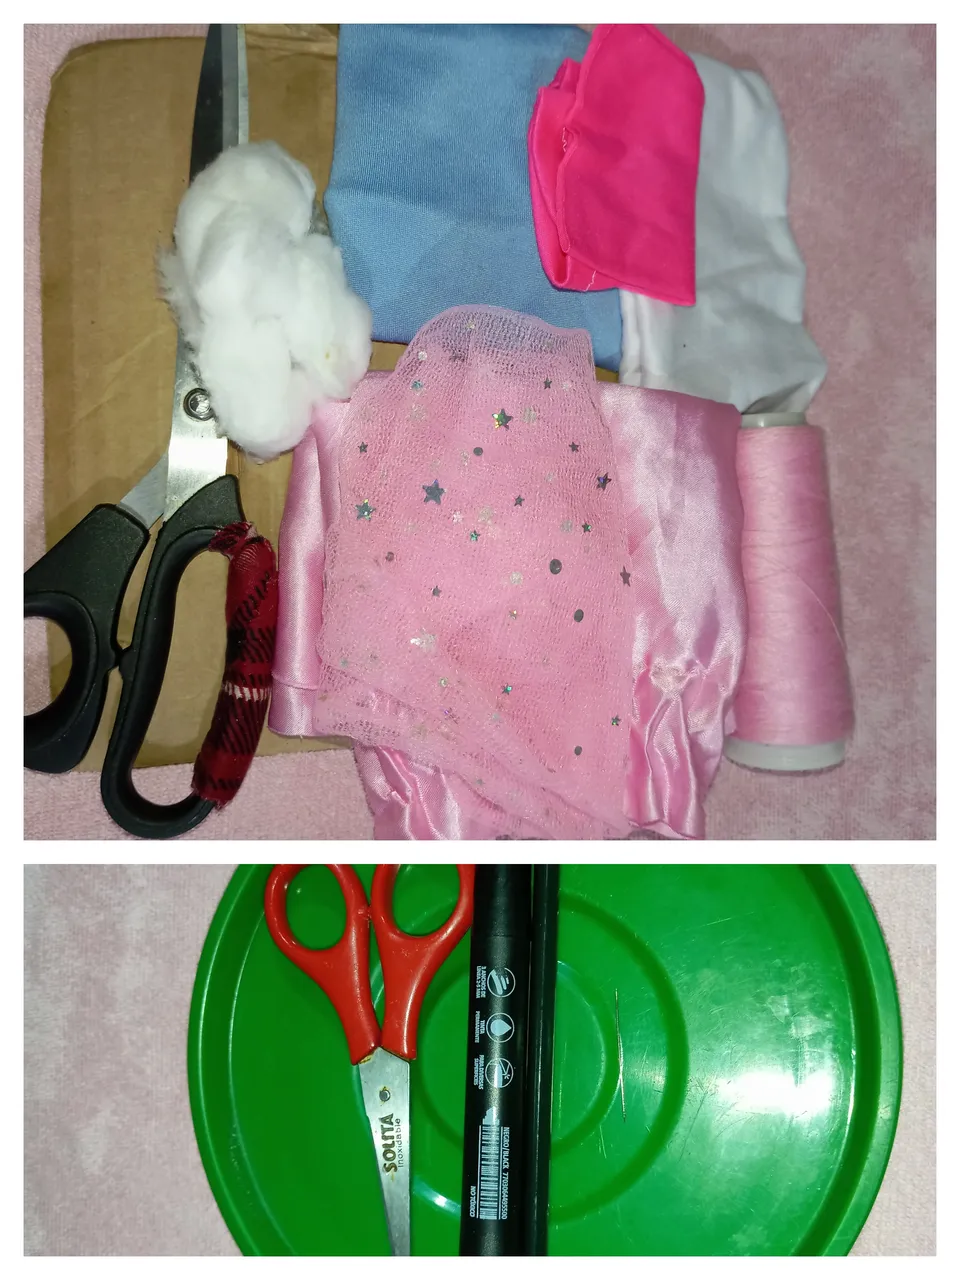
Materials:
- Scissors for paper and fabric.
- Fabric scraps.
- Cardboard.
- Round top.
- Hand needle.
- Sewing machine.
- Thread.
- Tulle.
- Cotton.
- Color.
- Marker.
- Hot silicone.
Materiales:
- Tijeras para papel y tela.
- Retazos de tela.
- Cartón.
- Tapa redonda.
- Aguja manual.
- Máquina de coser.
- Hilo.
- Tul.
- Algodón.
- Color.
- Marcador.
*Silicón caliente.
Step 1:
Make a rainbow shape with the help of the round top, I made it in four parts. We will cut them to separate.
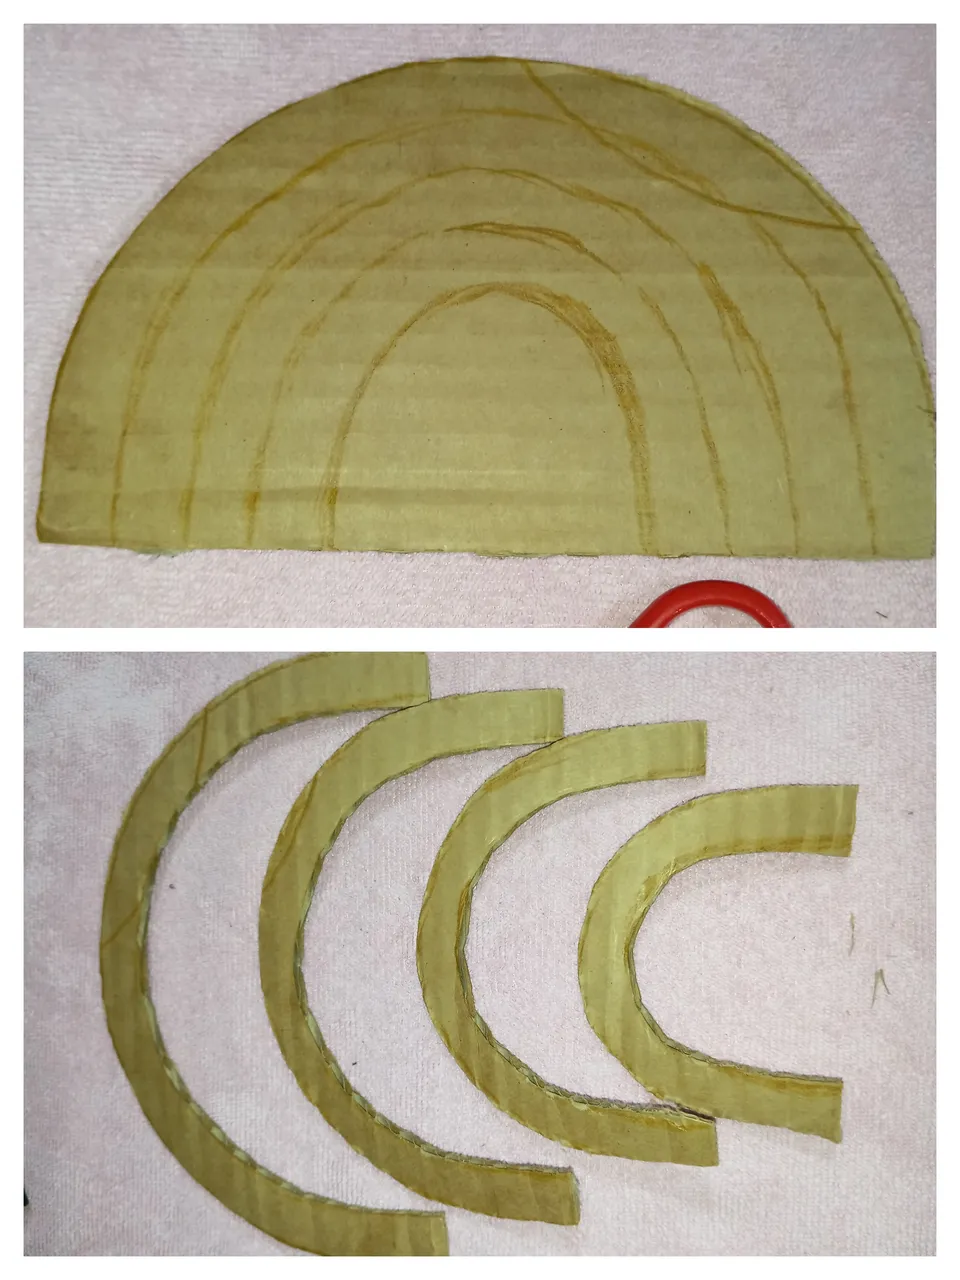
Paso 1:
Hacer una forma de arcoíris con la ayuda de la tapa redonda, yo la hice de cuatro partes. Estás las cortaremos para separar.
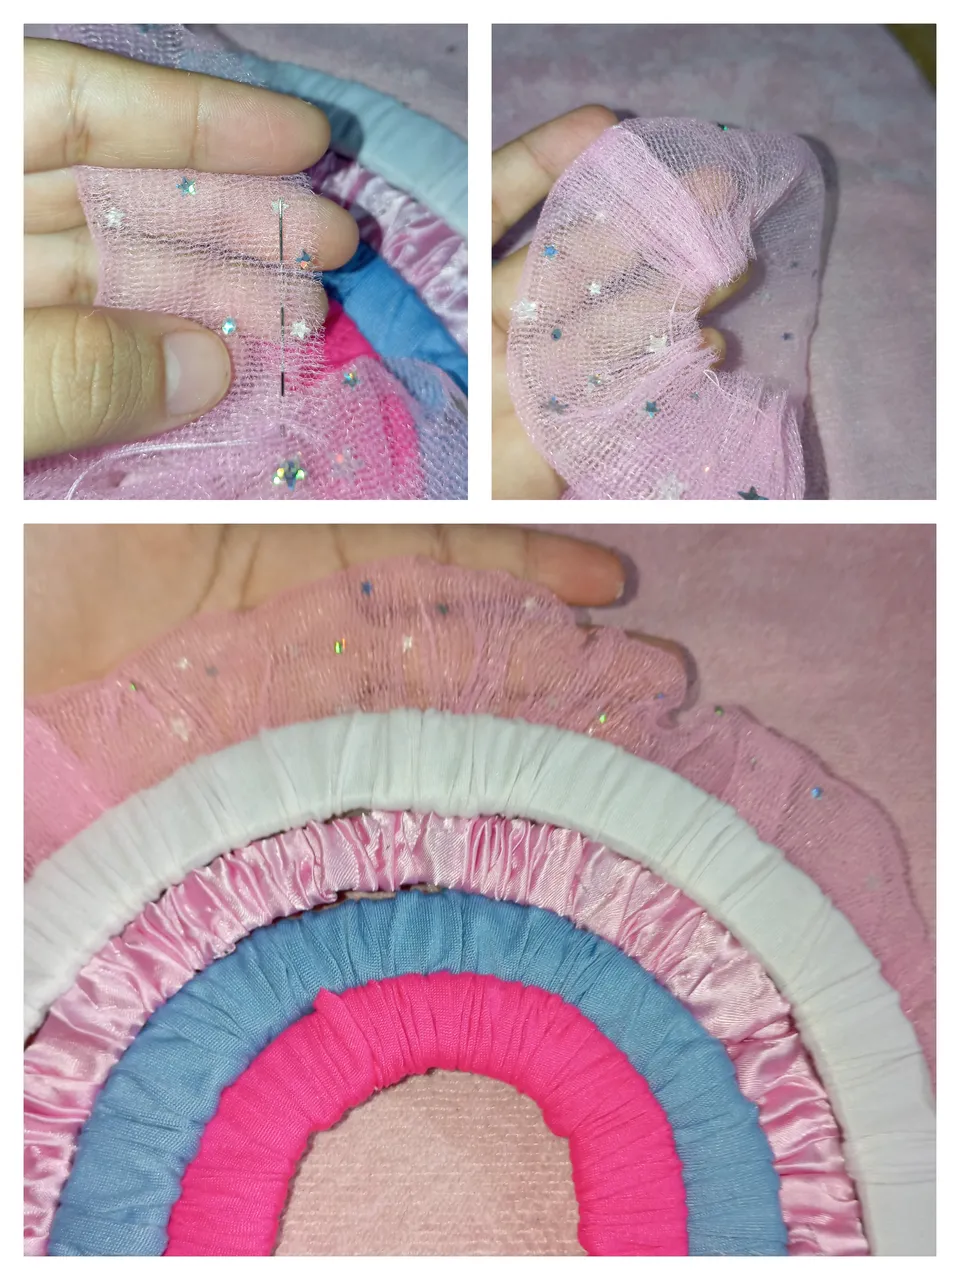
Step 2:
Cut several strips taking as a guide the width of the rainbow pieces, sew the strips to the edge and turn over.
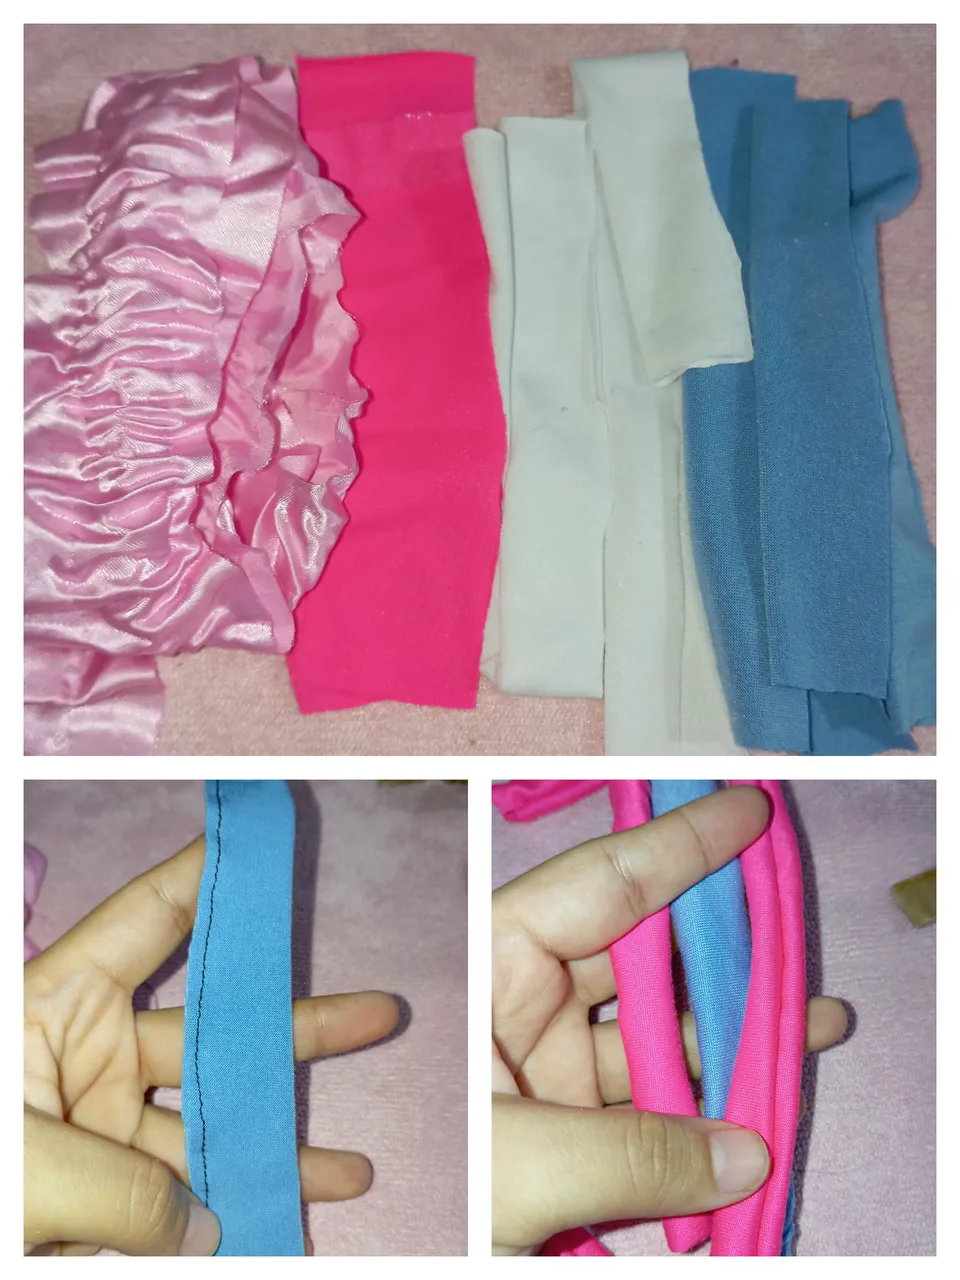
Paso 2:
Cortar varias tiras tomando de guía el ancho de las piezas del arcoíris, coser las tiras a la orilla y dar vuelta.
Step 3:
Insert the rainbow pieces through the fabric strips so that the seam is facing down and the fabric is gathered. With the help of the hand needle, join the pieces in the center and also on the sides, it should be firm.
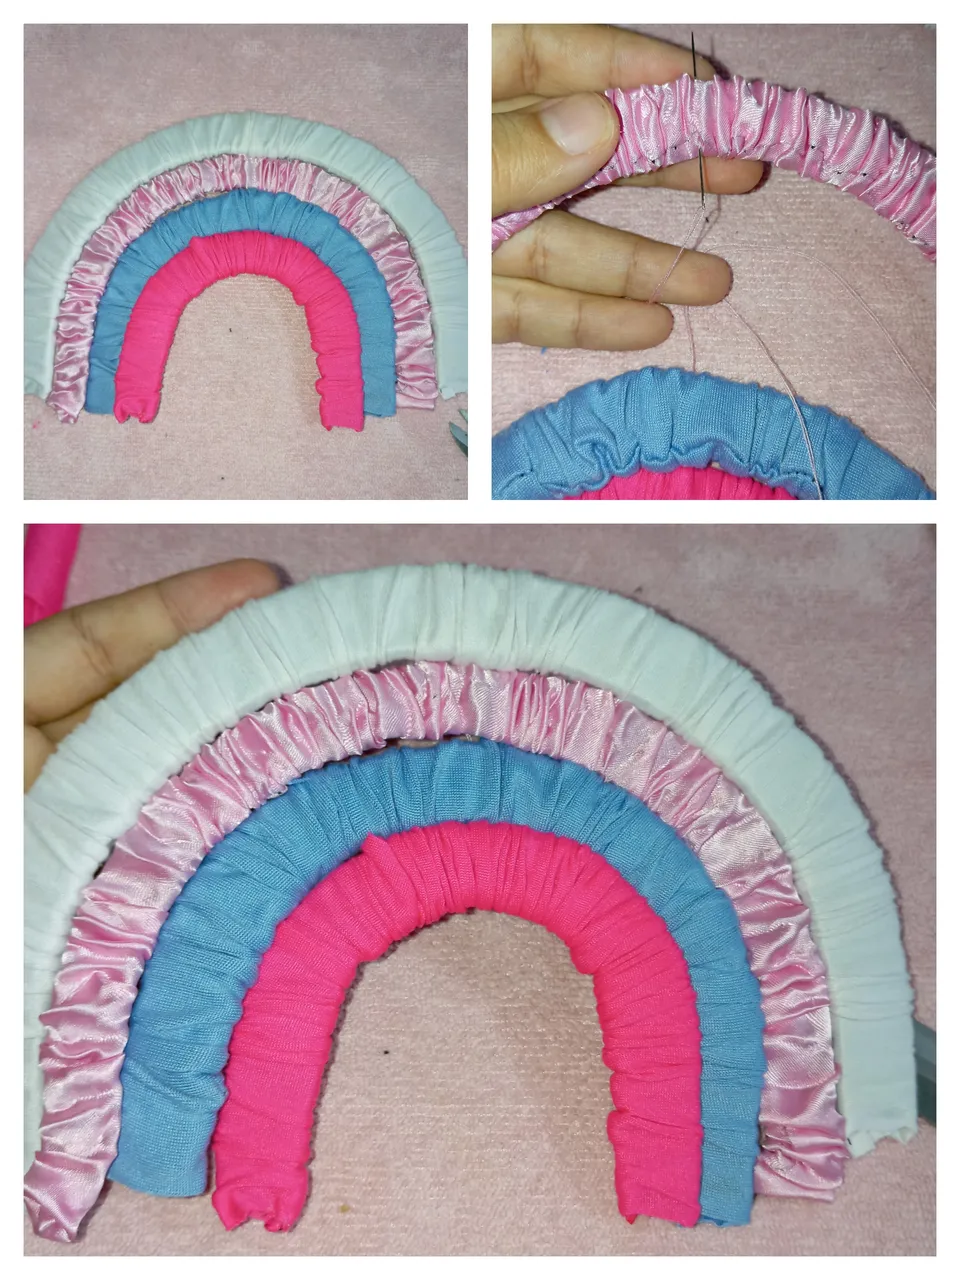
Paso 3:
Insertar las piezas del arcoíris por las tiras de tela de manera que queden con la costura hacia abajo y la tela quede fruncida. Con ayuda de la aguja manual uniremos las piezas en el centro y también a los costados, debe quedar firme.
Step 4:
Fold a long strip of tulle and with the hand needle we gather it, then we glue it to the top edge of the rainbow.
Paso 4:
Doblar una tira larga de tul y con la aguja manual fruncimos, hecho esto la pegamos al borde de arriba del arcoíris.
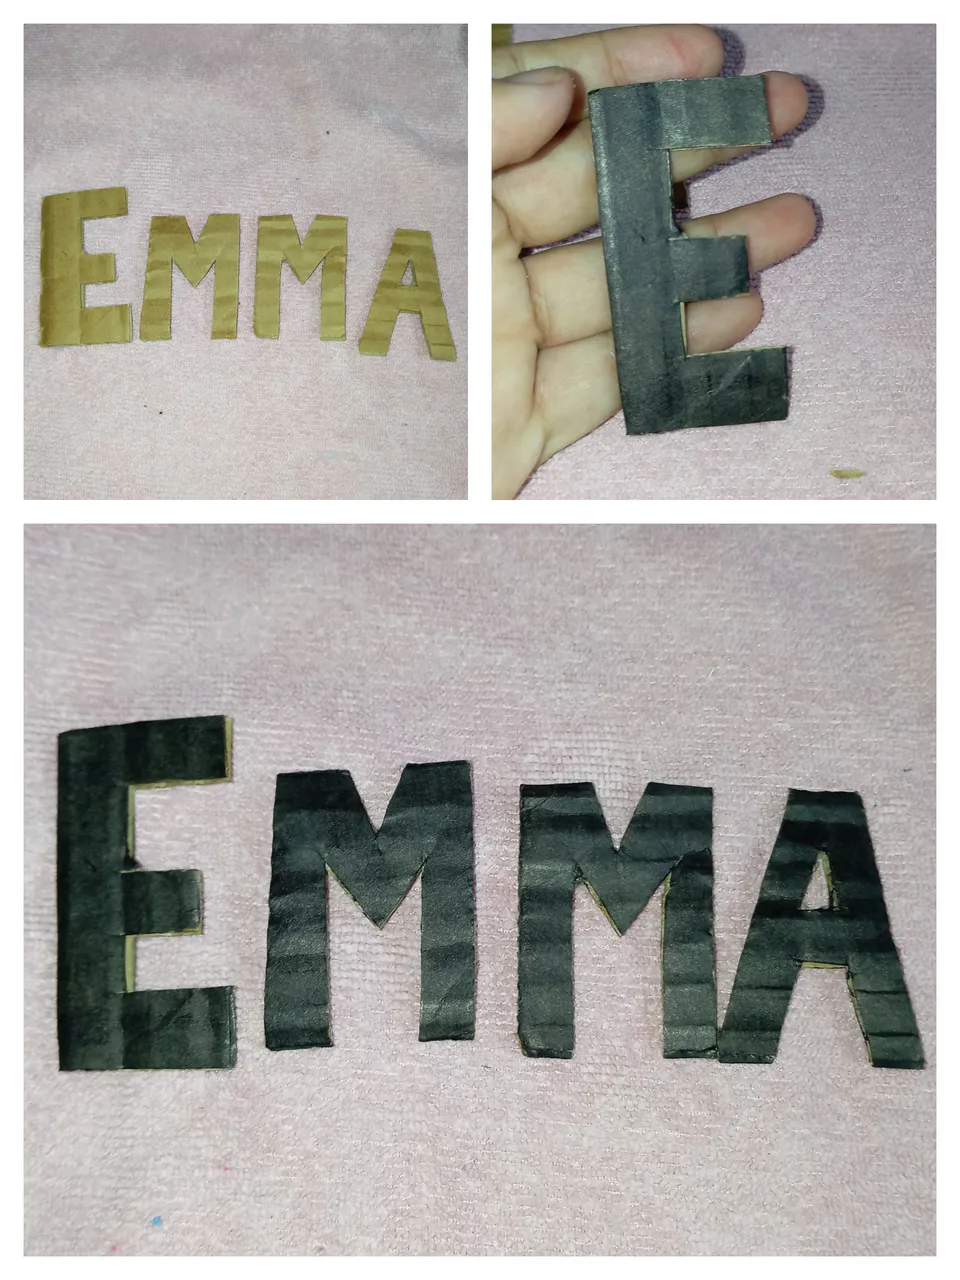
Step 5:
Make in cardboard the name of your little one or the one of your choice, then with the marker paint very well.
Paso 5:
Hacer en cartón el nombre de tu pequeñ@ o el de tu preferencia, luego con el marcador pintar muy bien.
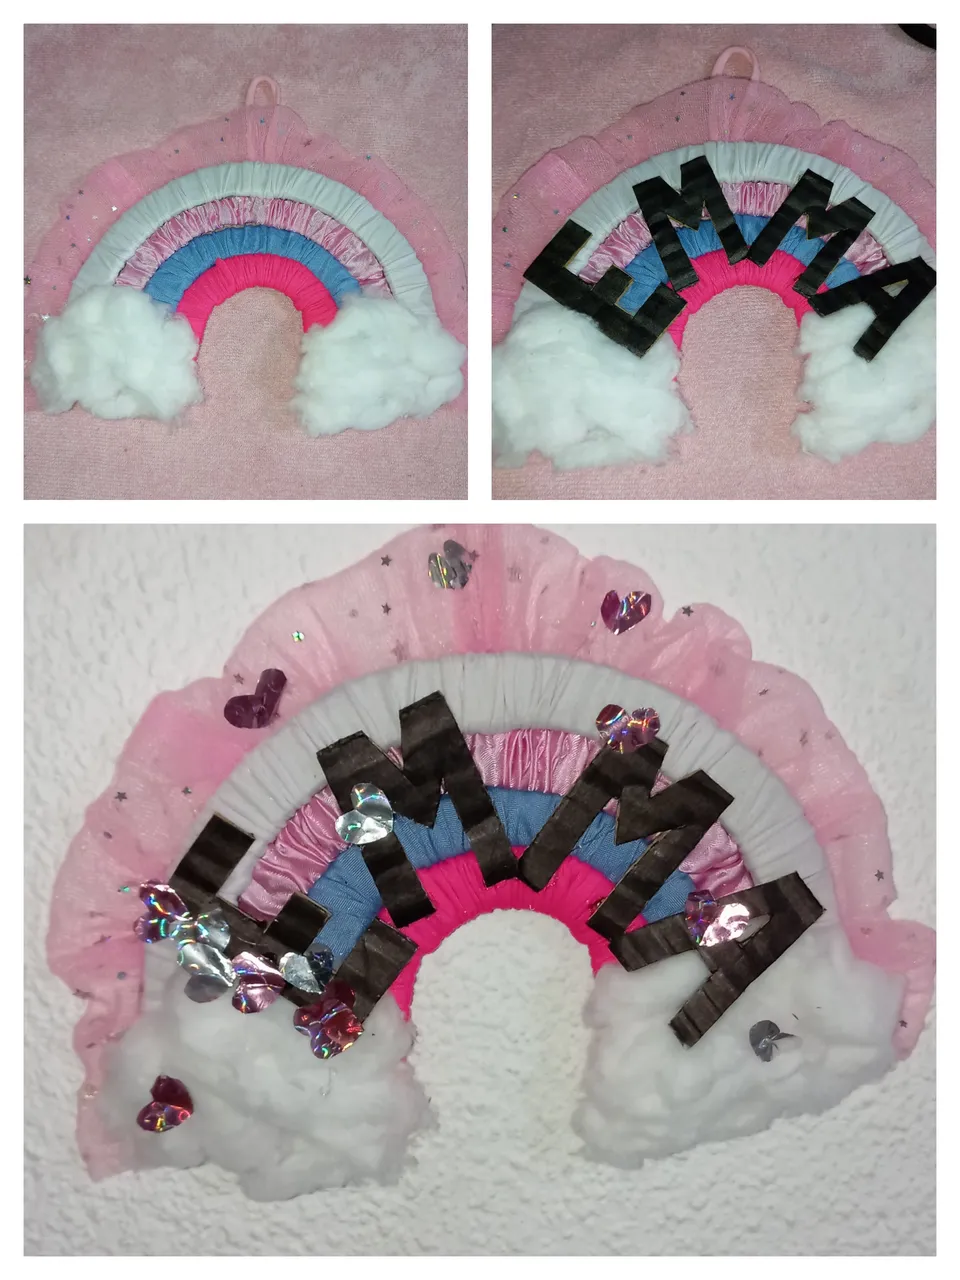
Step 6:
Glue cotton on the ends of the rainbow in the shape of clouds and place the name. Finally add the details to your liking. I put hearts on shiny paper.
Paso 6:
Pegar algodón en las puntas del arcoíris en formas de nubes y colocar el nombre. Por último agregar los detalles a tu gusto. Yo le coloque corazones en papel brillante.
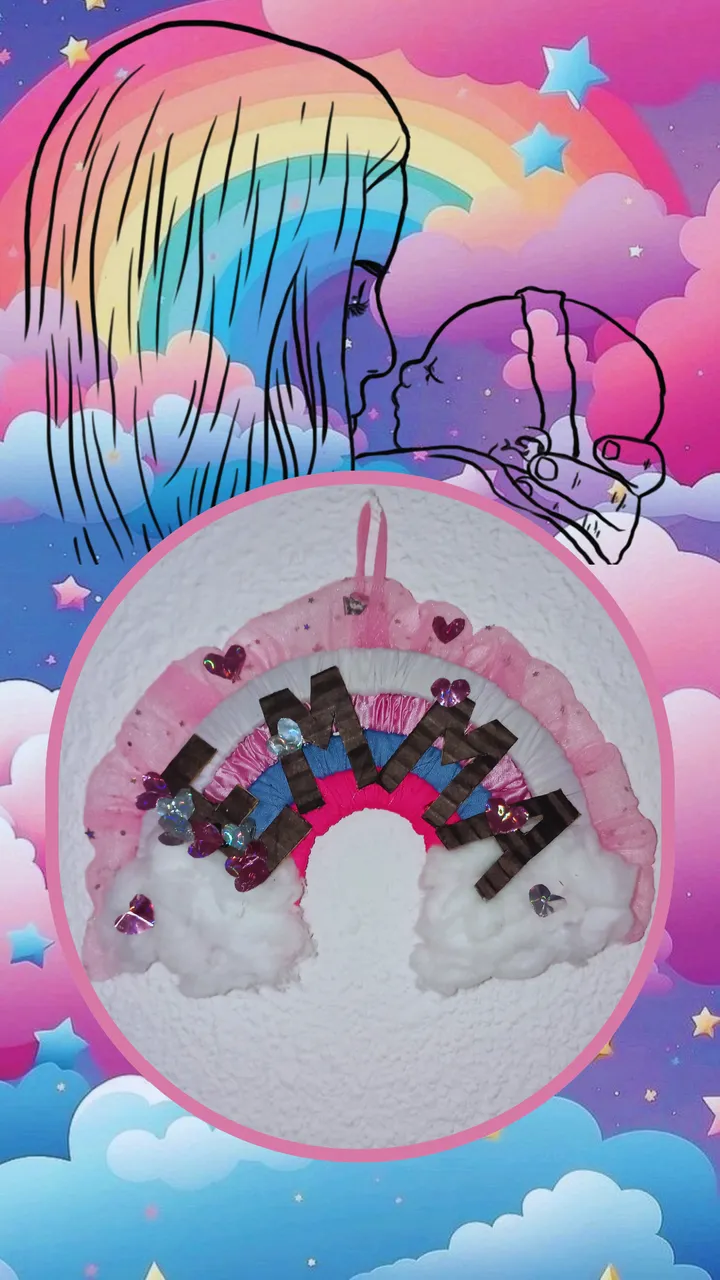
With this our decorative rainbow is ready. I think these are very nice decorations for children's rooms. I wish at some point I could decorate my little house like this, when I have it. Because living outside my country, I am living in a rented house, so this is not mine, so I can't afford to make this kind of decorations. I hope at some point with my partner to buy a house and have our daughter's room well decorated and beautiful I think it is the dream of every mom, or I mean me, I do not know if everyone has the same idea. But I do think it is very nice for children to have their own space, one where they can enjoy their toys and their childhood, where they can be themselves outside the presence of adults. My partner and I are working on it, and I know we will get there. In the not too distant future, this migrant thing will just be a story to tell, with a nice reward.
Con esto queda listo nuestro arcoíris decorativo. Me parece que estas son decoraciones bastante bonitas para habitaciones de niños. Yo deseo en algún momento poder decorar así mi casita, cuando la tenga. Porque viviendo fuera de mi país, estoy viviendo es alquilada por lo tanto esto que tengo no es mío, entonces no me puedo dar el lujo de hacer este tipo de decoraciones. Espero en algún momento junto a mi pareja comprarnos una casa y tener la habitación de nuestra hija bien decorada y bonita creo que es el sueño de toda mamá, o me refiero a mí, no sé si todas tengan la misma idea. Pero sí me parece muy lindo que los niños tengan su espacio, uno donde puedan disfrutar de sus juguetes y su infancia, donde puedan ser ellos mismos fuera de la presencia de adultos. Mi pareja y yo estamos trabajando en ello, y sé que lo lograremos. En un futuro no muy lejano, esto de ser migrantes solo será una historia para contar, con una bonita recompensa.
Well guys I hope you liked this tutorial, greetings and take care of yourselves.
Bueno chicos espero que les haya gustado este tutorial, saludos y cuidense mucho.

Translation with DeepL
Photos taken with Redmi 12
Editing done in Canva
Traducción con DeepL
Fotos tomadas con Redmi 12
Edición realizada en Canva