English
The only way you can get good at something is by practicing, that's a fact. One of the things I want to get better at is digital drawing, so I got to work and started drawing.
In this post I would like to share with you the step by step of this drawing I did. I titled it Fire Person, I hope you like it.
Español
La única forma en la que te puedes volver bueno en algo es practicando, esto es un hecho. Una de las cosas en las que quiero mejorar es el dibujo digital, así que puse manos a la obra y empecé a dibujar.
En esta publicación me gustaría compartir con ustedes el paso a paso de este dibujo que hice. Lo titulé Fire Person, espero les guste.
The program I used to make this drawing is Medibang Paint Pro, a pretty cool program for drawing.
You can see how to install it on your PC by following this link:
El programa que utilicé para hacer este dibujo es Medibang Paint Pro, un programa bastante genial para dibujar.
Pueden ver cómo instalarlo en tu PC siguiendo este enlace:
@gaboamc2393/medibang-paint-pro-a-great
The first thing I did was to define my work space. A large area, where I could have plenty of space; better to have too much than too little.
Lo primero que hice fue definir mi espacio de trabajo. Un área grande, donde pudiese tener espacio de sobra; mejor que sobre a que falte.
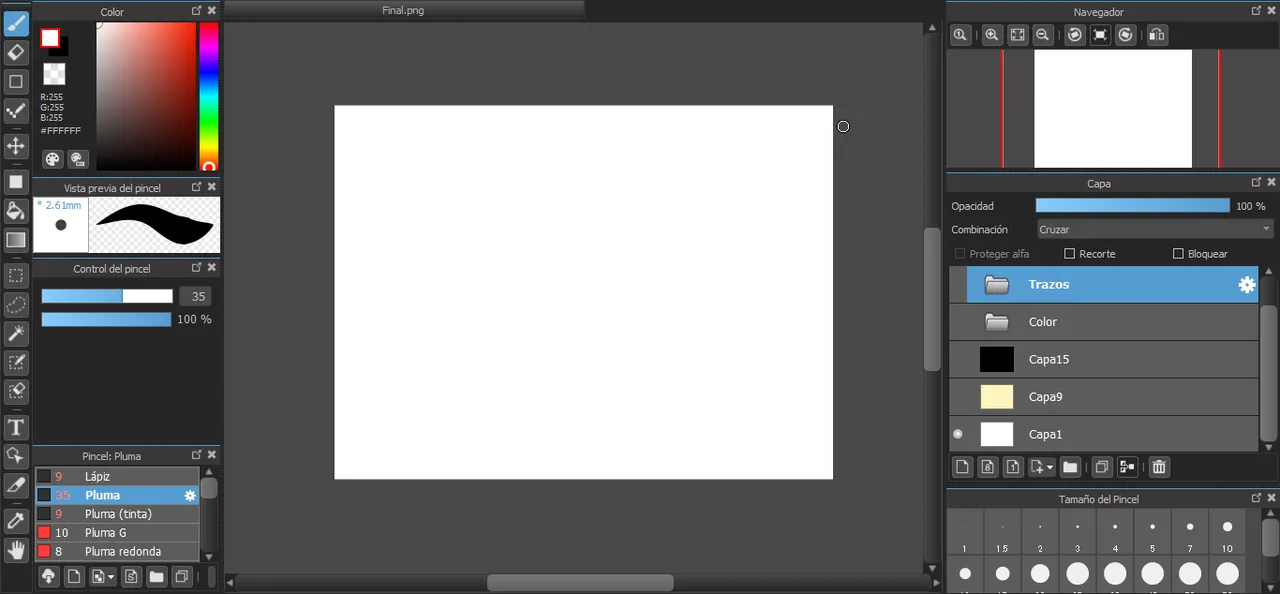
One of the great things about Medibang is that you can work in layers. You can place a layer at the bottom where you can make a sketch and then another layer on top of this sketch to the outline.
For this drawing I did this, a sketch with a brush size 9 and with the opacity reduced to half. With this sketch we can guide us to make the final outline that the drawing will have, the location of certain things like the eyes or the mouth.
Una de las cosas geniales de Medibang es que se puede trabajar por capas. Puedes colocar una capa al fondo en donde hacer un boceto y luego otra capa encima de este boceto para el delineado.
Para este dibujo yo hice esto, un boceto con un pincel de tamaño 9 y con la opacidad reducida a la mitad. Con este boceto podemos guiarnos para hacer el delineado final que tendrá el dibujo, la ubicación de ciertas cosas como los ojos o la boca.
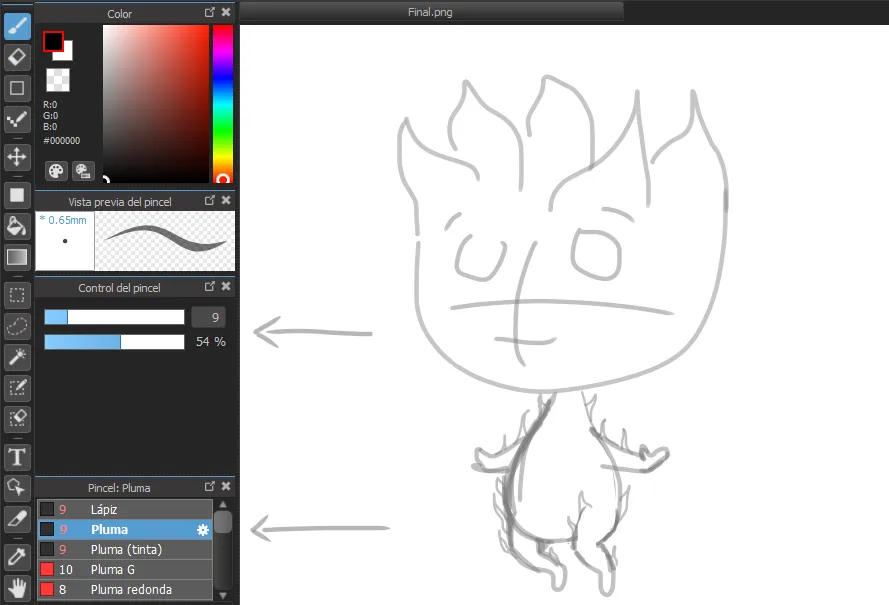
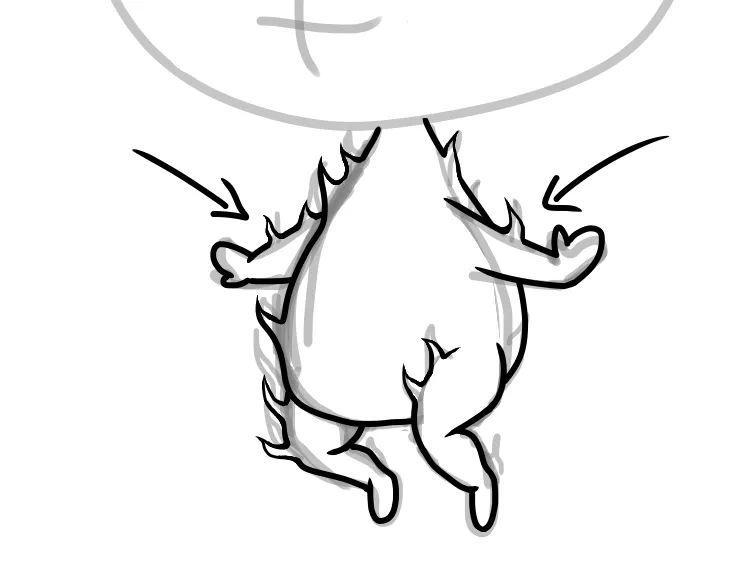
For the outline I used different brush sizes, depending on the type of stroke I made. For example, for the torso and legs I used a size 6 brush, without any opacity because it is the final stroke.
For the arms I used a size 6 brush as well, however, for the flames that can be seen in the body of the figure I used a size 3 brush, because they are smaller details.
Para el delineado usé distintos tamaños de pinceles, dependiendo del tipo de trazo que hice. Por ejemplo, para el torso y las piernas usé un pincel de tamaño 6, sin nada de opacidad pues es el trazo final.
Para los brazos usé un pincel número 6 también, sin embargo, para las llamas que se aprecian en el cuerpo de la figura usé un pincel de tamaño 3, pues son detalles más pequeños.
 |  |
|---|
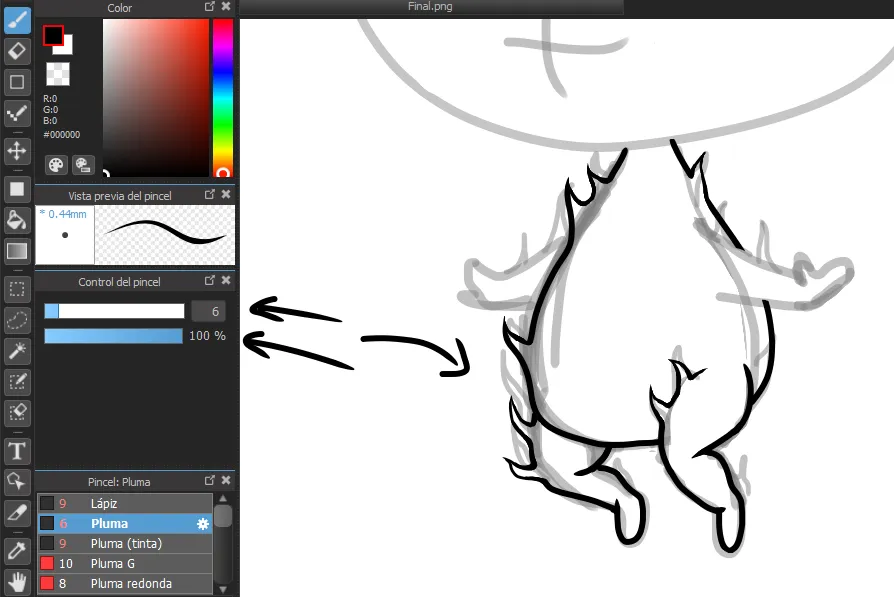
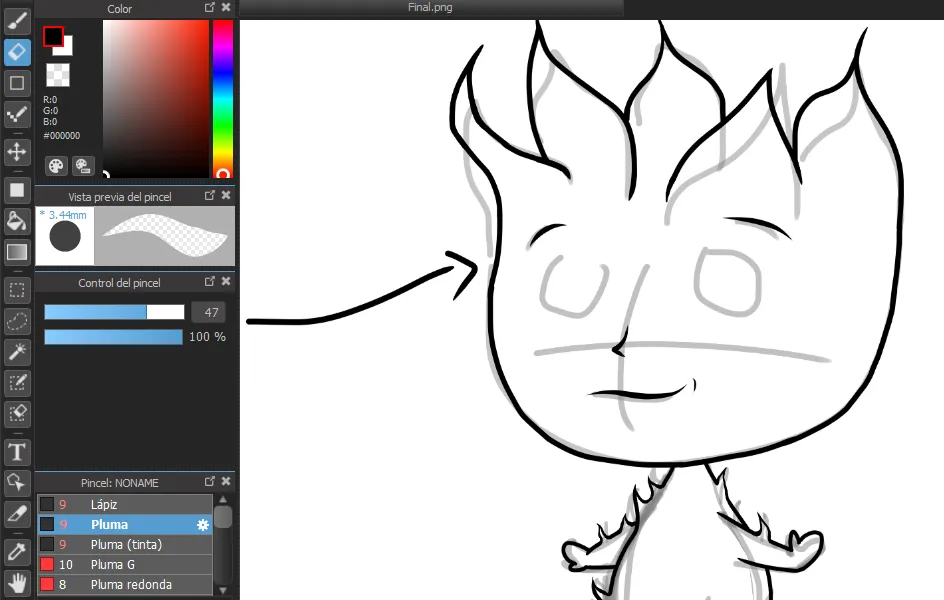
In the case of the eyeliner on the head I used a thicker brush, number 9. However, for the eyes I used a large brush, for filling and so on, number 47.
As you can see, the lines of the stroke are useful to know where we will draw the eyes and even the place where the nose or the mouth will go. The sketch is very useful, especially if we are beginners.
En el caso del delineado de la cabeza usé un pincel más grueso, el número 9. Sin embargo, para los ojos usé un pincel grande, para rellenar y eso, el número 47.
Como pueden ver, las líneas del trazo sirven para saber donde dibujaremos los ojos e incluso el lugar en donde irá la naríz o la boca. El boceto es muy útil, más si somos unos principiantes.
 |  |
|---|
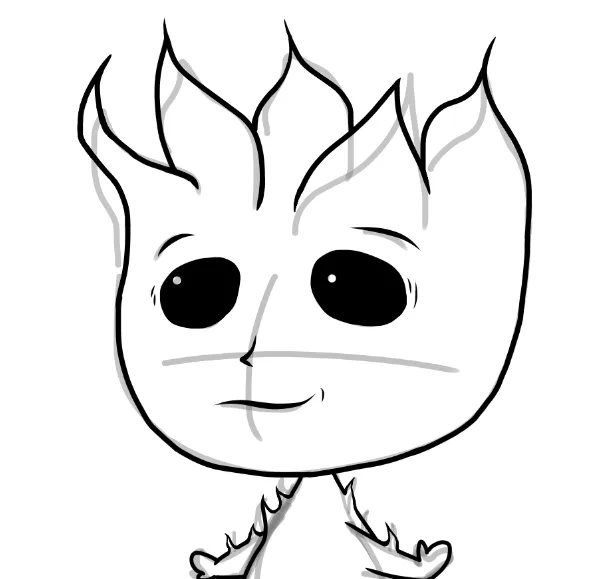
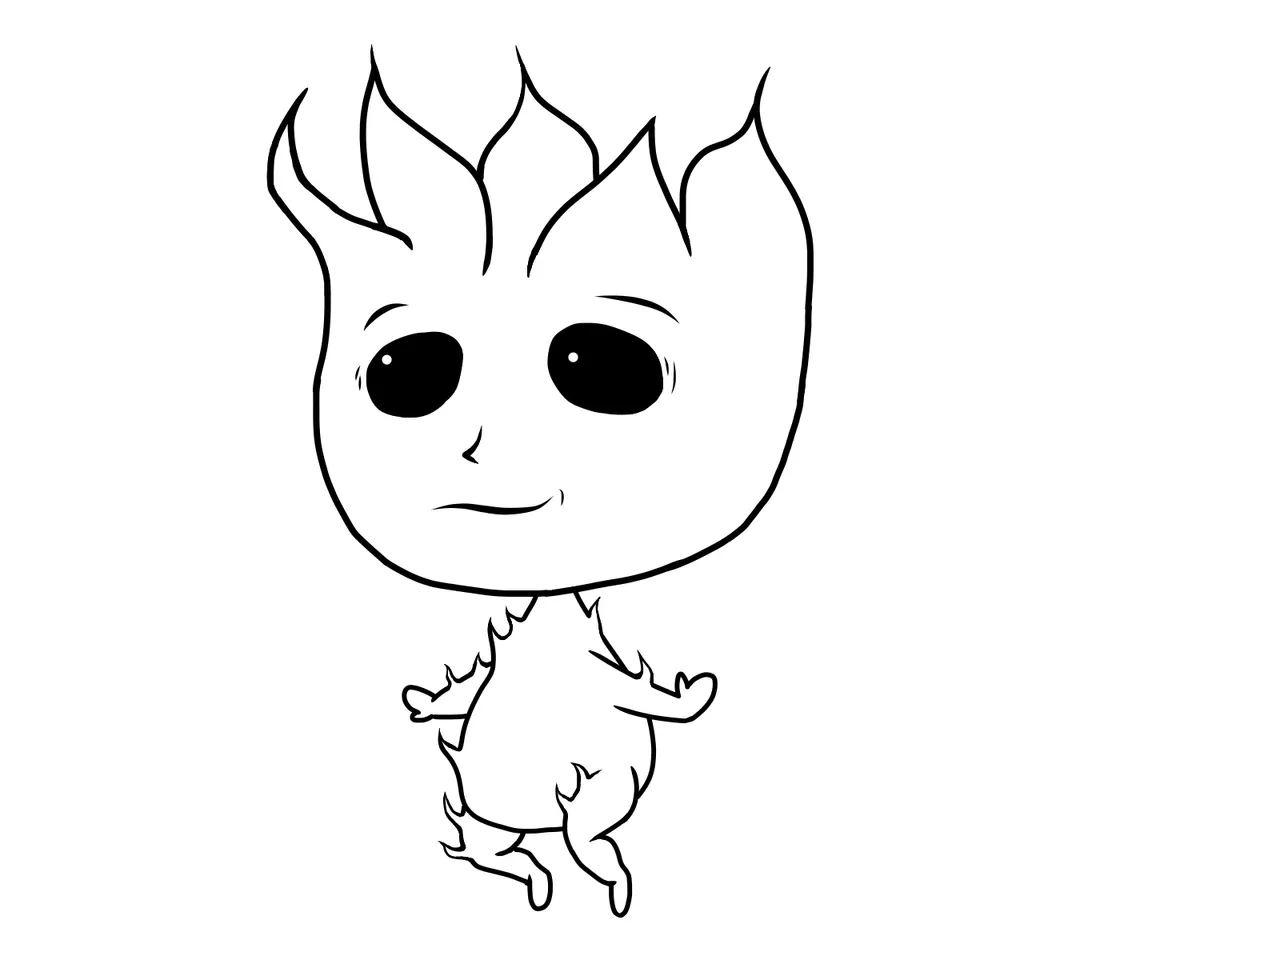
Well, once the outline of the character was ready, I hid the layer of the sketch to see how it looked like. Below you can see the drawing without coloring:
Bien, una vez listo el delineado del personaje oculté la capa del boceto para ver cómo había quedado. A continuación pueden ver el dibujo sin colorear:
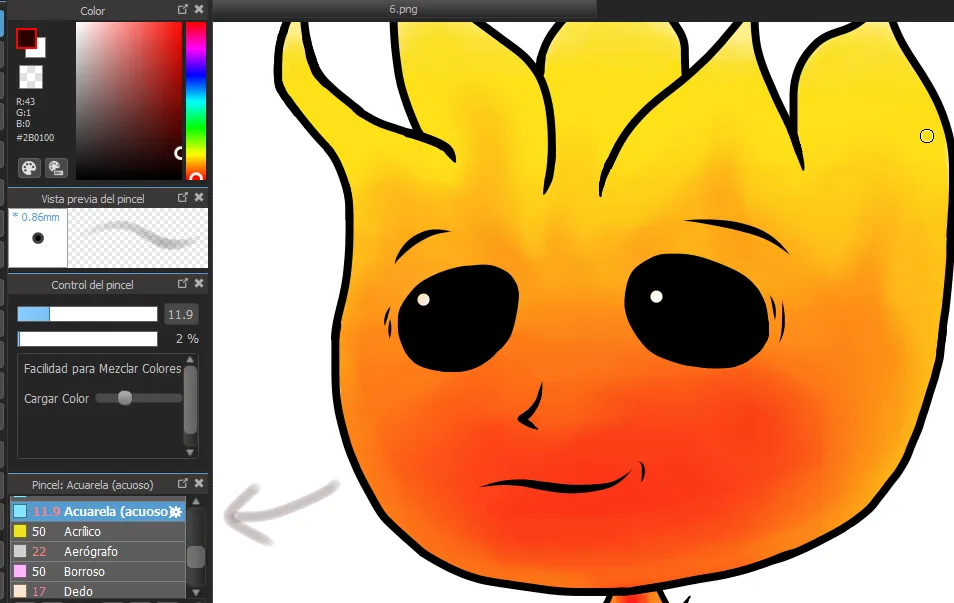
Once the drawing is ready, for coloring we must do something very important, choose our color palette. As it is a fire character, I chose a color palette ranging from white to red, yellow and orange, as shown in the image below.
Una vez listo el dibujo, para colorear debemos hacer algo muy importante, elegir nuestra paleta de colores. Como es un personaje de fuego, yo elegí una paleta de colores que va desde blanco hasta rojo, pasando por amarillo y naranja, tal como lo muestro en la imagen a continuación.

I started to color following the same line with each of the colors of the palette, using a thick brush. The intention of this is to create the sequence that the colors will have to create a gradient effect.
Medibang has a watercolor brush that facilitates this task of creating the gradient, it was this brush that I used to blur the sharp division between one color and another.
Below you can see a before and after of the gradient:
Comencé a colorear siguiendo una misma línea con cada uno de los colores de la paleta, con un pincel grueso. La intención de esto es crear la secuencia que tendrán los colores para luego crear un efecto degradado.
Medibang tiene un pincel acuarelado que nos facilita esta tarea de crear el degradado, fue este pincel el que usé para difuminar la división tan marcada que había entre un color y otro.
A continuación pueden ver un antes y un después del degradado:
 |  |
|---|
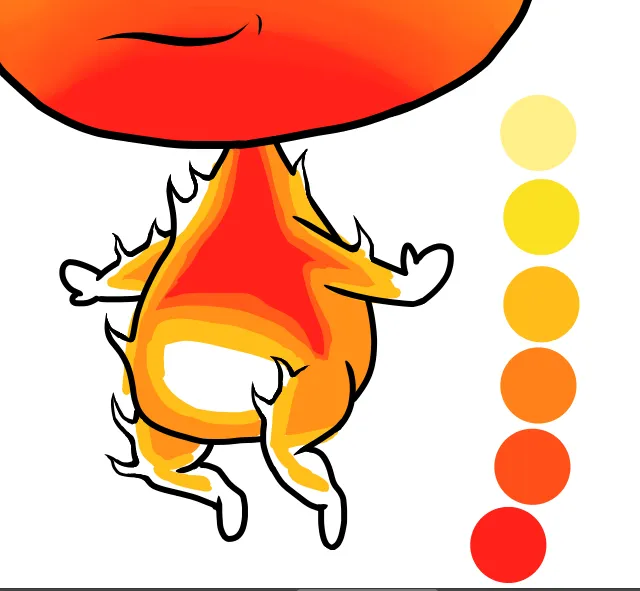
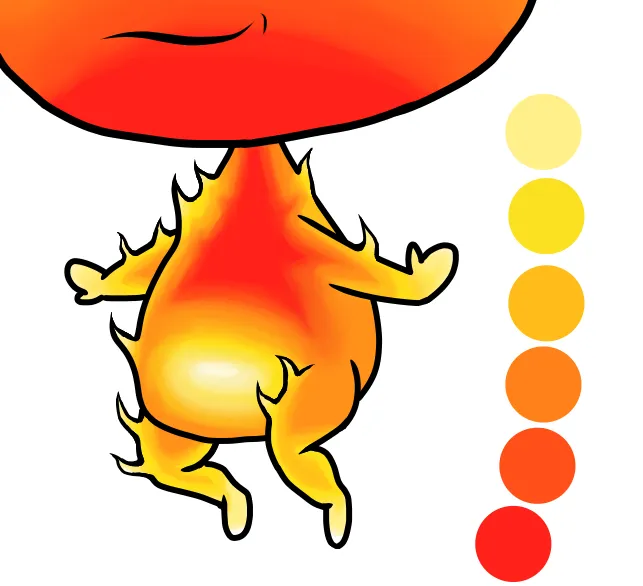
For the torso part I did the same. I first defined the location of each color and then I diffused it.
In the case of the body, the idea was to create a very warm central area (white), which would be like the heart of the character.
Again, below you can see a before and after gradient:
Para la parte del torso hice lo mismo. Definí primero la ubicación de cada color y luego lo difunié.
En el caso del cuerpo, la idea era crear una zona central de mucho calor (blanco), que vendría a ser como el corazón del personaje.
Nuevamente, a continuación pueden ver un antes y un después del degradado:
 |  |
|---|
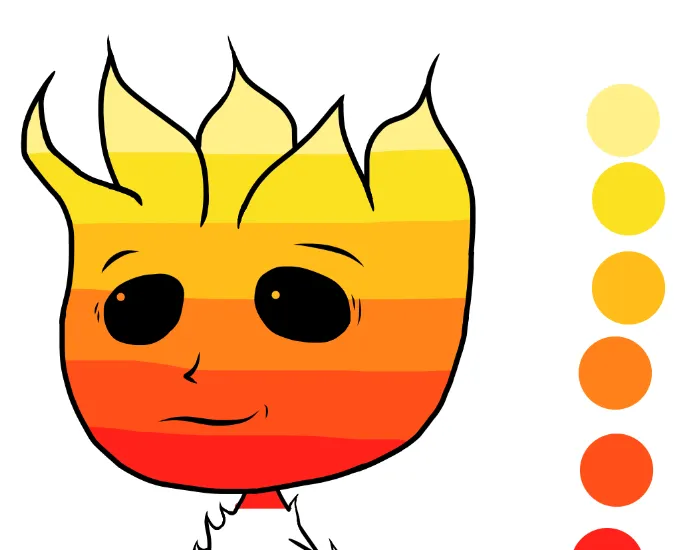
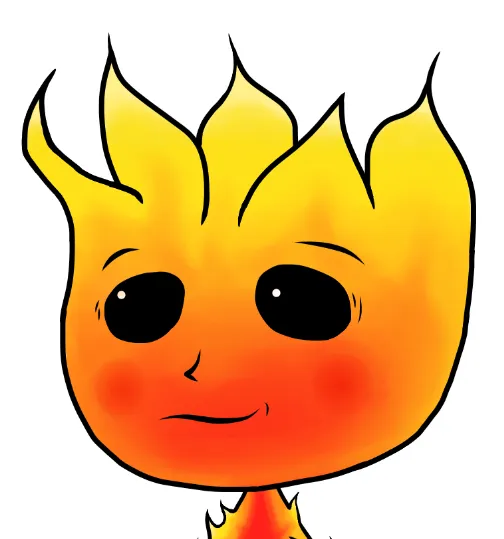
At this point, I realized that the coloring of the face was too linear, so I used the same watercolor brush to create more dynamism, since the character is made of fire.
As a detail, I drew a more intense red blush on the cheeks.
En este punto, me di cuenta que el coloreado del rostro era muy lineal, así que usé el mismo pincel acuarelado para crear mayor dinamismo, pues el personaje está hecho de fuego.
Como detalle, le dibujé un rubor en las mejillas de color rojo más intenso.
 |  |
|---|
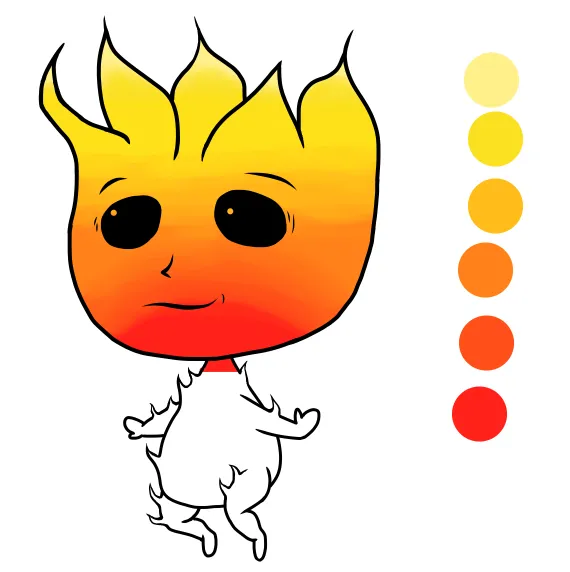
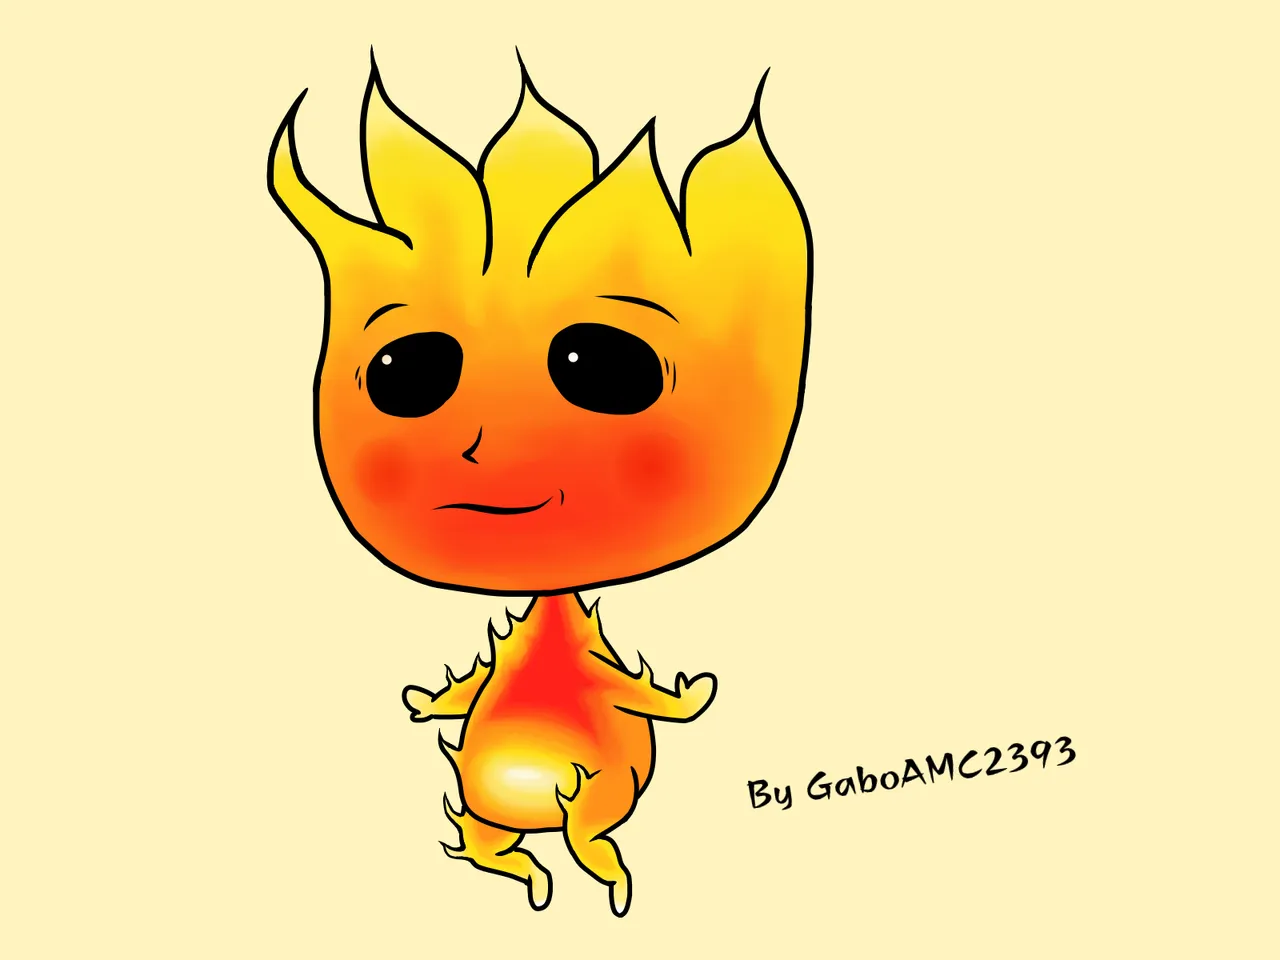
Once the drawing was ready, I changed the background color and, of course, my user name.
Below you can see the final result:
Una vez listo todo el dibujo, le cambié el color al fondo y como no, mi nombre de usuario.
A continuación pueden ver el resultado final:
Well friends, that's all for now. This is the first half-complicated drawing I've done after a long time, so I'd like to know your opinions about this work; I invite you to leave it below in the comments, as always I'll be happy to read them. Without more to add, I say goodbye then...
See you next time!
Bien amigos, esto ha sido todo por ahora. Este es el primer dibujo medio complicado que hago después de un buen tiempo, así que me gustaría saber sus opiniones sobre este trabajo; los invito a dejarla abajo en los comentarios, como siempre estaré encantado de leerlos. Sin más que agregar, me despido entonces...
¡Hasta la próxima!
Traducido con DeepL
Gabo Play: Ninja Arashi
MediBang Paint Pro: A great drawing tool
Challenge to Gabo #6