English
Greetings everyone, fellow creatives, welcome to another installment of one of my favorite sections of my blog, Challenge to Gabo. In the previous installment I showed you how to make a Rocket Raccoon sculpture, a challenge proposed by fellow artist marylucy...
You can see the publication of that figure by following this link:
@gaboamc2393/challenge-to-gabo-3-rocket.
I really enjoyed making this figure and was able to experiment with certain techniques that I had a long time without putting into practice. From here a big thank you for your challenge, it was an experience to make that figurine and a great pleasure to have shared it with you.
Well, it's time for another figure, this time proposed by another expert in crafts, fixie.

Link to the comment
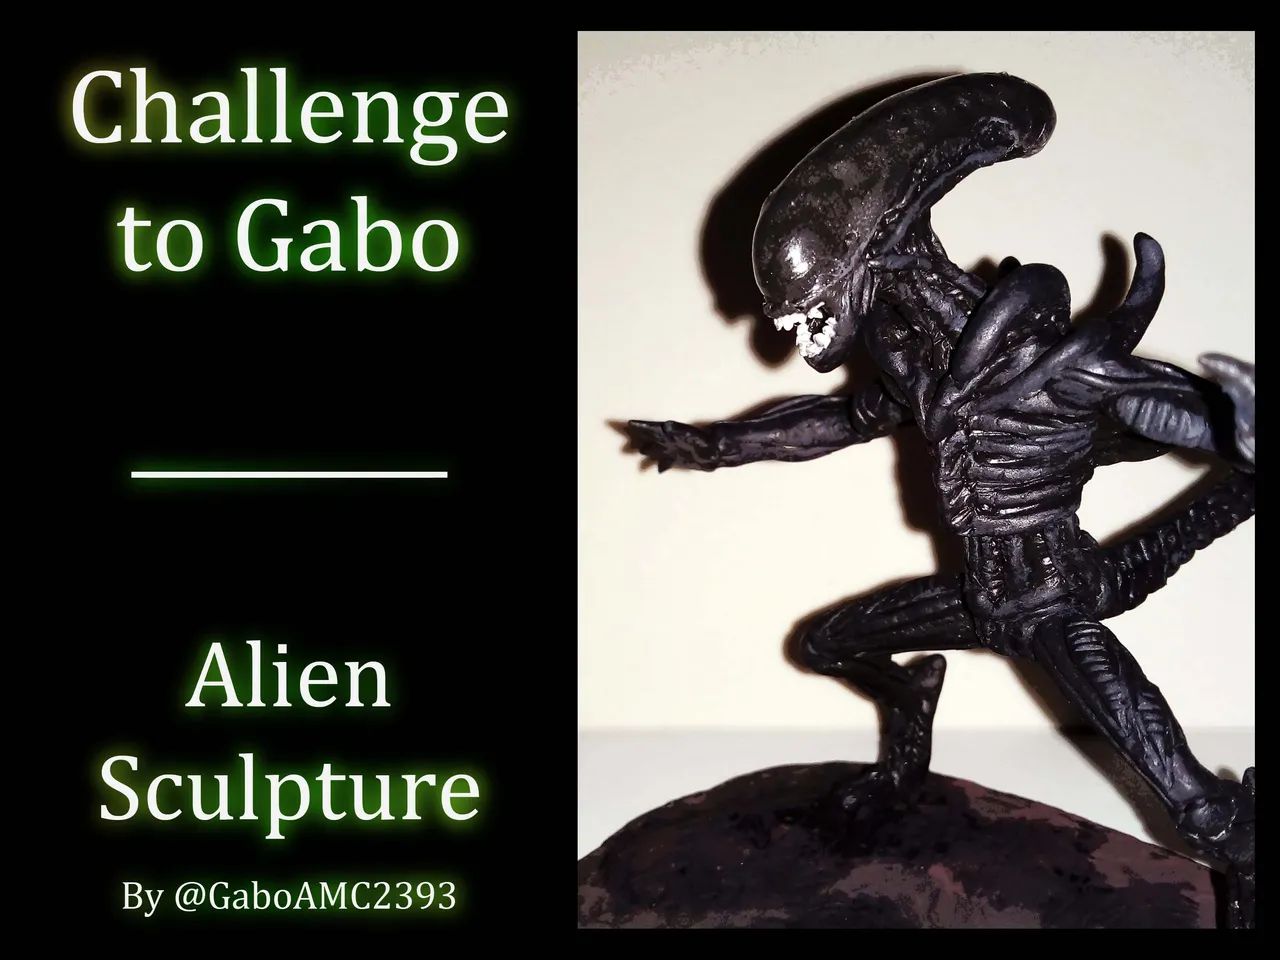
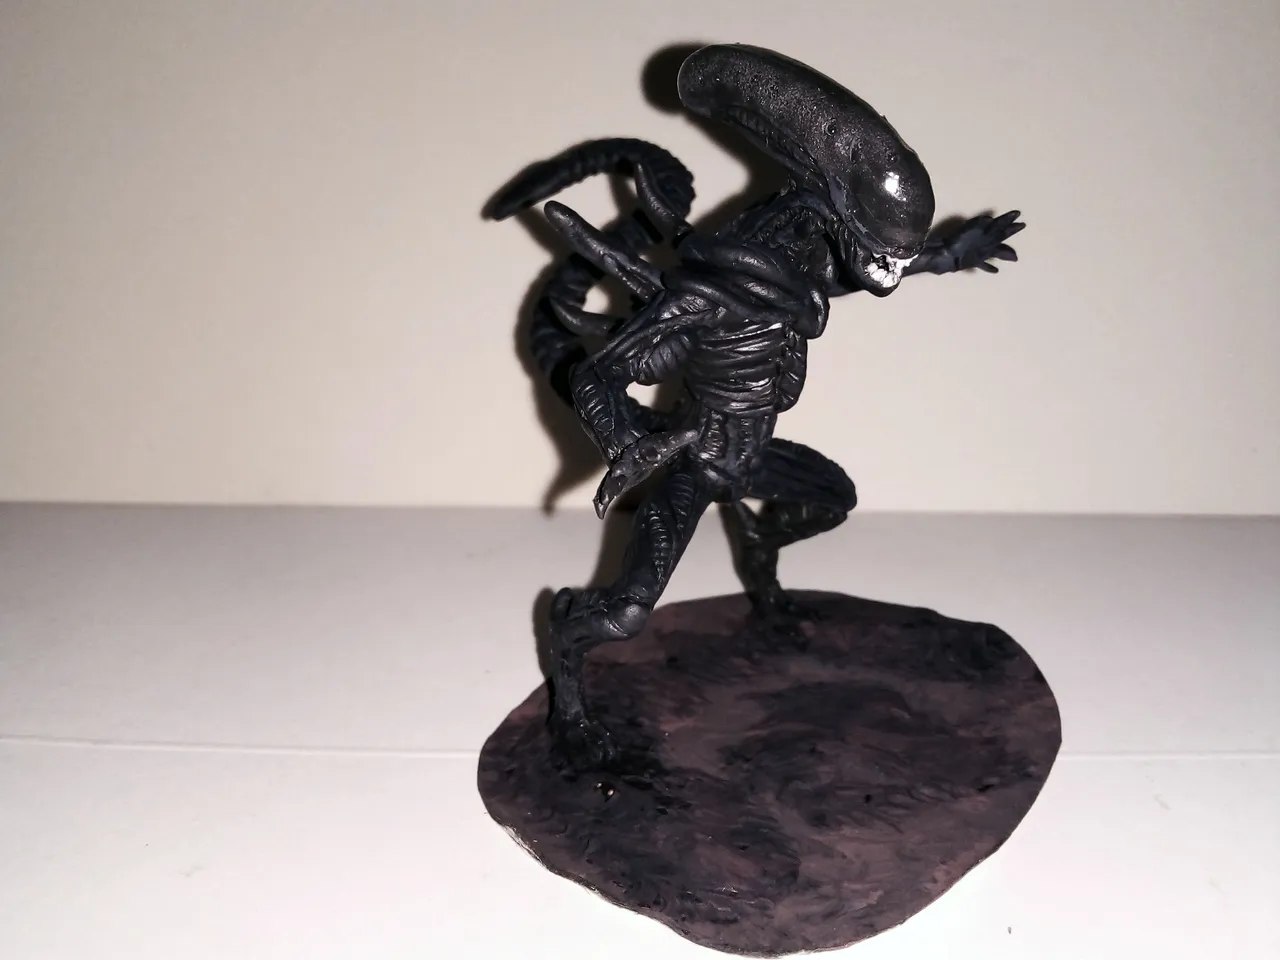
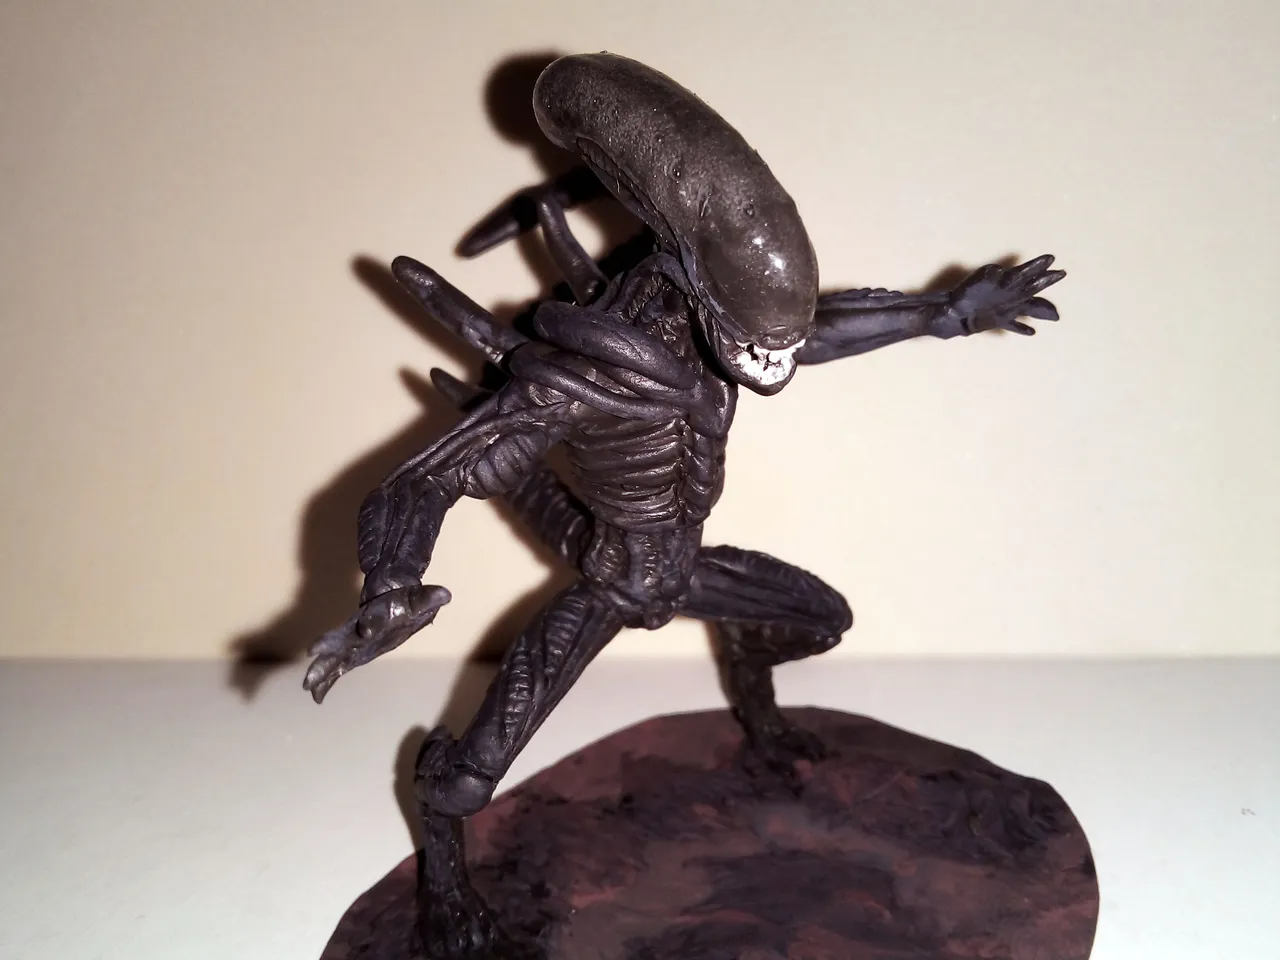
In advance I comment that it was a sculpture that cost me a lot to make, but the result was well worth it. I present to you my sculpture of the Xeomorph from the movie Alien.
Saludos a todos, compañeros creativos, sean bienvenidos a otra entrega de una de las secciones favoritas de mi blog, Challenge to Gabo. En la entrega anterior les mostré cómo hacer una escultura de Rocket Raccoon, un reto propuesto por la colega artista marylucy. Español
Pueden ver la publicaci[on de esa figura siguiendo este enlace:
@gaboamc2393/challenge-to-gabo-3-rocket.
Disfruté mucho haciendo esta figura y pude experimentar con ciertas técnicas que tenía mucho tiempo sin poner en práctica. Desde aquí un gran agradecimiento por su reto, fue una experiencia hacer esa figurita y un gran placer haberla compartido con ustedes.
Pues bien, ha llegado la hora de otra figura, en esta ocasión propuesta por otro experto en manualidades, fixie.
Link al comentario
De antemano les comento que fue una escultura que me costó mucho hacer, pero el resultado bien valió la pena. Les presento pues a mi escultura del Xeomorfo de la película Alien.
English
The materials used for this figure were the following:
*Plastilin
*Silicone
*Wire
*Wire
*Paint
*Tools: tweezers, scissors, brush, sewing and knitting needle.
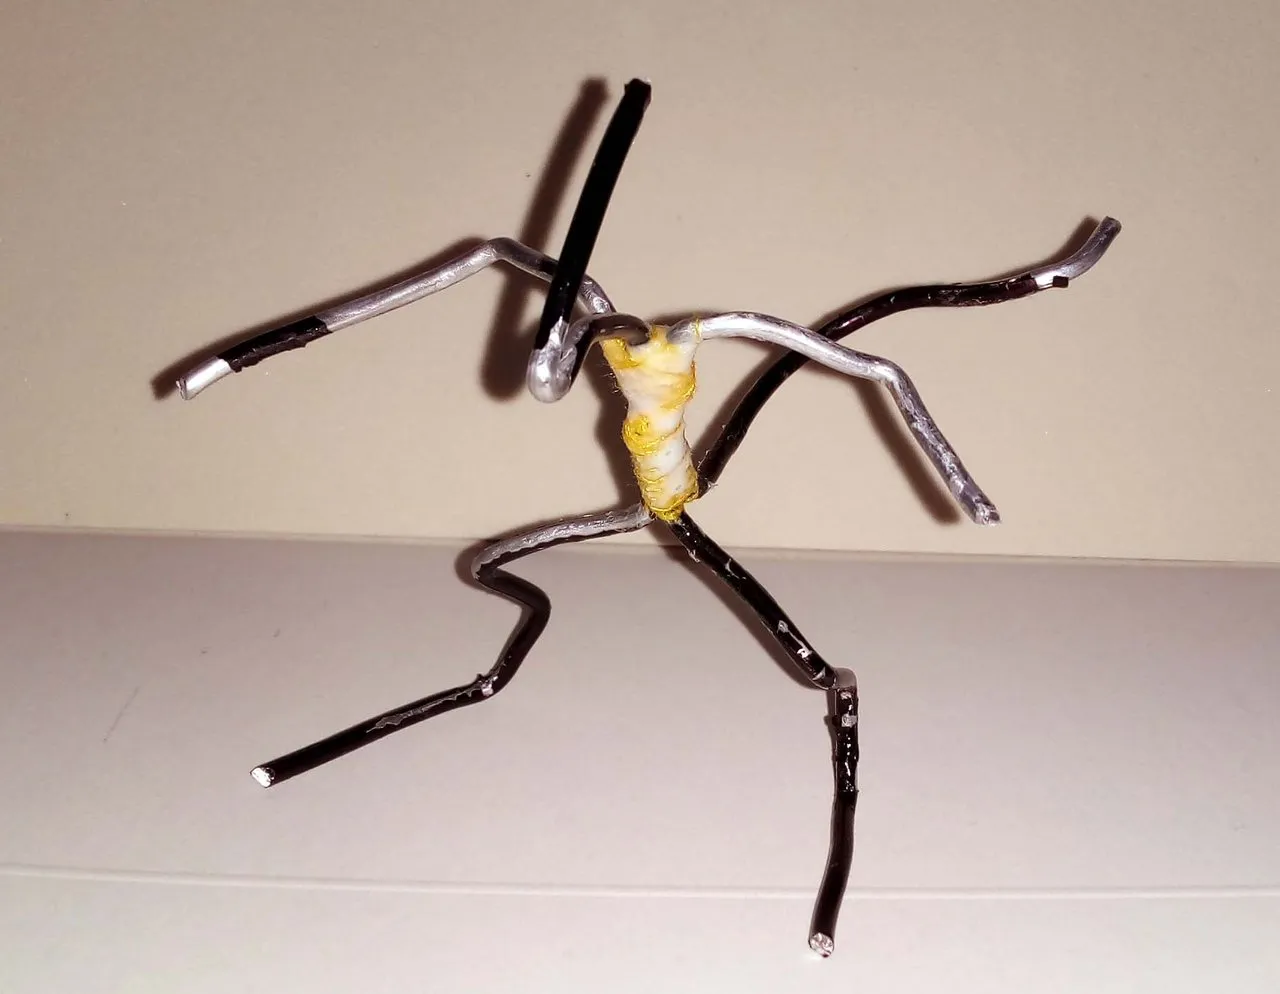
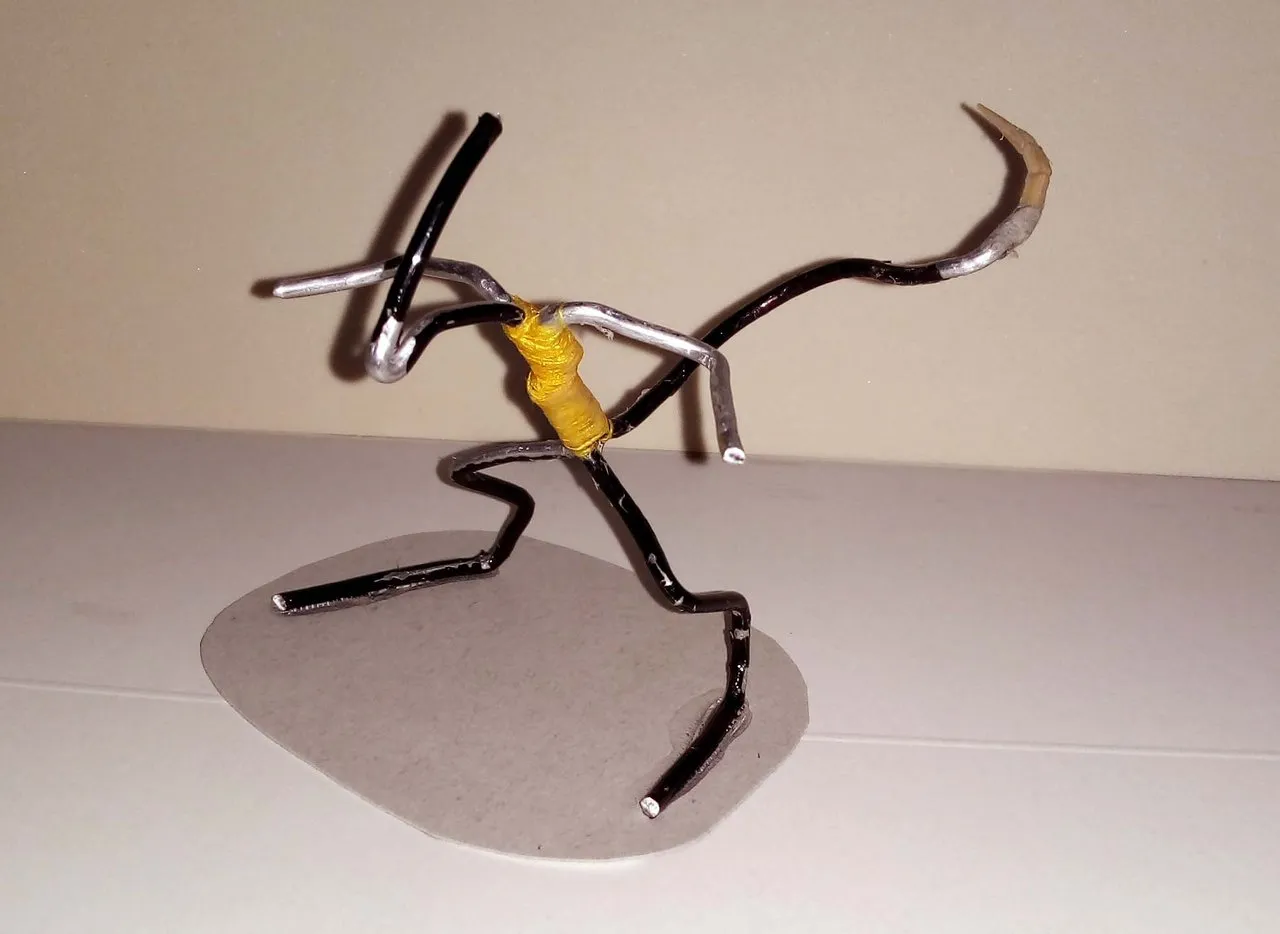
The first thing I made was the skeleton, the base of every figure I make. This one I assembled with a soft aluminum wire, very useful for crafts.
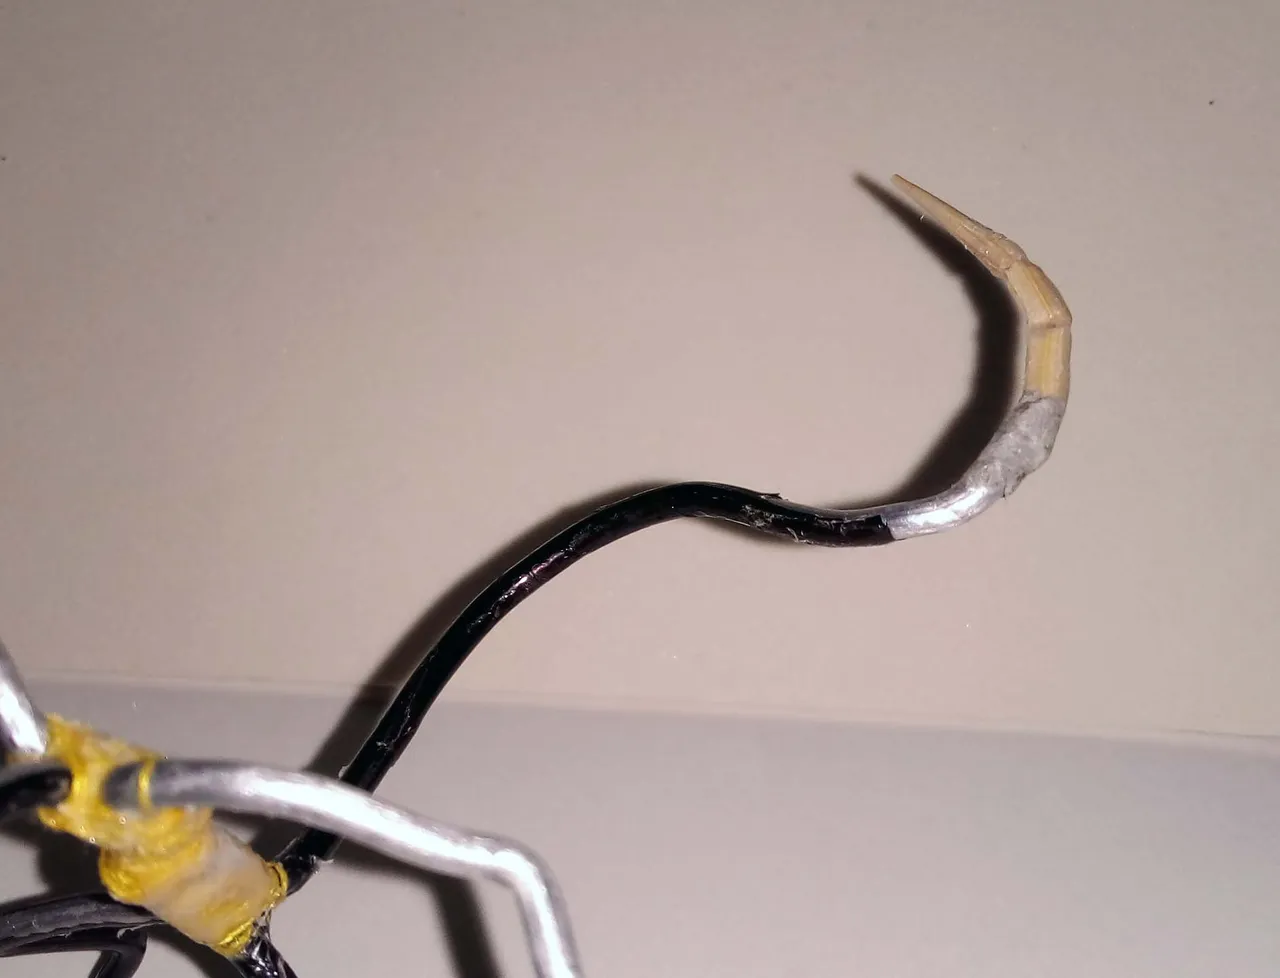
On the tail of the wire skeleton I glued with silicone the tip of a wooden stick, because the tail of this creature has a kind of blade.
Español
Los materiales utilizados para esta figura fueron los siguientes:
*Plastilina
*Silicón
*Hilo
*Alambre
*Pintura
*Herramientas: pinza, tijera, pincel, aguja de coser y tejer.
Lo primero que hice fue el esqueleto, la base de toda figura que hago. Este lo armé con un alambre suave de aluminio, muy útil para manualidades.
En la cola del esqueleto de alambre le pegué con silicón la punta de un palillo de madera, pues la cola de esta criatura tiene una suerte de cuchilla.
 |  |
|---|
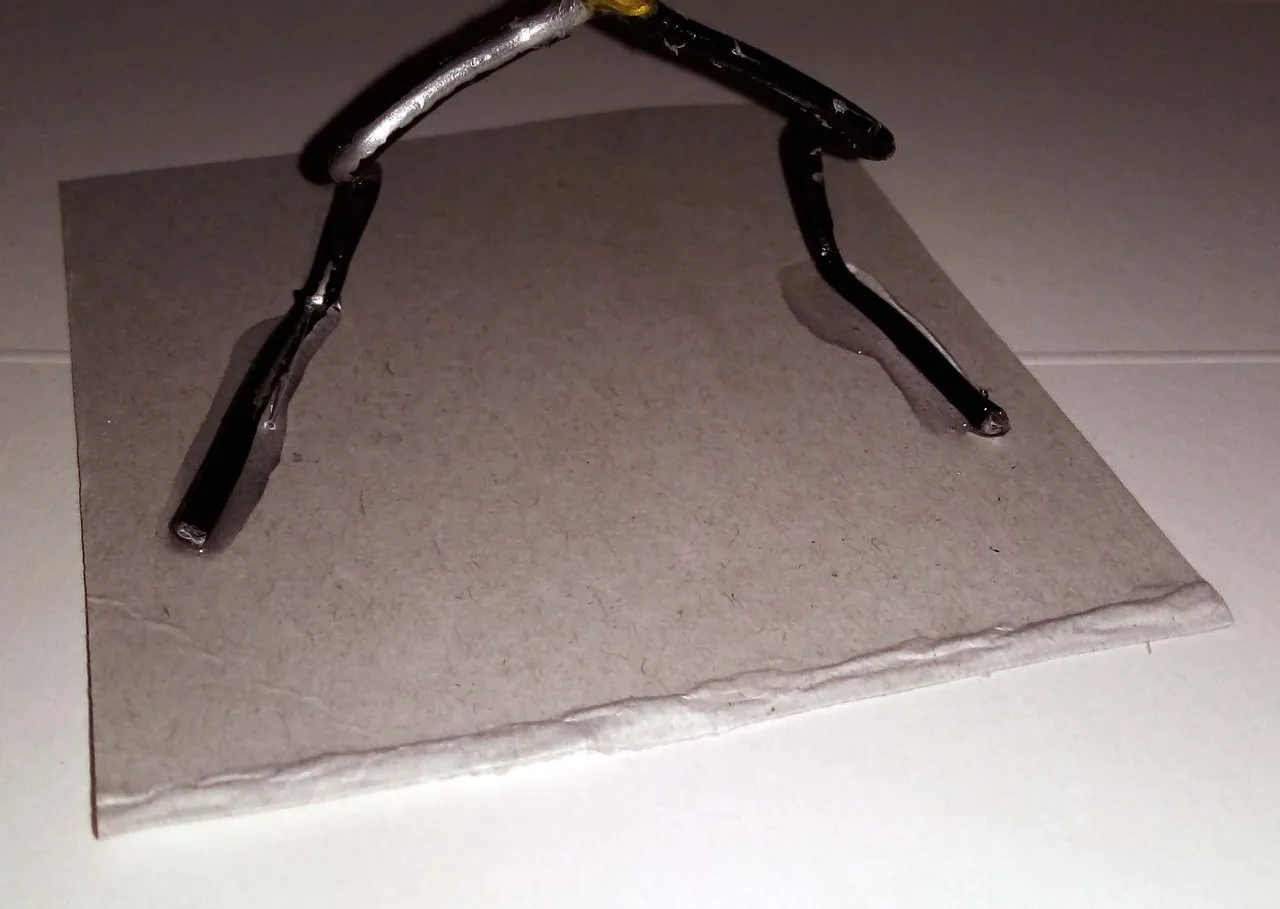
Next, I glued the bottom part of the skeleton, where the feet would go, to a small cardboard square. This is because the figure is very elongated and it is difficult for it to stand without a base.
Once the silicone was dry I simply trimmed the edges, leaving it rounded.
Luego, pegué la parte inferior del esqueleto, donde irían los pies, a un pequeño cuadro de cartón. Esto porque la figura es muy alargada y es difícil que se mantenga de pie sin una base.
Una vez que estuvo seco el silicón simplemente recorté los bordes, dejándola redondeada.
 |  |
|---|
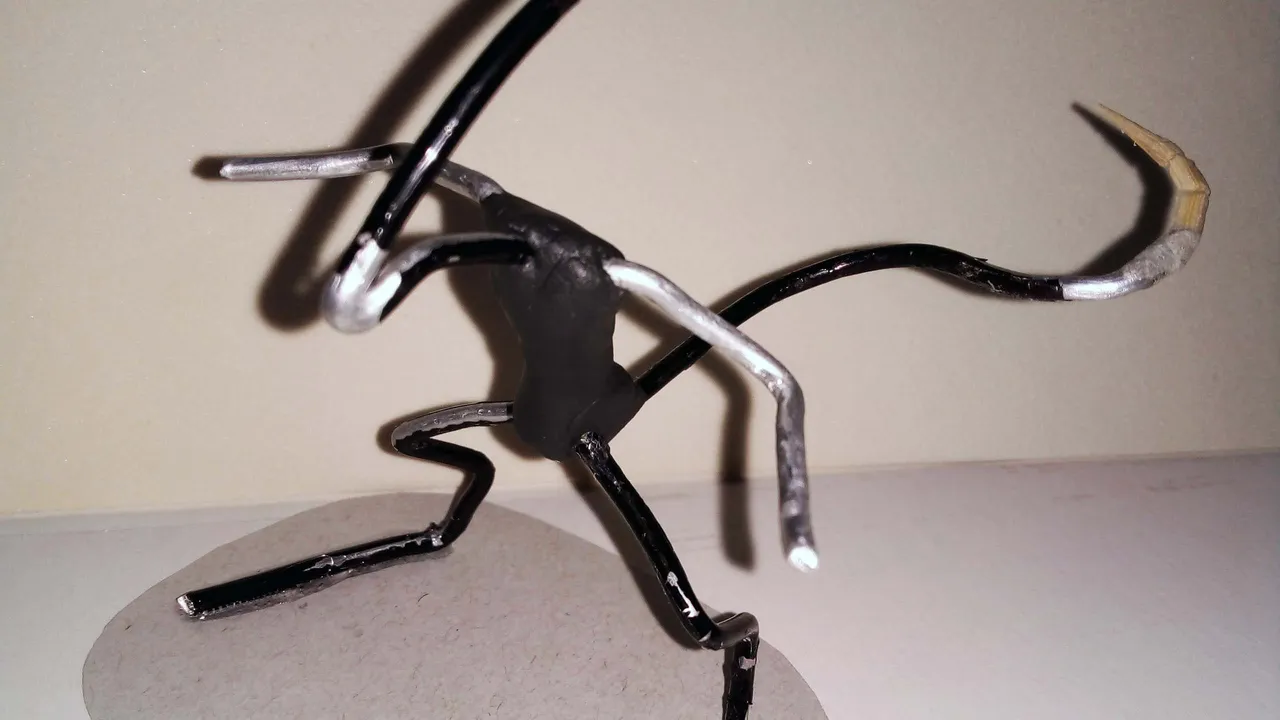
Once the skeleton was ready, I started to cover it with plasticine. Unlike other figures, for this one I didn't use too much plasticine because the character is thin. I barely had a thin layer of plasticine on the wire.
On the other hand, I didn't bother with details at this point, I simply covered the whole figure with black plasticine because it is a single color figure.
Una vez que el esqueleto estuvo listo, comencé a cubrirlo con plastilina. A diferencia de otras figuras, para esta no usé demasiada plastilina pues el personaje es delgado. Apenas tenía una delgada capa de plastilina sobre el alambre.
Por otra parte, no me molesté en detalles en este momento, simplemente cubrí toda la figura con plastilina negra porque es una figura de un único color.
 |  |  |
|---|
Once the body of the figure was covered, I started with the head, which is a sort of rounded cylinder at each end. In the part of the mouth I used the scissors to make a cut for what would be the jaw.
Cubierto el cuerpo de la figura, comencé con la cabeza, la cual es una suerte de silindro con forma redondeada en cada extremo. En la parte de la boca me ayudé con la tijera para hacer un corte para lo que sería la mandíbula.
 |  |
|---|
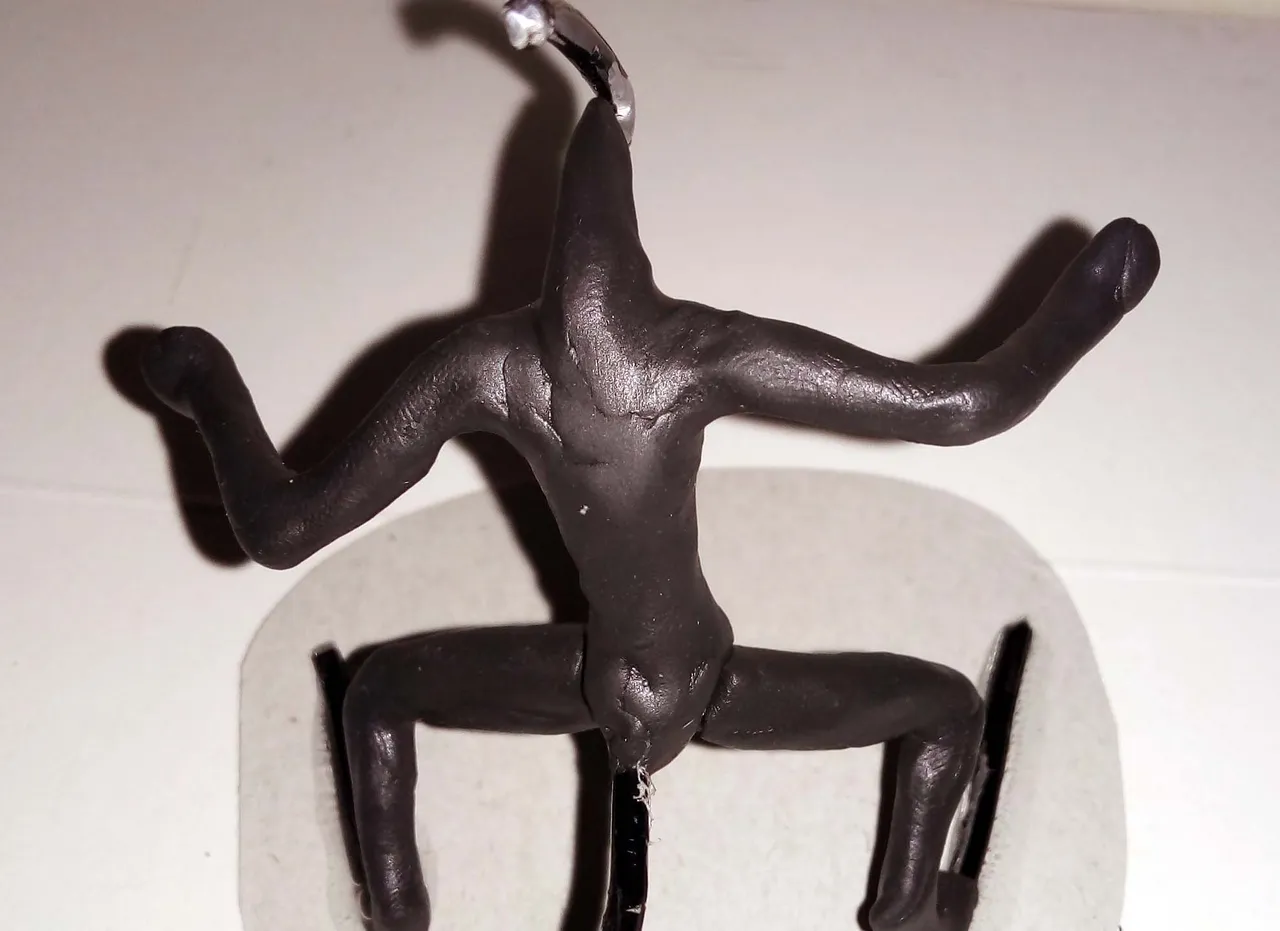
Finally I added the hands and ready, the skeleton was completely covered with plasticine. This would be the base shape we should have to start molding and adding details, the difficult part.
Finalmente agregué las manos y listo, el esqueleto quedó cubierto por completo con plastilina. Esta sería la forma base que debemos tener para comenzar a moldear y agregar detalles, la parte difícil.
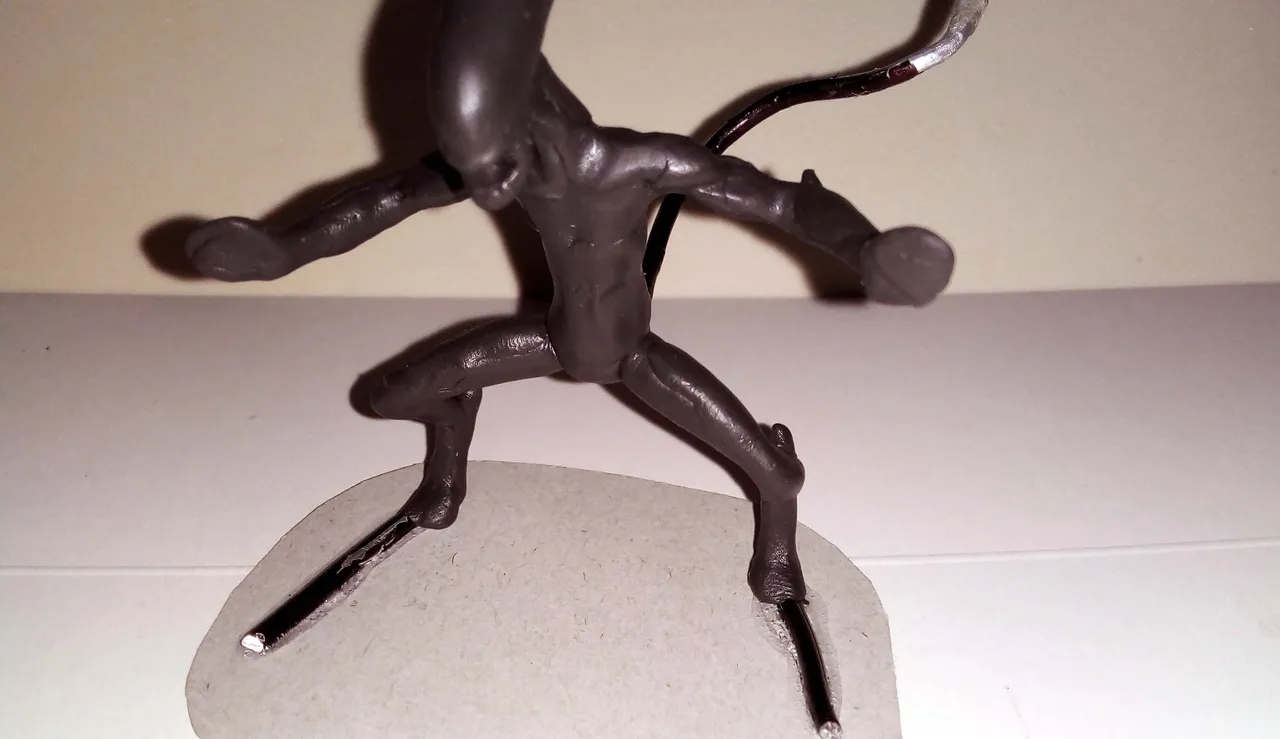
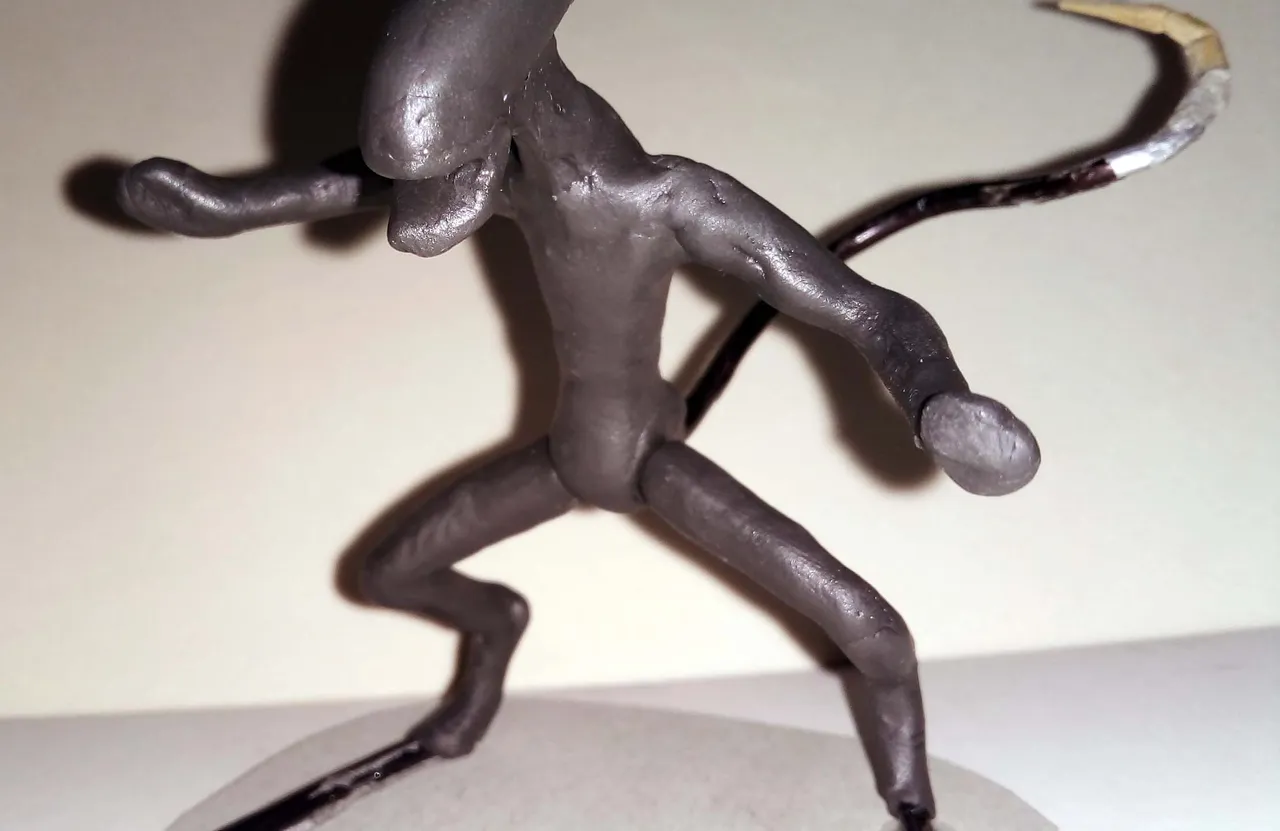
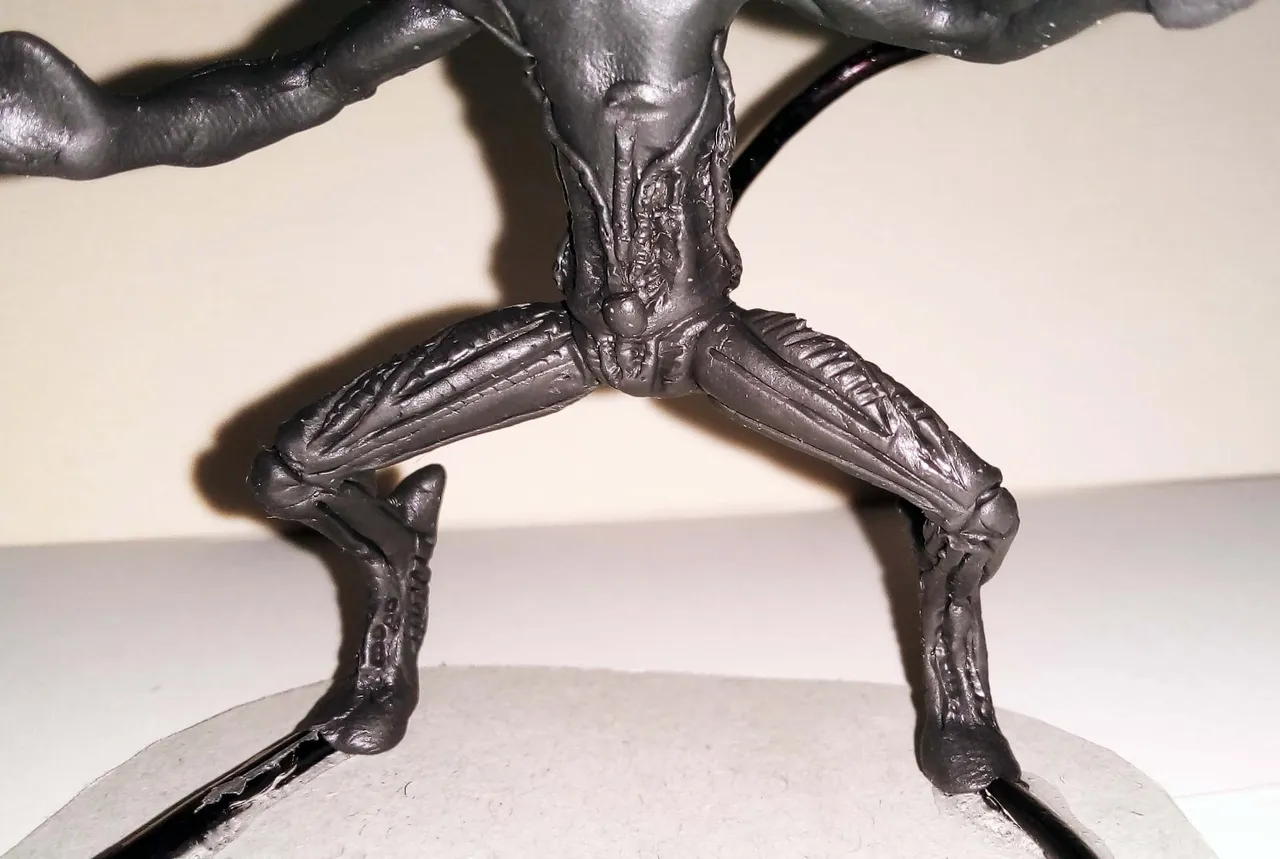
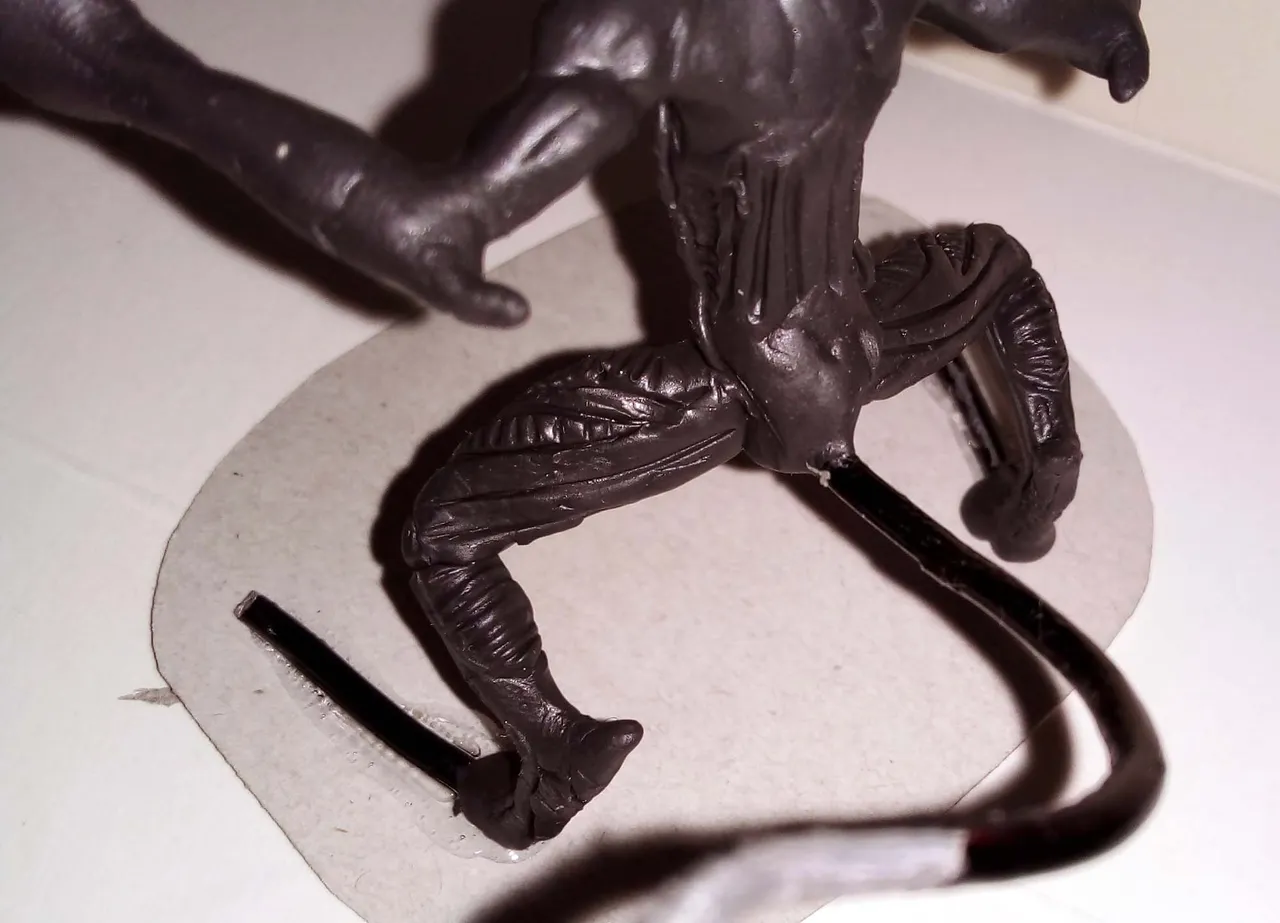
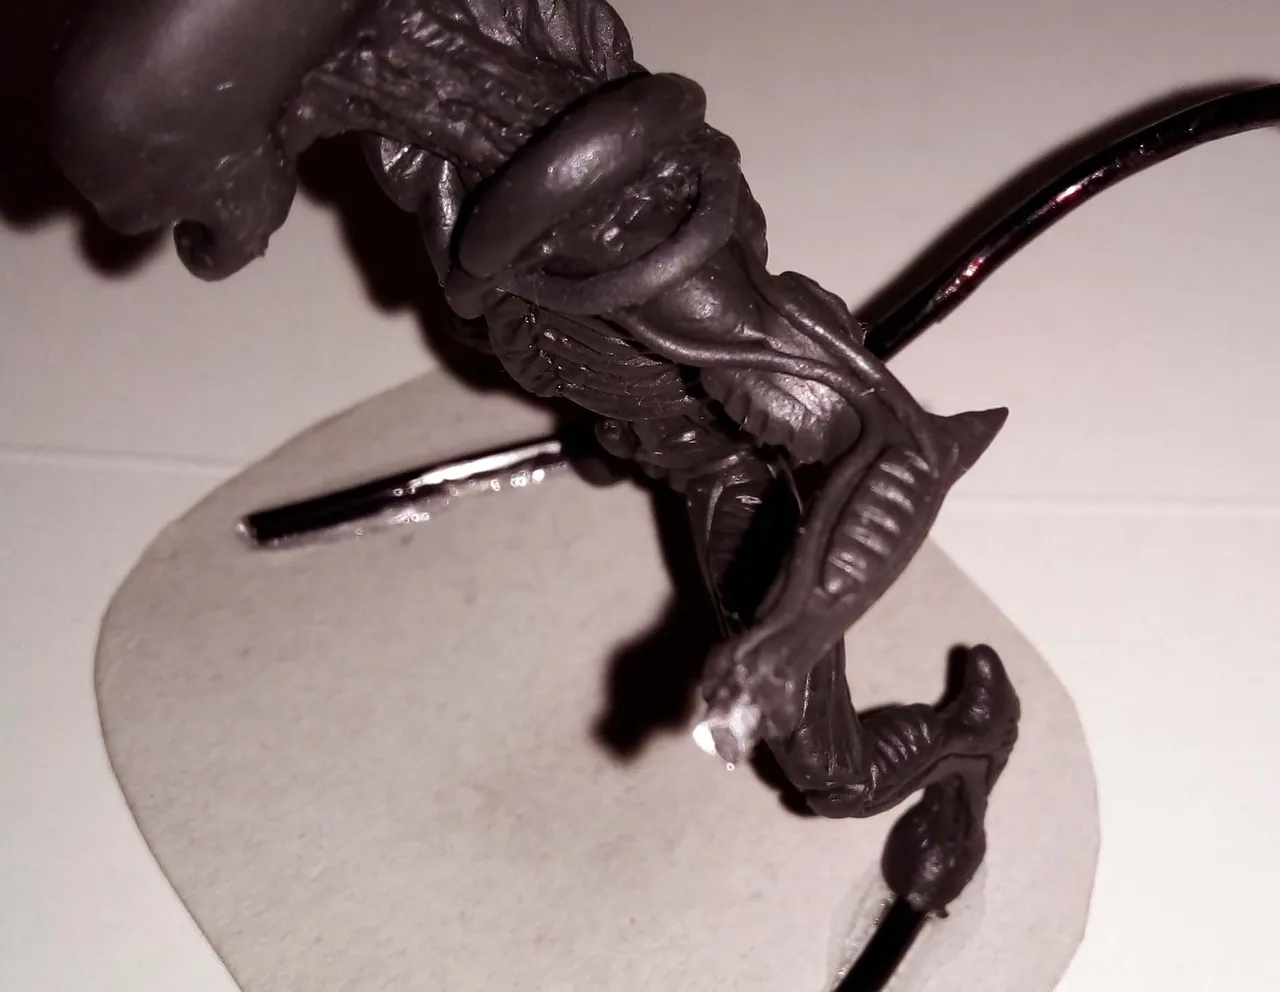
At this point I did start with the legs, adding lines to simulate the strange shapes that this alien has, as well as the veins and muscles that extend along the thighs, abdomen and back.
I had not yet worked on the tail because it was the support by which I held the figure, so as not to touch any other part already molded.
En este punto sí comencé con las piernas, agregando líneas que simulasen las extrañas formas que tiene este alien, además de las venas y músculos que se extienden a lo largo de los muslos, el abdomen y la espalda.
Aún no había trabajado en la cola porque era el soporte por el que sujetaba la figura, para no tocar ninguna otra parte ya moldeada.
 |  |
|---|
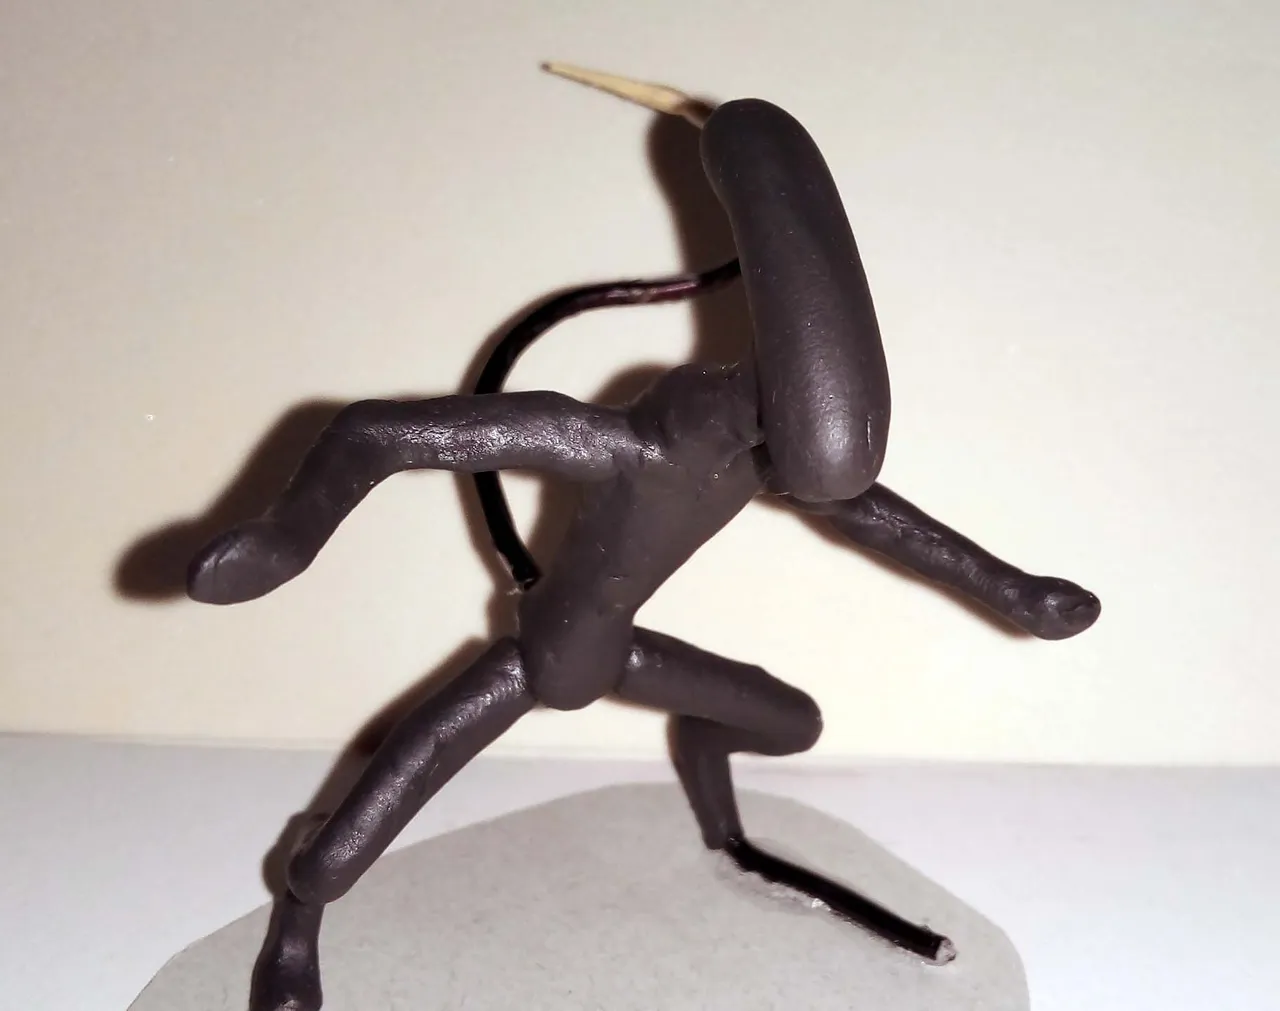
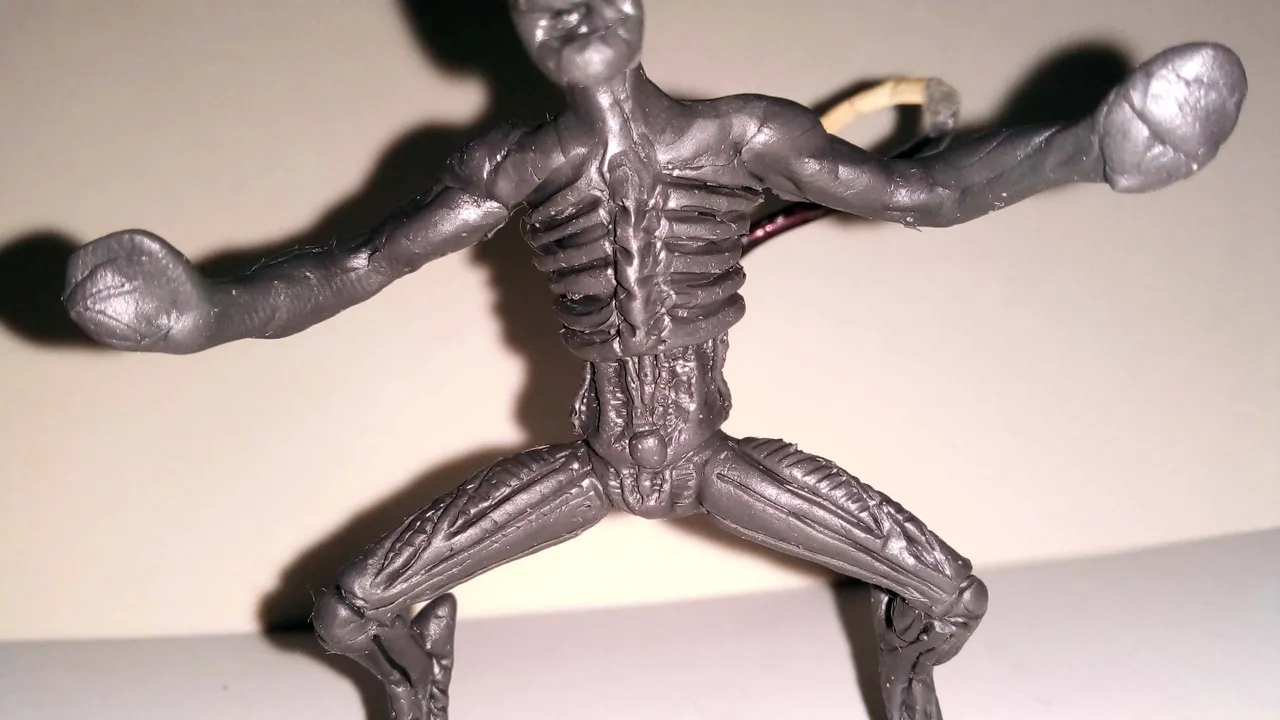
For the chest, I placed two plasticine plates that would serve to mold the ribs. For this I simply used the needles to make the characteristic lines of ribs, with the difference that these ribs seem to be more separated and with a deep opening between each rib.
Para el pecho, coloqué dos placas de plastilina que vendrían a servir para moldear las costillas. Para esto simplemente usé las agujas para hacer las líneas características de unas costillas, con la diferencia de que estas costillas parecen estar más separadas y con una apertura profunda entre cada costilla.
 |  |
|---|
Since I was working on the torso, I made little strips of plasticine for the shoulder pads that this creature has, not normal shoulder pads that stick out from his skeleton.
Ya que estaba trabajando sobre el torso, hice pequeñas tiras de plastilina para as hombreras que esta criatura tiene, unas hombreras nada normales que sobresalen de su esqueleto.
 |  |
|---|
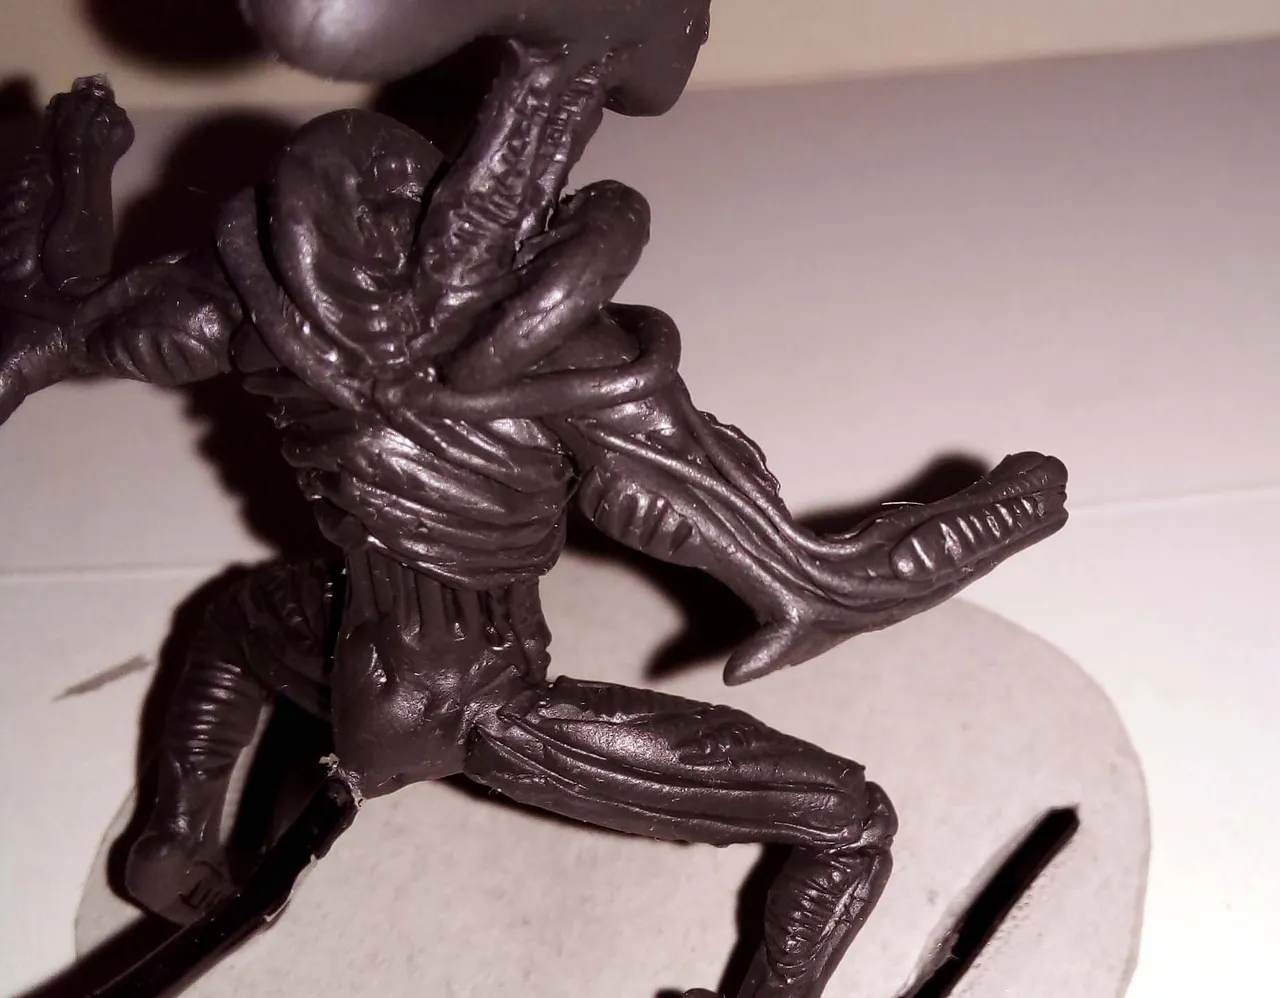
Then, I worked on the arms. I used small strips of black plasticine to create those lines similar to veins that she has, I also used the needle to create those shapes similar to muscles that the triabura has in the biceps, triceps and forearms.
Luego, trabajé en los brazos. Usé pequeñas tiras de plastilina negra para crear esas líneas similares a venas que tiene, también usé la aguja para crear esas formas similares a músculos que tiene la triabura en los biceps, triceps y antebrazos.
 |  |
|---|
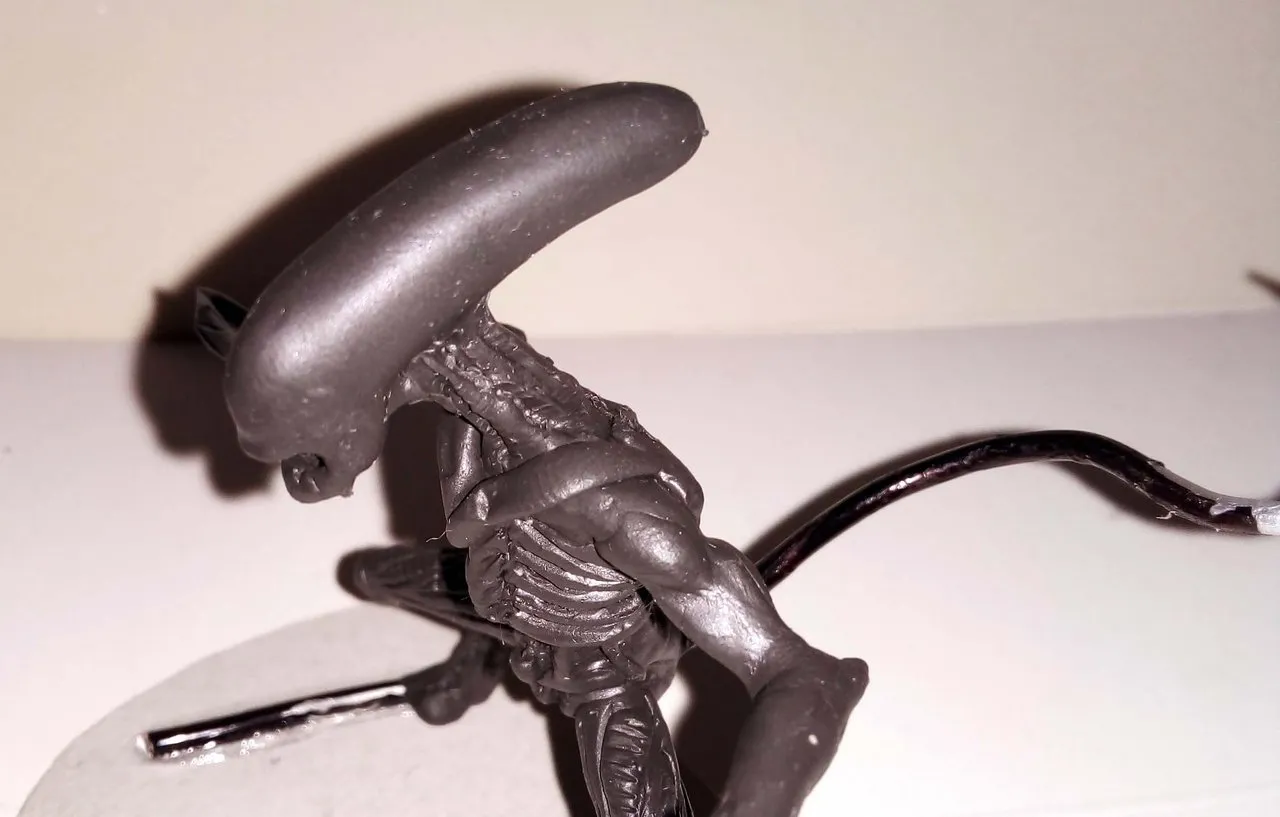
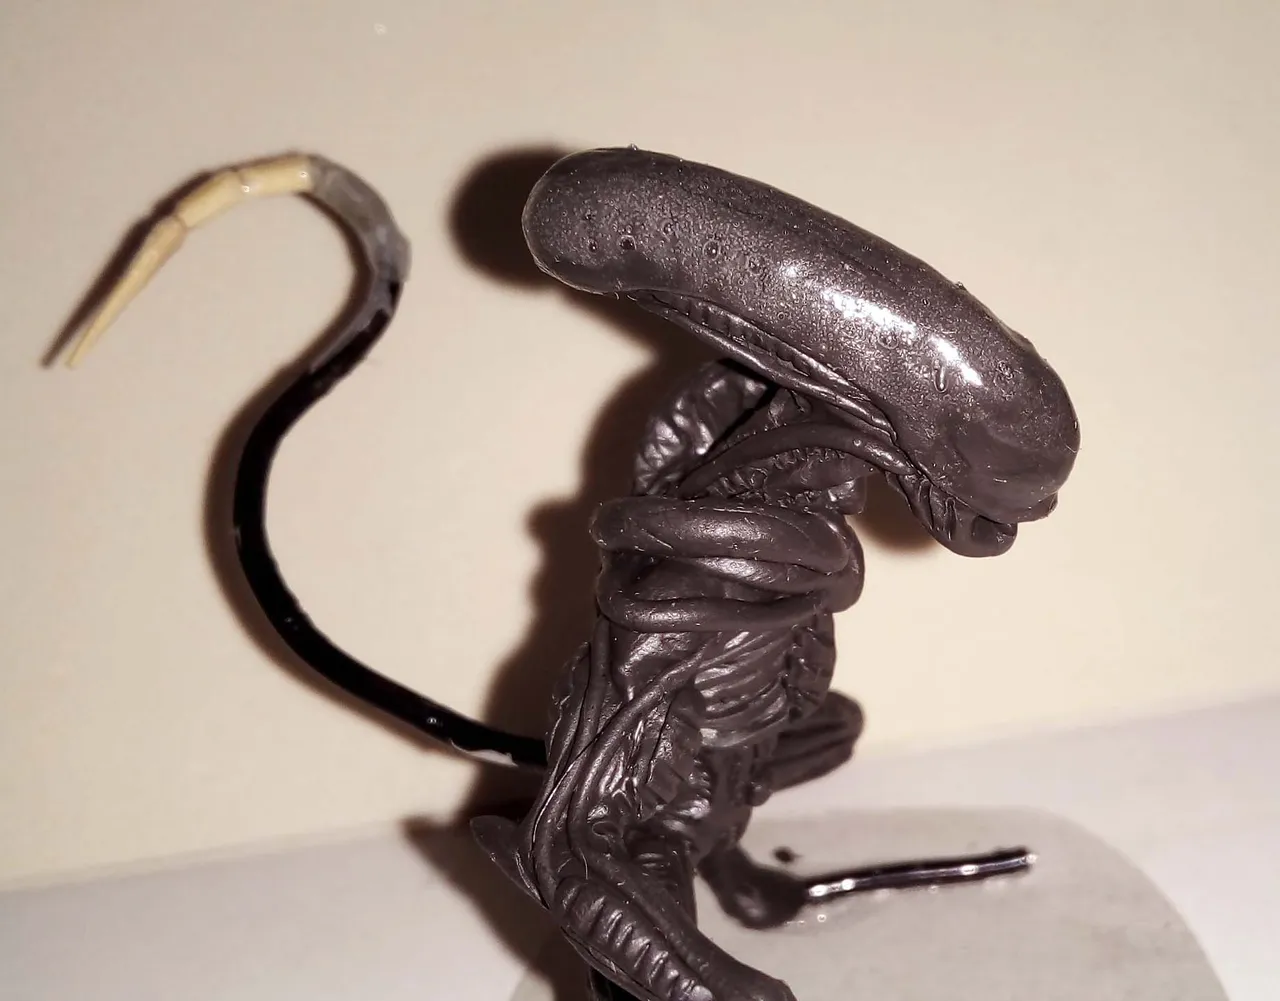
At this point one of the last things missing was the head. I simply used the knitting needle to make the sunken parts of the head, the strange lines that it has and all that web of veins that extends from the neck upwards.
Ya en este punto una de las últimas cosas que faltaba era la cabeza. Simplemente usé la aguja de tejer para hacer las partes hundidas de la cabeza, las líneas extraññas que tiene y todo ese entramado de venas que se extiende desde el cuello hacia arriba.
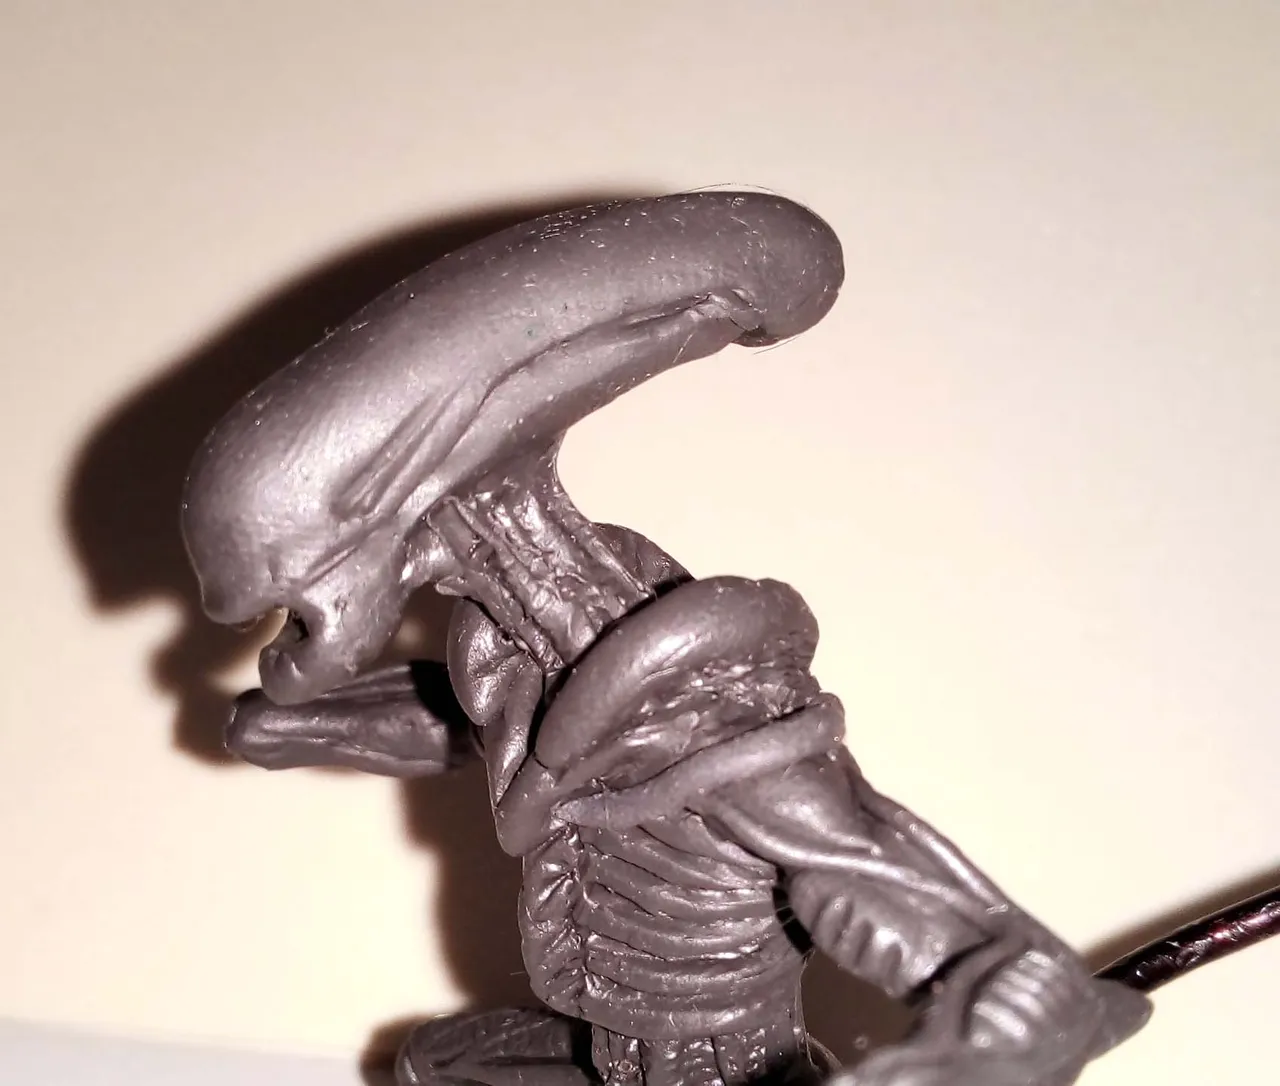
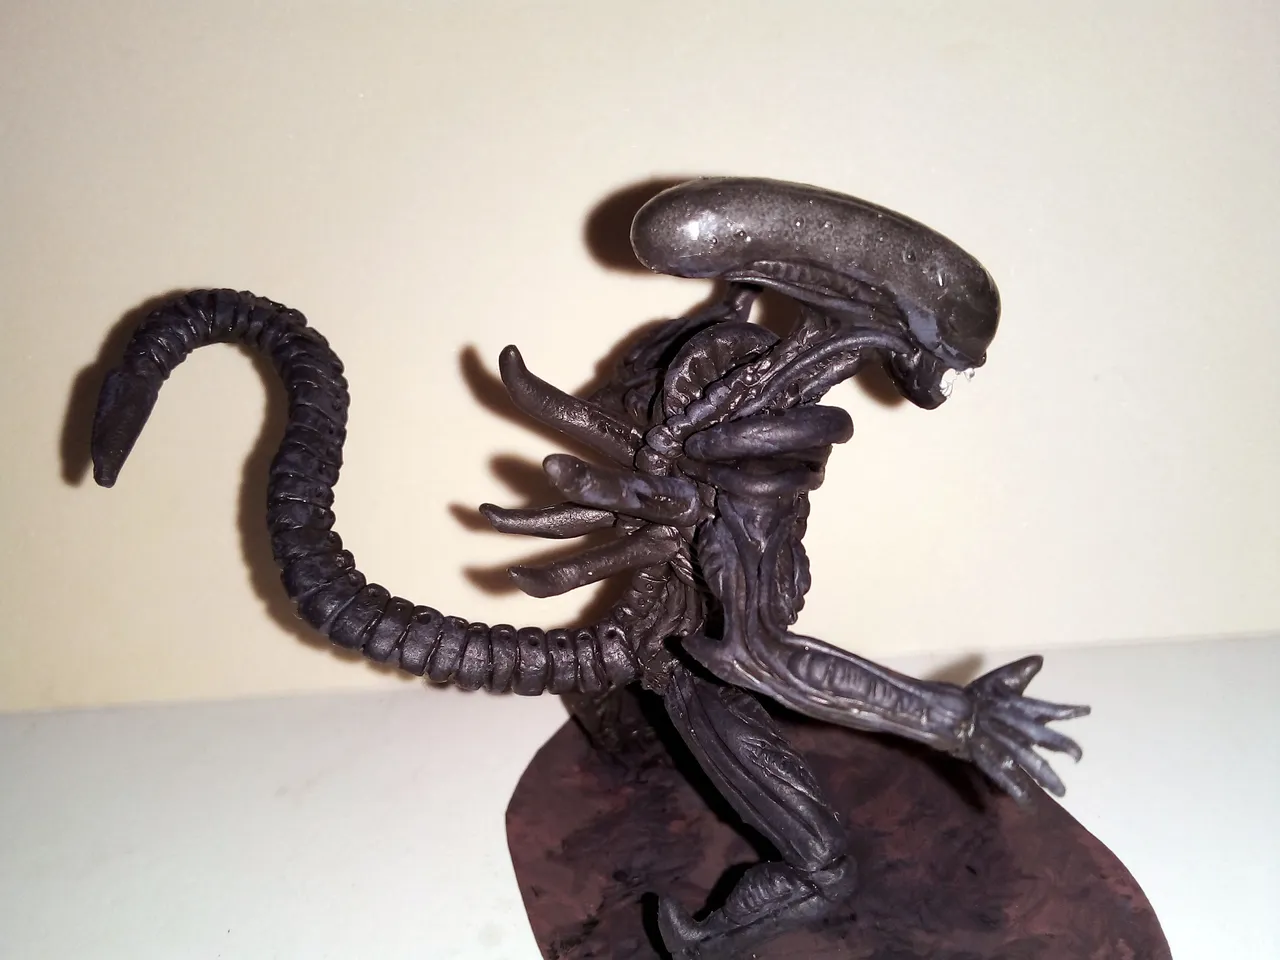
I should mention that the head of this character is not completely black, no. It has some strange shapes that can be seen through an apparently crystalline cortex. It has some strange shapes that can be seen through an apparently crystalline cortex; well, to do this I molded those undulations that the head has and then I applied a layer of liquid silicone, which I distributed all over the area trying to make it completely smooth and without imperfections.
Debo mencionar, que la cabeza de este personaje no es completamente negra, no. Tiene unas extrañas formas que se aprecian a través de una cortesa aparentemente cristalina; pues bien, para hacer esto moldeé esas ondulaciones que tiene la cabeza y luego apliqué una capa de silicón líquido, el cual distribuí por toda el área procurando que quedase completamente liso y sin imperfecciones.
I did this process about 5 times because it looked bad. Yes, I damaged five heads of this Alien, approximately. But in the end it was as I wanted, with some strange shapes that are seen through a crystalline layer, which in this case is the silicone.
Este proceso lo hice como 5 veces porque me quedaba mal. Sí, dañé cinco cabezas de este Alien, aproximadamente. Pero al final quedó como deseaba, con unas formas extrañas que se ven a través de una capa cristalina, que en este caso es el silicón.
Once the above was ready, I began to prepare the base. I added several layers of plasticine in different areas and added glue.
Una vez listo lo anterior, comencé a preparar la base. Agregué varias capas de plastilina en distintas zonas y le agregué pegamento.
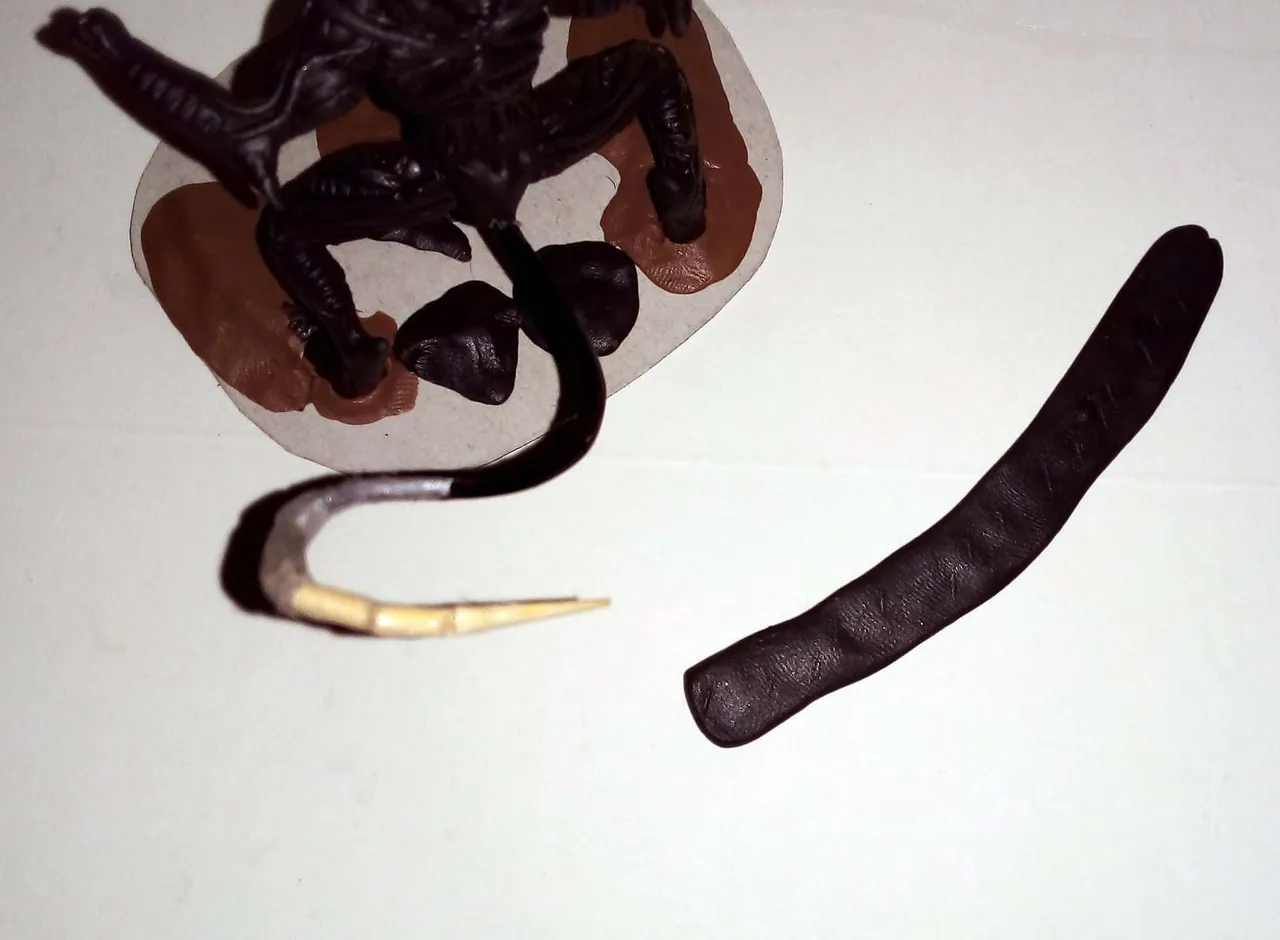
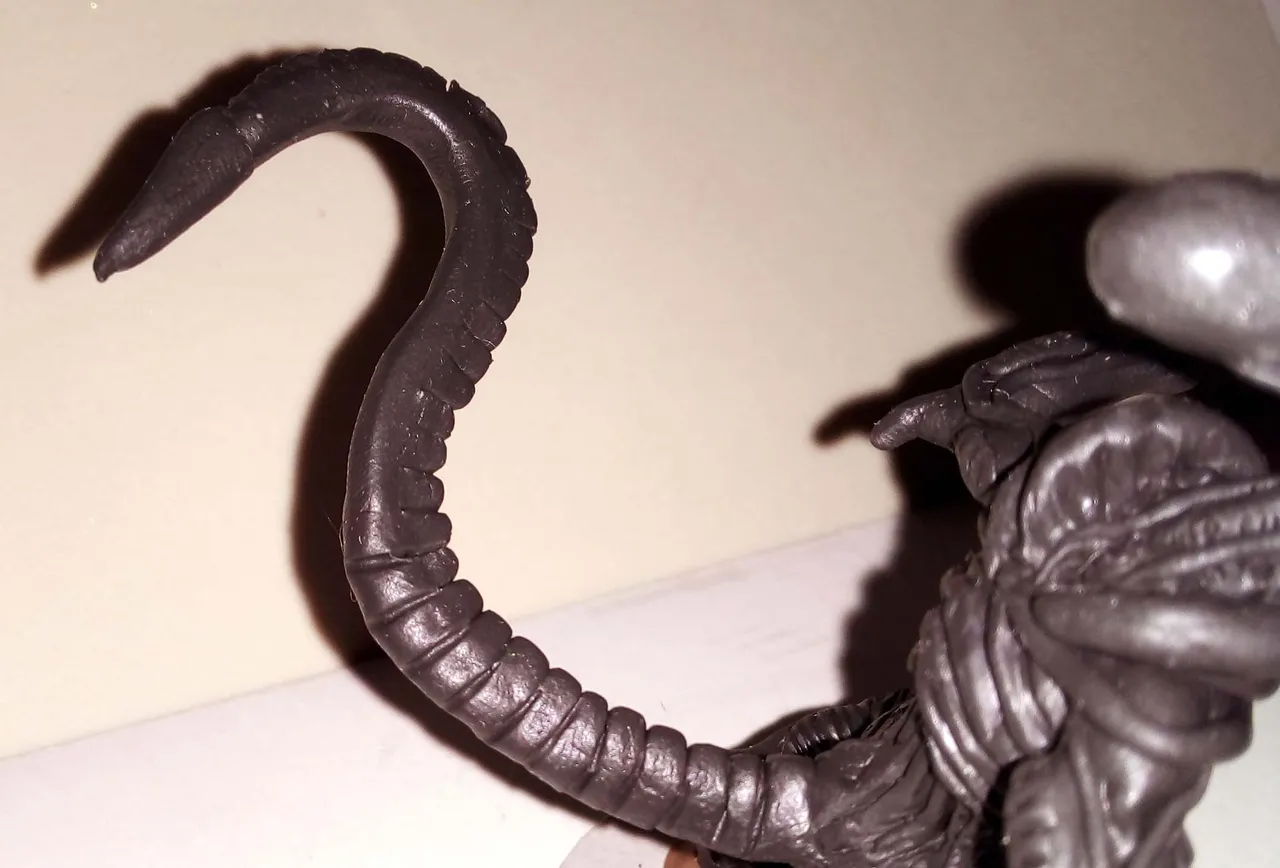
While the base was drying, I started working on the tail. First I covered the whole wire with a long strip of plasticine and molded it into the shape of a tail, thick at the base and thinner towards the tip.
Mientras la base secaba, comencé a trabajar en la cola. Primeramente cubrí todo el alambre con una larga tira de plastilina y la moldeé hasta darle forma de cola, gruesa en la base y mas delgada hacia la punta.
 |  |
|---|
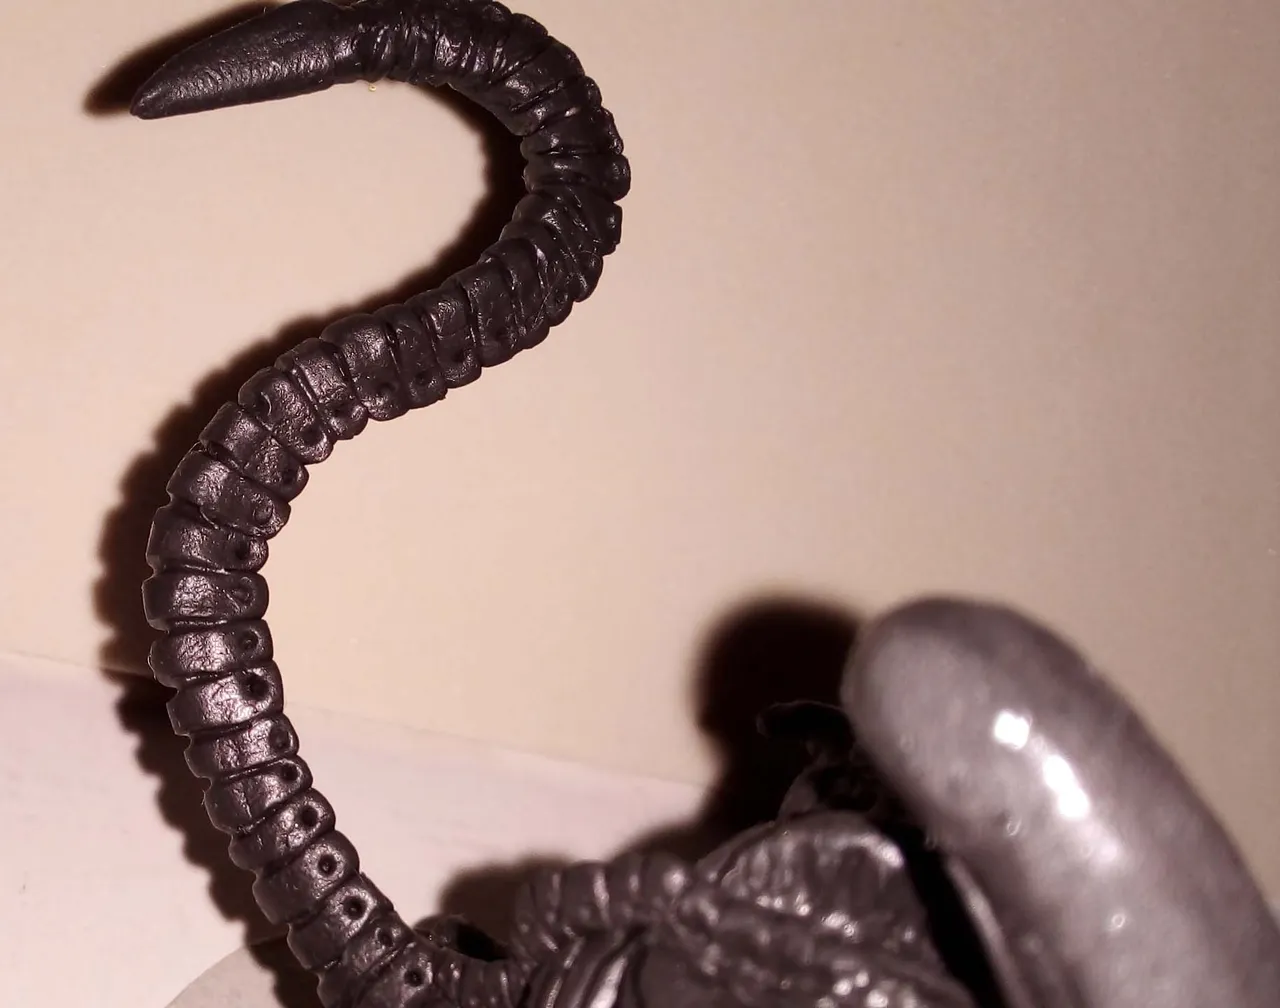
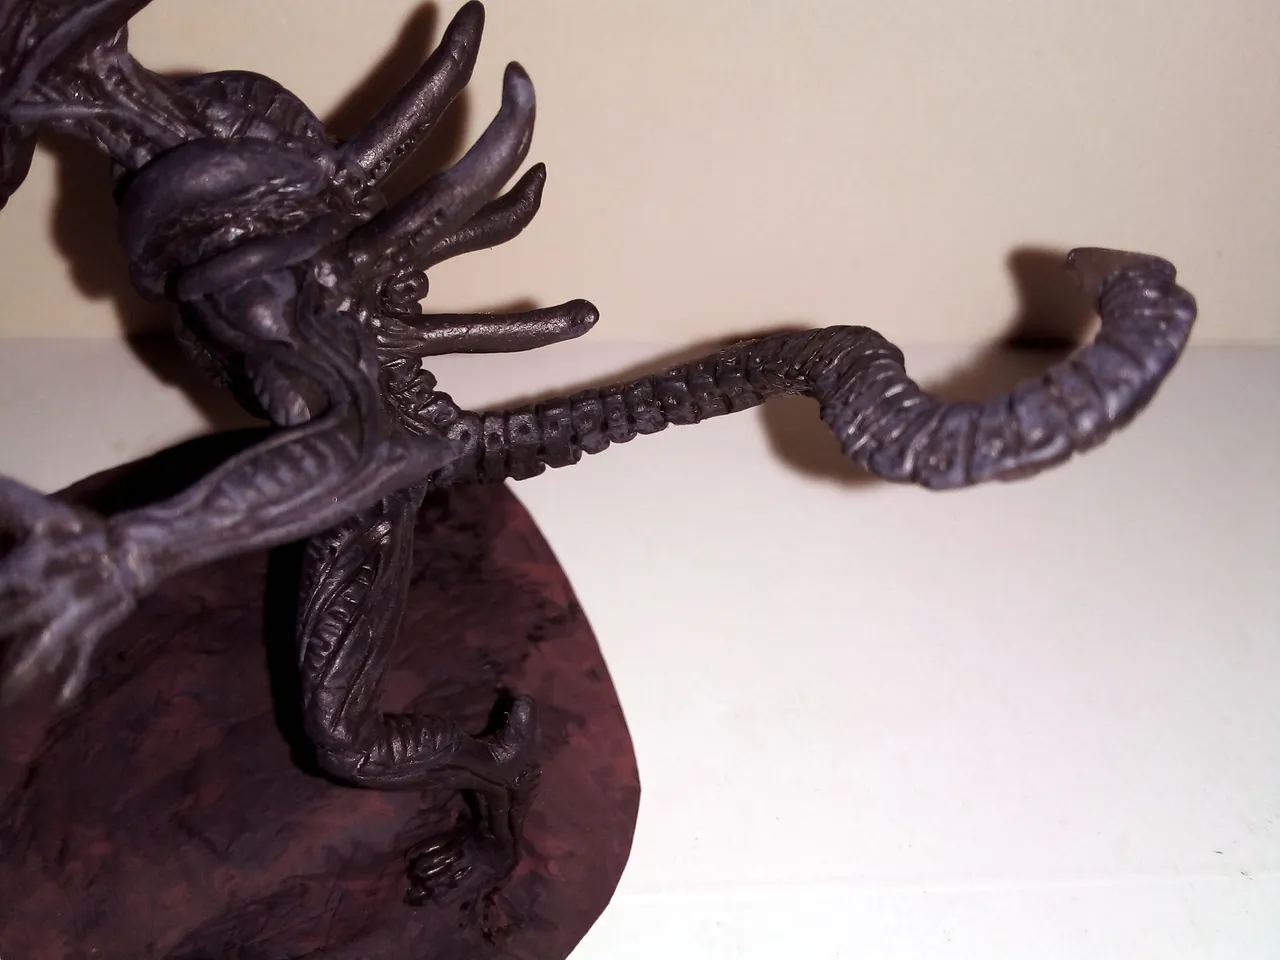
Then, with the help of a needle I began to make what looks like vertebrae. I did one by one until the whole tail was ready, with the characteristic blade that this character has on its tail.
Después, con ayuda de una aguja comencé a hacer lo que parecen ser vertebras. Hice una por una hasta que toda la cola quedó lista, con la característica cuchilla que tiene este personaje en su cola.
 |  |
|---|
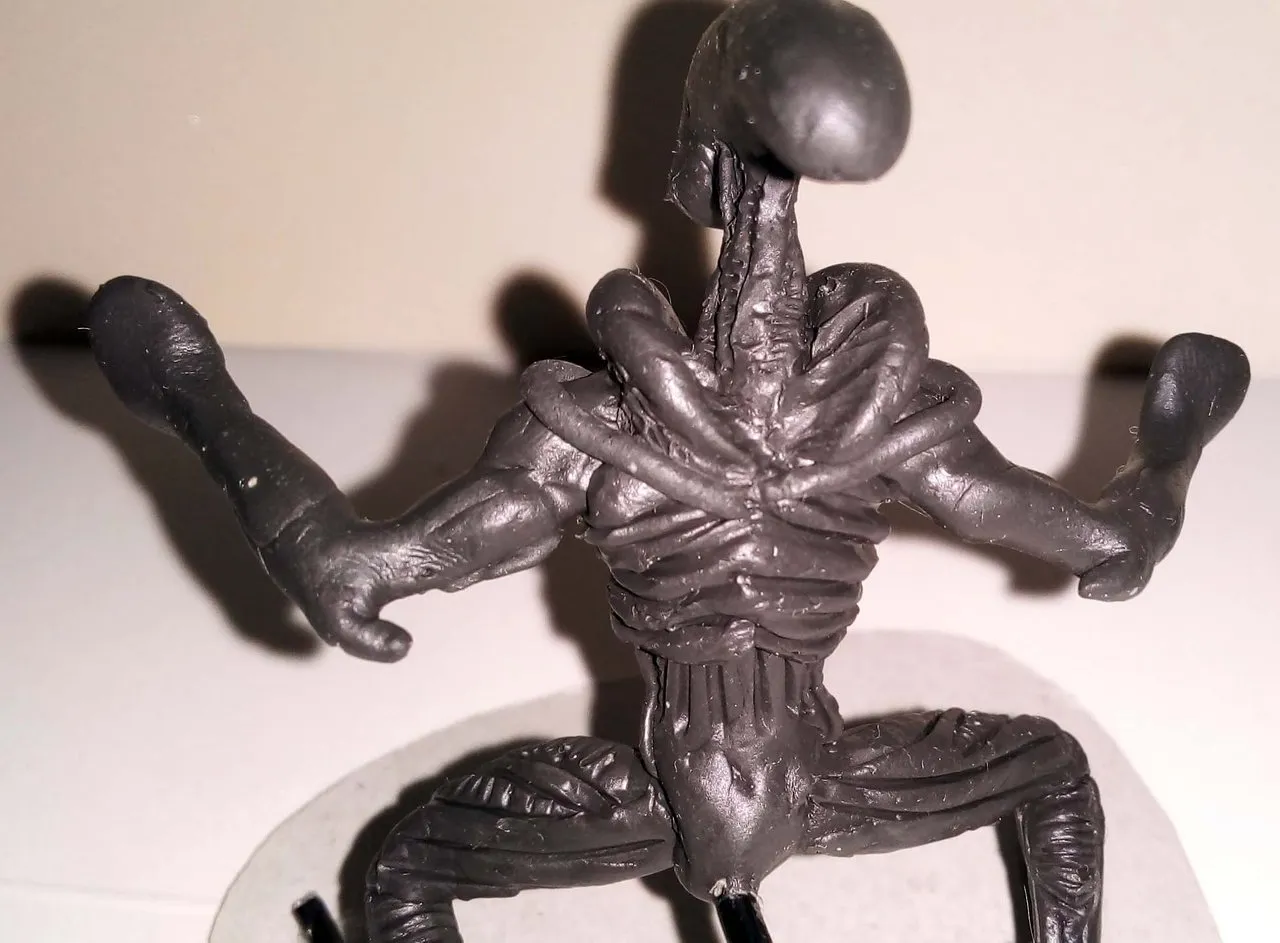
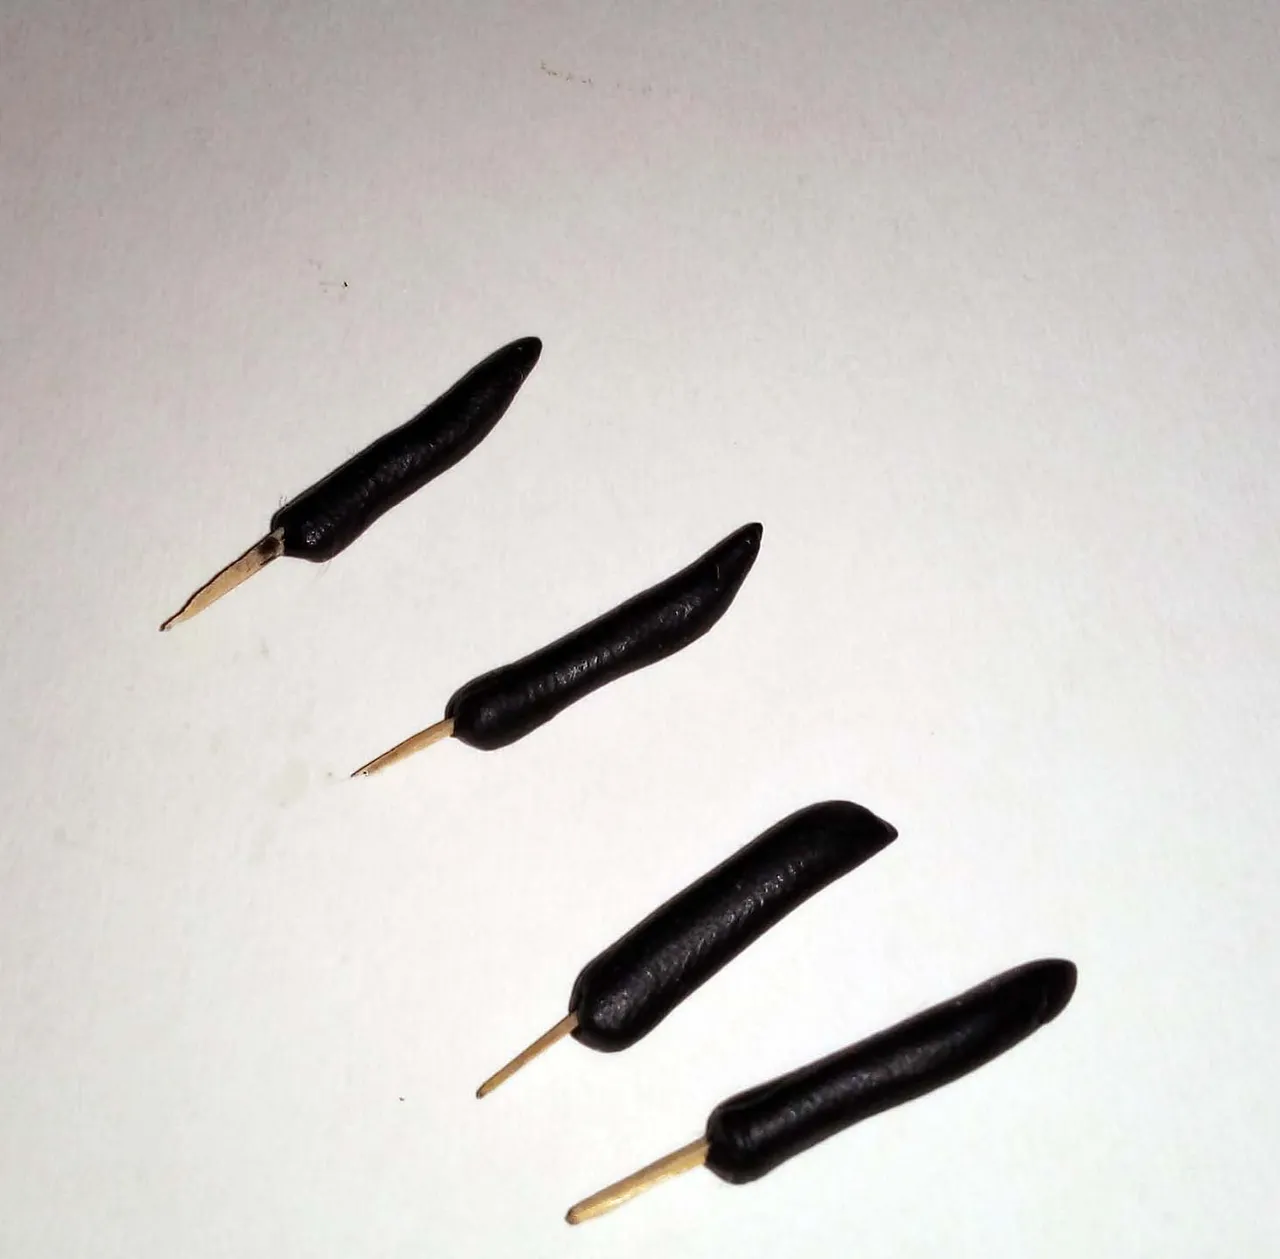
Another detail, yes, another one, that the character has are some kind of horns that protrude from his back. To make them I cut four small sticks and covered them with plasticine.
I must emphasize that they have to be small because there is not much plasticine to hold these sticks, remember that little plasticine covers the wire skeleton of the sculpture.
Otro detalle más, sí, otro más, que tiene el personaje son una suerte de cuernos que sobresalen de su esalda. Para hacerlos corté cuatro pequeños palillos y los cubrí con plastilina.
Debo hacer énfasis en que tienen que ser pequeños porque no hay mucha plastilina de donde sujetar estos palillos, recuerden que poca plastilina cubre el esqueleto de alambre de la escultura.
Once each horn was ready, I put it in place, two on the right side of the back and two more on the left side.
Una vez listo cada cuerno, lo coloqué en su lugar, dos en el lado derecho de la espalda y dos más en el lado izquierdo.
 |  |
|---|
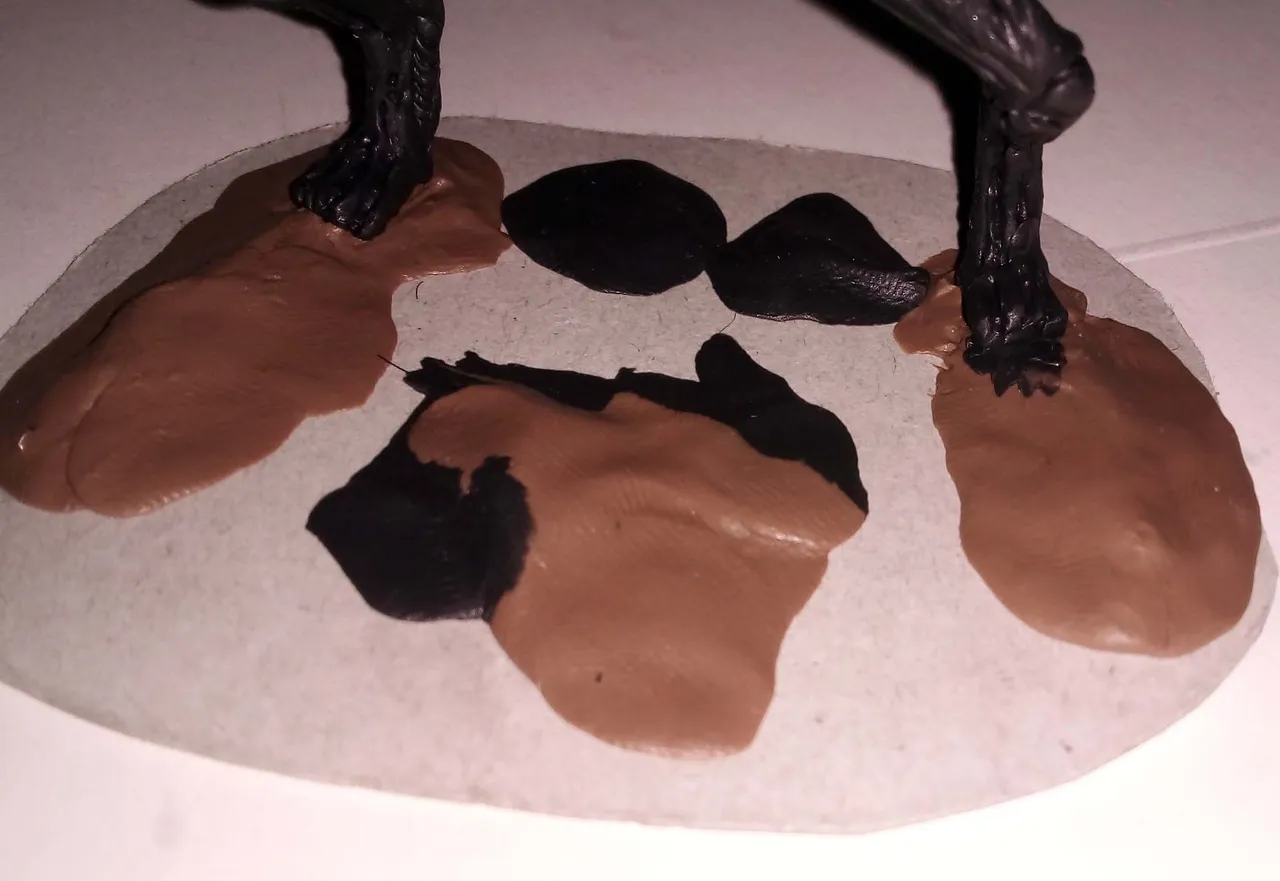
Finally I came back with the base and started coloring it as soon as it was dry, creating an effect similar to a rocky terrain. I used the dry painting technique to create this effect.
Por último volví con la base y comencé a colorearla tan pronto estuvo seca, creando un efecto similar al de un terreno rocoso. Usé la técnica del pintado en seco para crear este efecto.
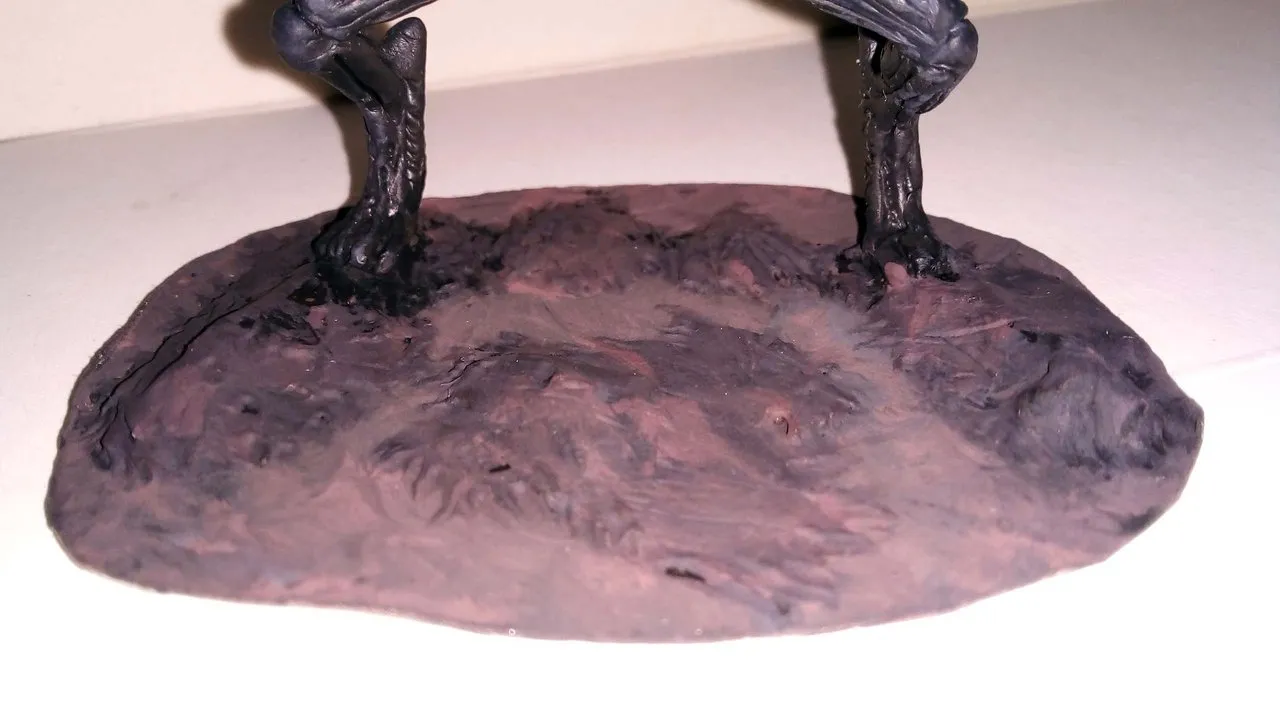
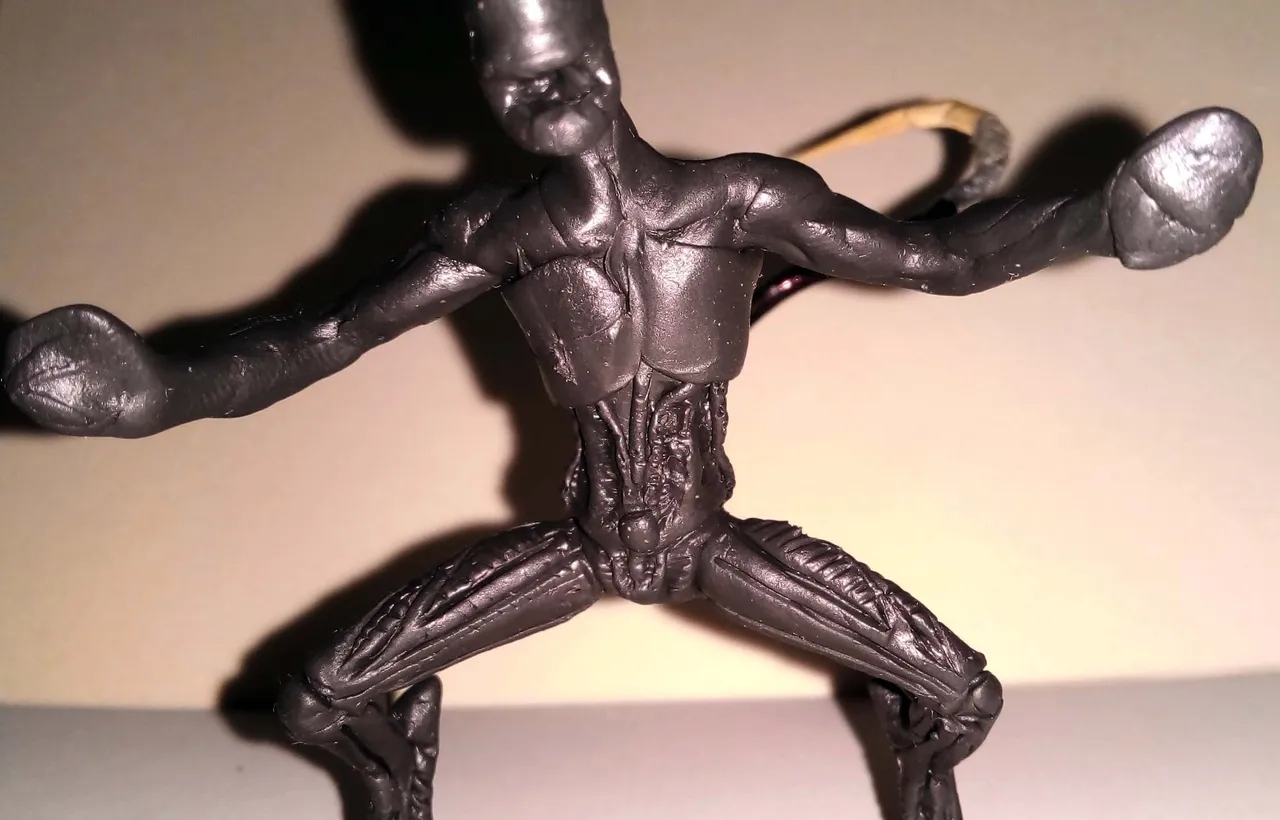
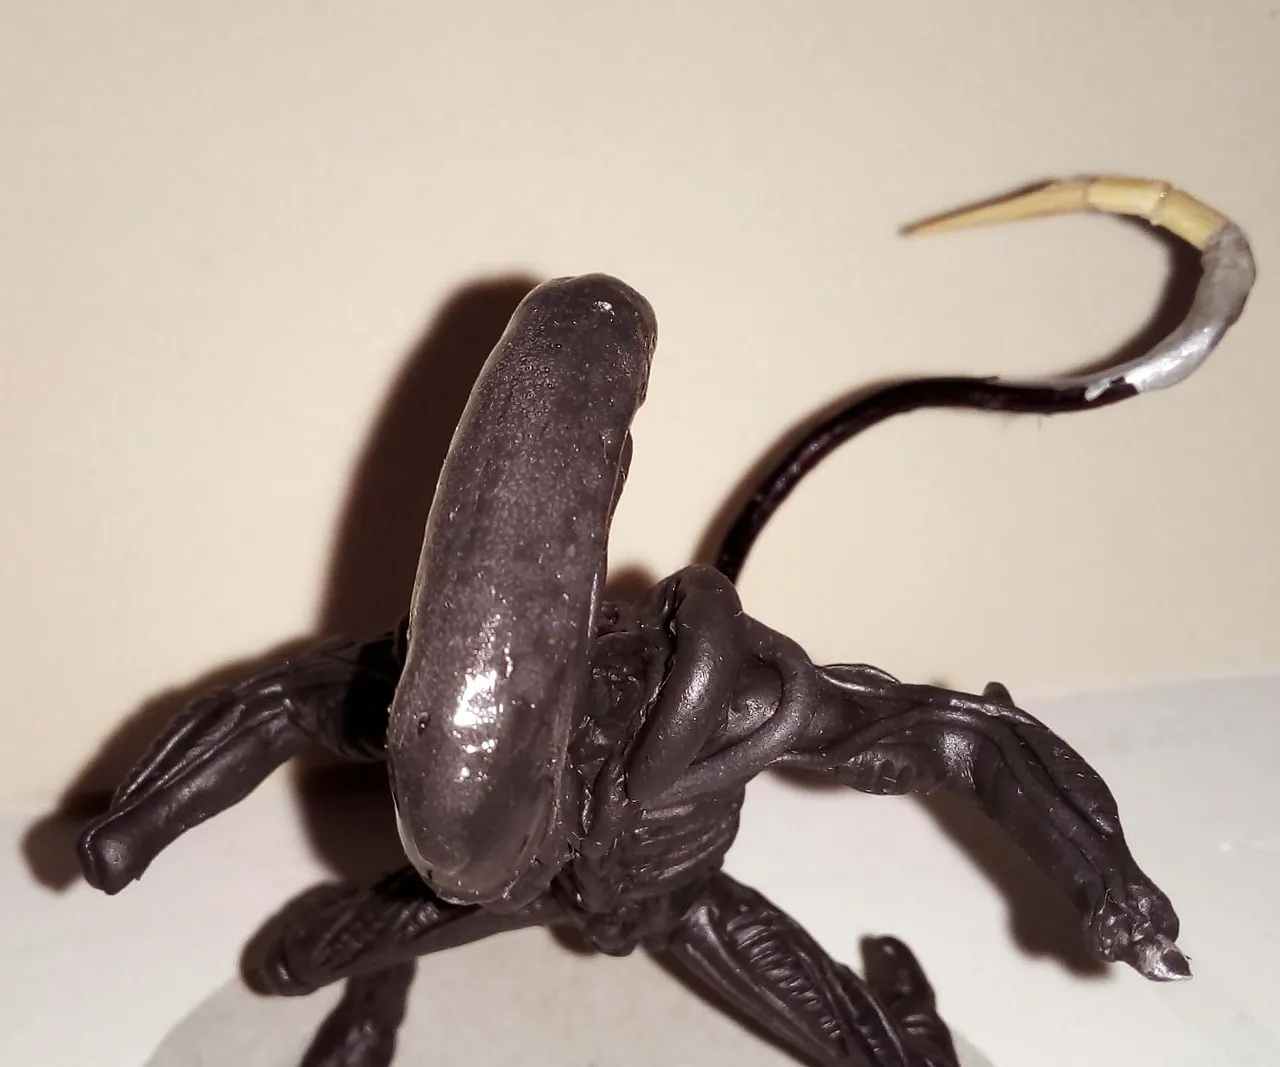
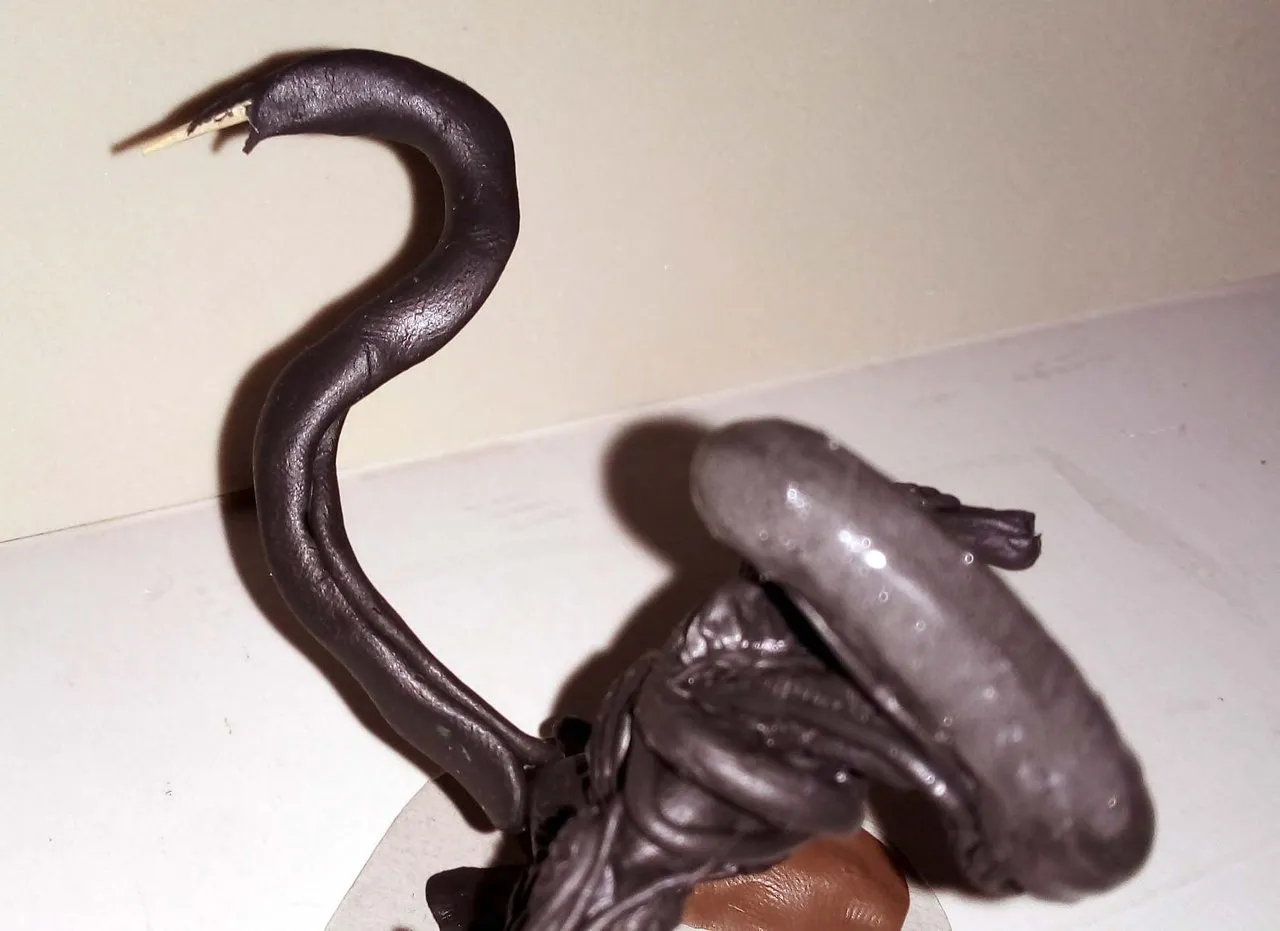
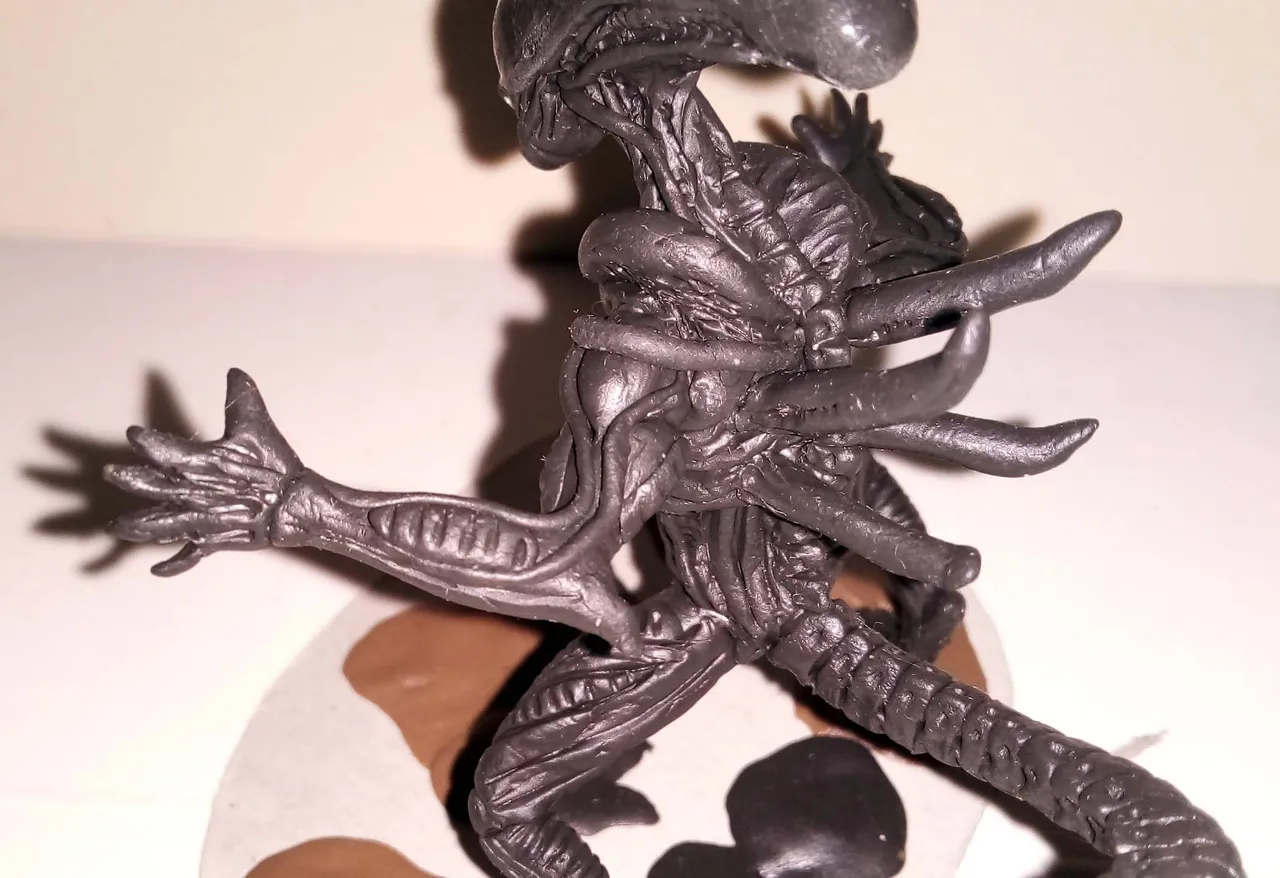
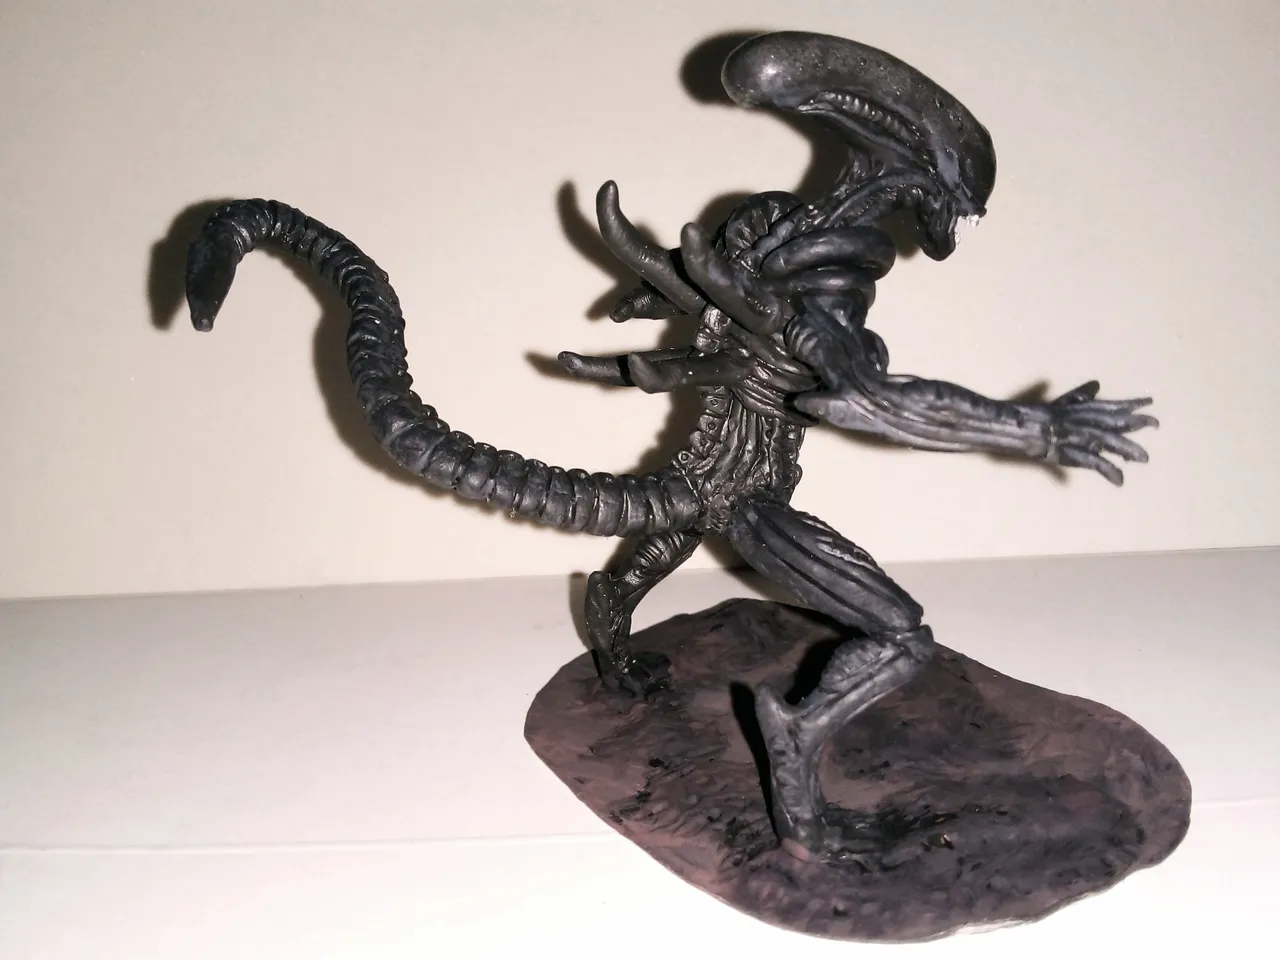
After giving the figure a soft coat of light gray paint, placing his teeth and fine-tuning other details on the base, the figure was completely finished.
Finalmente, tras darle una suave capa de pintado con gris claro a la figura, colocarle sus dientes y afinar otros detalles en la base, la figura quedó completamente terminada.
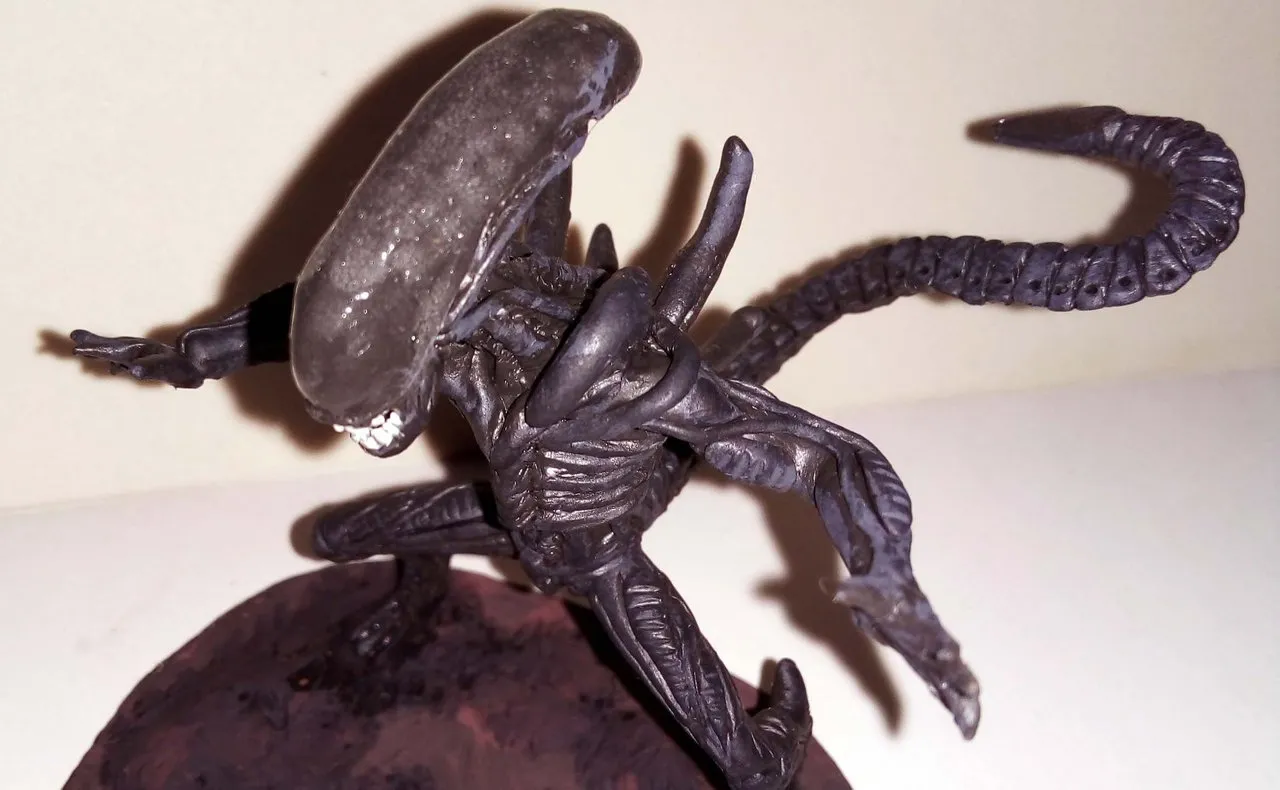
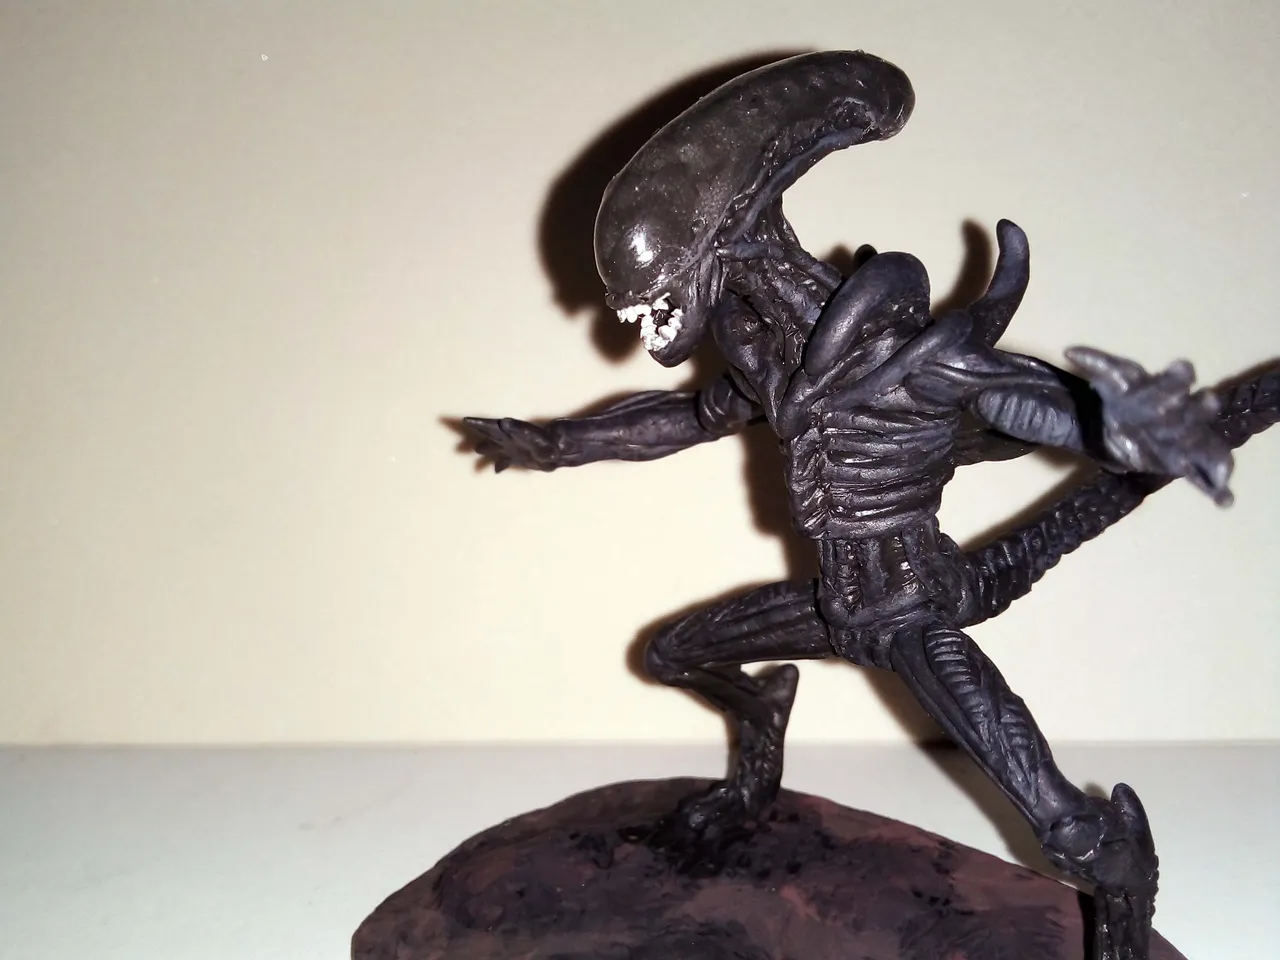
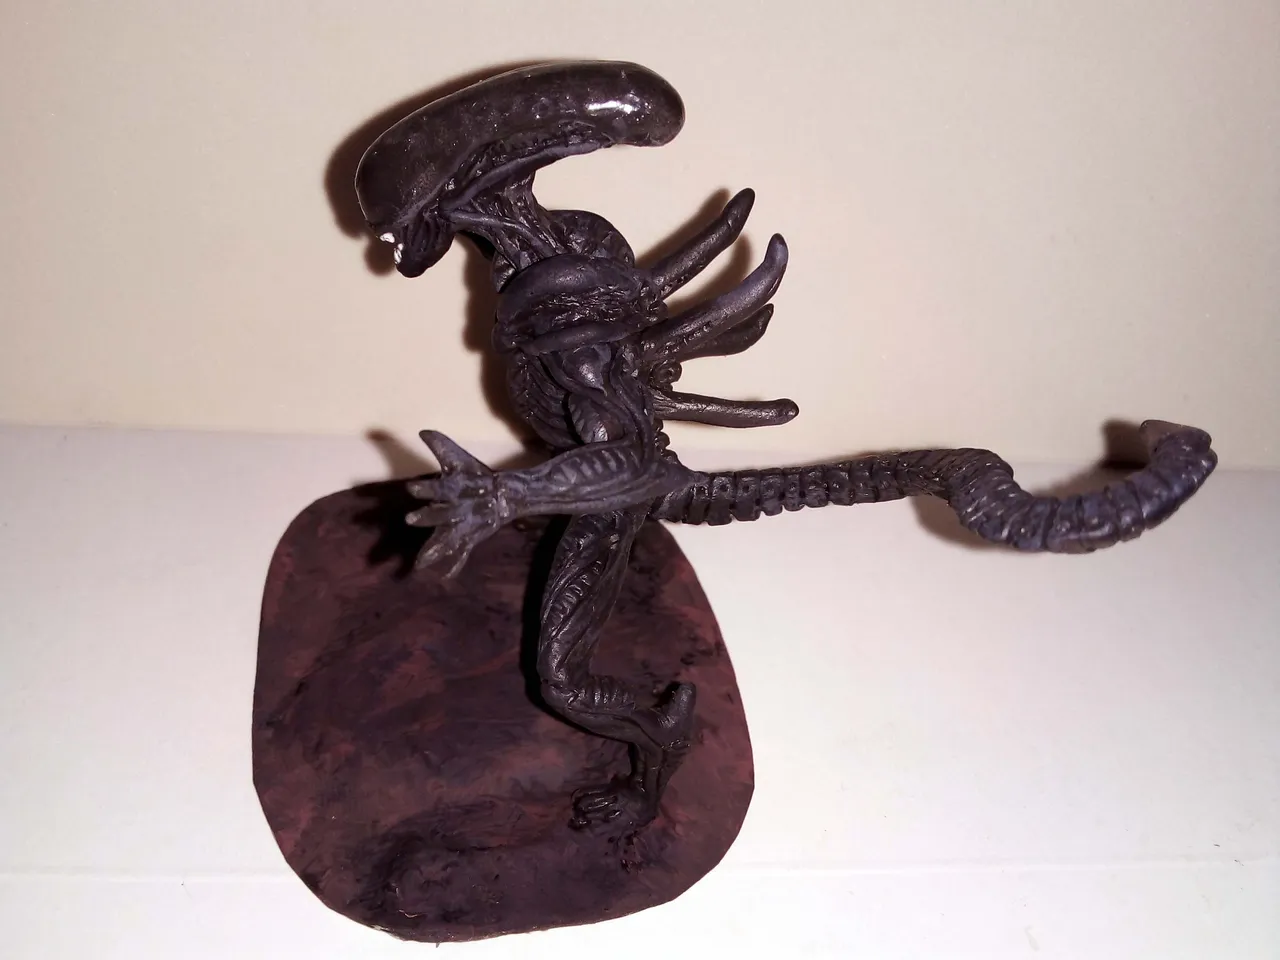
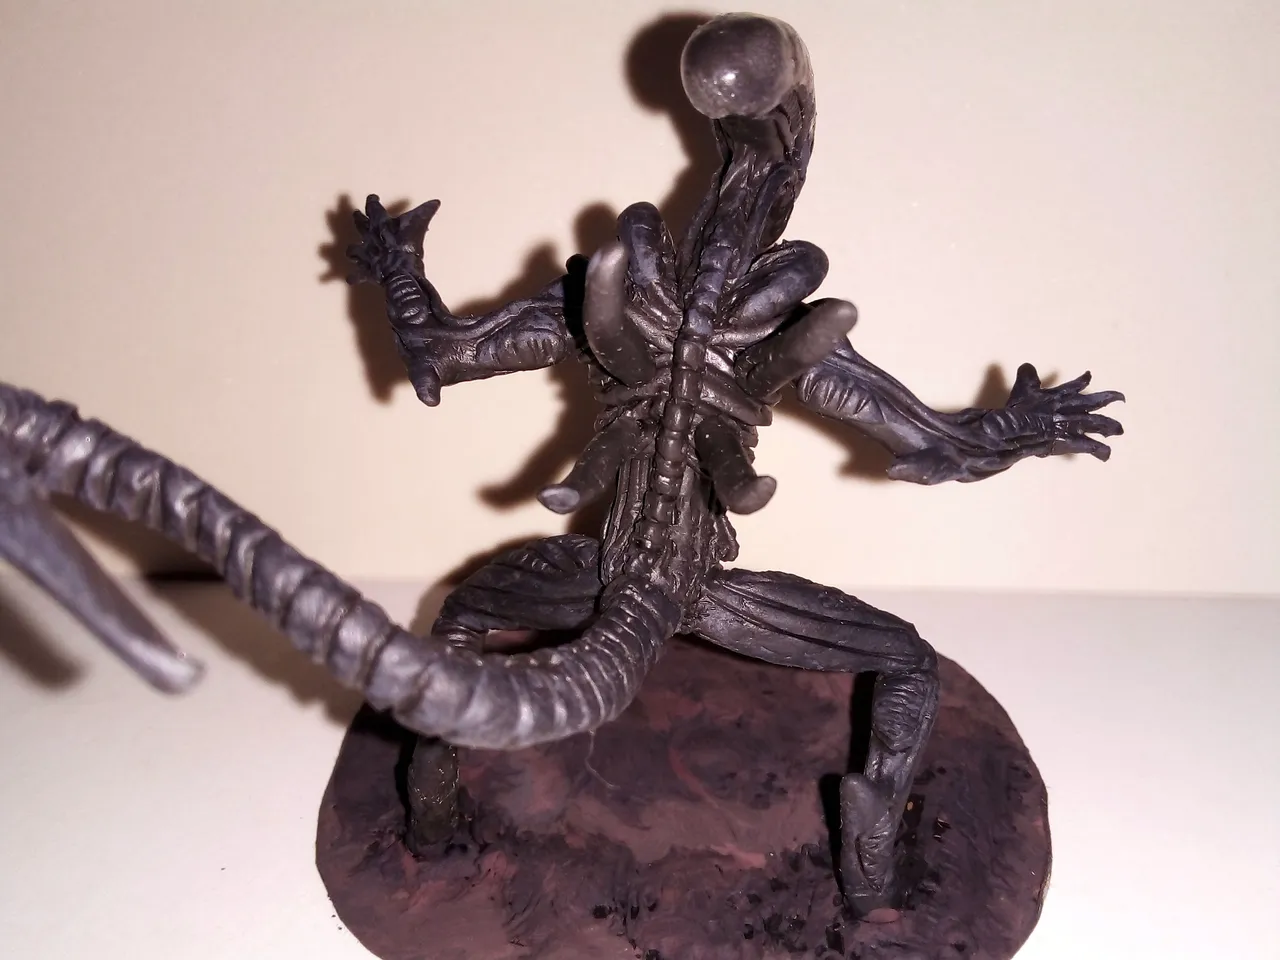
Below is a series of photographs of the final result:
A continuación les dejo una serie de fotografías del resultado final:
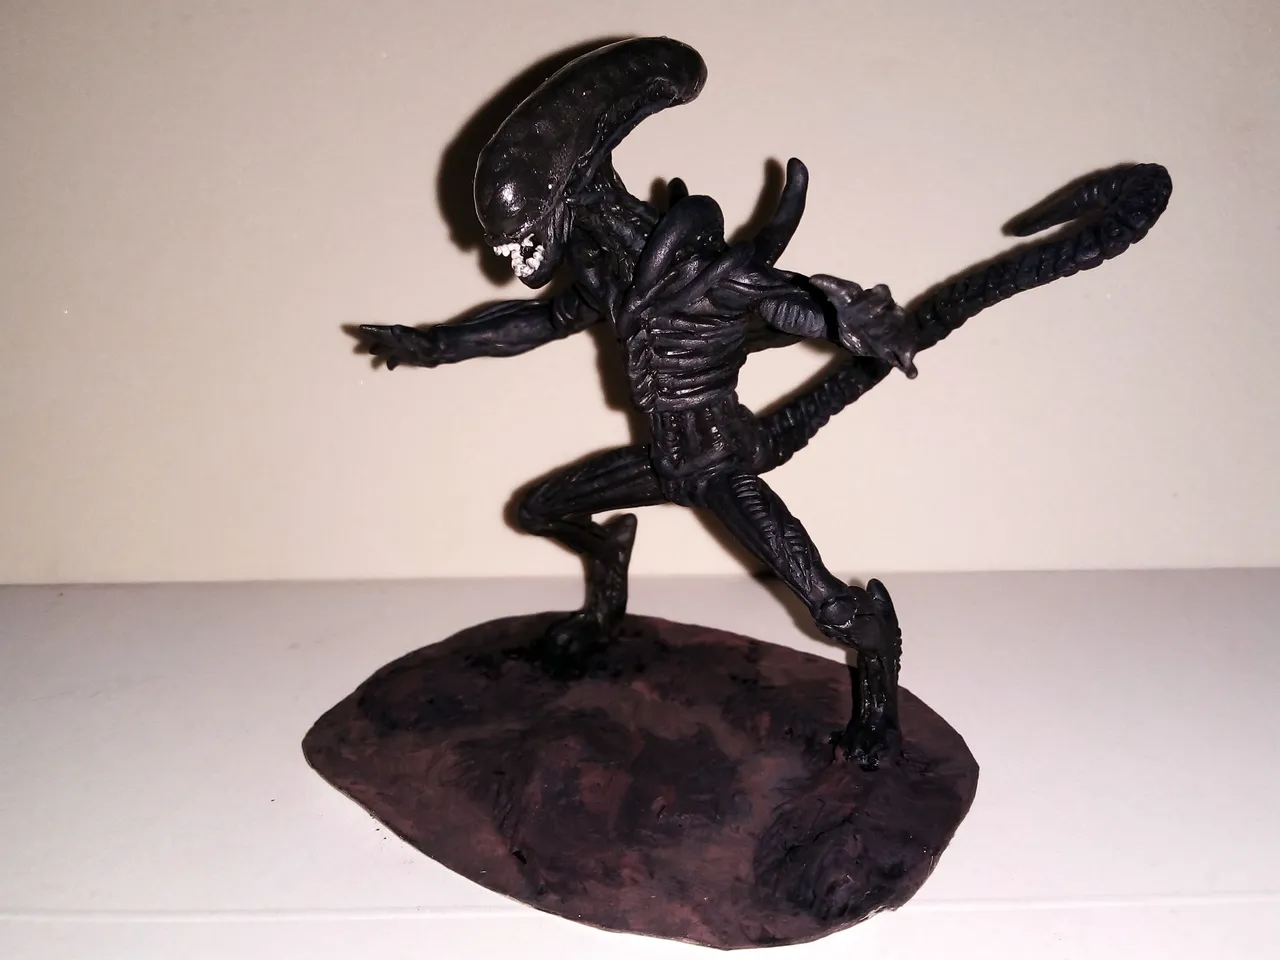
Well friends, what did you think? I loved the result, it was a fantastic challenge proposed by my friend fixie, who will receive a % of the profits of this publication for his great challenge.
Below is also a capture of the reward marylucy received for challenging me to make Rocket.
Bien amigos, ¿Qué les ha parecido? A mi me encantó el resultado, fue un fantastico reto el propuesto por el amigo fixie, quien recibirá un % de las ganancias de esta publicación por su genial reto.
A continuación dejo también un capture de la recompensa que recibió marylucy por retarme a hacer a Rocket.

What other challenge would you like to propose? For me it is a pleasure to share these works and even more when you are the ones who propose me these great challenges. Ideas have a lot of value, especially here at HIVE, so the challenge I select for the next installment will receive a percentage of the rewards. I encourage you to leave your challenges in the comments, I will be very attentive to what you propose.
That's all, I hope you enjoyed the publication and that you enjoyed it as much as I enjoyed making it. With nothing more to add, I'll say goodbye then....
See you next time!
¿Qué otro reto desean proponer? Para mi es un placer compartir estos trabajos y más cuando son ustedes los que me proponen estos retos geniales. Las ideas tienen mucho valor, más aquí en HIVE, así que el reto que seleccione para la siguiente entrega recibirá un porcentaje de las recompenzas. Anímense a dejar sus retos en los comentarios, estaré muy atento a lo que propongan.
Esto ha sido todo, espero que la publicación haya sido de su agrado y que la hayan disfrutado, tanto como yo disfruté haciéndola. Sin más que agregar, me despido entonces...¡Hasta la próxima!

Traducido con DeepL
Chicken Soup
Digital Restauration
Gabo Play: Altos Odyssey - Últimos Niveles

The Terminal

HiveDIY