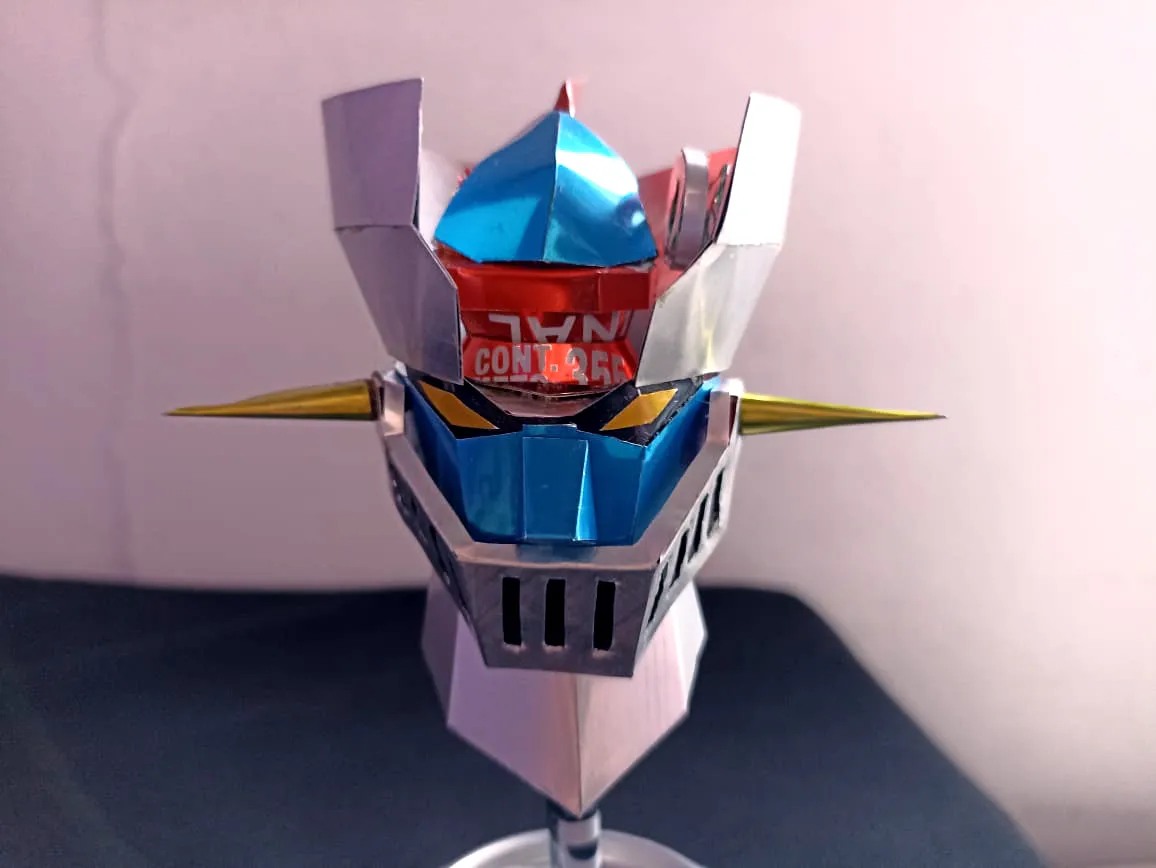
Hello friends, after many days and some setbacks today I have been able to publish again, this time I want to show how I made a Mazinger Z desktop ornament, a long time ago I made a complete sculpture of the Great Mazinger, and my idea was to make another sculpture of the Classic Mazinger Z, but I lacked material so I just made the head. It's made entirely of soda cans, if you check my posts you'll find the Great Mazinger one was about a year ago. I hope you like this one in particular.
Hola amigos, después d emuchos días y algunos tropiezos hoy he podido volver a publicar, esta vez quiero mostrar como hice un adorno de escritorio de Mazinger Z, hace mucho tiempo hice una escultura completa del Gran Mazinger, y mi idea era hacer otra escultura del Mazinger Z clásico, pero me faltó material así que solo hice la cabeza. Esta hecha en su totalidad por latas de soda, si revisan mis publicaciones encontrarán la del Gran Mazinger fue hace como un año. Espero que les guste esta en especial.

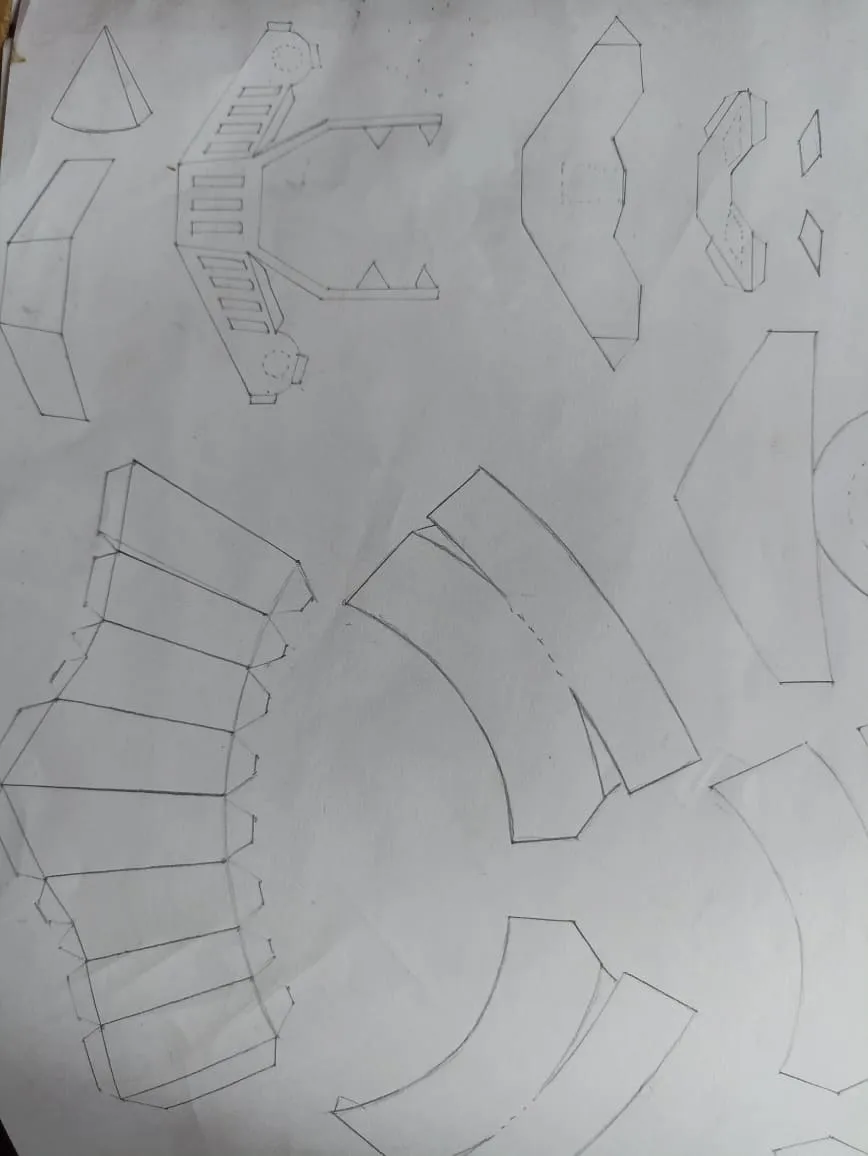
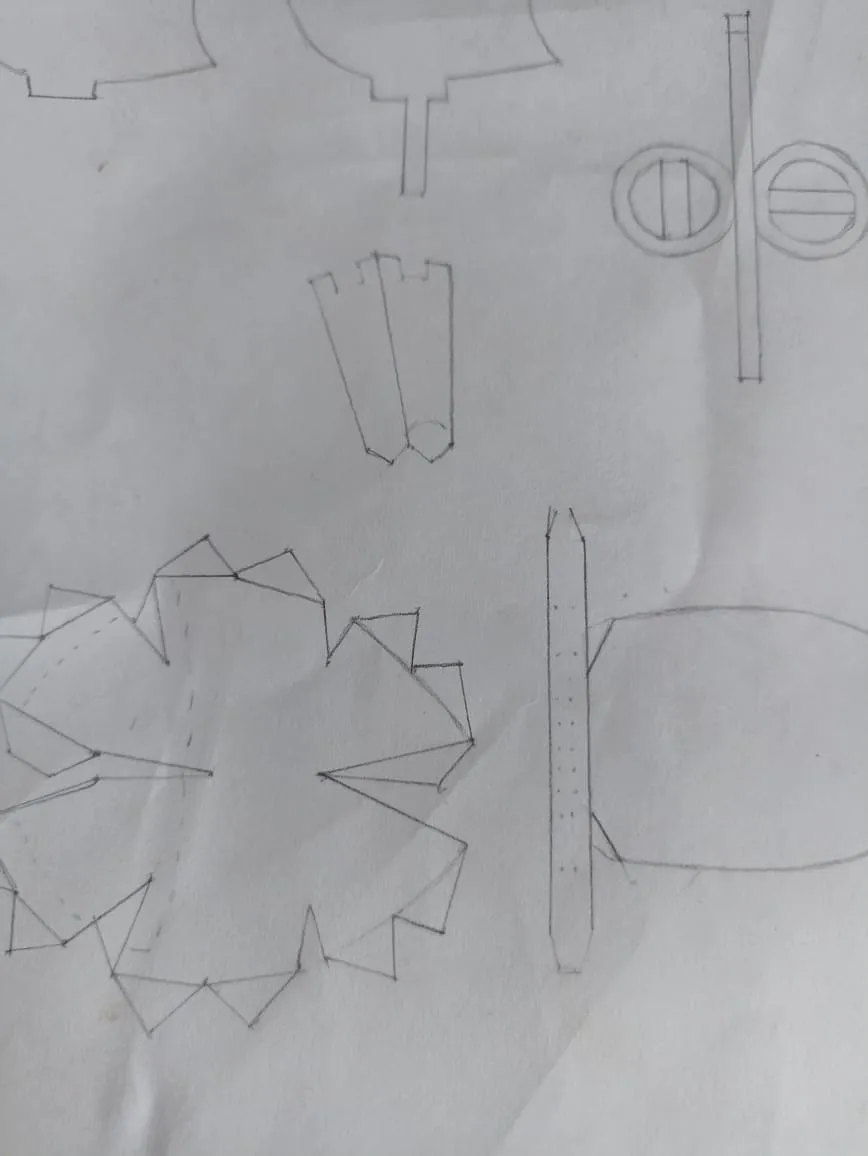
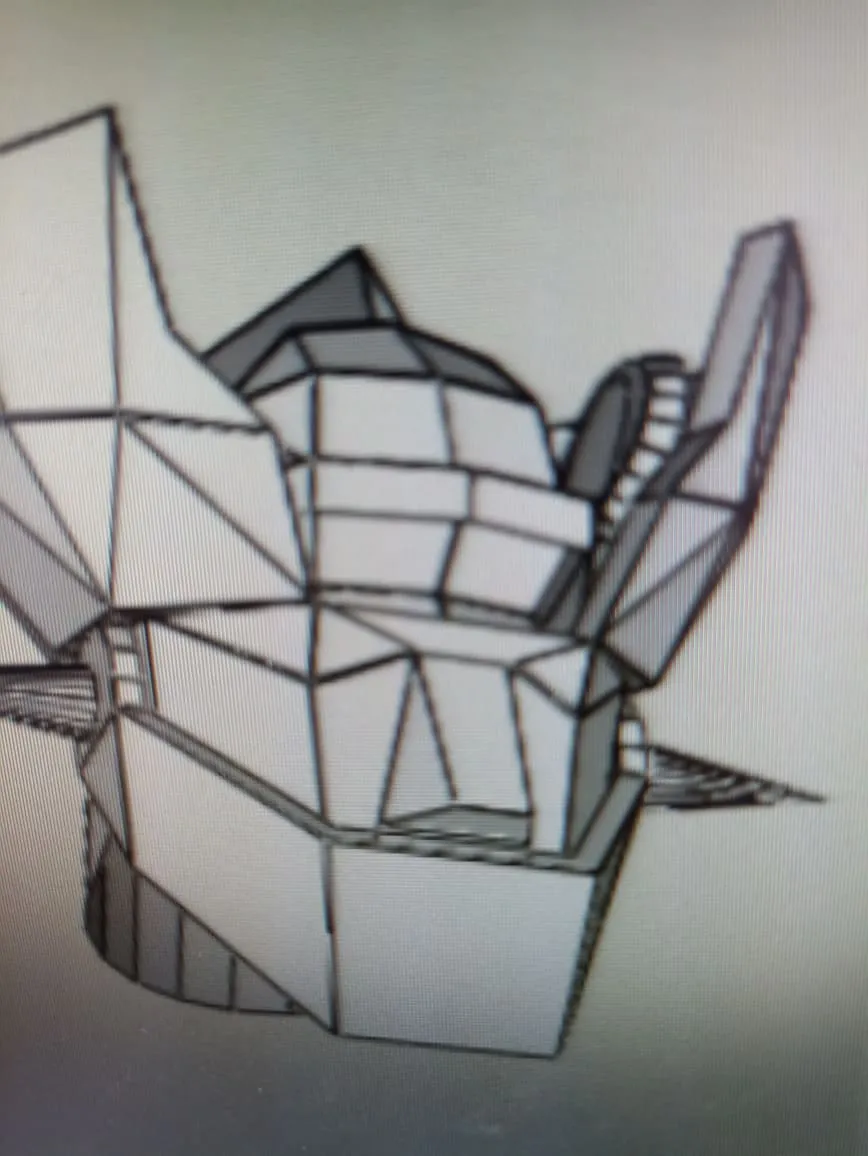
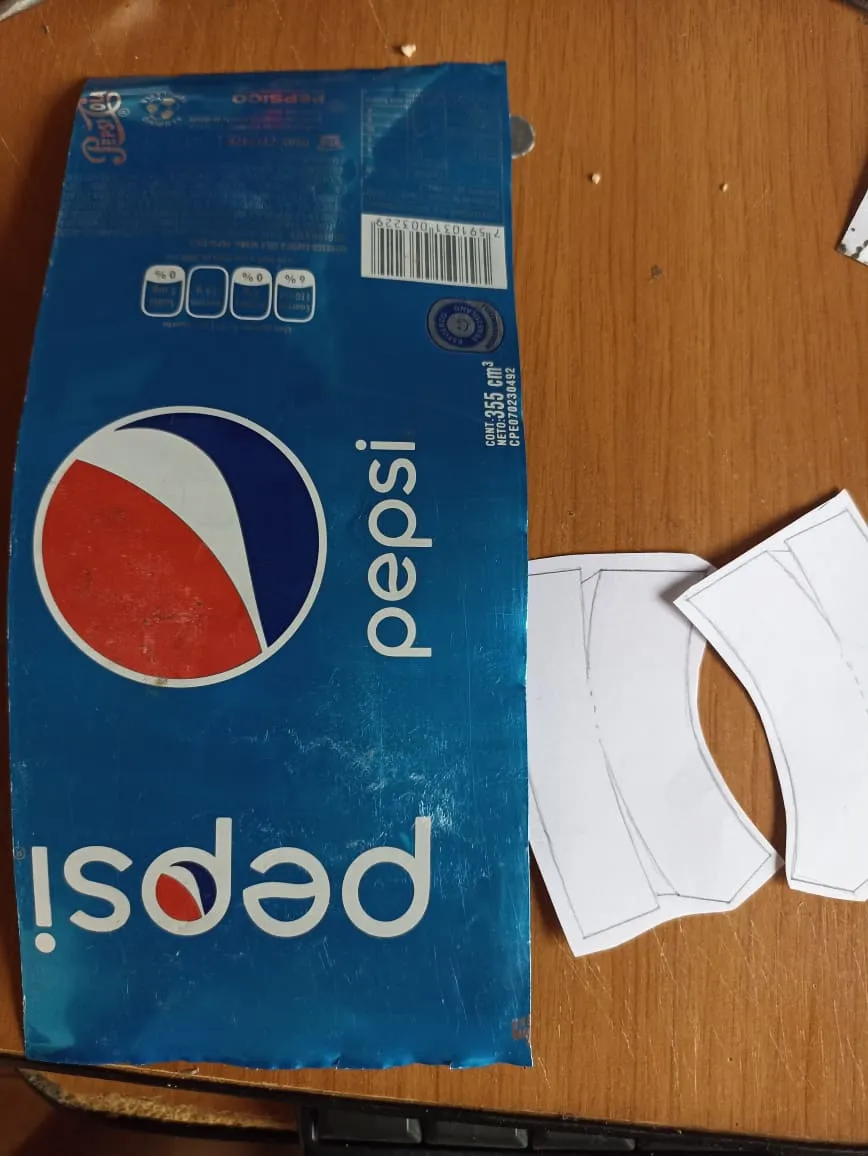
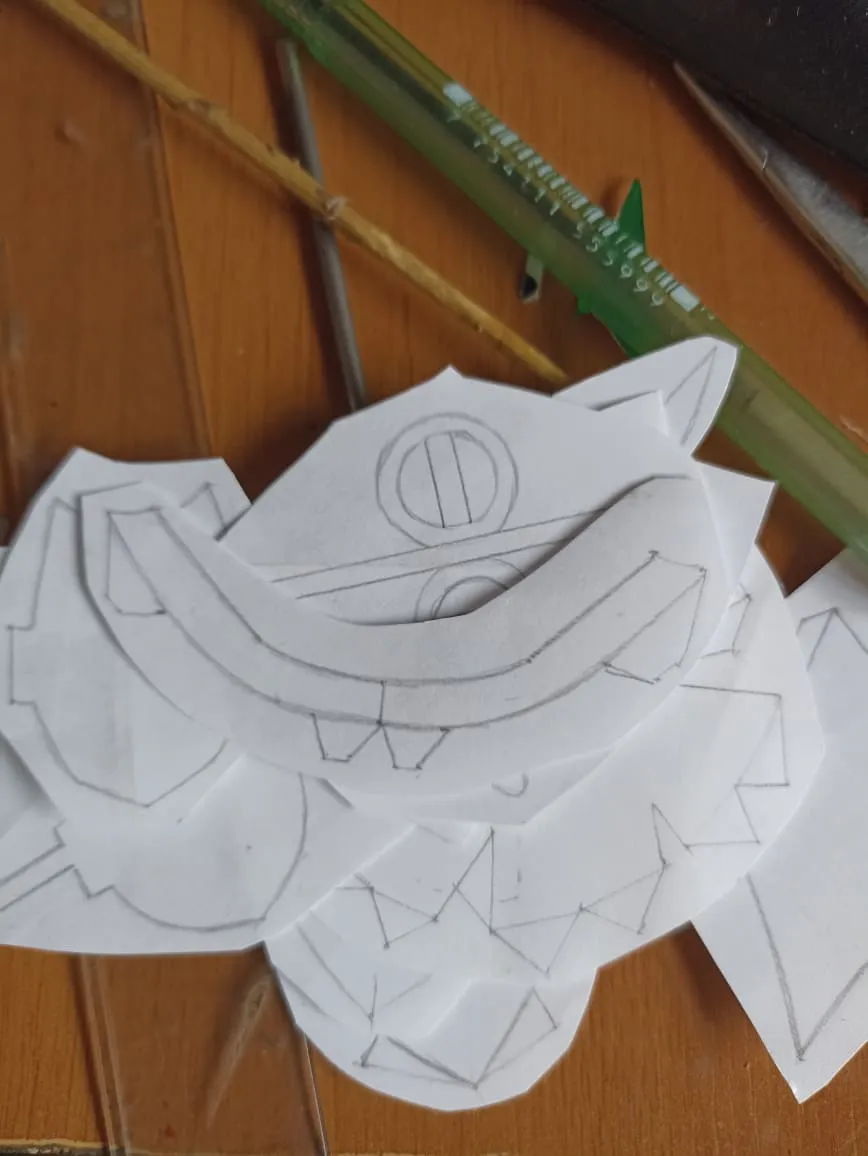
For this model we choose an image where the parts of the head can be seen, like the one I use as an example, from there we draw each part on paper to make templates that allow us to cut all the necessary pieces from the cans to form the head, to make the figure we will use red and blue cans.
Para este modelo escogemos una imagen donde pueda verse las partes de la cabeza, como esta que utilizo de ejemplo, de aí vamos dibujando cada parte sobre papel para hacer unas plantillas que nos permitan cortar todas las piezas necesarias desde las latas para formar la cabeza, para hacer la figura utilizaremos latas de color rojo y azul.
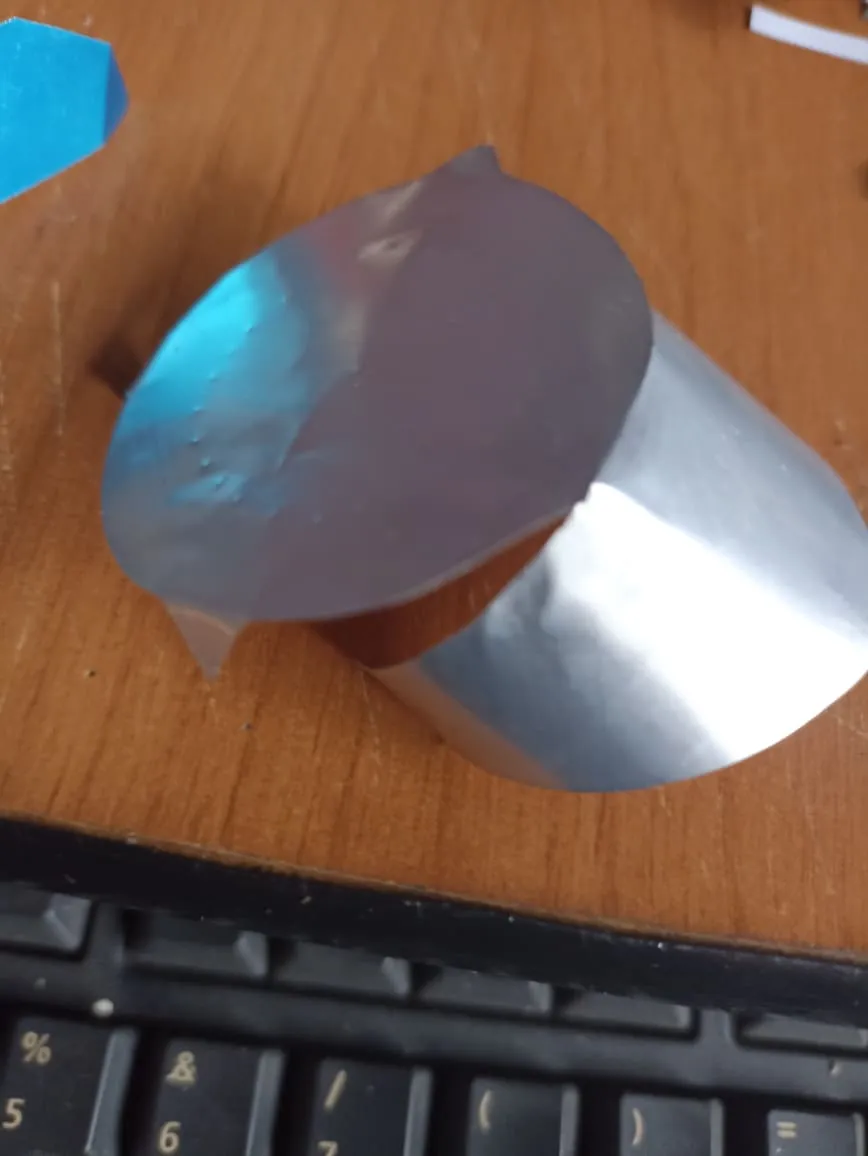

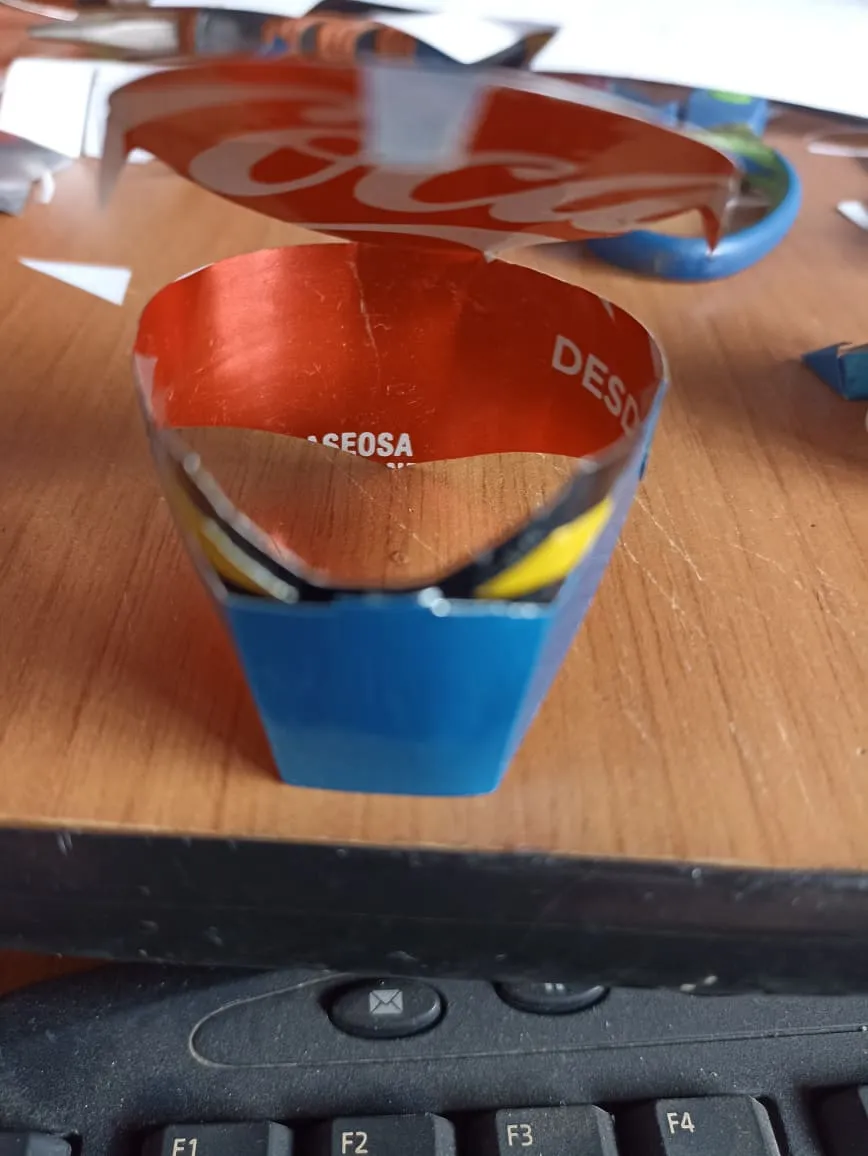
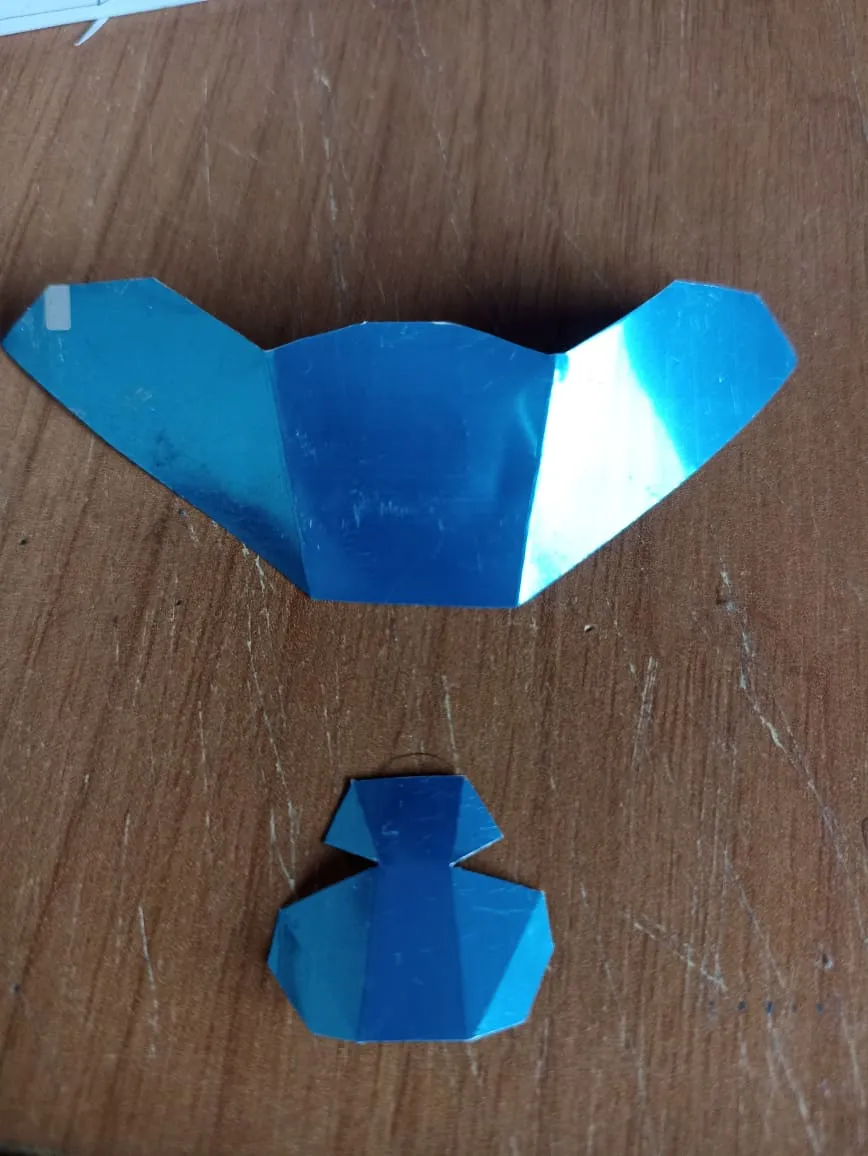

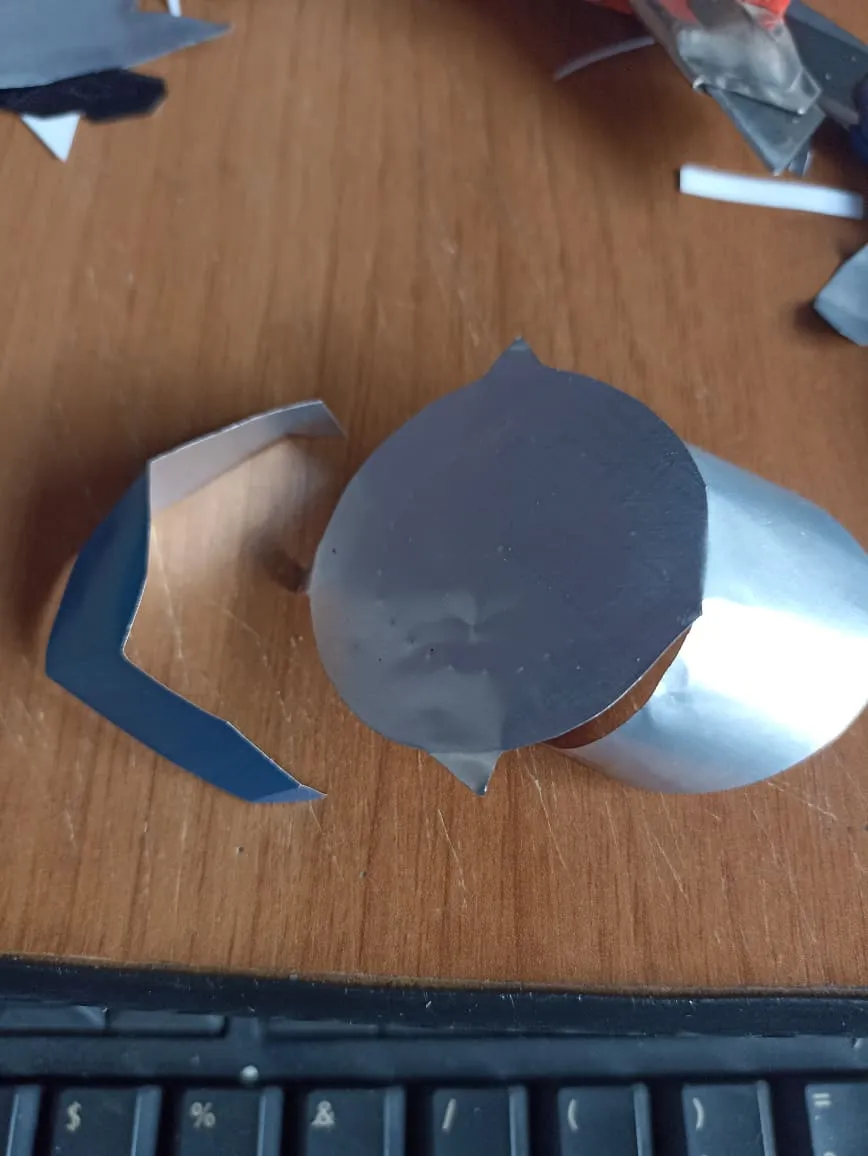
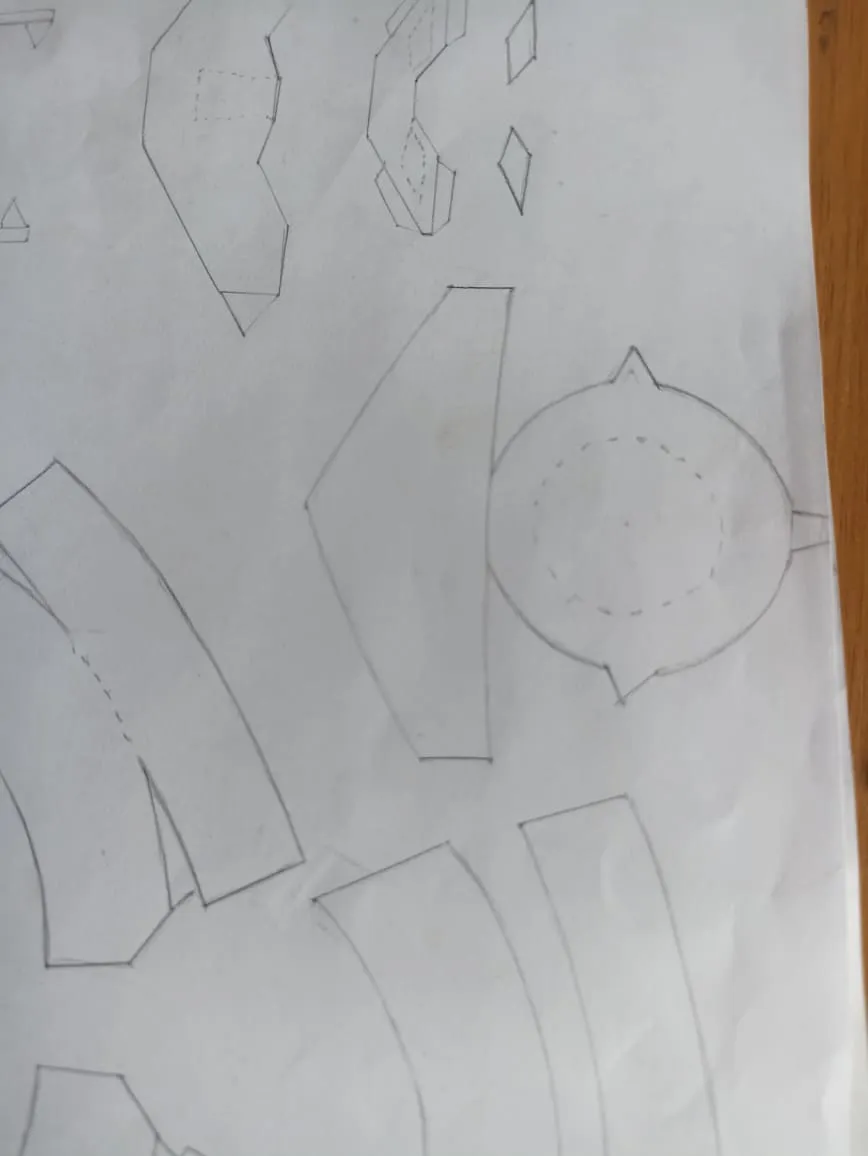
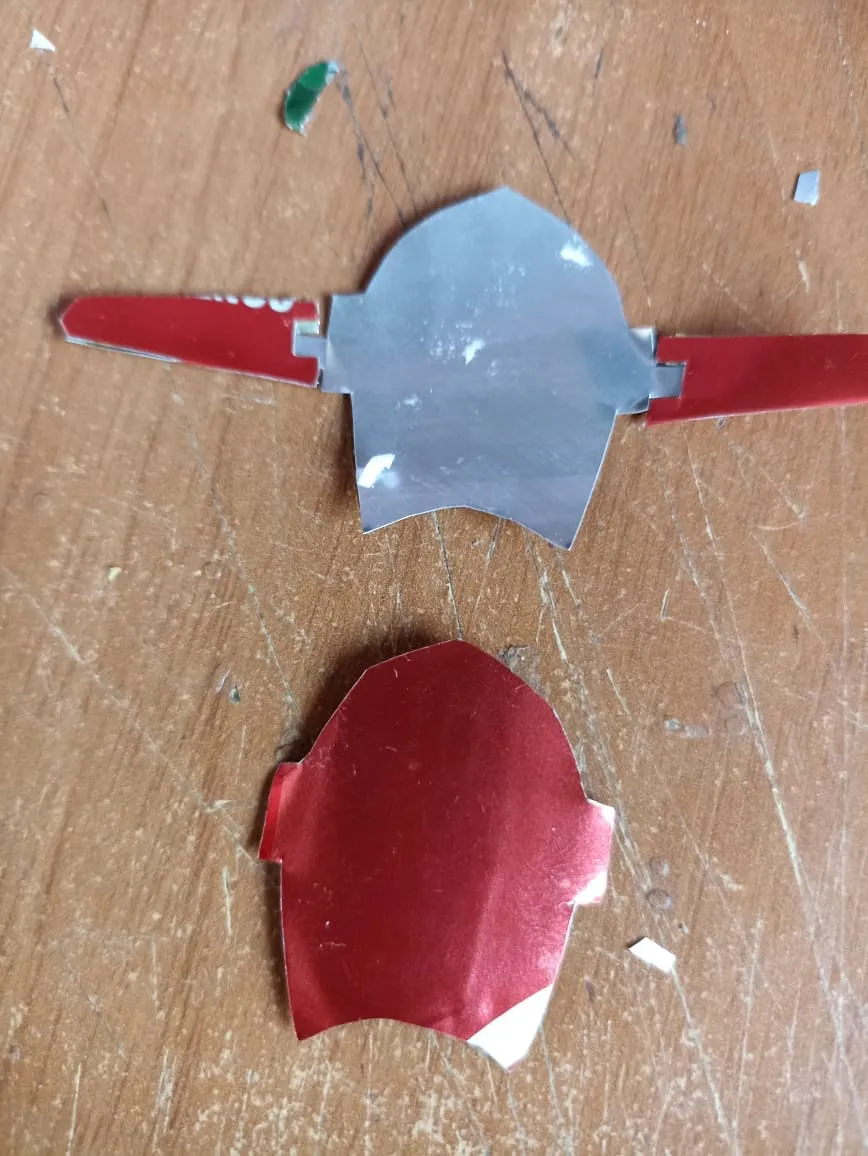
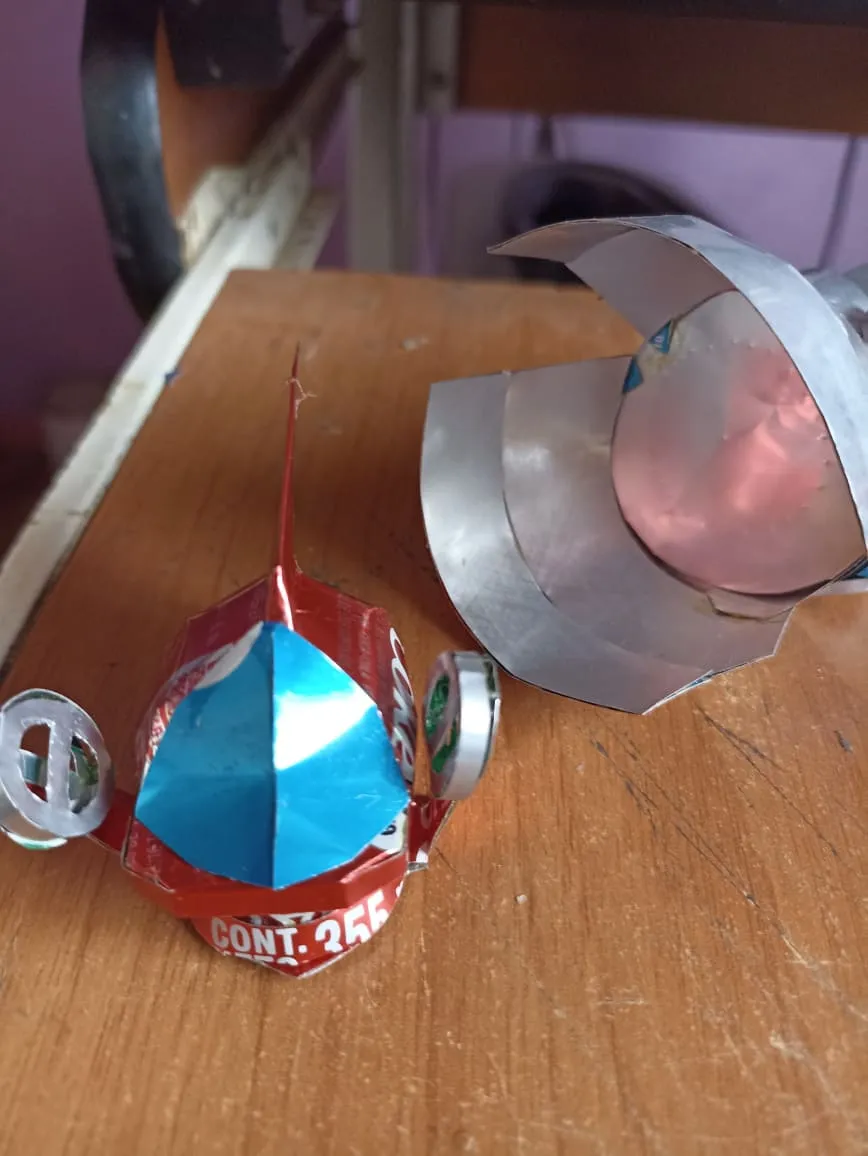
The first step is to assemble the part that will serve as the base for the face, from this piece the rest of the head will come out. We cut the first piece in a circular shape and glue it, the blue piece that has the shape of a boomerang will be placed on it and finally we will make the part where the eyes go in black. We will stick one by one with glue until it is well fixed.
El primer paso es armar la parte que nos servirá como base para el rostro, de esta pieza saldra el resto de la cabeza. Cortamos la primera pieza en forma circular y la pegamos, en ella ira colocada la pieza de color azul que tiene forma de bumeran y por ultimo haremos en color negro la parte donde van los ojos. iremos pegando una a una con pegamento hasta que quede bien fijado.

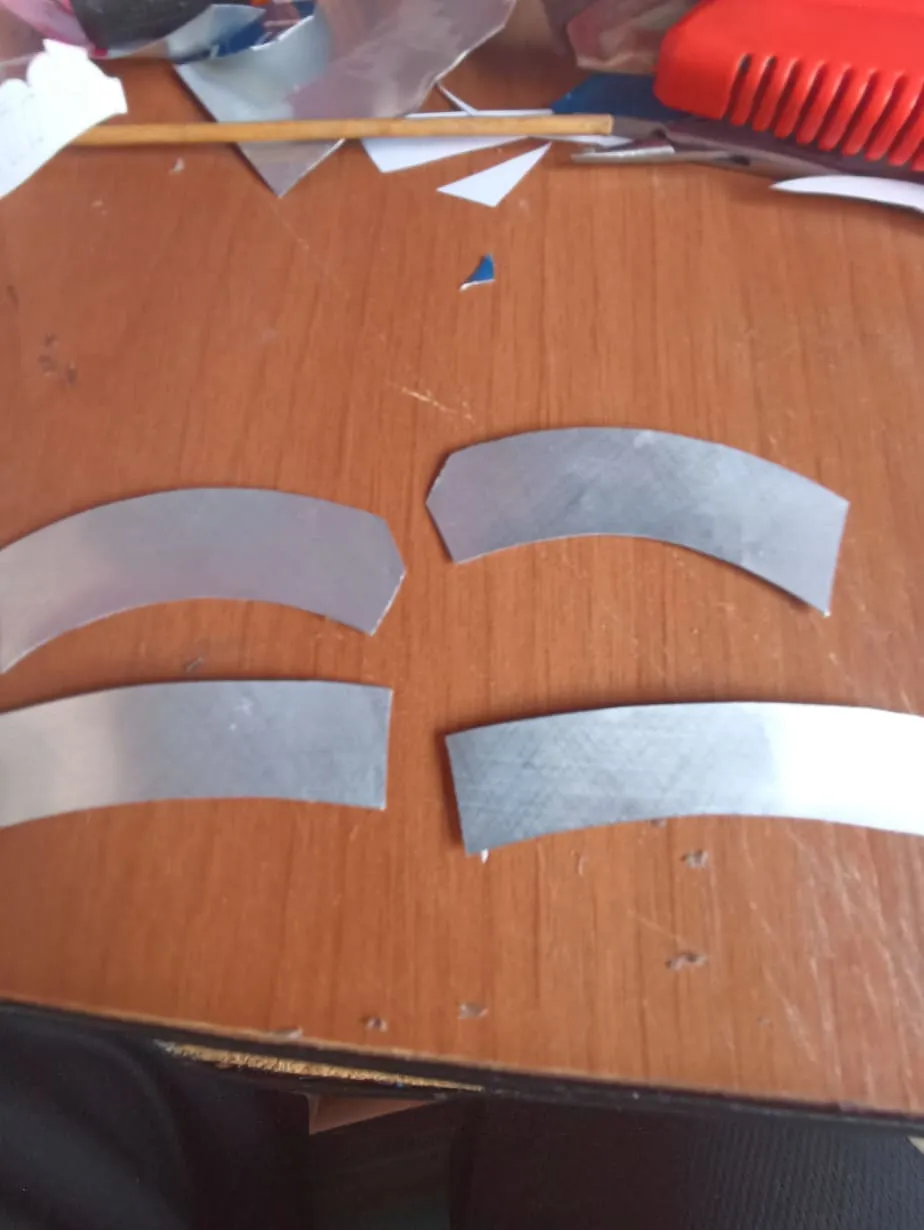
The second step is to cut the crown that goes on Mazinger Z's head. We cut 3 pieces in the shape of a half circle and place them on top of the piece we made earlier, we can use tweezers to press very well, we also make the nose and the We put it in the right place.
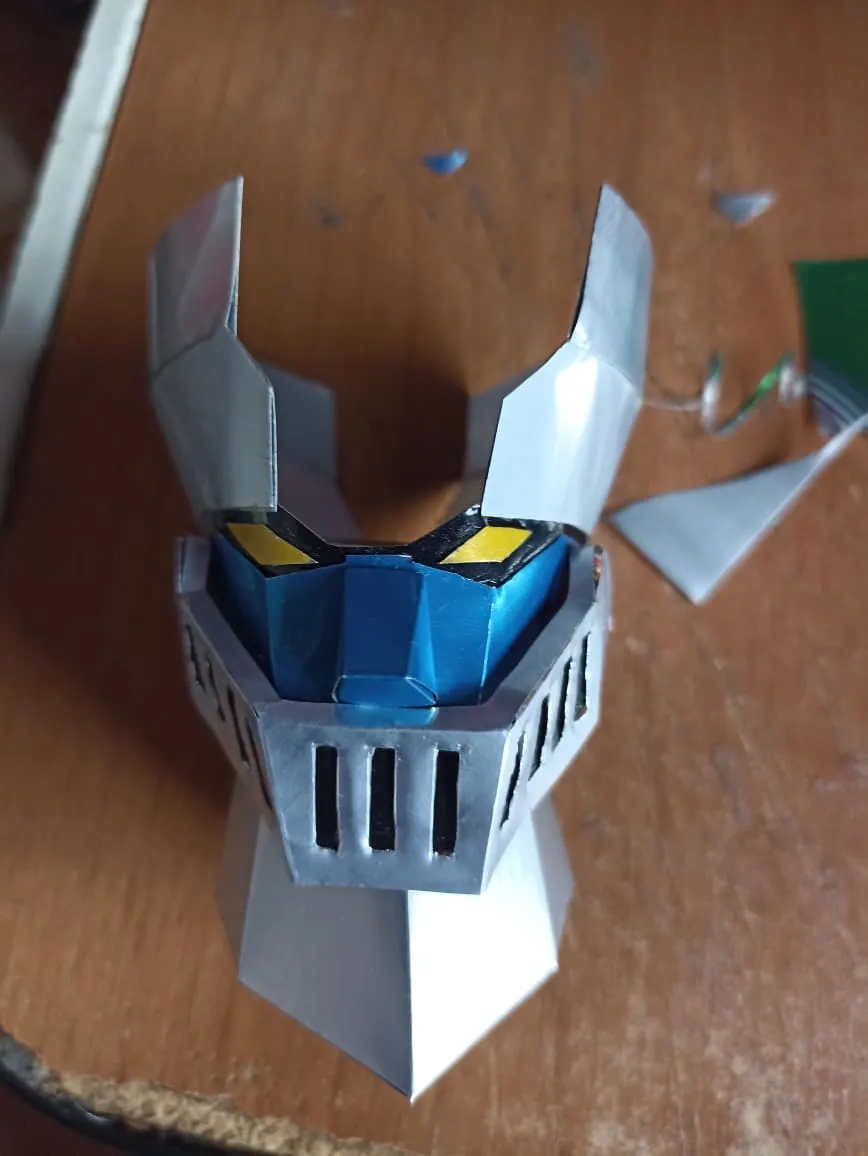


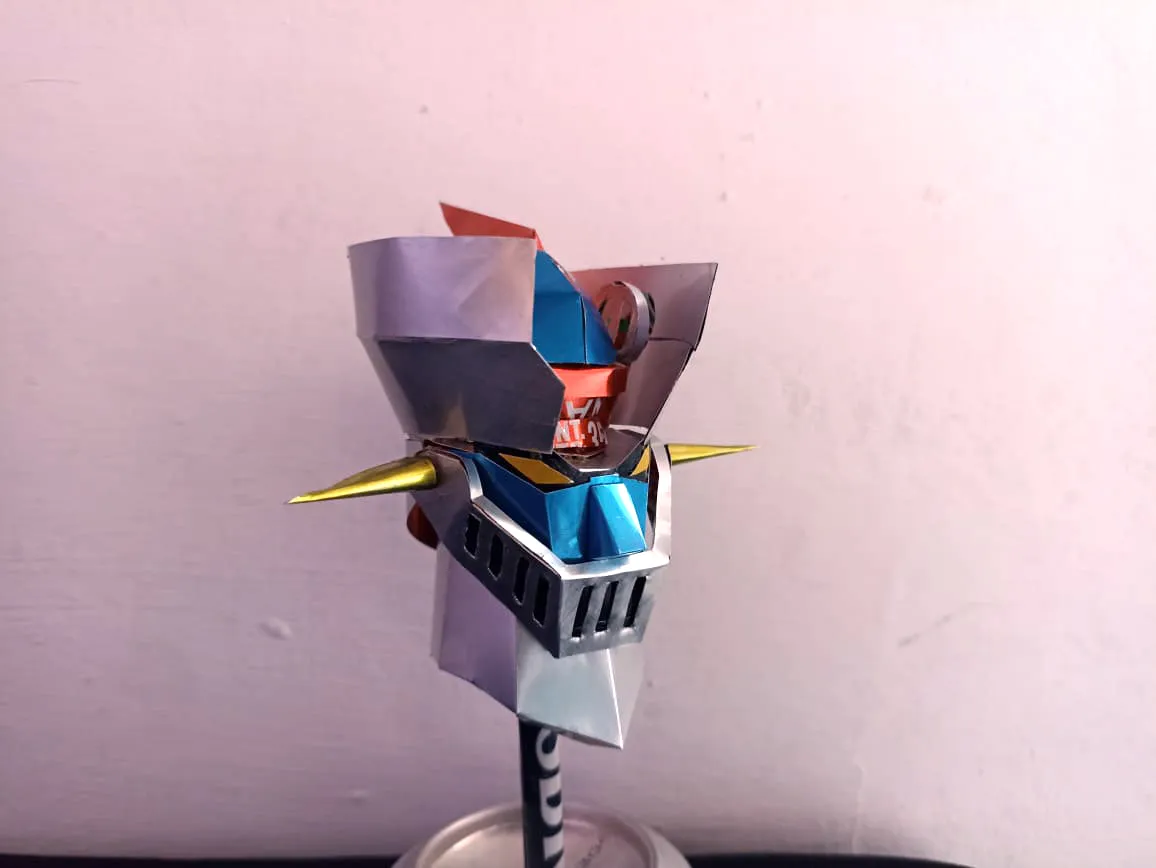
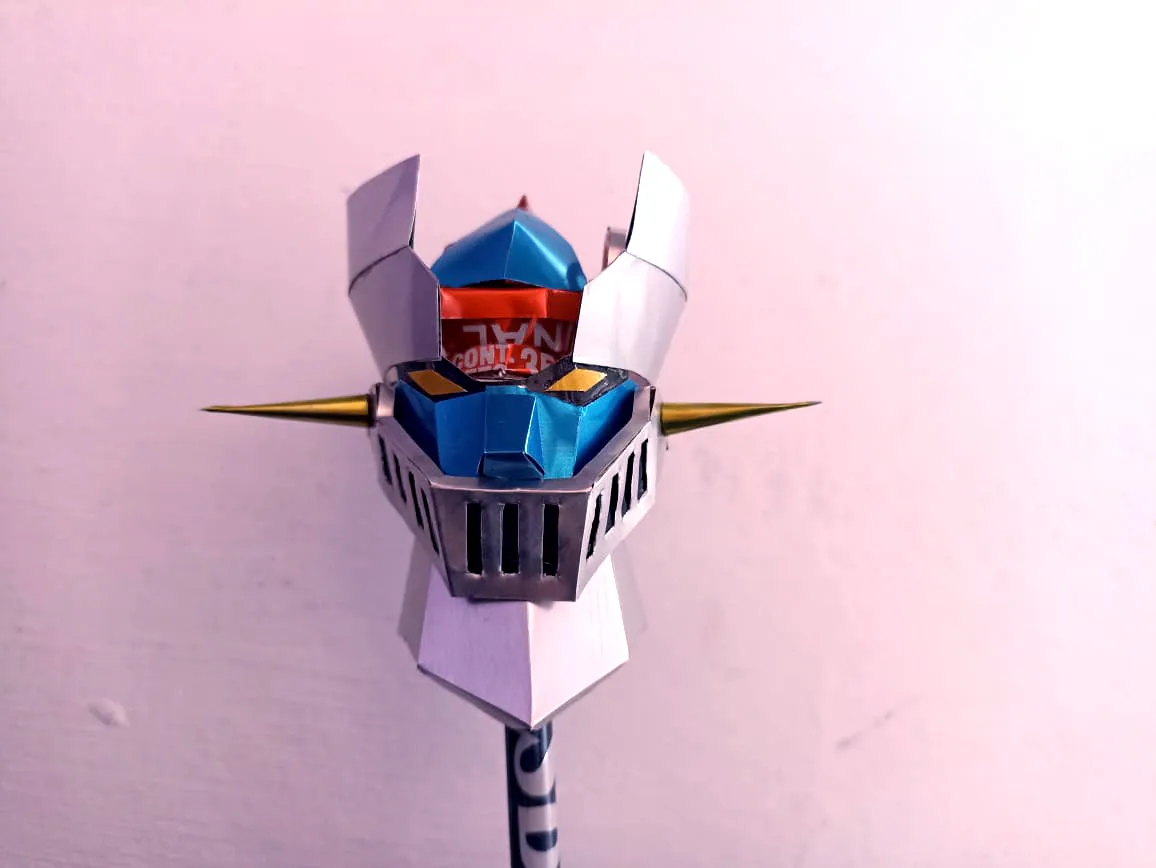
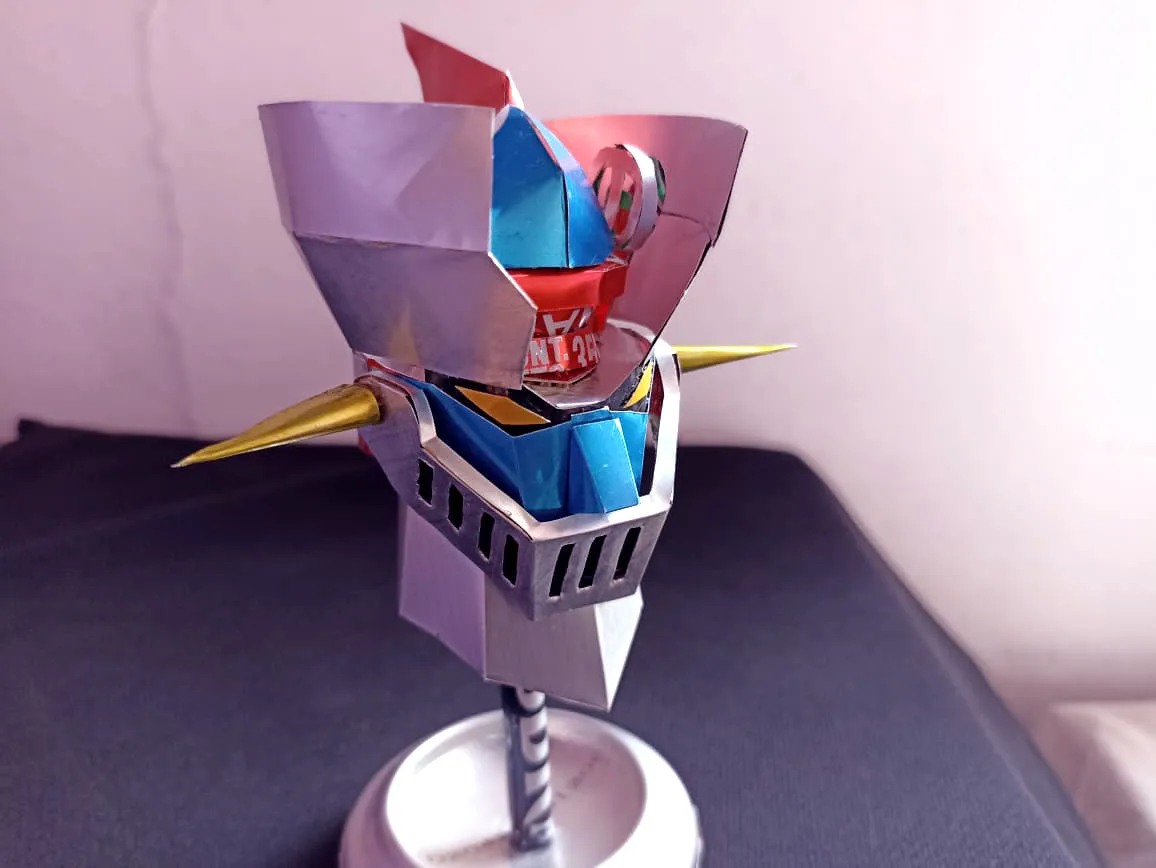
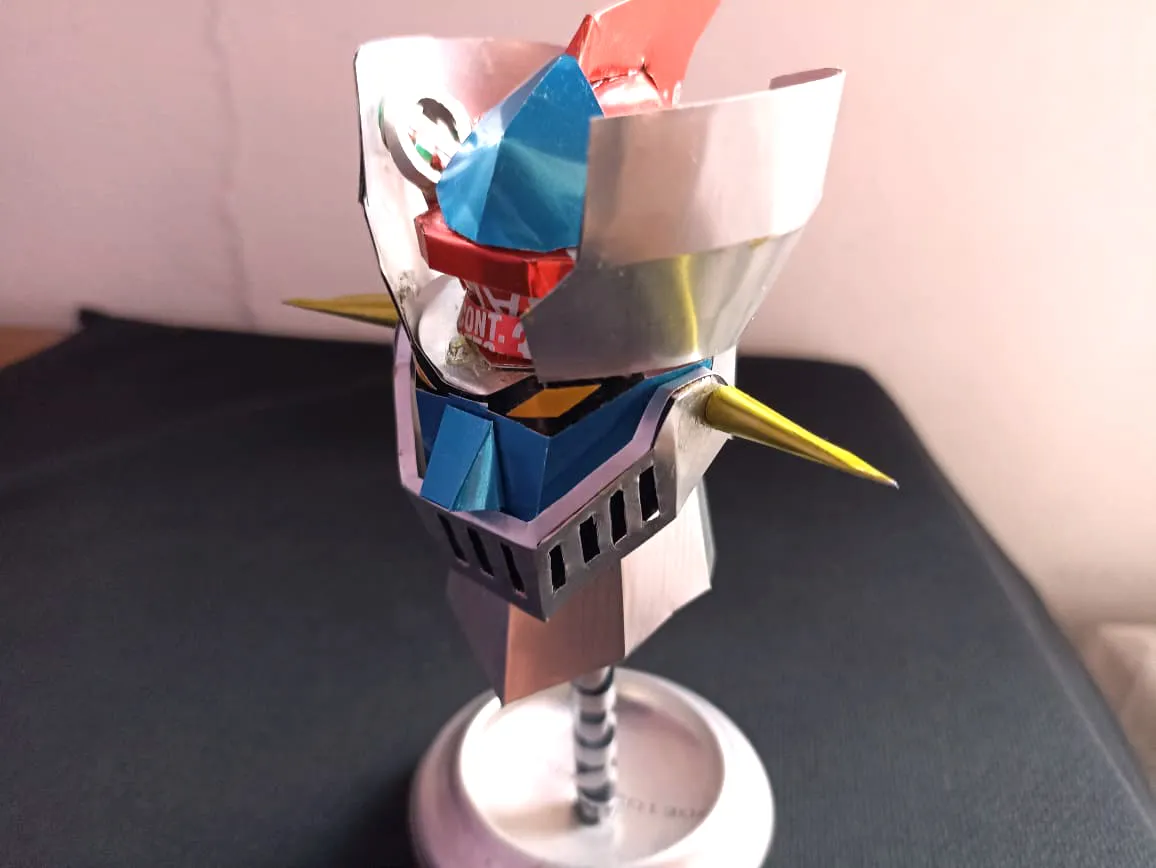
FINAL WORK

El segundo paso es cortar la corona que va en la cabeza de Mazinger Z. Cortamos 3 piezas en forma de medio circulo y las colocamos encima de la pieza que hicimos anteriormente, podemos utilizar unas pinzas para apretar muy bien, tambien hacemos la nariz y la colocamos en el lugar correspondiente.
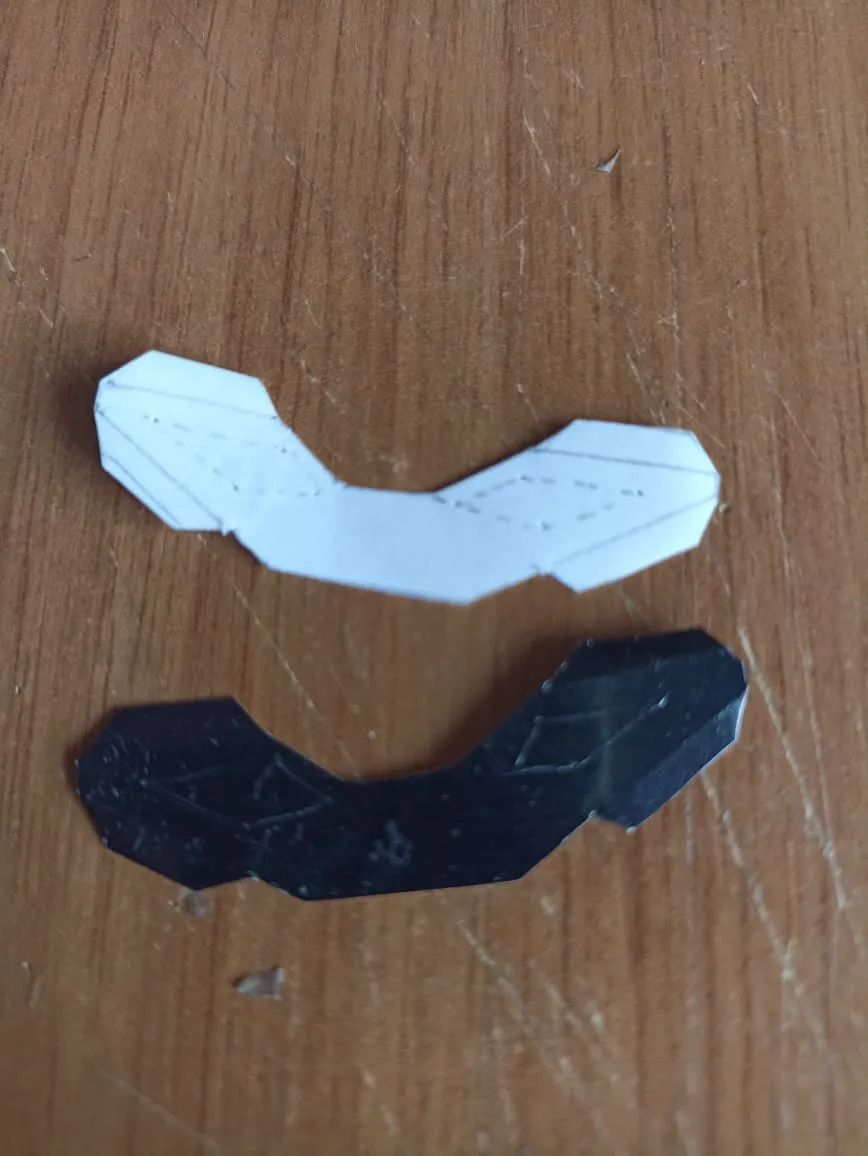
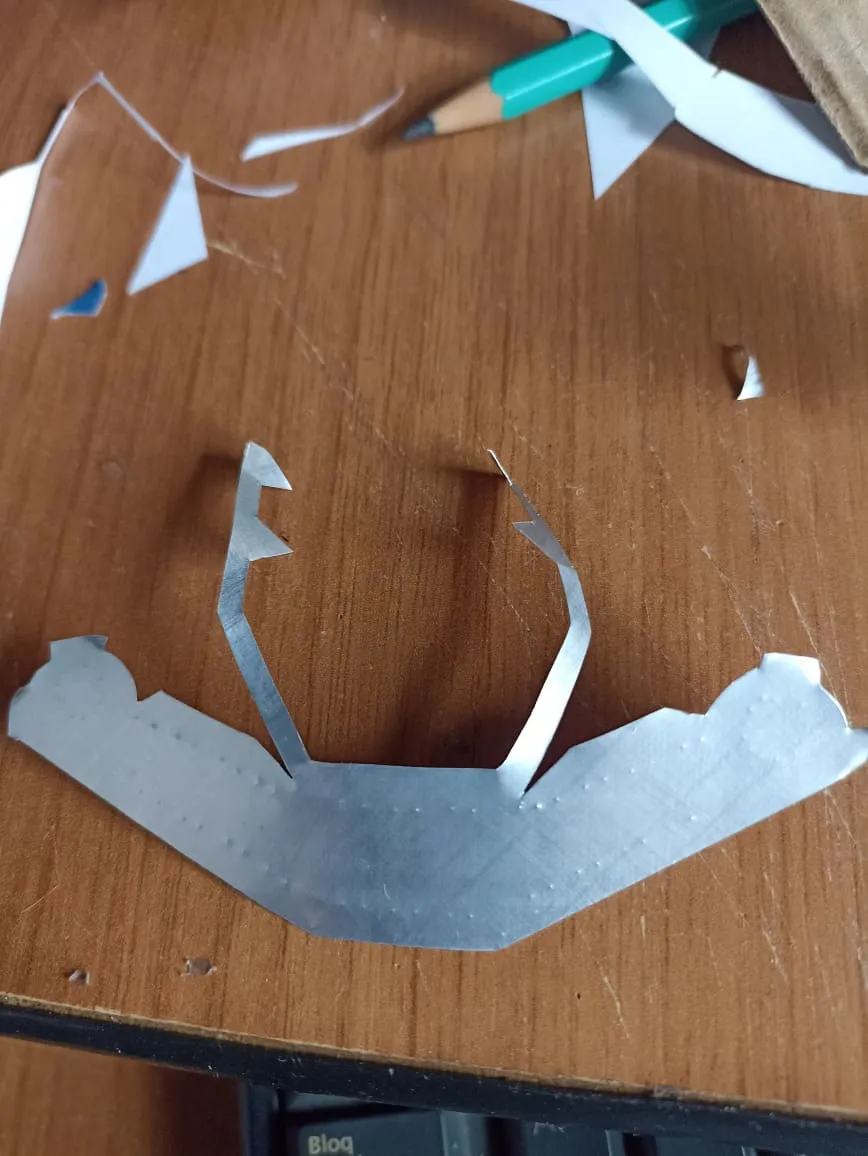
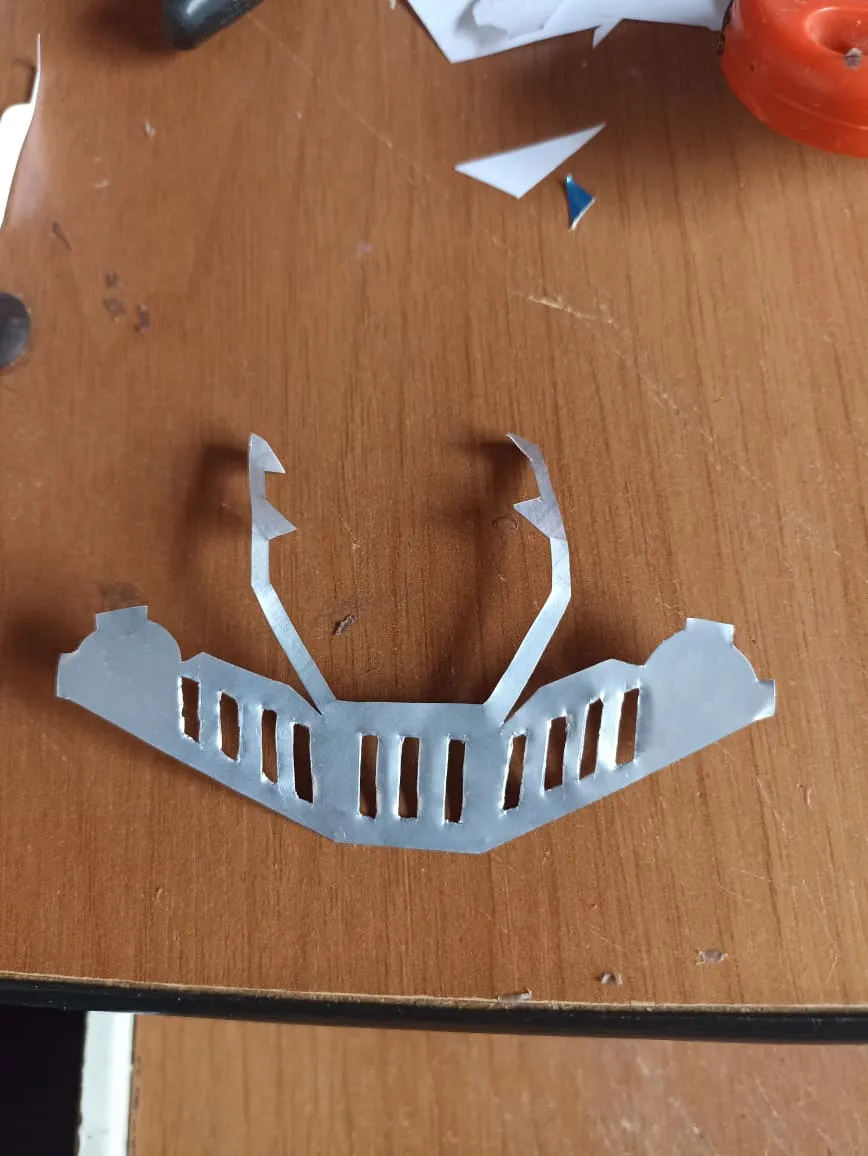
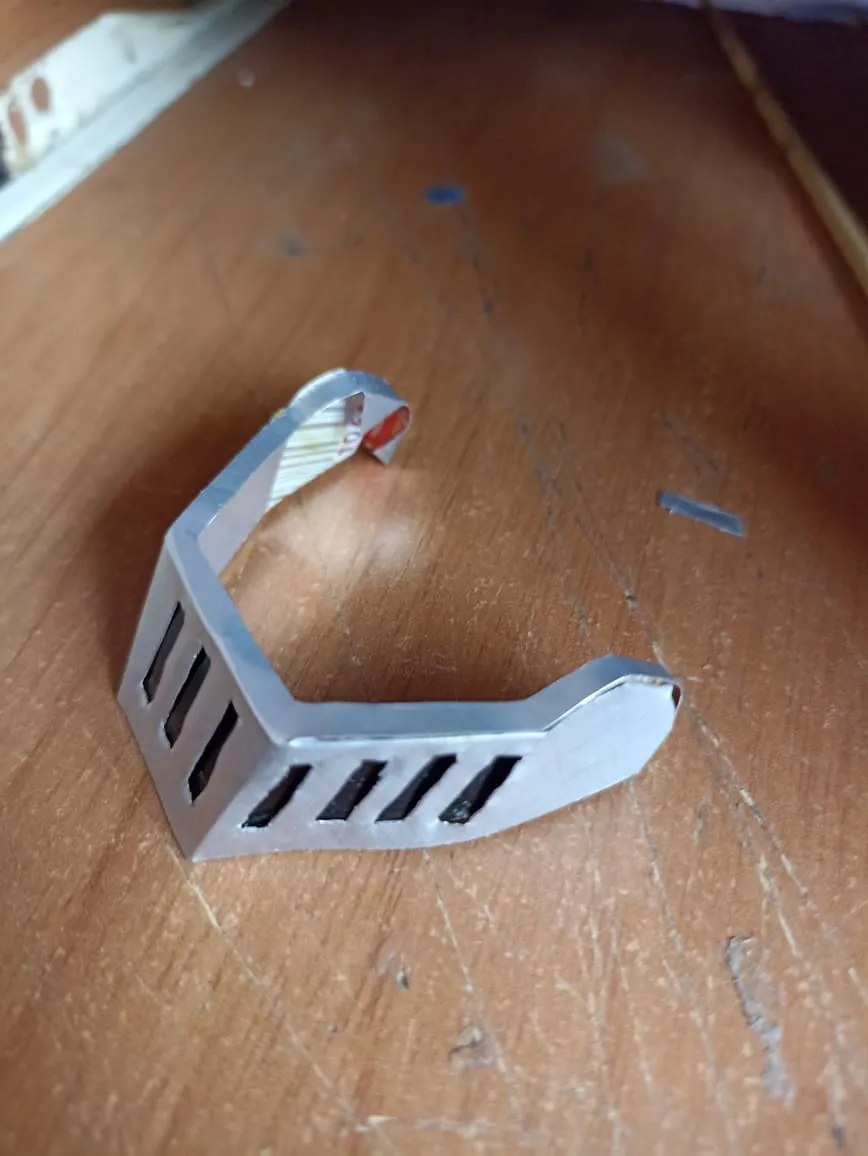
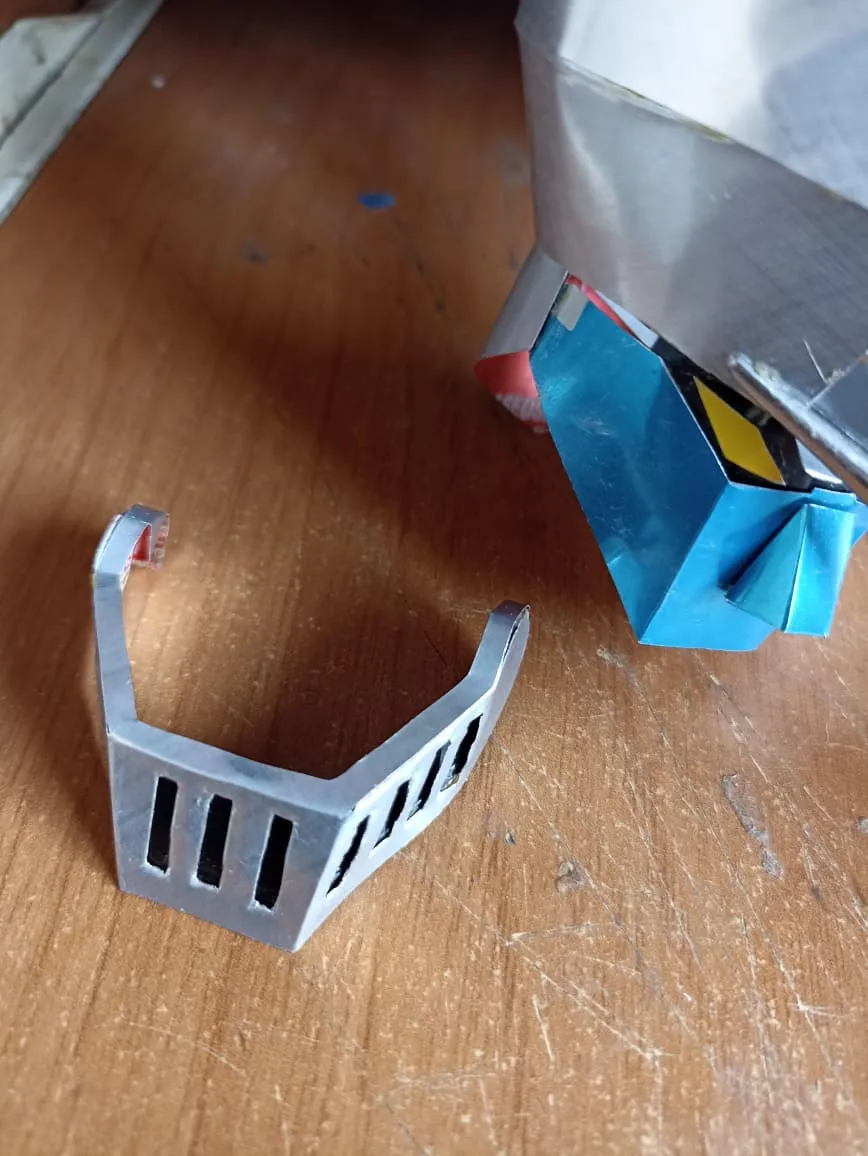
The next step to finish with this area of the face is to place the protector that covers the entire lower part. We cut it out of the template and with a knife we carefully make the grids, behind them we will place a black can and then we will join the rest of the face with glue.
El siguiente paso para finalizar con esta área del rostro es colocar el protector que cubre toda la parte inferior. Lo recortamos de la plantila y con una navaja cuidadosamente hacemos las rejillas, detrás de ellas colocaremos una lata de color negro y despues uniremos al resto del rostro con pegamento.
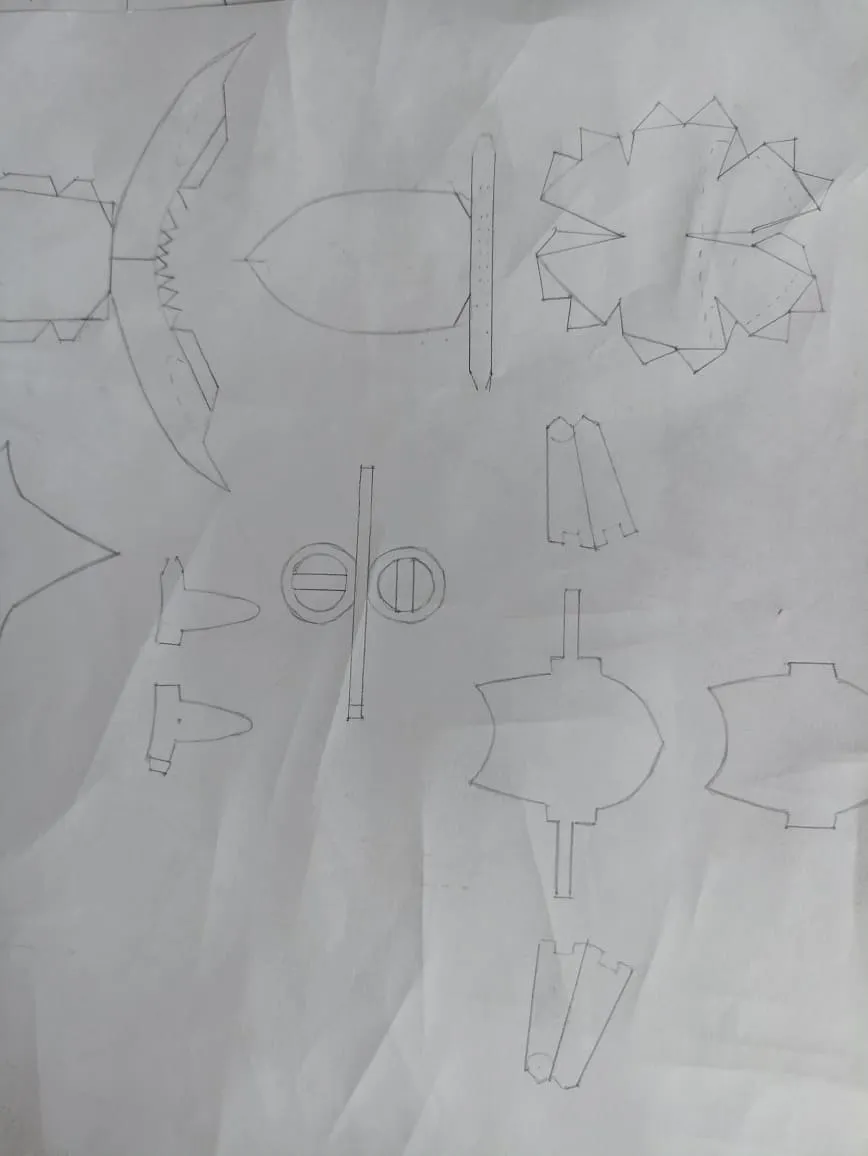
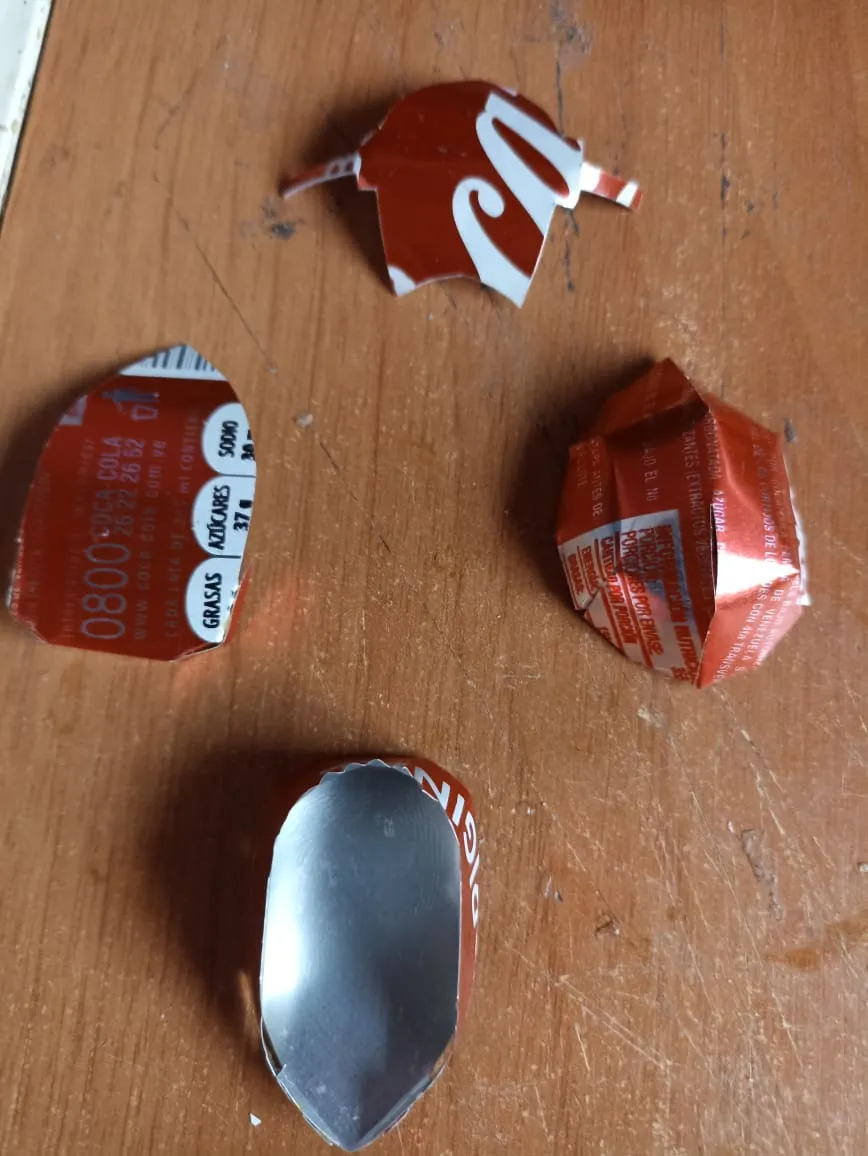
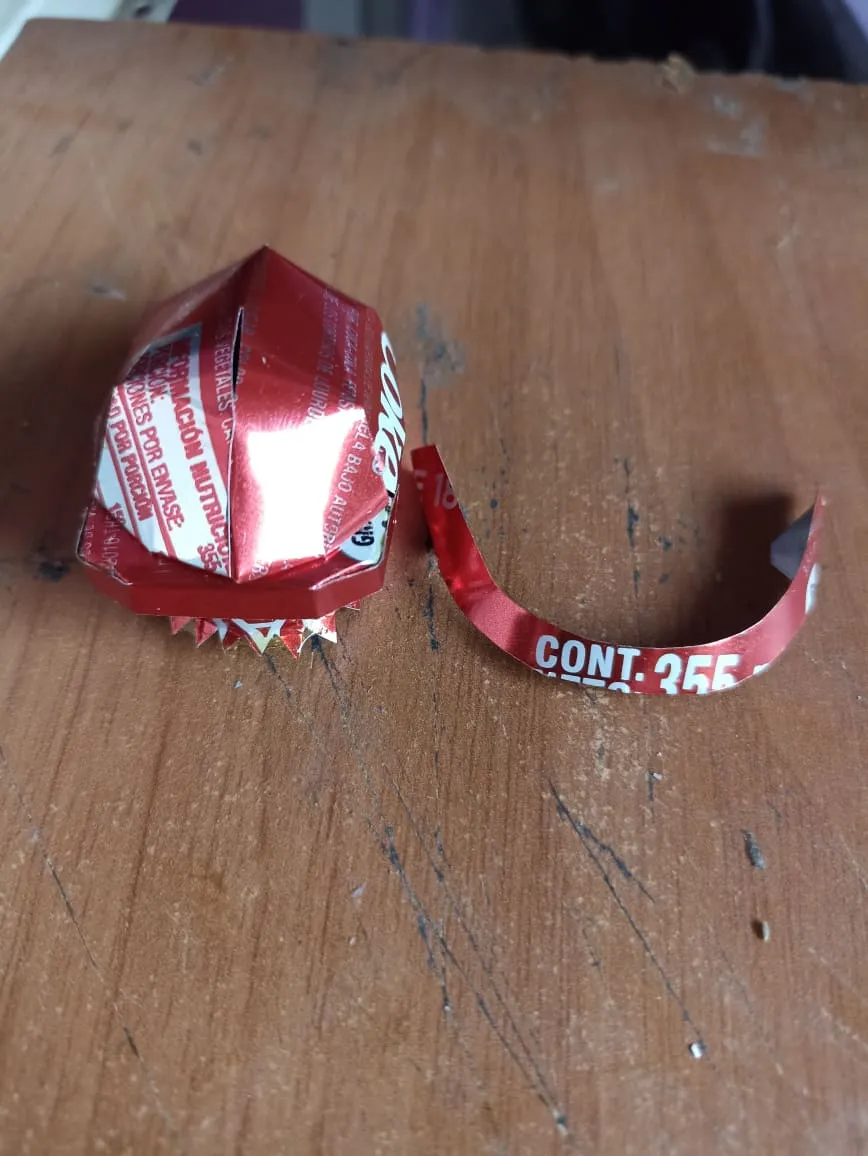
Then we will make the pilot ship, this ship is independent from the whole robot, and it joins last after the Mazinger Z is finished assembling. We cut each and every one of the parts and we put them together, it is somewhat complicated because the pieces are very small and can be easily damaged, so they have to be remade.
Después haremos la nave del piloto, esta nave es independiente de todo el robot, y se une en último lugar luego de que el Mazinger Z se termina de esamblar. Cortamos todas y cada una de las partes y vamos armando, es algo complicado por las piezas son muy pequeñas y pueden estropearse con facilidad por lo que hay que volver a hacerlas.
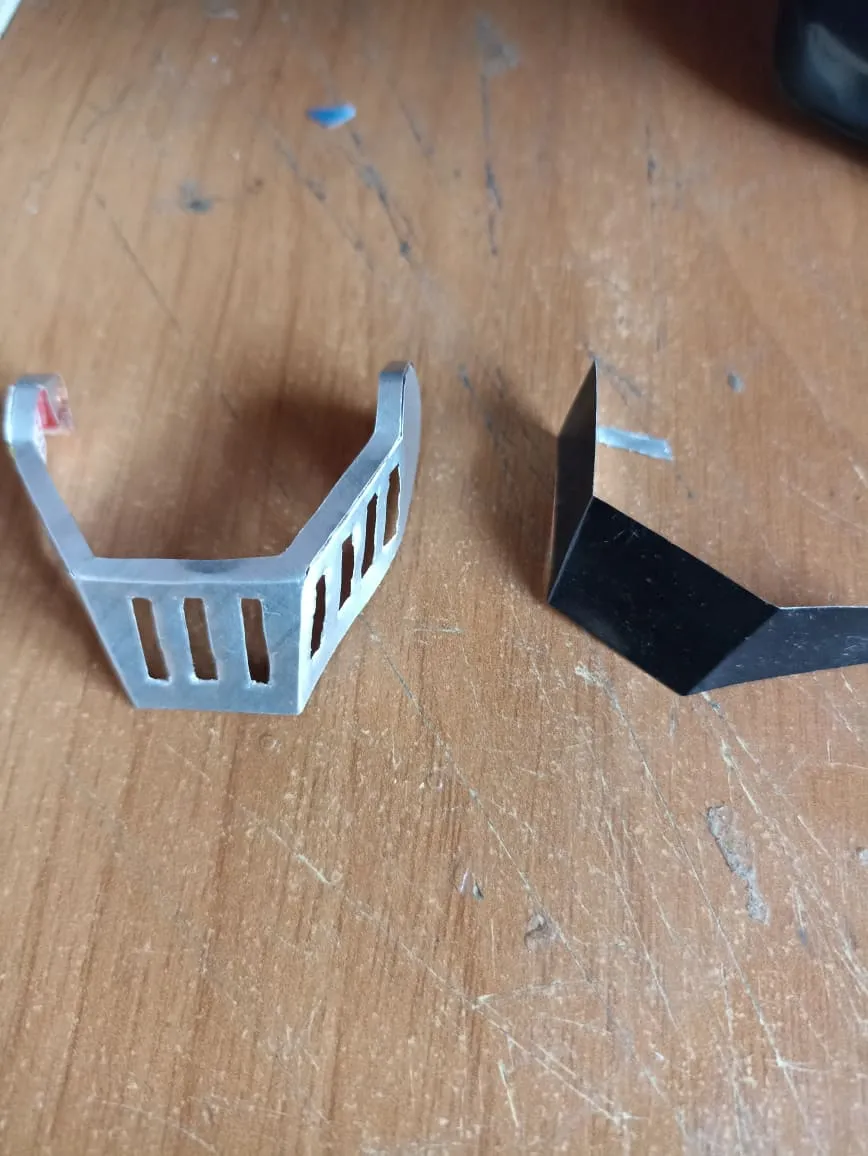
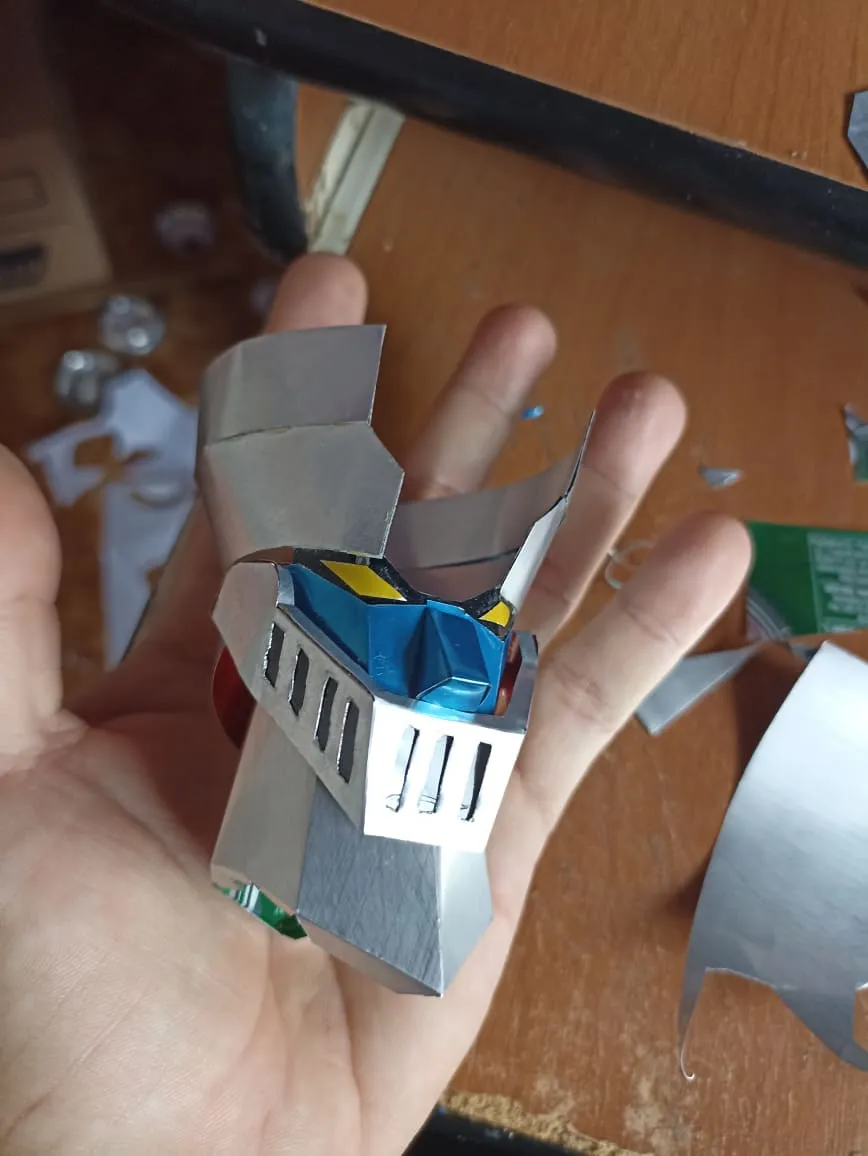
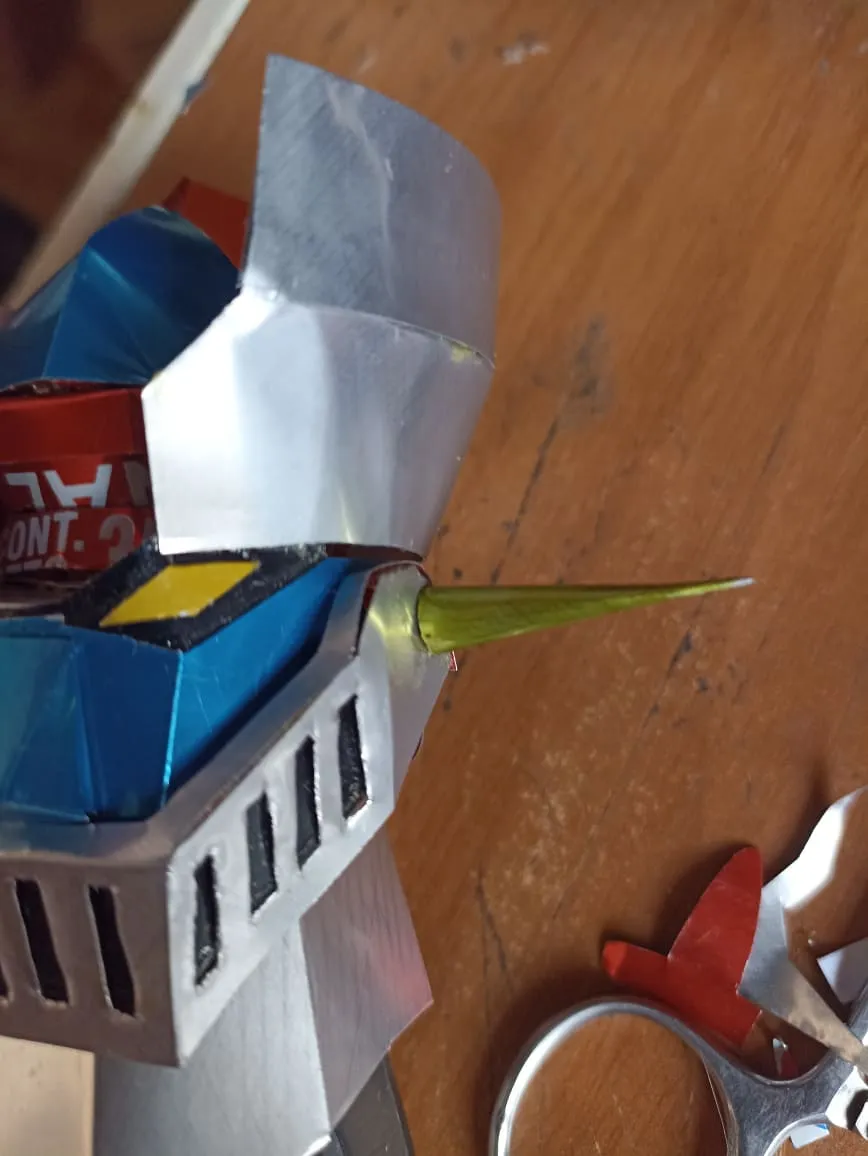
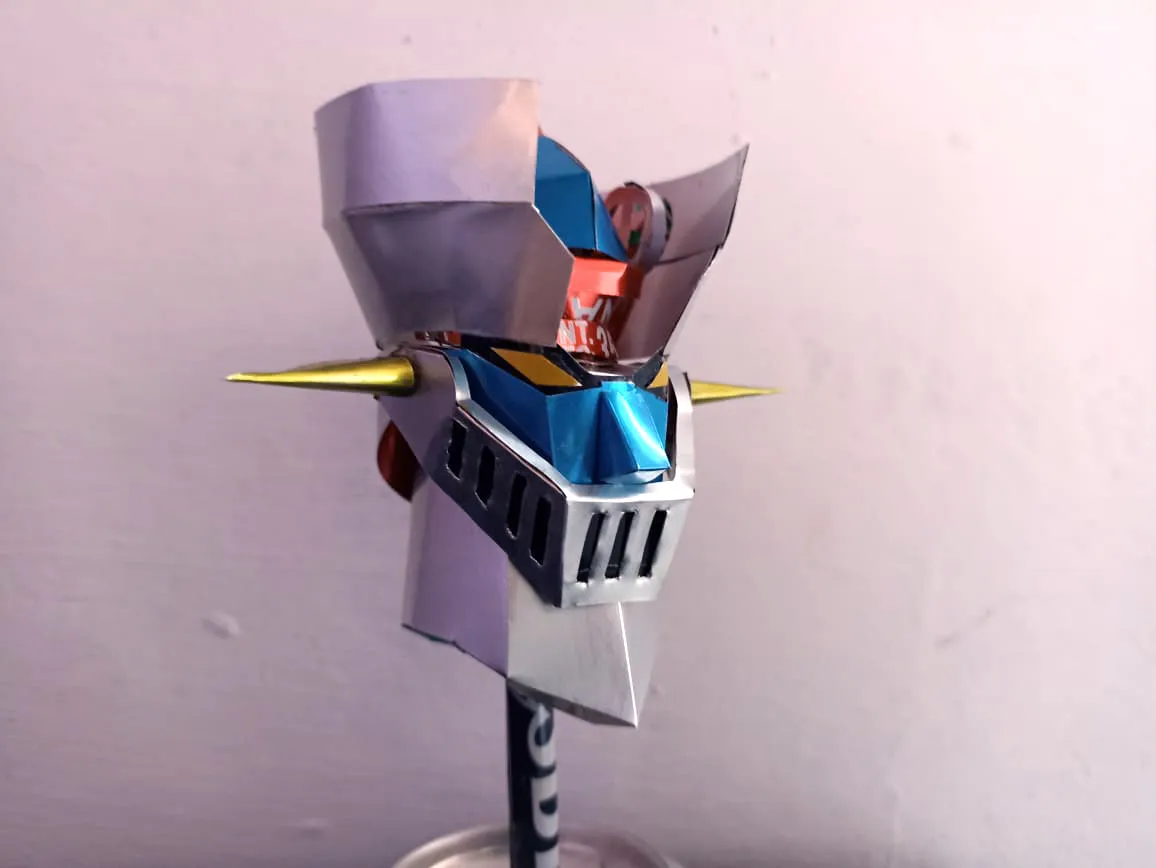
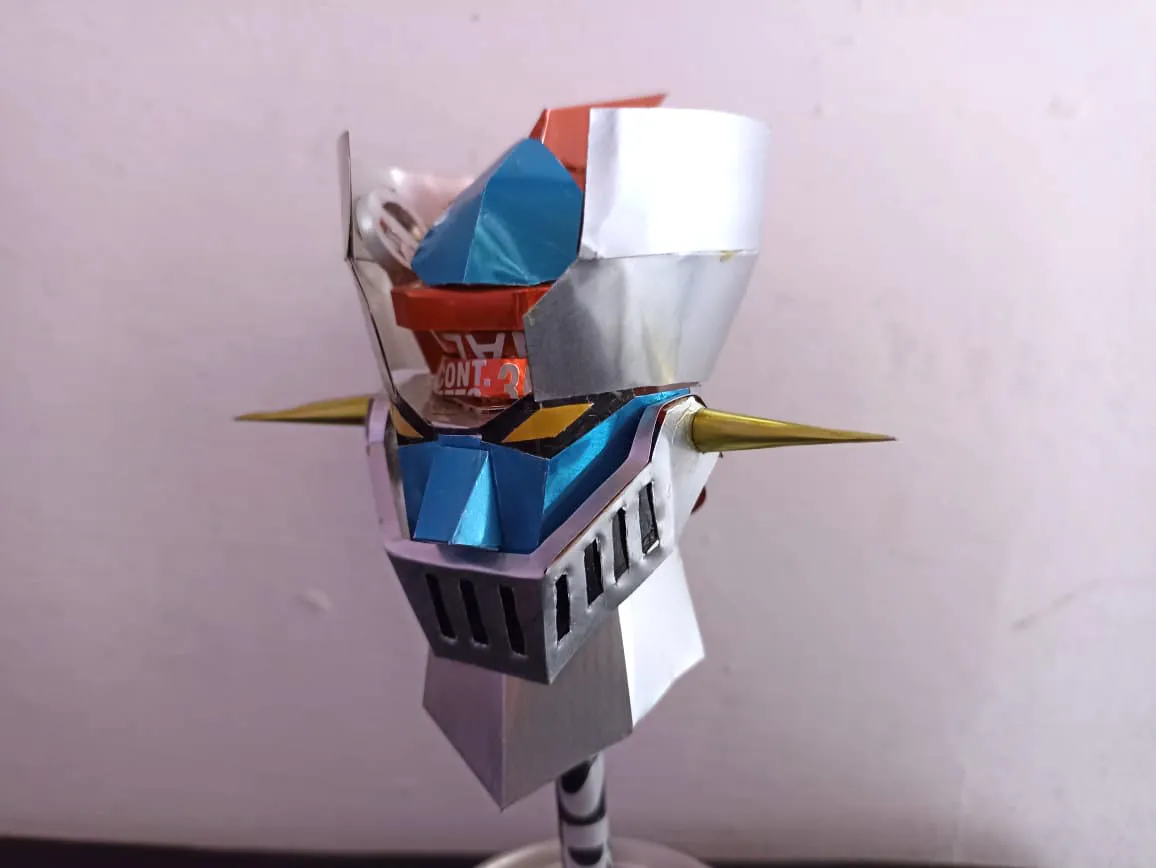
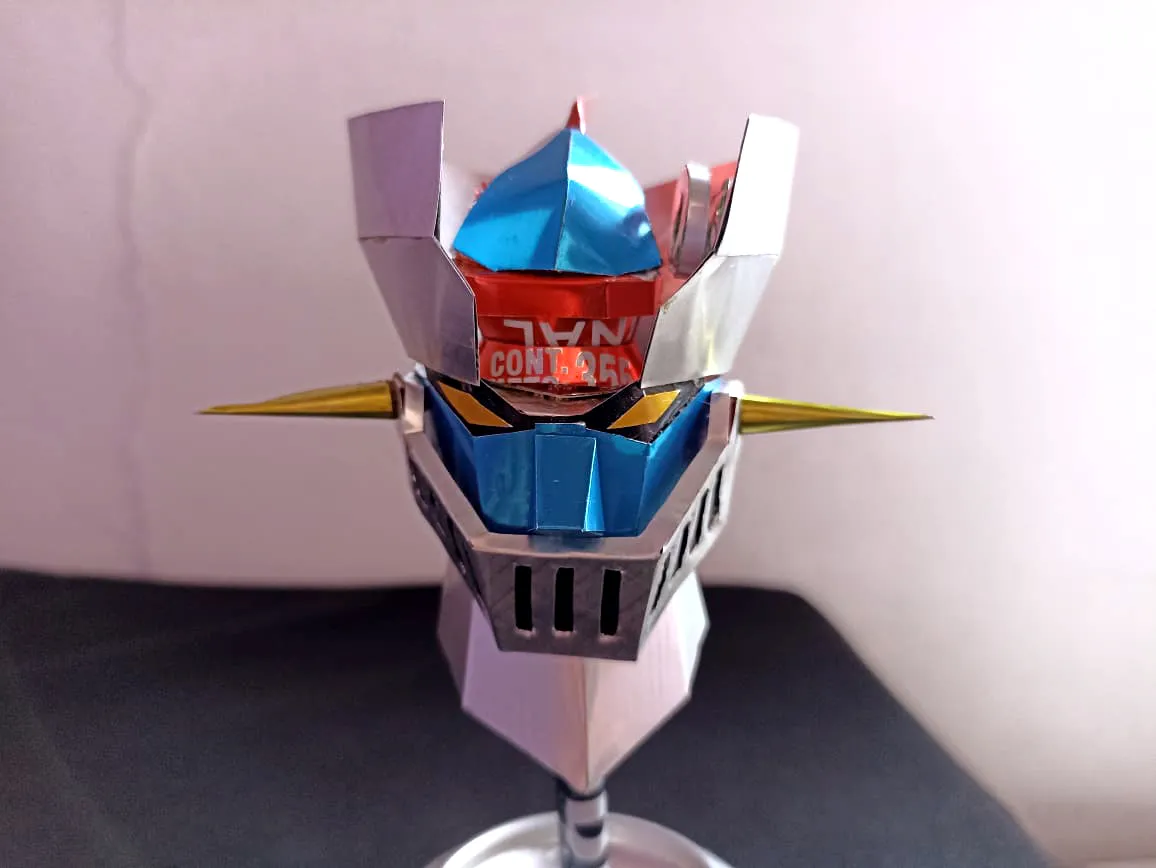
To finish we assemble the ship in the upper part of the head and make the pointed horns that go on each end of the face, we also make a base to place the head and thus be able to change its place whenever we want.
Para finalizar ensamblamos la nave en la parte superior de la cabeza y hacemos los cuernos puntiagudos que van en cada extremo del rostro, también hacemos una base para colocar la cabeza y así poderla cambiar de lugar cuando queramos.
After putting each piece in its place, we take a good look if nothing is missing, for example, the ship lacked an antenna-shaped piece that I put in last. I already have a large collection of helmets of famous characters, some I have given as gifts and others have been bought for me, due to space I cannot keep all of them, but I feel very good when they go to another place. I hope you liked this tutorial, it's very easy to do and you can do it with colored cardboard, it's easier to work with and the finish is great. Do not forget to comment what you think, if you have any suggestion you can let me know, I say goodbye see you soon, take care of yourselves.
Luego de poner cada pieza en su sitio miramos bien sino falta nada, por ejemplo a la nave le faltó una pieza en forma de antena que la puse en último lugar. Ya tengo una gran colección de cascos de persnajes famosos, algunos los he regalado y otros me los han comprado, por cuestión de espacio no puedo quedarme con todos, pero me siento muy bien cuando se van a otro lugar. Espero que les haya gustado neste tutorial, es muy facil de hacer y pueden hacerlo con cartulinas de colores, es más facil de trabajar y el acabado es genial. No olviden comentar que les ha parecido, si tienen alguna sugerencia pueden hacermela saber, me despido hasta pronto, cuidense mucho.