Hola Amigos Hivers 🐝🐝❣️❣️ espero que se encuentren muy pero muy bien, hoy paso por aquí para compartir con ustedes una hermosa cajita ideal para regalar algún presente a un ser querido. Soy de esas personas que guarda todo jejejeje porque mi abuelita dice: "*El que guarda siempre tiene*" y hoy fue uno de esos días dónde le damos a razón a mi guela (así le digo desde siempre) está cajita ya he hecho antes y tenía guardado el patrón para hacerla, recuerdo que las hice para un día de las madres, hice varias para regalarle a las mamás que conozco, y hoy mi hermana menor me pidió que le hiciera una cajita de esa que le había hecho para el día de las madres, que va a regalar unos bombones y pensó en está cajita super cute. Obviamente le dije que sí, y pues vengo a mostrarle como ustedes también la pueden hacer. Recuerden que ya se acerca el día se San Valentín jejeje.
Hello Friends Hivers 🐝🐝❣️❣️ I hope you are very but very well, today I come by here to share with you a beautiful little box ideal to give a present to a loved one. I am one of those people who saves everything hehehehehe because my grandmother says: "*He who saves always has*" and today was one of those days where we give reason to my guela (so I always say to her) I have made this box before and I had saved the pattern to make it, I remember I made them for Mother's Day, I made several to give to the moms I know, and today my younger sister asked me to make her a box that I had made for Mother's Day, she is going to give some chocolates and thought of this super cute box. Obviously I said yes, and I'm here to show you how you can do it too. Remember that Valentine's Day is coming up hehehe.

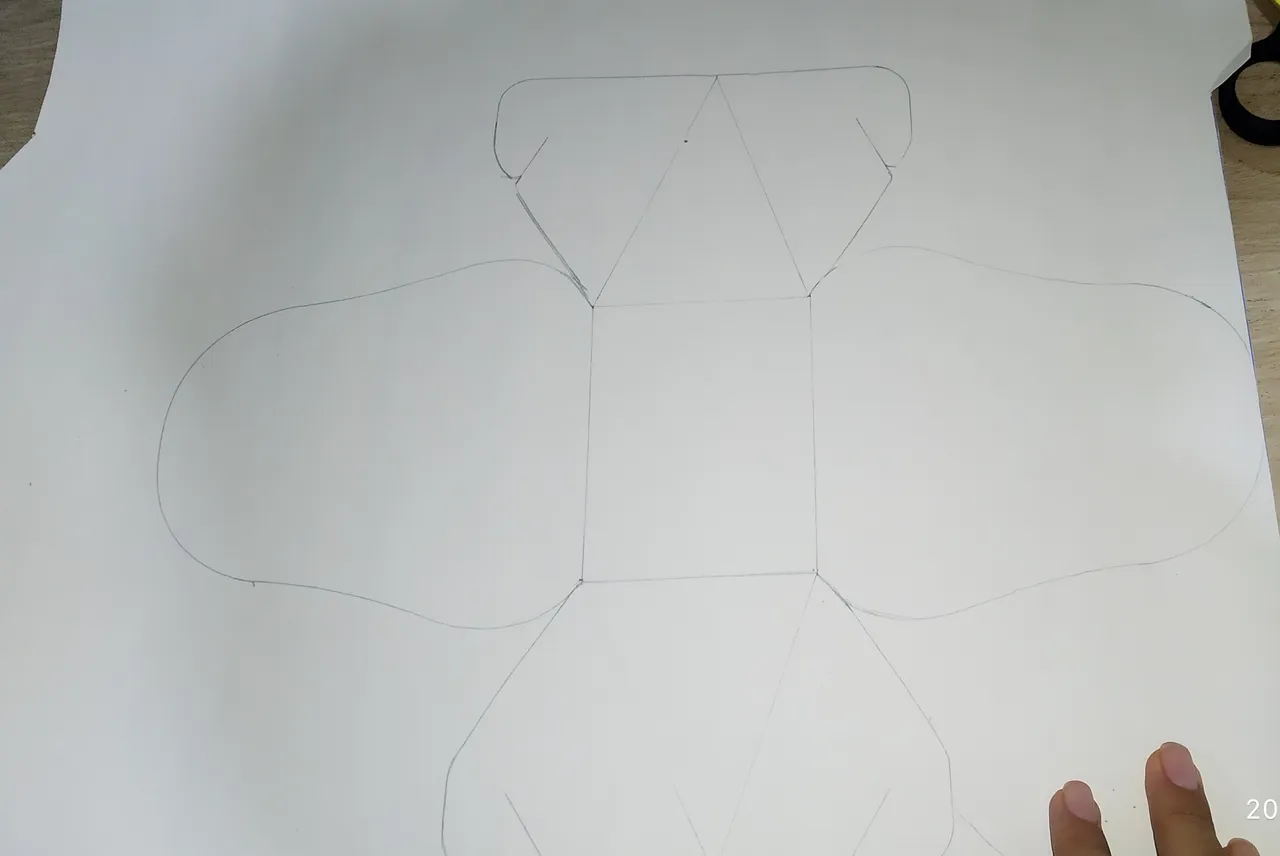
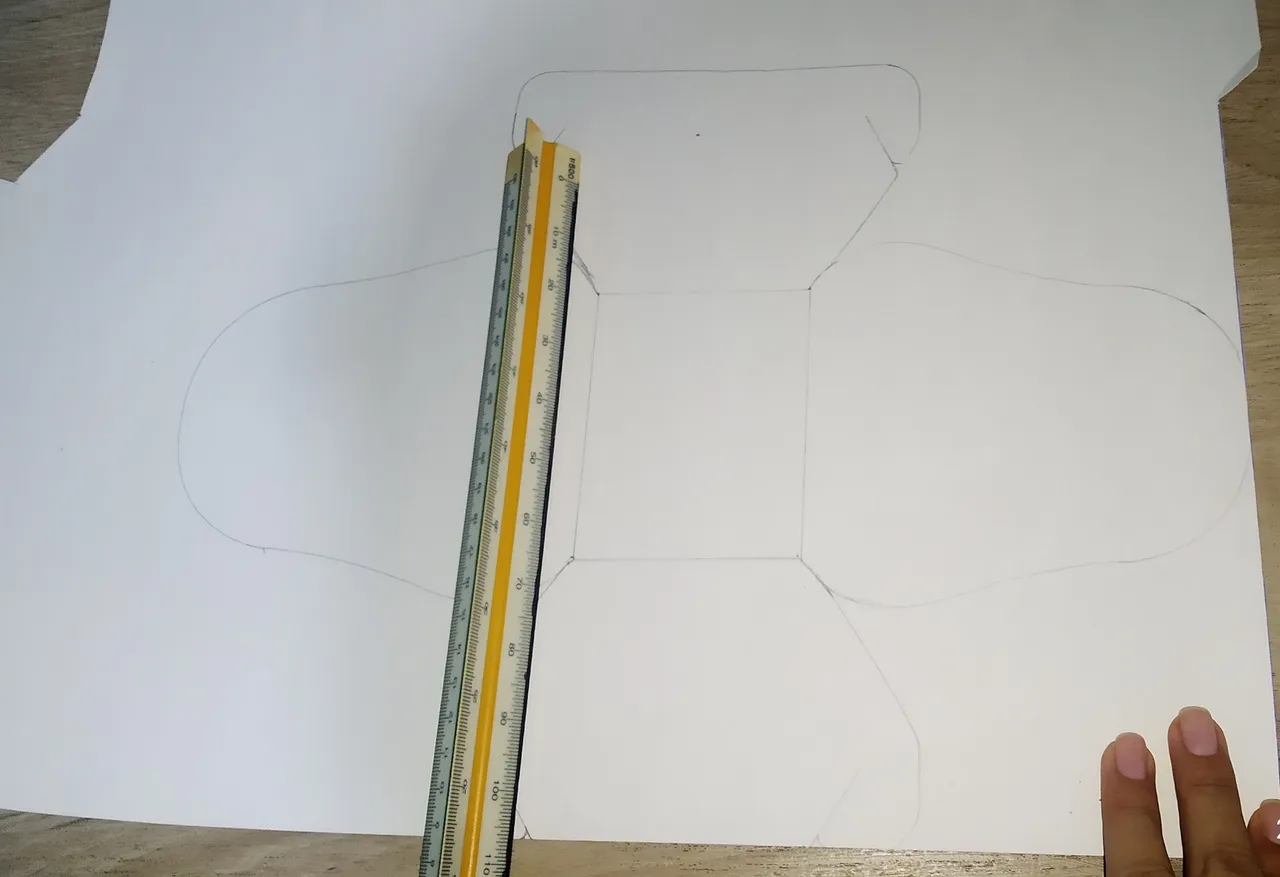
Bueno para empezar, vamos a necesitar el patrón, no sé cómo hacer para dejarle la escala real, pero les dejaré una imagen en la que pueden ver cómo es, y si tienen buen detalle la pueden pasar a mano alzada.
Well for starters, we will need the pattern, I don't know how to make it in real scale, but I'll leave an image where you can see how it looks like, and if you have good detail you can freehand it.
NECESITAREMOS:
🎁 Cartulina de nuestra preferencia.
🎁 Lápiz.
🎁 Regla.
🎁 Tijeras.
🎁 Abre huecos.
🎁 Cinta decorativa.
WE WILL NEED:
🎁 Cardboard of our preference.
🎁 Pencil.
🎁 Ruler.
🎁 Scissors.
🎁 Hole opener.
🎁 Decorative tape.
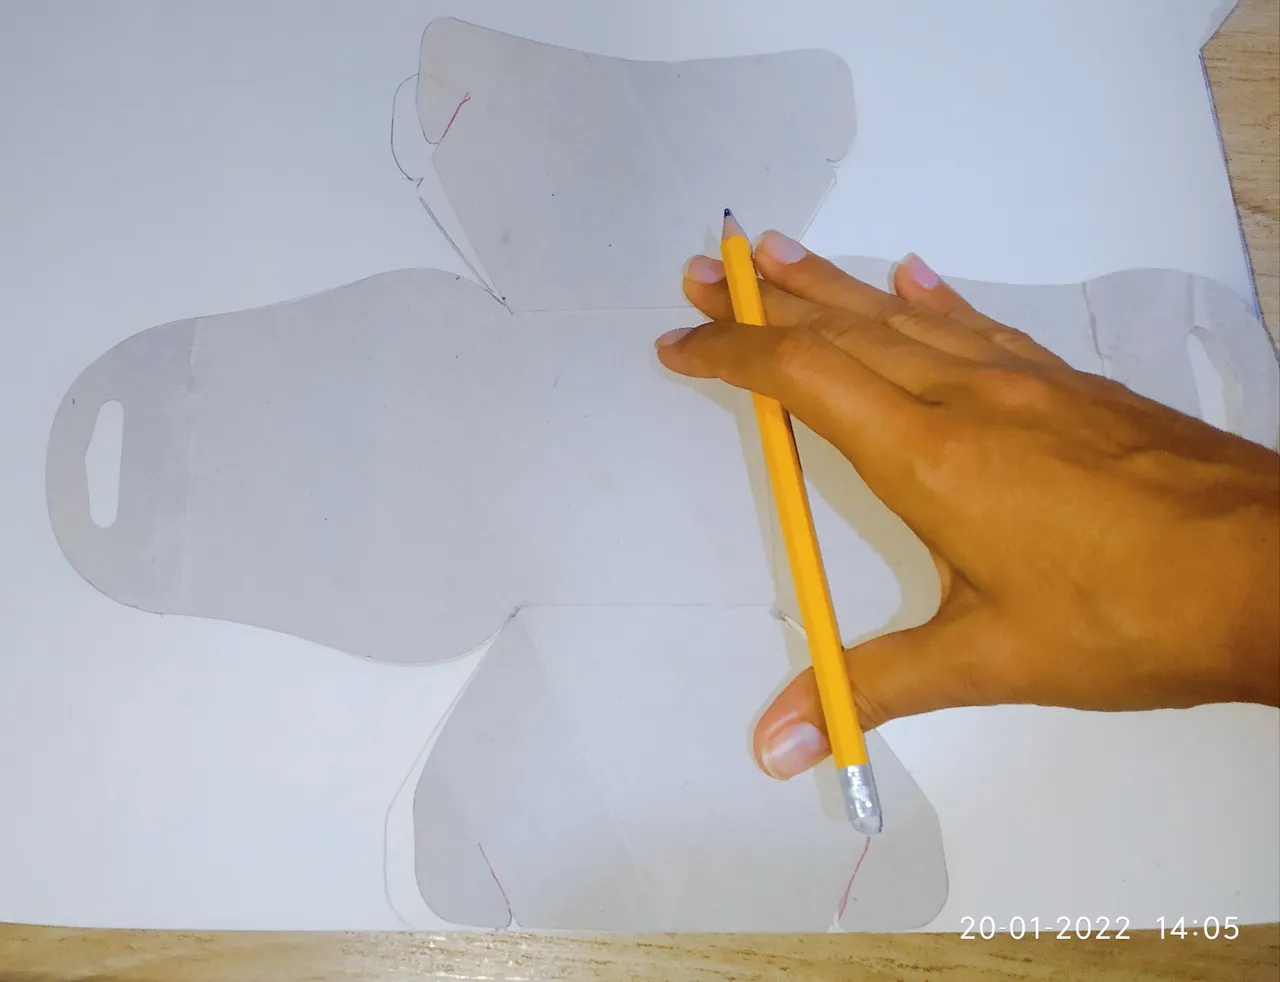
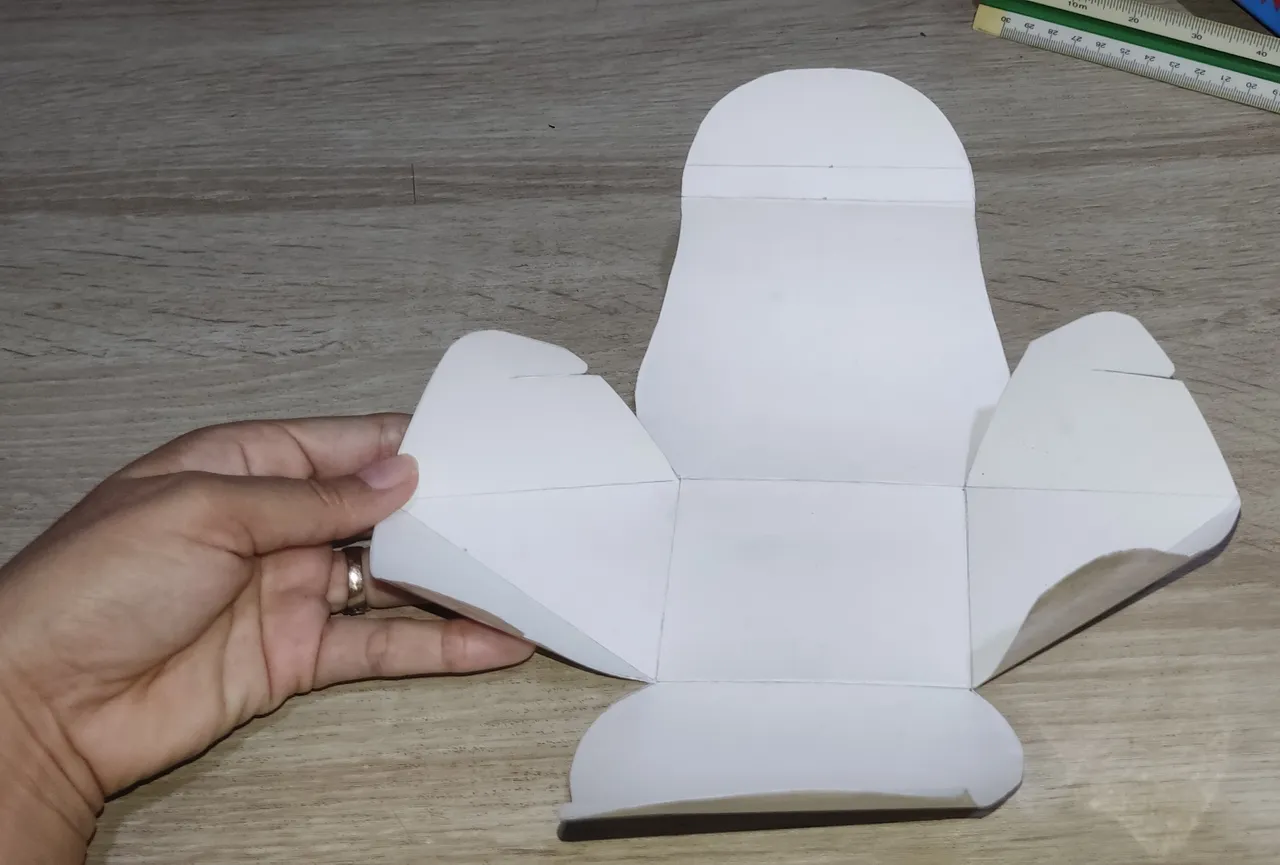
Empezaremos colocando por el revés de la cartulina, el patrón o plantilla de la cajita que vamos hacer, luego sujetamos con la mano para que no se mueva mientras que con el lápiz vamos marcando por todo el borde en la cartulina.
We will start by placing on the back of the cardboard, the pattern or template of the box that we are going to make, then we hold it with our hand so that it does not move while with the pencil we are marking all around the edge on the cardboard.
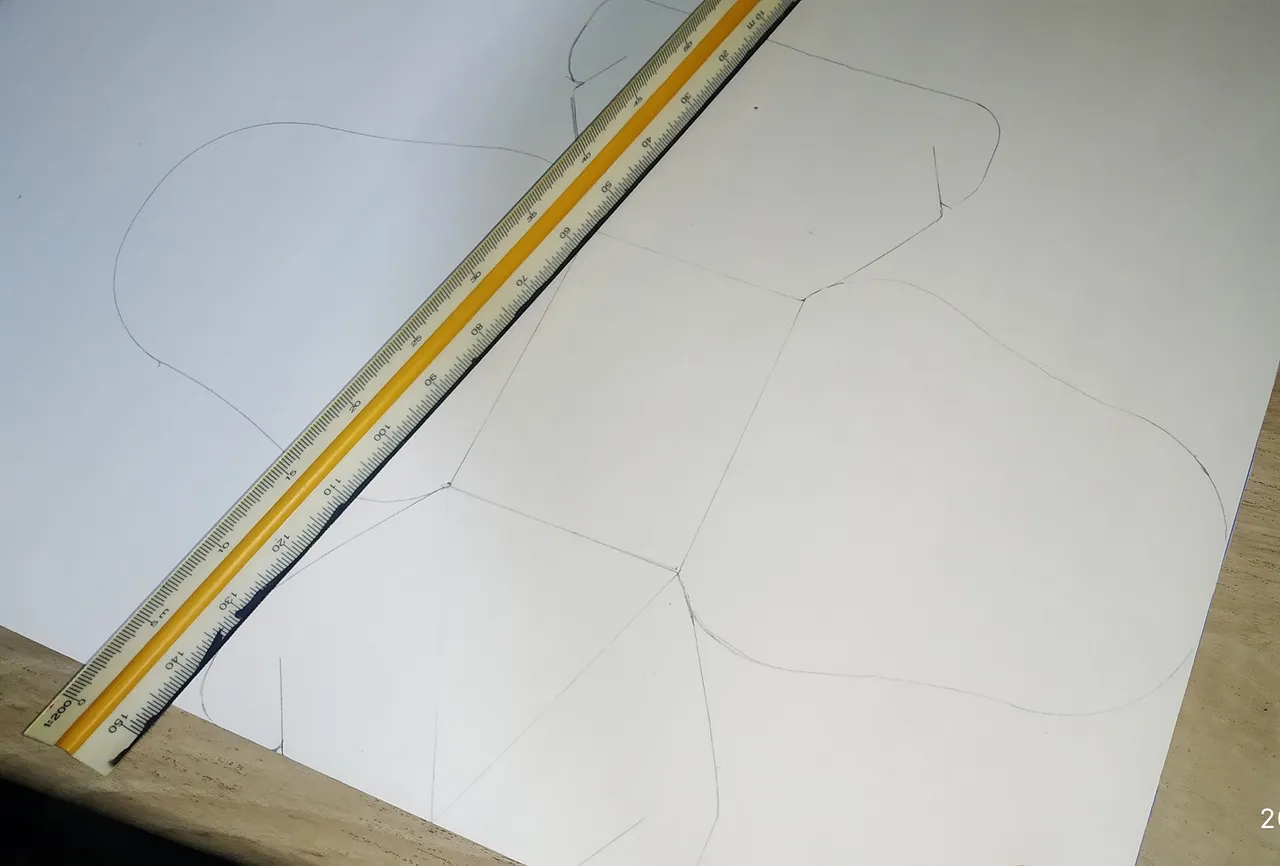
Ya que la hemos marcado en la cartulina, con la regla haremos un cuadro en el medio de la cartulina marcada, este cuadrado debe coincidir con las esquinas de la caja, así como vemos en la imagen.
Once we have marked it on the cardboard, with the ruler we will make a square in the middle of the marked cardboard, this square must coincide with the corners of the box, as we can see in the image.
Luego en las solapas más pequeñas, haremos un triángulo que va desde las esquinas del cuadrado hasta el medio de la solapa así como se ve en la imagen, igual siempre estaré en los comentarios por si les queda alguna duda.
Then on the smaller flaps, we will make a triangle that goes from the corners of the square to the middle of the flap as shown in the image, I will always be in the comments in case you have any questions.
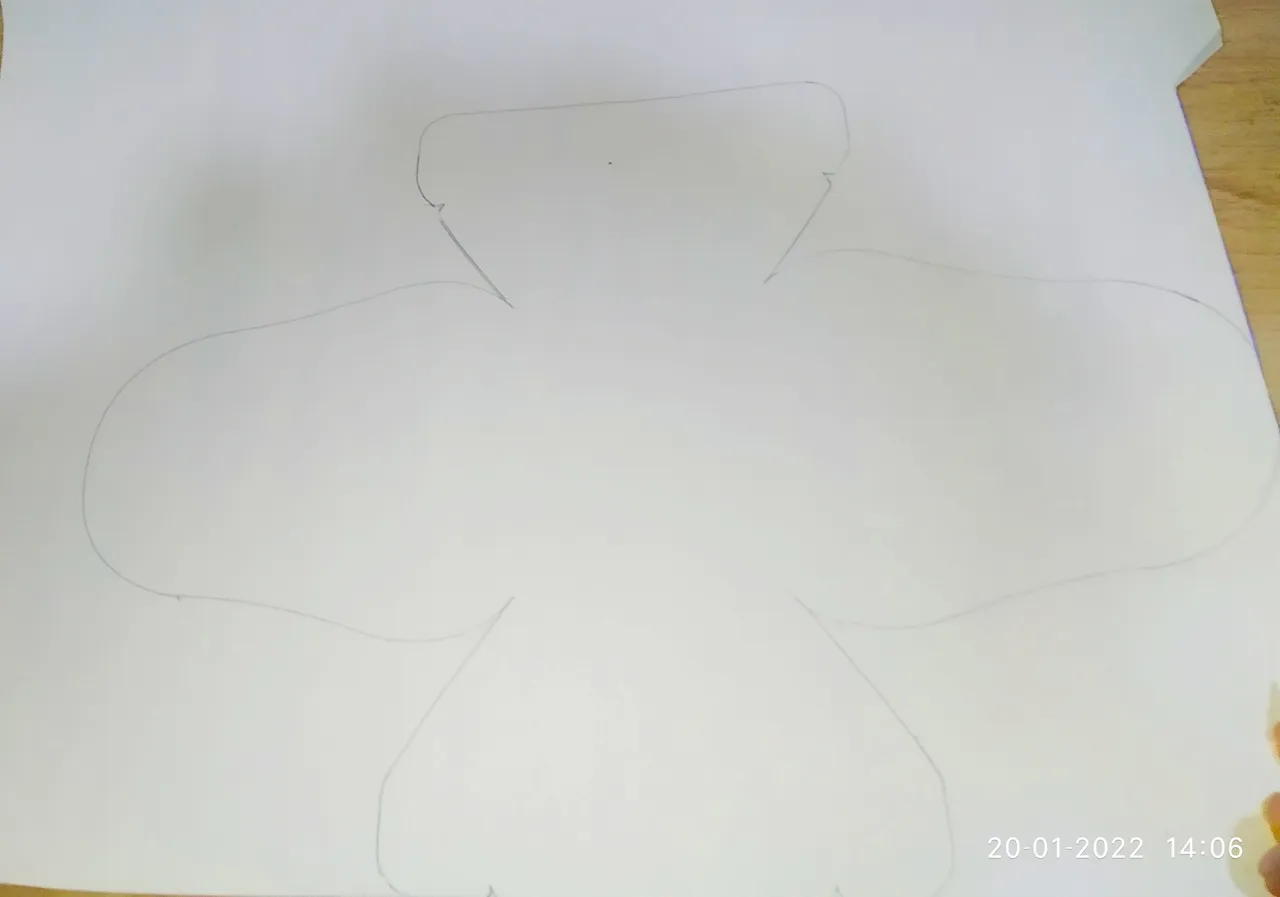
Recortaremos por todo el borde que marcamos.
We will cut all around the edge that we marked.
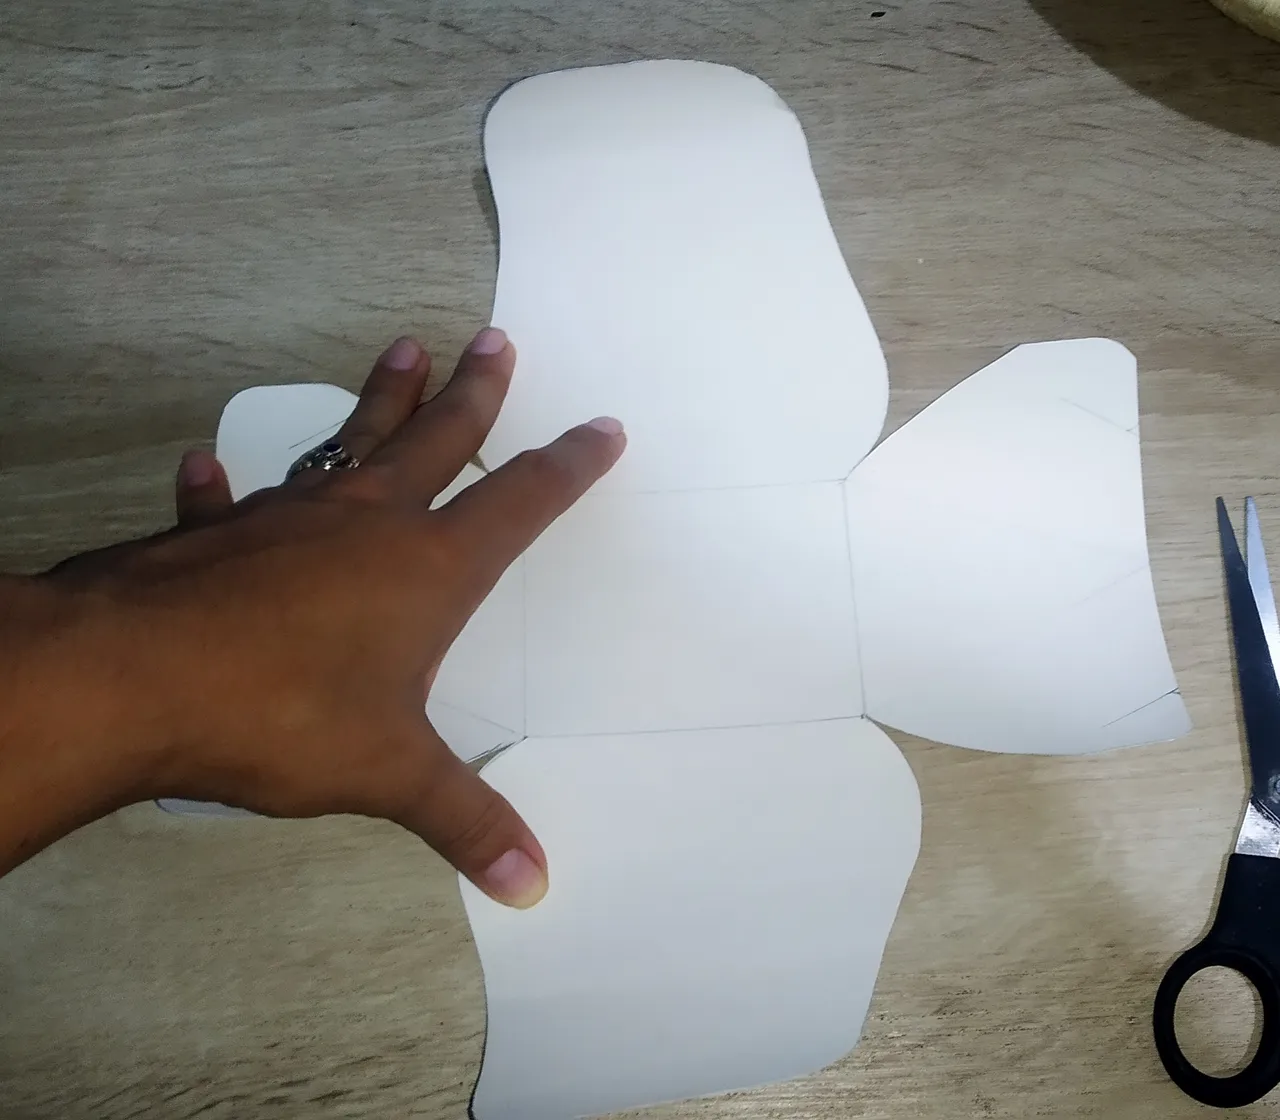
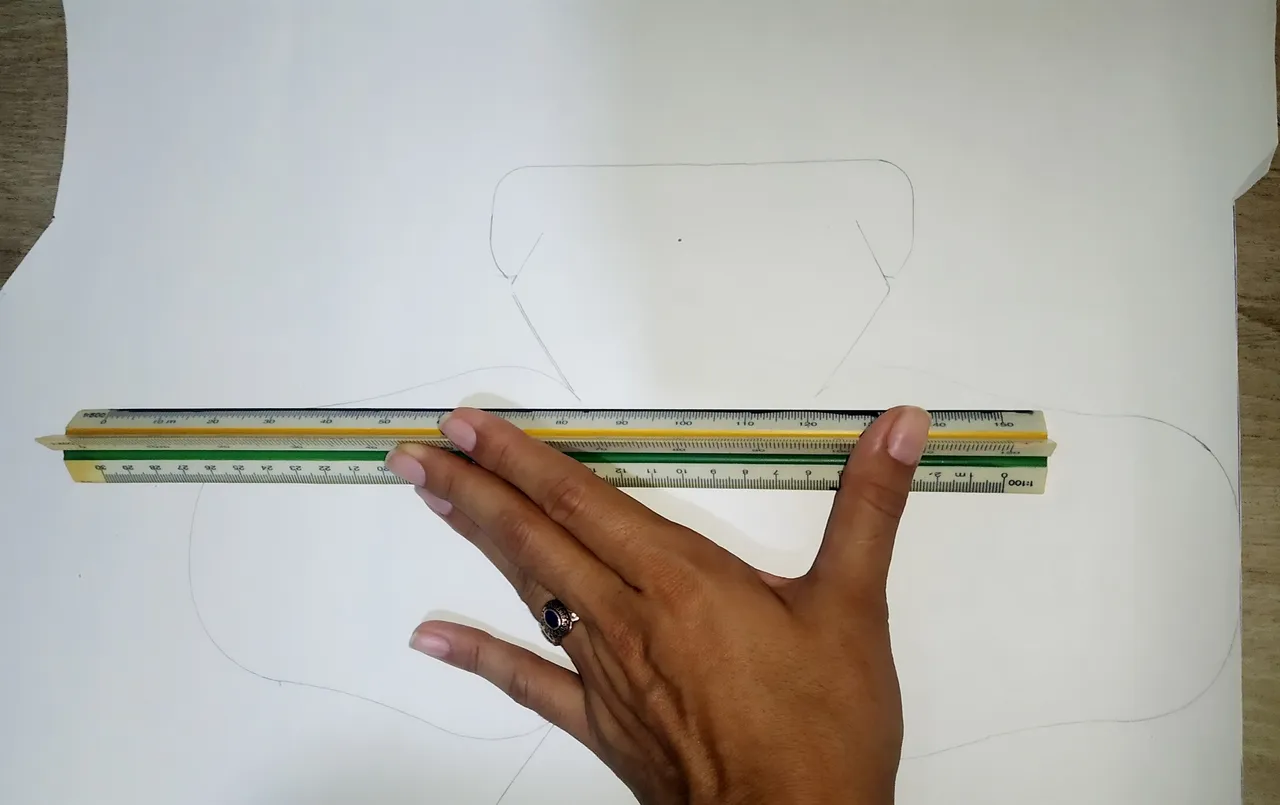
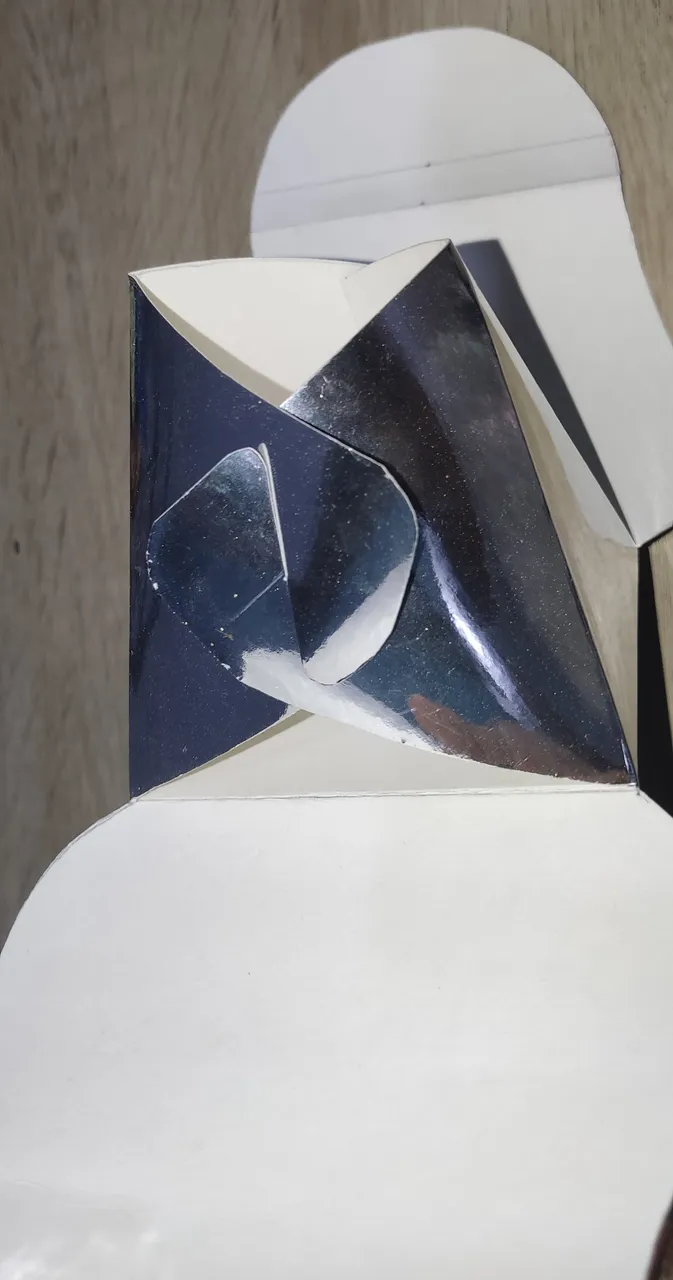
Ahora marcamos los dobles, que le darán la forma a la cajita, colocando la regla sobre una de las rayas de cuadrado, sujetamos fuerte la regla para que no se mueva y levantamos la cartulina para doblar justo el la marca, así haremos con todas las líneas del cuadrado y con las del rectángulo.
Now we mark the doubles, which will give the shape to the box, placing the ruler on one of the stripes of the square, hold the ruler tight so that it does not move and lift the cardboard to bend just the mark, so we will do with all the lines of the square and the rectangle.

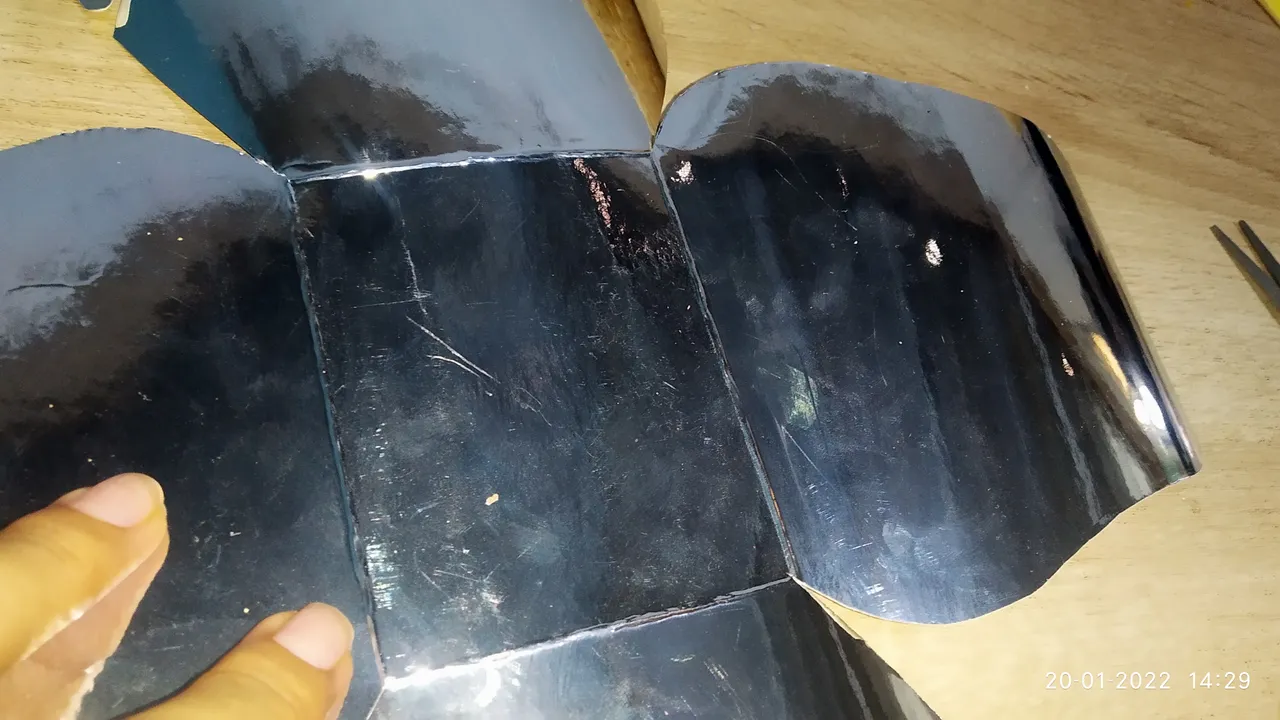
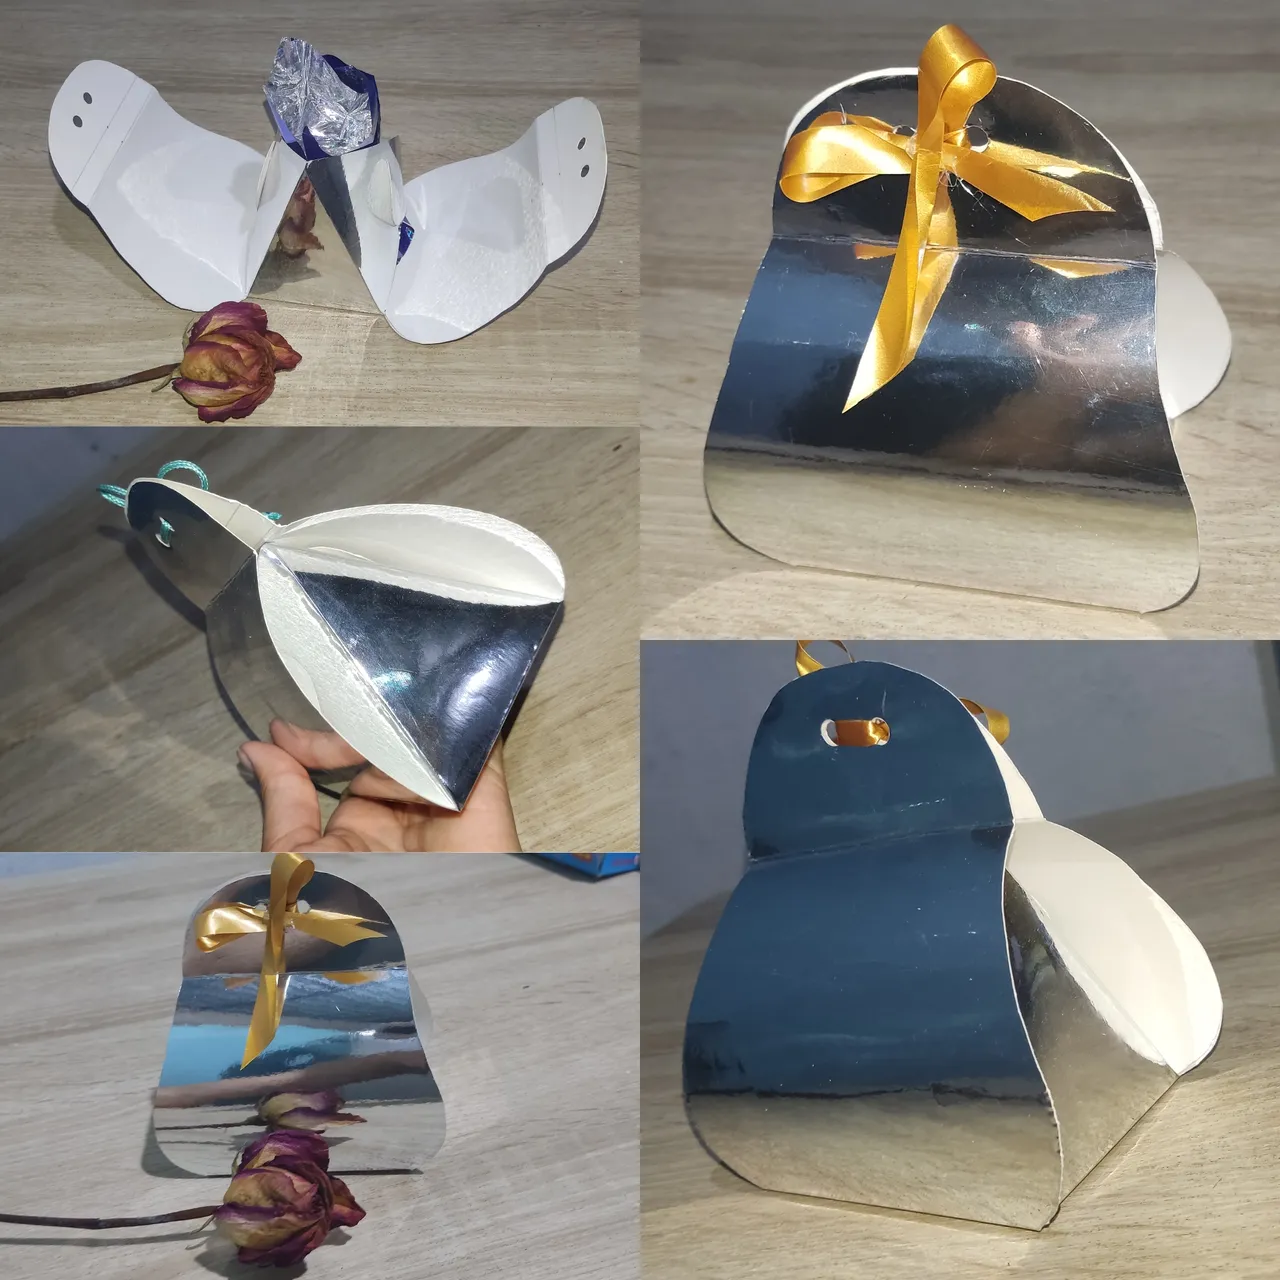
Teniendo la cajita en este punto podemos decir que está casi lista ☺️ solo falta hacer los huequitos con el saca huecos, para cerrar la cajita. Yo use una cinta naranja porque los bombones son para un chico. Pero podemos ponerle la decoración que más nos guste según para quien sea o que se esté celebrando.
Having the box at this point we can say that it is almost ready ☺️ we just need to make the holes with the hole punch, to close the box. I used an orange ribbon because the chocolates are for a boy. But we can put the decoration that we like depending on who it is for or what is being celebrated.
Espero que les haya gustado esta opción de cómo hacer una cajita de regalo, sencilla pero linda a la vez que podemos personalizar a nuestro gusto.
I hope you liked this option of how to make a gift box, simple but cute at the same time that we can customize to our liking.

GRACIAS POR LEERME Y APOYARME ☺️🤗 TE MANDO MILES DE BENDICIONES ✨✨
THANK YOU FOR READING AND SUPPORTING ME ☺️🤗 I SEND YOU THOUSANDS OF BLESSINGS ✨✨