
🌸🌸Hola hivers🌸🌸
Feliz viernes a todos
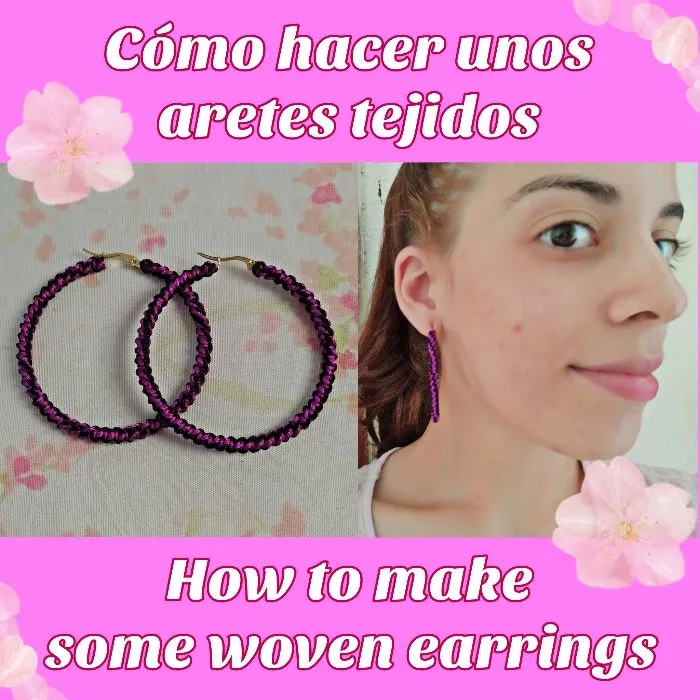
Les traigo una grandiosa idea si quieres lucir unos aretes hermosos y diferentes, y te lo explico en este mini tutorial.
🌸🌸Hello hivers🌸🌸
Happy Friday everyone
I bring you a great idea if you want to wear beautiful and different earrings, and I explain it to you in this mini tutorial.
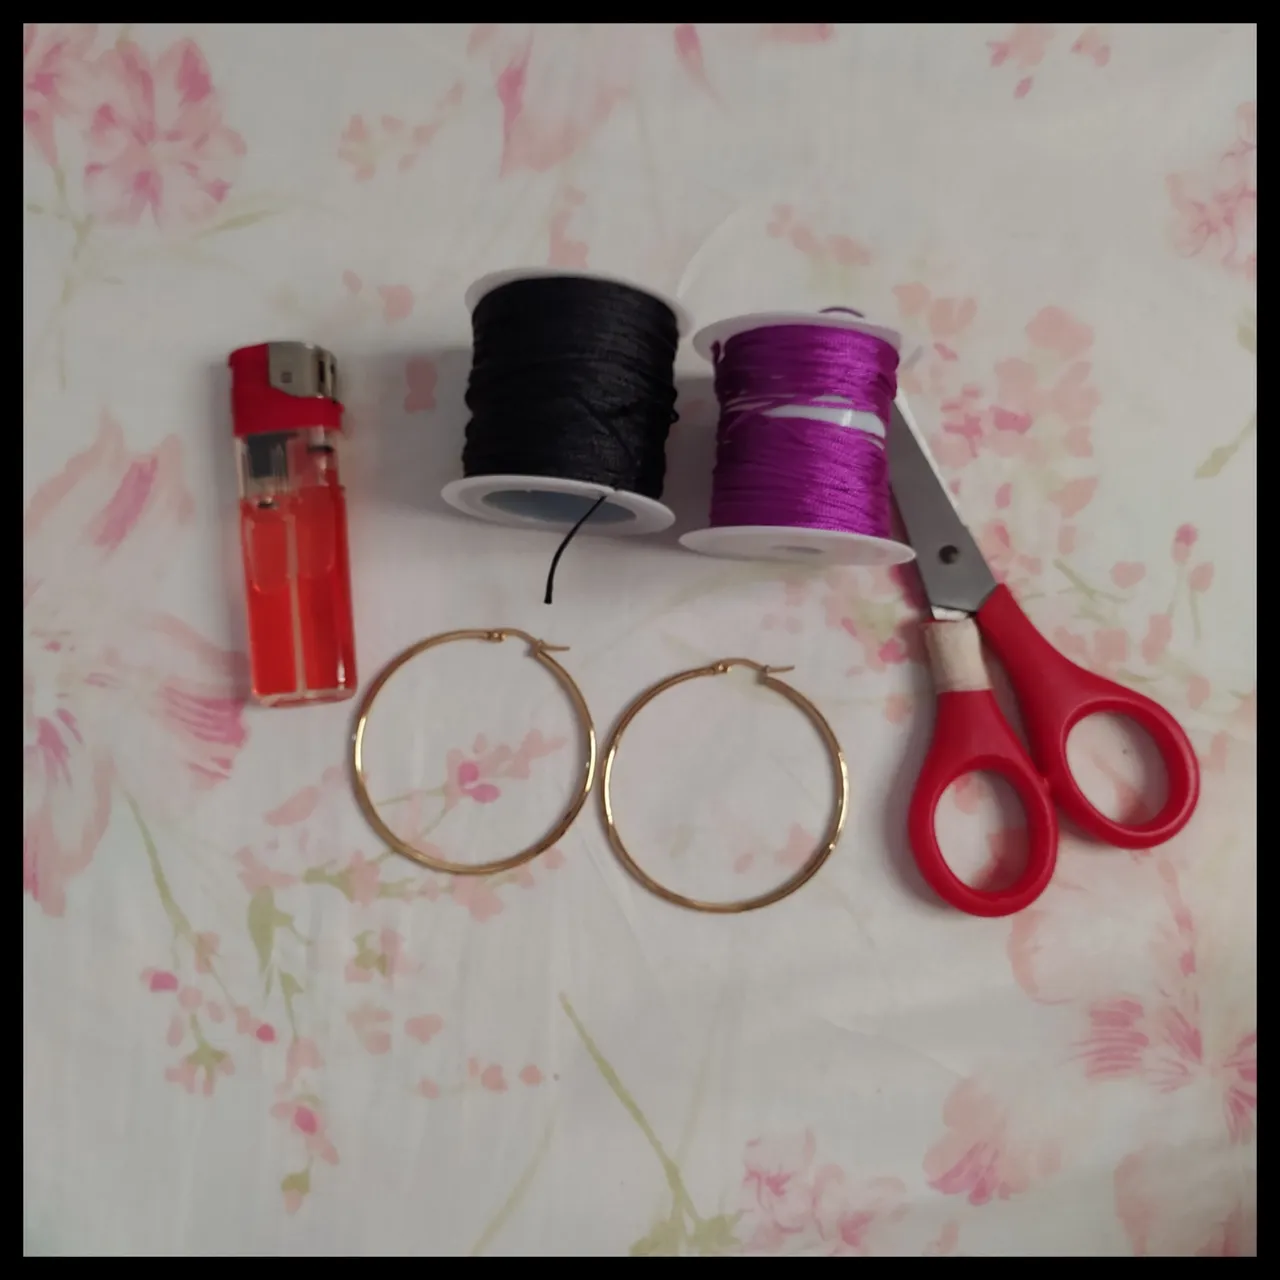
Los materiales que necesitaremos son:
- 4 m de hilo encerado morado
- 4 m de hilo encerado negro
- Encendedor
- Tijera
- Un par de argollas de fantasía
The materials we will need are:
- 4 m of purple waxed thread
- 4 m of black waxed thread
- Lighter
- Scissors
- A pair of fancy rings
Lo primero que haremos será cortar el hilo encerado en 2.
Obteniendo así dos hilos morados de 2 m y dos hilos negros de 2 m.
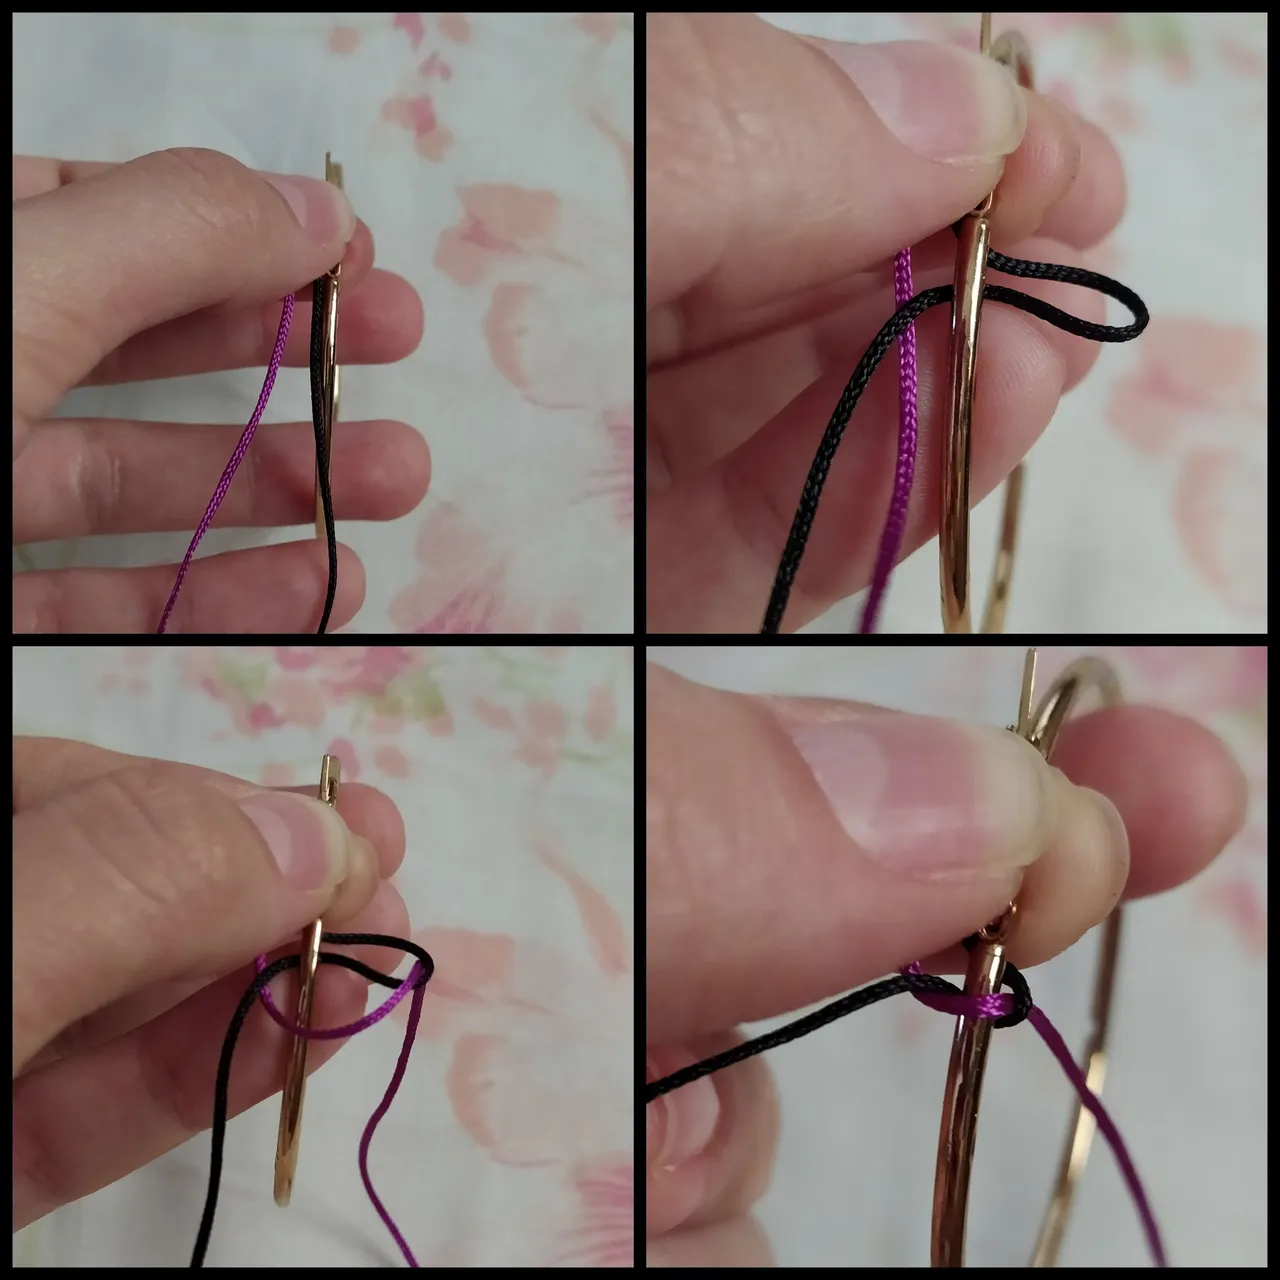
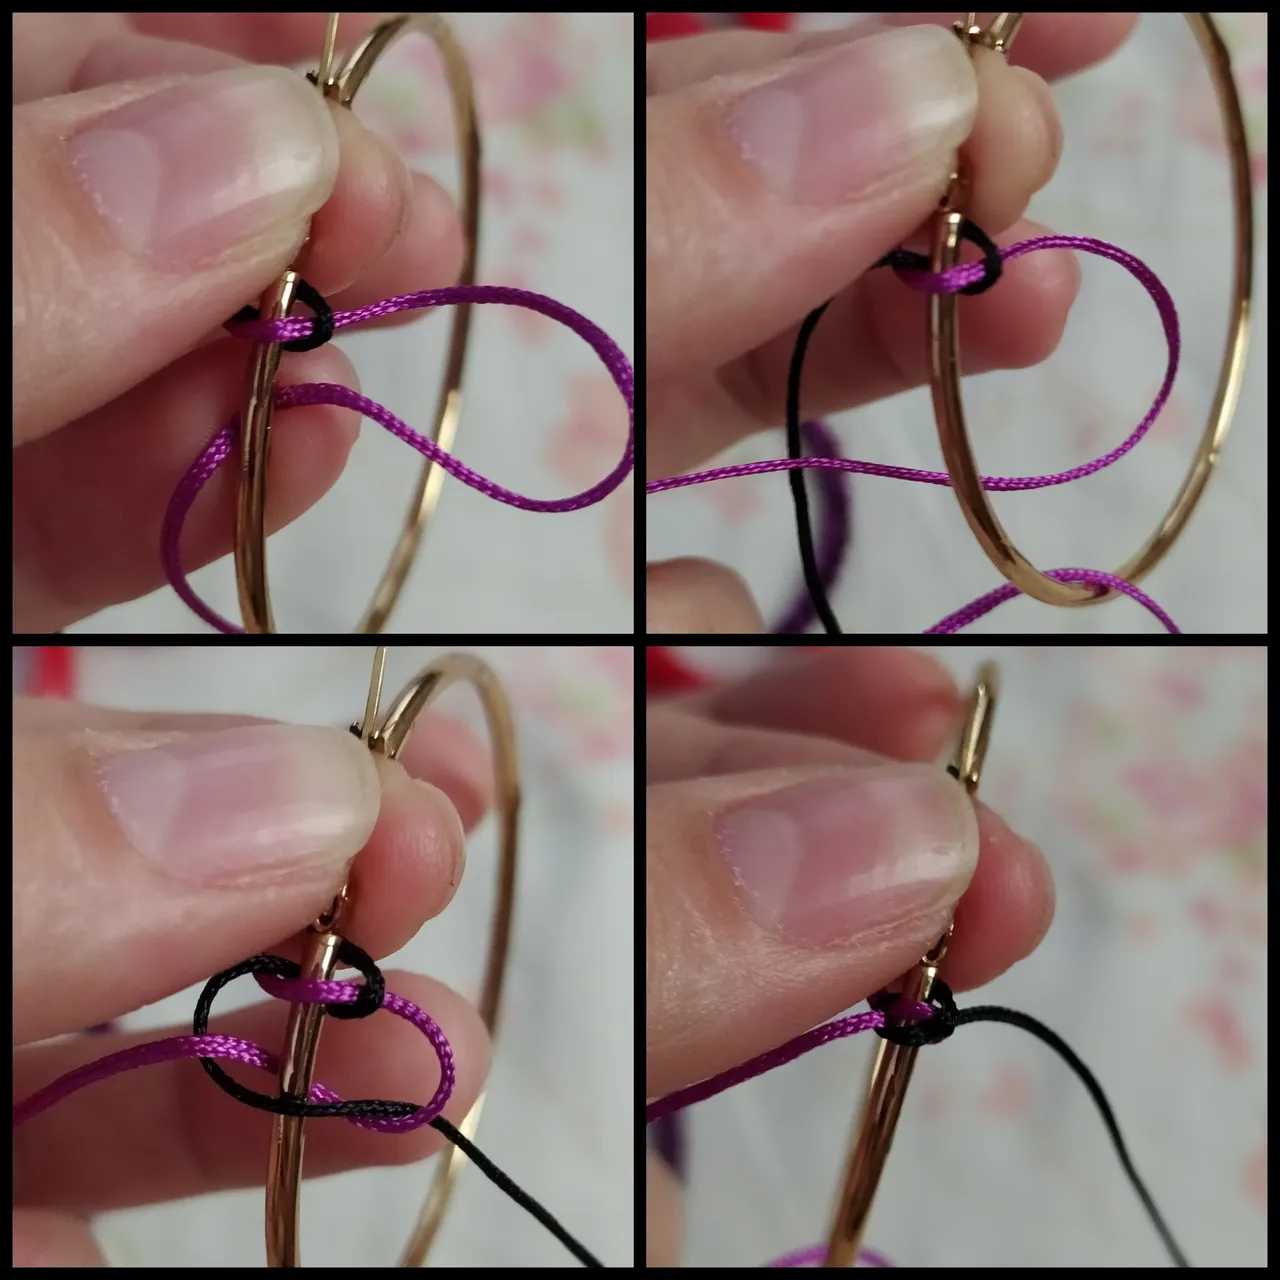
Tomaremos un hilo negro y uno morado, y los juntaremos en el inicio de la argolla.
Para hacer este tejido vamos a utilizar la técnica de macramé "espiral".
Para logra este tejido, debemos pasar el hilo de la derecha en este caso el de color negro, por debajo haciendo una curva, e introducimos el hilo morado que estaba a la izquierda por esa curva, sin soltar los hilos en el inicio. Como se aprecia en la fotografía.
The first thing to do is to cut the waxed thread in 2.
Thus obtaining two purple threads of 2 m and two black threads of 2 m.
We will take one black and one purple thread, and we will join them at the beginning of the ring.
To make this weaving we will use the "spiral" macramé technique.
To achieve this weaving, we must pass the thread on the right, in this case the black one, underneath making a curve, and we introduce the purple thread that was on the left through that curve, without releasing the threads at the beginning. As shown in the picture.
A diferencia del nudo plano que se intercambian los roles de los hilos, en el tejido espiral seguiremos siempre el mismo patrón, guiándonos con el hilo de la derecha, y a medida que avance el tejido este tomará forma de espiral.
Unlike the flat knot where the roles of the threads are interchanged, in the spiral weaving we will always follow the same pattern, guiding us with the thread on the right, and as the weaving progresses it will take the form of a spiral.
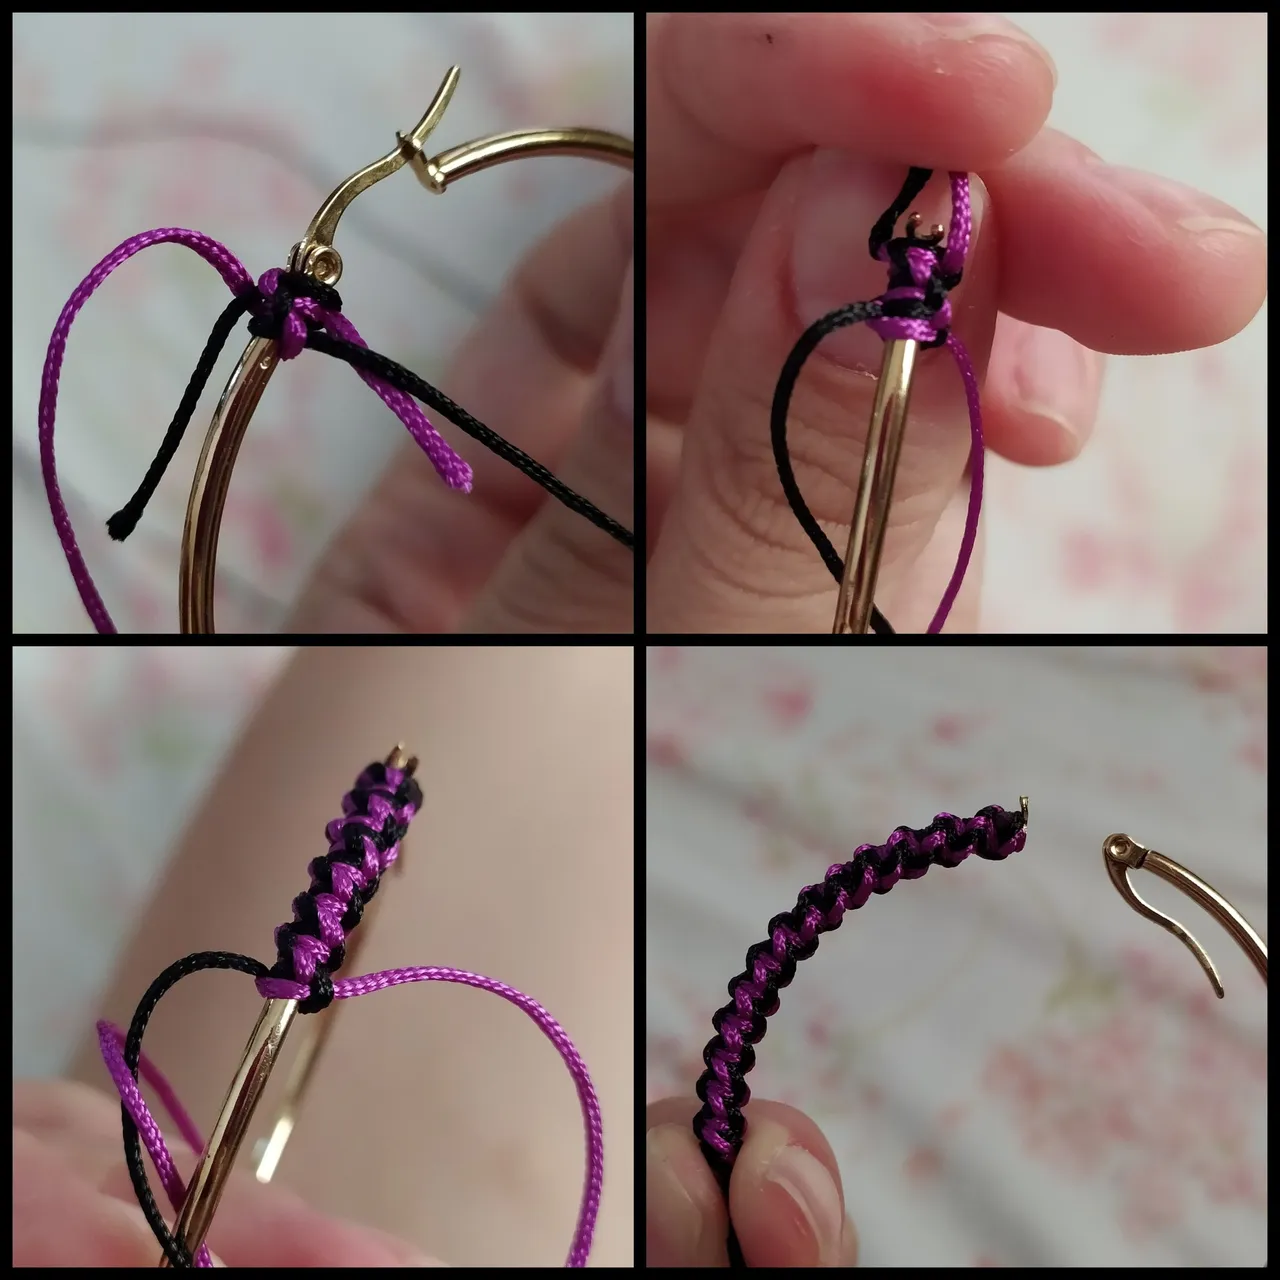
Ahora solo debemos seguir el patrón explicado, hasta terminar el tejido, y sellar las puntas con el encededor para tener un acabado perfecto.
Now we only have to follow the explained pattern, until finishing the weaving, and seal the ends with the encededor to have a perfect finish.
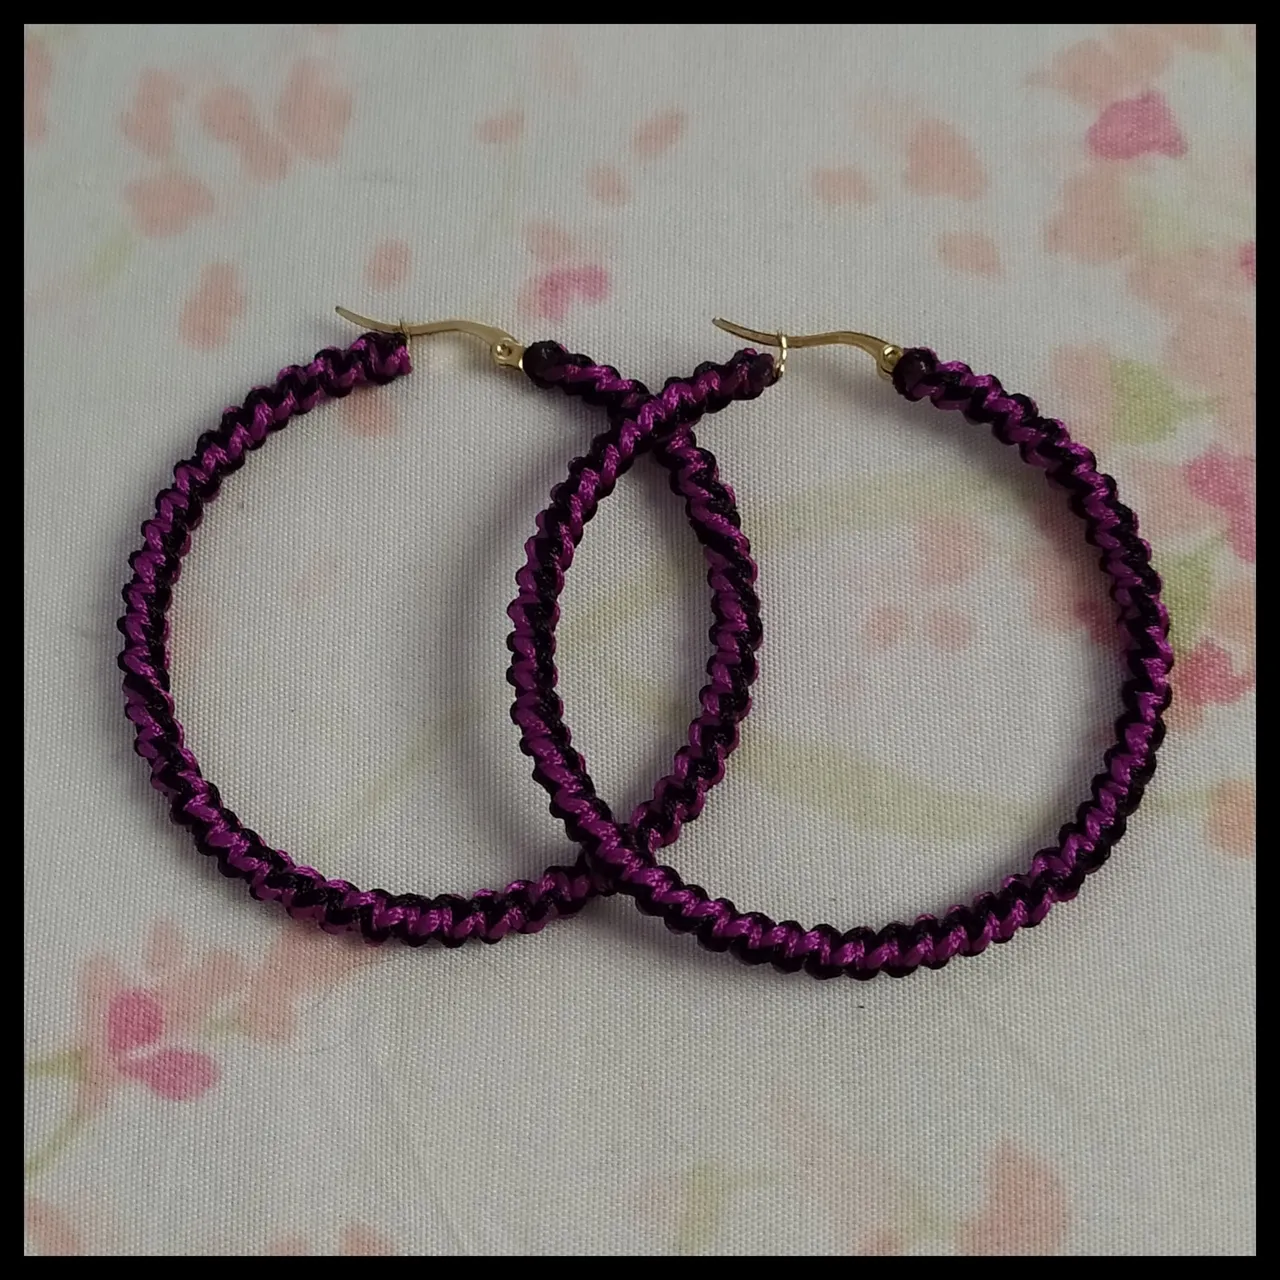
Este fue el resultado, espero les guste!
Este fue el resultado, espero les guste!
🌸🌸🌸🌸🌸🌸🌸🌸🌸🌸🌸🌸🌸🌸🌸🌸🌸🌸🌸🌸
Un abrazo inmenso para cada uno de los que se tomaron el tiempo de leer y apreciar mi post.
Si te gustó este contenido, puedes dejar un comentario, y visitar mi perfil @emybaby para encontrar más contenido de manualidades, recetas, challenges y más.
A big hug to everyone who took the time to read and appreciate my post.
If you liked this content, you can leave a comment, and visit my profile @emybaby to find more content on crafts, recipes, challenges and more.
🌸🌸🌸🌸🌸🌸🌸🌸🌸🌸🌸🌸🌸🌸🌸🌸🌸🌸🌸🌸
Traducido con DeepL
Banner y ediciones con PicsArt y Cymera
Las fotos son de mi autoría
Translated with DeepL
Banner and editions with PicsArt y Cymera
The photos are of my authorship