Hola y bienvenidos sean todos a mi publicación.
Cómo están?
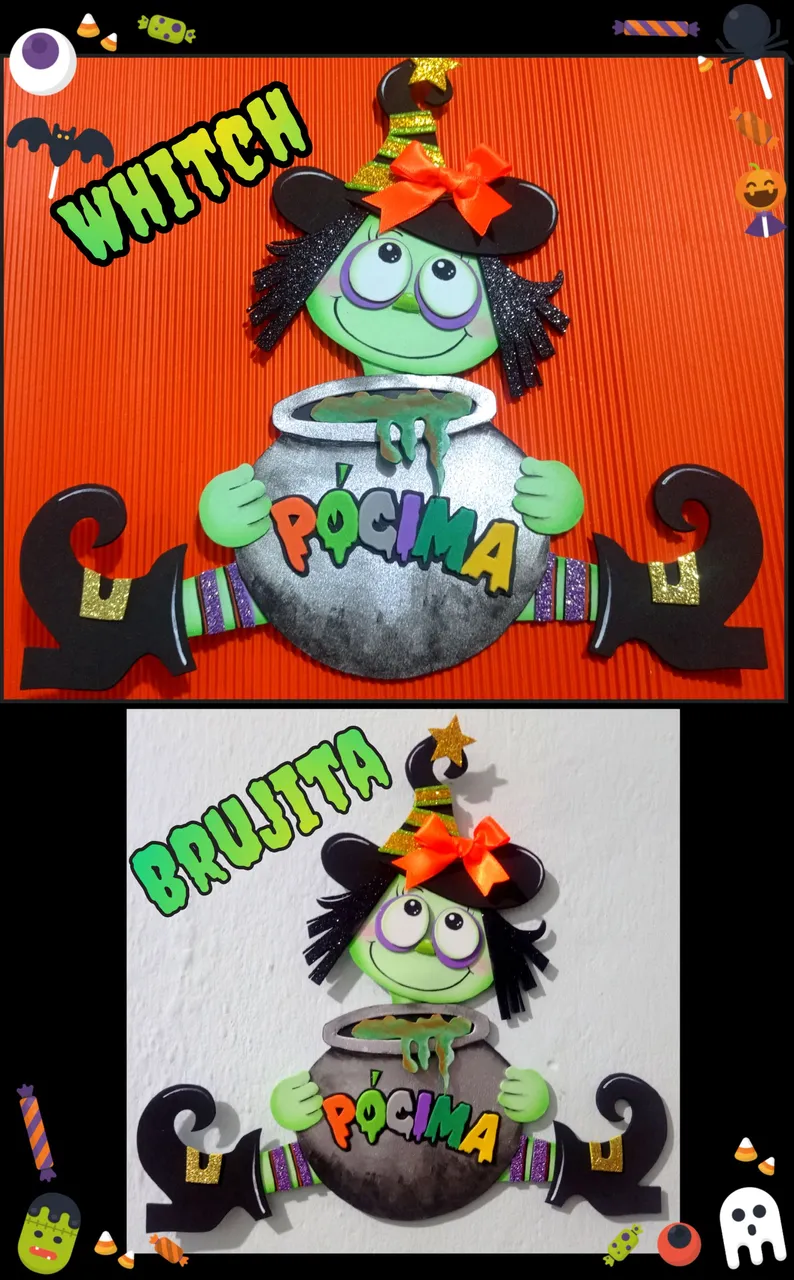
Quiero en este tutorial de reciclaje creativo enseñarte como realizar una Tierna y encantadora Brujita usando materiales muy económicos y fáciles de conseguir.
Como ya se acerca Halloween y a muchos les encanta esta temática o quieres decorar tu casa o realizar una fiesta, te invito a que lo hagas tu mismo y sin gastar mucho.
Y prometo seguir publicando otros tutoriales con figuras de Halloween que te sirvan en tu decoración y así te guíes y realices con tiempo.
Claro está, jajajaja...si te gustan!
Para este paso a paso vas a necesitar:

| Recortes foami de colores y escarchados | Cartulinas |
|---|---|
| CD dañado (reciclaje) | Pinturas y pinceles |
| Pañito de franela | Cuchilla y tijera |
| Lápiz | Silicón |
| Tiza | Cinta |
| Molde o dibujo |
Ahora sí comencemos:
Paso 1:
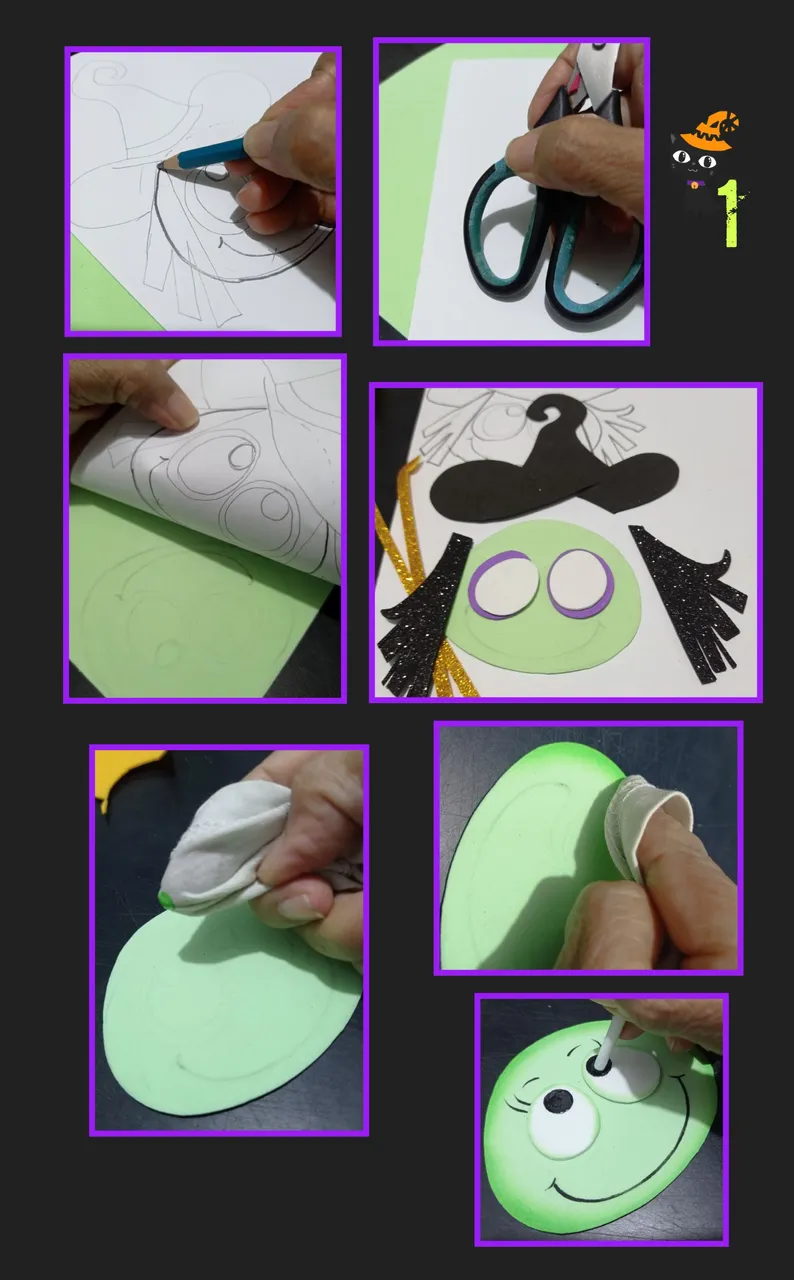
- Remarca el dibujo con lápiz de mina blanda (4B), luego coloca sobre el foami y con la tijera frota, asegurándote que se transfiera todas las piezas y recorta.
- Ahora envuelve tu dedo en el pañito y moja en agua sin saturar, solo humedecer, luego moja la punta con la pintura a usar y pasa por todo el contorno, luego con pincel o marcador punta fina pinta la boca y resto de la cara, aparte moja la punta trasera del pincel y pinta el centro de los ojos.
Paso 2:
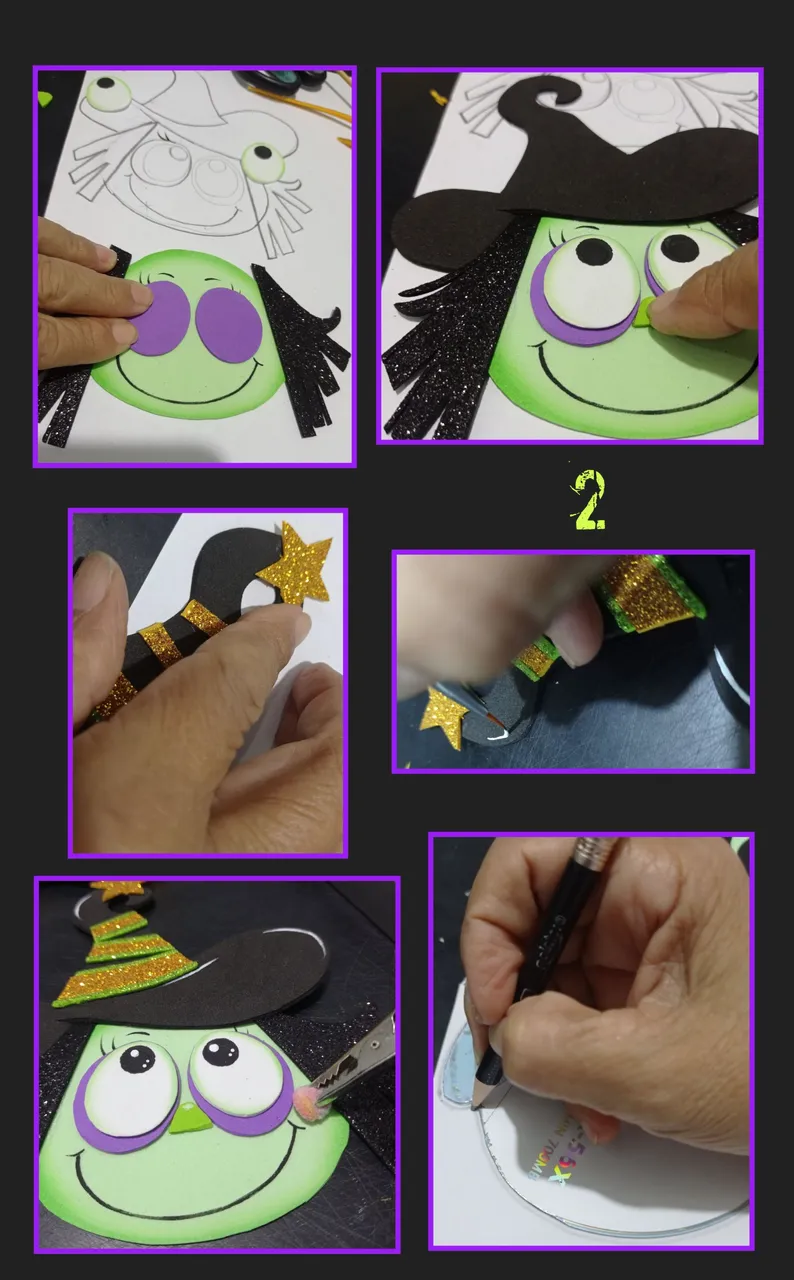
- Aplica silicón en las piezas y pega cabellos, la parte morada de los ojos, sombrero y naríz.
- Luego recorta una tira de foami dorada y decora a tu gusto el sombrero, recorta una estrellita y pega, luego con un pincel pinta líneas de luz con pintura blanca.
- Con tiza pinta las mejillas.
- Ahora dibuja la forma del caldero en el CD y recorta.
Paso 3:
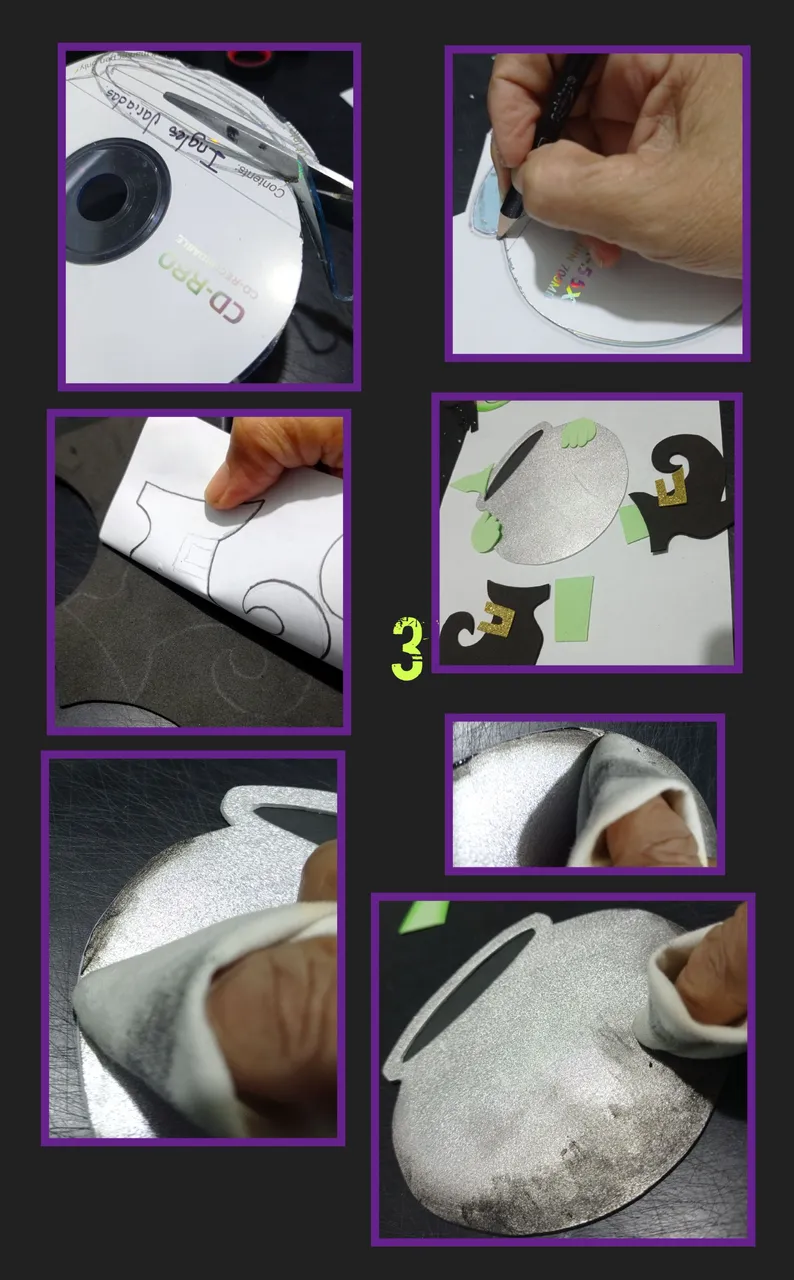
- Después de recortar el CD, coloca sobre foami gris o metalizado plateado y recorta, también marca y transfiere las botas, manos y piernas y recorta.
- Para pintar el caldero, repite el paso anterior con el pañito y en la parte de abajo pinta con negro para semejar carbón en la parte de abajo.
Paso 4:
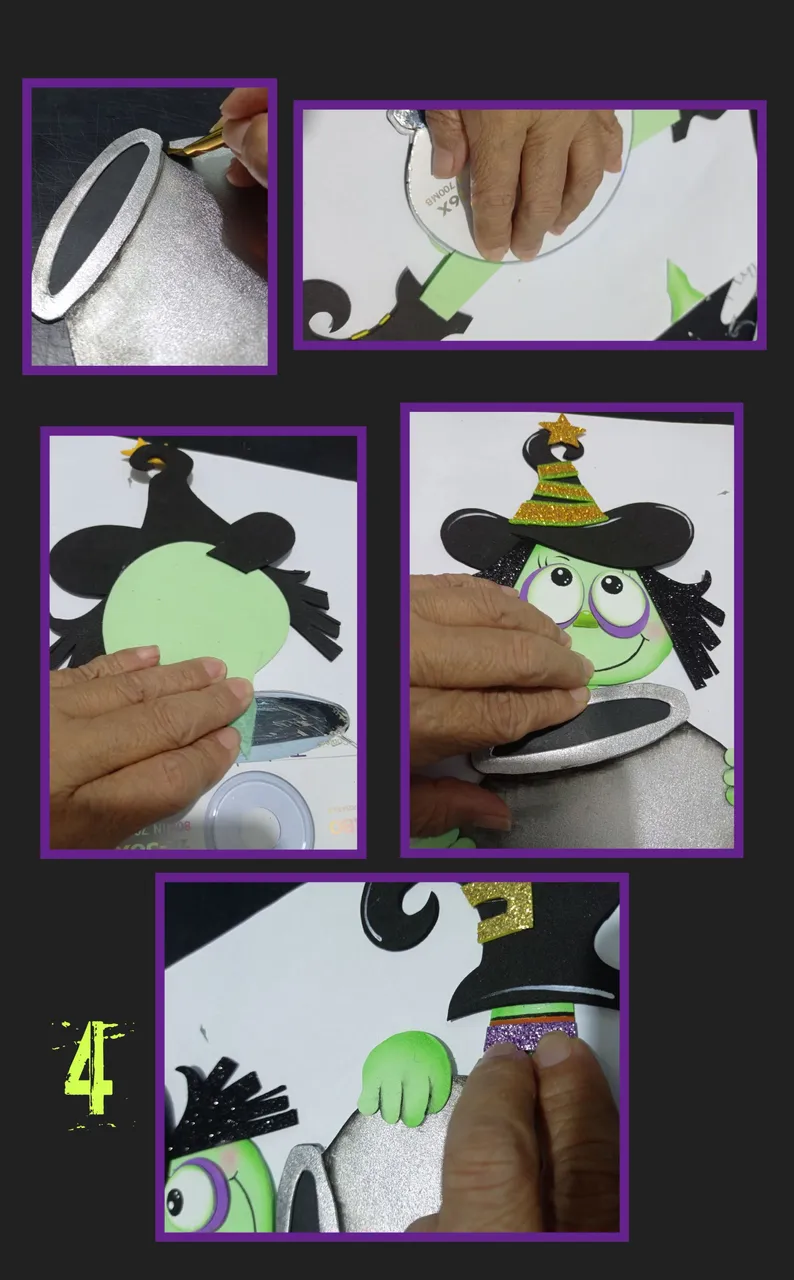
- Ahora delinea la parte de arriba del caldero y deja secar.
- Pega las botas a las piernas y pega al caldero en ambos lados, luego pega la cabeza.
- Puedes decorar botas, sombrero y piernas a tu gusto, como puedes ver es rápido y sencillo.
Así va quedando!
Paso 5:
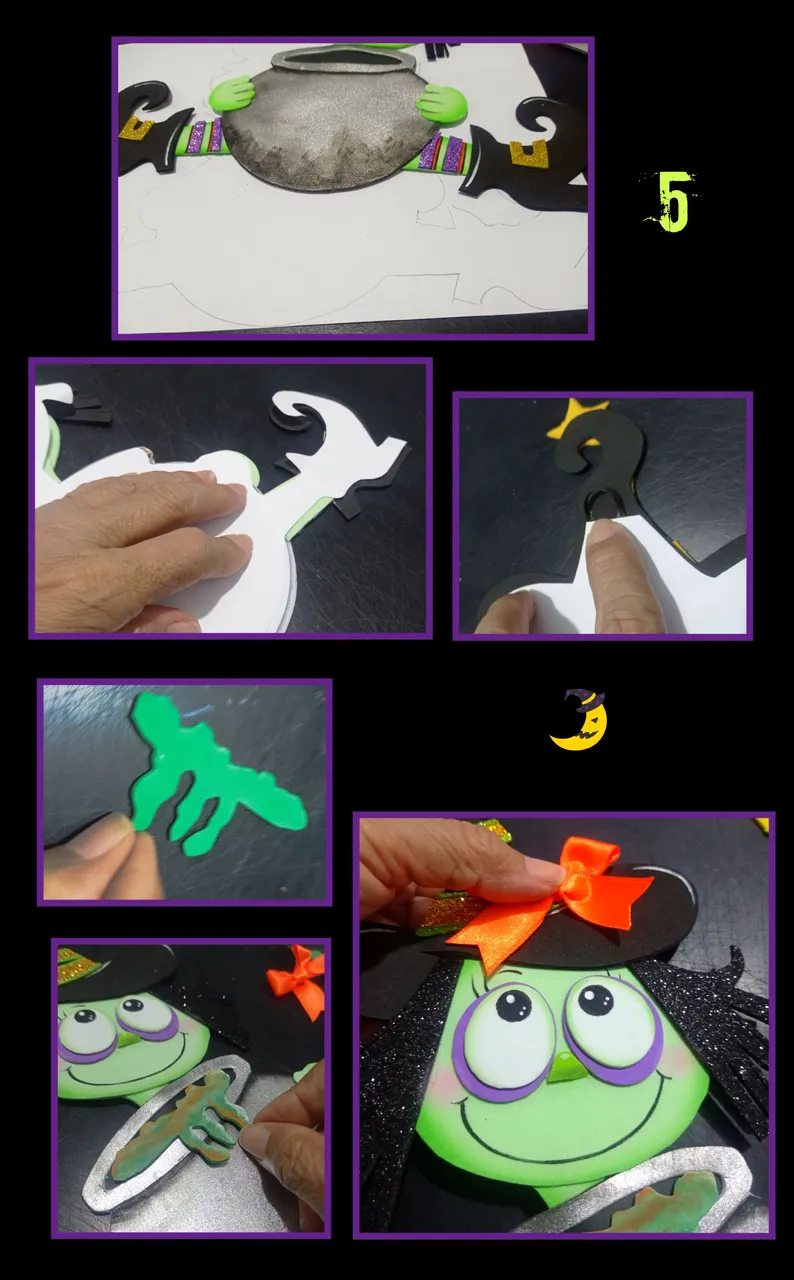
- Coloca la figura de la bruja sobre un pedazo de cartulina y marca todo el contorno, recorta y pega en la parte trasera de la brujita, deja la pare de arriba sin cartulina y aplica silicón y le haces una argolla con cinta negra y pegas para guindar.
- Recorta un pedazo de foami verde y pinta para pegar dentro del caldero semejando la pócima, luego haz un lacito y pega al sombrero.
Paso 6:

- Por último dibuja o calca letras y recorta, luego pega sobre cartulina negra y recorta dejando un pequeño borde, aplica silicón y pega en el caldero.
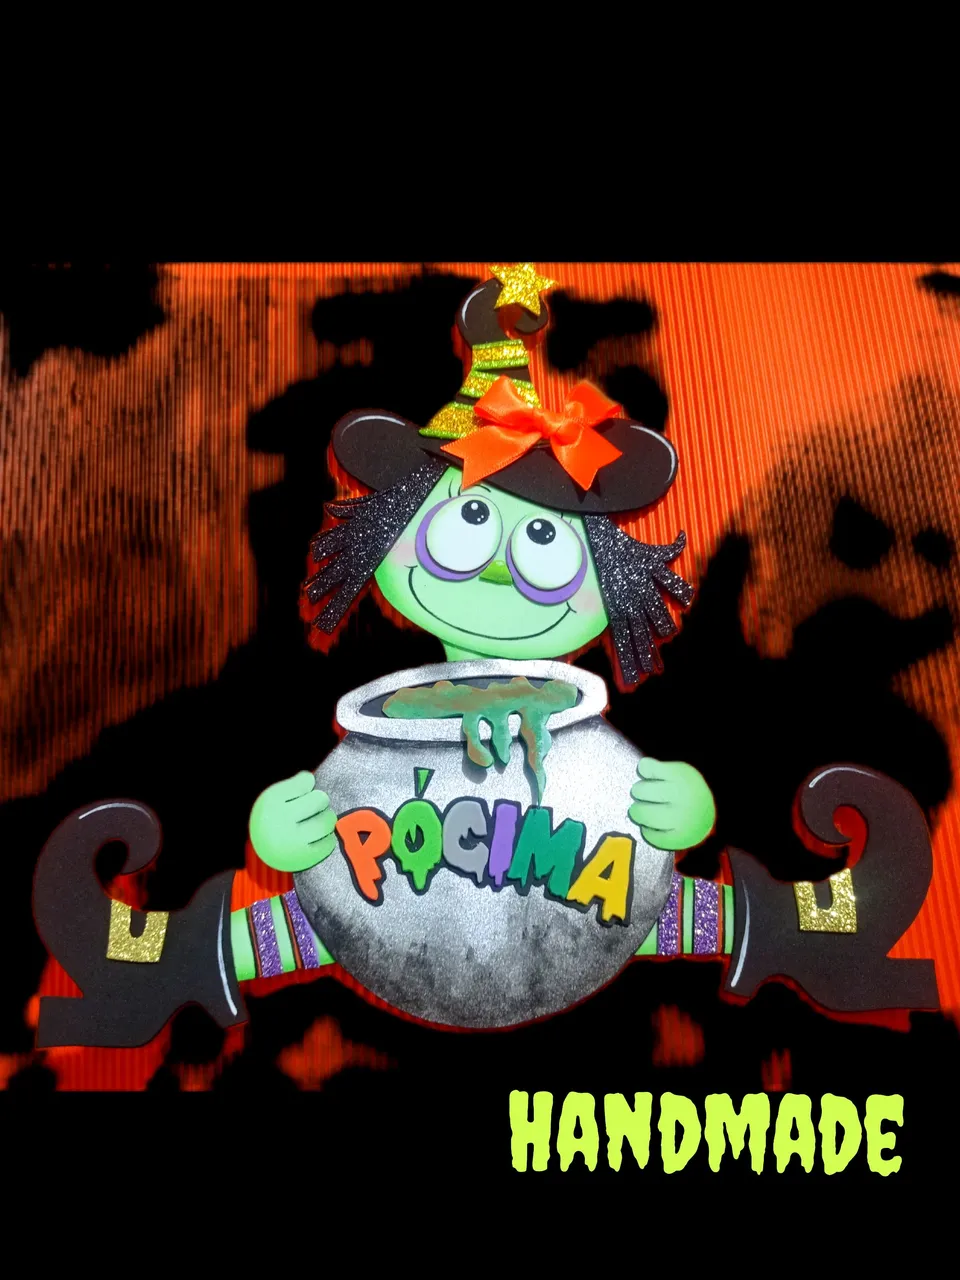
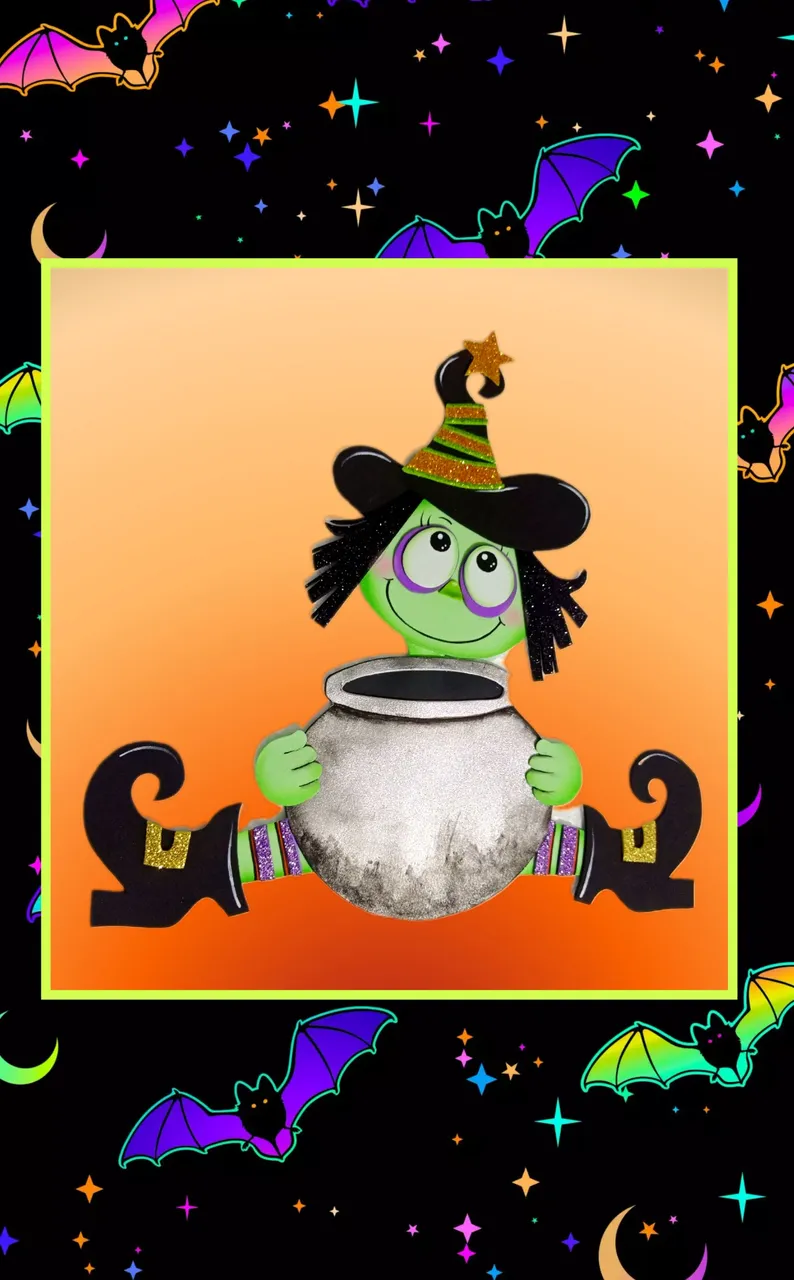
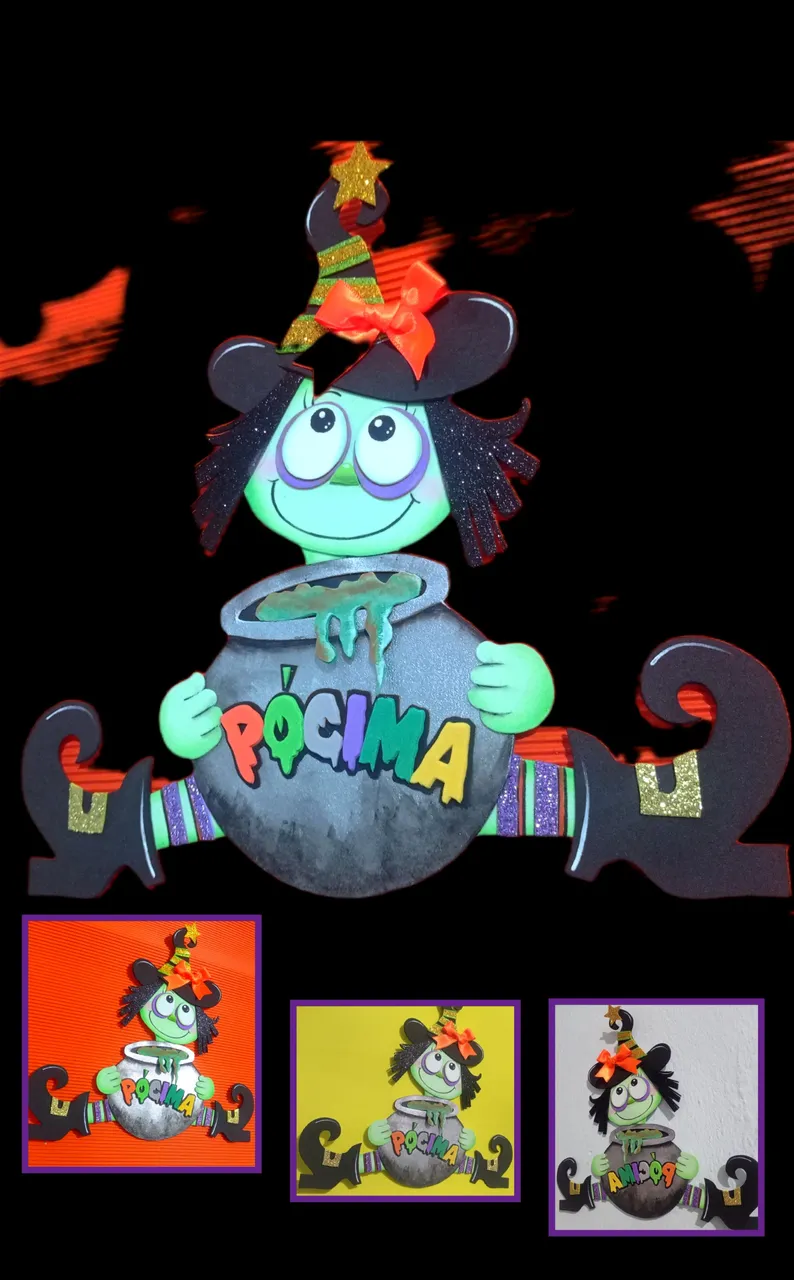
Así queda terminada esta linda y tierna brujita hecha a mano.
Aquí te muestro el resultado final.
Mi publicación está traducida con DeepL
Teléfono: Redmi Note 9
y las fotos editadas con GridArt.
Y llegó la hora de despedirme, Espero te guste mi publicación y te sirva de guía.
Muchas gracias por tu apoyo y visita.
Cualquier duda escríbeme.
Y recuerda reciclando hacemos maravillas!
Hello and welcome to my publication.
How are you doing?
Of course, hahahaha...if you like them!
For this step by step you will need:
| Colored and frosted foami cut-outs | Cartulinas |
|---|---|
| Damaged CD (recycling) | Paints and brushes |
| Flannel cloth | Blade and scissors |
| Pencil | Silicone |
| Chalk | Tape |
| Mold or drawing |
Now let's get started:
Step 1
- Outline the drawing with a soft lead pencil (4B), then place it on the foami and rub with the scissors, making sure that all the pieces are transferred and cut out.
- Now wrap your finger in the tissue and dip it in water without saturating it, just wet it, then wet the tip with the paint to use and go all around the contour, then with a brush or fine tip marker paint the mouth and the rest of the face, separately wet the back tip of the brush and paint the center of the eyes.
Step 2
- Apply silicone on the pieces and glue hair, the purple part of the eyes, hat and nose.
- Then cut out a strip of gold foami and decorate the hat as you like, cut out a little star and glue, then with a brush paint light lines with white paint.
- With chalk paint the cheeks.
- Now draw the shape of the cauldron on the CD and cut it out.
Step 3
- After cutting out the CD, place on gray or silver metallic foami and cut out, also mark and transfer the boots, hands and legs and cut out.
- To paint the cauldron, repeat the previous step with the small cloth and paint the bottom with black to resemble charcoal on the bottom.
Step 4.
- Now outline the top of the cauldron and let dry.
- Glue the boots to the legs and glue to the cauldron on both sides, then glue the head.
- You can decorate boots, hat and legs as you like, as you can see it's quick and easy.
Here's how it looks!
Step 5
- Place the figure of the witch on a piece of cardboard and mark the entire contour, cut and paste on the back of the witch, leave the top part without cardboard and apply silicone and make a ring with black tape and glue to hang.
- Cut out a piece of green foami and paint to glue inside the cauldron resembling the potion, then make a bow and glue to the hat.
Step 6.
- Finally draw or trace letters and cut out, then paste on black cardboard and cut out leaving a small border, apply silicone and glue on the cauldron.
This is how this cute and cuddly handmade witch is finished
Here I show you the final result.
Phone: Redmi Note 9
and the photos edited with GridArt.
And it's time for me to say goodbye, I hope you like my post and it will serve you as a guide.
Thank you very much for your support and visit.
If you have any questions please write me
And remember, recycling makes wonders!