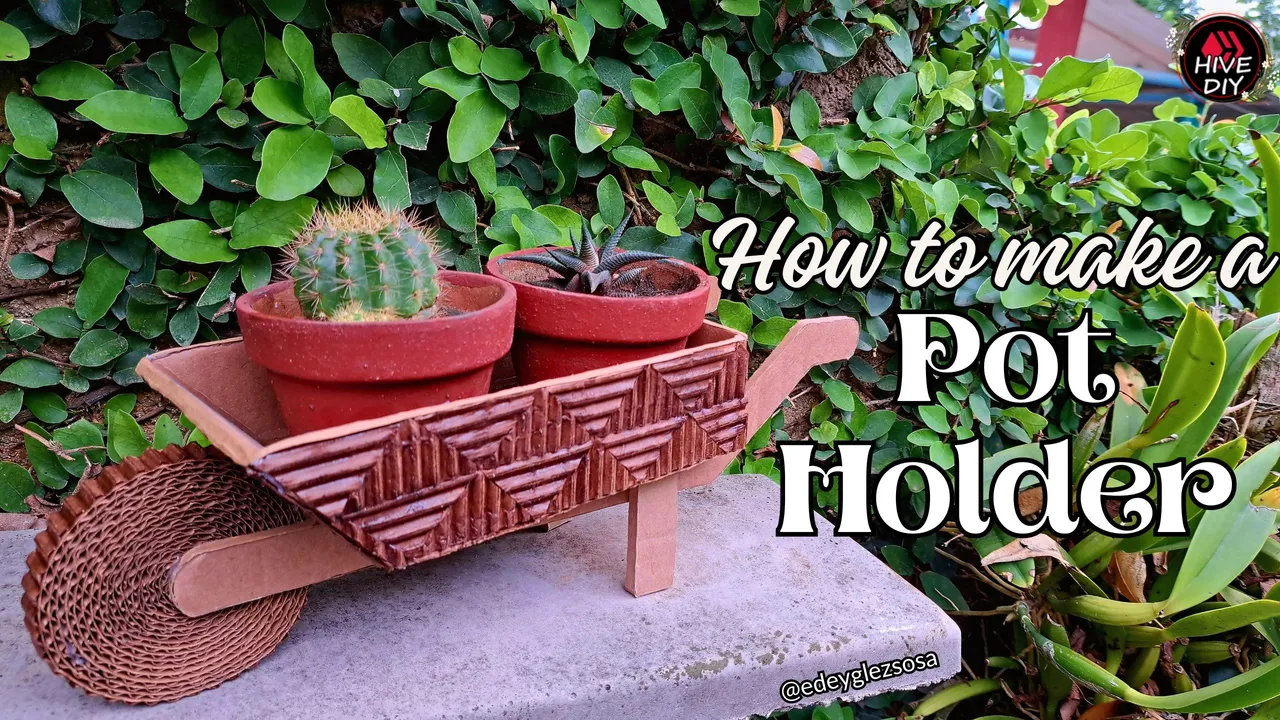
Hello, how are you, fellow crafters? I know that many of you may have read the title of this post and thought that making a cardboard pot holder is crazy because plants need to be watered frequently and water is a hazard. But don't worry, I'm not crazy yet. This pot holder is more oriented for indoor gardens and cactus type plants. As if that wasn't enough, I also applied a coat of varnish to the inside area of the pot holder to increase its water resistance.
The idea of making this pot holder came from the publications of my friend @ibarra95, who on several occasions has delighted us with the specimens he grows for his enterprise. However, thanks to my wife's ingenuity, I discovered that the pot holder can also be used as an organizer, it all depends on the person who becomes its owner. So, without further hesitation, let's get started with the tutorial.
Hola, ¿qué tal?, amigos artesanos. Sé que muchos habrán leído el título de esta publicación y habrán pensado que hacer un porta macetas de cartón es una locura debido a que las plantas necesitan ser regadas frecuentemente y el agua representa un peligro. Pero tranquilos, que no estoy loco aún. Este porta macetas está más orientado para jardines en el interior y para plantas del tipo cactus. Por si fuera poco, también apliqué una capa de barniz en el área interior del porta macetas para aumentar su resistencia al agua.
La idea de hacer este porta macetas surgió a partir de las publicaciones del amigo @ibarra95, quien en varias ocasiones nos ha deleitado con los ejemplares que cultiva para su emprendimiento. Sin embargo, gracias al ingenio de mi esposa, descubrí que el porta macetas también puede utilizarse como organizador, todo depende de la persona que se convierta en su dueño. Así que, sin más vacilaciones, comencemos con el tutorial.
Materials // Materiales
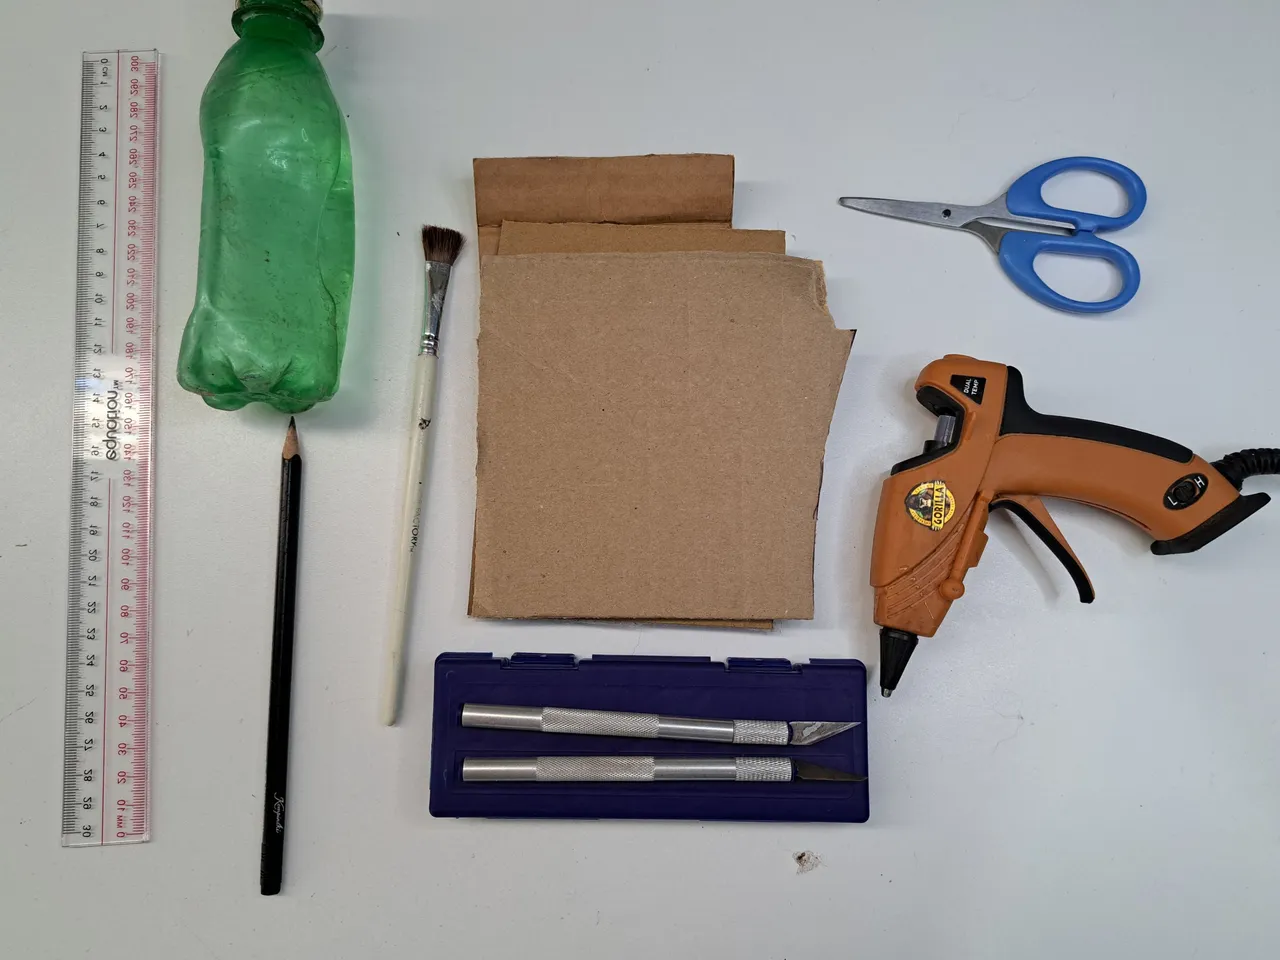
| ✔️ Recycled cardboard | ✔️ Cartón reciclado |
| ✔️ Hot silicone | ✔️ Silicona caliente |
| ✔️ Scissors, ruler and pencil | ✔️ Tijeras, regla y lápiz |
| ✔️ Cutting and milling set | ✔️ Set de corte y tallado |
| ✔️ Paintbrush | ✔️ Pincel |
| ✔️ Wood varnish | ✔️ Barniz de madera |
Step by step // Paso a paso
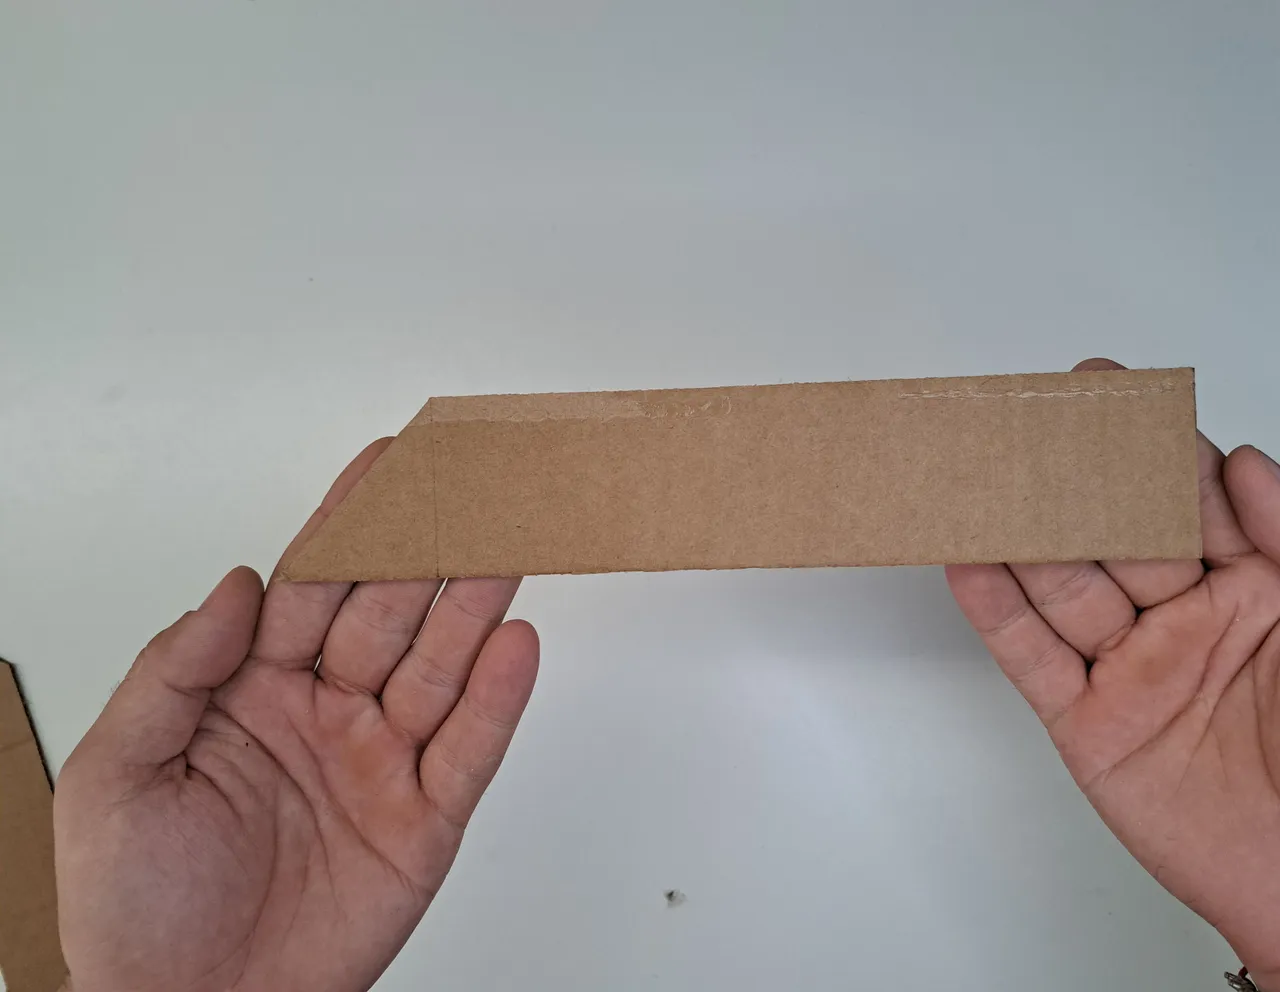
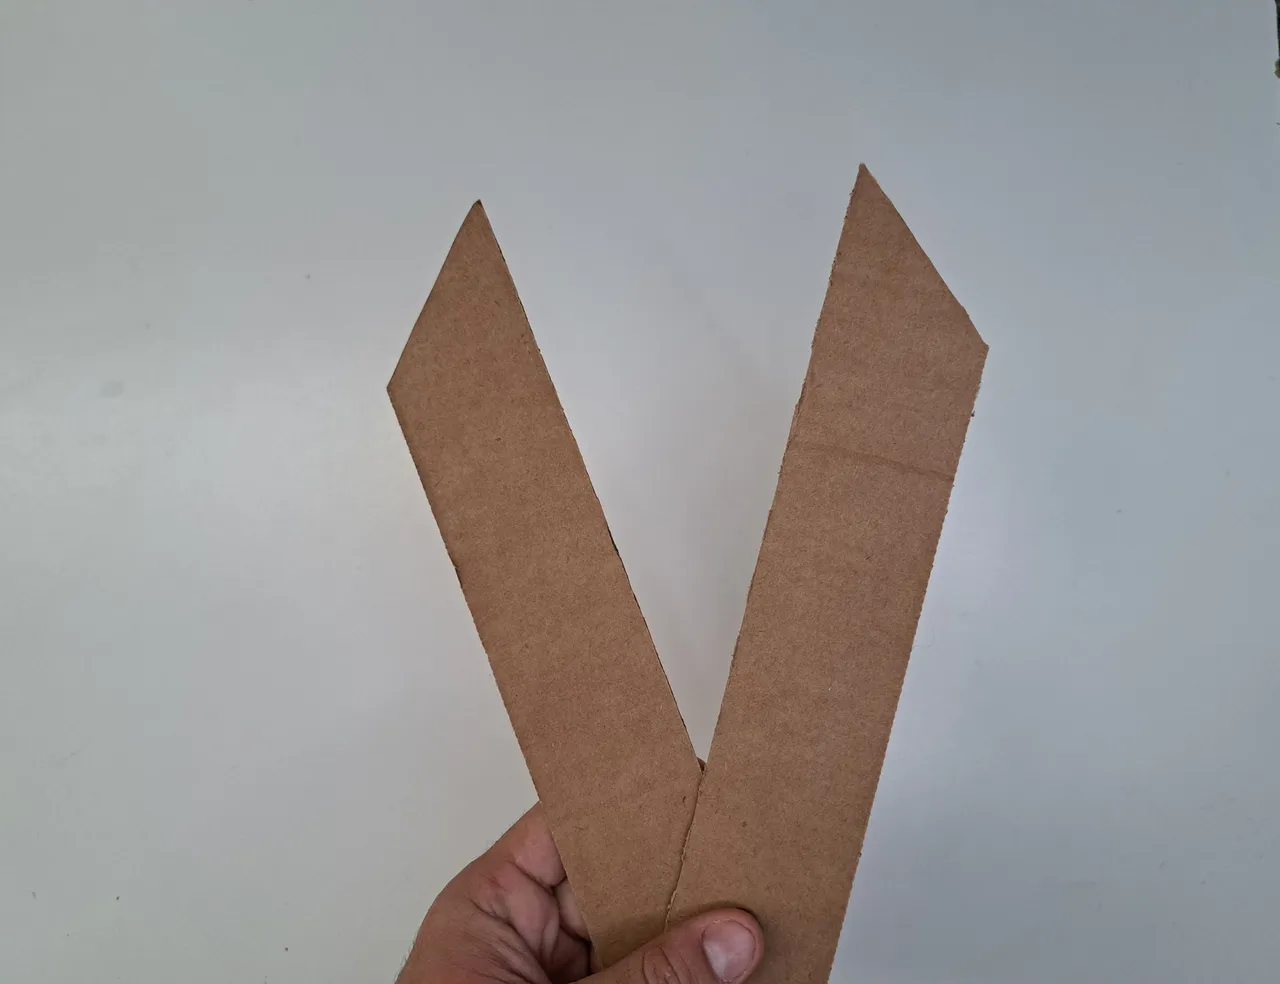
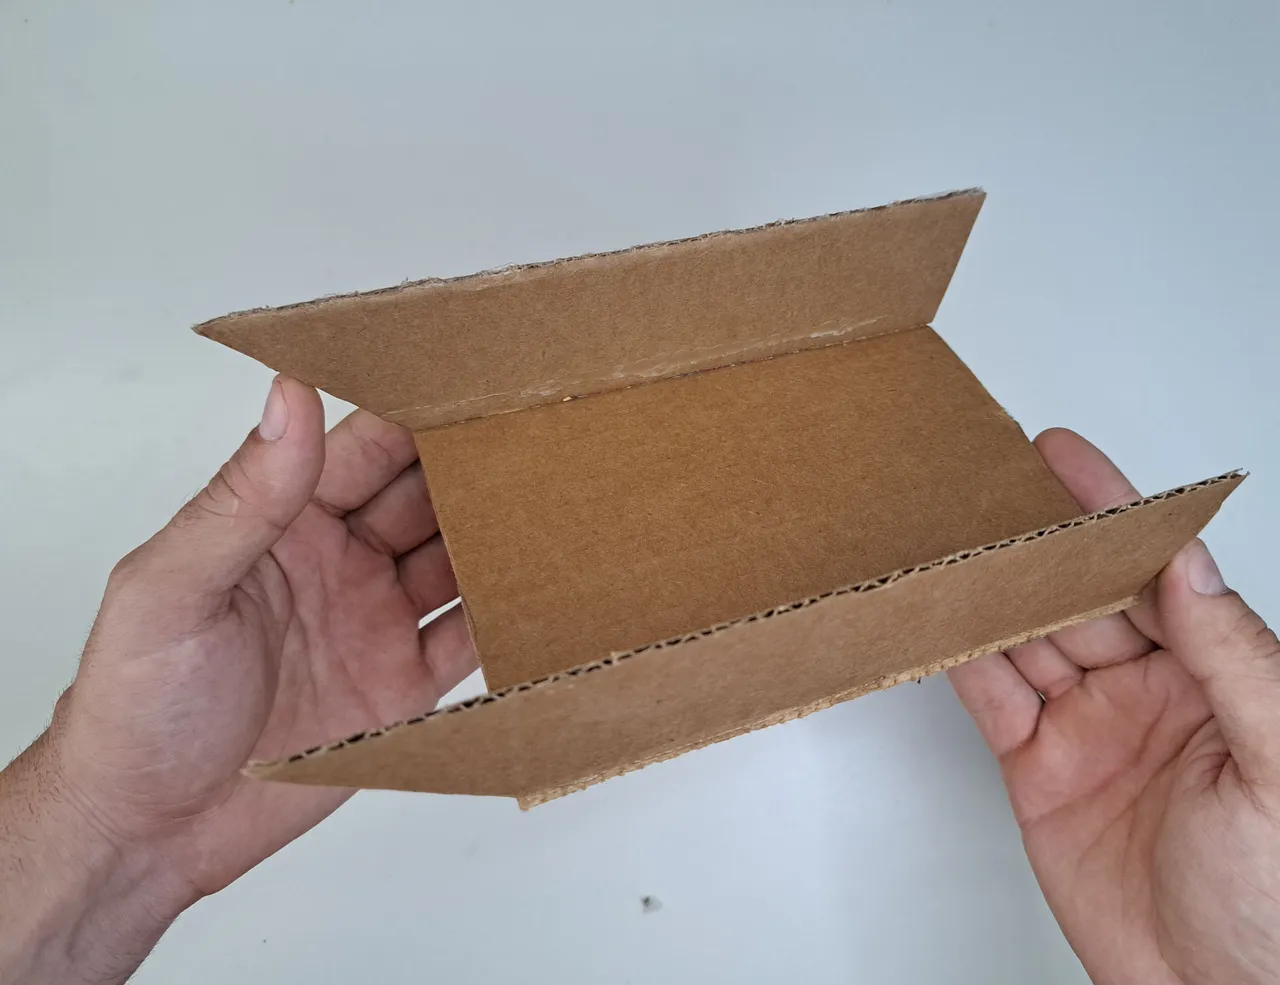
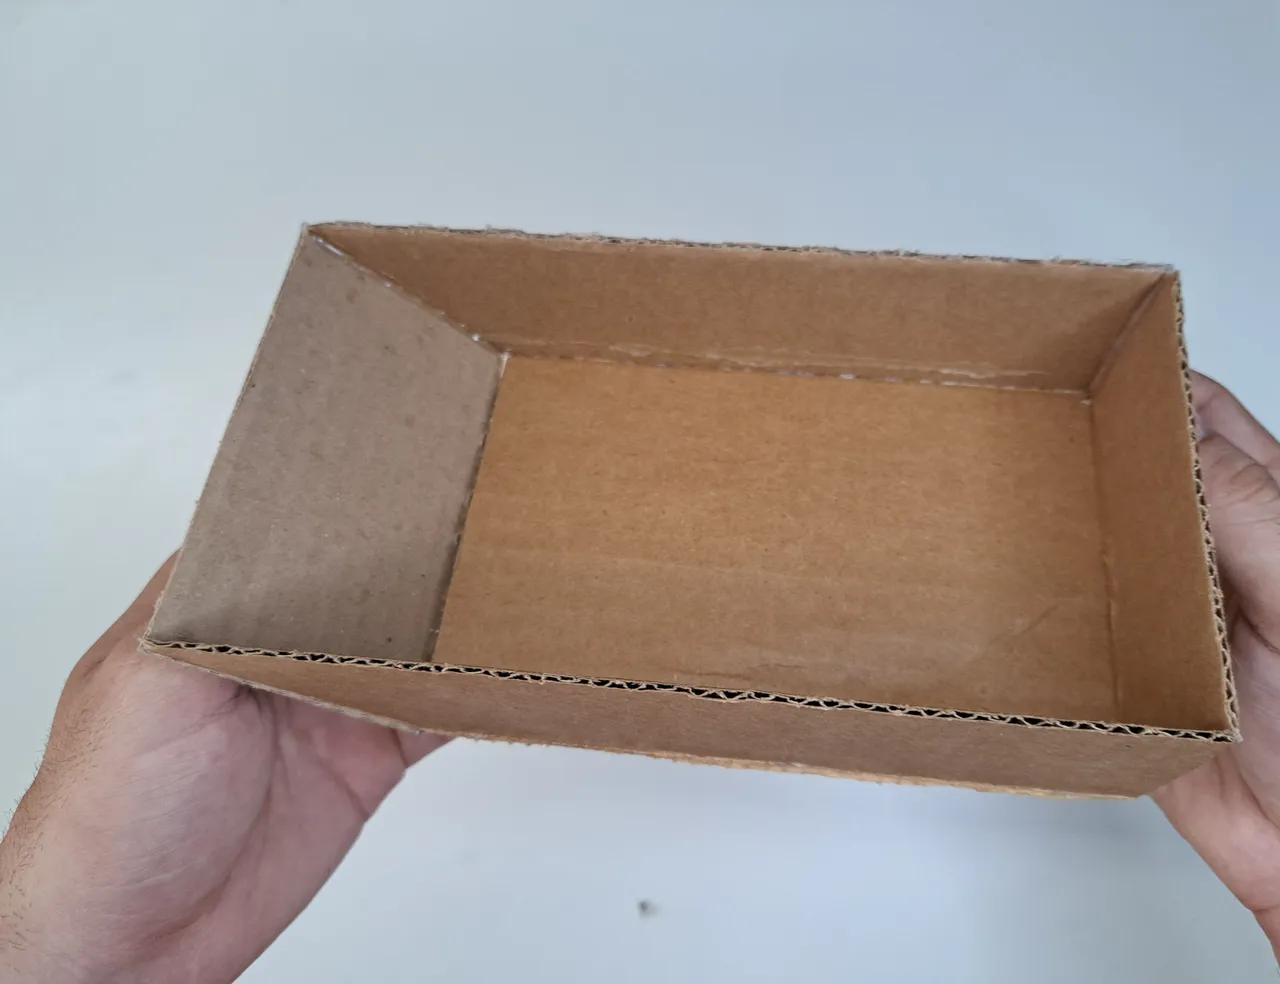
1️⃣ The first step is to cut out the cardboard pieces that will make up the main structure of the wheelbarrow. The measurements are as follows:
- Base: 18 cm x 12 cm
- Sides: 22 cm x 5.5 cm
- Front: 12 cm x 7 cm
- Rear part: 12 cm x 5.5 cm
Cut the sides diagonally to the measure of 18 cm on one of its edges and then glue them together with the other parts to form the base structure of the wheelbarrow.
Se comenzará recortando las piezas de cartón que conformarán la estructura principal de la carretilla. Atendiendo a las siguientes medidas:
- Base: 18 cm x 12 cm
- Laterales: 22 cm x 5.5 cm
- Parte frontal: 12 cm x 7 cm
- Parte trasera: 12 cm x 5.5 cm
Recortar los laterales en forma diagonal a la medida de 18 cm en uno de sus bordes para luego pegarlos con las demás partes y conformar la estructura base de la carretilla.
 |  |
 |  |  |
 |  |
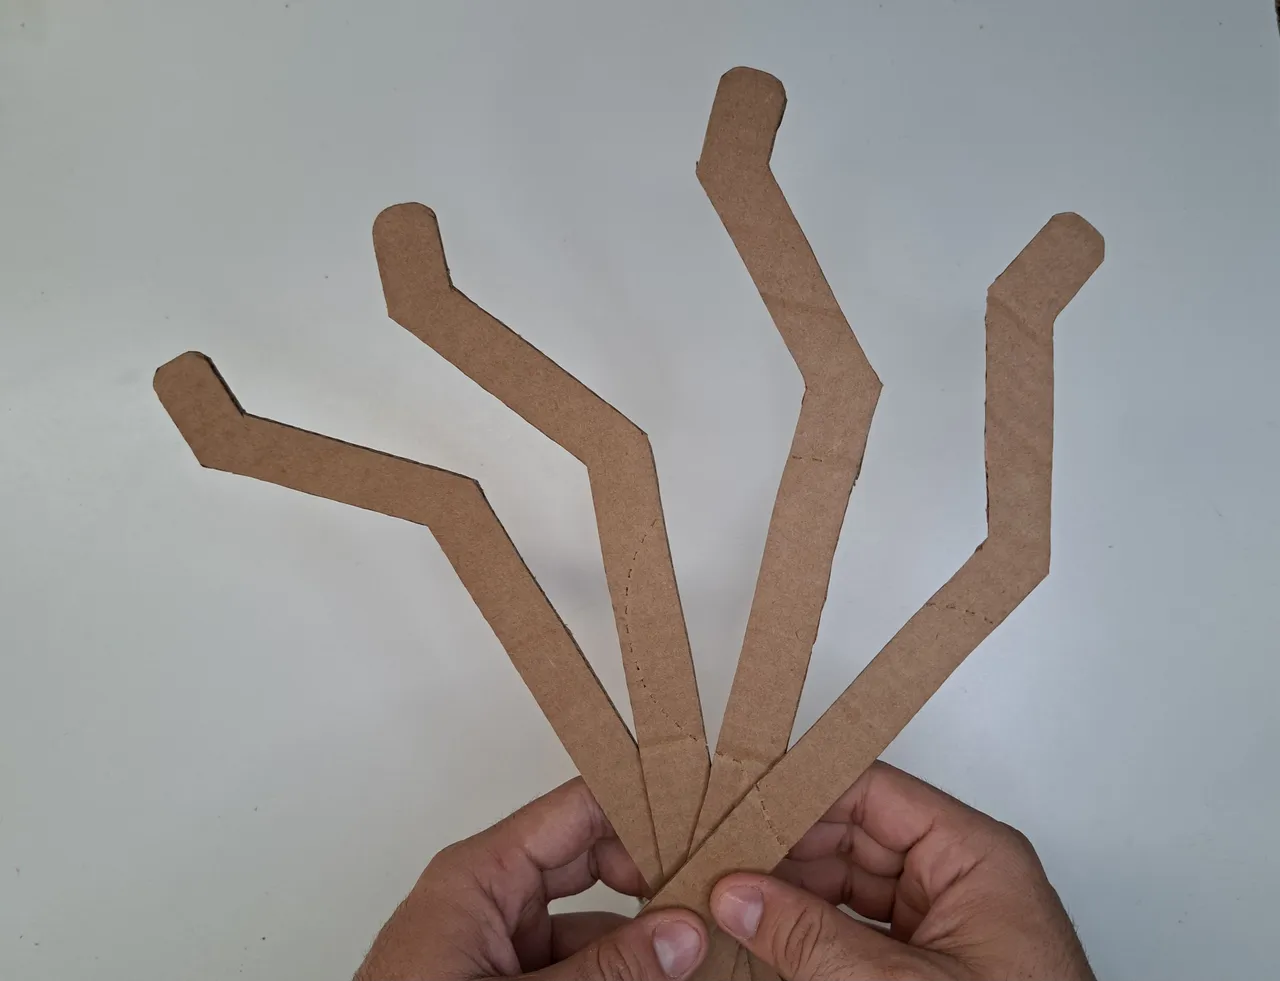
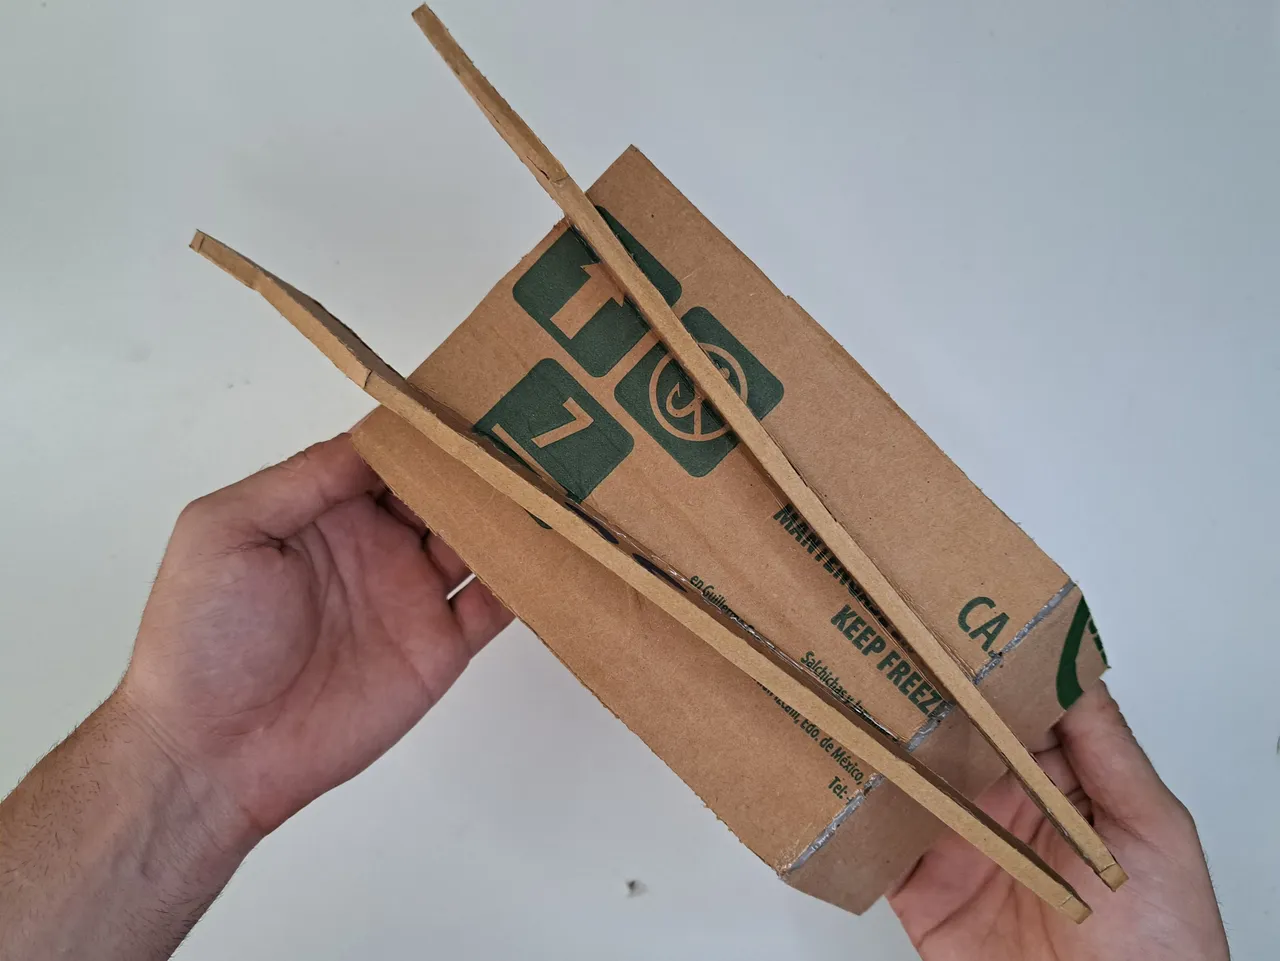
2️⃣ Next, draw and cut out the pieces that will make up the chassis of the wheelbarrow. You can use a straight or curved pattern, just keep in mind that the chassis must protrude at both ends. After cutting out the pieces, glue them under the base structure of the wheelbarrow and cover the perforated edge of the cardboard with sheets of cardboard.
A continuación, dibujar y recortar las piezas que conformarán el chasis de la carretilla. Se puede utilizar un patrón recto o curvo, solo deben tener en cuenta que el chasis debe sobresalir en ambos extremos. Luego de recortar las piezas, pegarlas debajo de la estructura base de la carretilla y cubrir el borde perforado del cartón con láminas de cartulina.
 |  |
 |  |  |
 |  |
3️⃣ Cut out 5.5 cm squares of corrugated cardboard. Remember that this is obtained by removing one of the outer sides of the normal cardboard. Two diagonal cuts will be made on each of the corrugated cardboard squares, separating them into 4 smaller triangles. These will be glued all along the sides of the wheelbarrow, alternating their position to create striking geometric patterns.
Recortar cuadrados de 5.5 cm de cartón ondulado. Recordemos que este se obtiene retirando una de las caras exteriores del cartón normal. A cada uno de los cuadrados de cartón ondulado se le realizarán dos cortes diagonales, quedando separados en 4 triángulos más pequeños. Estos se pegarán por todos los laterales de la carretilla, alternando la posición de estos para crear patrones geométricos llamativos.
 |  |
 |  |  |
4️⃣ Cut several 1.5 cm strips of corrugated cardboard. These are wrapped and glued in a spiral to create the wheelbarrow wheel.
Recortar varias tiras de 1.5 cm de cartón ondulado. Estas se van envolviendo y pegando en forma de espiral para crear la rueda de la carretilla.
 |  |
 |  |
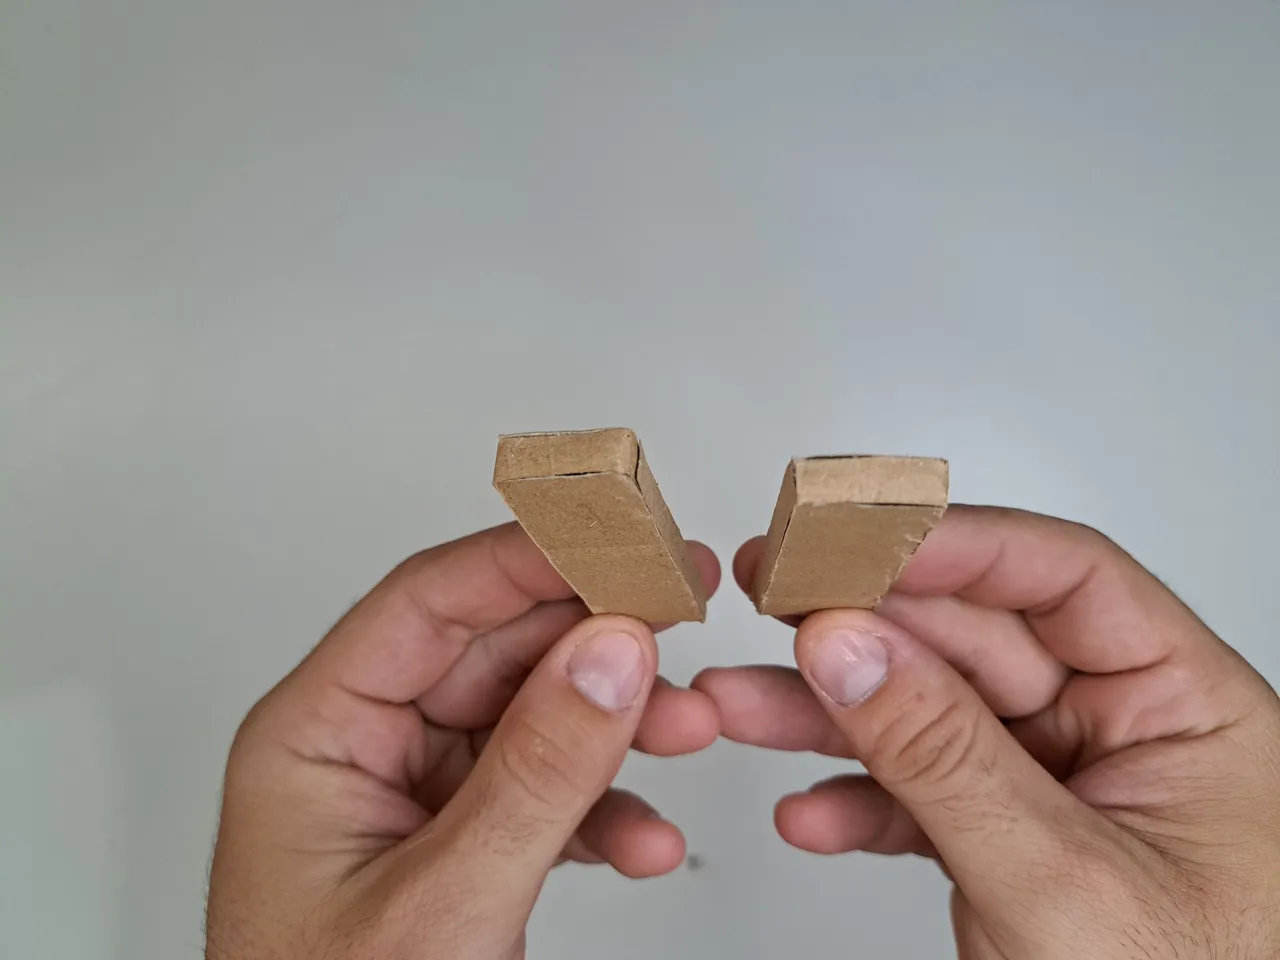
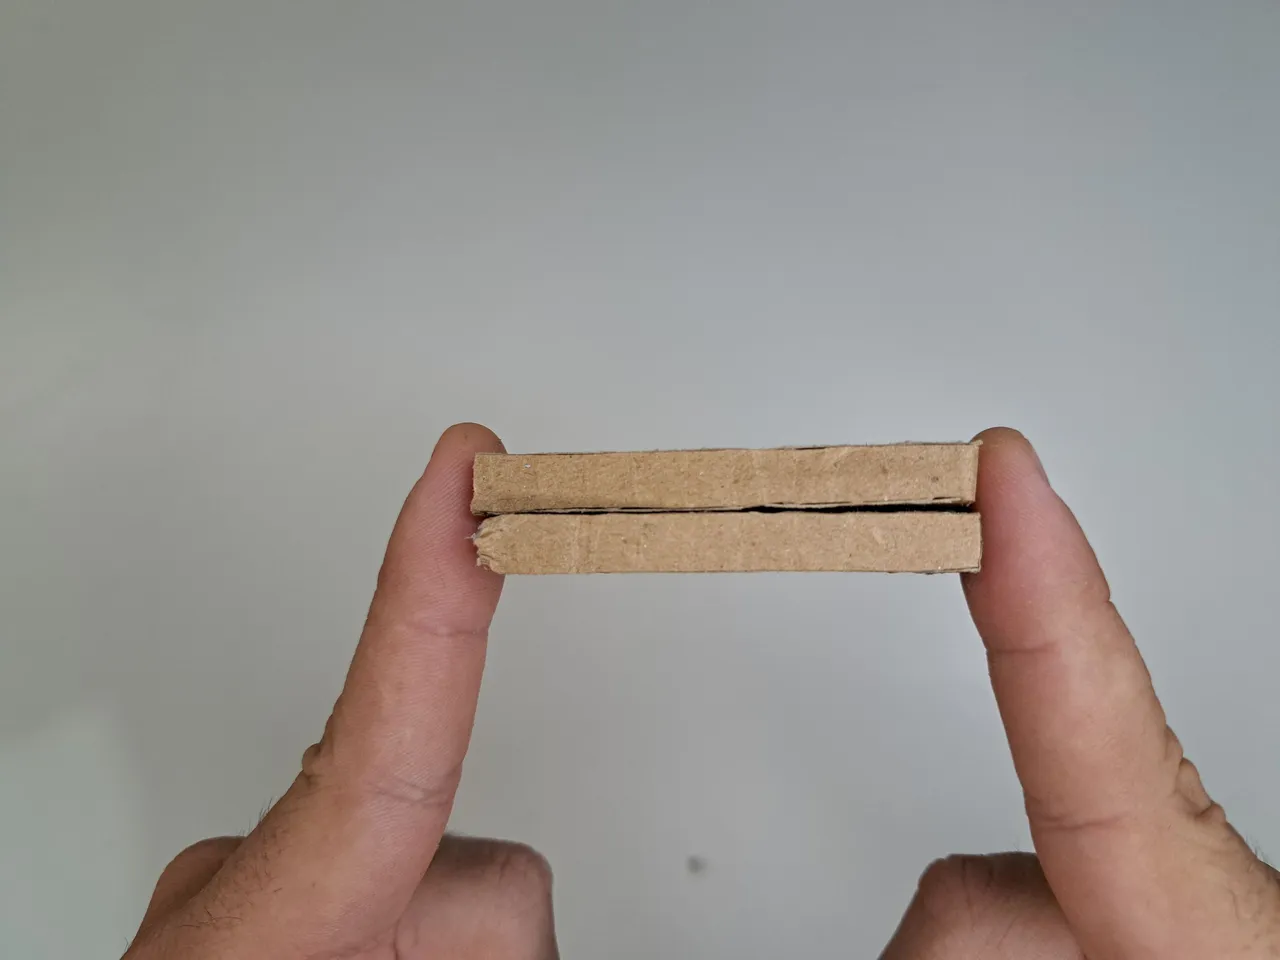
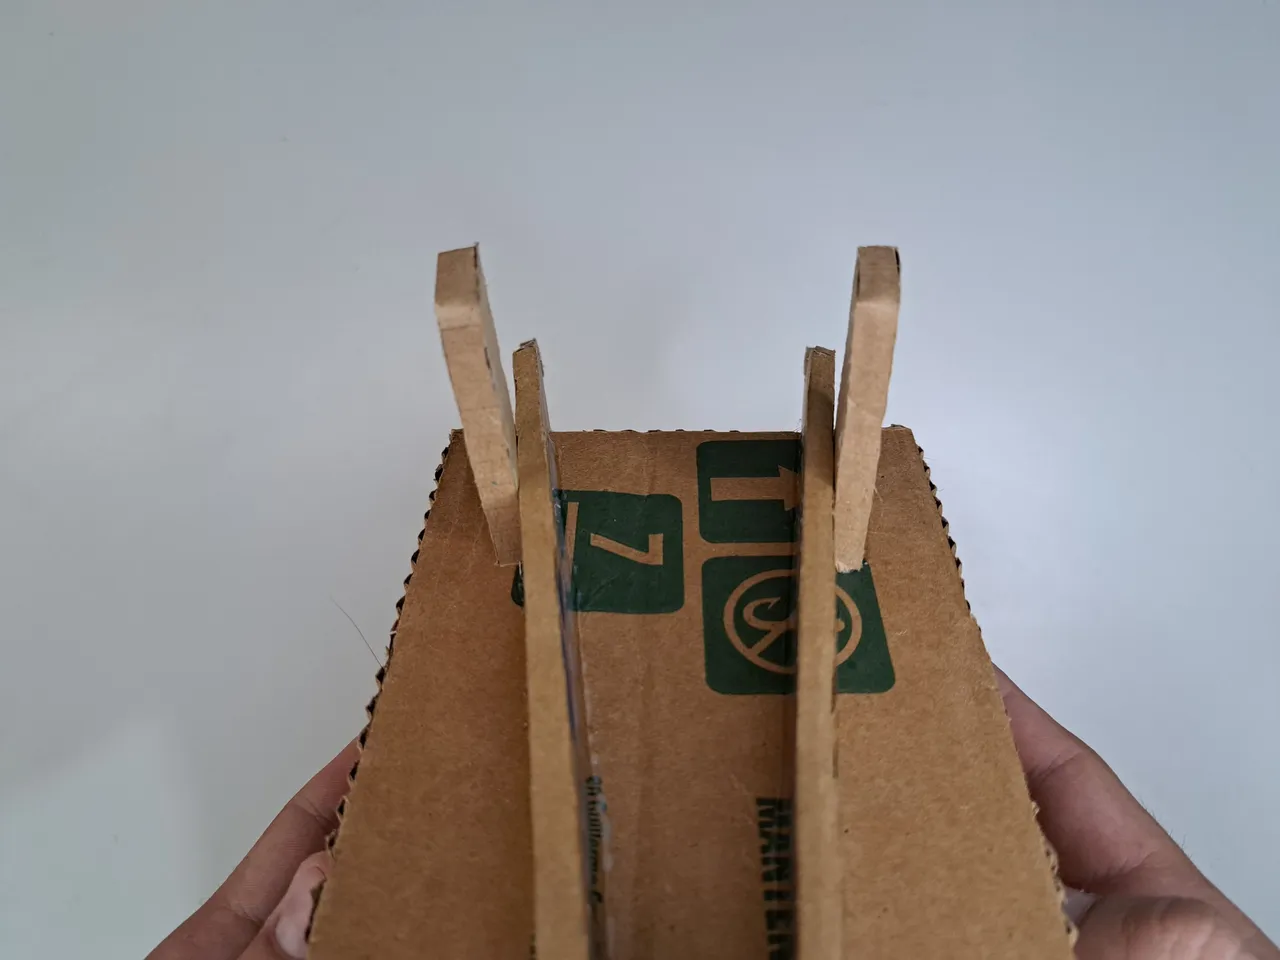
5️⃣ Cut out two 7.5 cm x 2.5 cm pieces of cardboard to make the wheelbarrow support. Cover the porous edges of the cardboard with cardboard and glue to the bottom back of the wheelbarrow. Check the stability of the wheelbarrow before proceeding to the next step.
Recortar dos piezas de cartón de 7.5 cm x 2.5 cm para confeccionar el soporte de la carretilla. Cubrir los bordes porosos del cartón con cartulina y pegar en la parte inferior trasera de la carretilla. Comprobar la estabilidad de la carretilla antes de continuar con el siguiente paso.
 |  |
 |  |  |
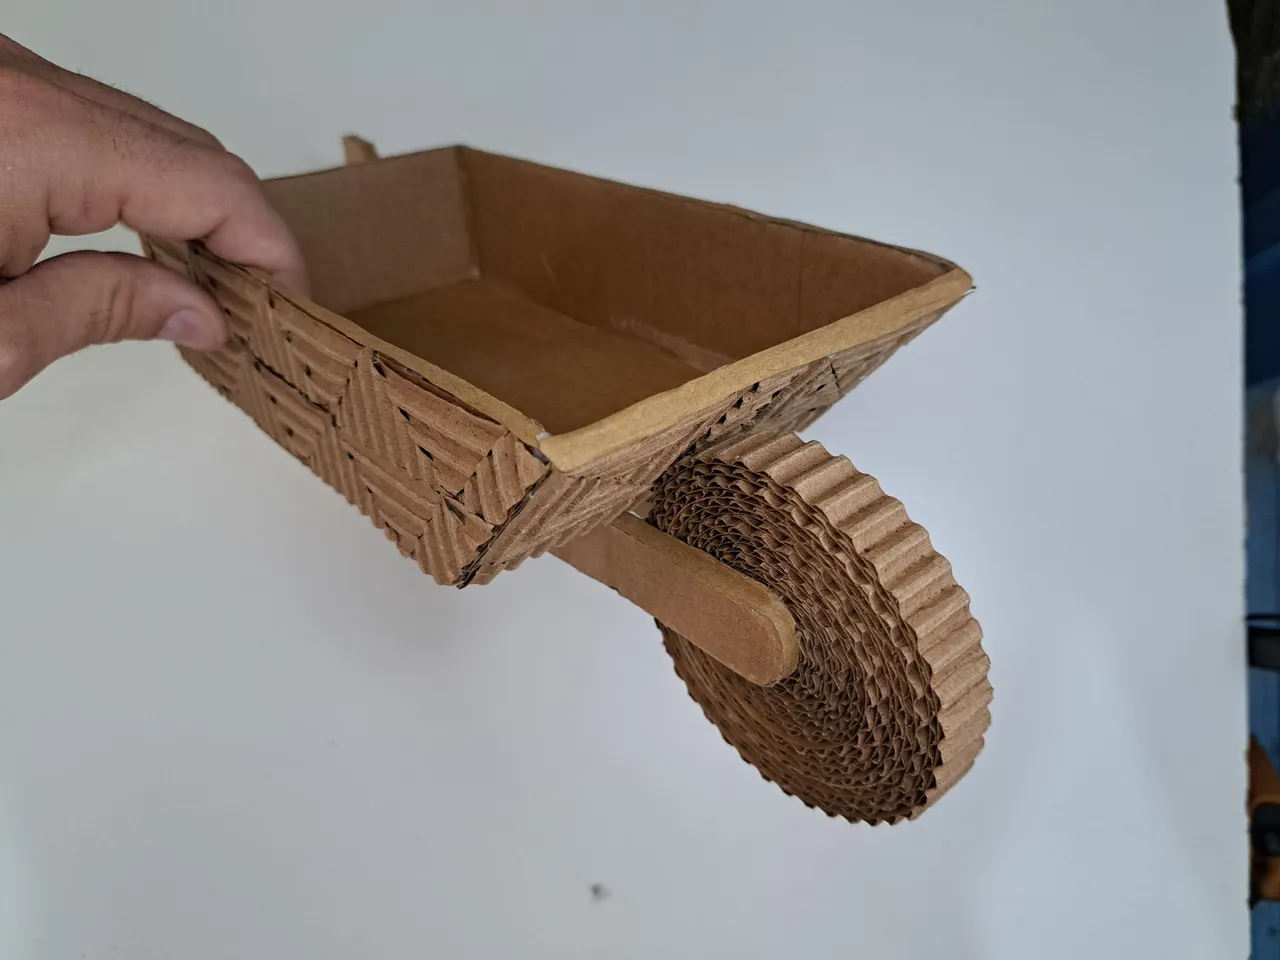
6️⃣ Finally, a layer of clear varnish or gloss should be applied to the sides of the wheelbarrow, as well as to the inside, including the base. This adds an extra protection factor against water while darkening the patterns created with the corrugated cardboard. Varnish can also be applied to the outer edge of the wheel.
Para finalizar, se debe aplicar una capa de barniz o brillo transparente a los laterales de la carretilla, al igual que a la parte interior, incluyendo a la base. De esta forma se agrega un factor extra de protección contra el agua a la vez que se oscurecen los patrones creados con el cartón ondulado. También puede aplicarse el barniz al borde exterior de la rueda.
 |  |
 |  |  |
Finished Work // Trabajo Terminado
This concludes today's tutorial. As you could see, it was a fairly simple craft, which uses few materials, but it can become an essential piece in case you have an indoor garden or want to use it as a centerpiece. I hope you liked this pot holder and remember that, although I show you outdoor images below, it is actually a decorative object that should not come into direct contact with water. Greetings, blessings and see you next time.
De esta forma concluiría el tutorial del día de hoy. Como pudieron apreciar fue una manualidad bastante sencilla que emplea pocos materiales pero que puede llegar a ser una pieza fundamental en caso de que poseas un jardín en interiores o desees usarlo como centro de mesa. Espero les haya gustado este porta macetas y recuerden que a pesar de que a continuación les muestro imágenes al aire libre en realidad es un objeto decorativo que no debe entrar en contacto directo con el agua. Saludos, bendiciones y hasta la próxima.
 |  |
 |  |  |

Thank you very much for reading my post. If you liked it, please leave a comment and consider following me so you don't miss my next posts. I'd love to know your opinion and your thoughts about the topic I discussed in this post, see you in the next one!
Credits and Resources // Créditos y Recursos
Cover page created in Canva
Translated by DeepL
Images captured with my Samsung Galaxy A53


Cover page created in Canva
Translated by DeepL
Images captured with my Samsung Galaxy A53