 Fotografías de mi propiedad editadas en Canva.
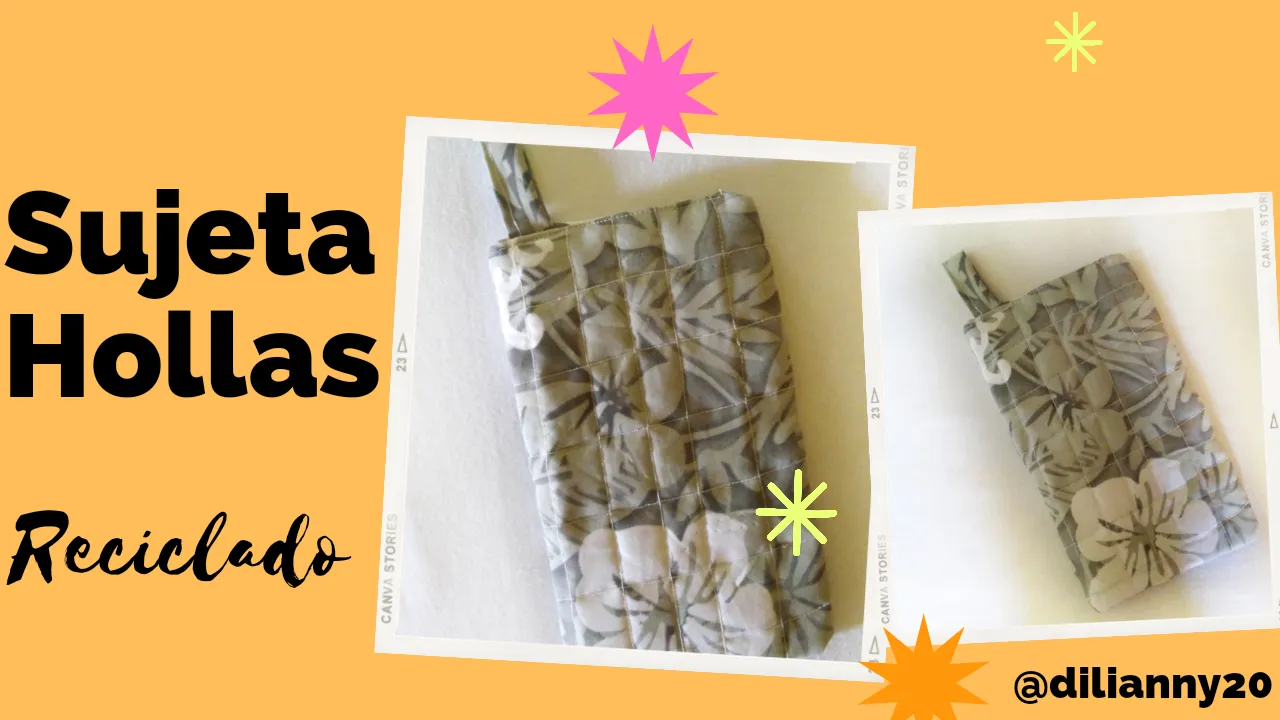
Reciban un saludo lleno de las mejores energías queridos amigos de Hive❤️ como siempre es un gusto poder saludarles y estar nuevamente aquí compartiendo con ustedes sobre las ideas creativas que se me ocurren.
Para mí reciclar tela es muy importante, siempre la guardo pensando en que más adelante podré darle otro uso, en este caso pensé en realizar un sujeta Hollas, es muy conveniente porque ya en la casa me hace falta uno, así que es la mejor oportunidad para darle uso a las telas de reciclaje.
La realización del sujeta Hollas fue muy fácil de realizar, espero que les guste y puedan hacer este lindo trabajo❤️✨
Receive a greeting full of the best energies dear friends of Hive❤️ as always it is a pleasure to greet you and be here again sharing with you about the creative ideas that occur to me.
For me recycling fabric is very important, I always keep it thinking that later I can give it another use, in this case I thought of making a Hollas holder, it is very convenient because I need one at home, so it is the best opportunity to make use of recycled fabrics.
The realization of the Hollas bra was very easy to make, I hope you like it and can do this nice job.
Materiales que utilice/Materials used
- 🌸 Tela reciclada
- 🌸 Guata
- 🌸 Ganchillos
- 🌸 Tijera ✂
- 🌸 Máquina de coser
- 🌸 Cinta métrica
- 🌸 Lápiz
- 🌸 Recycled fabric
- 🌸 Wadding
- 🌸 Crochet hooks
- 🌸 Scissors ✂
- 🌸 Sewing machine
- 🌸 Tape measure
- 🌸 Pencil

Pasos para realizar el sujeta Hollas// Steps to make the Hollas fastener
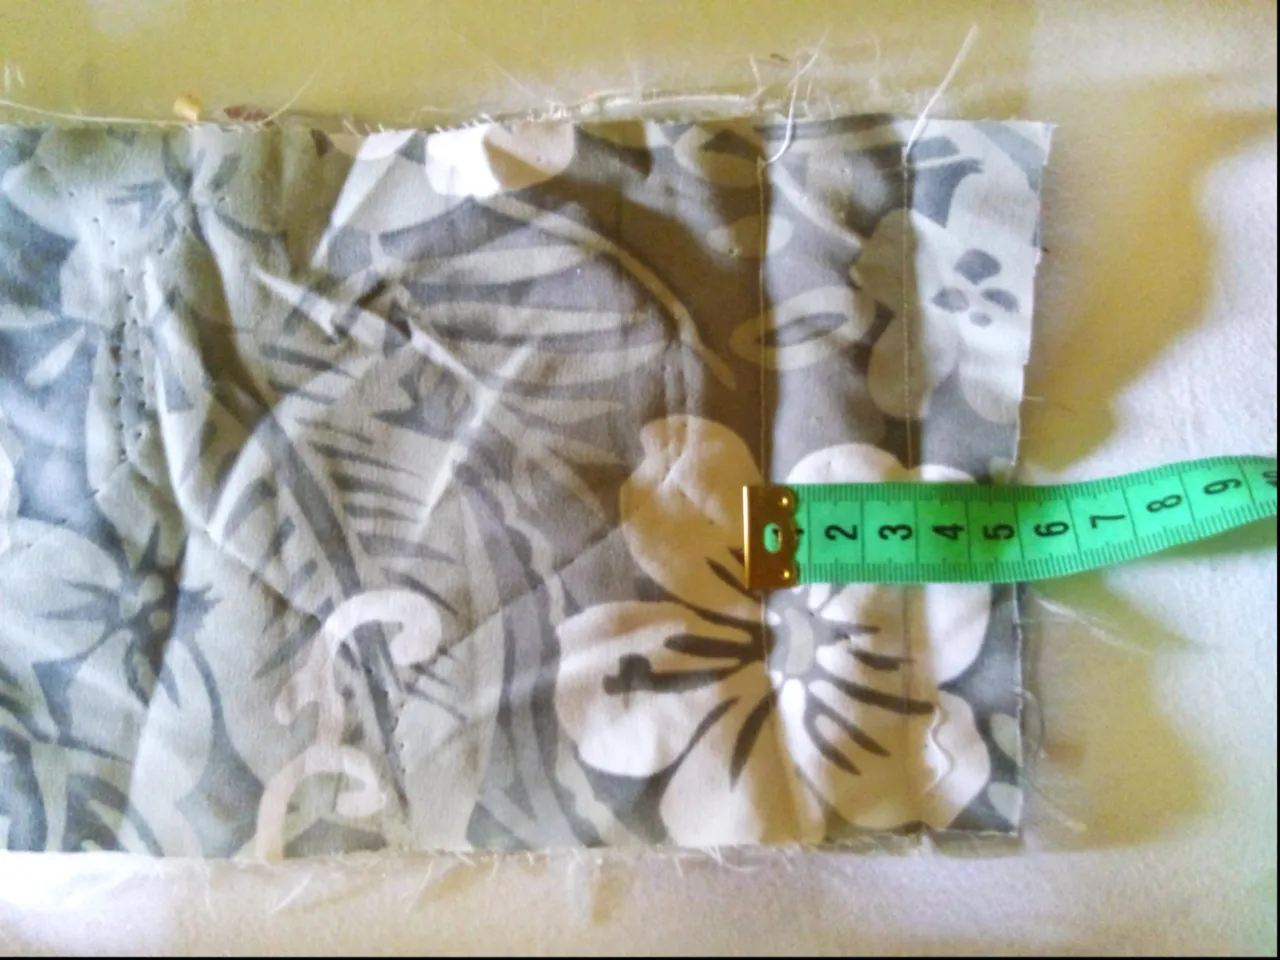
Primer Paso:
Lo primero que hice fue tomar la tela reciclada y medir con la cinta métrica , el ancho son 14 centímetros y de largo 45 centímetros . estás medidas son para la gusta y para las 2 piezas de tela.
First Step:.
The first thing I did was to take the recycled fabric and measure with the tape measure, the width is 14 centimeters and the length is 45 centimeters. These measurements are for the gusta and for the 2 pieces of fabric.
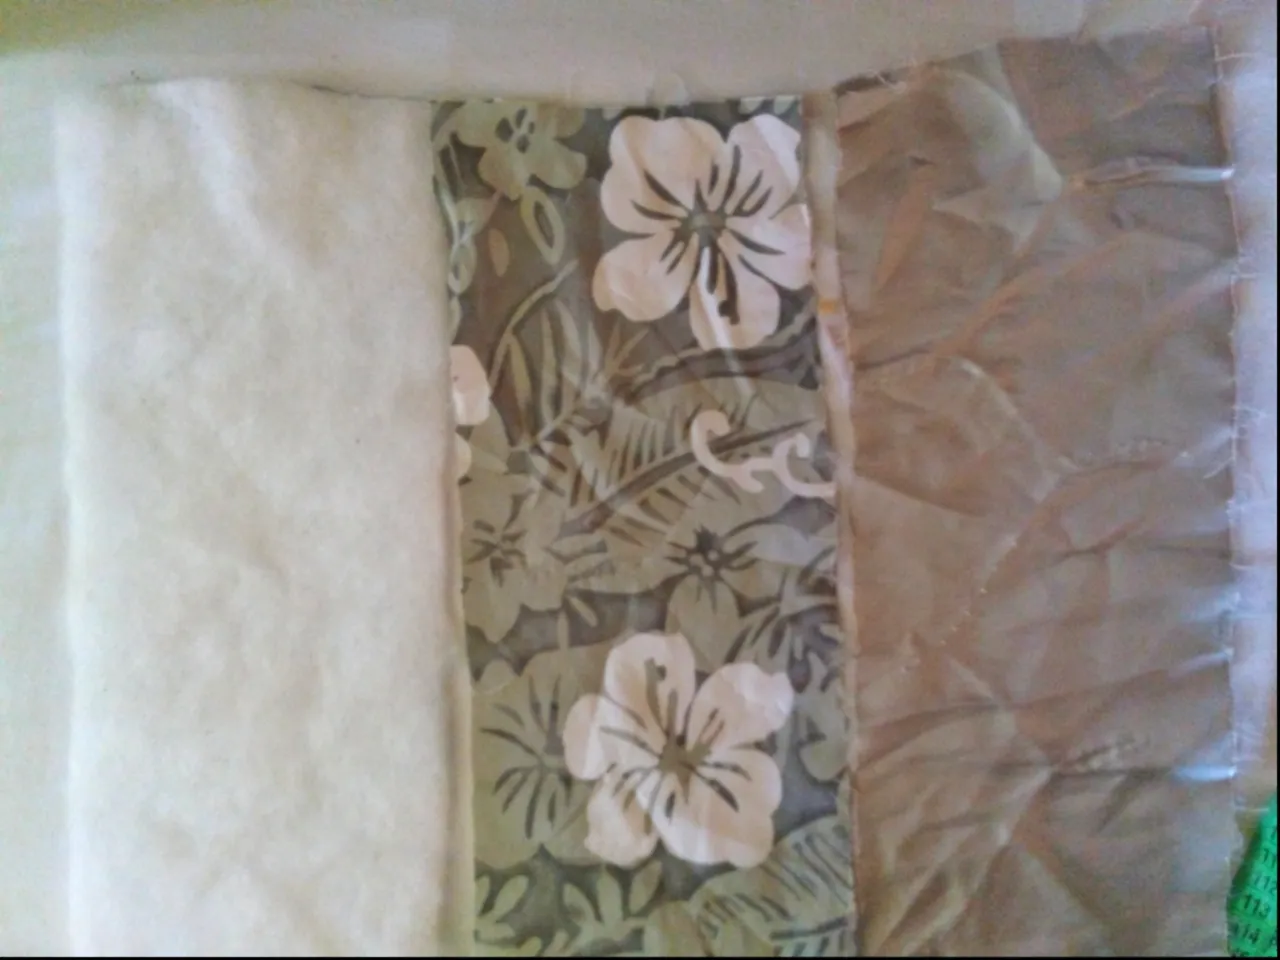
Segundo Paso:
Luego lo que voy hacer es colocar la primera pieza de tela, luego la gusta y por último la otra pieza de tela.
**Second Step: **
Then what I'm going to do is to place the first piece of fabric, then the one I like and finally the other piece of fabric.
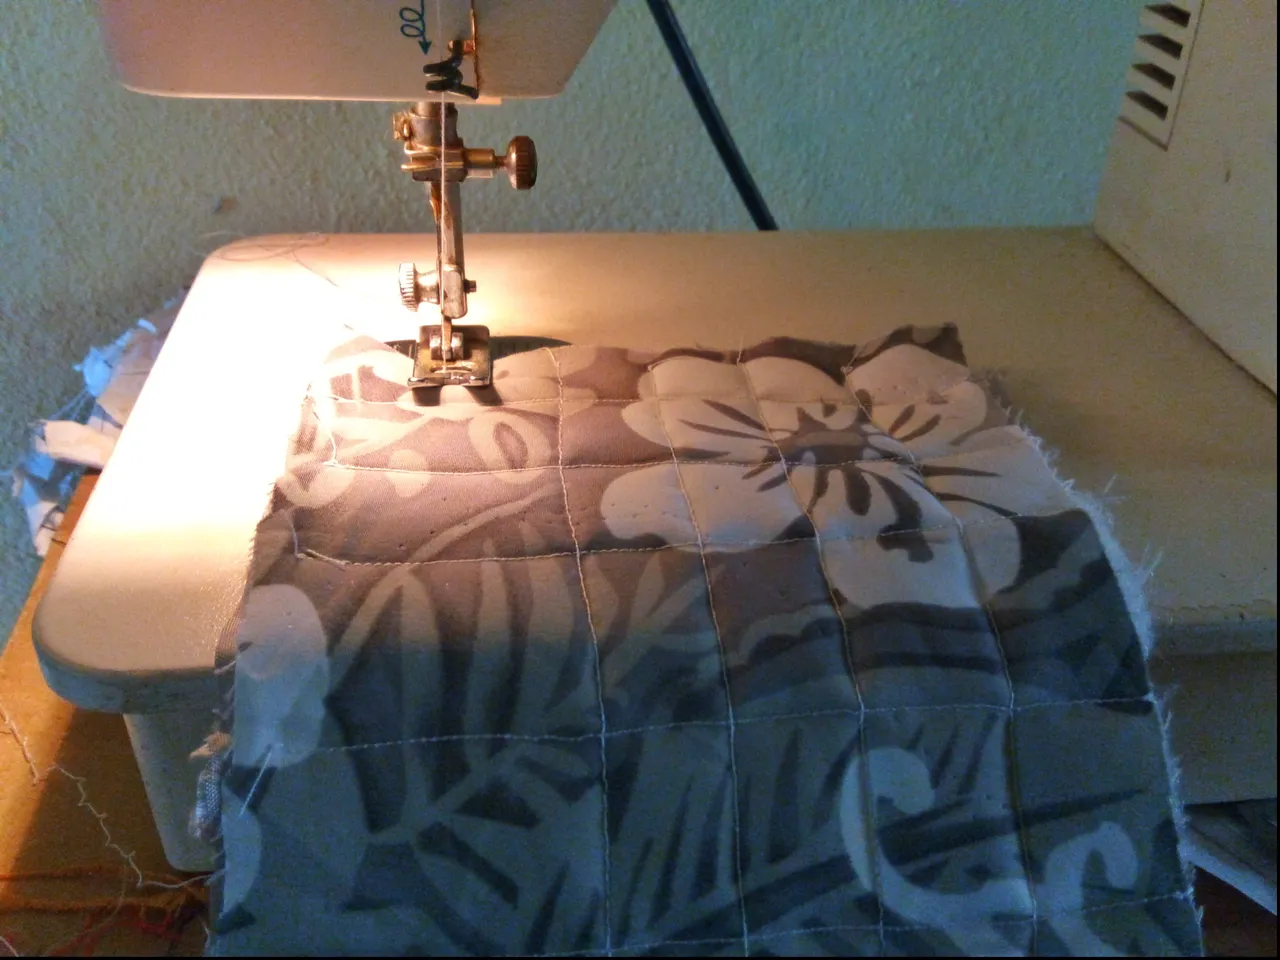
Tercer Paso:
Ahora coloque ganchillos a los alrededores para sujetar las piezas y así evitar que se muevan, después con la cinta métrica medio 3 centímetros de ancho y fui pasando una costura recta con la máquina de coser, realicé varias puntadas rectas para cubrir el ancho de la tela.
Third step
Now I place crochets around to hold the pieces to prevent them from moving, then with the measuring tape I measured 3 centimeters wide and went through a straight seam with the sewing machine, I made several straight stitches to cover the width of the fabric.
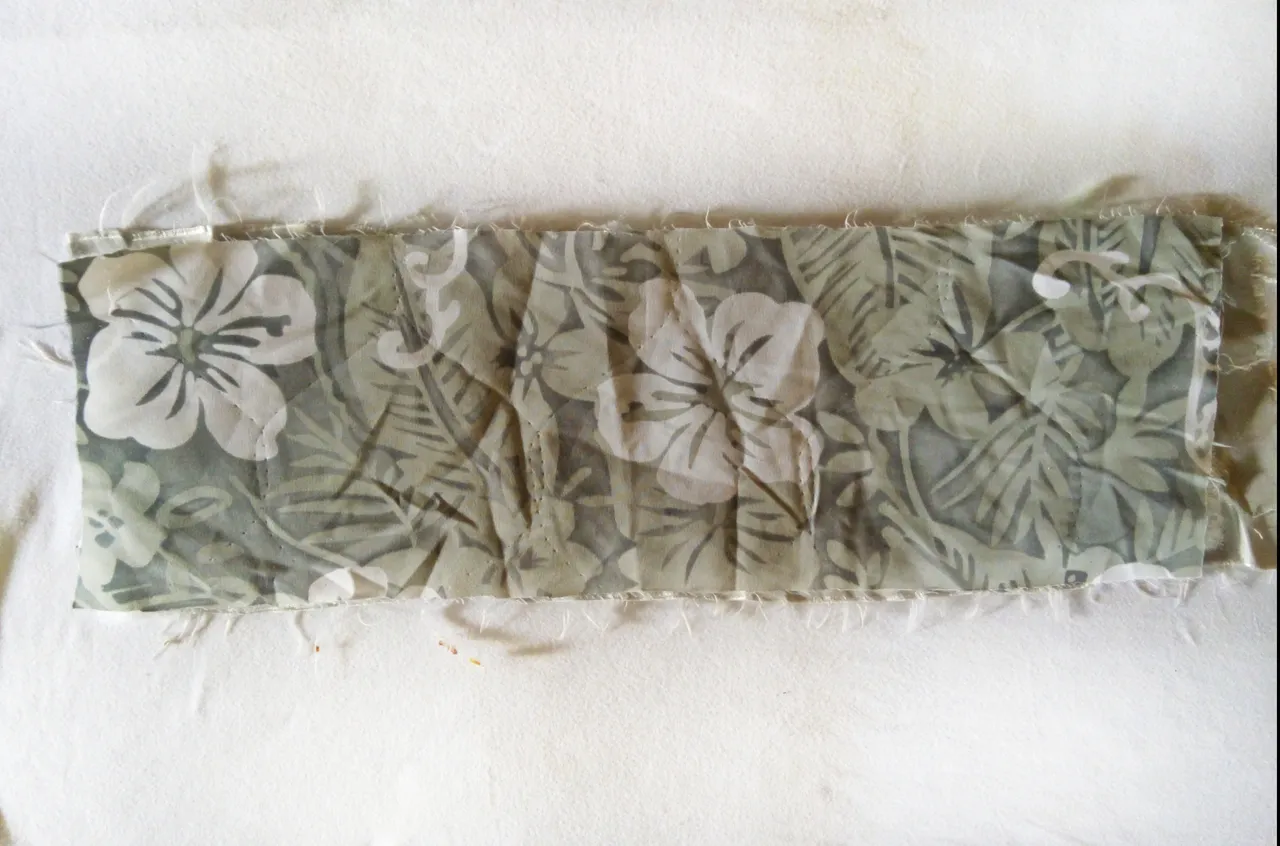
Cuarto Paso:
Luego de haber cosido las líneas rectas, voltee la pieza para pasar costura recta, esto formará varios cuadros, será el modelo del sujeta Hollas.
Fourth step
After having sewn the straight lines, turn the piece over to pass straight stitching, this will form several squares, this will be the model of the Hollas holder.
Quinto Paso:
Vamos a doblar por la mitad la pieza y vamos proseguir a pasar costura recta por los laterales, vamos a dejar un orificio de 6 centímetros.
Fifth step
We are going to fold the piece in half and continue with straight stitching along the sides, leaving a 6 cm hole.

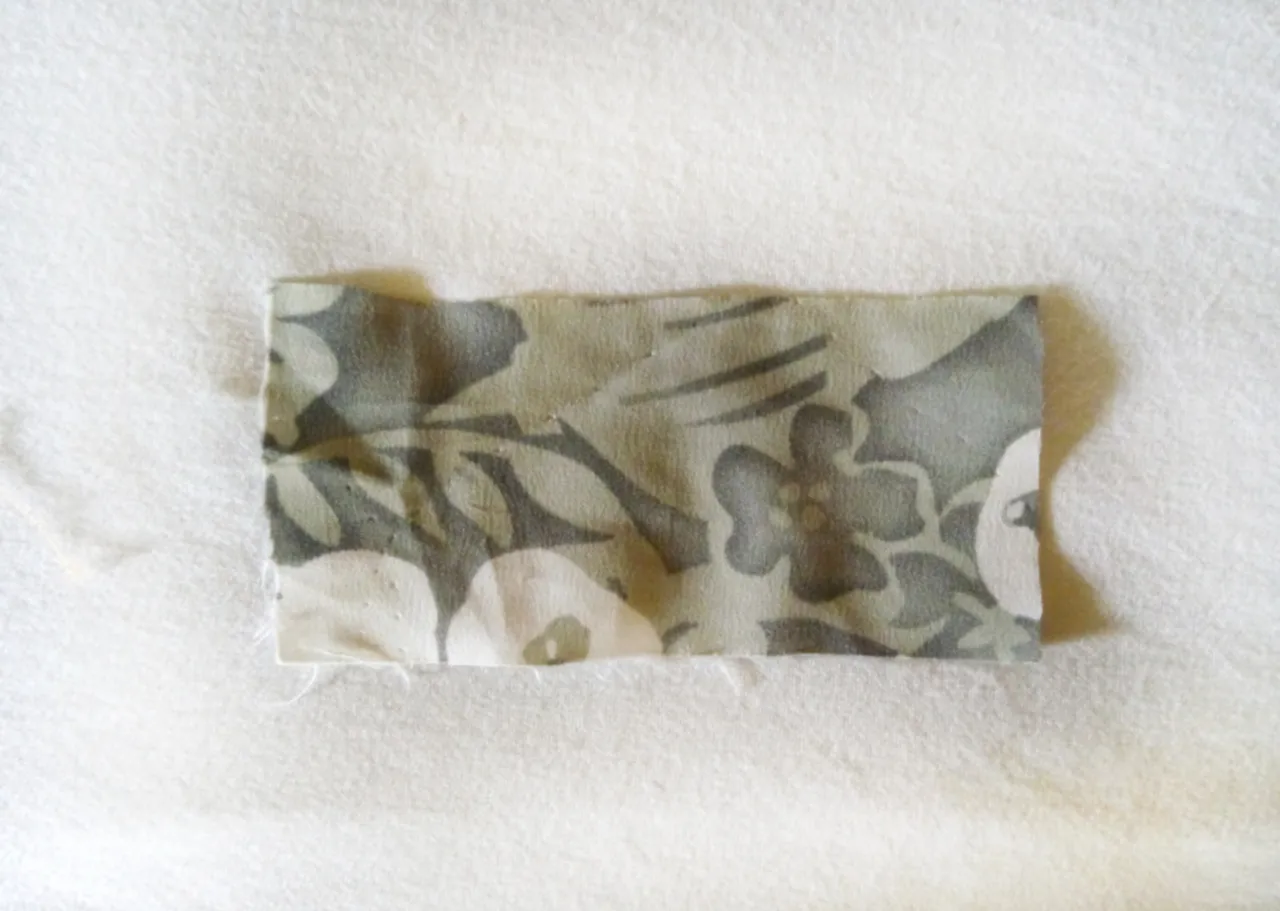
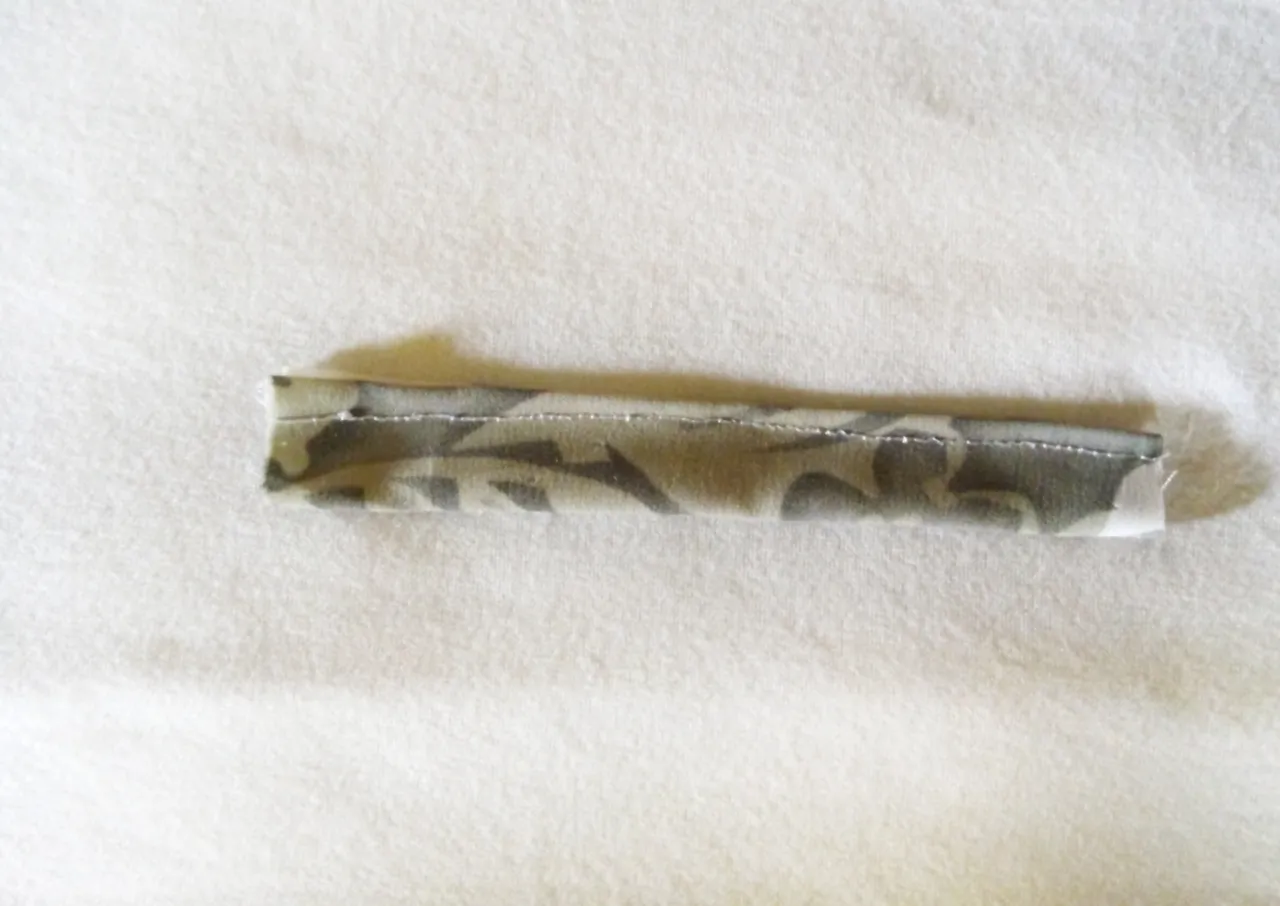
Sexto Paso:
Ahora vamos a cortar una pieza de tela de 6 centímetros de largo, y 3 de largo, vamos a doblar para coser con costura recta y que quede una tira para guindar el sujeta hojas.
Sixth step
Now we are going to cut a piece of fabric 6 centimeters long and 3 centimeters long, we are going to fold it to sew with a straight seam and leave a strip to hang the leaf holder.
Séptimo Paso
Luego por el orificio que habíamos dejado vamos a colocar la tira, y pasamos una costura recta por la orilla. así finalizamos la realización del sujeta Hollas.
Seventh step
Then through the hole we had left we will place the strip, and we pass a straight seam along the edge, thus completing the realization of the Hollas holder.

Resultado/Result

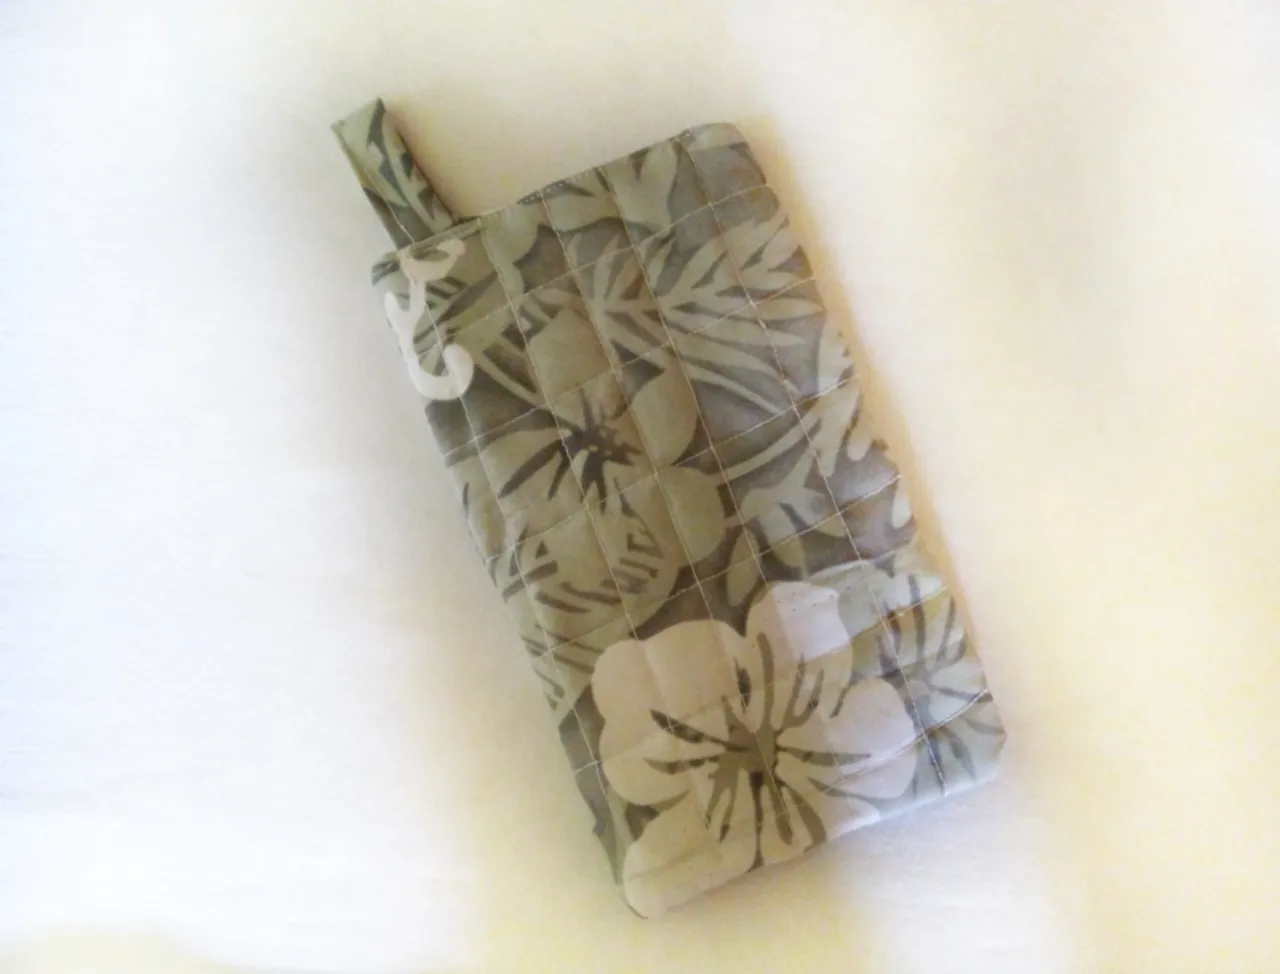
Este trabajo es realizado con mucho cariño, espero que les haya gustado, yo quedé muy feliz con los resultados,sigamos reciclado tela para luego darle los mejores usos. 🥰❤️❤️
This work is made with a lot of love, I hope you liked it, I was very happy with the results, let's continue recycling fabric to give it the best uses.
All pictures are my property, taken with my umidigi phone.