Greetings friend, once again getting down to work in order to recreate another great figure with the origami technique, being something very nice, relaxing and allows us to take is great creativity to the next level, where I have many ideas of figures to go arming and create here at home a great collection of all of it. I was looking for one and after practicing and making several designs, I share with you the step by step of how to make a paper rose, which has a little difficulty, but once you get the hang of it you can create many roses like this one.
The idea of this peal rose is that you can use them to decorate a space, give them to a special person or in my case to my dear mother as a gift for the beginning of the week, since I liked the result and if you are looking for a perfect gift for this February 14 and do not know what to do, these paper roses will be a great help and make a great bouquet. You can create it in different colors and when you realize it you manage to implement the origami technique and the solution to a gift. So do not miss this procedure of how to create such roses.
Saludos amigo, una vez más poniendo manos a la obra para así poder recrear otra gran figura con la técnica del origami, siendo algo muy bonito, relajante y nos permite llevar es gran creatividad al siguiente nivel, donde tengo muchas ideas de figuras por ir armando y crear aquí en casa una gran colección de toda ella. Estaba buscando una y luego de practicar y hacer varios diseños, les comparto el paso a paso de cómo hacer un rosa de papel, la cual tiene un poco de dificultad, pero una vez que la garras la vuelta podrás crear muchas rosas como estás.
La idea de esta rosa de peal es que te sirvan para decorar un espacio, dárselas a una persona en especial o en mi caso a mi querida madre como regalo de inicio de semana, ya que me gusto ese resultado y si estás buscando un regalo perfecto para este 14 de febrero y no sabes qué hacer, estas rosas de papel te servirán de gran ayuda y arma un gran ramo. La puedes crear de diferentes colores y cuando te das cuenta logras implementar la técnica del origami y la solución a un regalo. Así que no te pierdas este procedimiento de cómo crear dichas rosas.
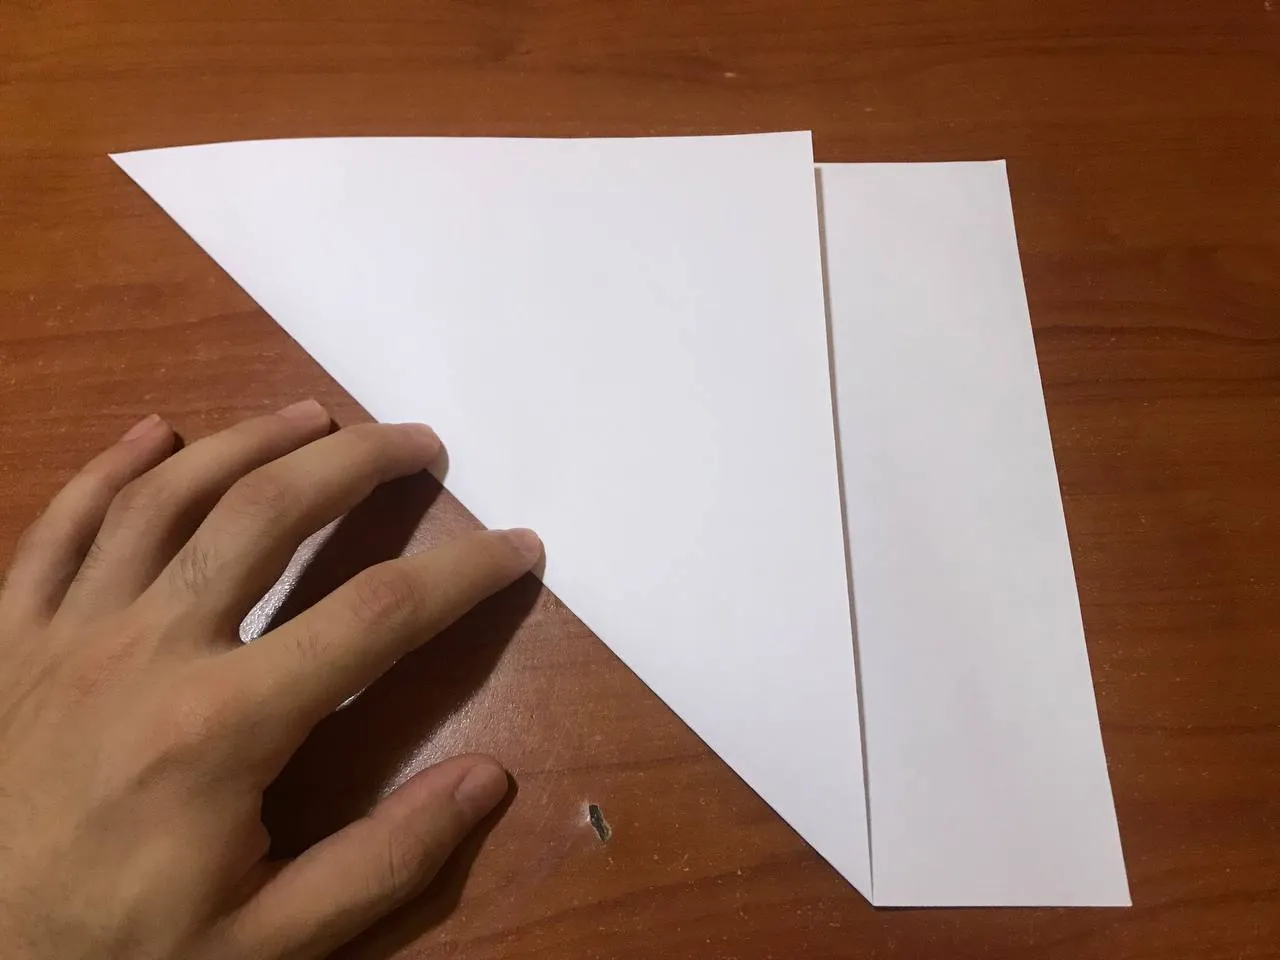
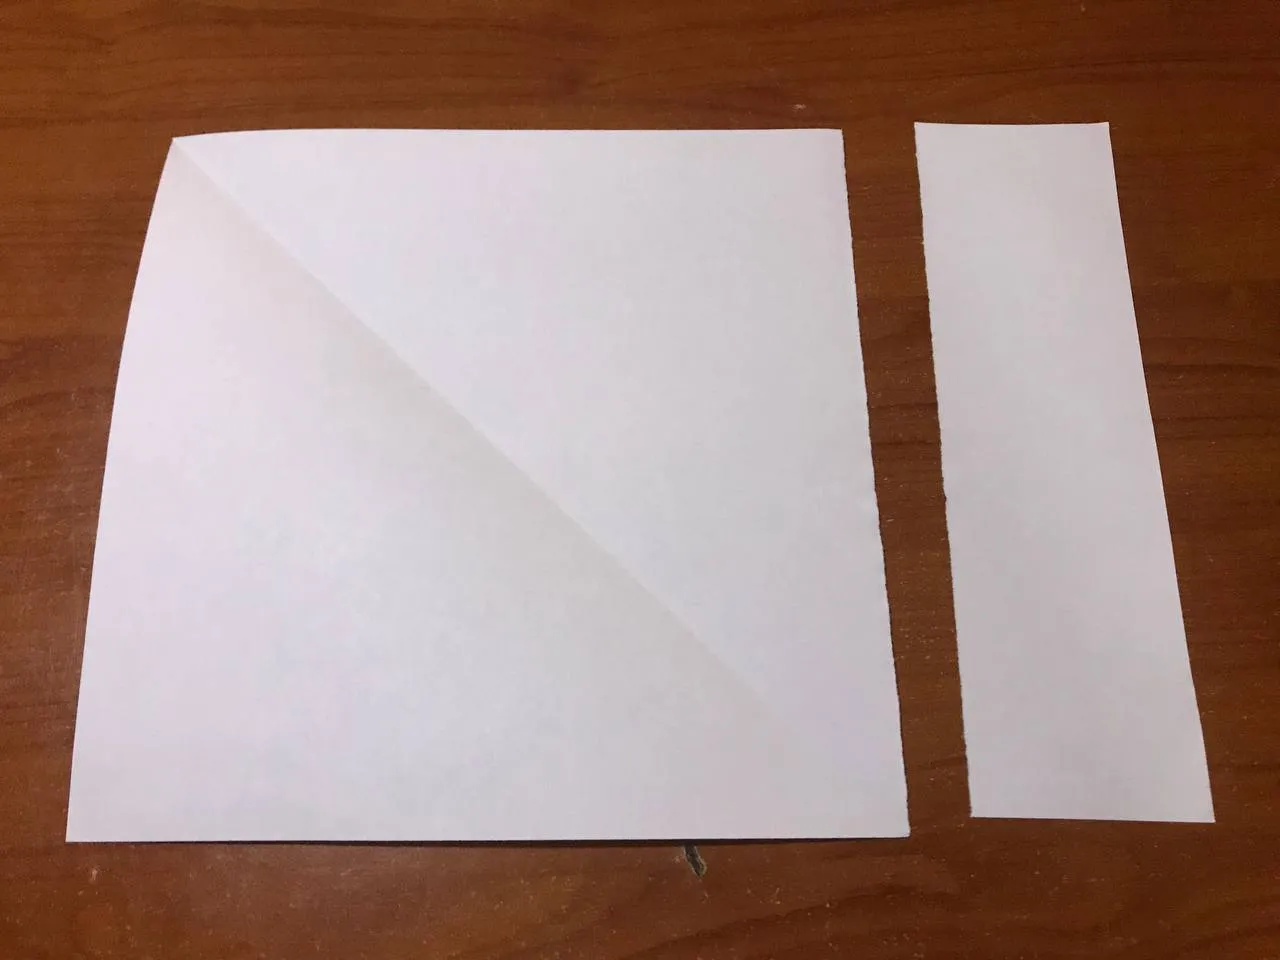
The first thing we have to do is to take the sheet and we will fold it diagonally with great care, in order to get a square on it, the excess part we will cut with the help of the scissors and we will have the sheet ready to start to make the different folds, to achieve the paper rose.
Lo primero que tenemos que hacer es tomar la hoja y vamos a doblar por la diagonal con mucho cuidado, para así poder conseguir un cuadrado en la misma, la parte sobrante la vamos a cortar con la ayuda de la tijera y nos quedara la hoja lista para comenzar a armas y hacer los diferentes dobles, para lograr la rosa de papel.
|
 |
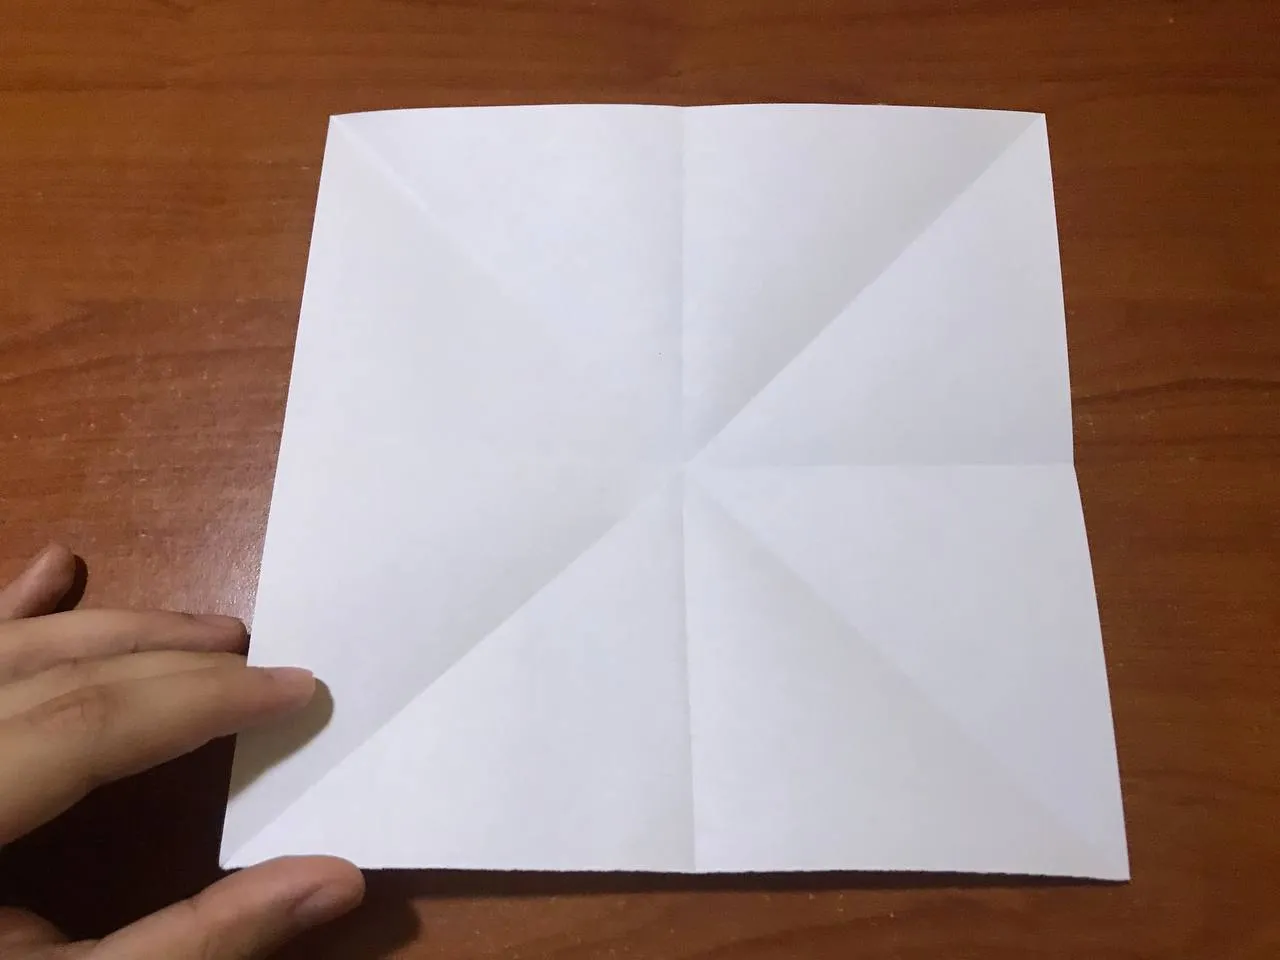
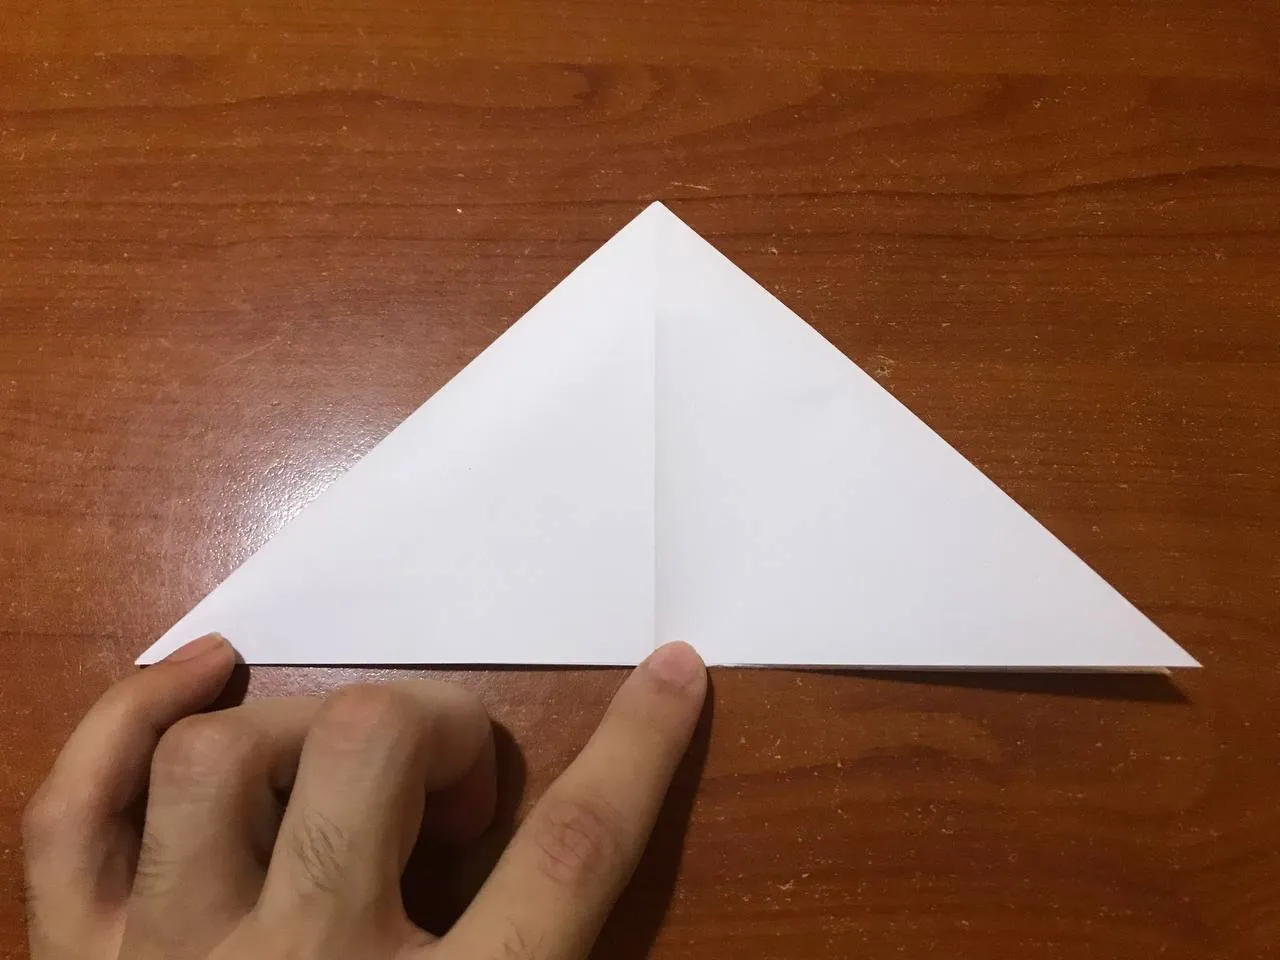
Once the cut is ready, we are going to fold the sheet vertically, horizontally and diagonally, all in order to be able to mark the lines on the sheet and make it much easier when it comes to assemble all this origami, where we will have many triangles marked on the sheet. From there we continue folding and we will make a fold inward, where we take the sheet in half and bring it inward, carefully flatten it and we will have two large triangles on the sheet, as you can see in the photo.
Una vez listo el corte, vamos a doblar la hoja de forma vertical, horizontal y diagonal, todo sea con el fin de poder marcar las líneas en la hoja y que sea mucho más fácil a la hora de armar todo este origami, donde nos quedaran muchos triángulos marcados en la hoja. De allí continuamos doblando y vamos a hacer un pliegue hacia adentro, donde tomamos la hoja por la mitad y la llevamos hacia adentro, con mucho cuidado aplastamos y nos quedara dos triángulos grande en la hoja, como se puede ver en la foto.
|
|
|
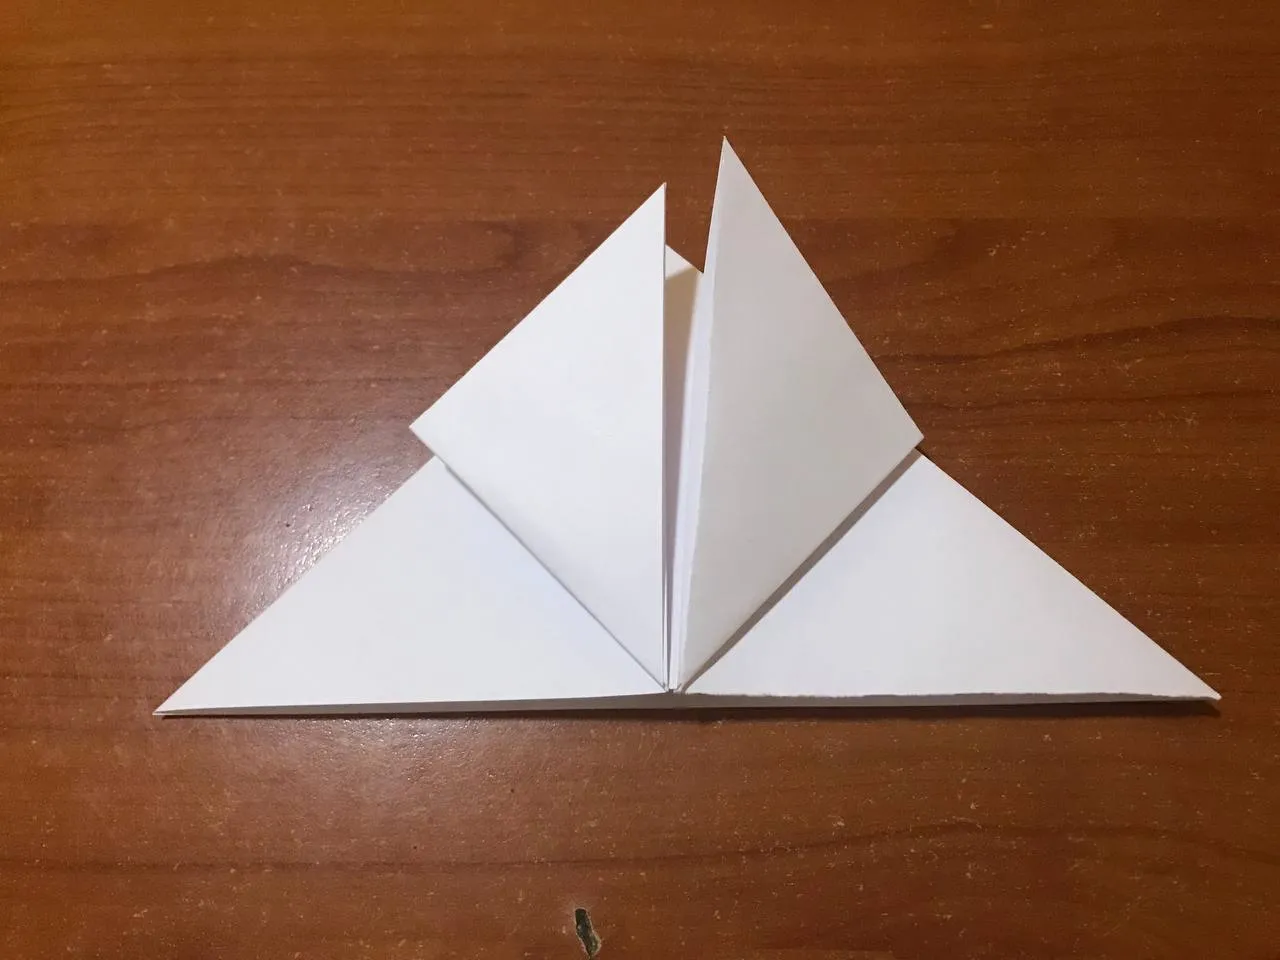
Next, we are going to take the tips of each triangle and we are going to take them upwards, folding and marking each part very well, we are going to do this with the four corners, that is to say, on each corresponding side of the leaf. At the end we will be left with a kind of rhombus and from here we are going to assemble the rose and we have to be very careful with each of the doubles we make, since a wrong move will damage everything.
Seguidamente, vamos a tomar las puntas de cada triángulo y las vamos a llevar hacia arriba, doblando y marcando muy bien cada parte, esto lo vamos a hacer con las cuatro esquina, es decir, de cada lado correspondiente de la hoja. Al final nos quedará como especie de un rombo y a partir de aquí vamos a ir armando la rosa y tenemos que tener mucho cuidado con cada uno de los dobles que hagamos, ya que un mal movimiento todo se dañará.
|
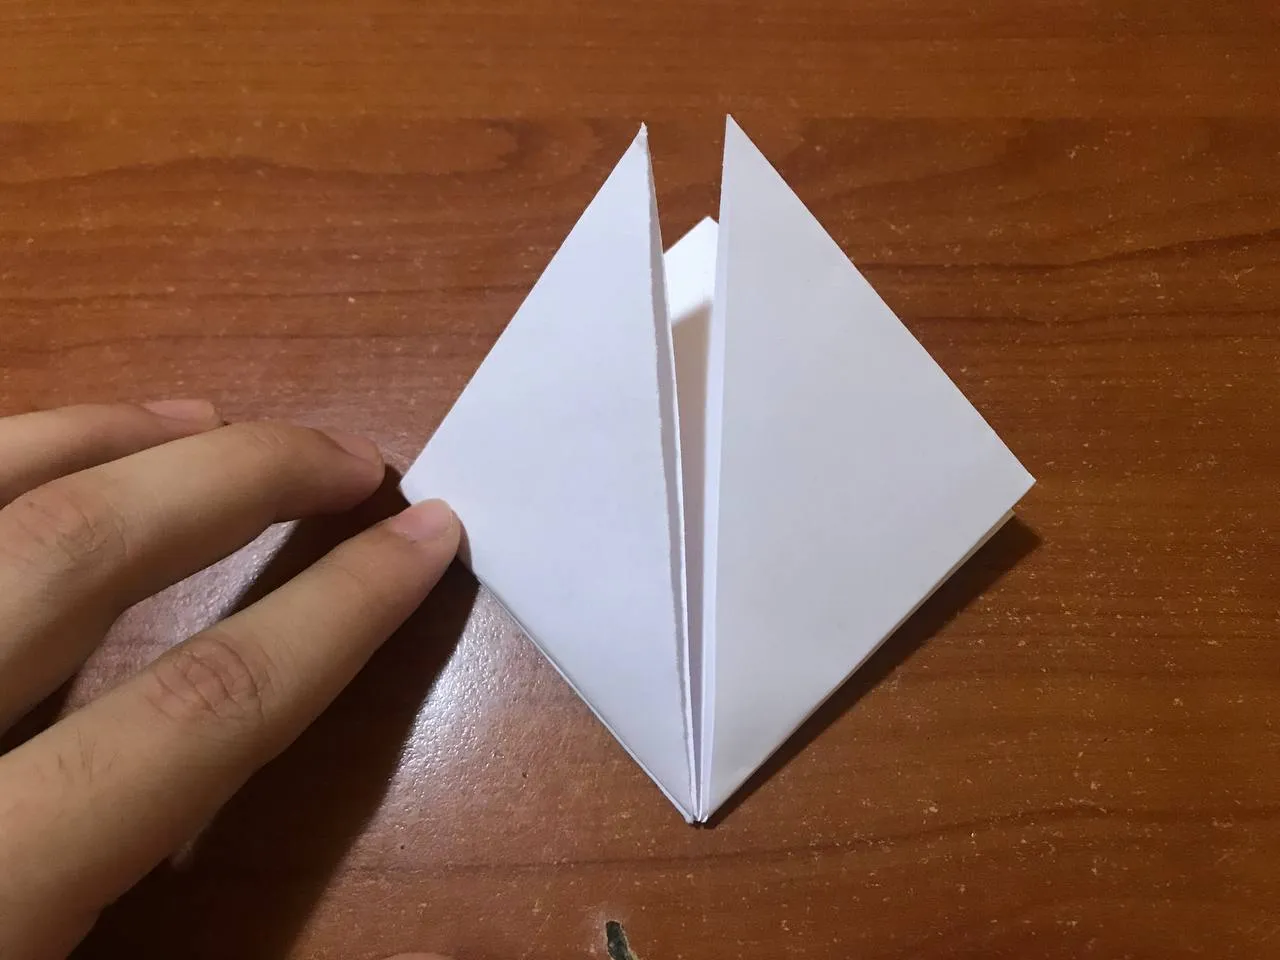 |
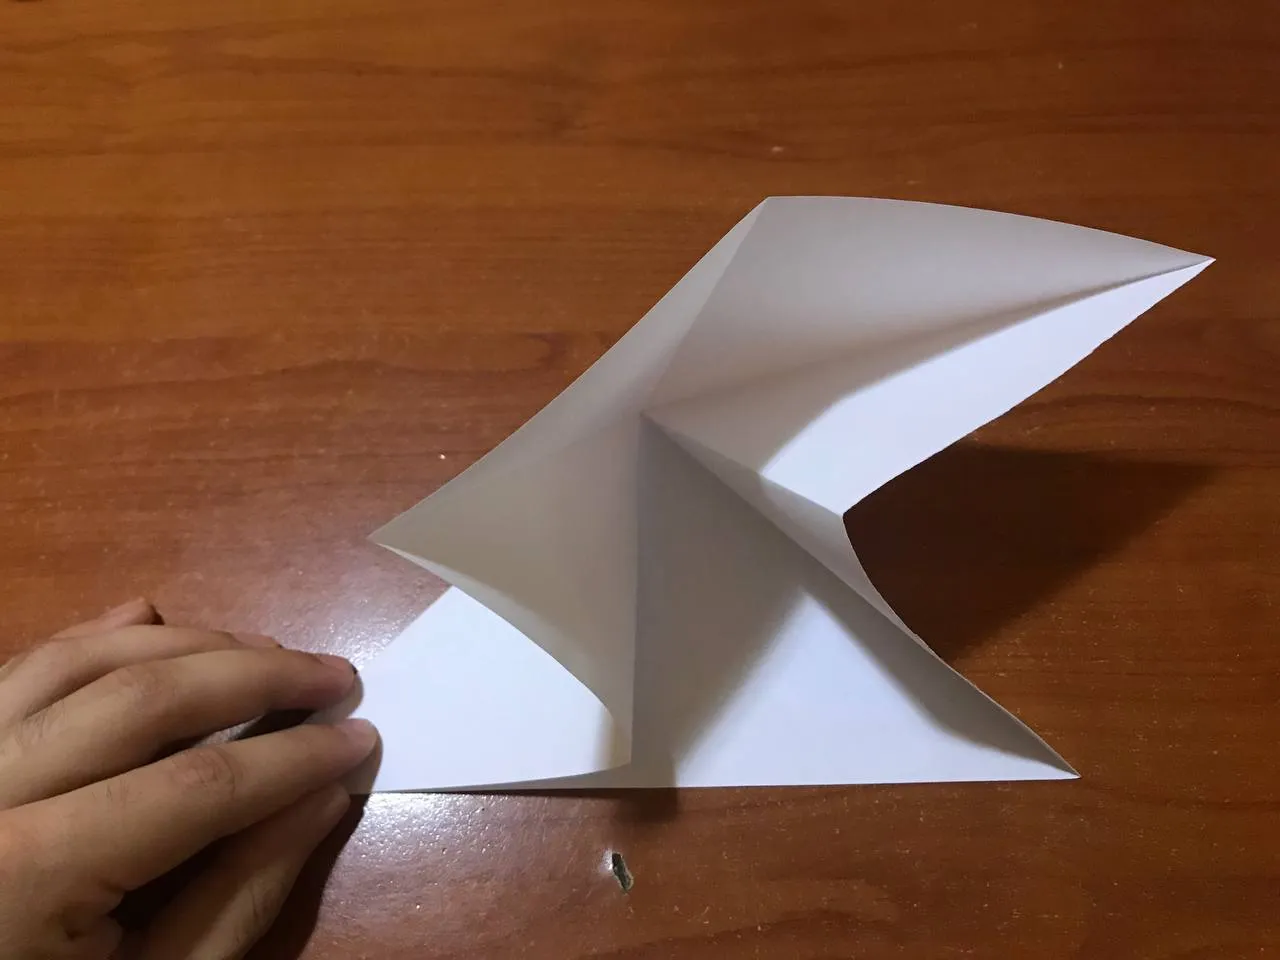
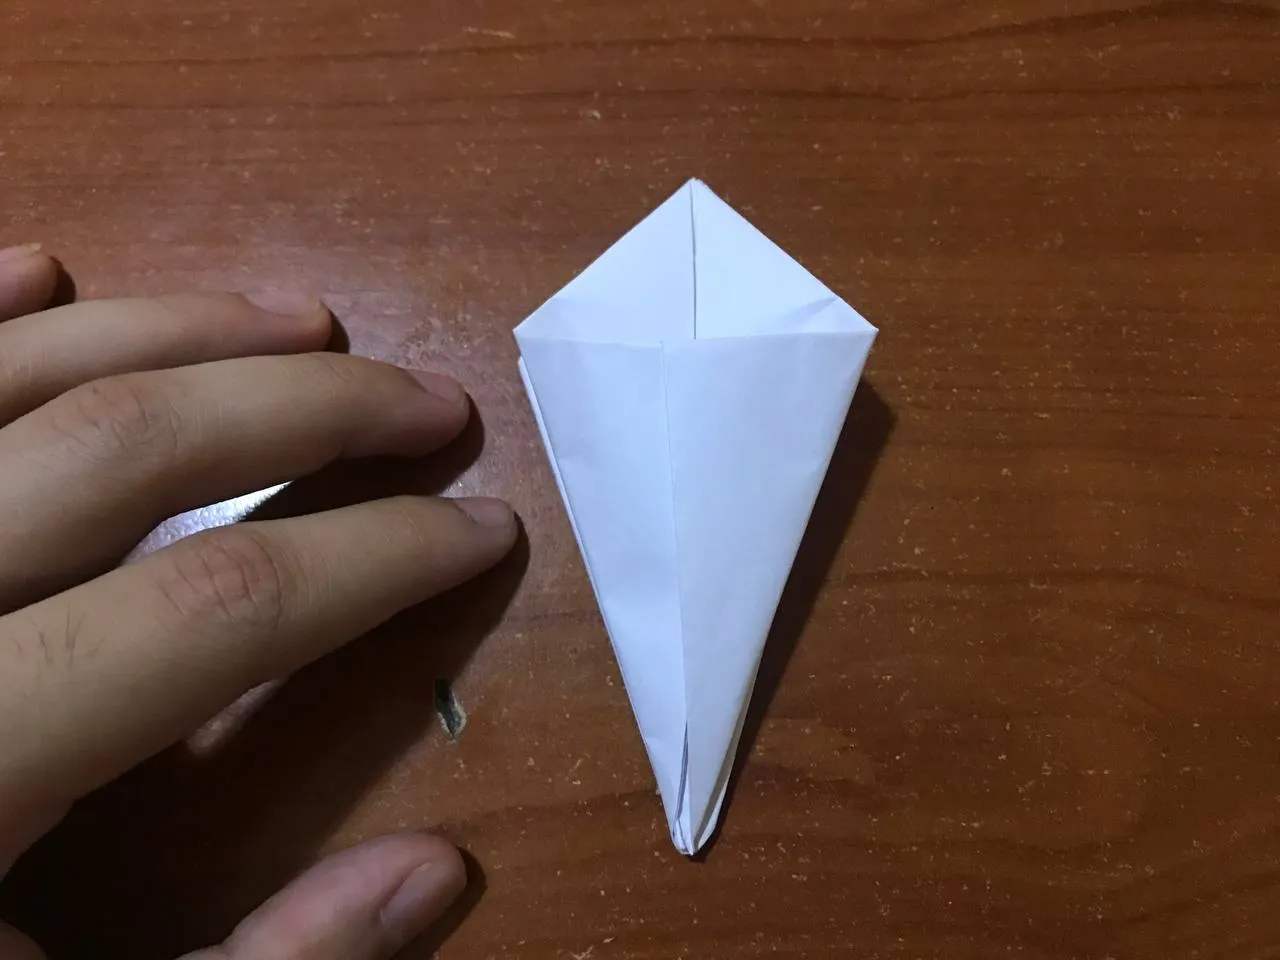
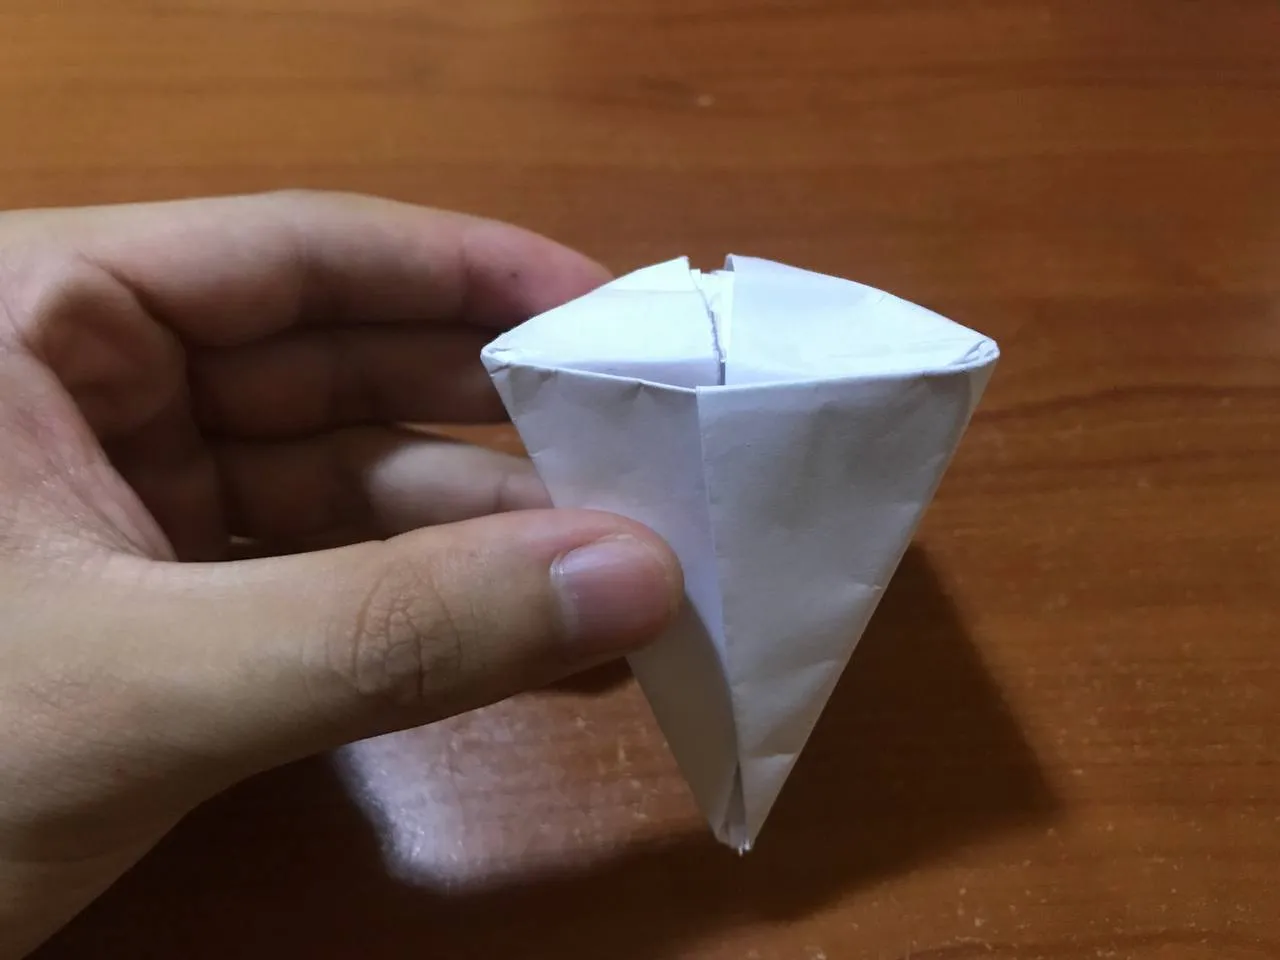
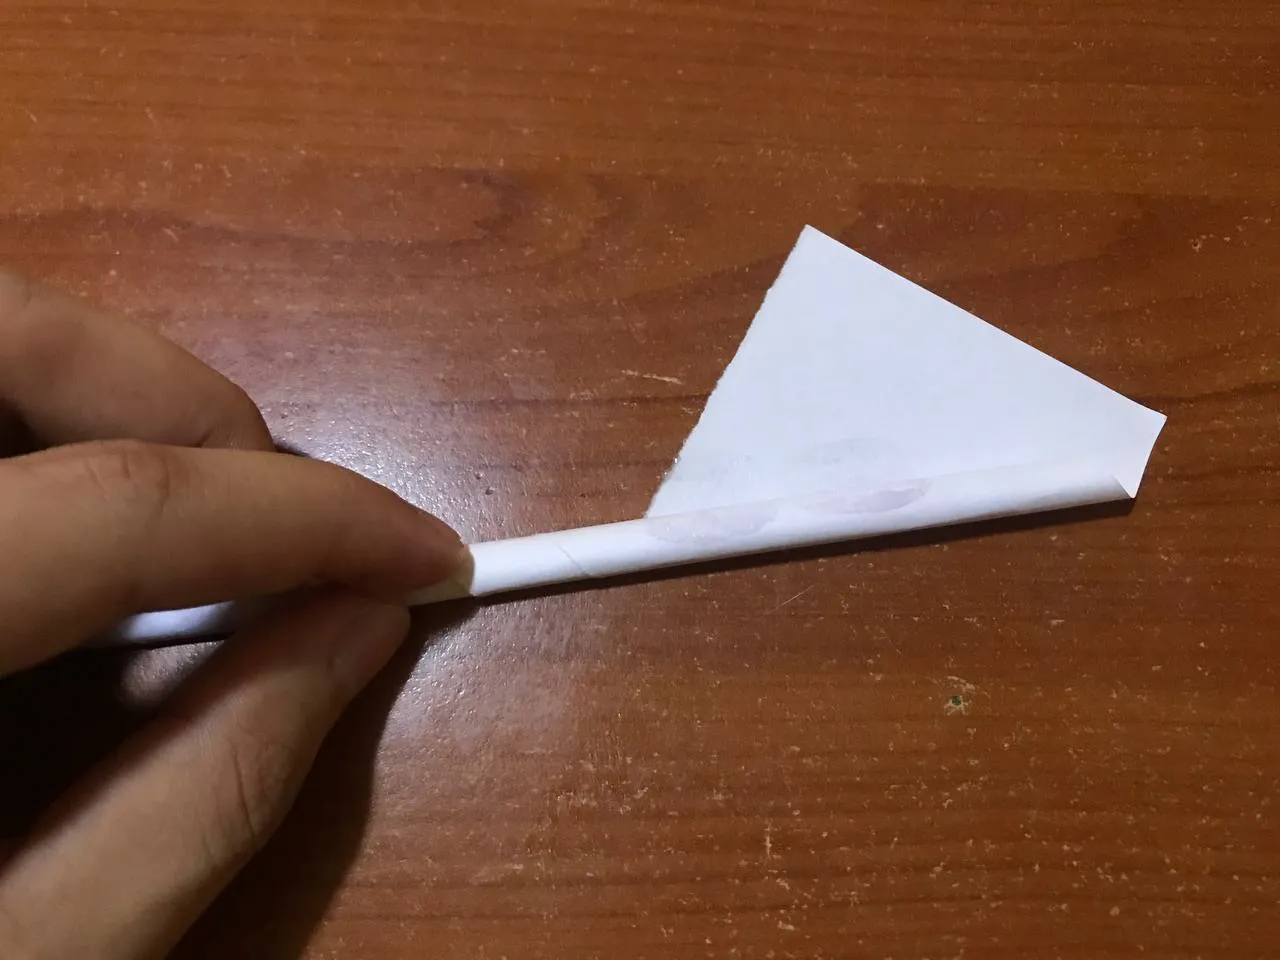
We are going to flip the sheet, to fold and join two triangles of it. We take the corner of either side and we are going to put it through the triangle of the opposite side by the edge that is open there, we are going to go pushing to be able to get the rose. We are going to repeat the same thing on both sides and we will be as shown in the photo and will have the shape of a cone. A little complicated step, but everything has to be very well marked, since this is where the paper rose will come out.
Vamos a voltear la hoja, para doblar y unir dos triángulos de la misma. Tomamos la esquina de cualquier lado y la vamos a meter por el triángulo del lado opuesto por el borde que está allí abierto, vamos a ir empujando para poder conseguir la rosa. Eso mismo la vamos a repetir por ambos lado y nos quedará como se muestra en la foto y tendrá la forma de un cono. Un paso un poco complicado, pero todo tiene que quedar muy bien marcado, ya que de aquí es donde saldrá la rosa de papel.

|

|
|
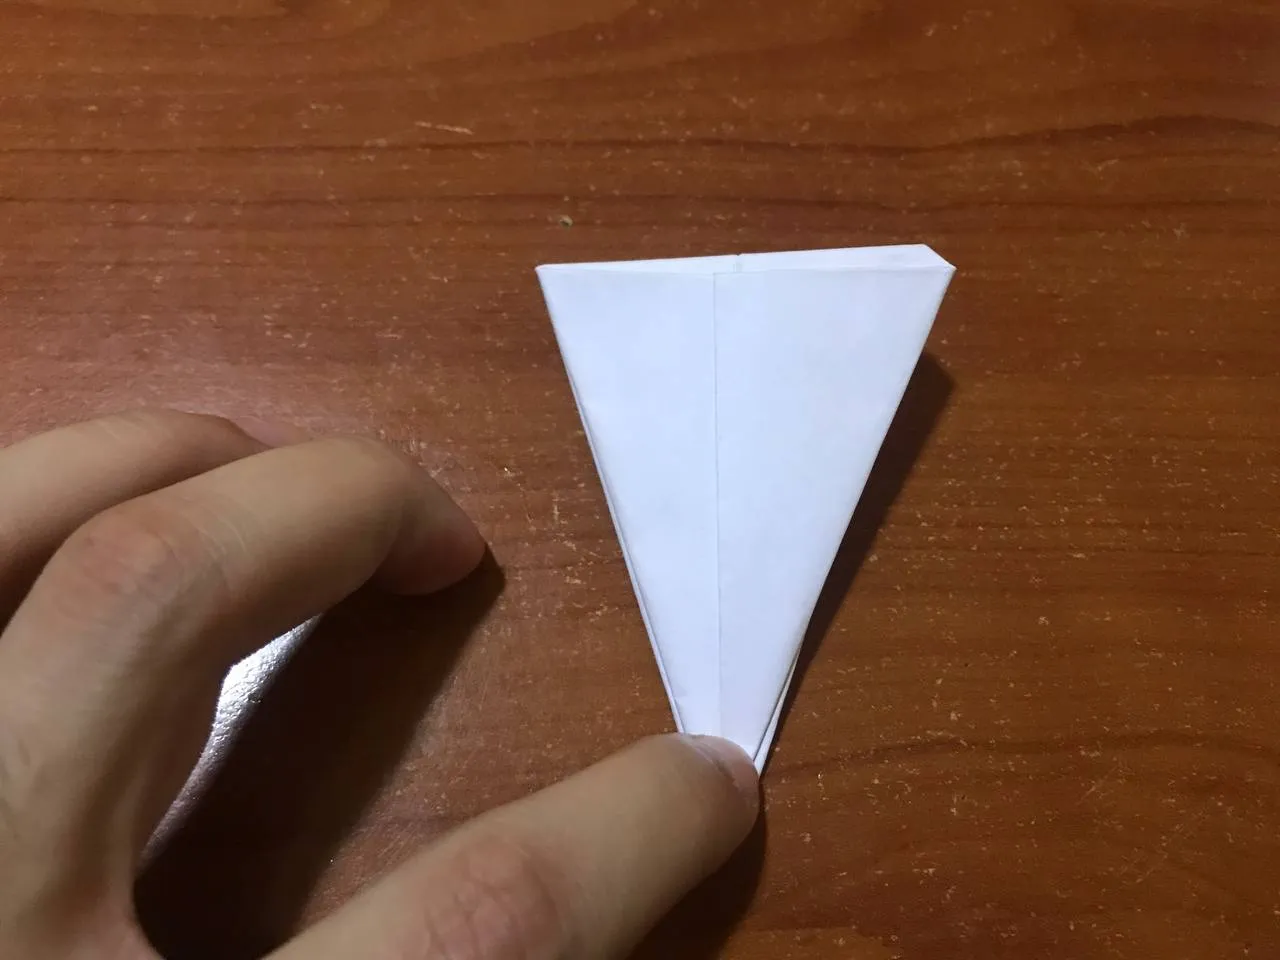
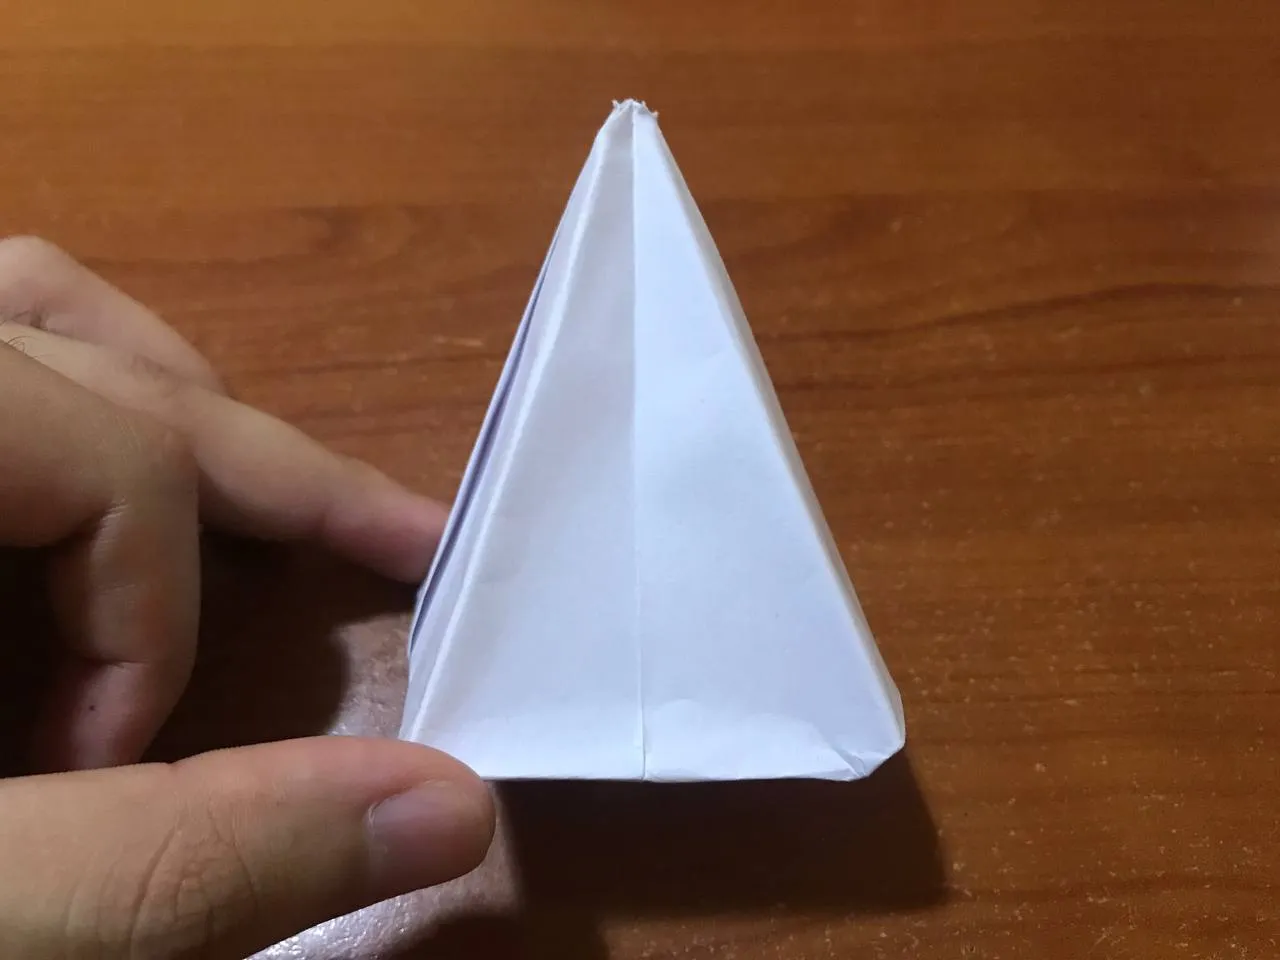
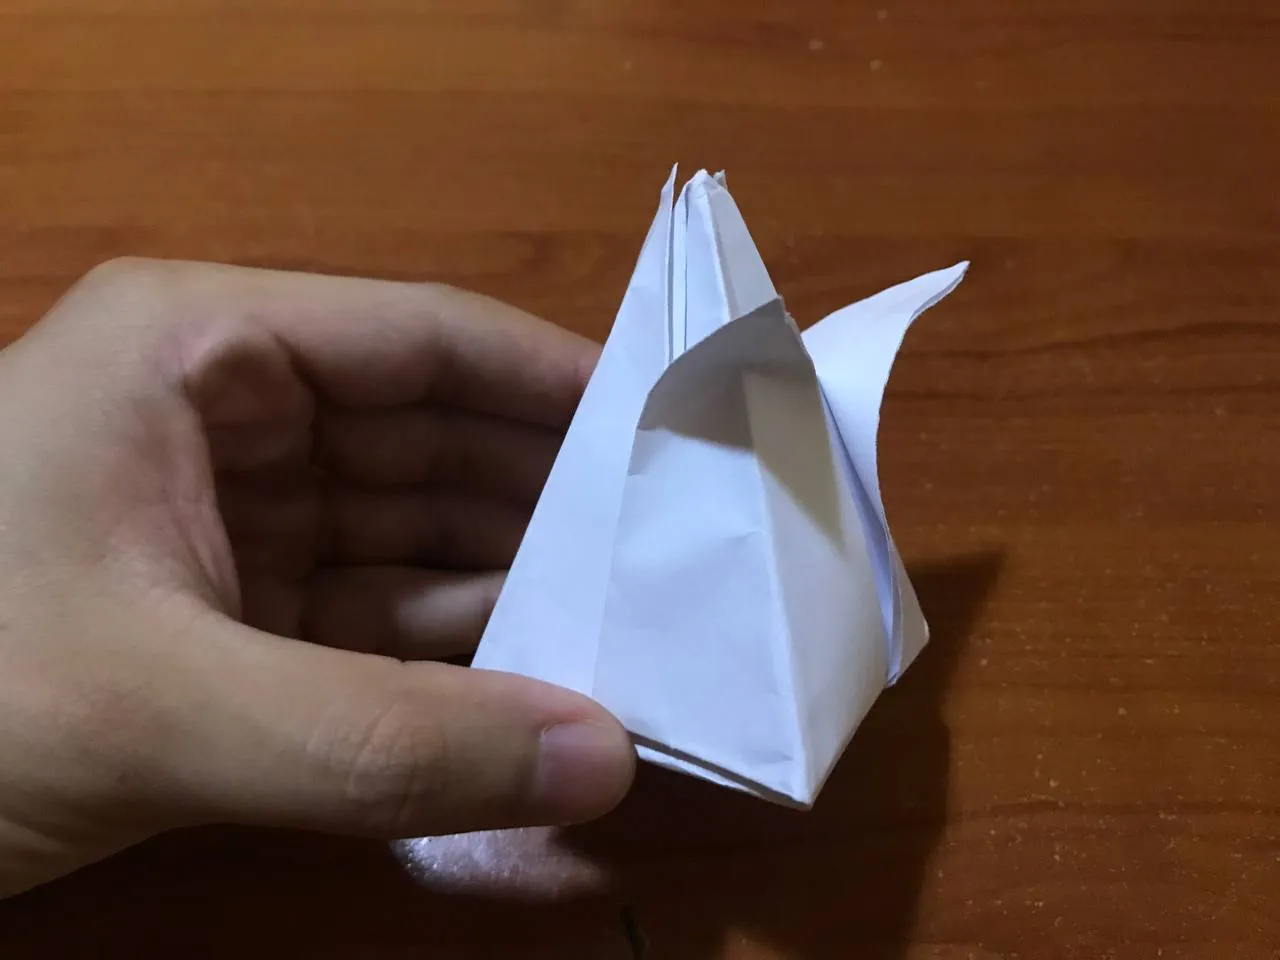
Then we are going to fold the triangle that will be formed at the top of the sheet, for the two sides, to be able to mark that line very well. Once that is ready we are going to open them to fold it and we are going to push the leaf inwards through the two holes of the same, so that the square that is at the bottom opens and we have a sort of a figure with volume, that will be the top of the rose.
Luego vamos a doblar el triángulo que se formará en la parte de arriba de la hoja, para los dos lados, para poder marcar muy bien esa línea. Una vez listo eso vamos a abrirlos para doblarlo y vamos a empujar la hoja hacia adentro por los dos orificios de la misma, para que se abra el cuadrado que está en la parte de abajo y nos queda como especie de una figura con volumen, eso será al parte de arriba de la rosa.
|
|
|
For the stem, we are going to take a piece of a rectangular sheet and begin to bend it at one corner to form a stick and at the end we put a little silicone so that it can hold and not disassemble the rose.
Para el tallo, vamos a tomar un pedazo de una hoja de formar rectangular y vamos a comenzar a doblar por una esquina para formar un palito y al final le colocamos un poco de silicón para que se pueda sostener y no se desarme la rosa.
|
 |
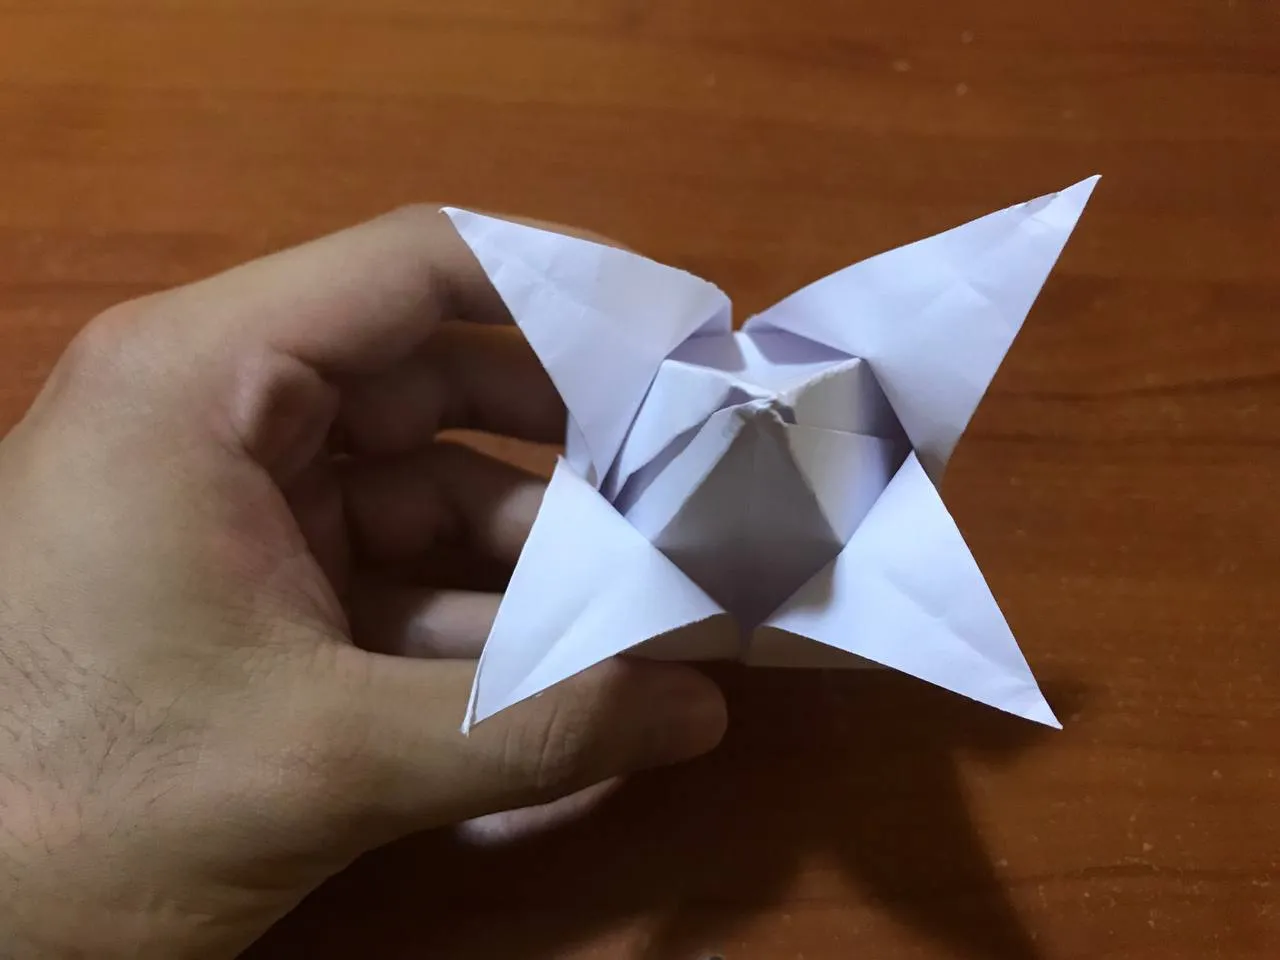
Finally, very carefully we are going to take the petals of this big rose, where we are going to take the top part of the triangle and we are going to fold it down and we give a little effect to each of the petals of this big paper rose. We place the stem at the bottom and fix it with a little silicone and it's ready, it's a big rose.
Por último con mucho cuidado vamos a sacar los pétalos de esta gran rosa, donde vamos a tomar cada parte de arriba del triángulo y vamos a doblarla hacia abajo y le damos un pequeño efecto a cada uno de los pétalos de esa gran rosa papel. Colocamos el tallo en la parte de abajo y lo fijamos con un poco de silicón y estará lista, es gran rosa.
|
|
|

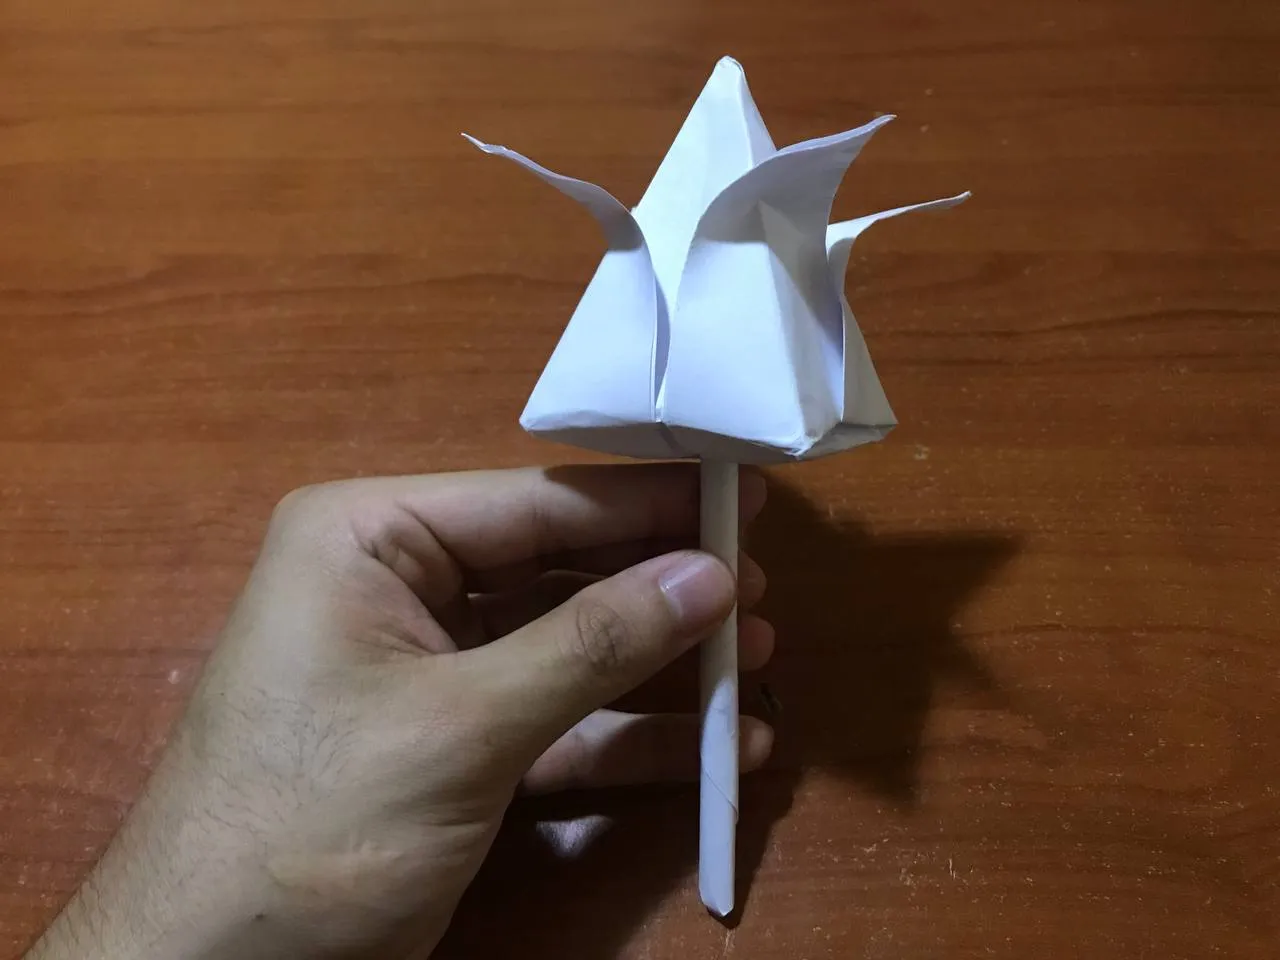
Resultado // Result
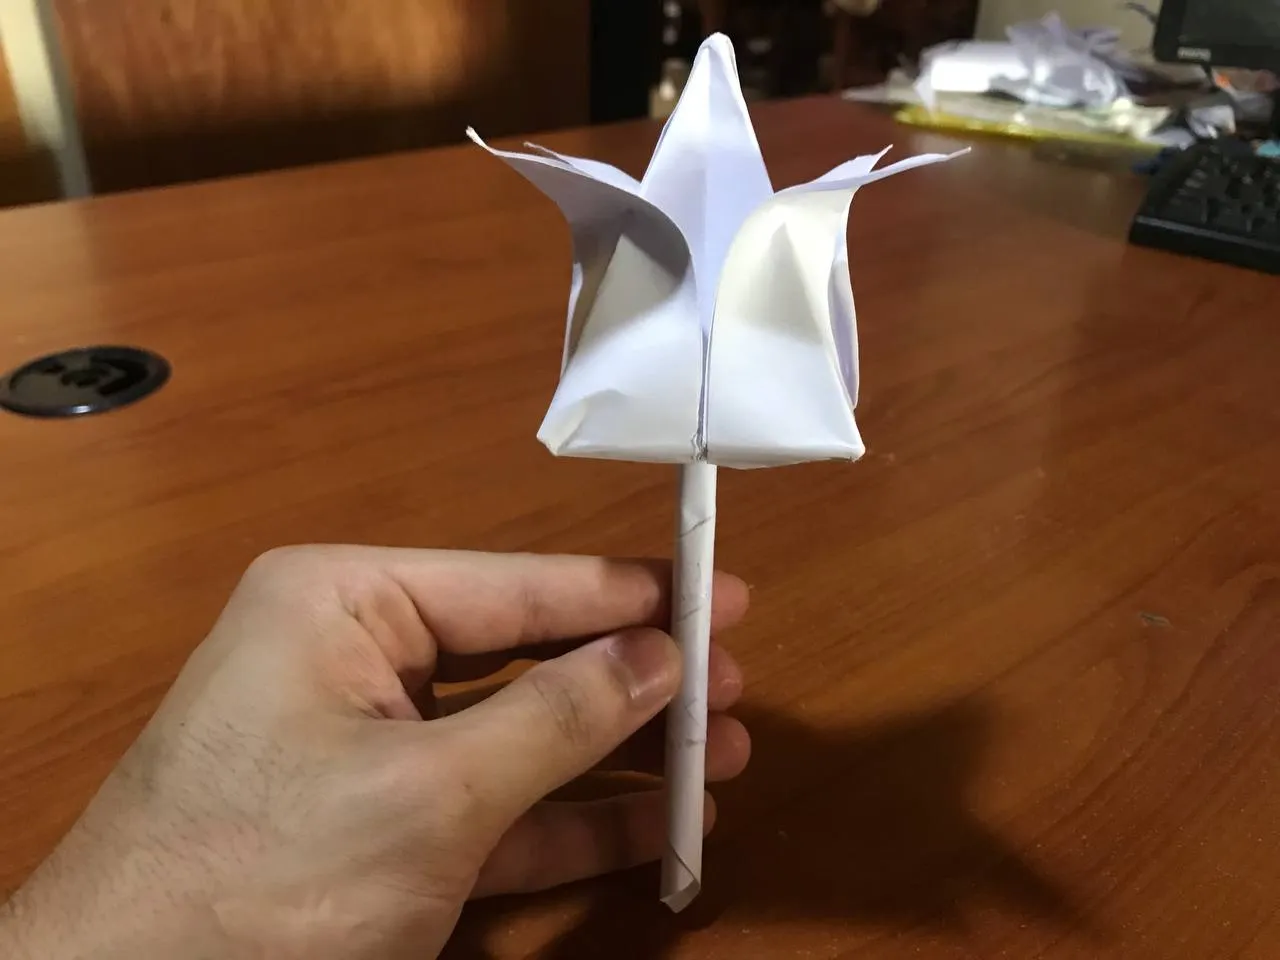
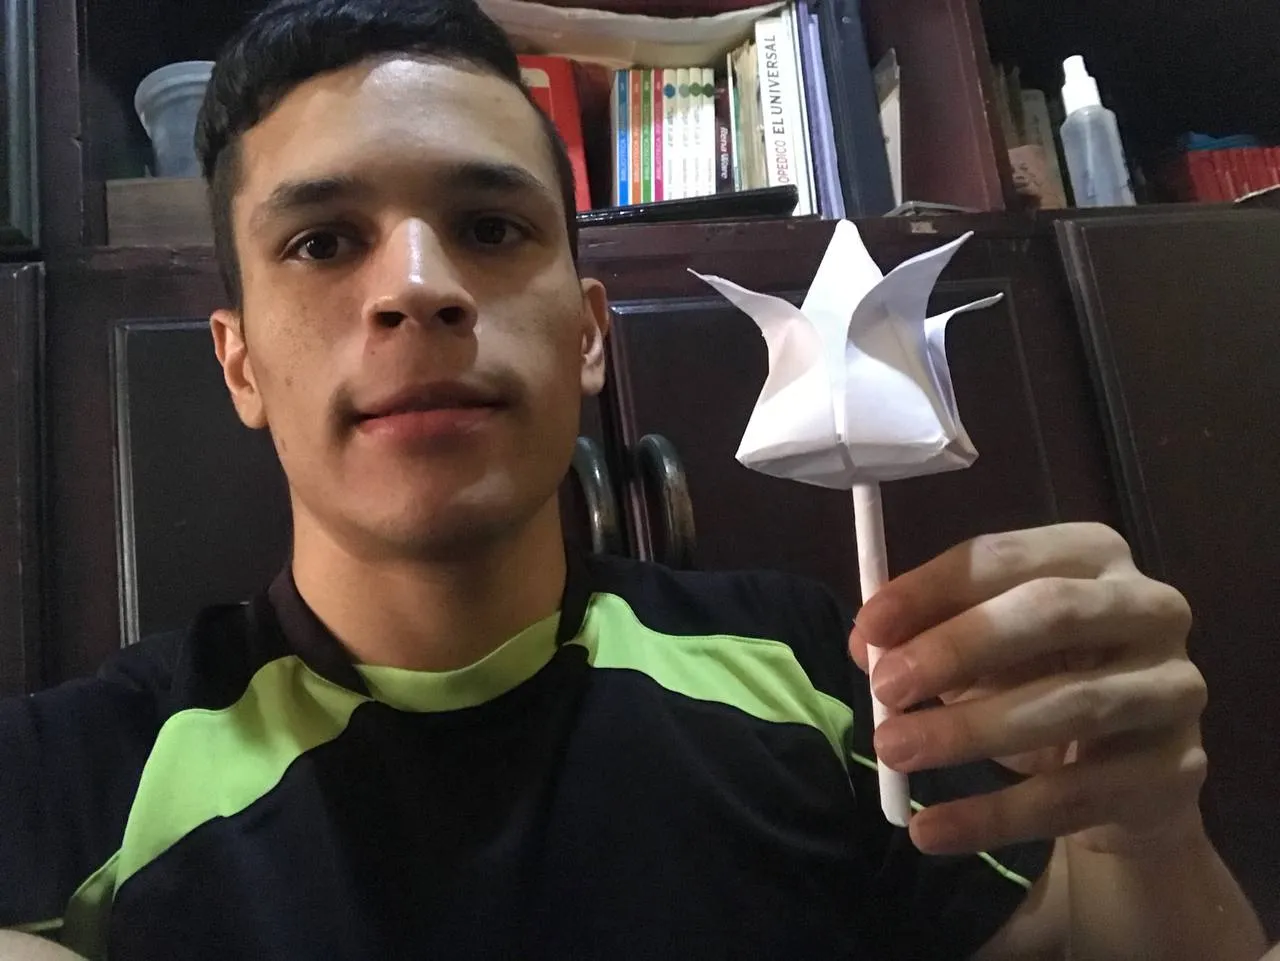
A very nice result, charming and is that size for each of the folds that we did to the sheet, no doubt you can vary and play with the style, thus achieving many roses, where they are perfect for gifts, keep them, put them as decoration and many other things. So see you next time with another origami.
Un resultado muy bonito, encantador y queda de ese tamaño por cada uno de los dobleces que le hicimos a la hoja, sin duda puedes variar y jugar con el estilo, de esa manera lograr muchas rosas, donde son perfectas para regalarlas, conservarlas, ponerlas de decoración y muchas otras cosas. Así que nos vemos en la próxima con otro origami.
Fotos tomadas con un Iphone 7 // Photos prises avec un iPhone 7.