This time I show you the step by step for a size 3 to 6 months because it is a little gift that I am going to make for a very special person.
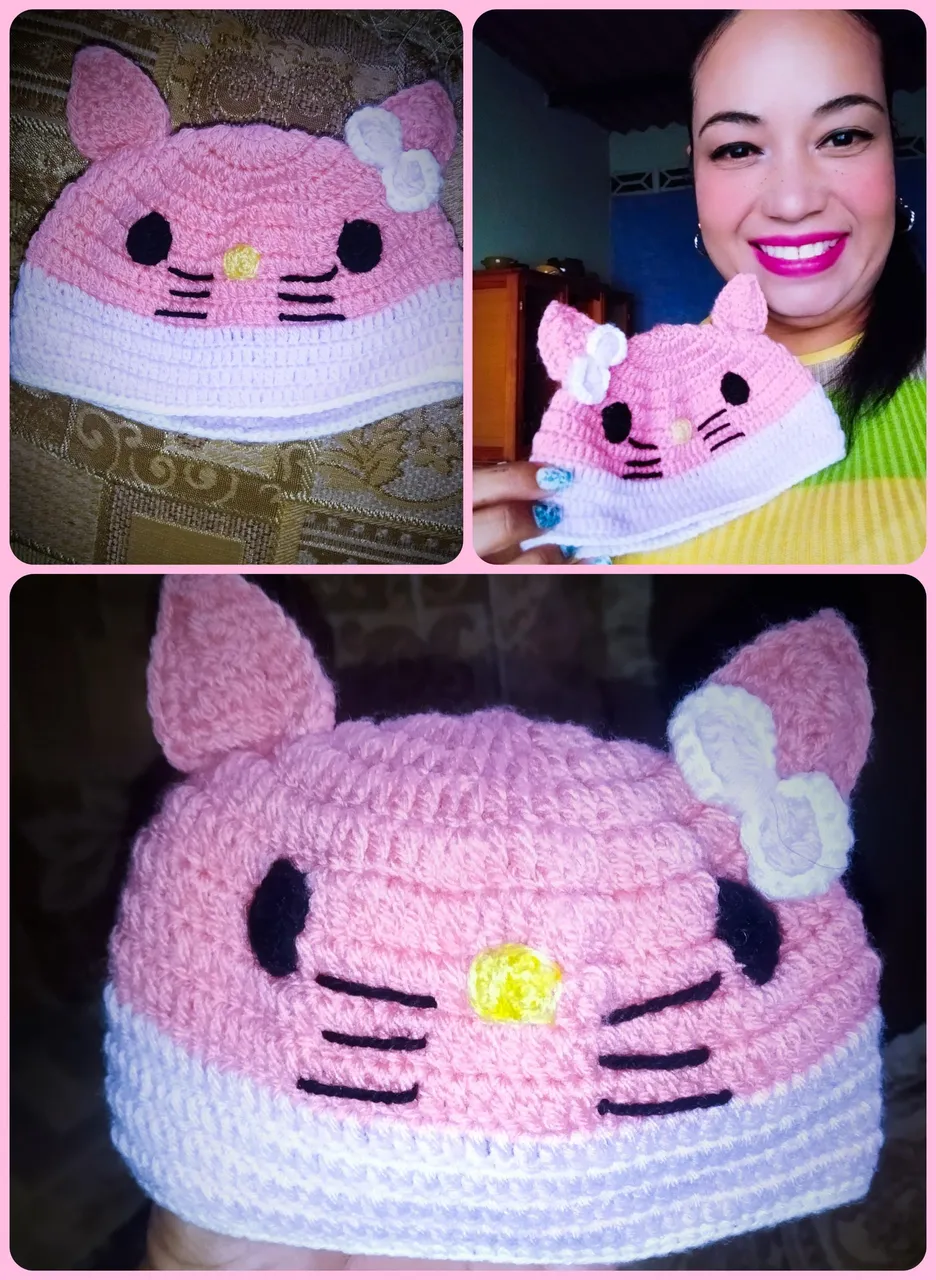
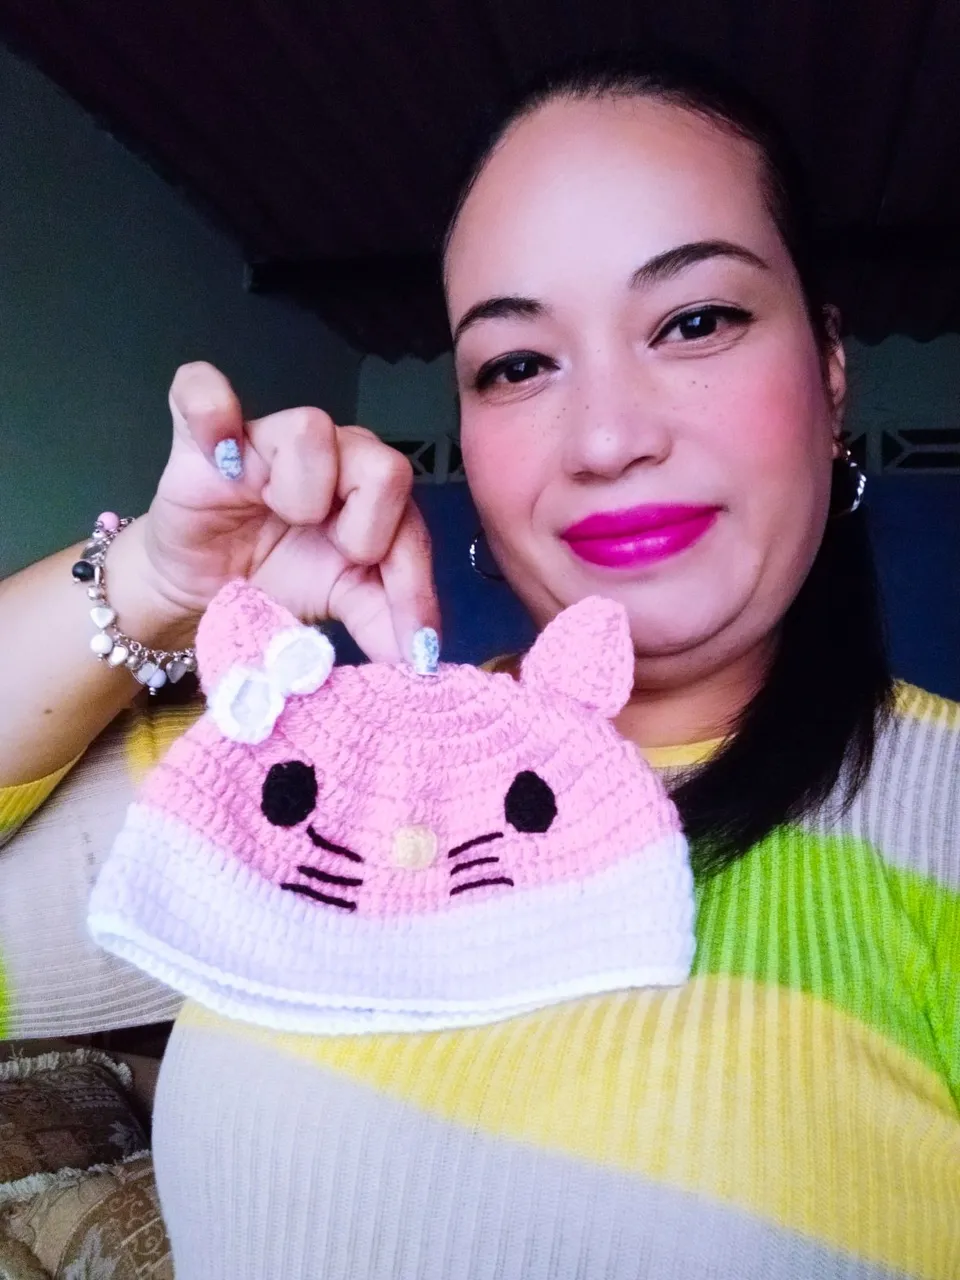
¡Hola a tod@s, deseando que se encuentren en muy buenas condiciones y feliz por compartir una vez más a través de esta maravillosa comunidad hoy día les traigo un gorrito a crochet para bebé de la famosa Gatita Hello Kitty!!un personaje tan querido y deseado por nuestras niñas. En esta ocasión les muestro el paso a paso para una talla 3 a 6 meses ya que es un regalito que voy a realizar a una personita muy especial.
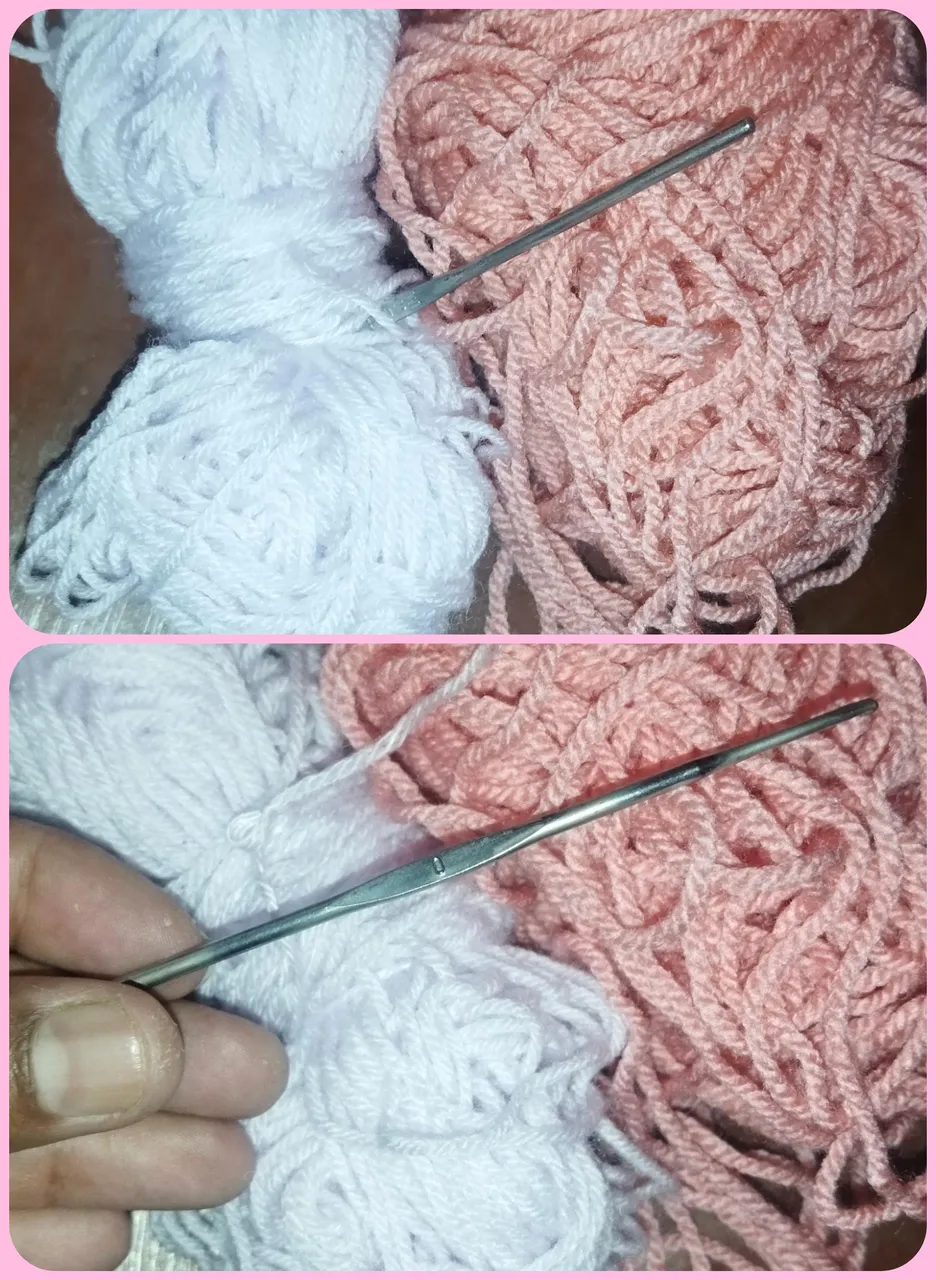
Materiales utilizados lana en color rosa pálido, lila bebé, blanco, un crochet número 0, hilo negro y amarillo.
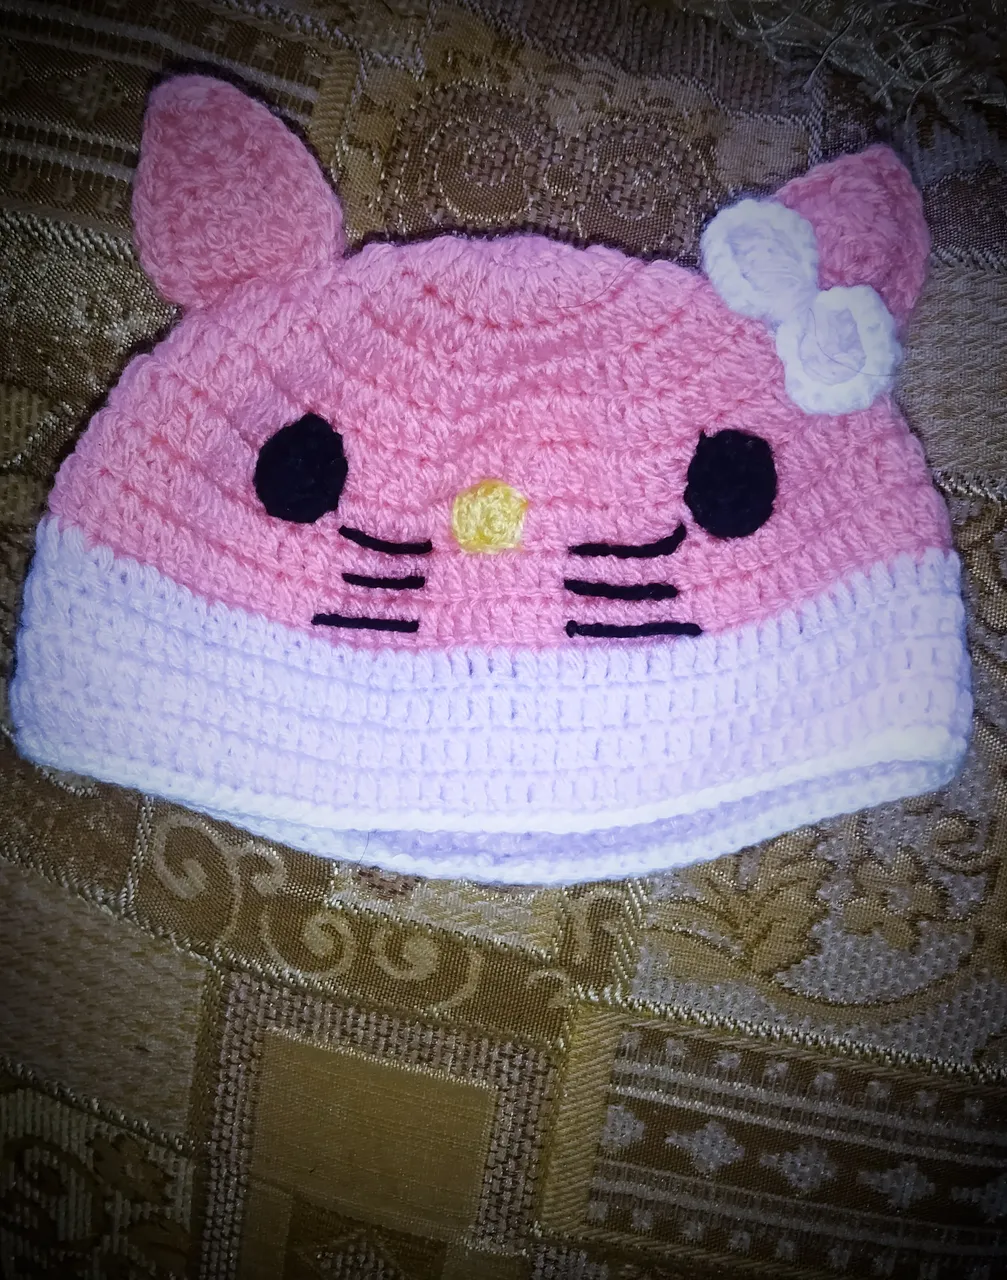
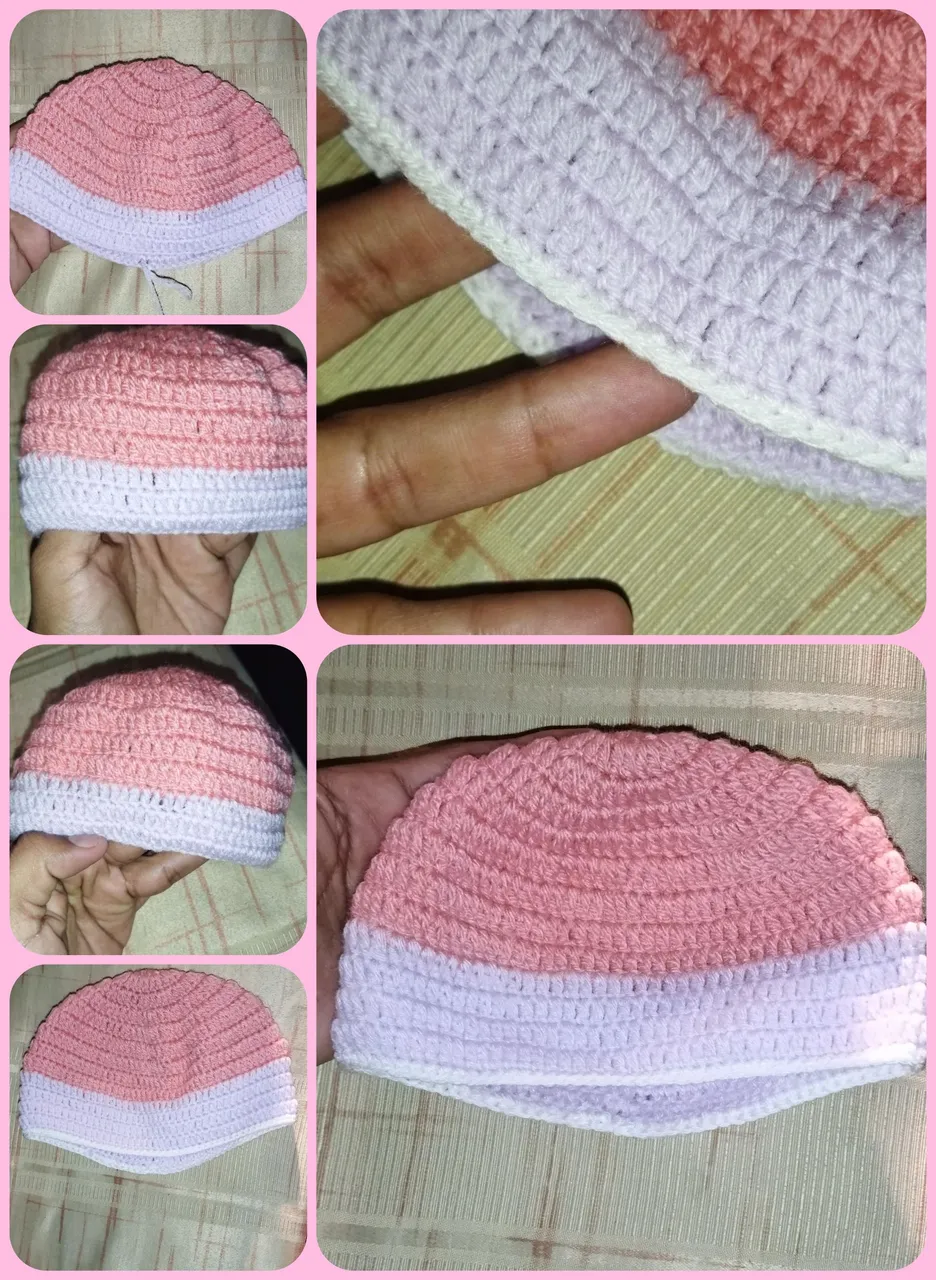
To give it more accentuation, I knitted all the final border with white yarn to give the beanie more prominence.
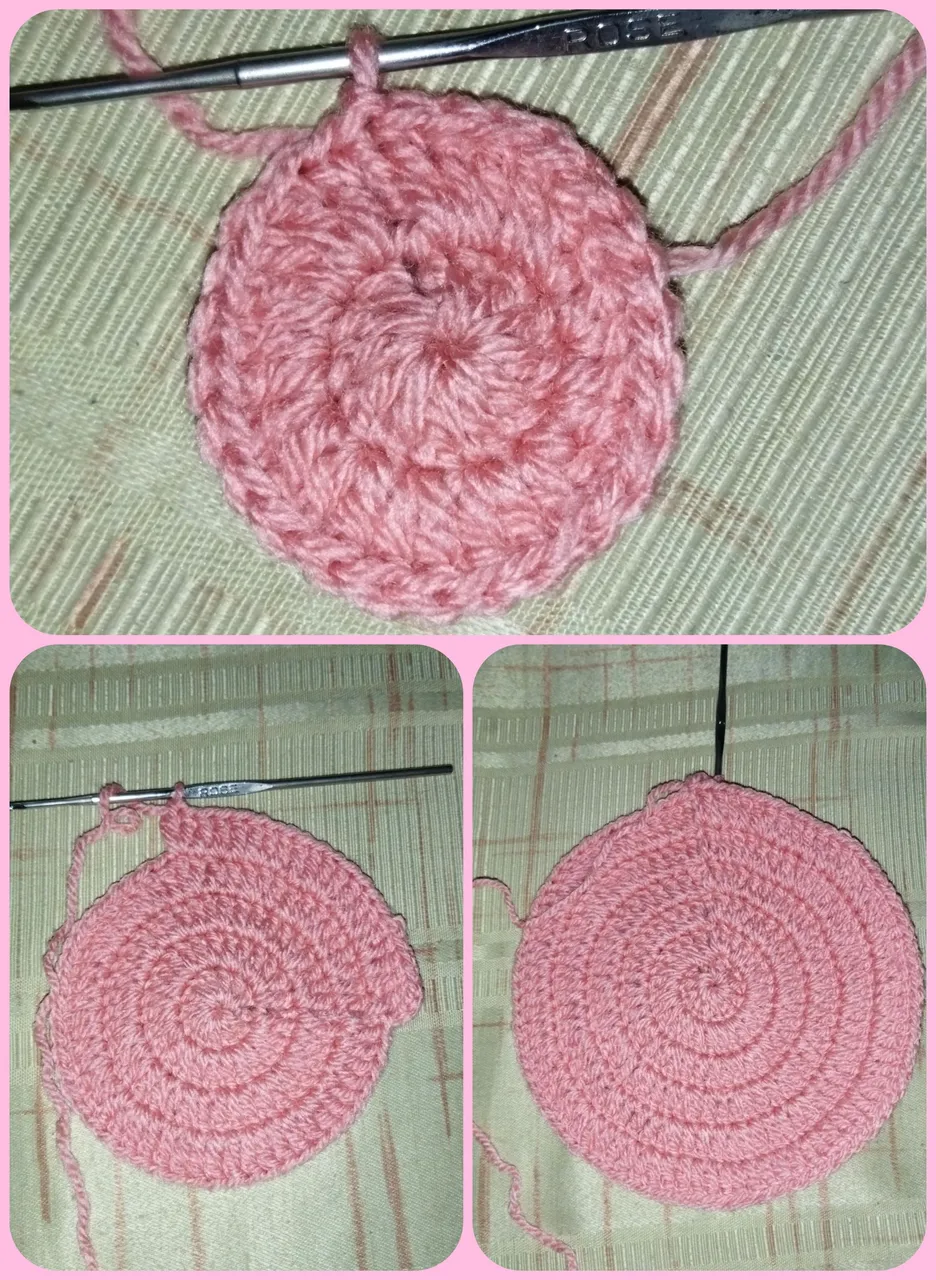
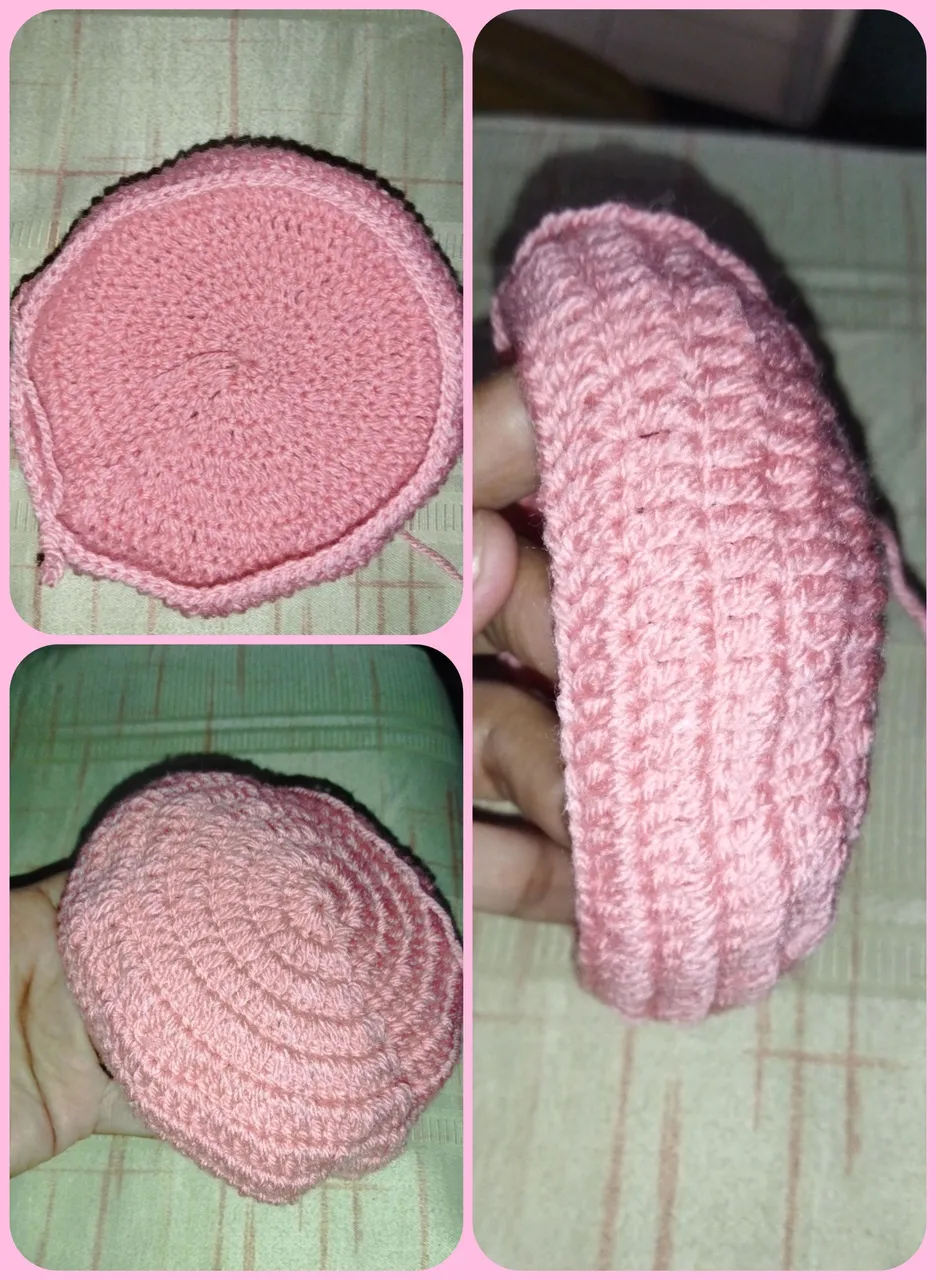
La base del gorrito la vamos a realizar primeramente con un anillo mágico donde vamos a montar 11 puntos altos, para la segunda vuelta vamos a realizar un aumento por cada punto y luego a partir de la tercera vuelta, realizamos los aumentos, comenzando con la secuencia de un aumento un punto alto por toda la vuelta, luego Un aumento dos altos, la próxima vuelta realizamos Un aumento 3 puntos altos y la última vuelta de aumentos realizando Un aumento 4 puntos altos. Una vez terminada la circunferencia que vendría siendo el diámetro de la cabecita de la bebé vamos a proceder a darle altura y para eso vamos a realizar seis vueltas completas de un punto en cada. Aquí pueden variar con los tonos de colores en este caso la primera parte la realicé con un rosado intenso y las últimas hileras la realicé con un lila bebé para darle una combinación bonita y tierna. Para darle más acentuación todo el borde final se lo tejí con hilo blanco para darle mayor realce al gorrito.
Ahora vamos a realizar los complementos del gorrito que caracterizan a nuestro personaje, cómo son las orejas los ojos la nariz y su lacito.
Para las orejitas realizamos la siguiente secuencia:1ª VUELTA: Aro deslizado con 1 cad. más 4 pb. 2ª VUELTA: 1aum. de pb en cada punto base (8), 3ª VUELTA: *1 pb, aum. de pb* repetir de * a * en toda la vuelta (12) 4ª a 7ª VUELTA: pb en toda la vuelta. Para cerrar, 1 punto deslizado.
Los ojos y la nariz las realizamos con un aro deslizado con 2 cad., 1 mv, 2 pb, 2 mv y 2 pb. Cerramos con punto deslizado.

Hacemos dos negros y uno amarillo, y al coser los negros, que son los ojos, se quedarán en sentido vertical y el amarillo de la nariz en sentido horizontal.
Para el lazo, hacemos 4 cadenetas y unimos la primera con la última creando un círculo.
Subimos con 4 cadenetas, y pasando la aguja por el círculo inicial hacemos cinco puntos altos dobles. Después tejemos 4 cadenetas y las juntamos con el círculo inicial con un punto deslizado.
Para terminar, se cosen con lana negra los bigotes a los lados.
Y de esta manera ya tengo culminado este bello gorro de la gatita Hello Kitty para una linda princesita su elaboración como lo puedes ver es muy rápida y súper sencilla además que lo podemos adoptar a nuestros personajes favoritos.
Por mi parte me despido hasta una nueva oportunidad les deseo muchísimas bendiciones y éxitos hasta luego.
Todas las imágenes son de mi propiedad fueron tomadas con teléfonos redmi 9t y editadas con la aplicación Photoshop Express para Android.