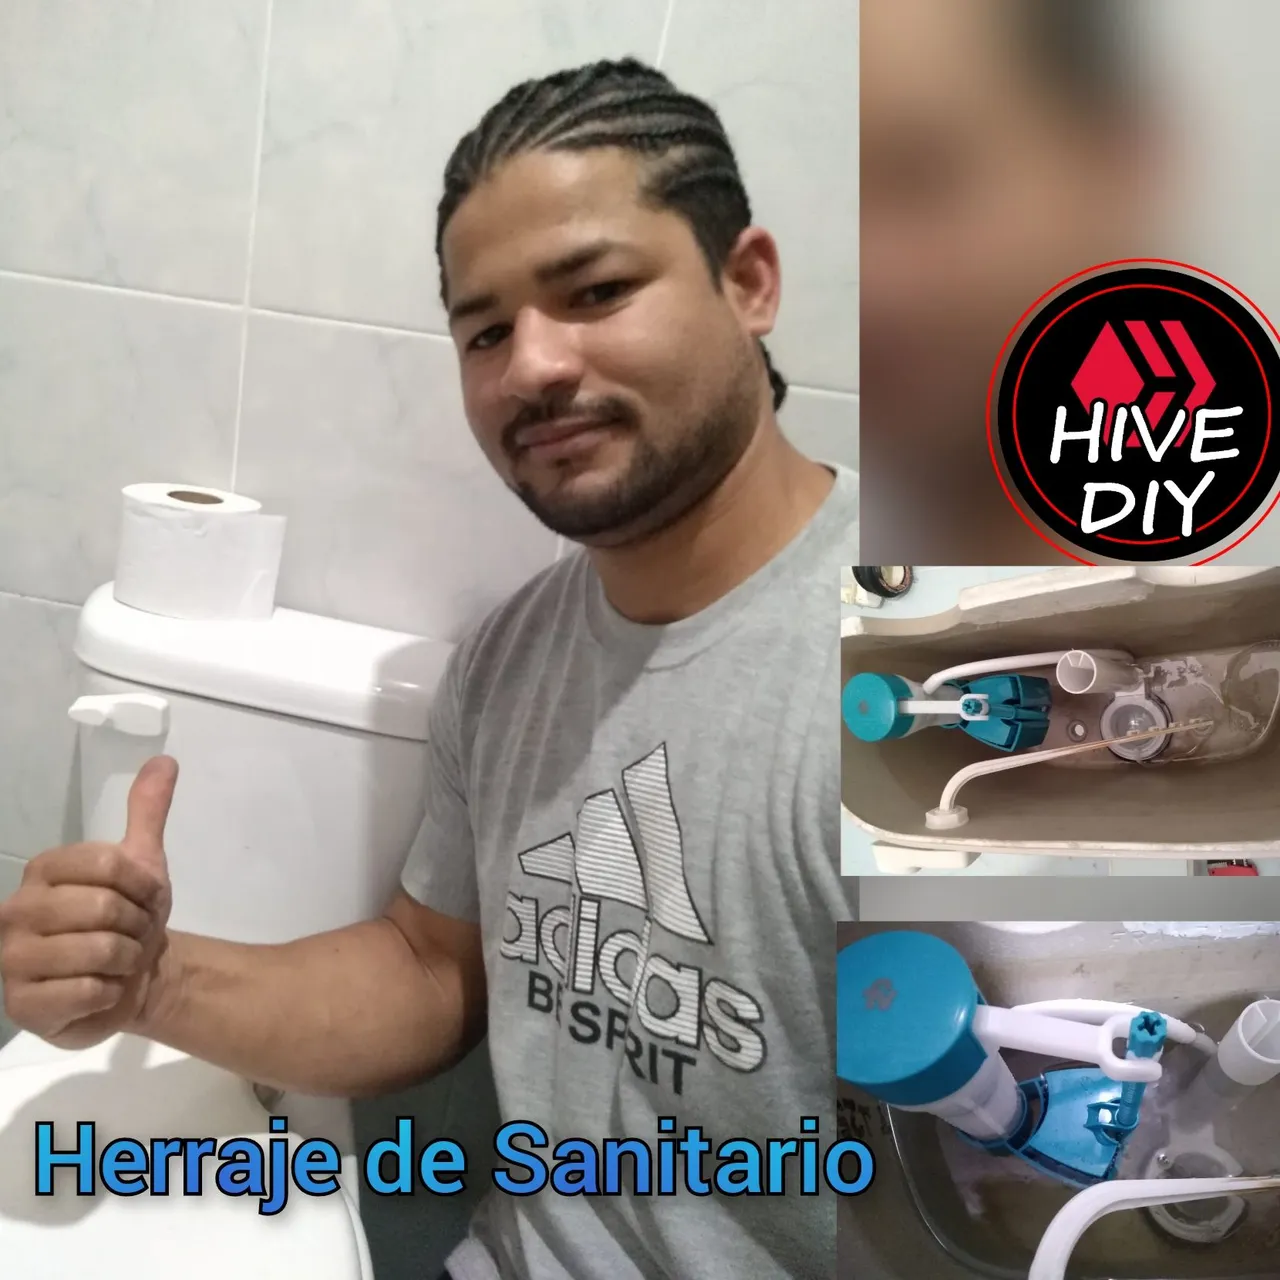
Hola queridos amigos #hive, espero que estén padando un excelente día; es un gusto volver a saludarlos y compartir con ustedes un rápido tutorial de como cambiar el herraje de un sanitario, espero puedan aprender y le sea de utilidad en sus casas.
Hello dear friends #hive, I hope you are having a great day; it is a pleasure to greet you again and share with you a quick tutorial on how to change the hardware of a toilet, I hope you can learn and find it useful in your home.
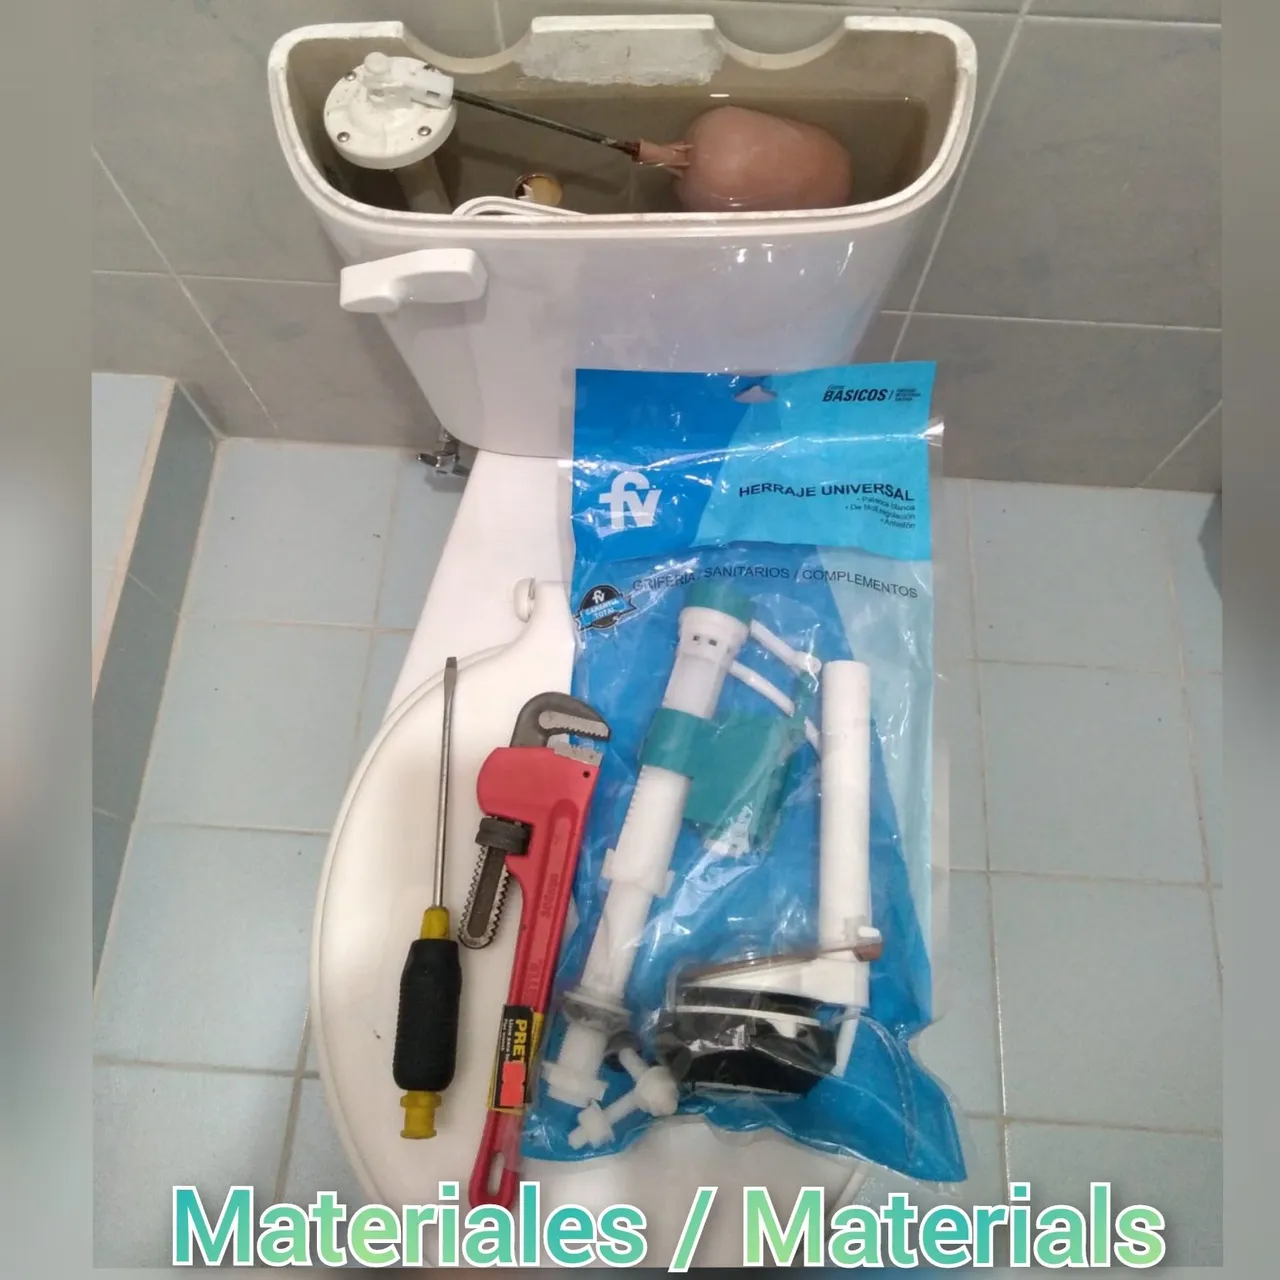
MATERIALES
🔅 Destornillador de pala
🔅 Llave de tubo
🔅 Kit de herraje
MATERIALS
🔅 Spade screwdriver
🔅 Socket wrench
🔅 Hardware kit
PROCEDIMIENTO:
PROCEDURE
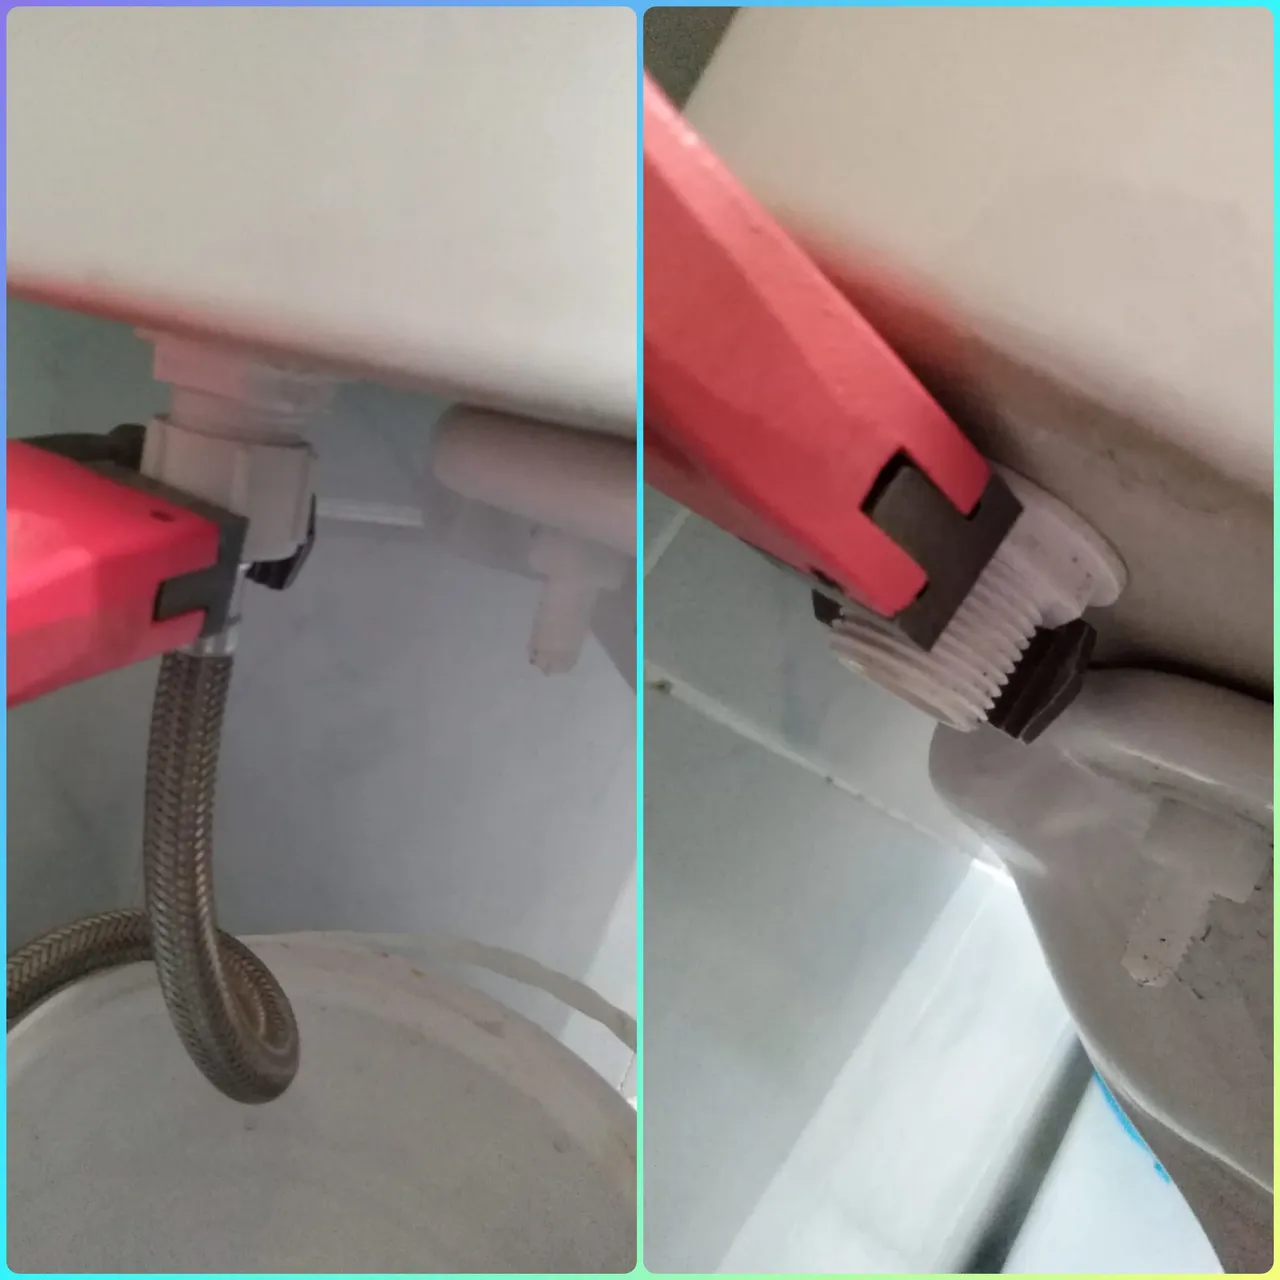
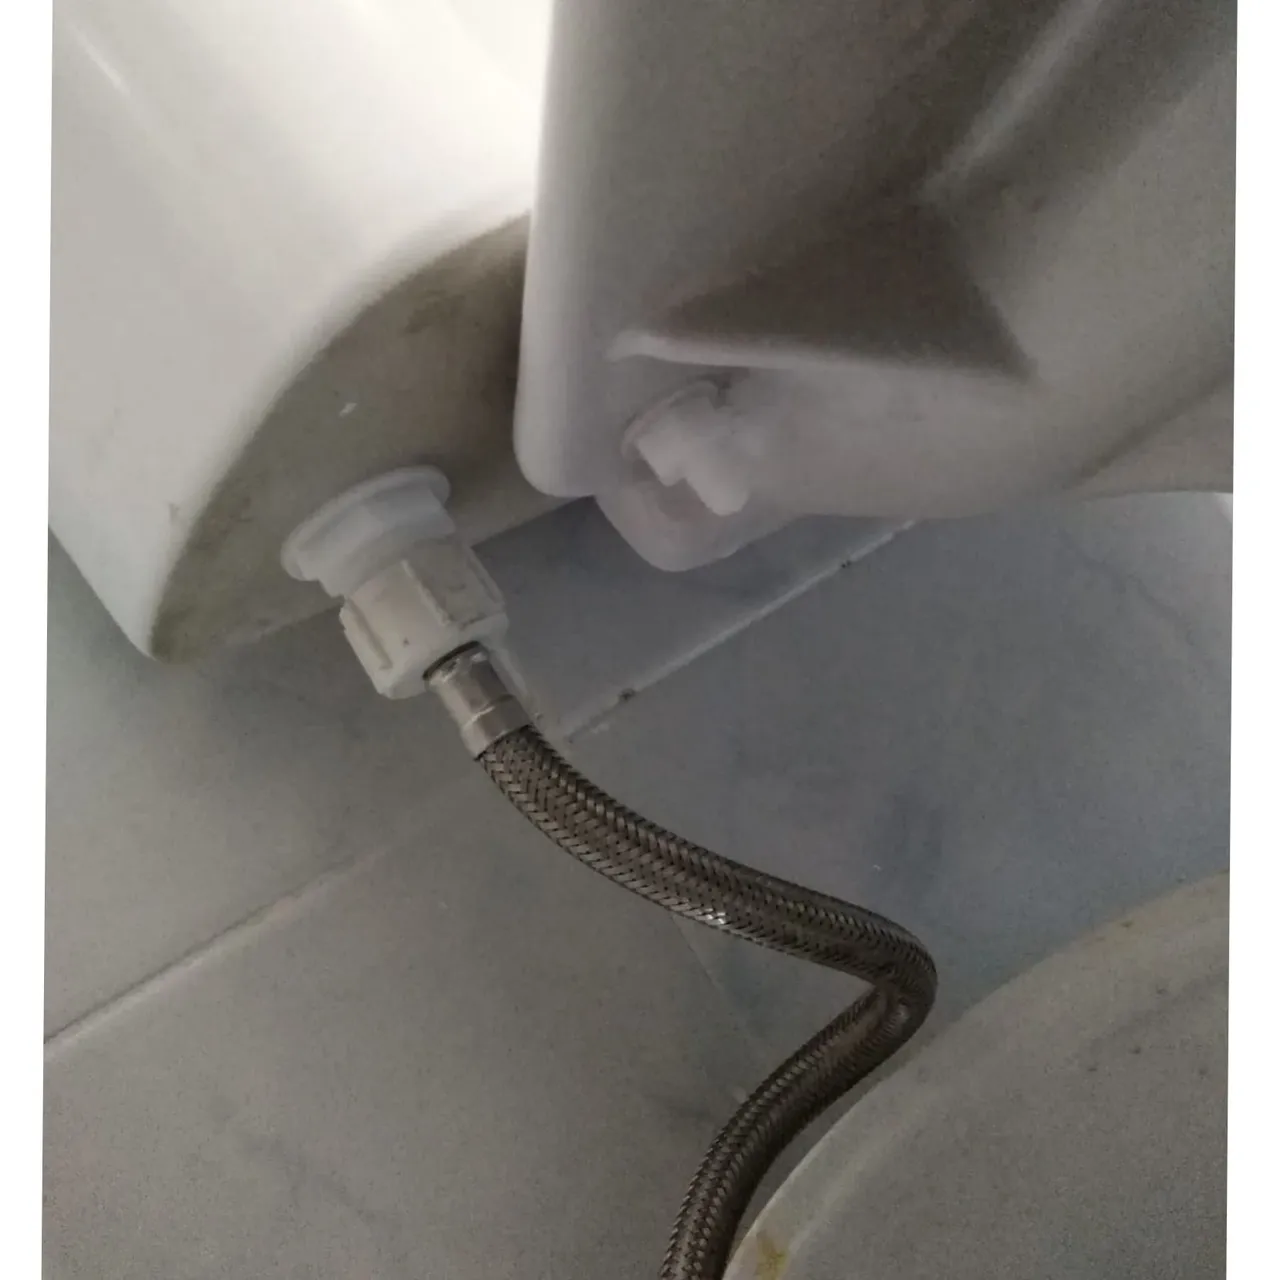
Lo primero que aremos es basiar el tanque, una vez el tanque haya drenado toda el agua procederemos a usar la llave de tubo para desintalar la manguera del agua.
The first thing we will do is to drain the tank, once the tank has drained all the water we will proceed to use the pipe wrench to uninstall the water hose.
Luego con el destornillador de pala sacamos los tornillos que sujetan el tanque a la poseta.
Then, with the spade screwdriver, we remove the screws that hold the tank to the post.
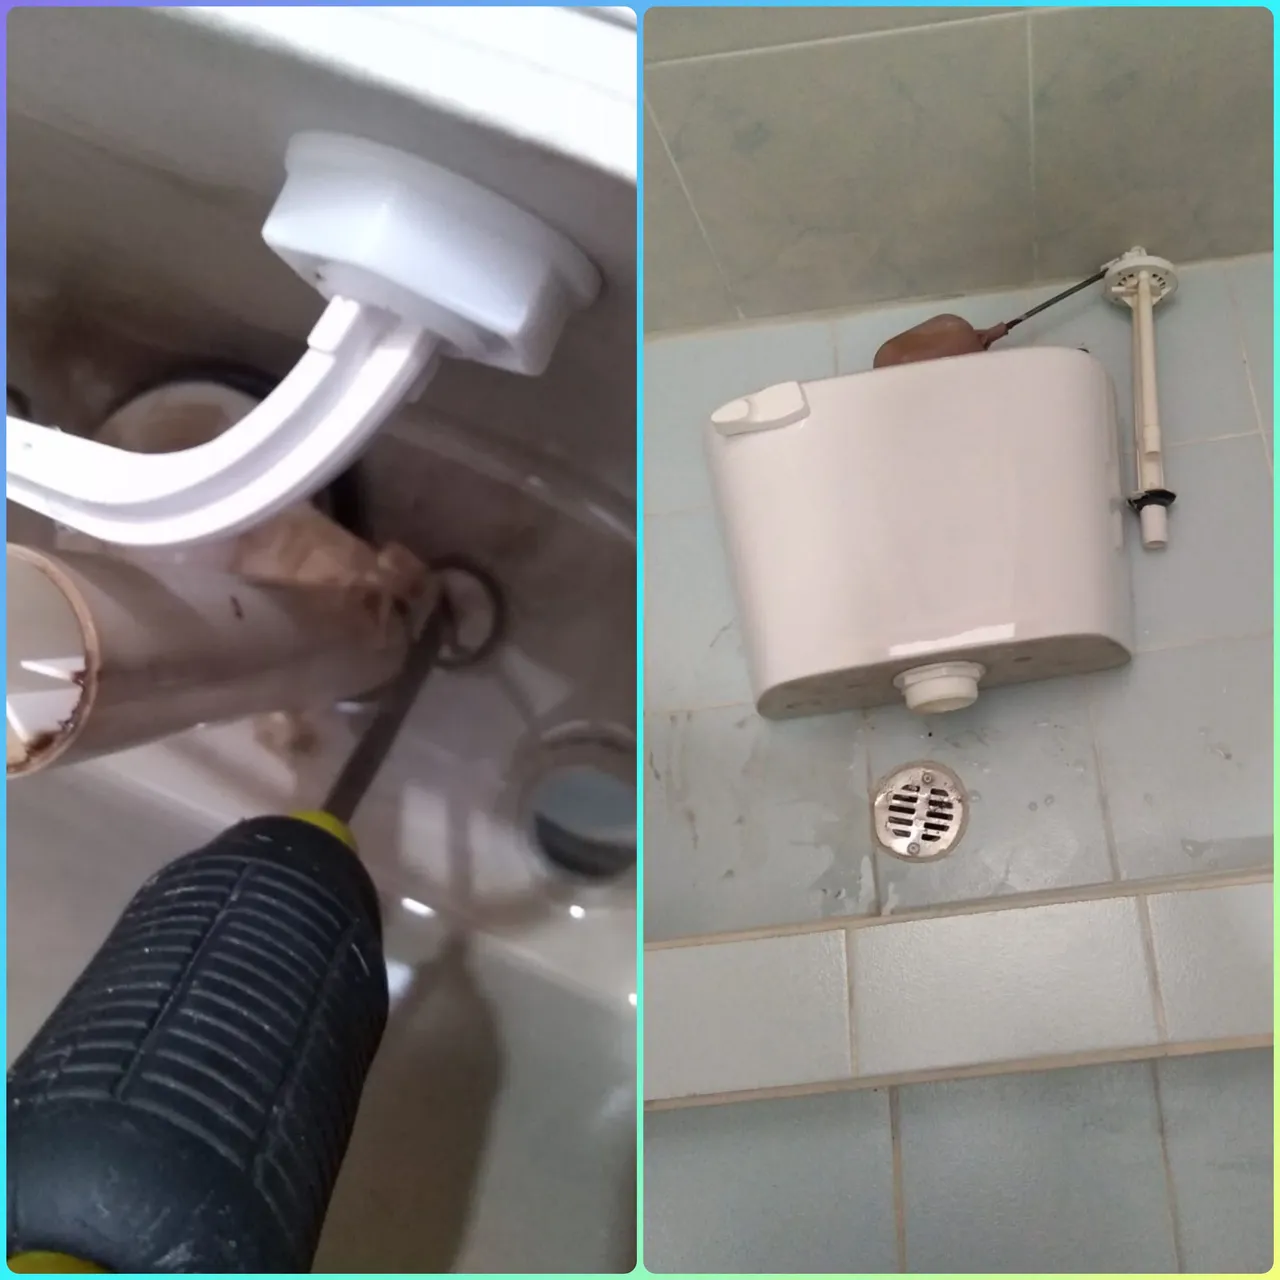
Ya con los tornillos sueltos quitaremos el tanque para quitarle el sapo.
With the screws loose we will remove the tank to remove the toad.
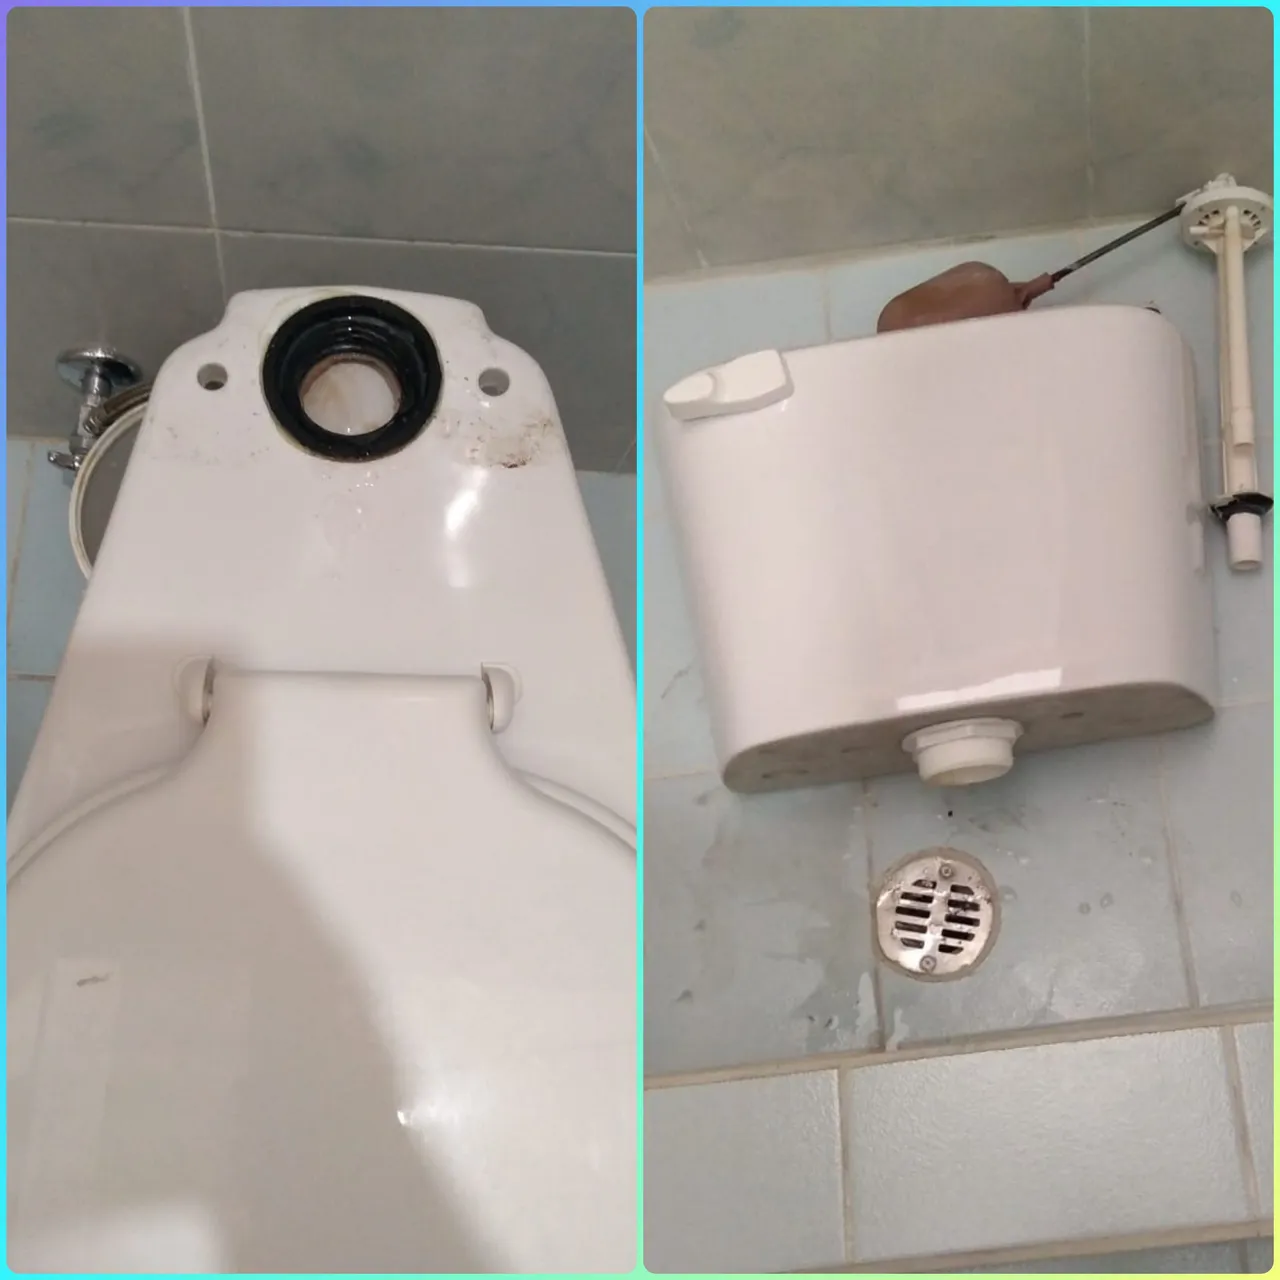
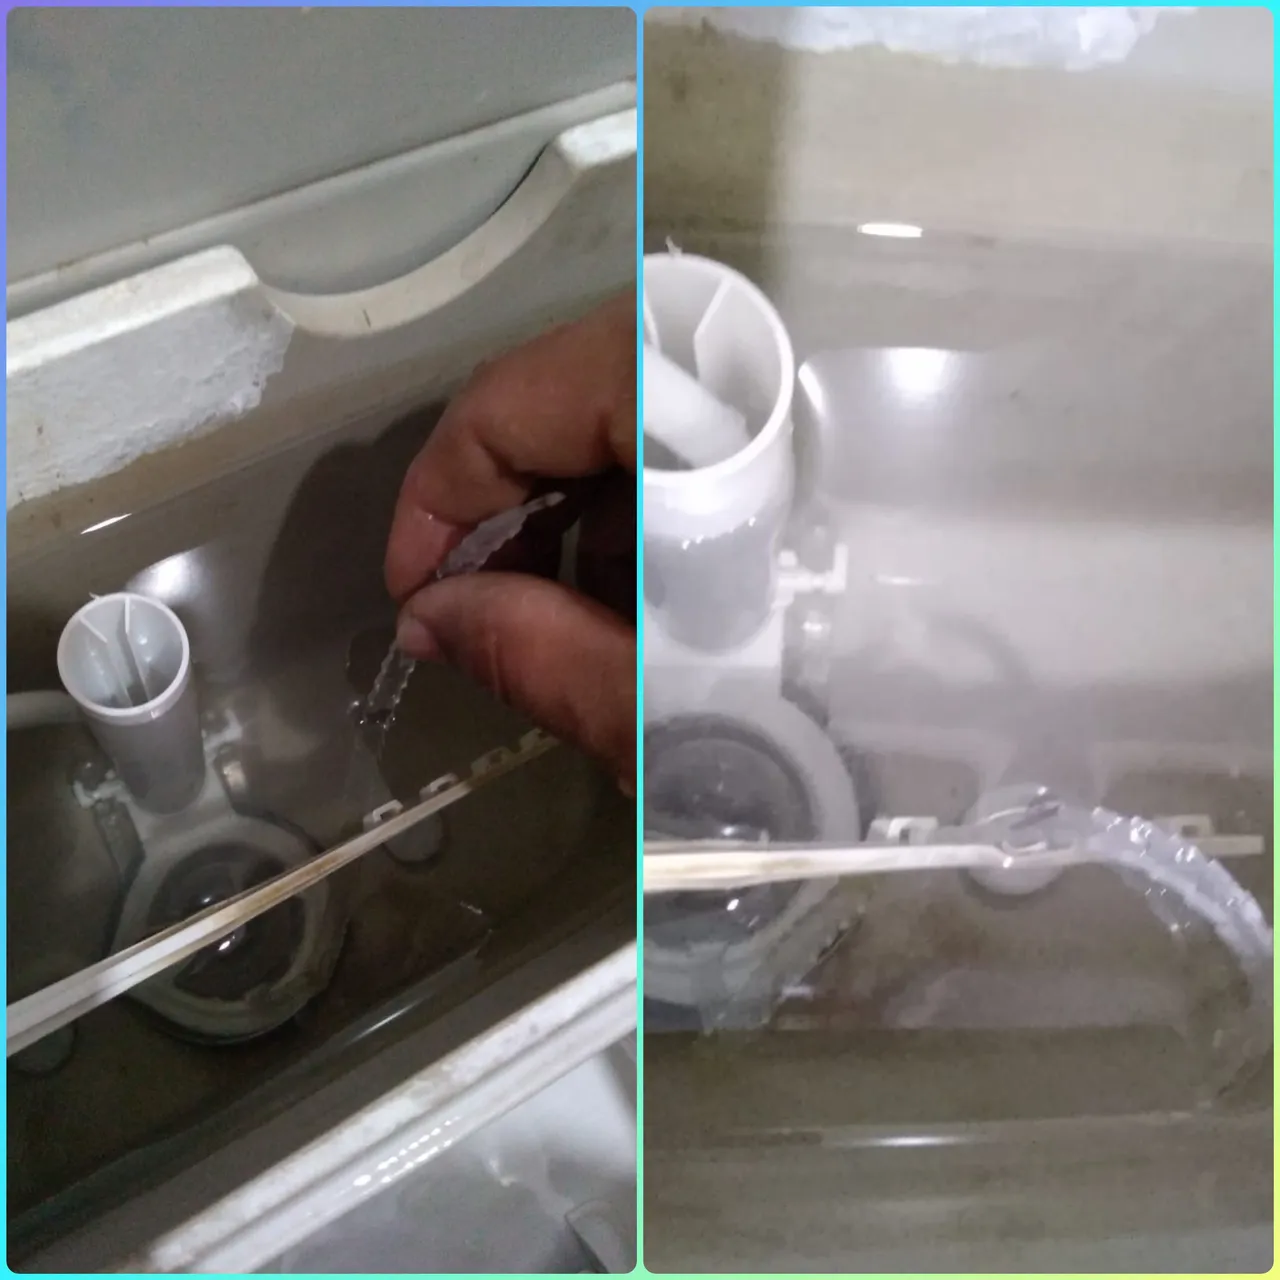
Sacamos la válvula de salida de agua y todas las piezas del herraje viejo
We remove the water outlet valve and all parts of the old hardware.
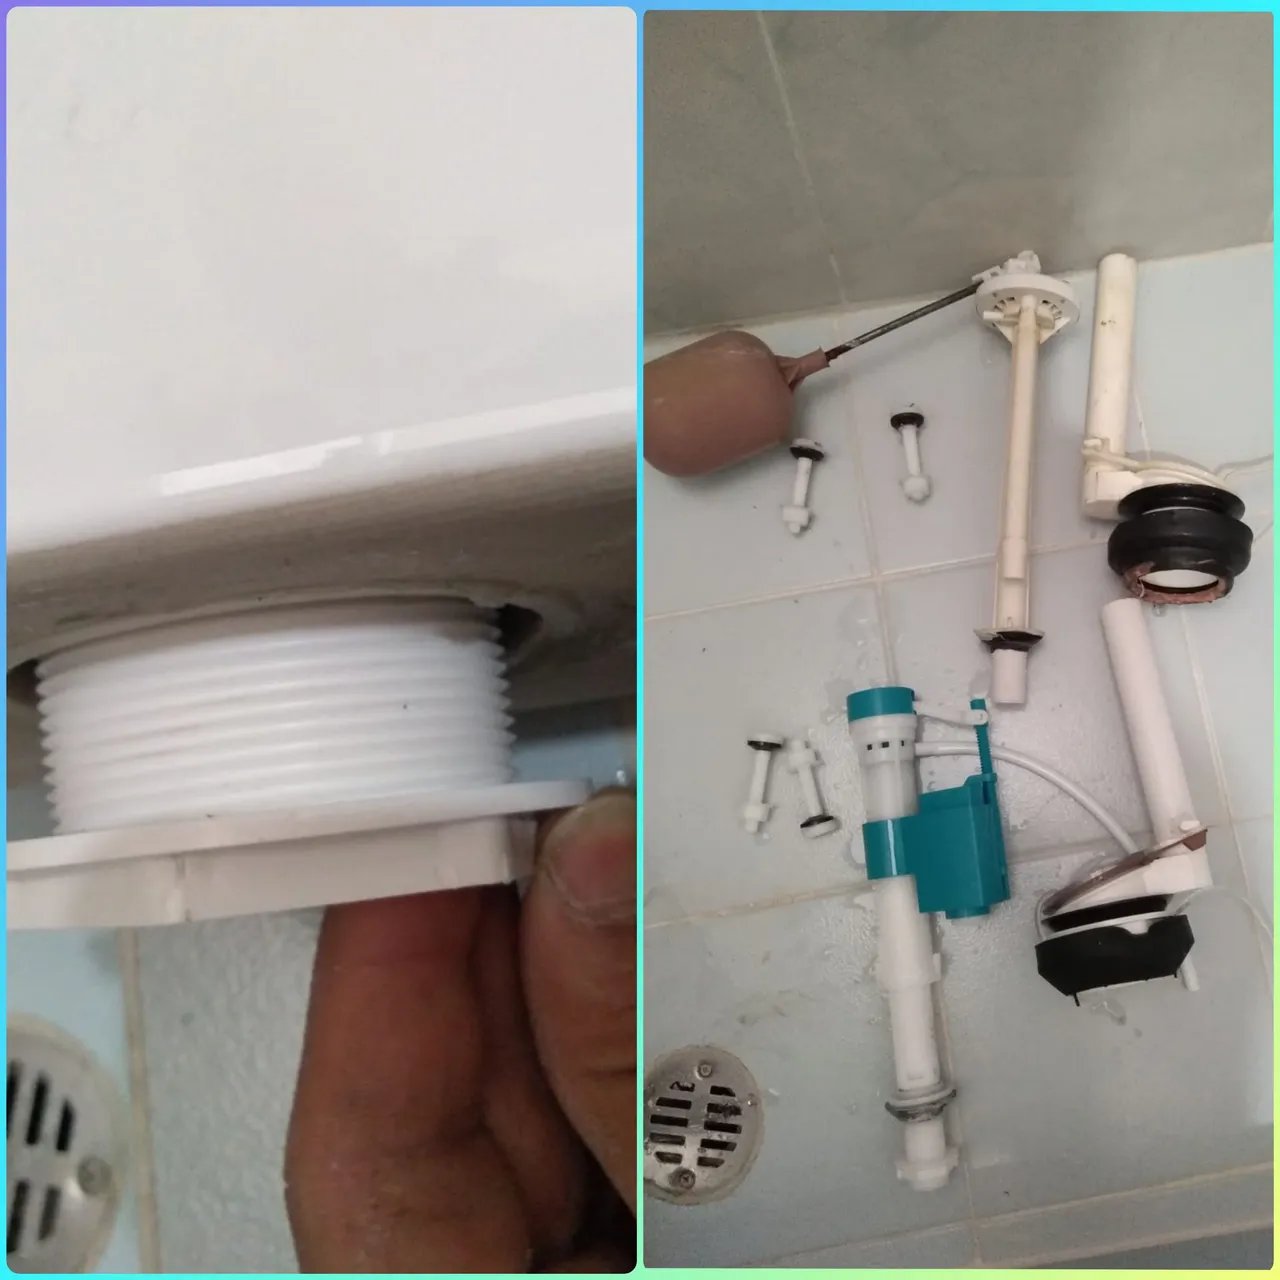
Con toda la Griferia vieja quitado empezaremos a colocas la nueva, colocamos la válvula de salida en el tanque.
With all the old faucets removed, we will start installing the new one, we place the outlet valve on the tank.
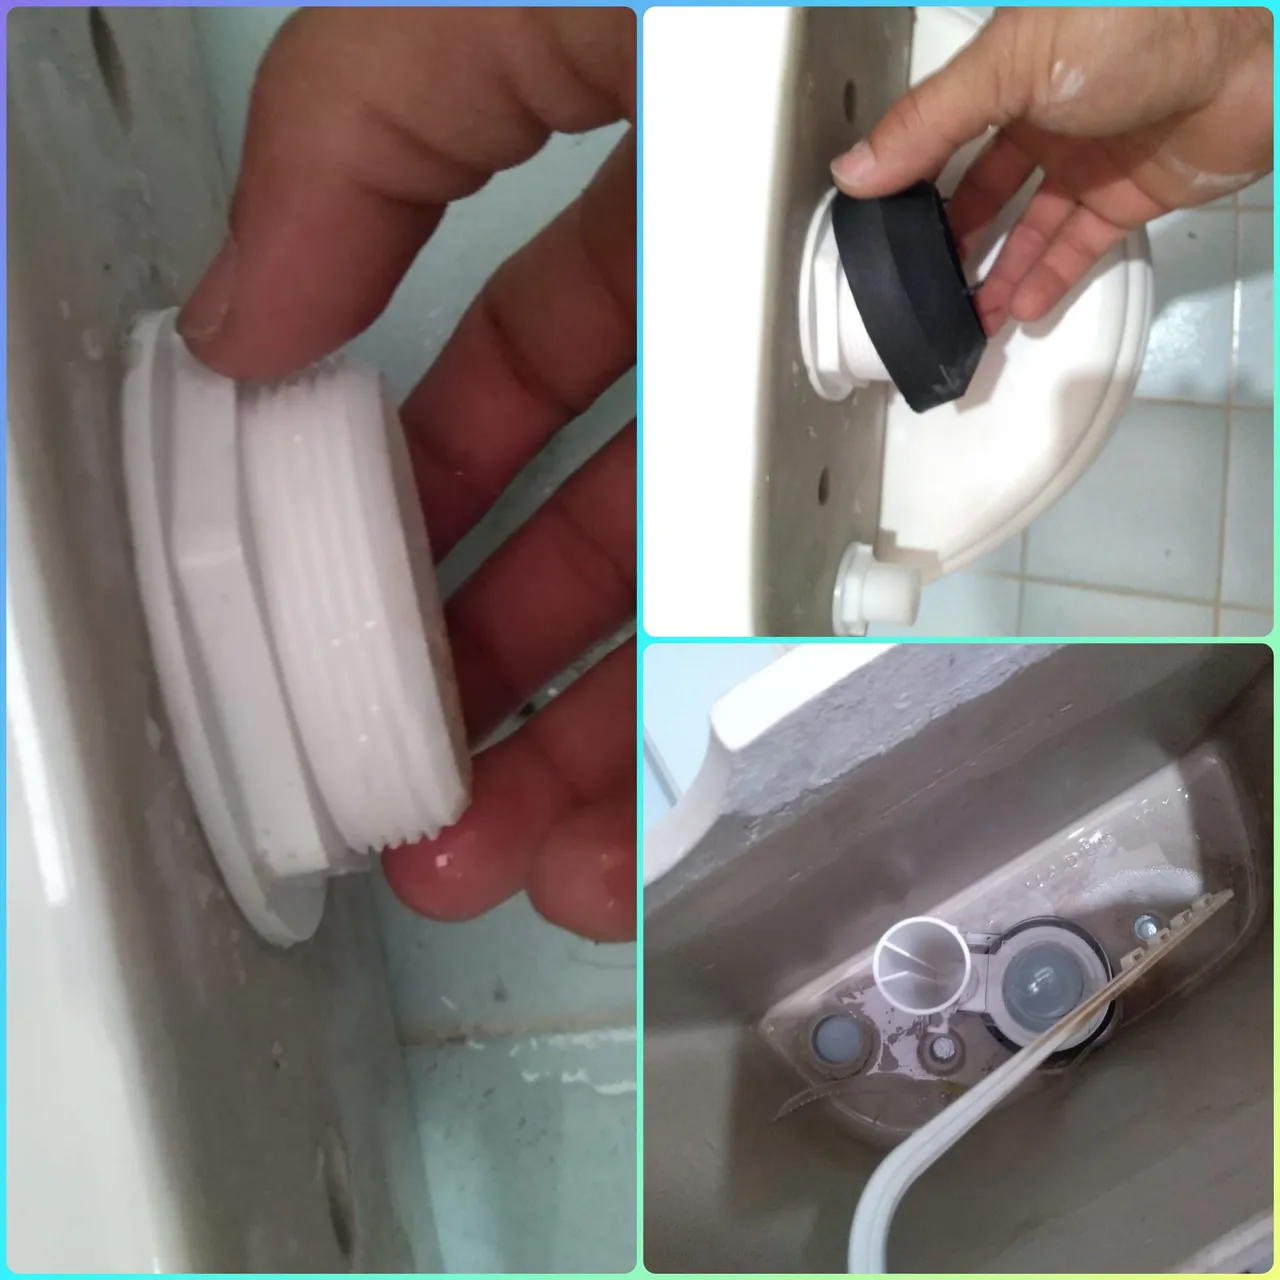
Luego colocamos la válvula de entrada de agua y montamos el tanque en el sanitario y sujetamos con los tornillos acopladores
Then we place the water inlet valve and mount the tank on the toilet and fasten with the coupling screws.
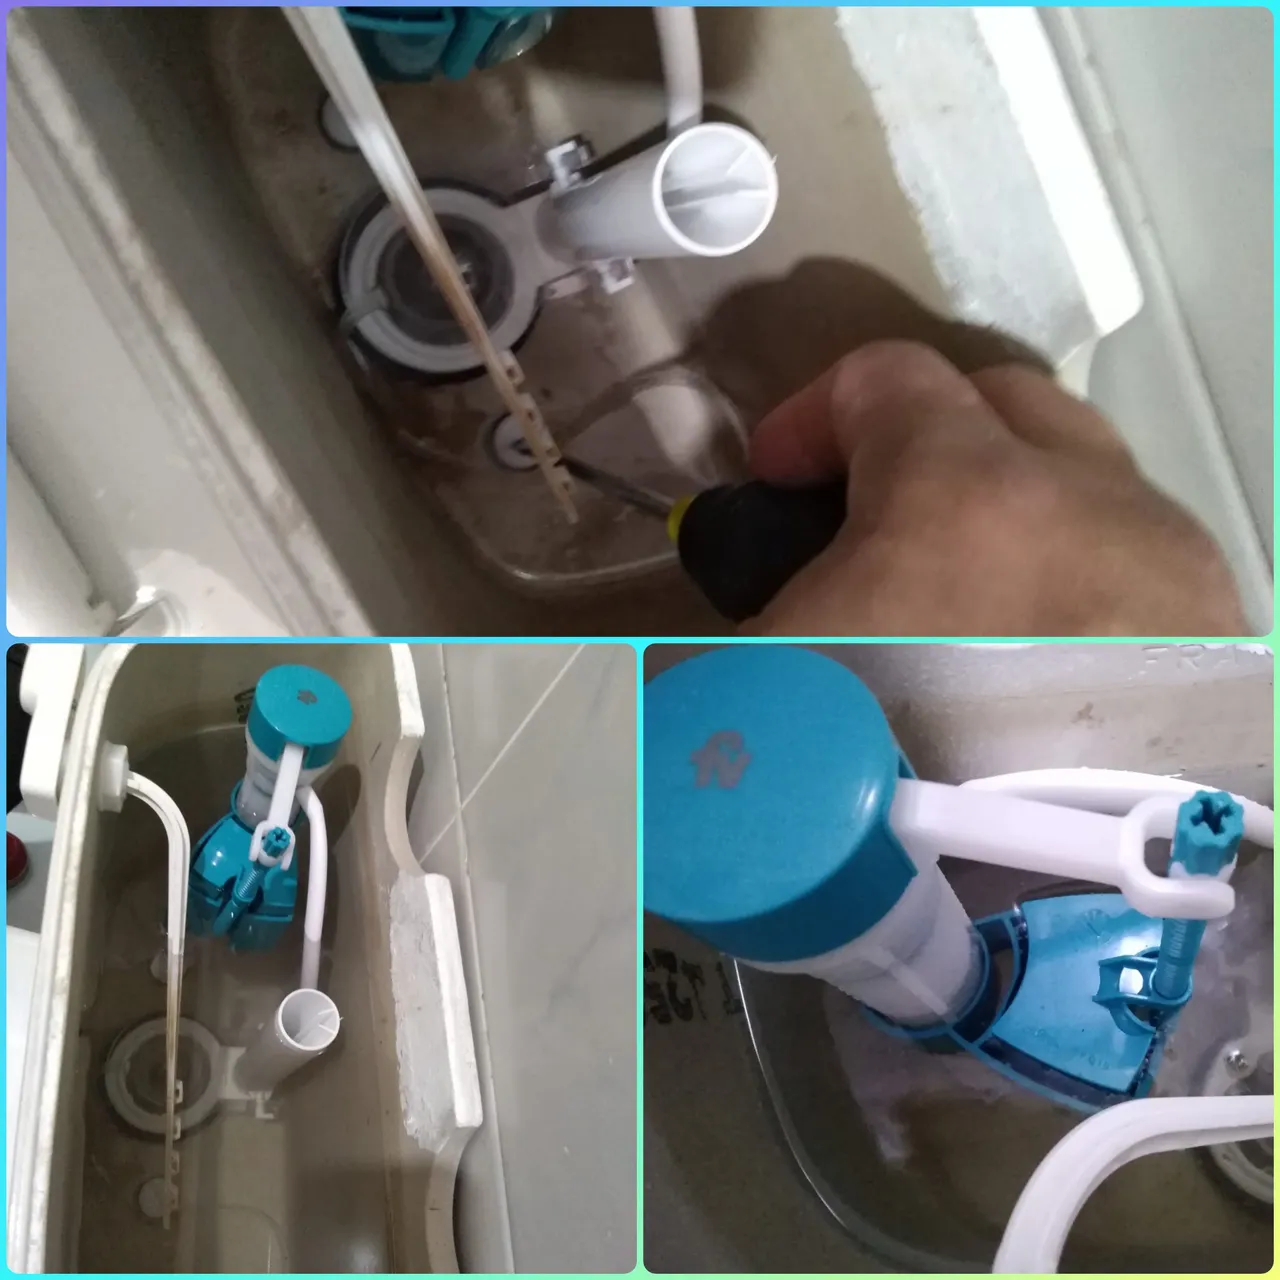
Teniendo todos los componentes conectados y asegurados pasamos a colocar la manguera a la entrada de agua.
Having all the components connected and secured, we place the hose to the water inlet.
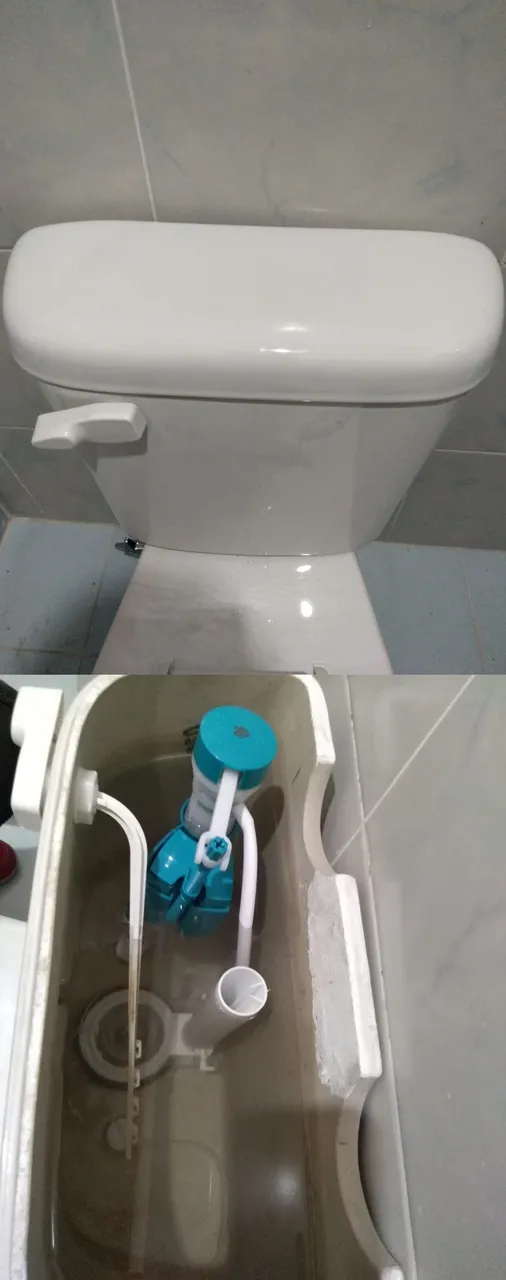
Para finalizar abrimos la llave de agua y esperamos a que llene el tanque, luego graduados la cinta del rebosadero a la manija de bajado.
Finally, we open the water faucet and wait for the tank to fill, then adjust the overflow strap to the lowering handle.
Resultado Final
Final Result
De ante mano GRACIAS por el apoyo y por leer mis publicaciones espero se encuentren excelente y les halla gustado el resultado de mi trabajo, me despido hasta otra oportunidad les deseo éxito en su vida y la bendición del todo poderoso
Thank you in advance for your support and for reading my publications, I hope you are excellent and that you like the result of my work, I bid you farewell until another opportunity, I wish you success in your life and the blessing of the Almighty