Español:
Materiales:
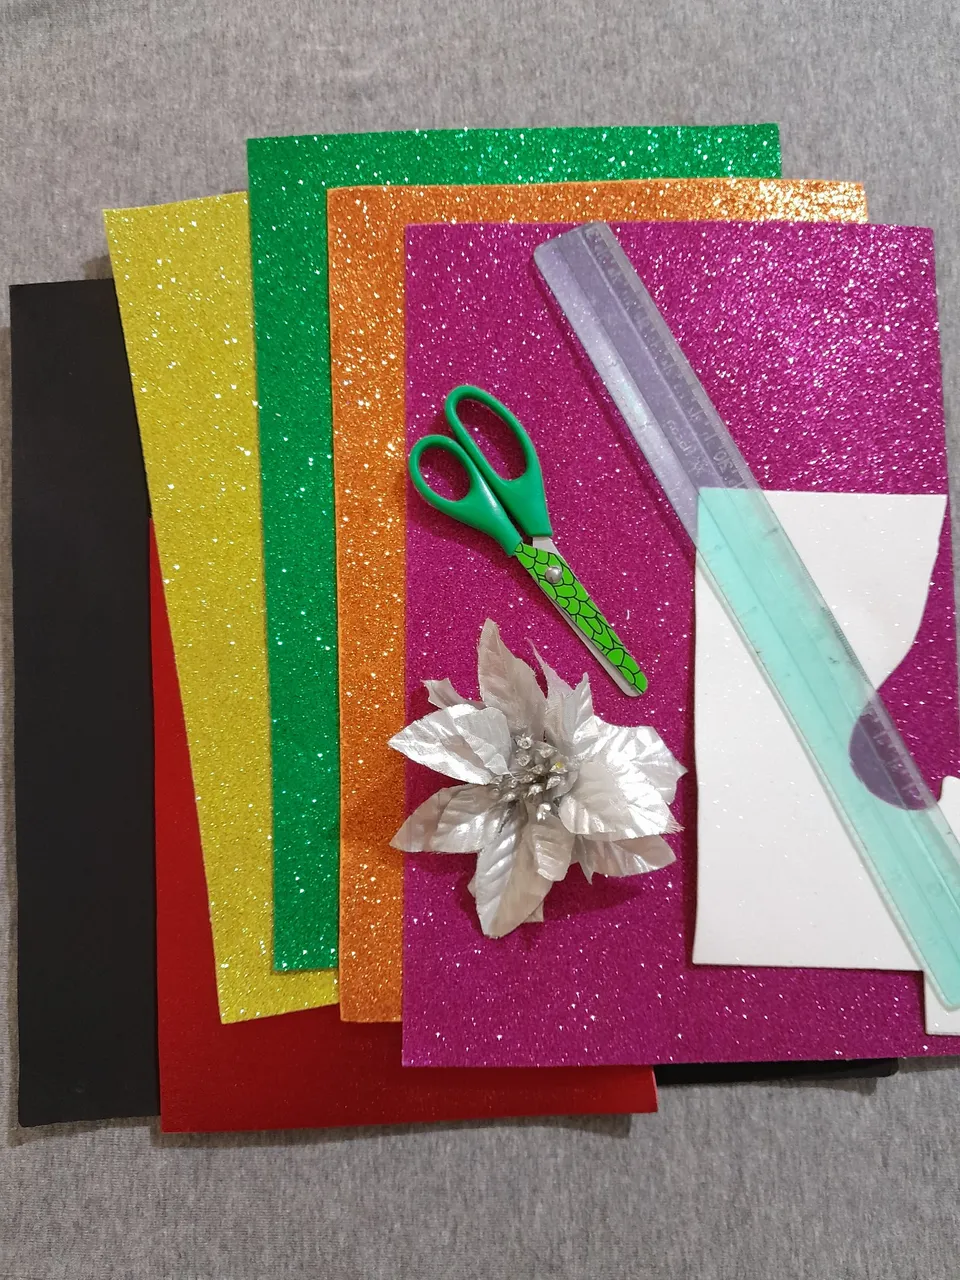
- Foami Autoadhesivo fucsia, naranjado, verde, amarillo, rojo, negro, y blanco.
- 1 flor de navidad.
- Tijera.
- Lápiz .
- Regla.
English:
Materials:
- Fuchsia, orange, green, yellow, red, black, orange, green, yellow, red, black, and white self-adhesive foami.
- 1 Christmas flower.
- Scissors.
- Pencil.
- Ruler.

Español:
Paso 1:
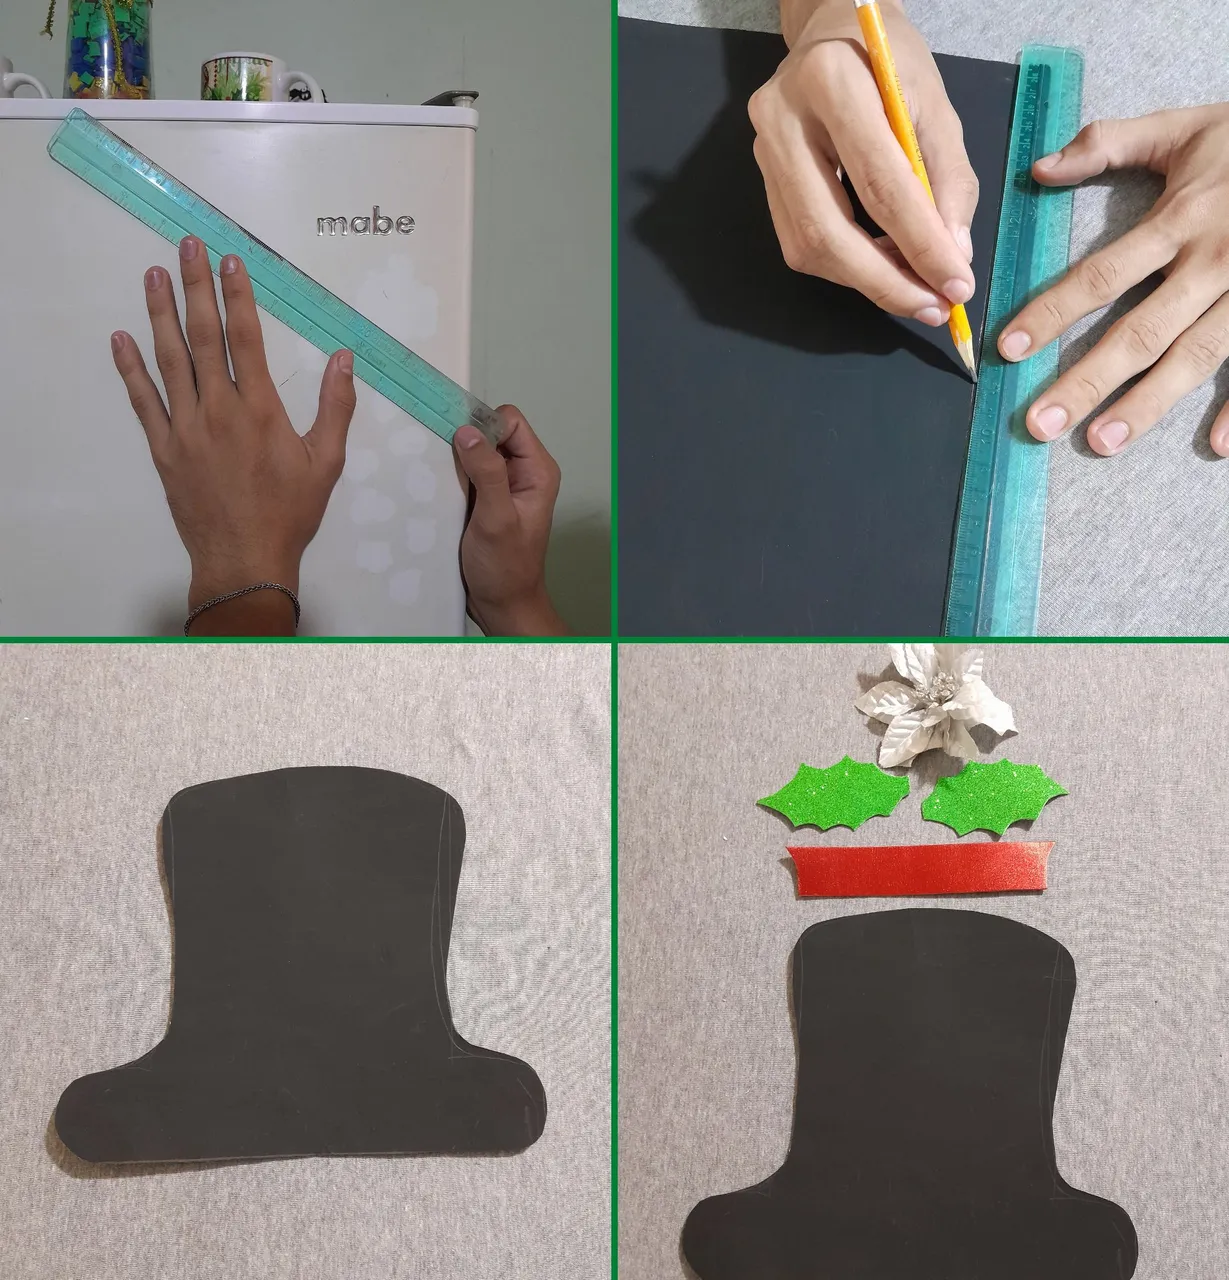
- Tomo la medida de la nevera, en la esquina superior izquierda de forma inclinada, para luego trasladarla con la regla al foami negro que vendría siendo la parte de abajo o la base del sombrero, después de marcar esa medida dibujo el sombrero completo hasta arriba y lo recorto con la tijera. Luego dibujo 2 hojas de navidad, y recorto una tira en el foami rojo de 3 cm de ancho y de largo a la medida de la parte baja del sombrero.
English:
Step 1:
- I take the measurement of the refrigerator, in the upper left corner at a slant, and then transfer it with the ruler to the black foami that would be the bottom or the base of the hat, after marking that measure I draw the entire hat to the top and cut it with the scissors. Then I draw 2 Christmas leaves, and cut a strip in the red foami 3 cm wide and long to the measure of the bottom of the hat.

Español:
Paso 2:
- Al tener mi material ya listo para el sombrero comienzo armarlo, pegando una a una cada pieza retirando el papel que tiene el foami por la parte de atrás. Y con un poquito de silicon caliente pego la flor.
English:
Step 2:
- Once I have my material ready for the hat, I begin to assemble it, gluing each piece one by one, removing the paper that has the foami on the back. And with a little bit of hot silicon I glue the flower.
Español:
Paso 3:
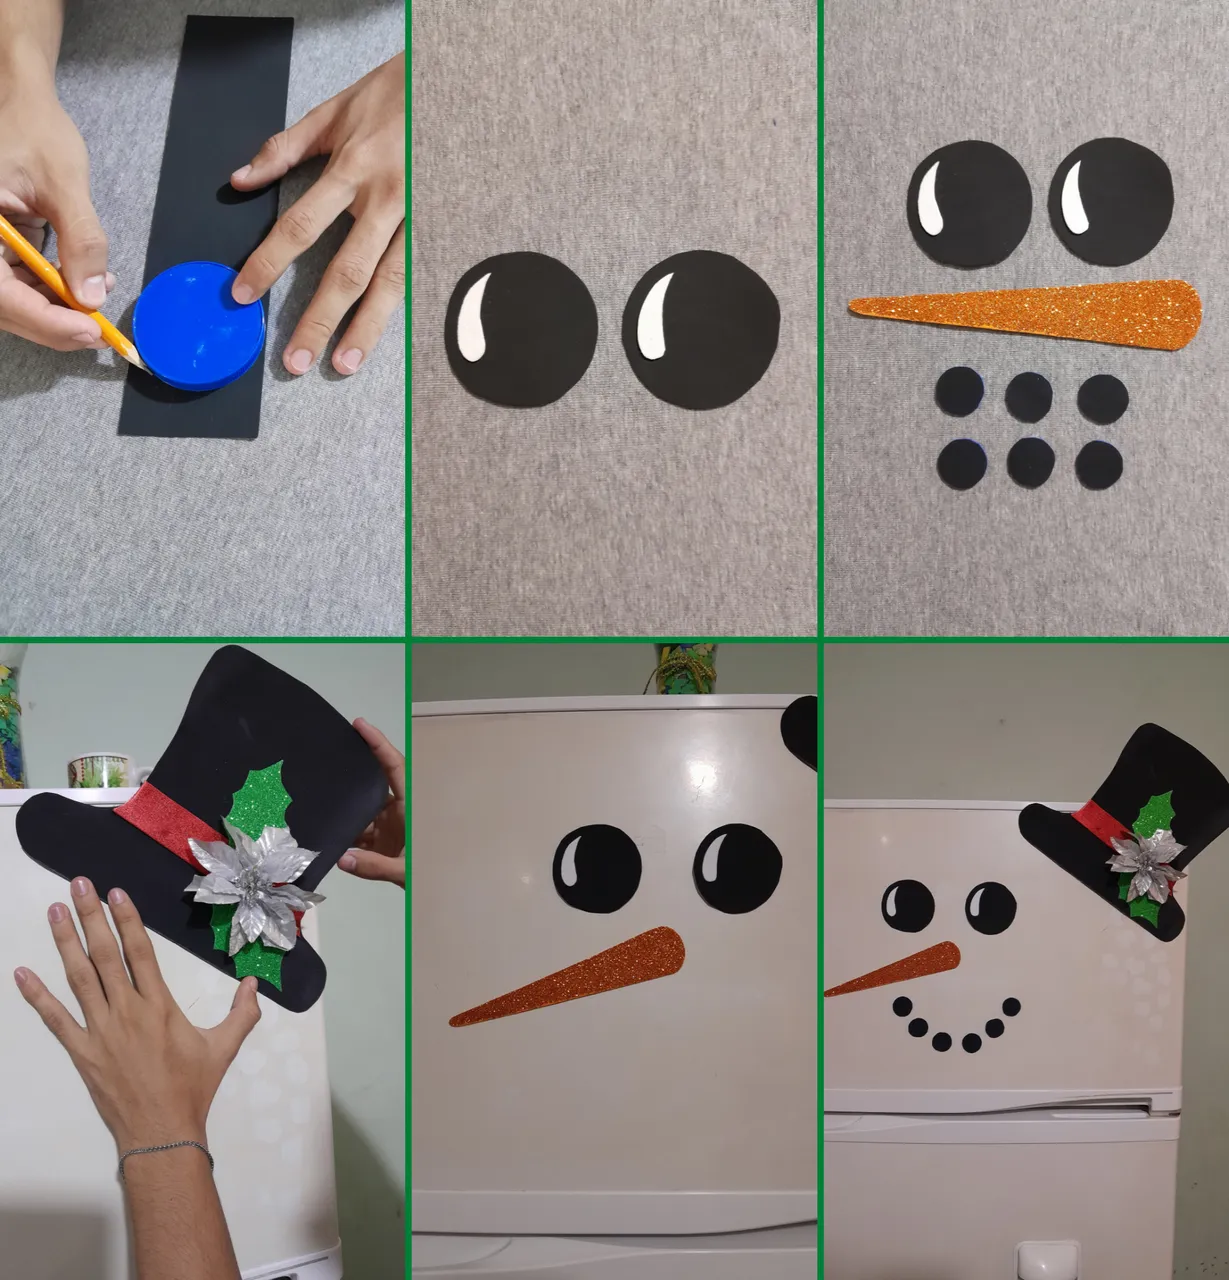
- Ahora con la ayuda de una tapa dibujo los círculos para los ojos, con el foami blanco recorto los la pupila de los ojos y los pego por un borde de los 2 círculos, también recorto 6 círculos pequeño para la boca y la nariz con el foami naranjado; De esta manera procedo a pegar la parte de arriba de la nevera que vendría siendo la cabeza del muñeco de nieve.
English:
Step 3:
- Now with the help of a lid I draw the circles for the eyes, with the white foami I cut out the pupils of the eyes and glue them on one edge of the 2 circles, I also cut out 6 small circles for the mouth and the nose with the orange foami; In this way I proceed to glue the top of the fridge which would be the head of the snowman.
Español:
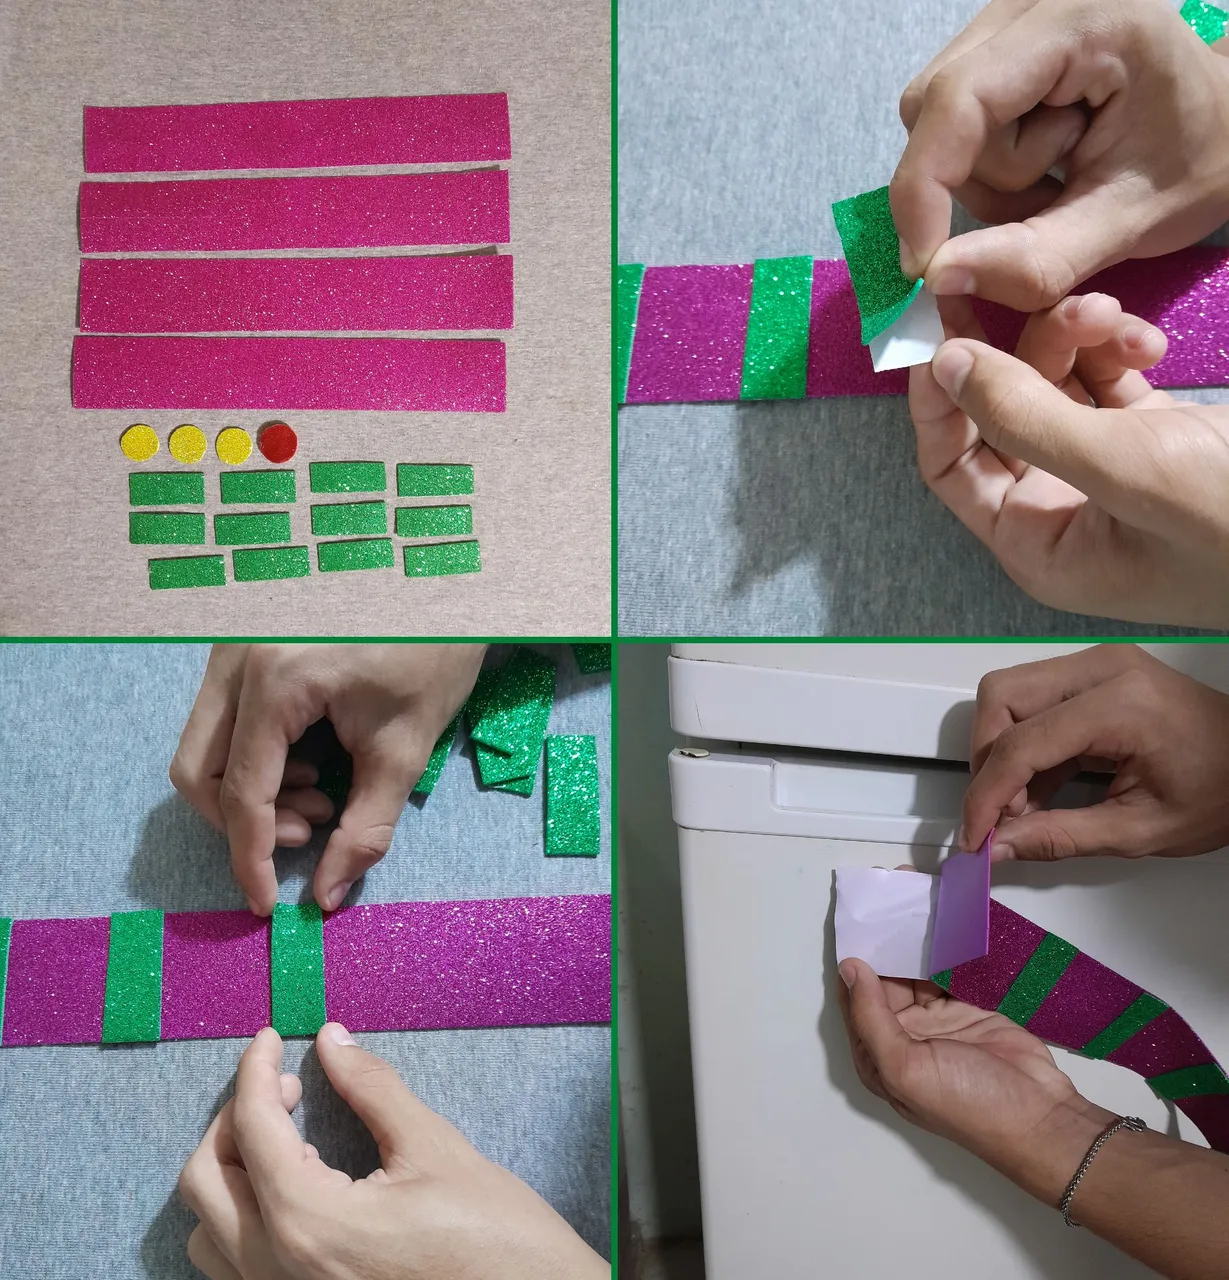
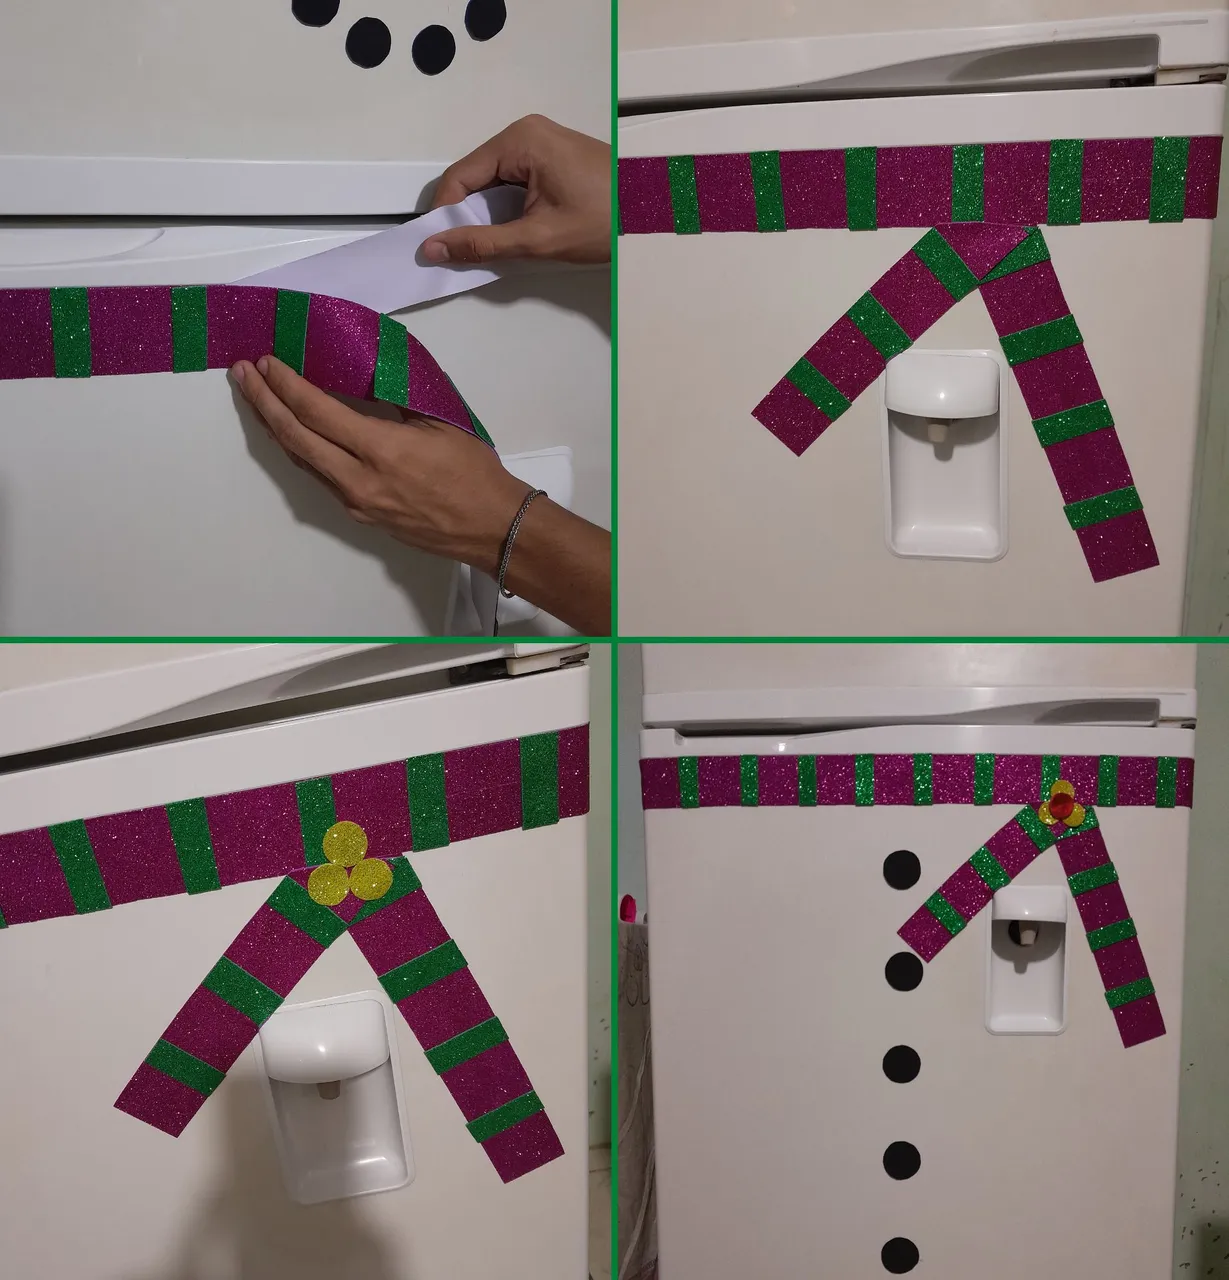
Paso 4:
- Continuo con la parte de abajo de la nevera, como tenia foami pequeño corte el foami en 4 tiras de 5 cm de ancho y 1 tira de 2 cm de ancho color verde el cual las corte en trocitos de 5 cm, las pegue en la tira del foami fucsia, dibuje 4 círculos 3 amarillo y 1 rojo, luego pego la tira fucsia a la nevera, formando una bufanda, seguidamente pego los 3 círculos amarillo y el rojo en forma de flor. Recorto 5 círculos medianos en el foami negro para los botones, luego procedo a pegarlos, así termino con mi decoración.
English:
Step 4:
- I continue with the bottom of the refrigerator, as I had small foami cut the foami into 4 strips of 5 cm wide and 1 strip of 2 cm wide green which I cut into small pieces of 5 cm, glue them on the fuchsia foami strip, draw 4 circles 3 yellow and 1 red, then glue the fuchsia strip to the fridge, forming a scarf, then glue the 3 yellow and red circles in the shape of a flower. I cut out 5 medium sized circles in the black foami for the buttons, then I glue them, that's the end of my decoration.
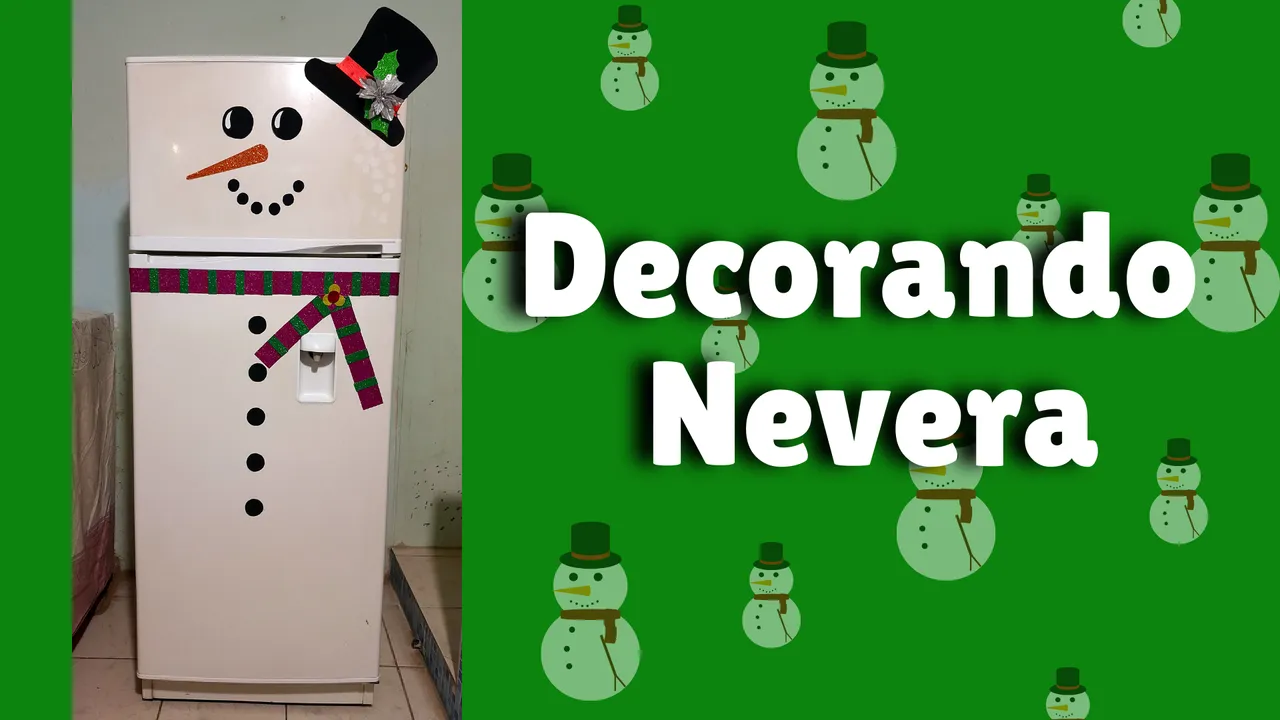
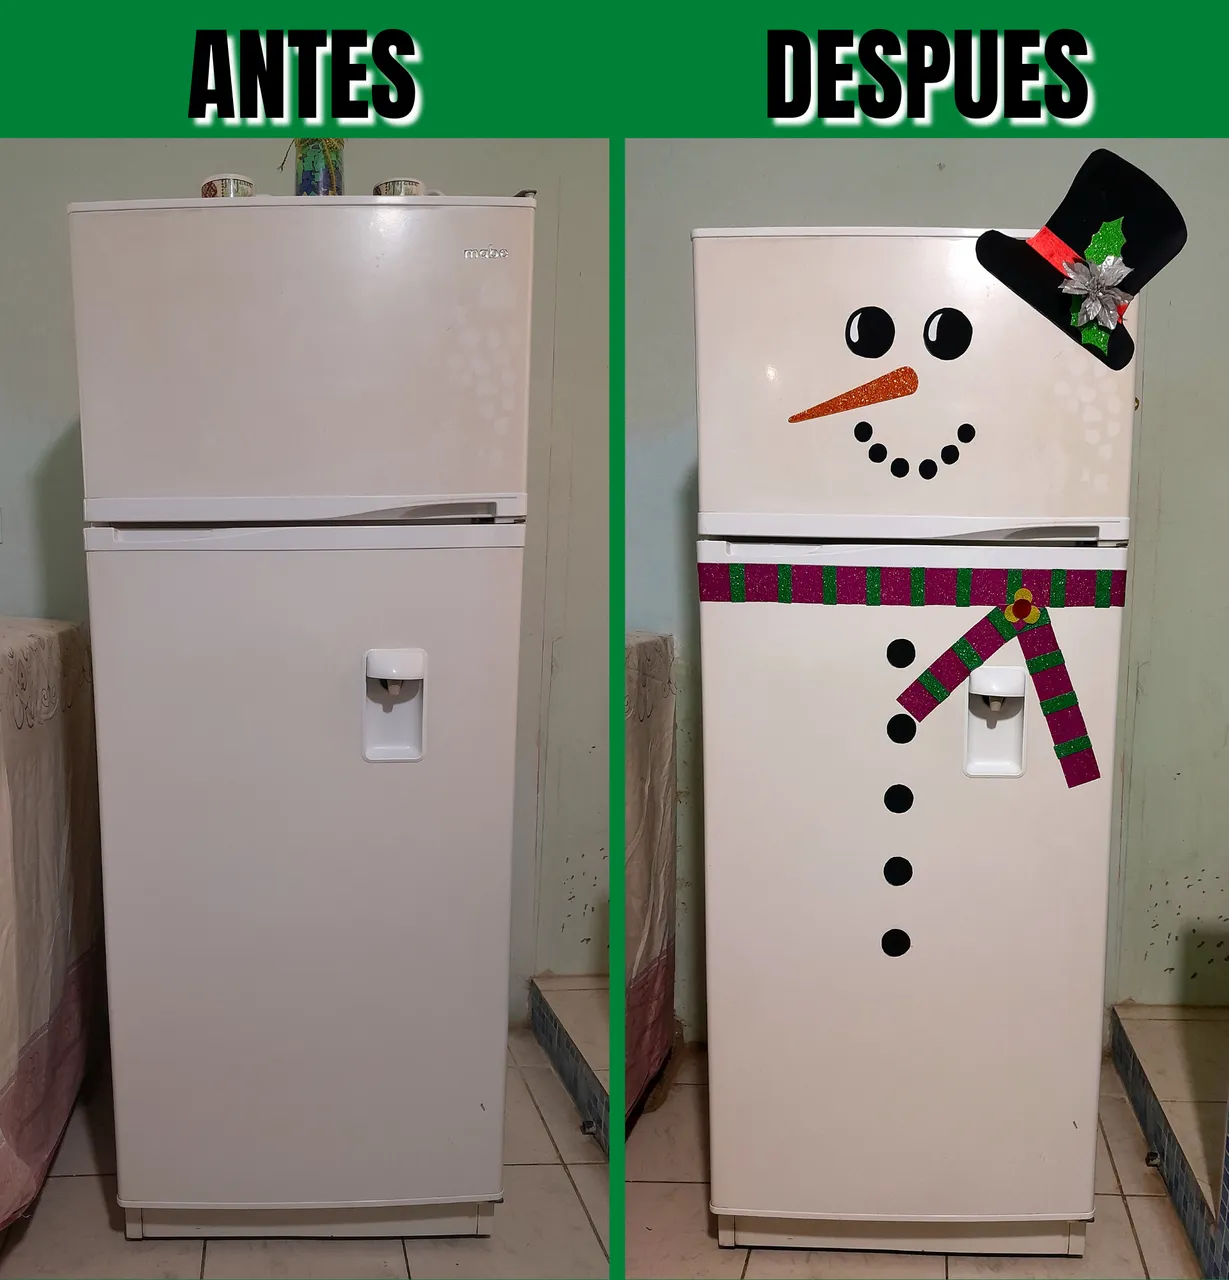
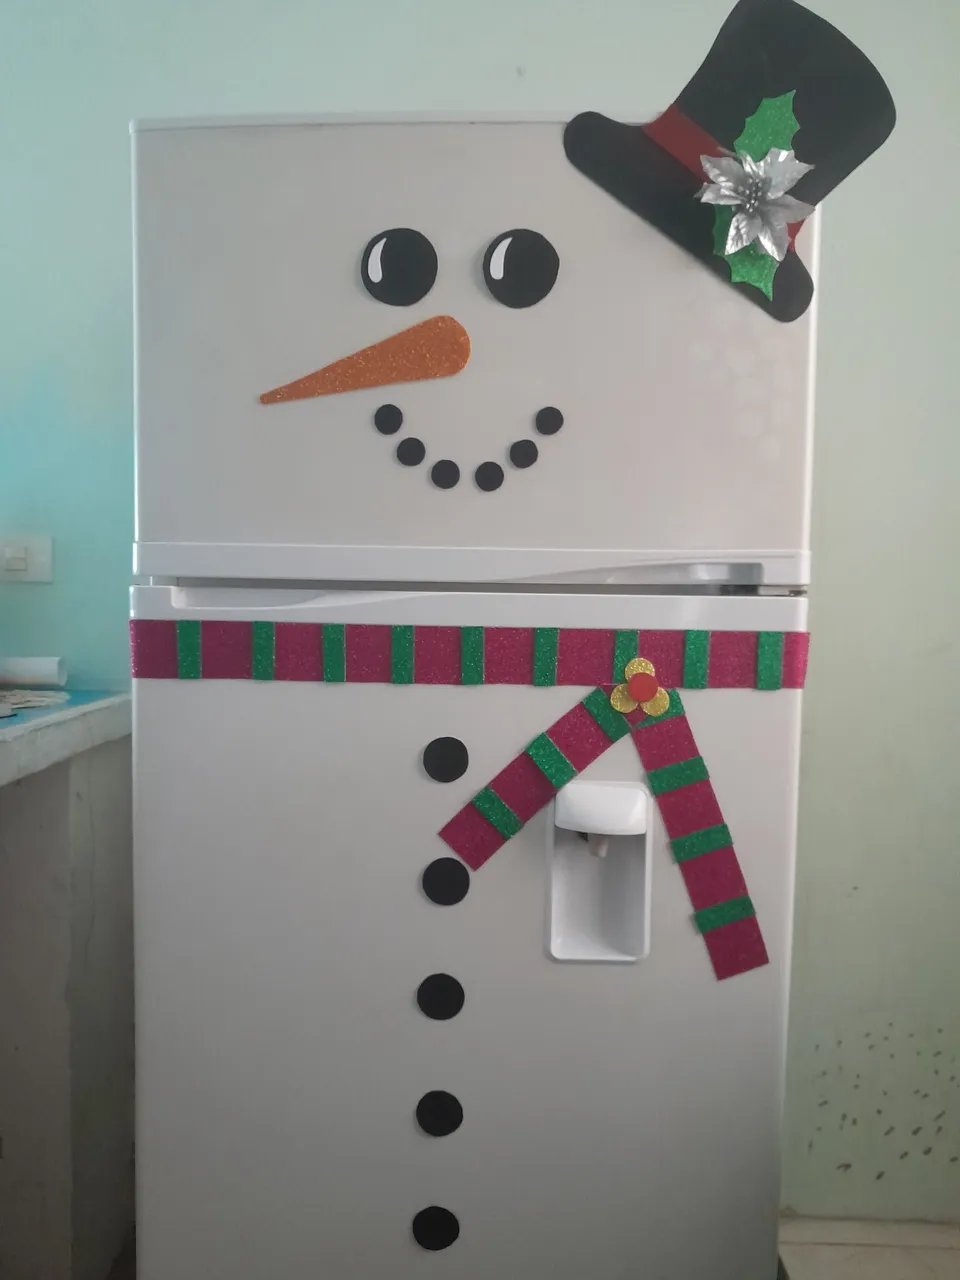
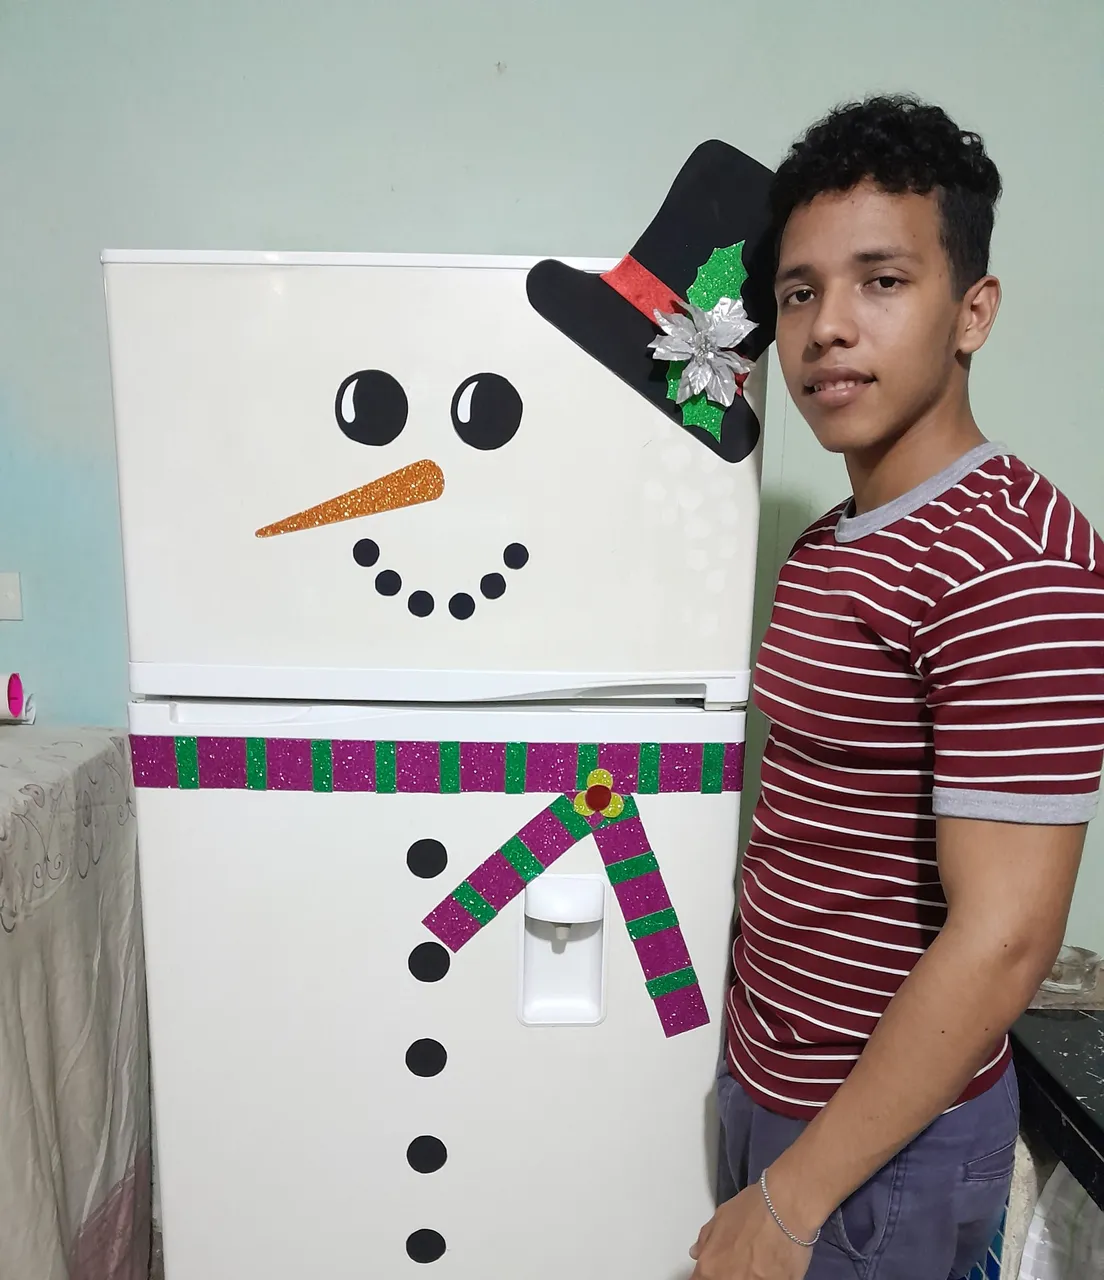
Aquí esta mi resultado final, espero les haya gustado, saludos hasta la próxima.
Here is my final result, I hope you liked it, greetings until next time.

Todas las fotos son de mi autoria y editadas con Canva.
Traductor: DeepL Traslate.
All photos are my own and edited with Canva. Translator: DeepL Traslate.

Traductor: DeepL Traslate.
All photos are my own and edited with Canva. Translator: DeepL Traslate.