
We're back on this section for an update on the maintenance work on my first instrument. As a side note, yesterday, my new instrument fell and got a nasty hit on the back. Thus, I need to repair that one as well. Now, I'm playing on a borrowed one (borrowed from myself as I have a concert on Saturday). But so is life and woodworking has to keep going.
If you haven't checked the last entry on this work, just click here and you'll magically end up in that post. The power of hypertextual references!
Without further a due, let's get to it!
Rasp it as much as possible
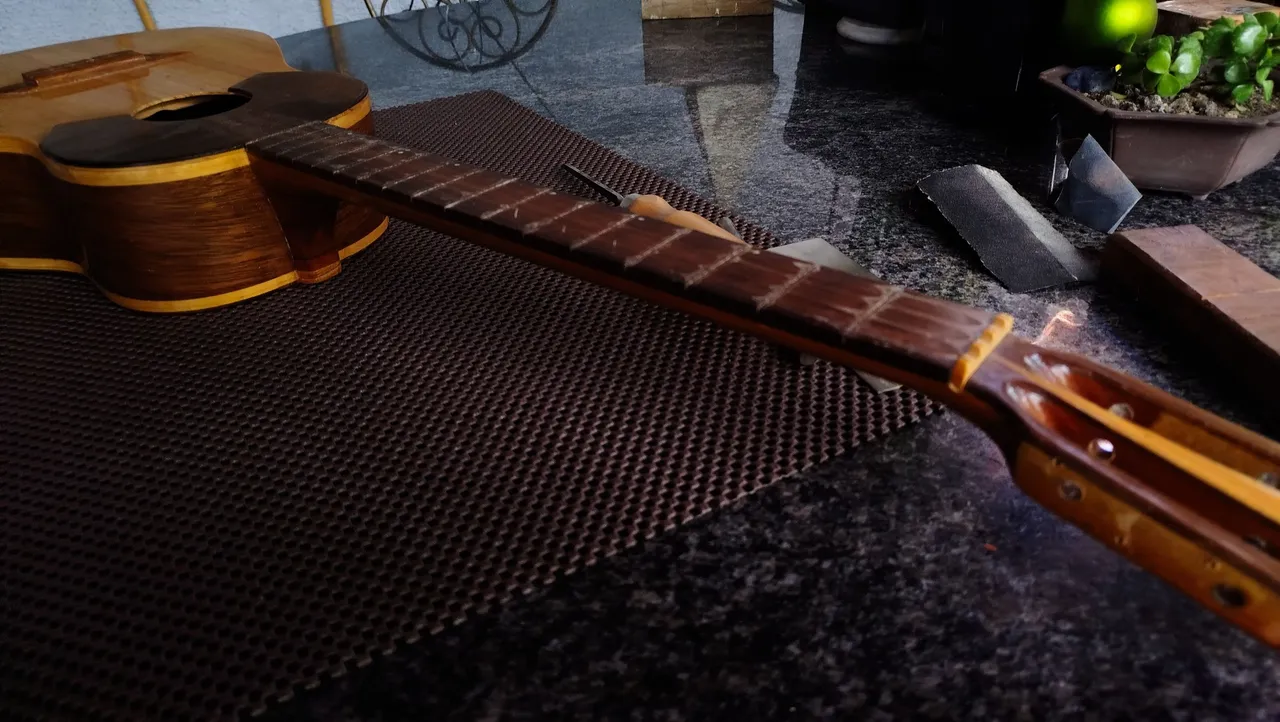
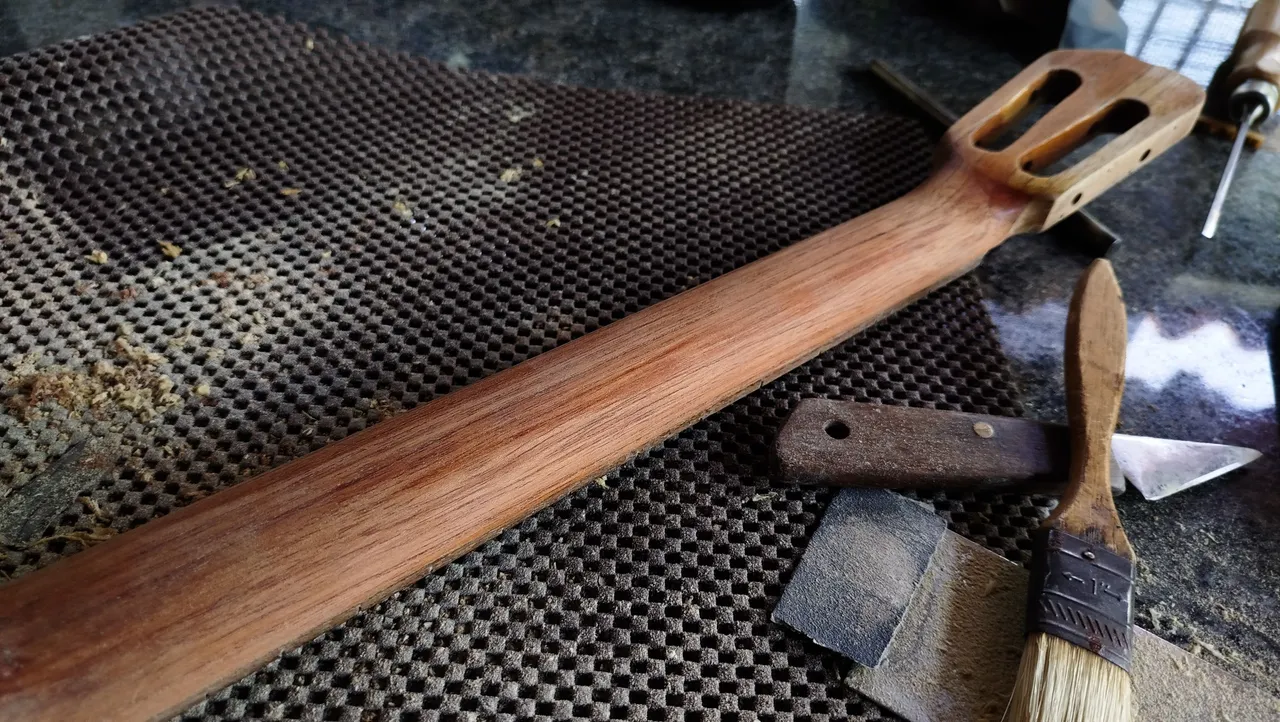
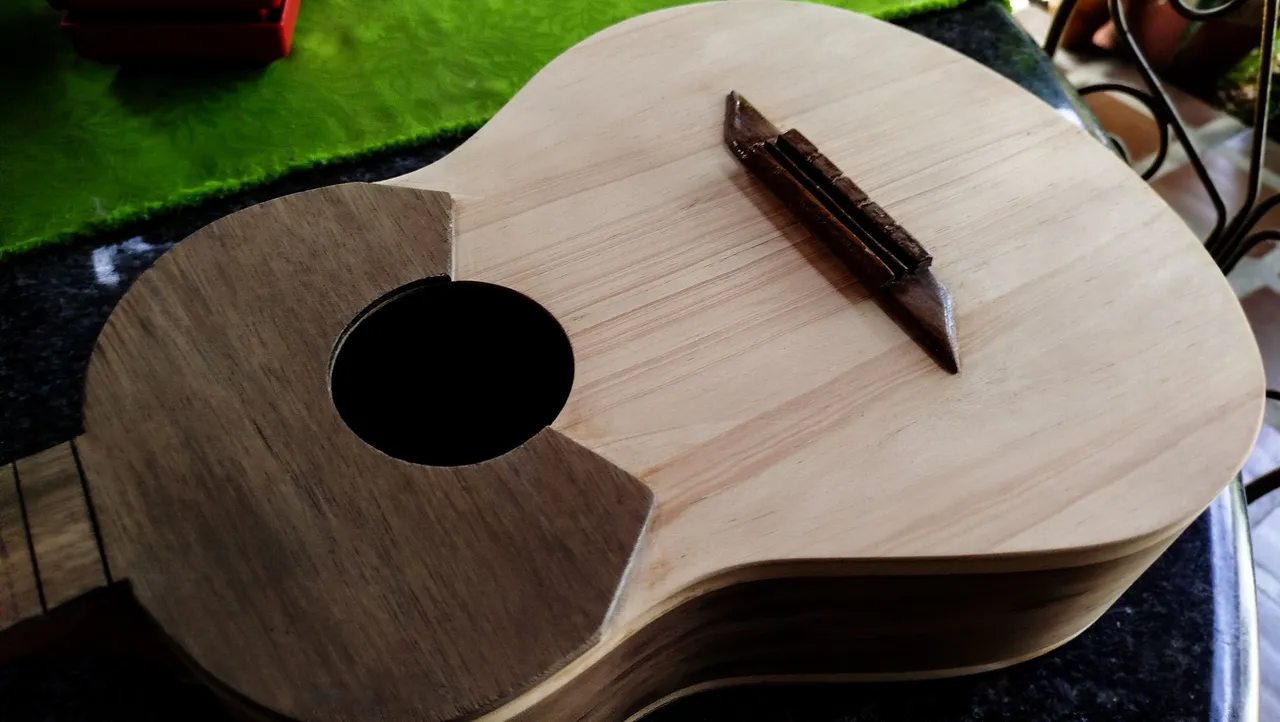
Last time, we managed to remove everything that wasn't glued to the instrument. Frets were thrown away since they were in really bad shape. Tuners are still working. But now, we have to get to the process of removing the varnish from the wood.
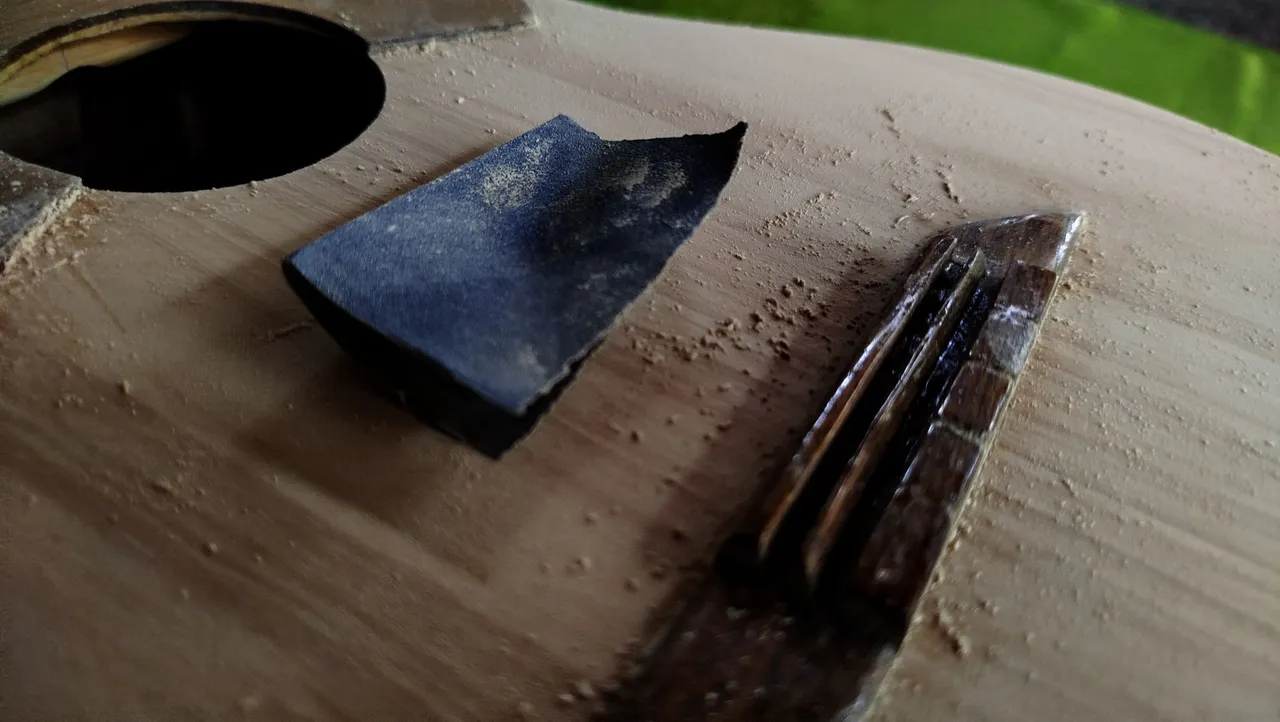
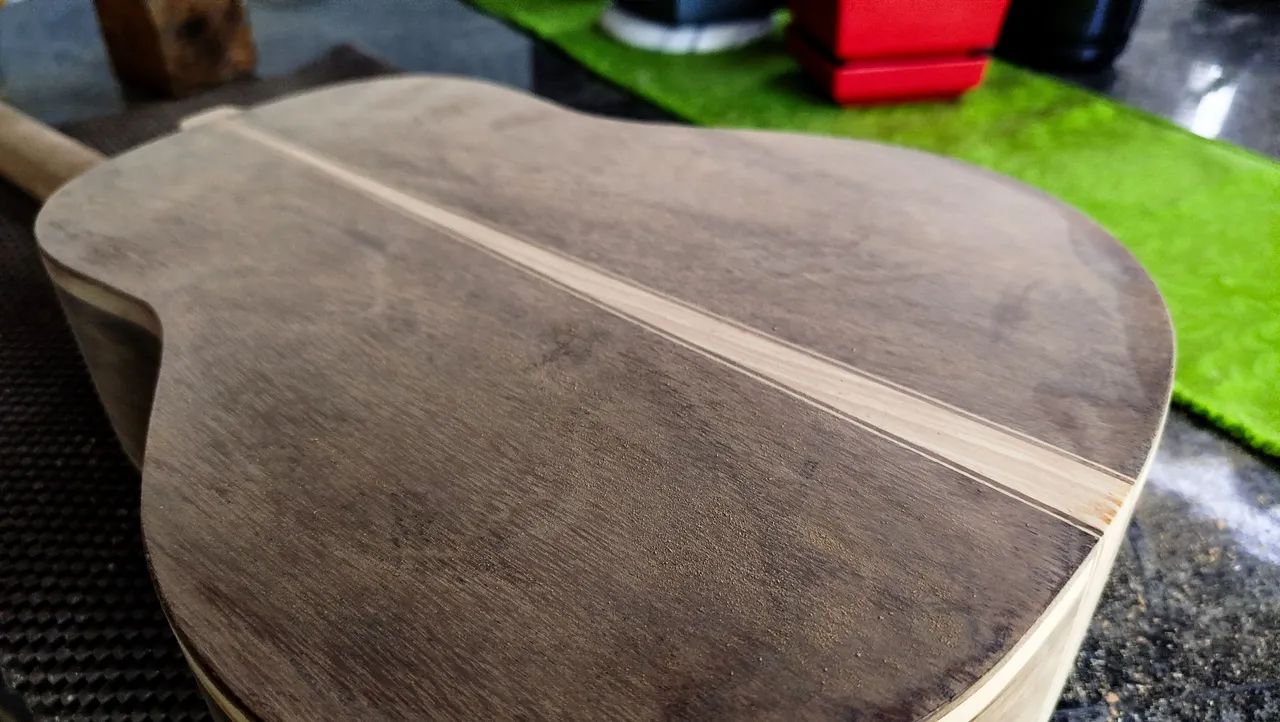
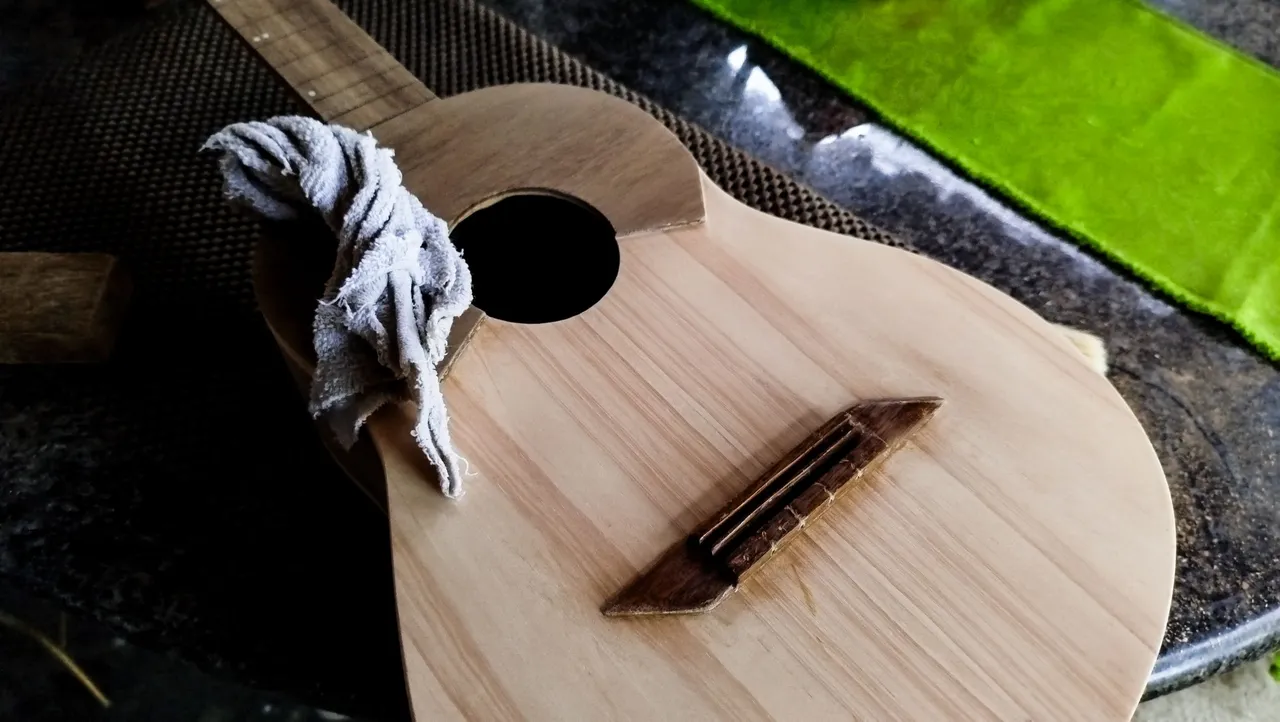
This takes more than one day, unless we want backpain. Using a cabinet scraper, we have get a lot of it off from the wood without too much trouble. We have assist ourselves with a knife to remove the finish from difficult places where the scraper is to big to be of use. The area around the bridge on the sound board is particularly annoying at this.
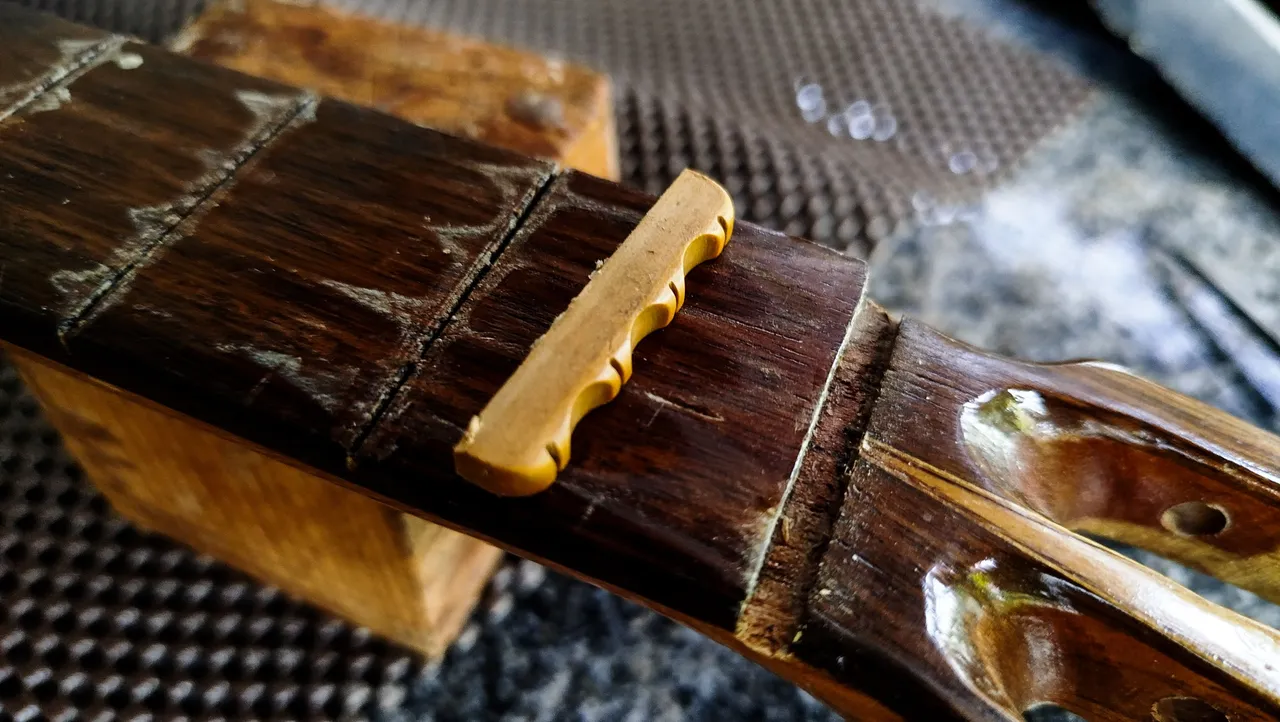
Besides that, we just need to rasp all away and expose the wood. And while we are at this, it is the time to address any changes in the shape of the wood. As you know, wood keeps moving according to the humidity in the environment. It moves even more when it is exposed to more of this. For example, our hands touching the instrument. So since we're at this, we can take some time to correct any curves on the fretboard.
Sanding begins
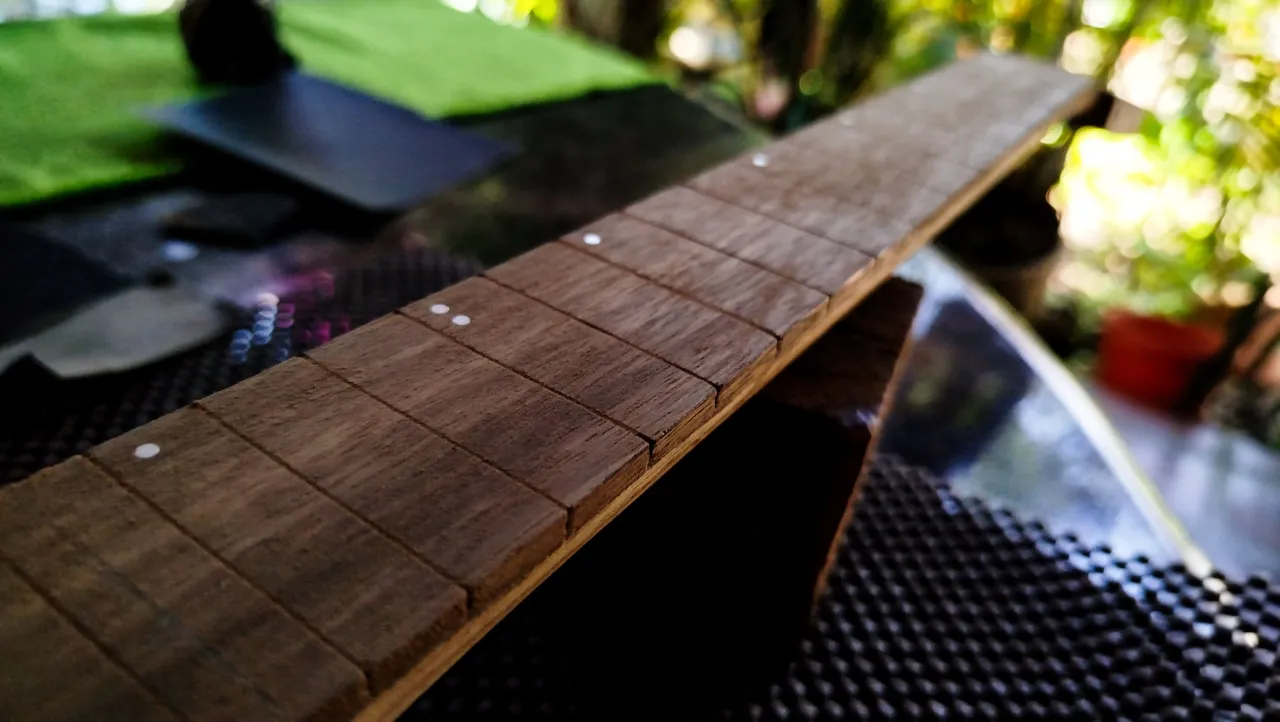
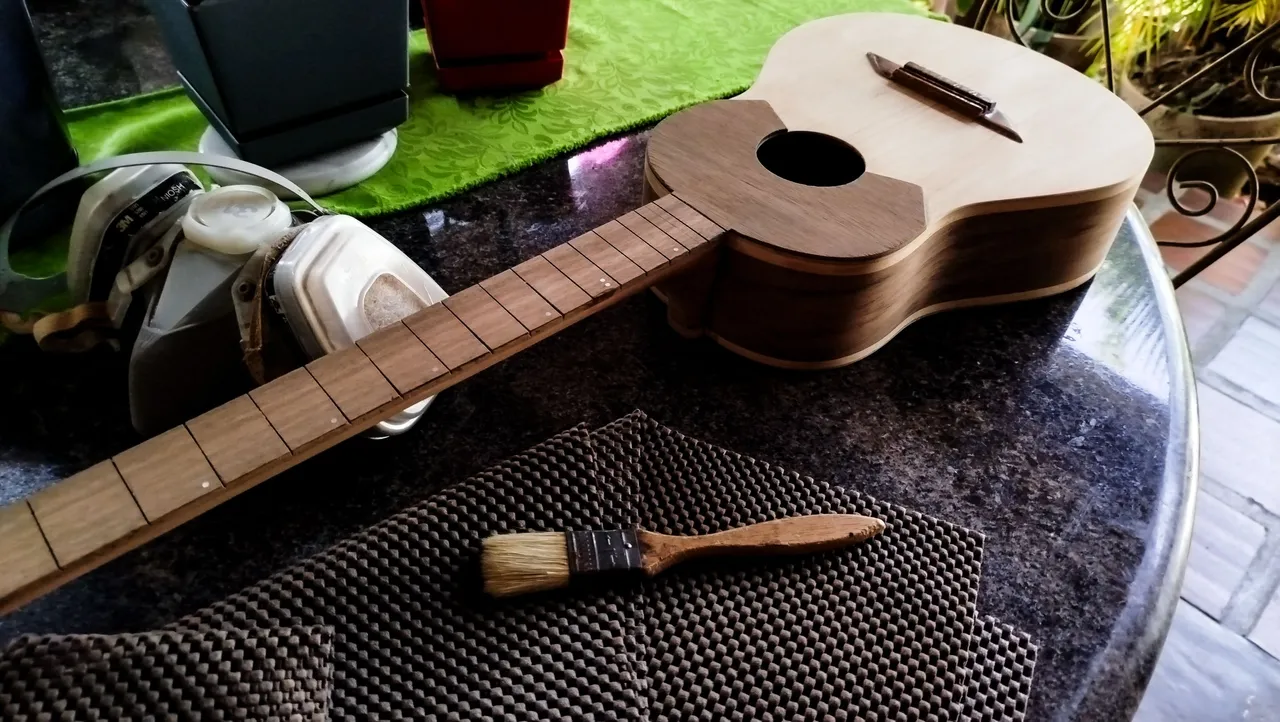
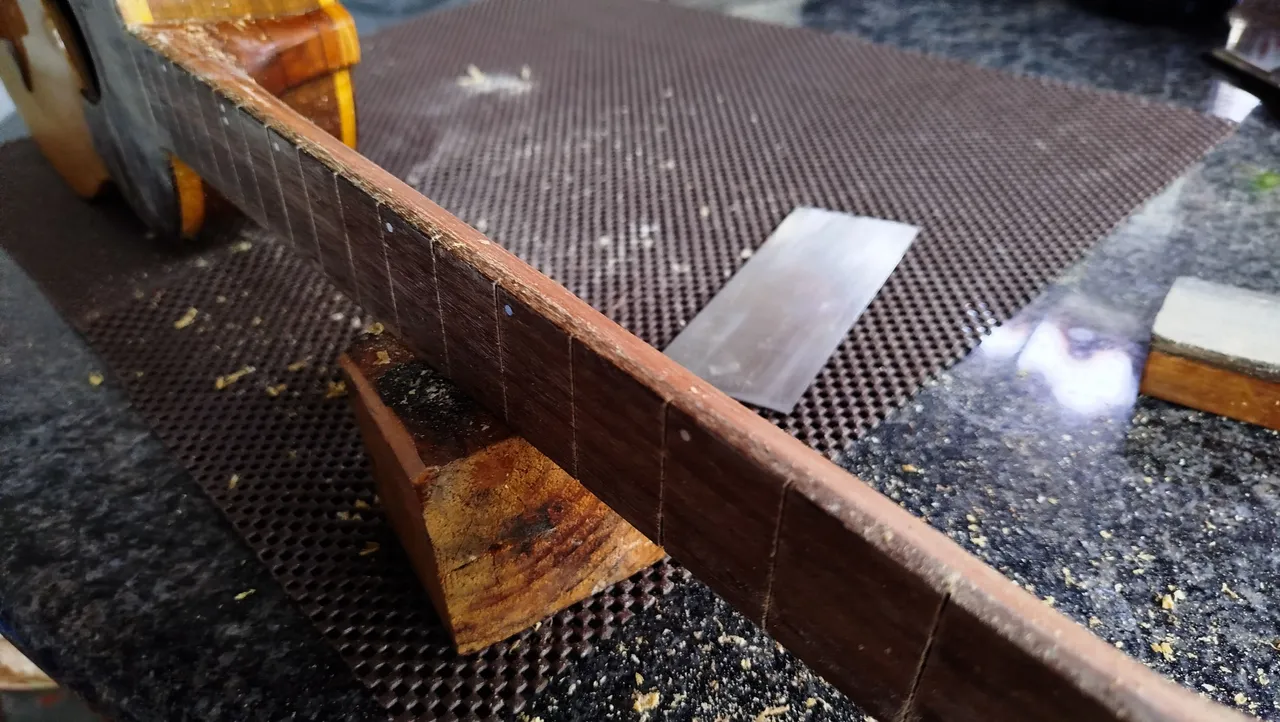
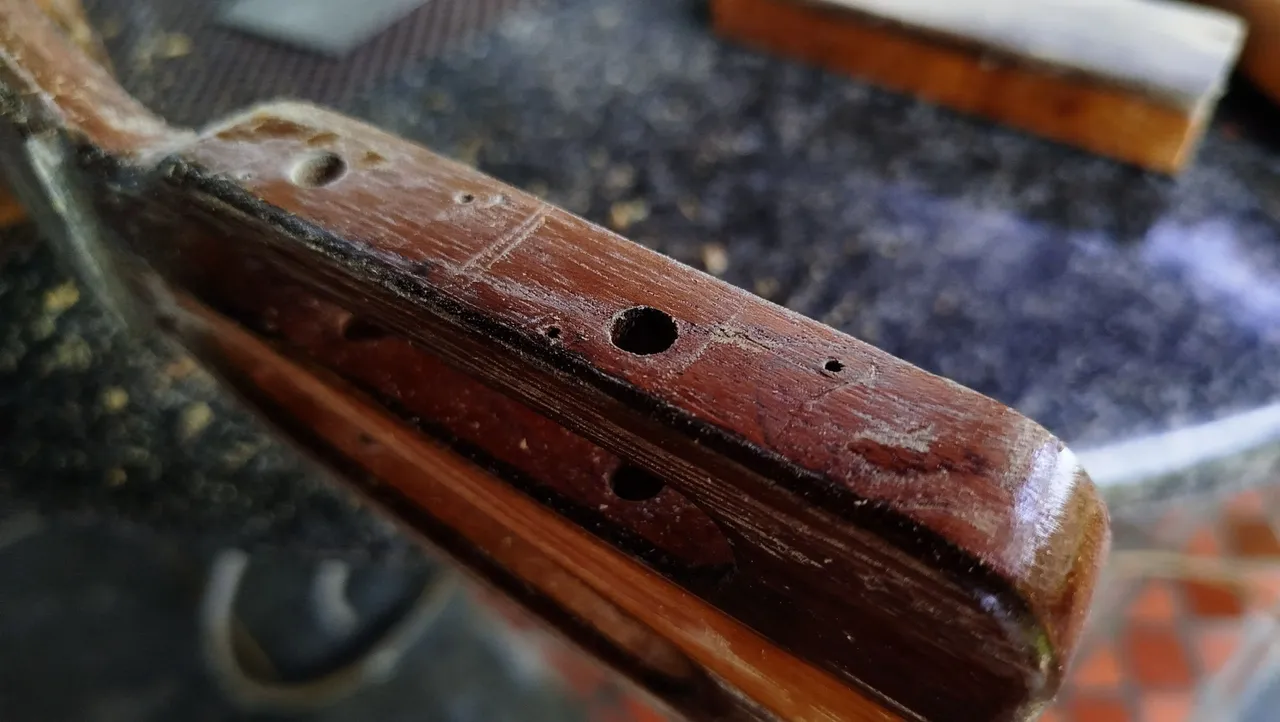
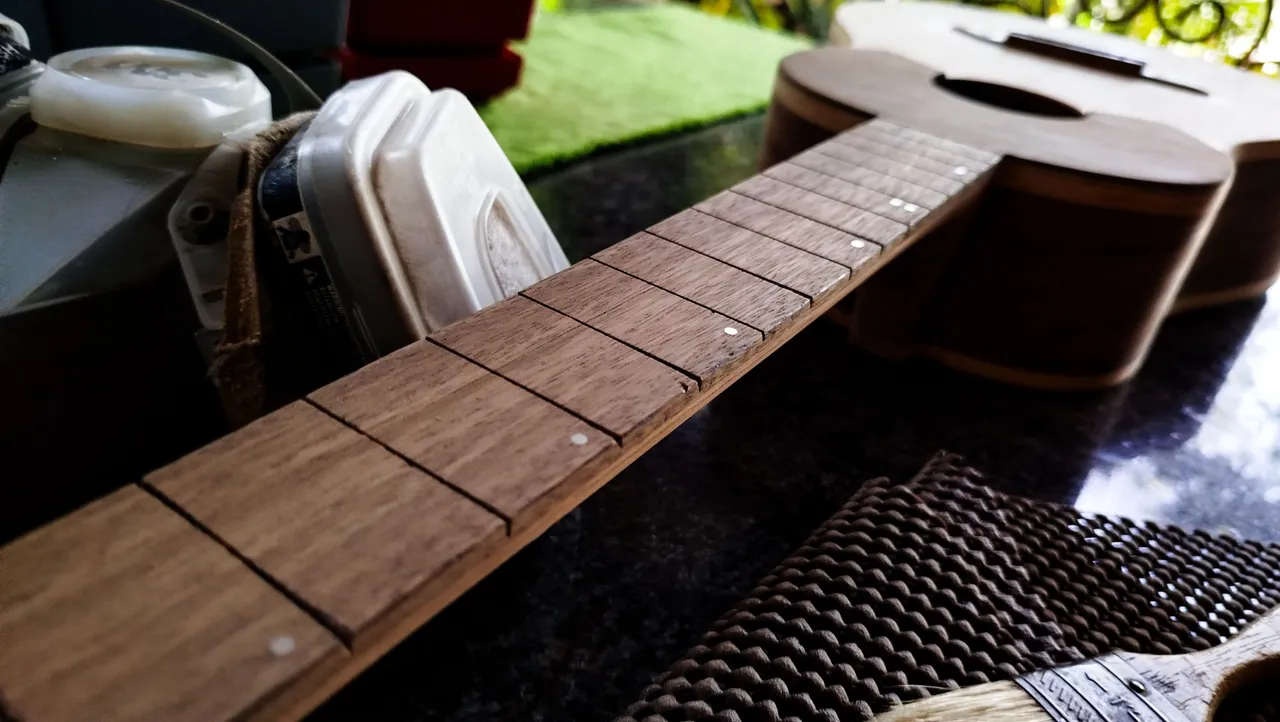
And so we begin with the whole lot of sanding we'll need on this maintenance. We are not shaping anything, but we can use this time to remove any dents on the wood. It's hard to prevent any hits the instrument might get. We're only human and everything happens.
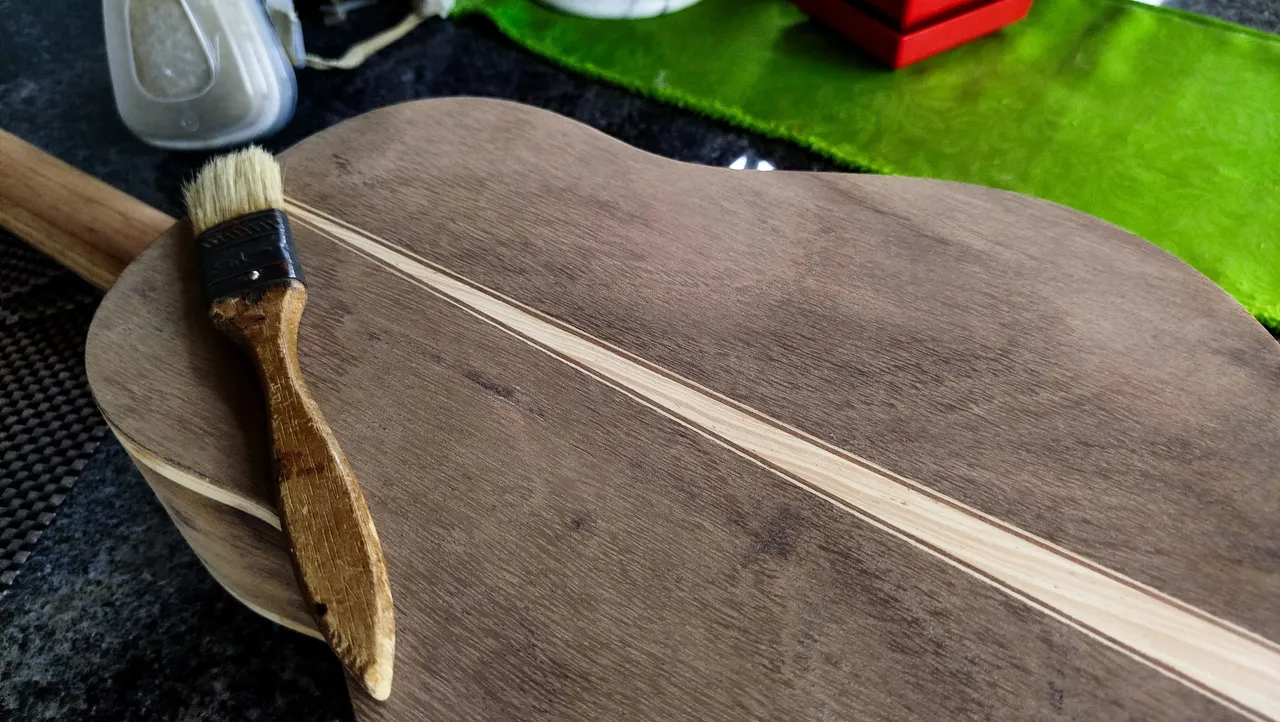
We go ahead and sand everything down with 100-grit sandpaper. This will also help us remove any last remnants of varnish that are still sticking to eh surface of the instrument. We use a block and keep sanding without applying too much pressure on the instrument as soon enough areas will revert to their original pale colors.
And while we do this, we make sure to wear our mask since we want to sand wood, not our lungs.
Smoothing

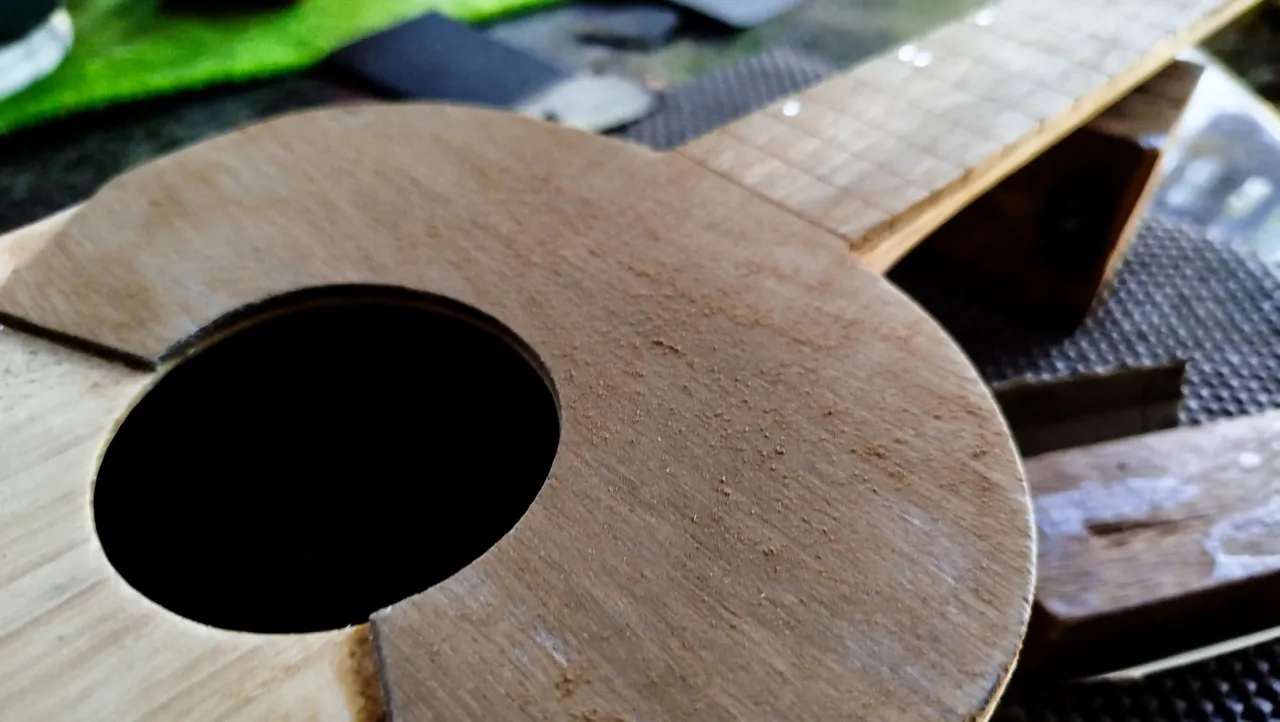
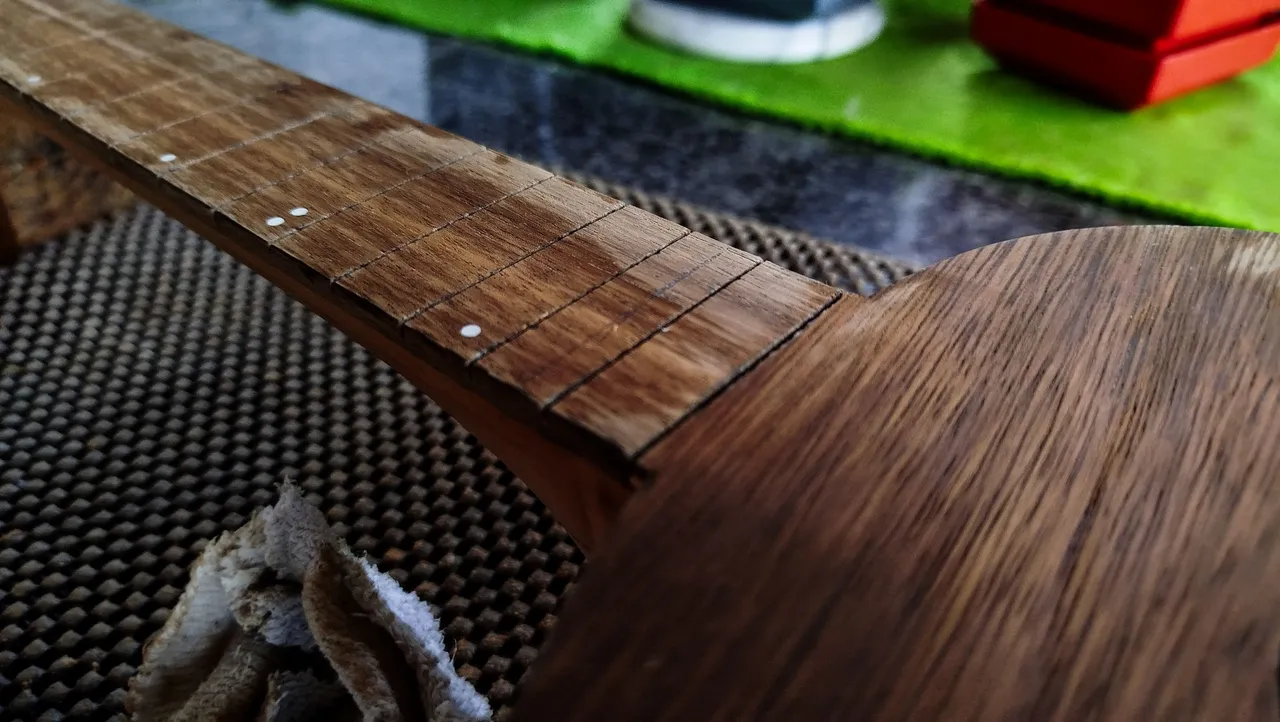
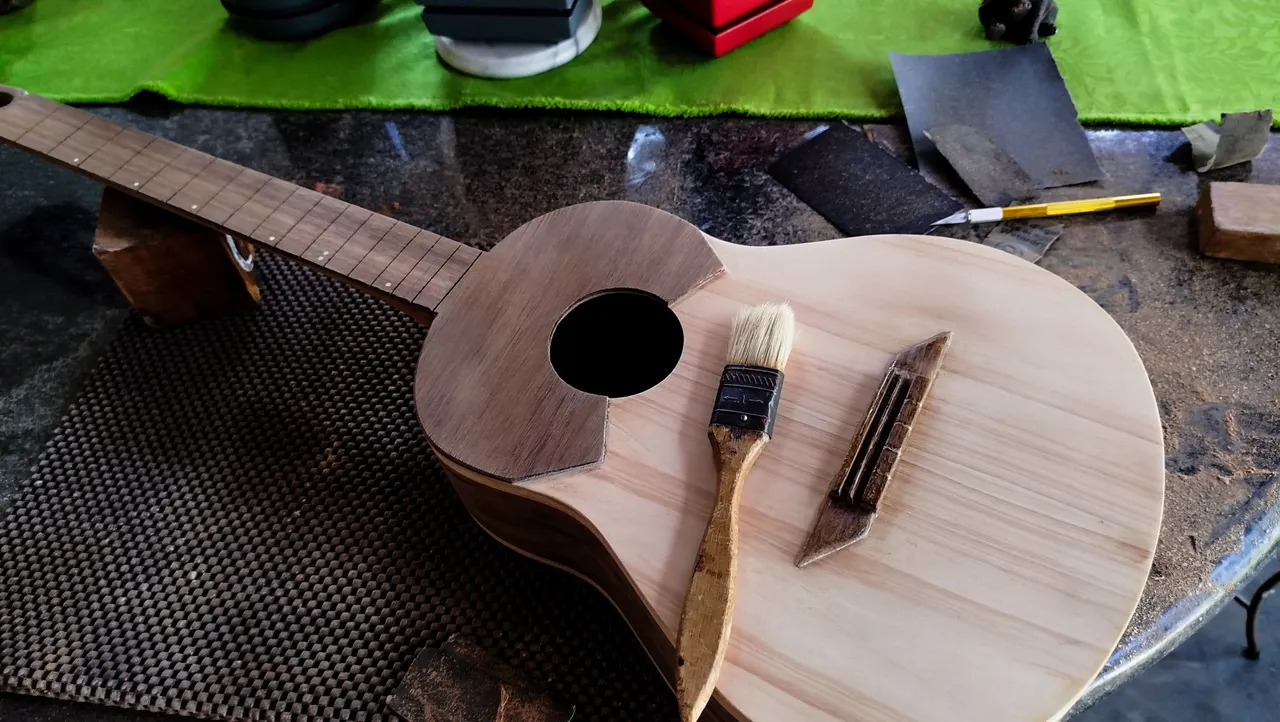
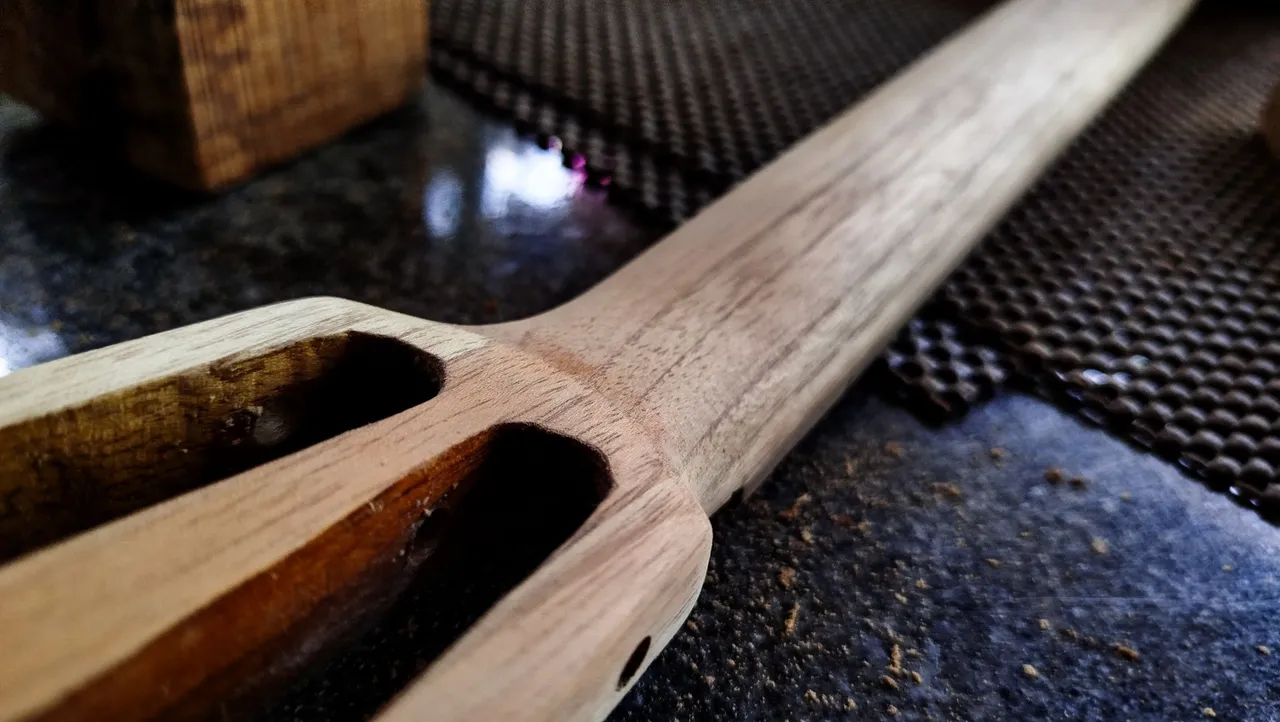
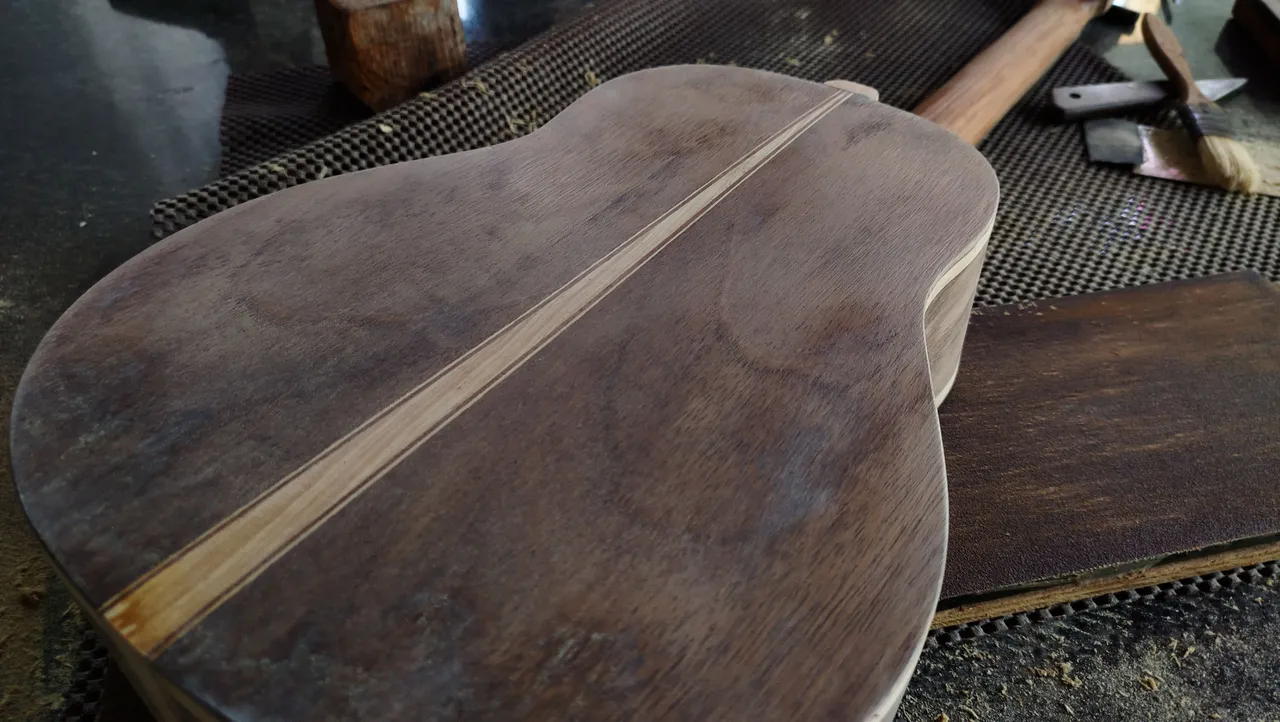
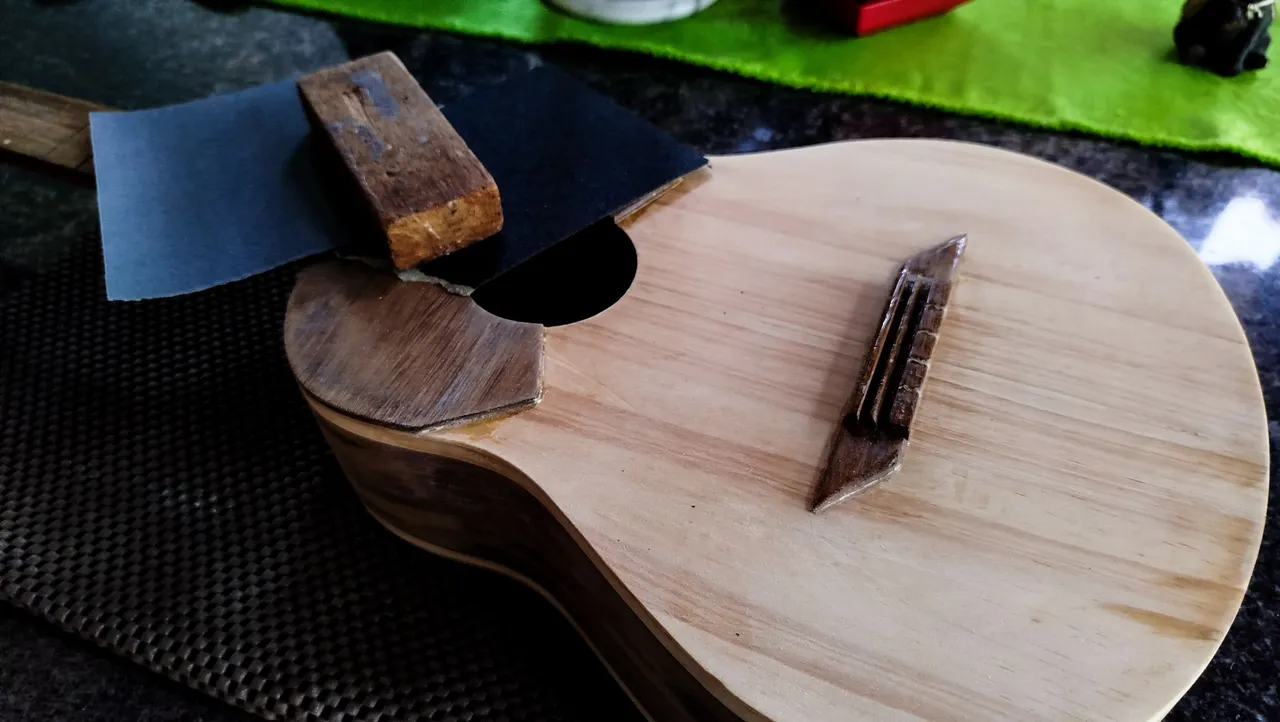
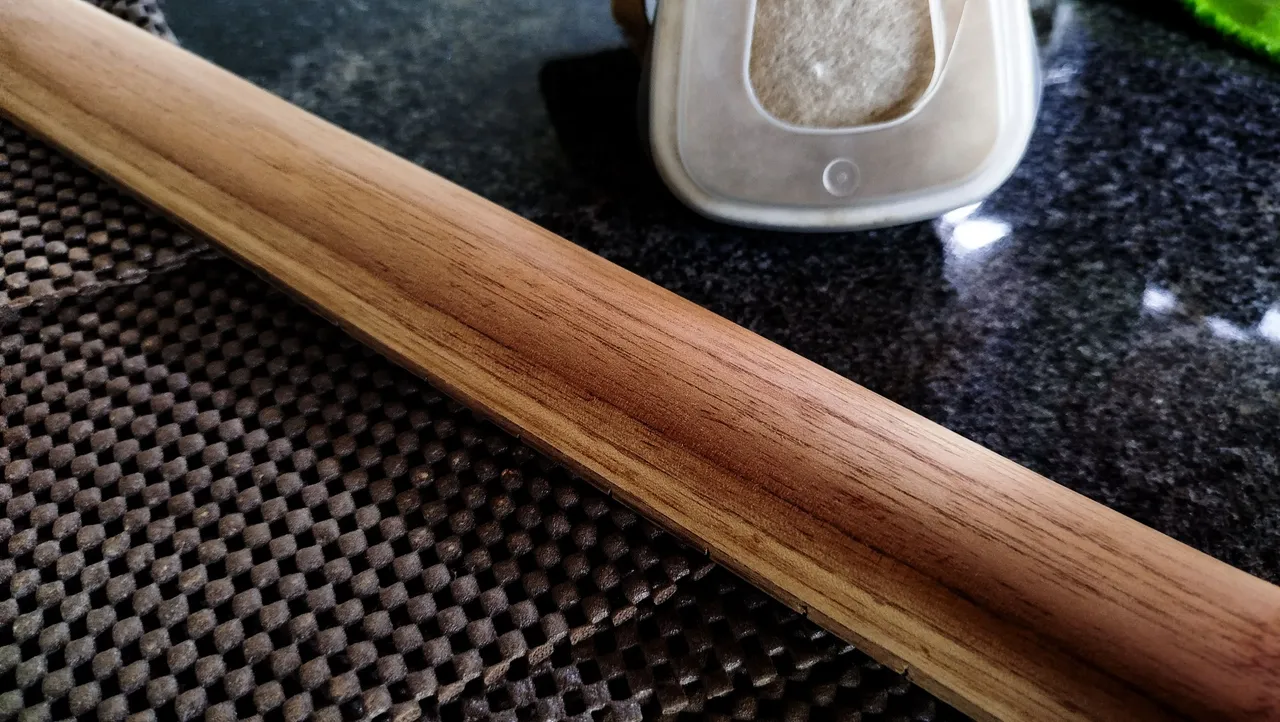
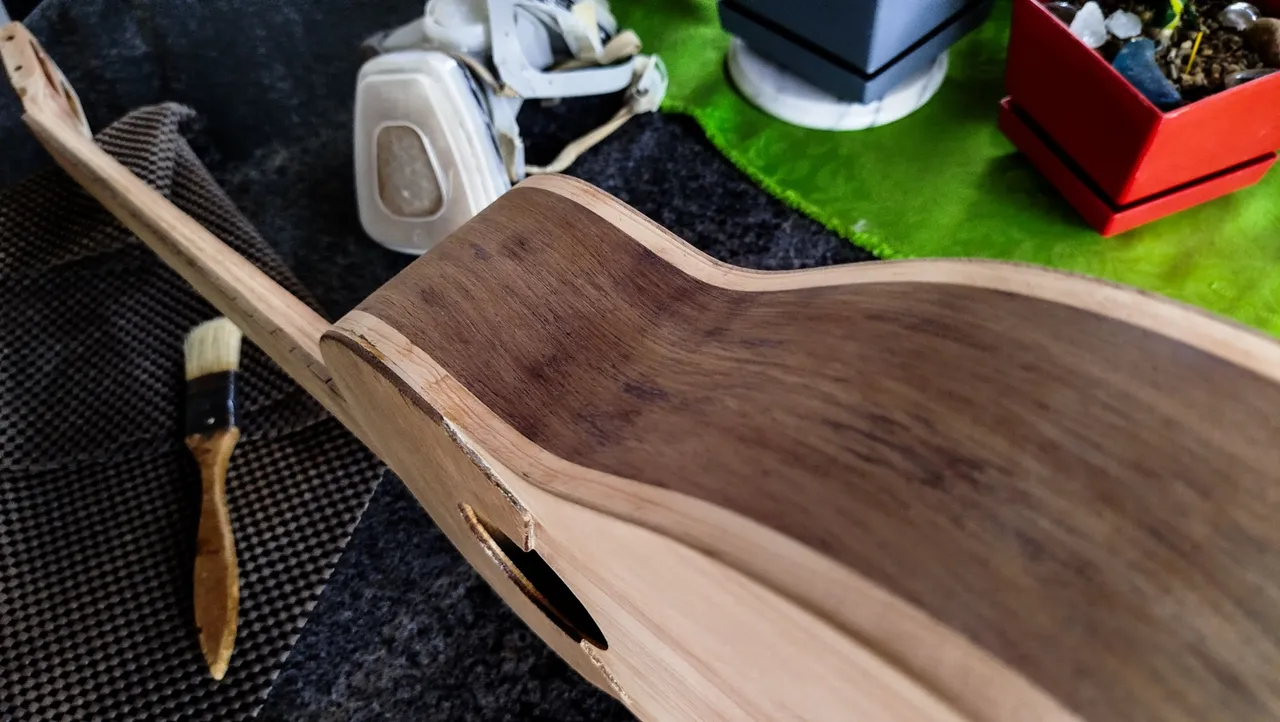
The last bits of sanding on the wood will be the usual 220-grit. We go ahead and divide this sanding into two faces. First, we do all the instrument with our block. Here we can make sure to smooth the edges of the sound board and fretboard. Again, we don't need to apply too much pressure to the piece since we don't want to create any shapes or ruin the ones we have.
Once we have done the first sanding, we'll use a damp cloth and use it to raise the fibers of wood. We let it dry and then sand again to remove anything that could ruin the finish. And with that, we have completed one stage of sanding. The next ones will start after we applying the first coats of finish and have to start smoothing that part.
However, that will be something for another entry.
Thanks a lot for reading! See you next time!
Fotos/Photos 📷: taken by me (Redmi Note 13)
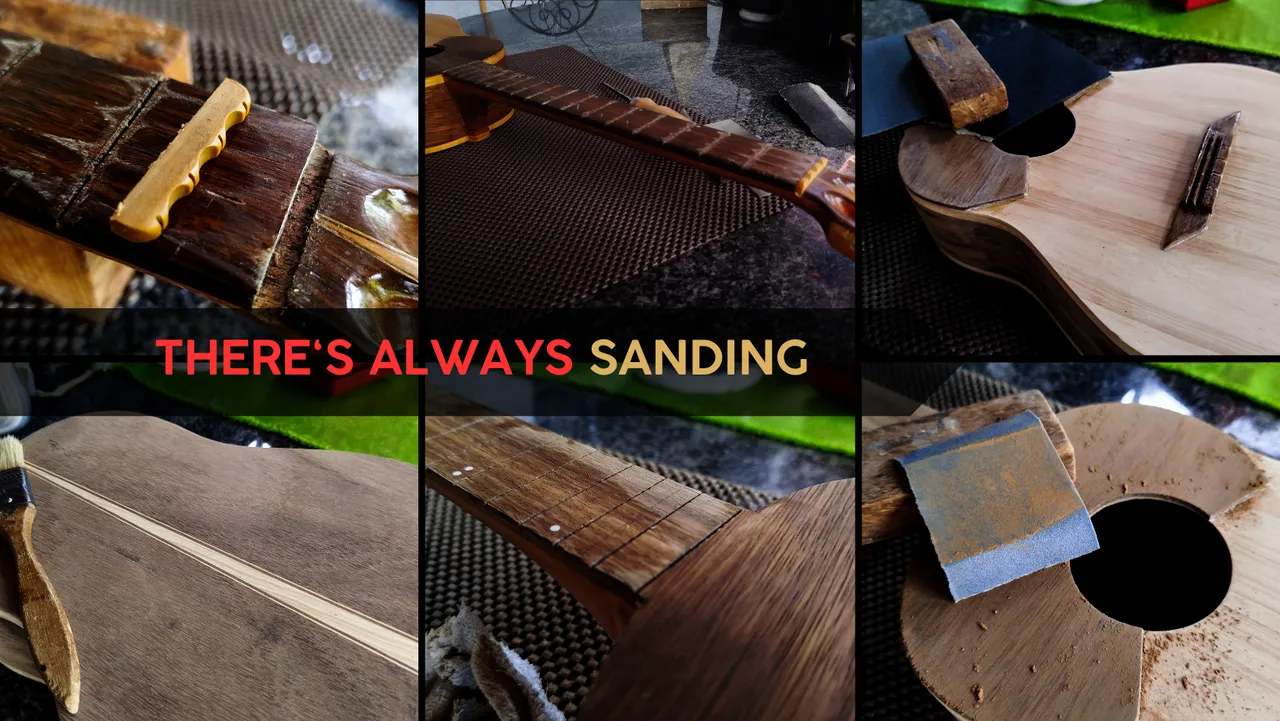
Portada/Thumbnail 🖼️: by me, created with Canva.
Edición/Editing 🎬: by me, made with Adobe Photoshop Lightroom.

Follow me on Instagram for enquires and commission.
If you'd like to help the workshop grow, you can make a donation here. You can find me at discord as bertrayo#1763