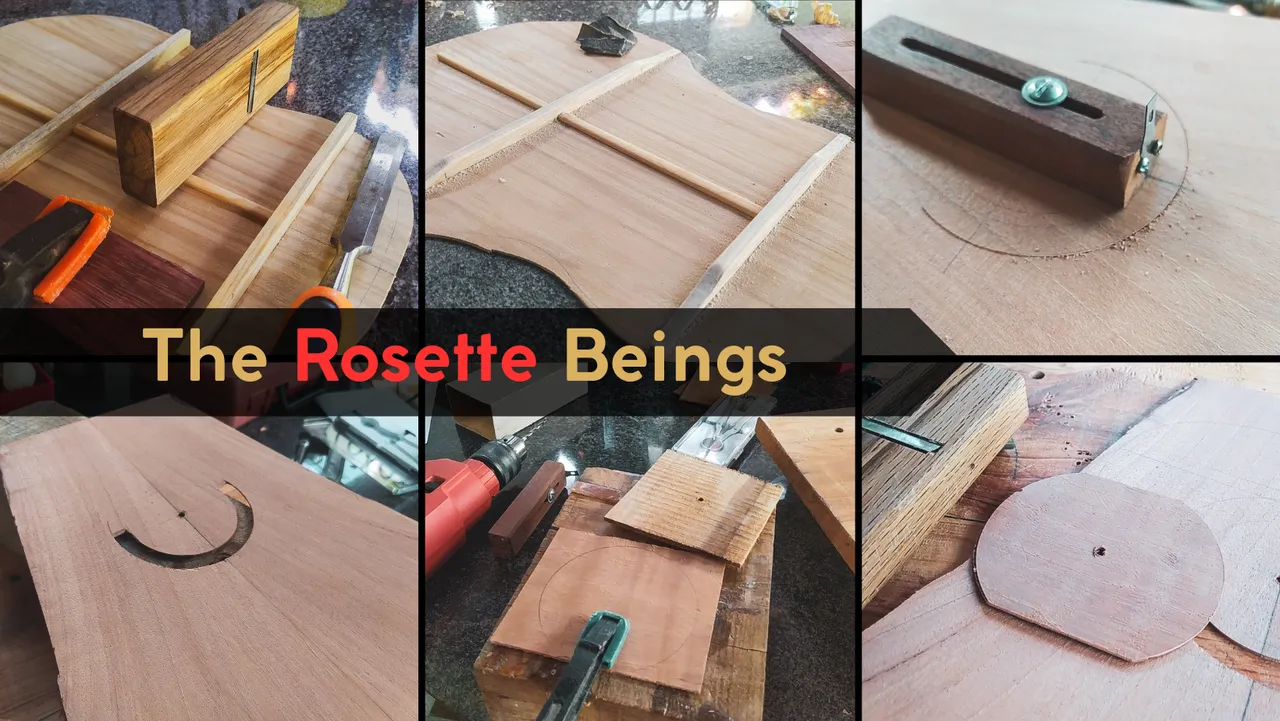

We are back on the slow process of making this instrument and now were are finishing the back to jump onto a big deal on the sound board, the rosette. If you haven't checked the previous entry, you can do it by clicking here.
Let's jump to it!
Working the bars

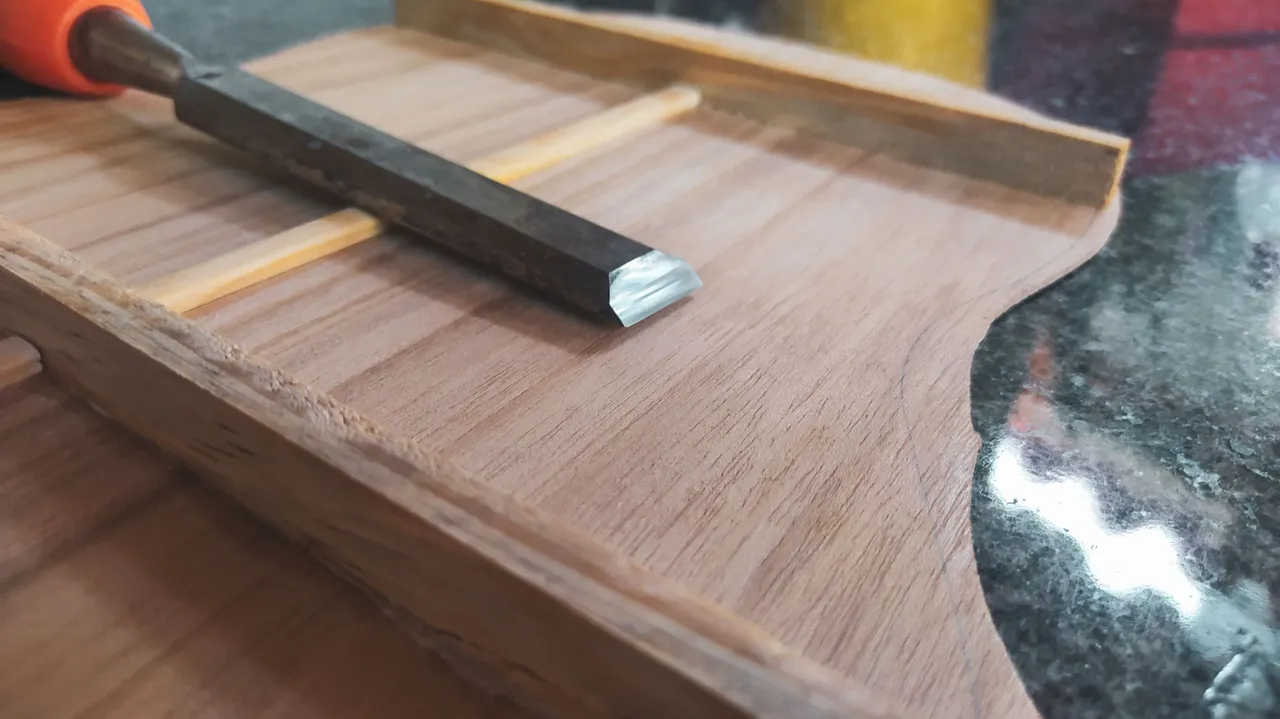


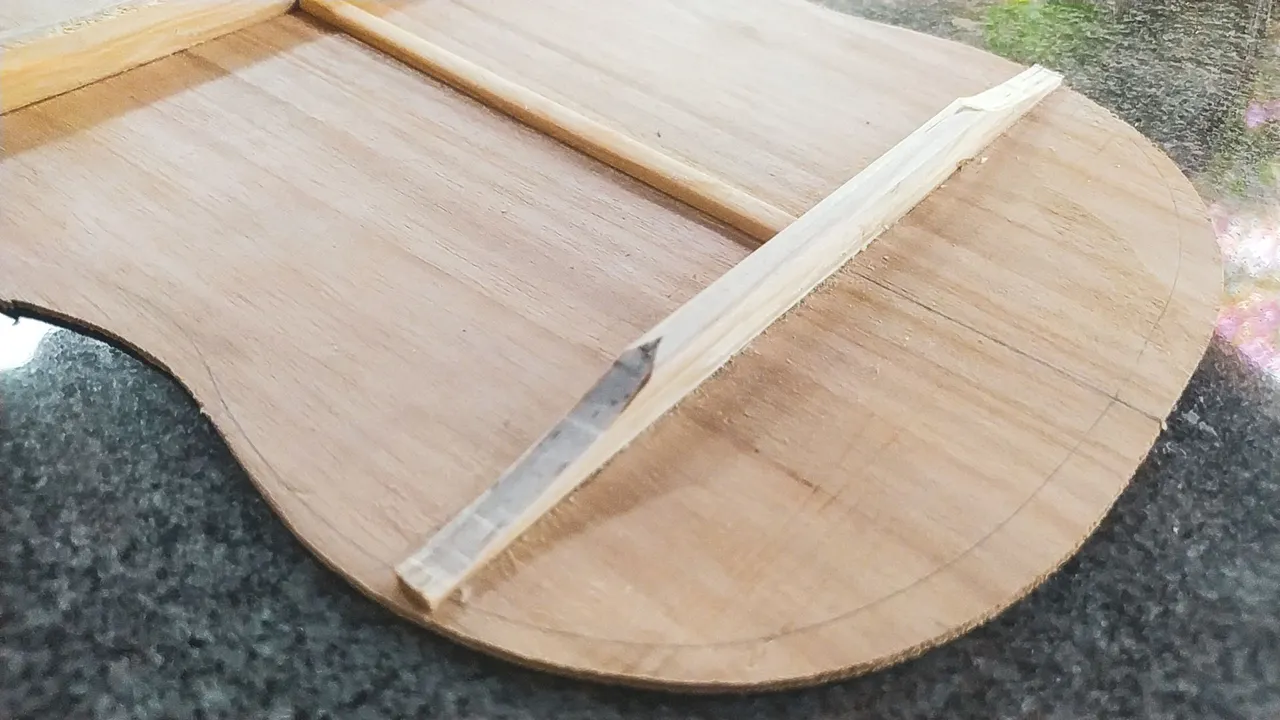


Last time, we had all reinforcement set in place. Now, it is time to give shape to the bars. The first step is always to remove some shavings from the top and trimming of the corners to round them with sandpaper later.
Then, we need to mark how much we need to chisel away from the the sides of each bar. Once this is done, we move to the slowest part which is the chiseling. This requires caution as we need to do some work against the grain of the wood. That can chip away some material if we apply too much pressure.
After doing all the chiseling and having a rough shape, we smooth everything out with some sandpaper to give the bars a round shape on the top and a smooth surface on the other parts.
Rosette setup


Now that the back is ready, we can finally move onto the sound board. The first thing is to start the work on the rosette.
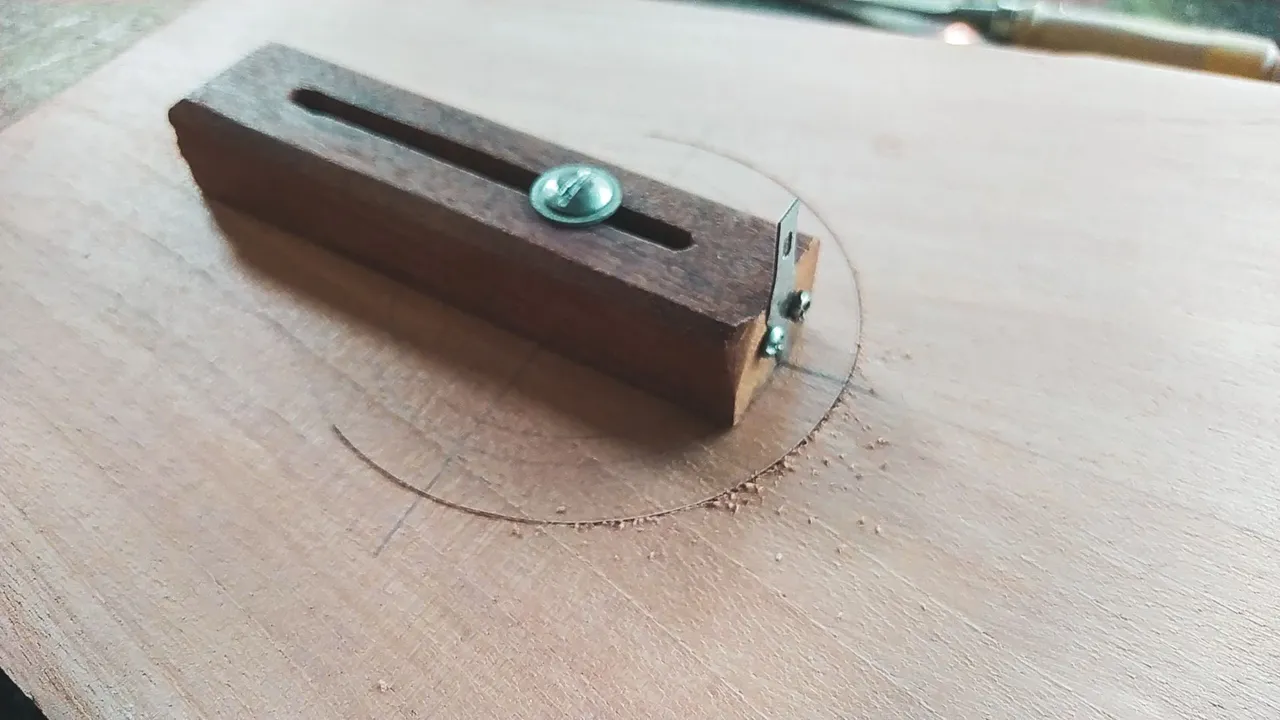
For this, we need to make a layout of the width and position of this ornament. Having done this part, we need to remove a part of the sound board to get the rosette in place and of course make the rosette.
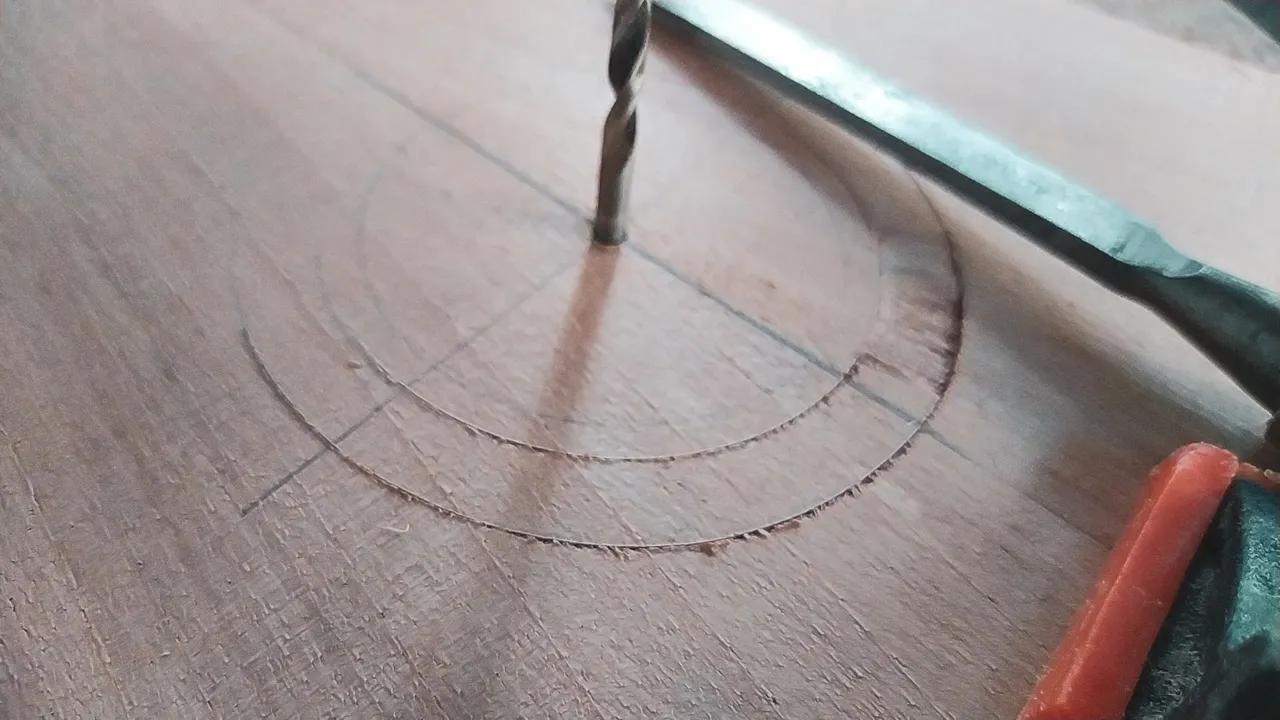
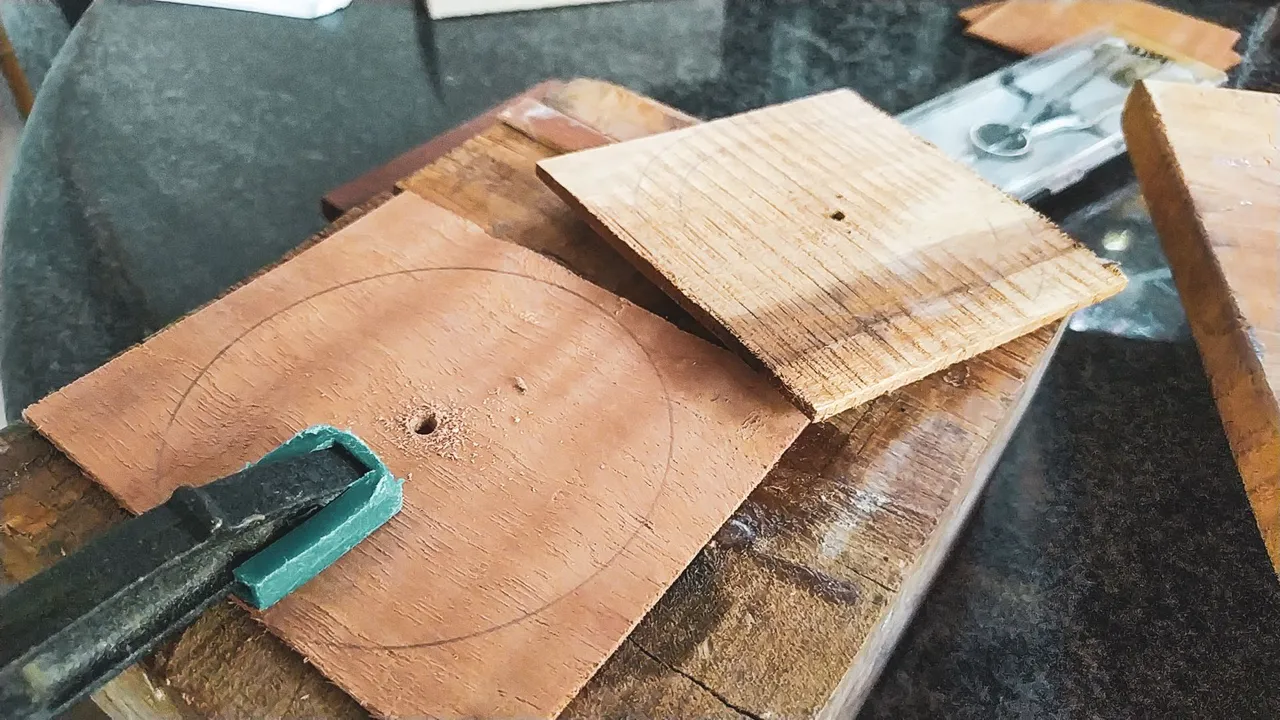
I tried to make one as I've seen many luthiers do. You mark the place with a circle cutter then, remove some of the material with a chisel and you have a round channel to install the rosette. However, it didn't go as planned and I end up taking out a round piece from the sound board. But this is not a problem as another way to make this ornament is precisely doing this step on this way.
Now, the rest of the work implies getting a reinforcement behind this opening, so the rosette has a base to glue up properly.

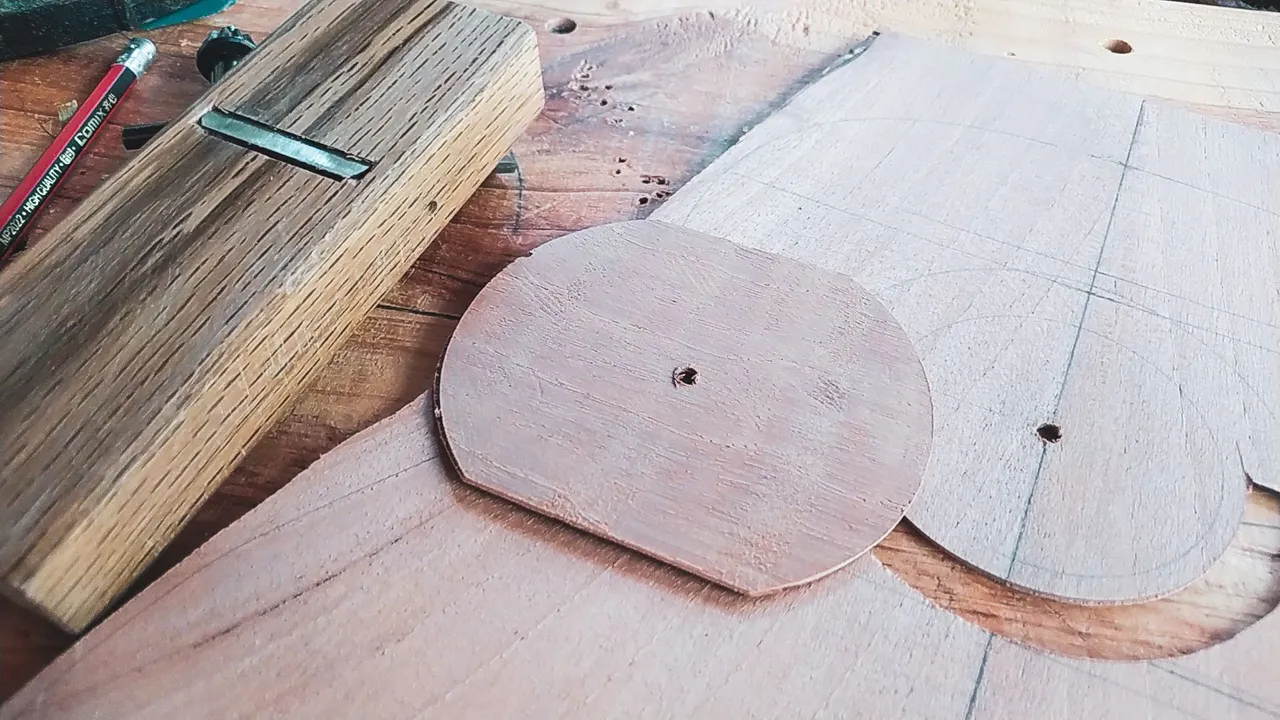

Talking about this reinforcement, this is the way it is done. We need a piece of wood that doesn't need to be very thick. We cut it round and remove some material from the top and bottom, so it has a weird oval shape. This is the one we need to glue behind the opening.
This works to prevent any weakness on this part of the instrument since we have removed a chunk of the sound board. It also needs to be cut on the bottom part to avoid taking off room from the bar that goes below it.
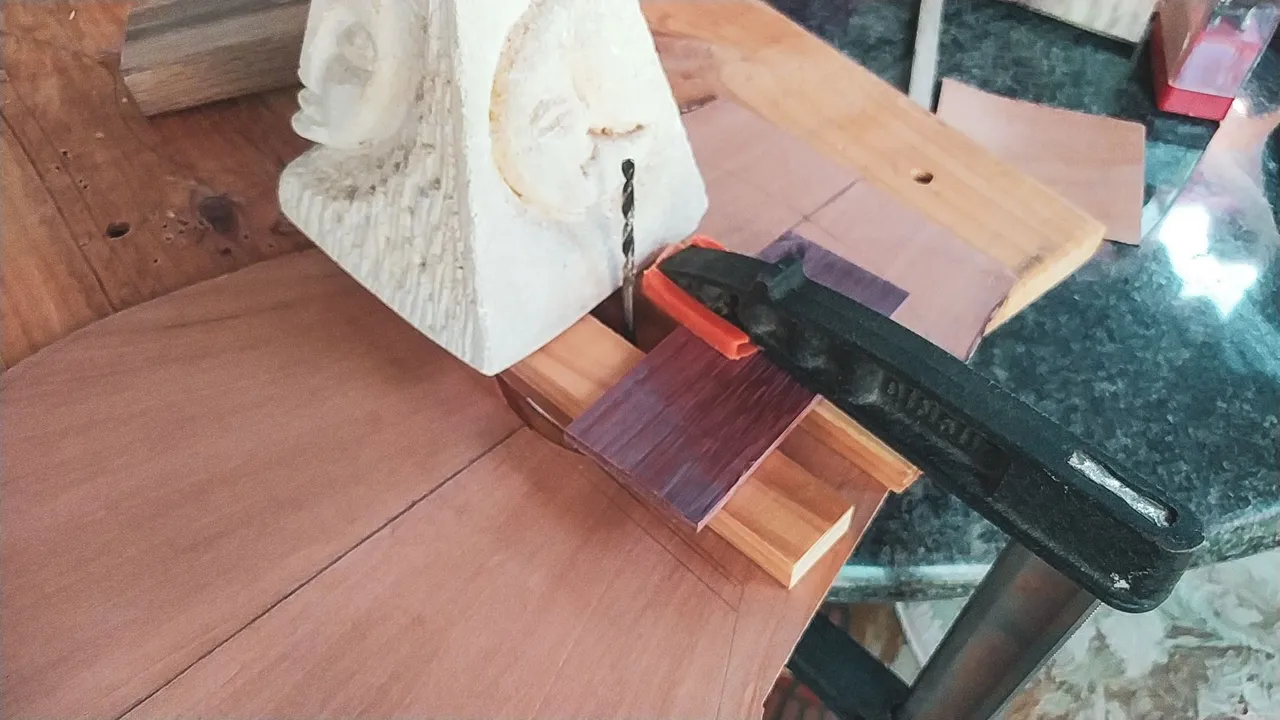
As you can see on the photos, you need to use something to align the reinforcement with the sound board. In this case, I used a drill bit that has the same width as the axis of my circle cutter. And it made the job of gluing this piece so much easier.
Fotos/Photos 📷: taken by me (Redmi Note 8)
Portada/Thumbnail 🖼️: by me, created with Canva.
Edición/Editing 🎬: by me, made with Adobe Photoshop Lightroom.

Follow me on Instagram for enquires and commission.
If you'd like to help the workshop grow, you can make a donation here. You can find me at discord as bertrayo#1763