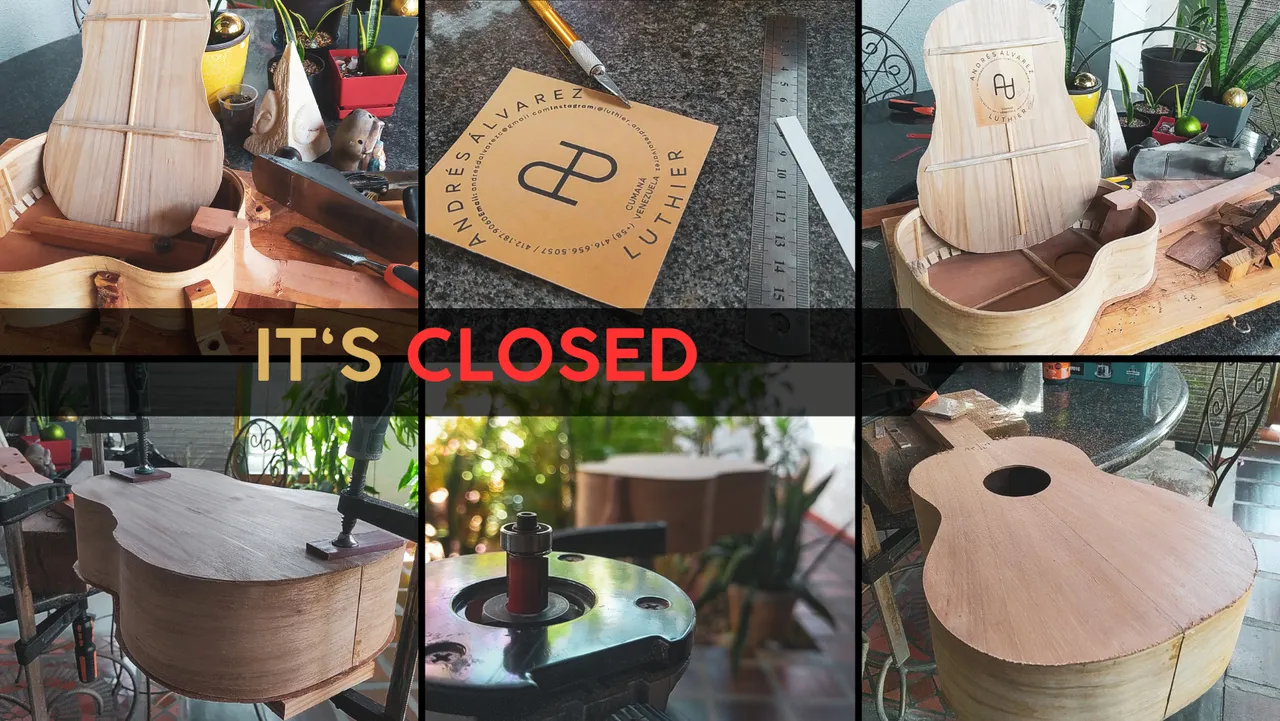

It's a brand new year but we keep working on this project. Time to close up this instrument and get it out of the mould to start on the other things it needs to be ready. If you haven't checked the previous entry on this project, just click here.
Let's jump right to it!
Ready that Back

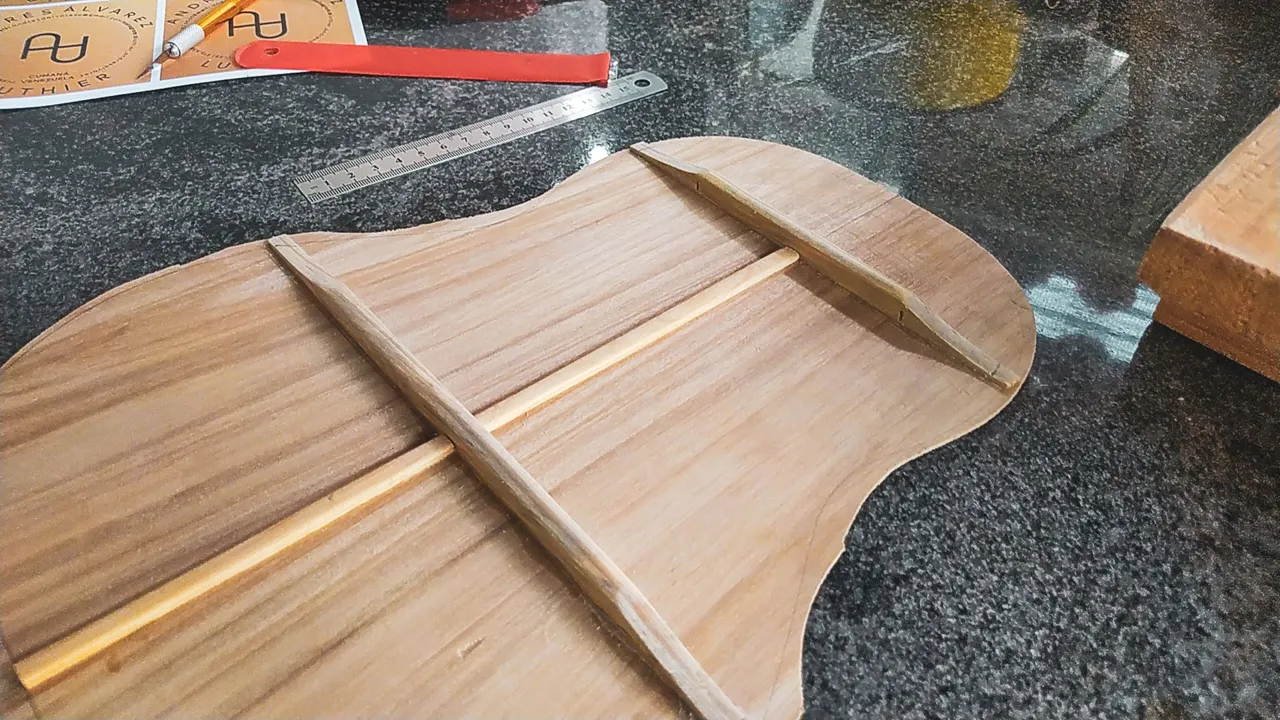
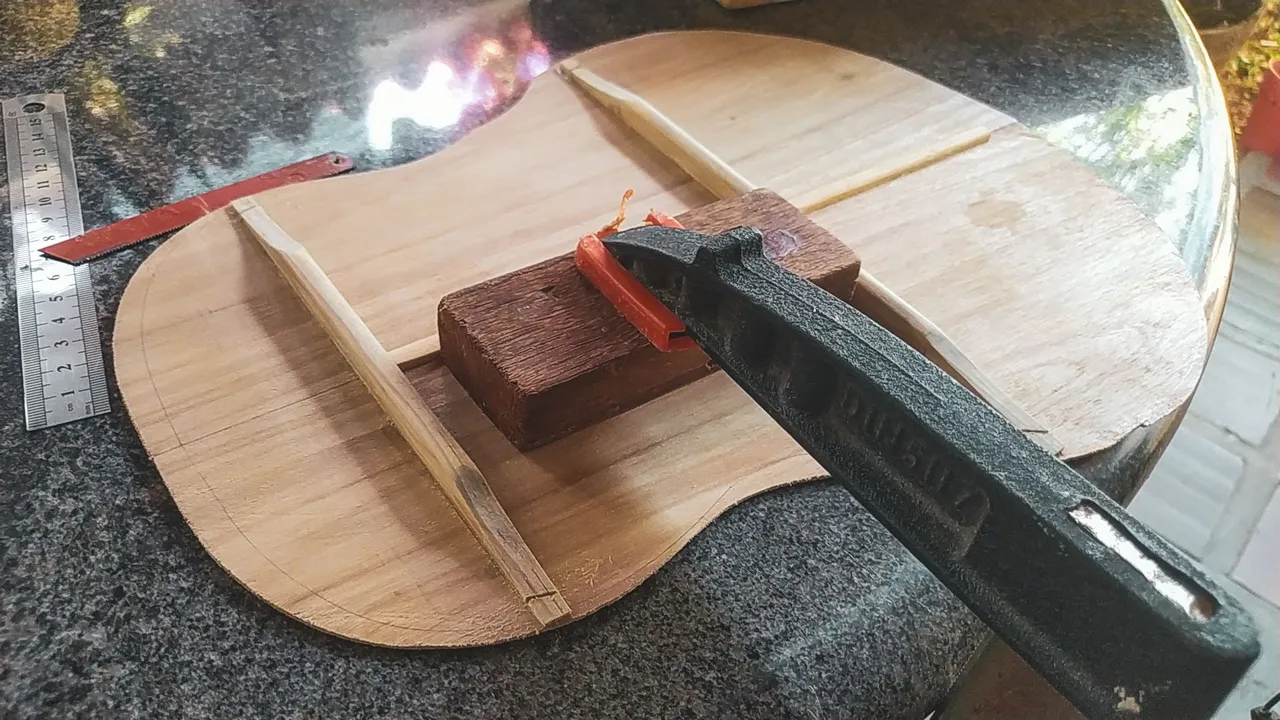
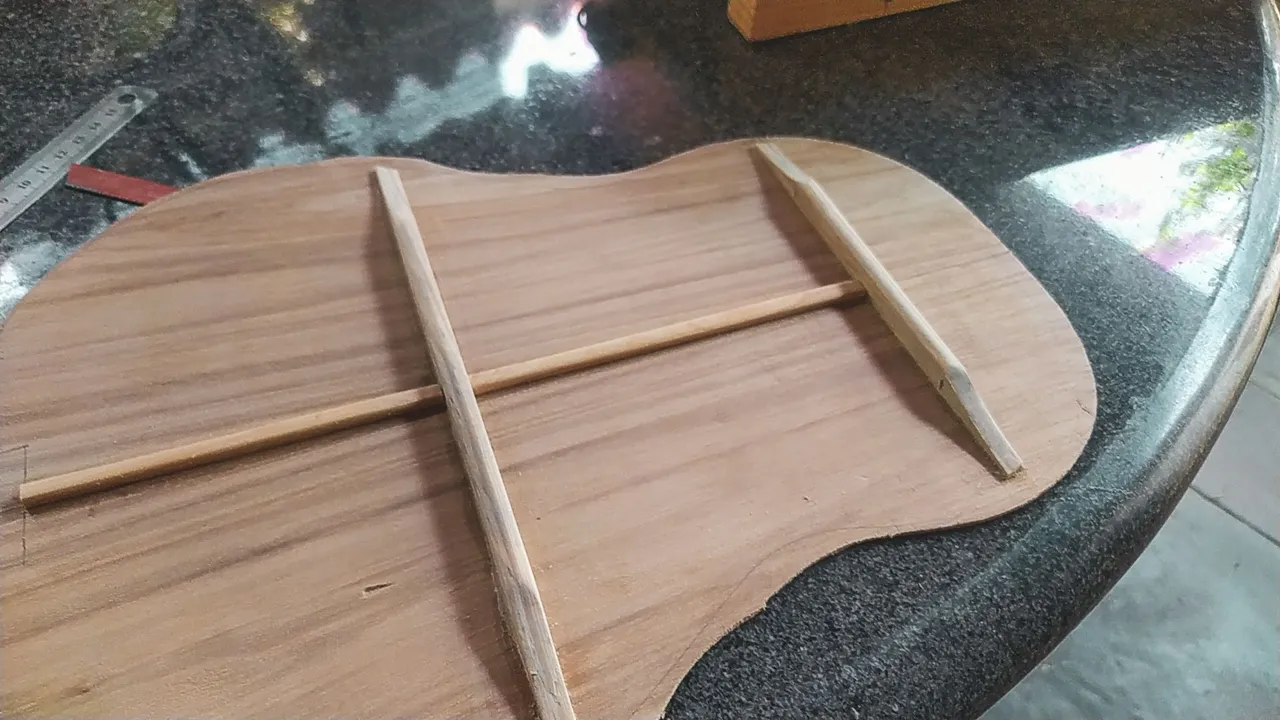


Before we can close this instrument, we need make some cuts on the bars of the back. Then, glue the label to showcase this is our work. For the former, we use the piece of hacksaw that laying our the workshop after measuring how much we need to remove from each tip of the bars. Once we have that, we make the cuts. Then, proceed to remove the rest of the excess with a chisel. Being extra careful on this part to avoid chipping the back.
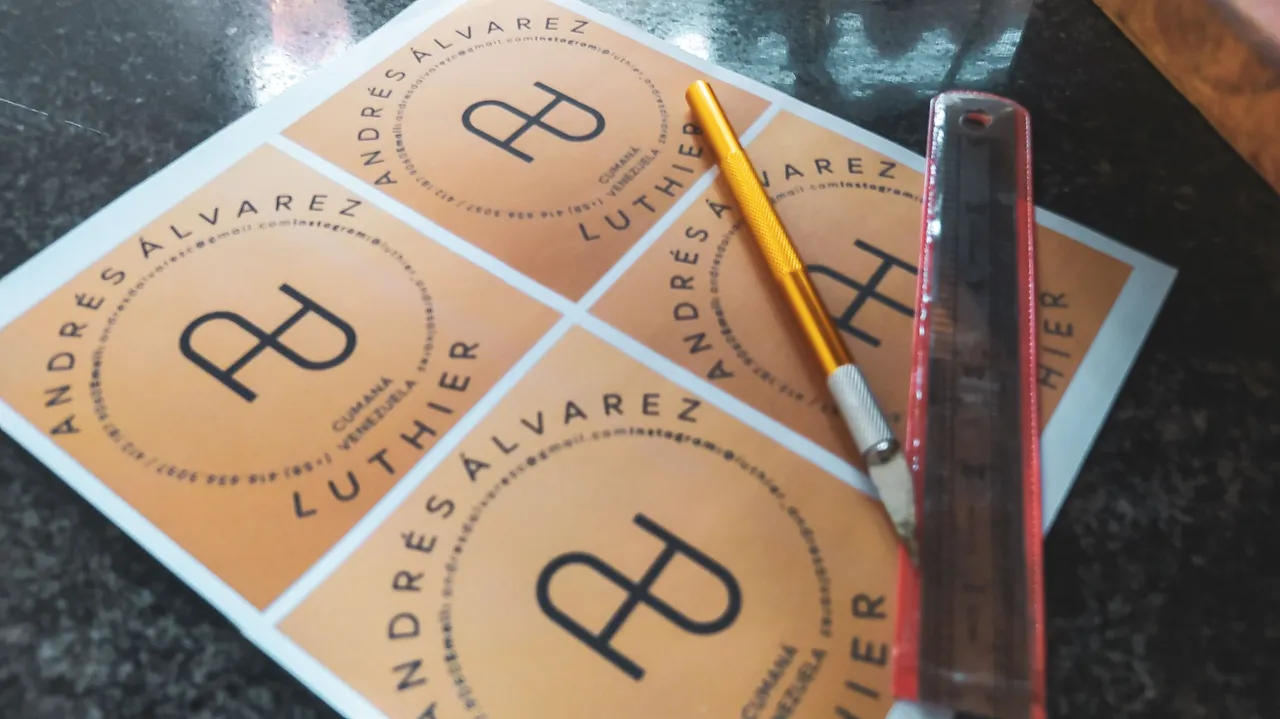
Moving on with the label, we get one from the sheets we still have. I'm going to use these yellow ones, but I'll try to stick to one of the colors. Maybe, it will only be the black one as it is the one I use most for the digital content. We cut one. Then, we apply some glue and very carefully place it in the middle section using the top bar as a margin.
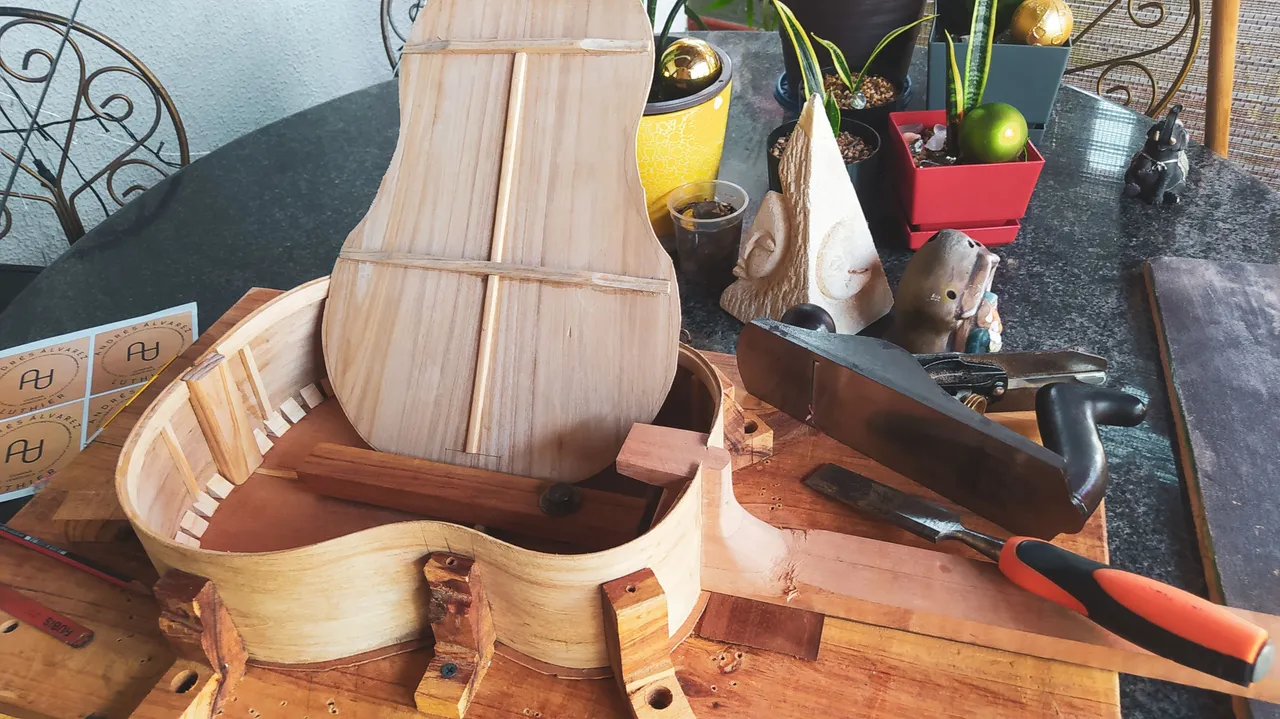
We take a good final look at the open instrument before closing it up.
Tie it
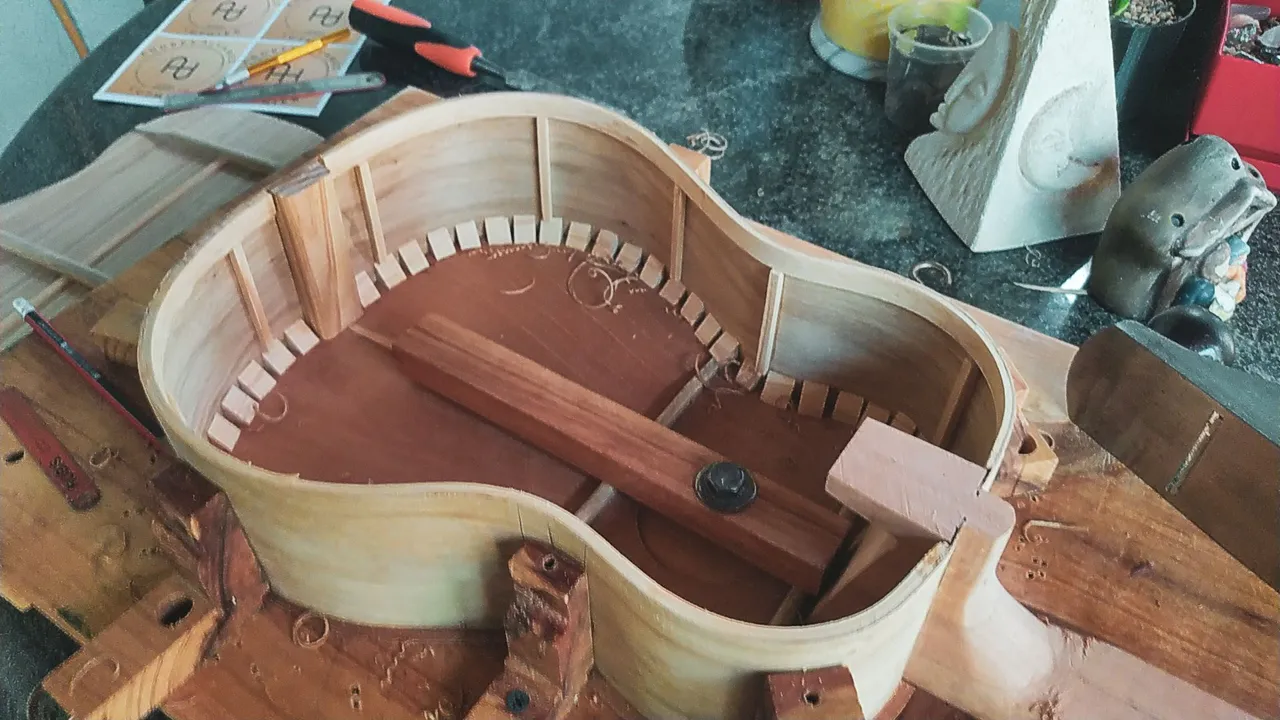


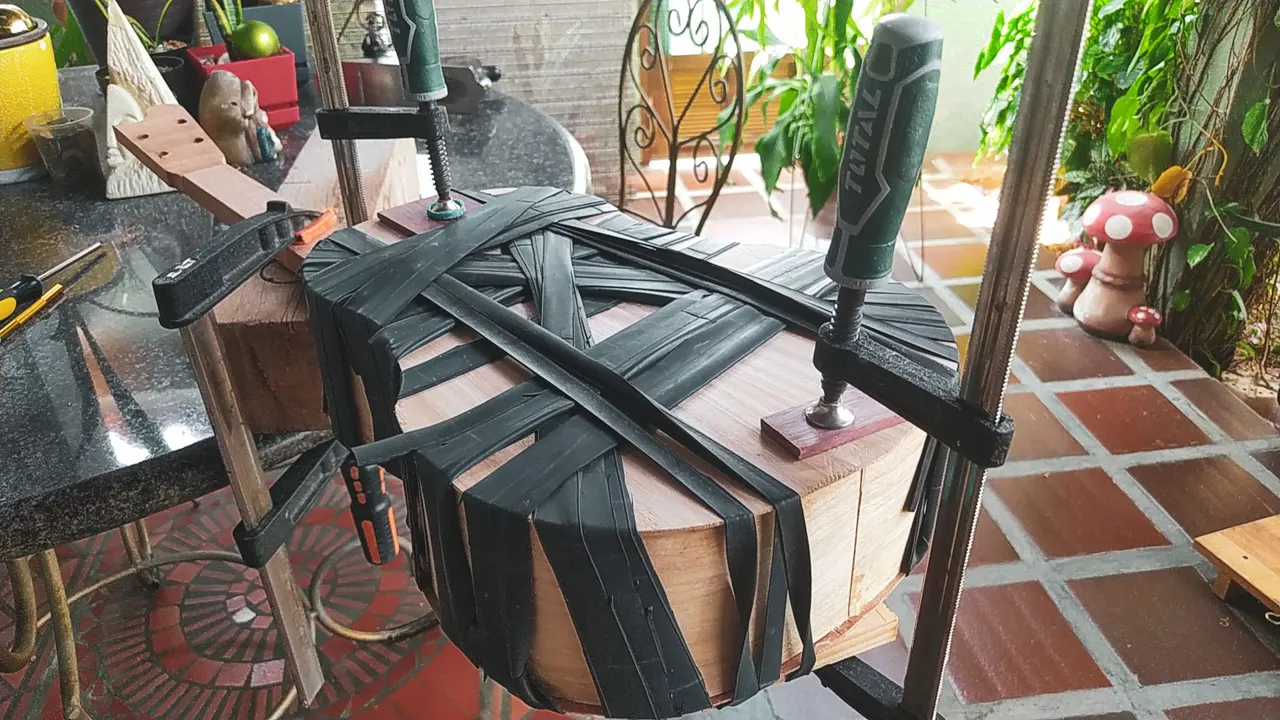
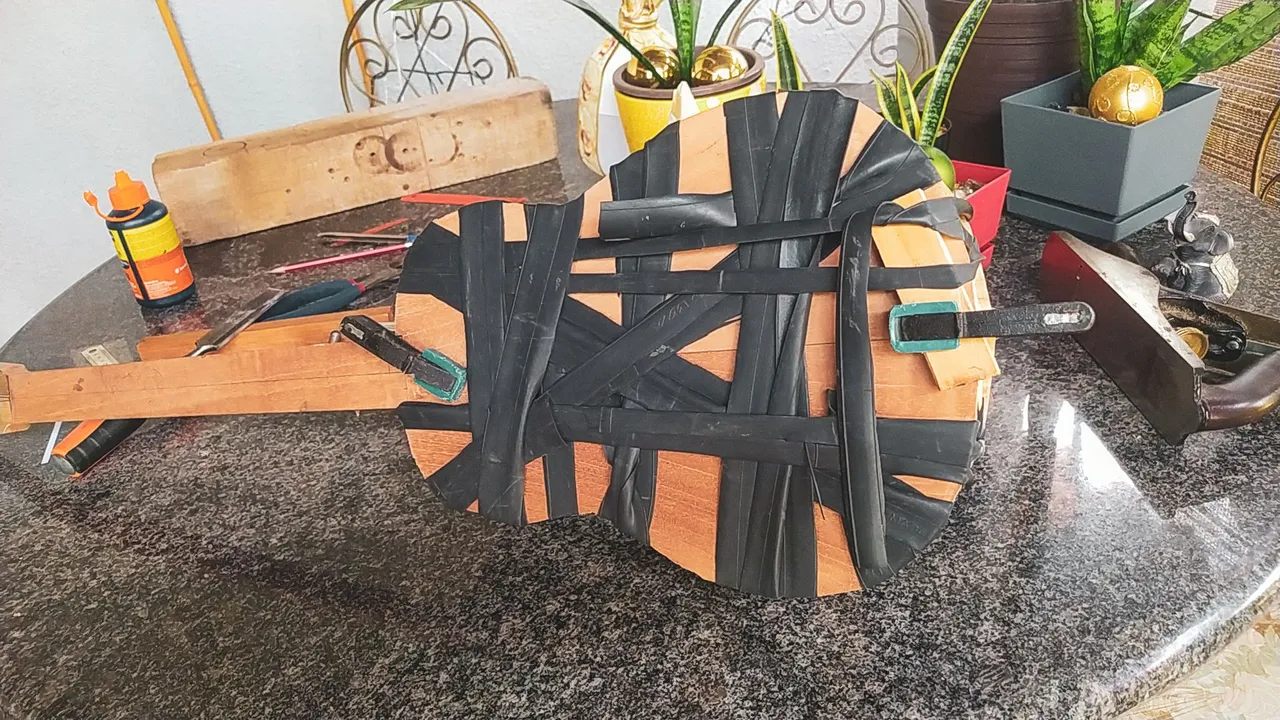
The next step is to remove the angles and take the instrument off the mould. The very first piece we need to take out is the screw that holds the whole instrument to the mould. This one goes across the sound hole. With that out of the way, the angles go off one by one and the instrument is free.
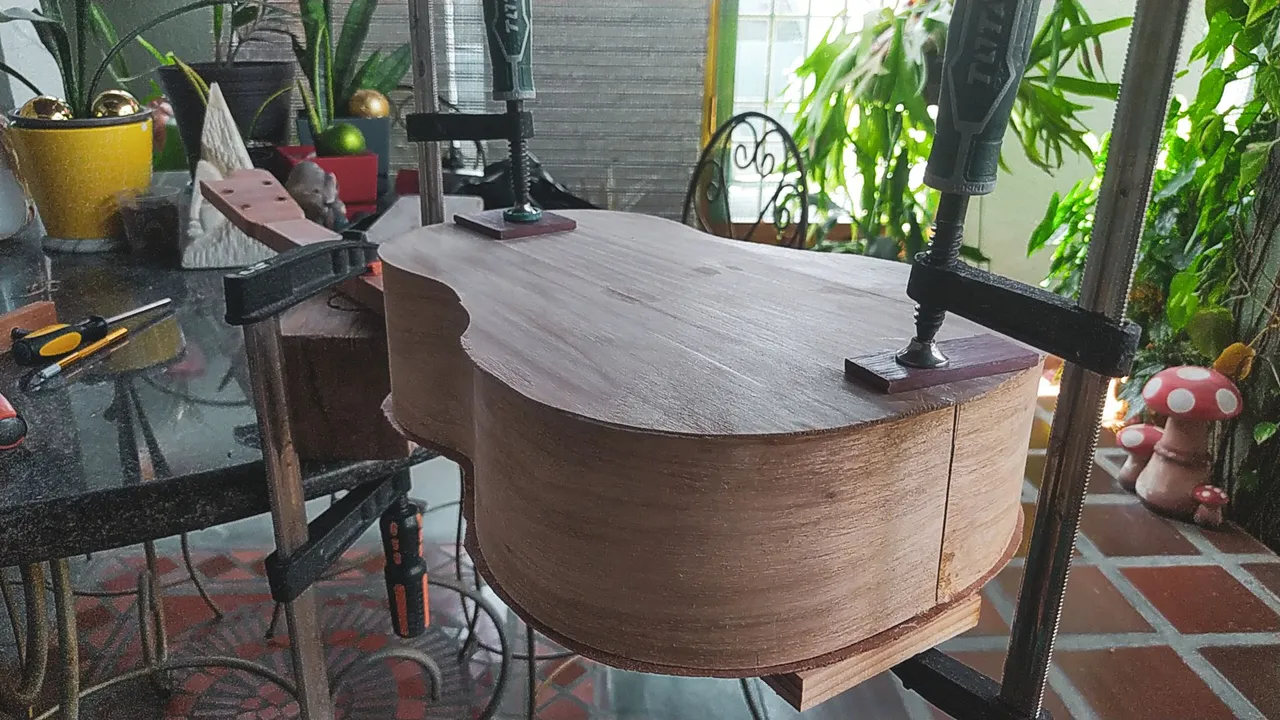
Then, it's time to glue the back. For this we need to clamp the instrument to the table and have some room for movement on the body. We make a dry fit of the back to make sure it fits tightly on the instrument. Now, it's time to apply glue and get the back on top. We clamp it on the heels, upper and lower. To finish this part, we use rubber bands to hold the back in place and apply pressure so the glue can do it's work.
The instrument will stay like this for at least 24 hours before we remove any clamps or rubber bands.
Trim it
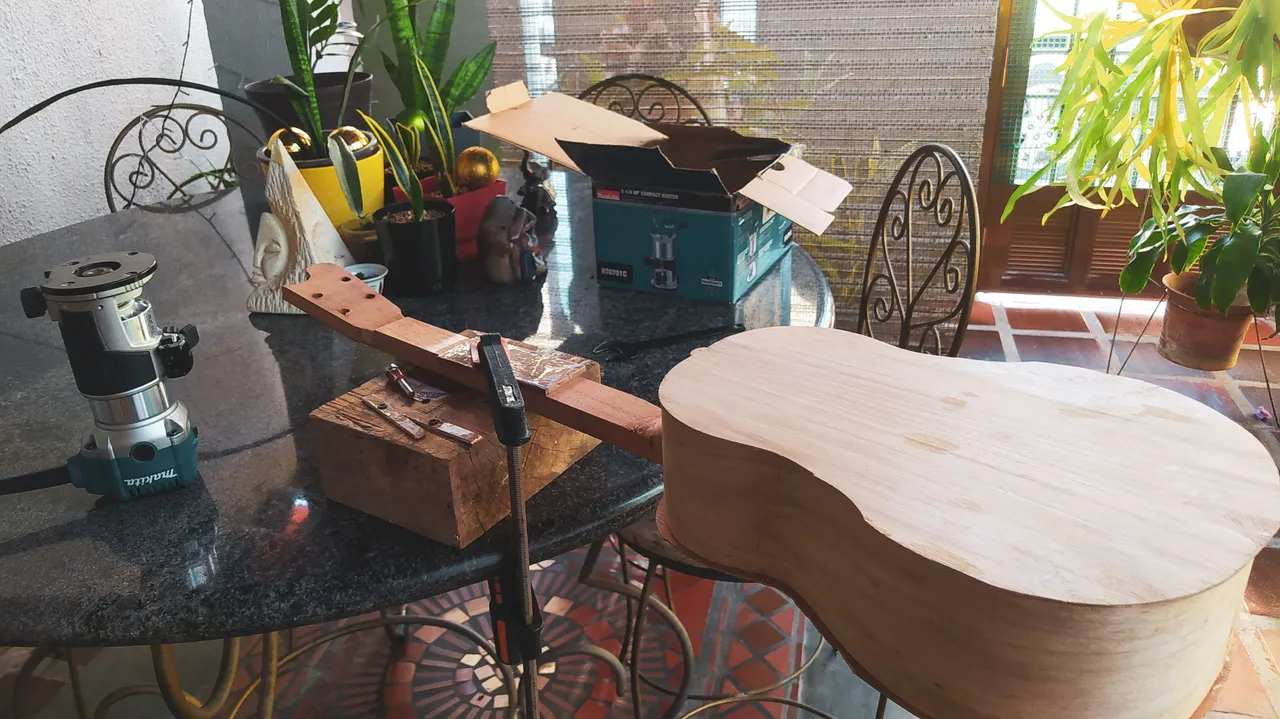
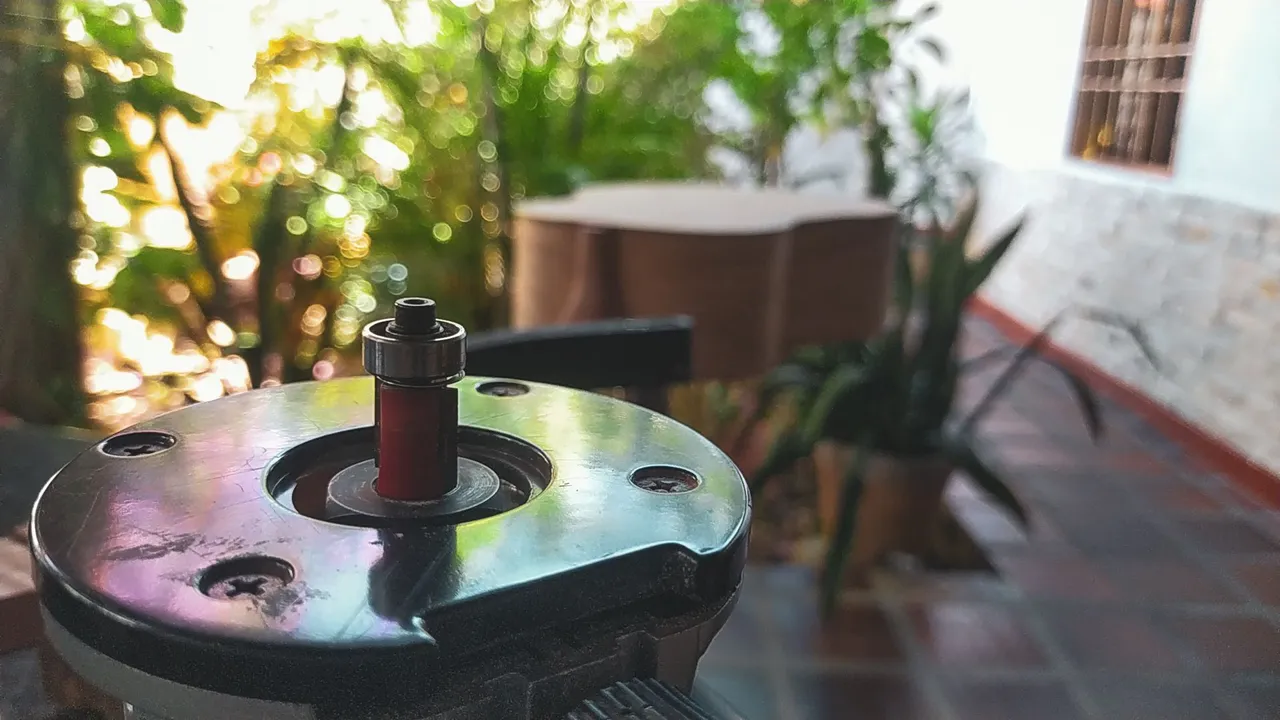
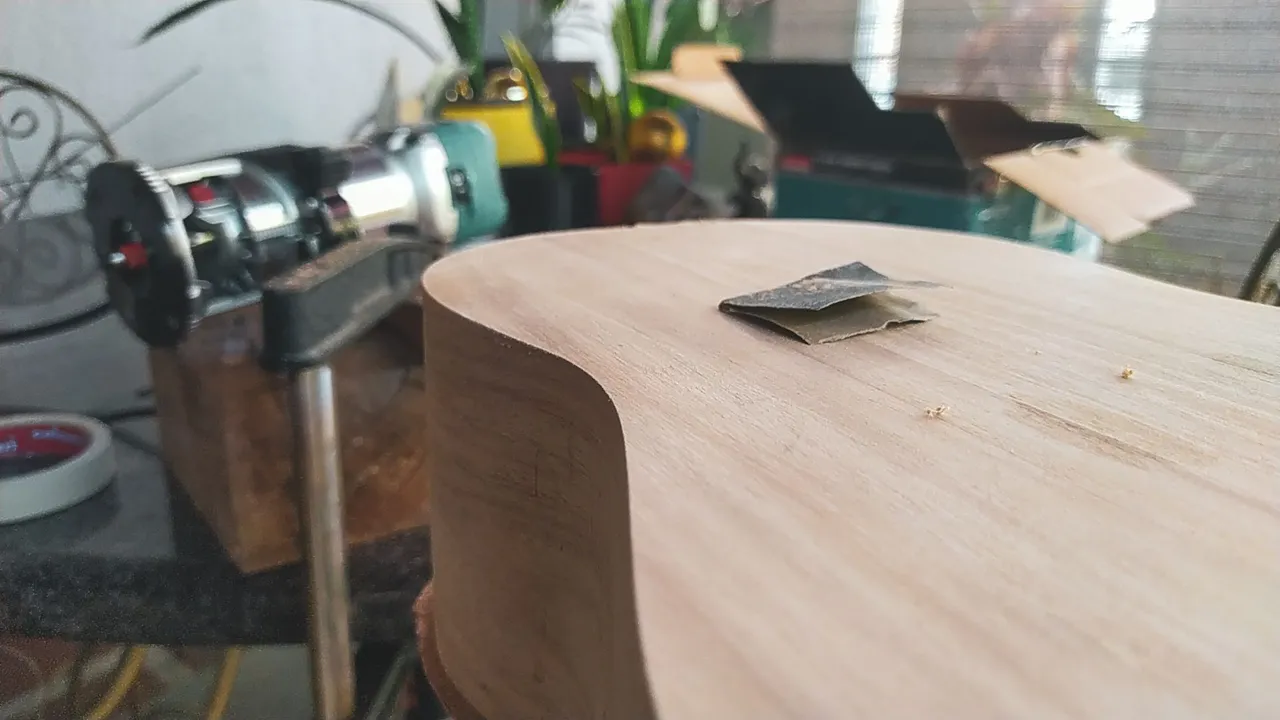
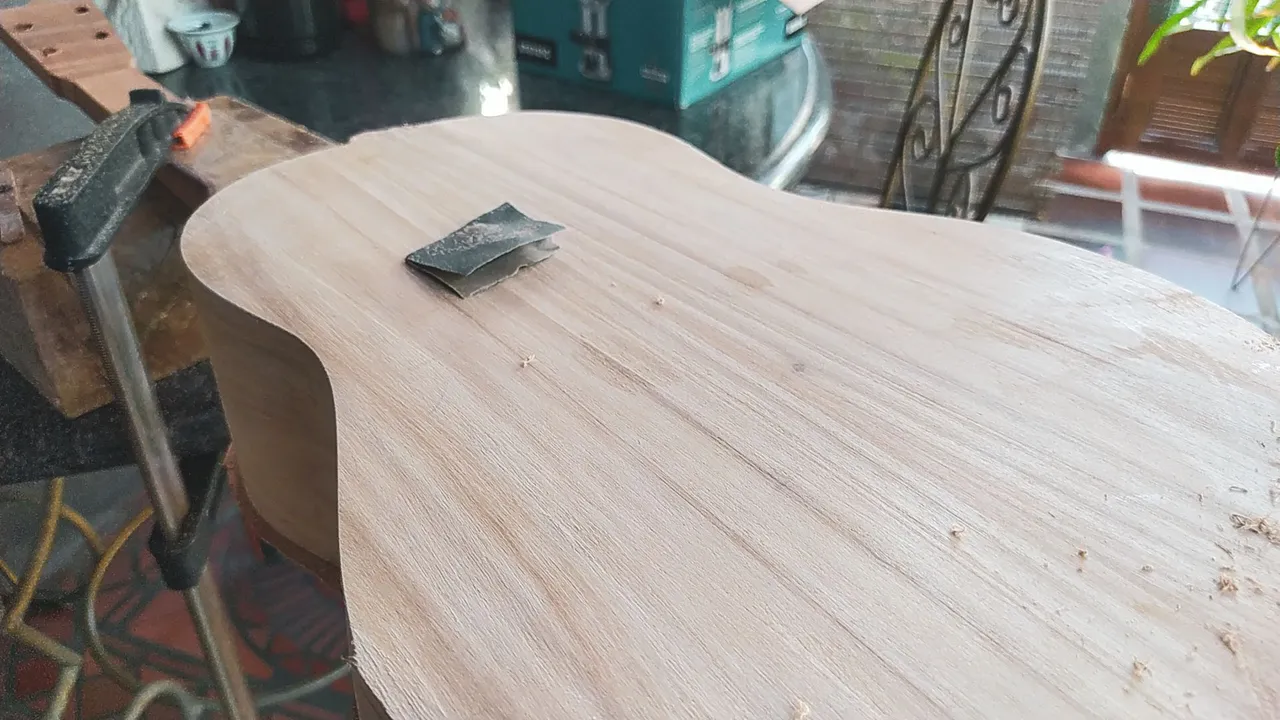
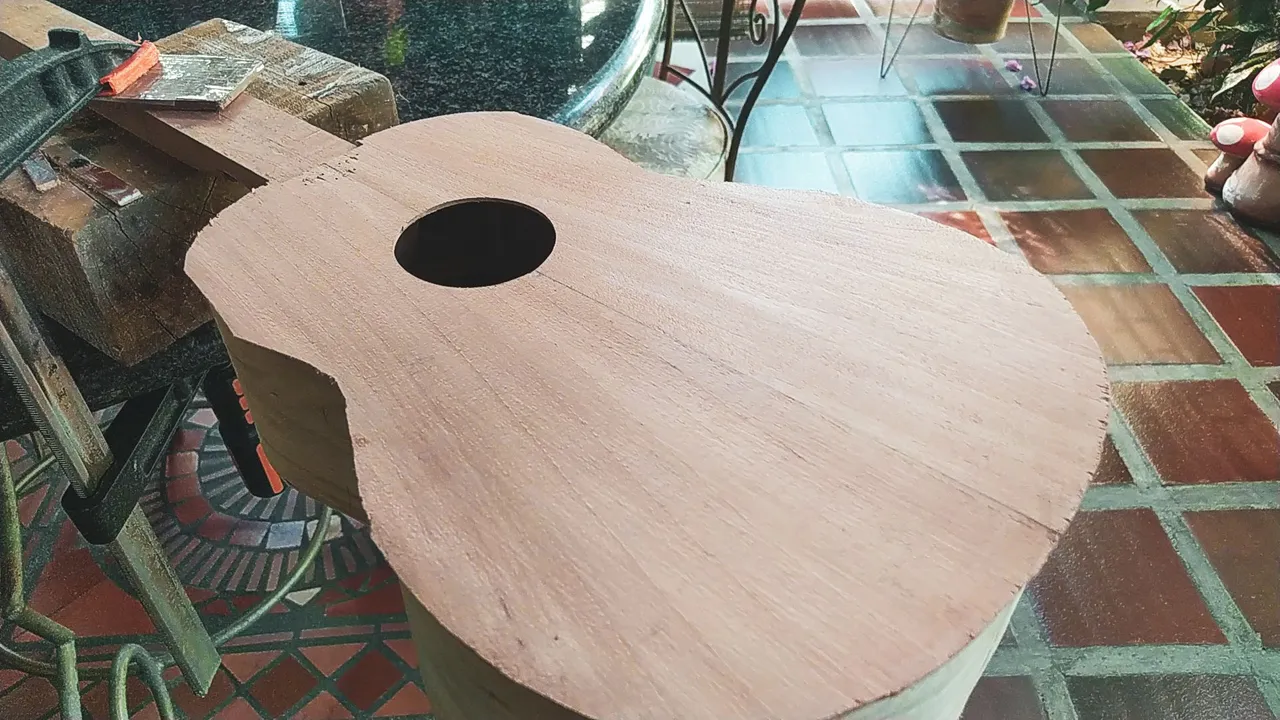


Once the necessary time has elapsed, we can remove any clamps and rubber bands to star trimming the sound board and back. This gives us the shape we need for the instrument. You know it. It makes the rough edges into the pretty curves of guitar-like instruments. For this, we use our router and its copying straight bit. Since we need to copy the curves of the sizes, it makes quick work of this task.
The only thing we need to pay attention to is the direction of the grain. So in some parts of the trimming process, we'll need to chance the direction of movement if we don't want to chip away the wood. It's really important on this step since we work with a high speed cut and wood chips go flying as projectiles.
Having done this step we can finally start with some of the last parts of work on the instrument which are all the pieces that go on the outside: fretboard, strum guard, nut and saddle, and bridge. But each of those will take its steps and time to make, plus gluing on the instrument.
Thanks for reading the first Woodworking Wednesday of the year. Hopefully, we'll get 51 more around 2024.
Have a great start of the year!
Fotos/Photos 📷: taken by me (Redmi Note 8)
Portada/Thumbnail 🖼️: by me, created with Canva.
Edición/Editing 🎬: by me, made with Adobe Photoshop Lightroom.

Follow me on Instagram for enquires and commission.
If you'd like to help the workshop grow, you can make a donation here. You can find me at discord as bertrayo#1763