✨🌸Falda de tablones pequeños para niña //✨🌸Girls' Little Plank Skirt[Esp-Eng)

Picsart_24-06-10_14-00-24-655.jpg

Hola hola querida comunidad creativa sean bienvenidos a un nuevo blog ,espero estén pasando su día súper genial ,yo con frío porque ya damos inicio a la temporada de invierno en mi país Venezuela.

Hello hello dear creative community, welcome to a new blog, I hope you are having a great day, I am cold because we are already starting the winter season in my country Venezuela.

La tarde de hoy les muestro como hacer está linda y preciosa faldita de tablones pequeños para las nenas y hasta para ti misma mis queridas amigas costureras,es muy fácil y sencilla de hacer también la he decorado con un lindo moño que le da un toque de delicadeza a la prenda,quédate conmigo hasta el final para apreciar el resultado y de como la hecho ,así que vamos!!

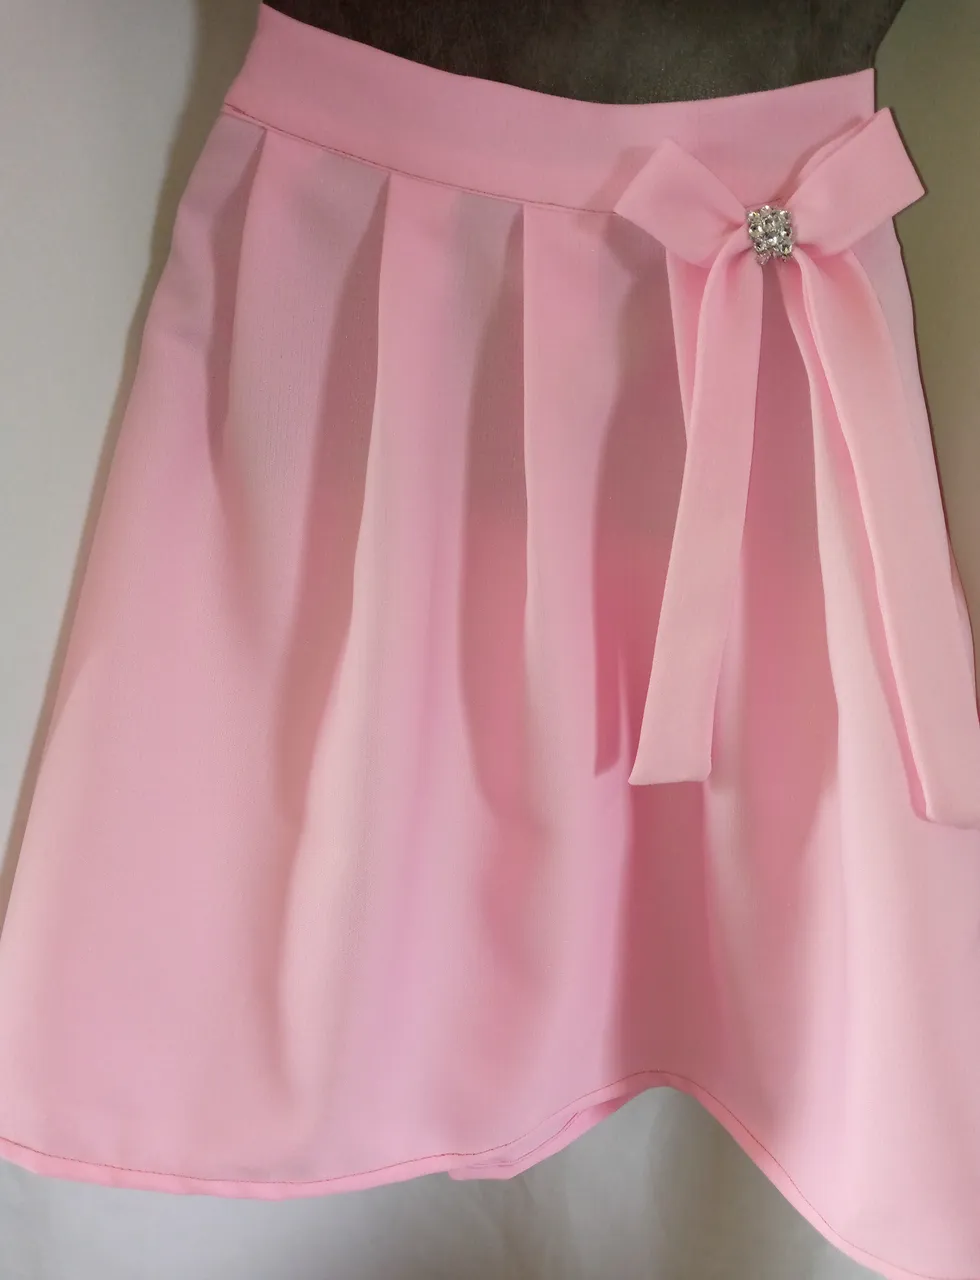
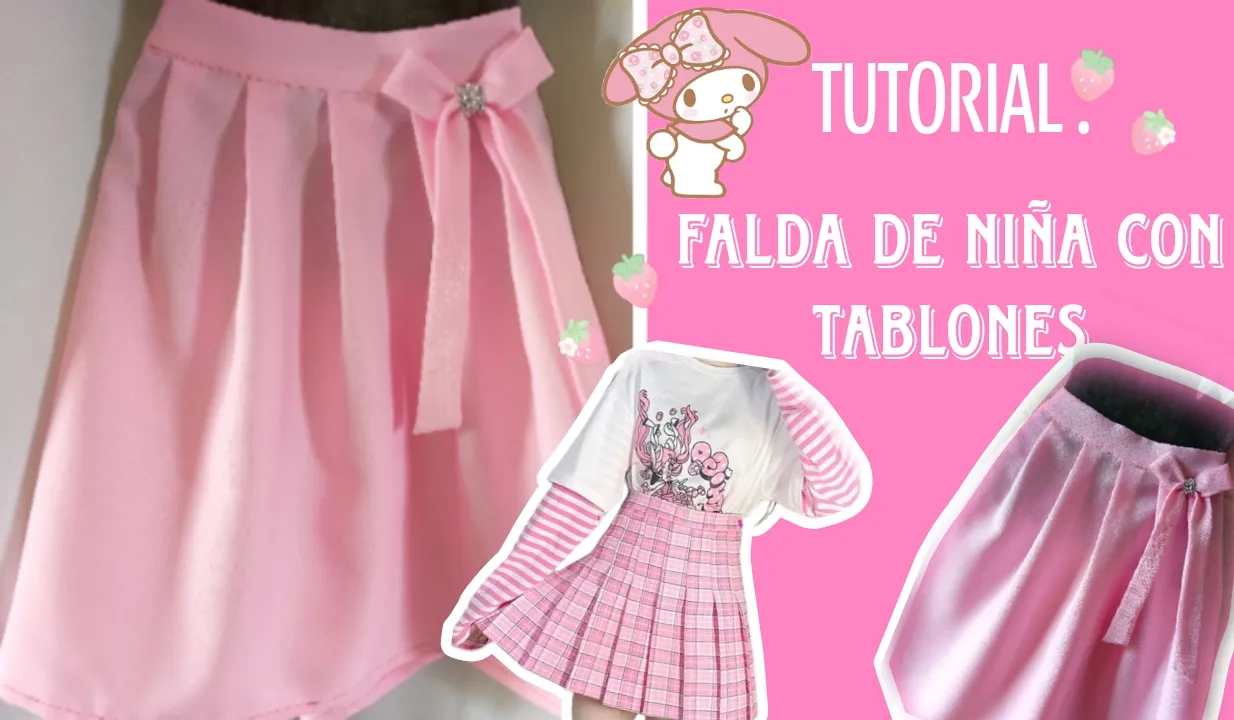
Today afternoon I show you how to make this cute and beautiful skirt made of small planks for the girls and even for yourself, my dear seamstress friends. It is very easy and simple to make. I have also decorated it with a pretty bow that gives it a touch of delicacy to the garment, stay with me until the end to appreciate the result and how it was made, so let's go!!


IMG_20240610_095639_718.jpg

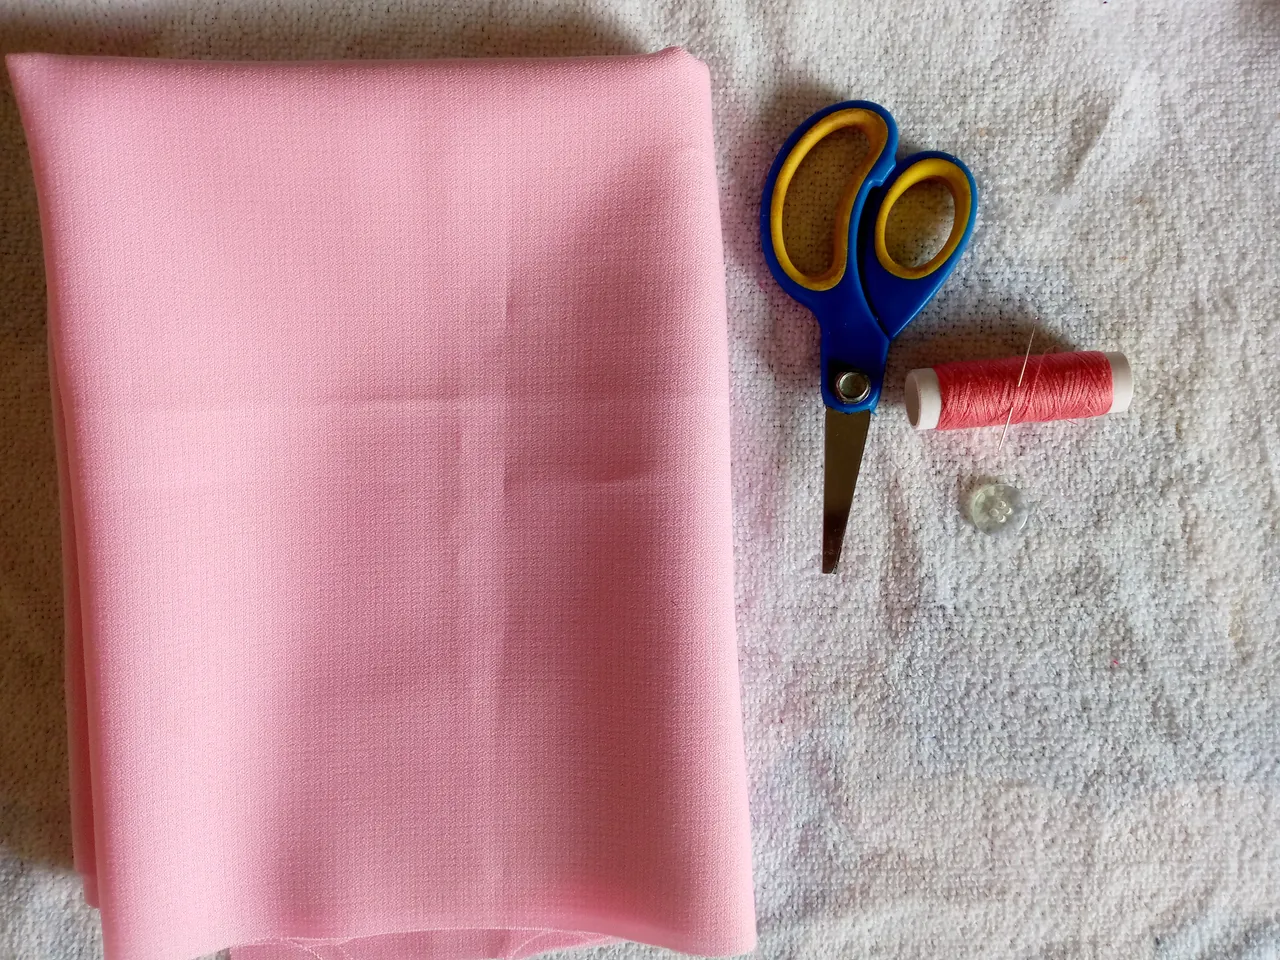
🌸Materiales que usaremos:🌸

Materials i used :

  • Tela 50 cm
  • Tijeras
  • Aguja y hilo
  • 1 boton
  • 1 cierre
  • Máquina de coser
  • Decoración brillante para el moño

  • Fabric 50 cm
  • Scissors
  • Needle and thread
  • 1 button
  • 1 closure
  • Sewing machine
  • Sparkly decoration for the bun

🌸Pasos a seguir:🌸

Steps to follow:

Paso 01

Empecé primeramente cortando un rectángulo con las siguientes medidas 70 cm de ancho x 47 cm de largo ,para la pretina de la cintura corté un rectángulo de 60 cm de ancho x 12 cm de largo ,y una cinta de tela de 40 cm de largo x 8 cm de ancho,cabe destacar que estas medidas son para una niña de 9 años asi que ustedes pueden adaptar la falda o hacerla a su medida, pasé a bastear un costado de la tela para unir la pieza y poder realizar los tablones.

Step 01

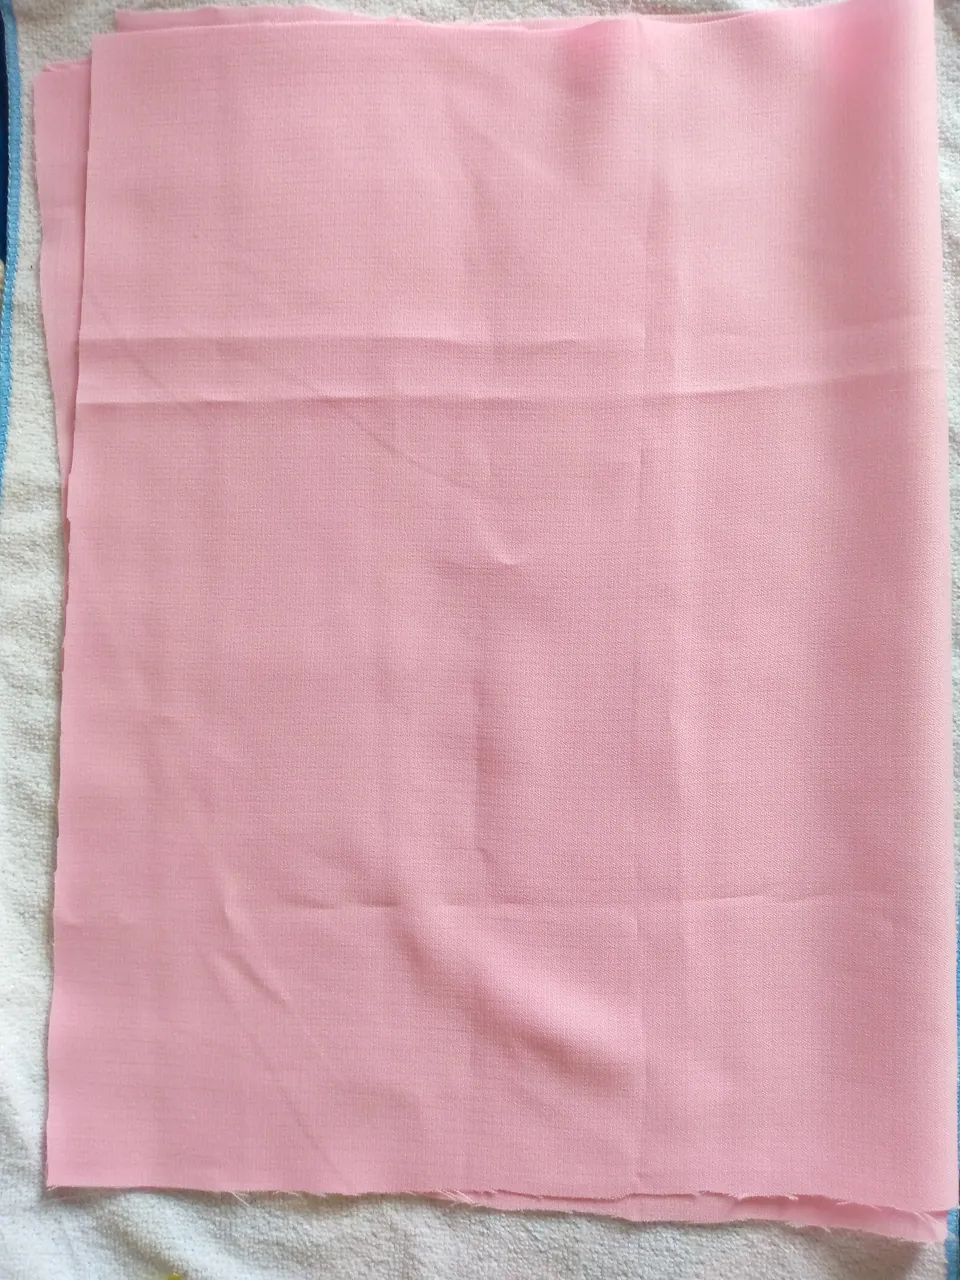
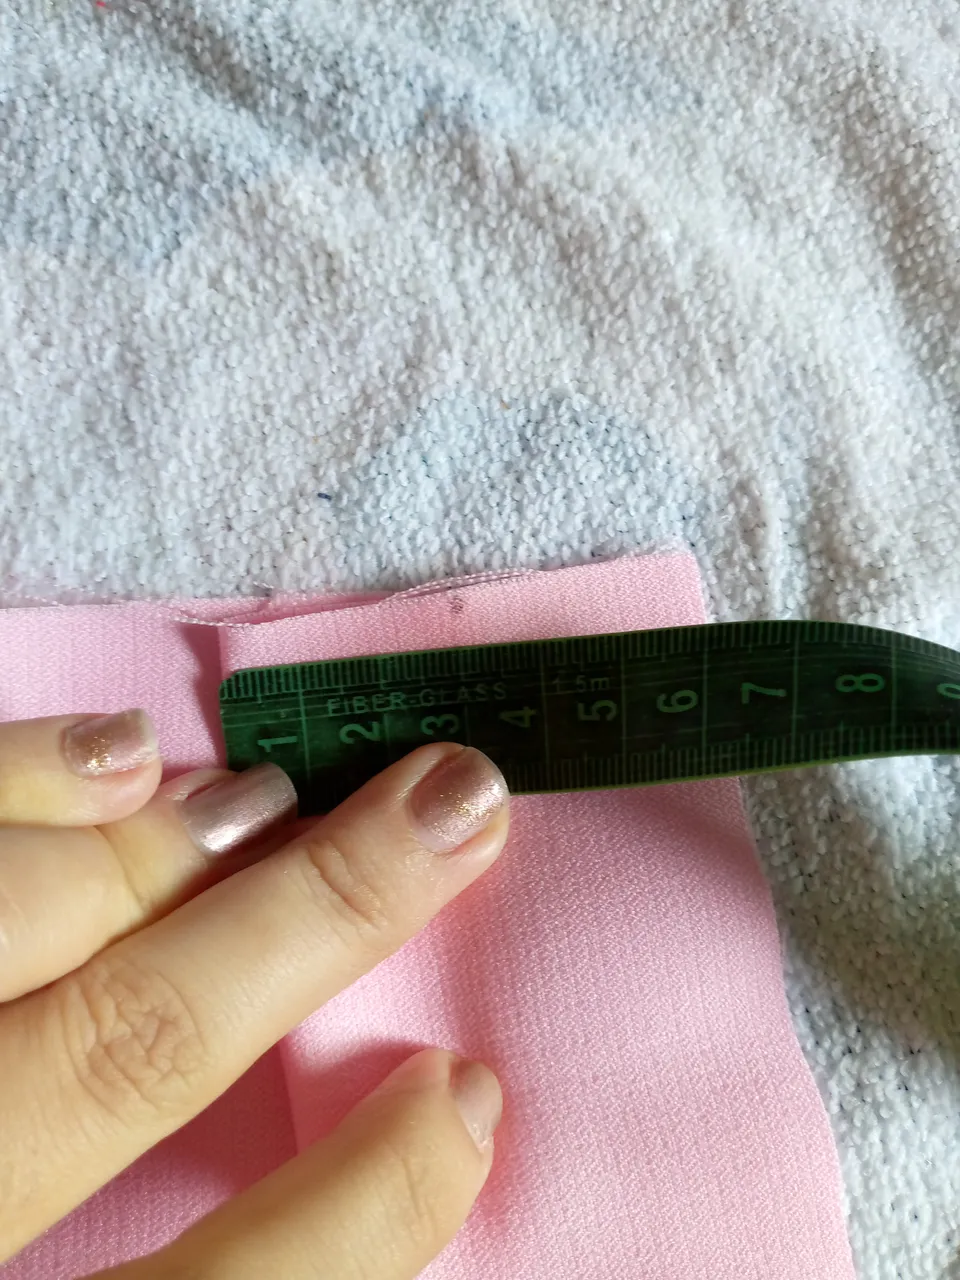
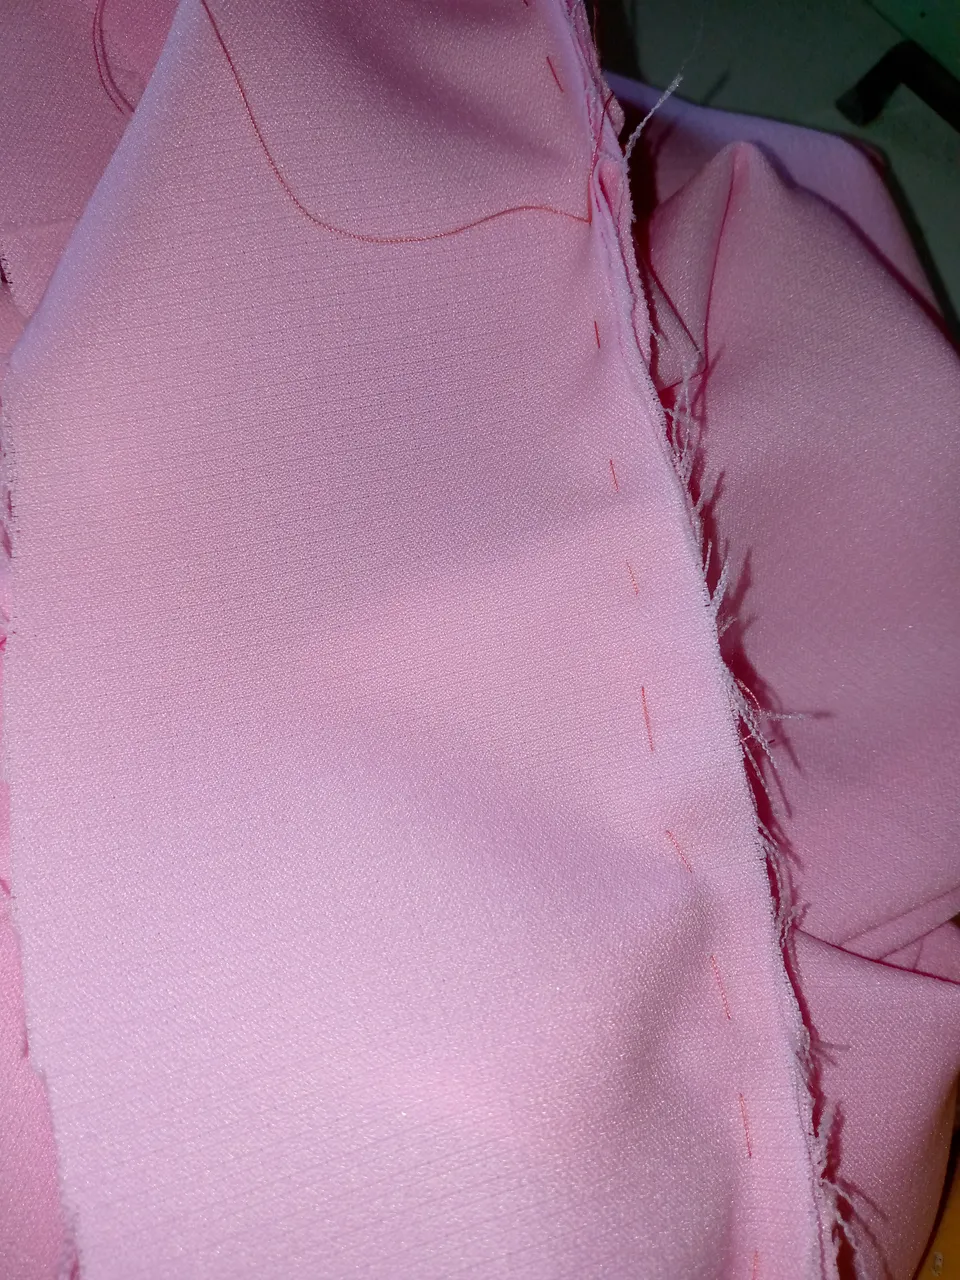
I first started by cutting a rectangle with the following measurements: 70 cm wide x 47 cm long, for the waistband I cut a rectangle 60 cm wide x 12 cm long, and a fabric ribbon 40 cm long x 8 cm wide, it should be noted that these measurements are for a 9 year old girl so you can adapt the skirt or make it to your size, I went on to trim one side of the fabric to join the piece and be able to make the planks.

IMG_20240610_095718_240.jpg

IMG_20240610_100846_331.jpg

IMG_20240610_101143_464.jpg


Paso 02

Para el siguiente paso vamos a realizar nuestros tablones de aproximadamente 3 cm cada uno ,estos tablones lo haremos hasta terminar nuestra tela completa .

Step 02

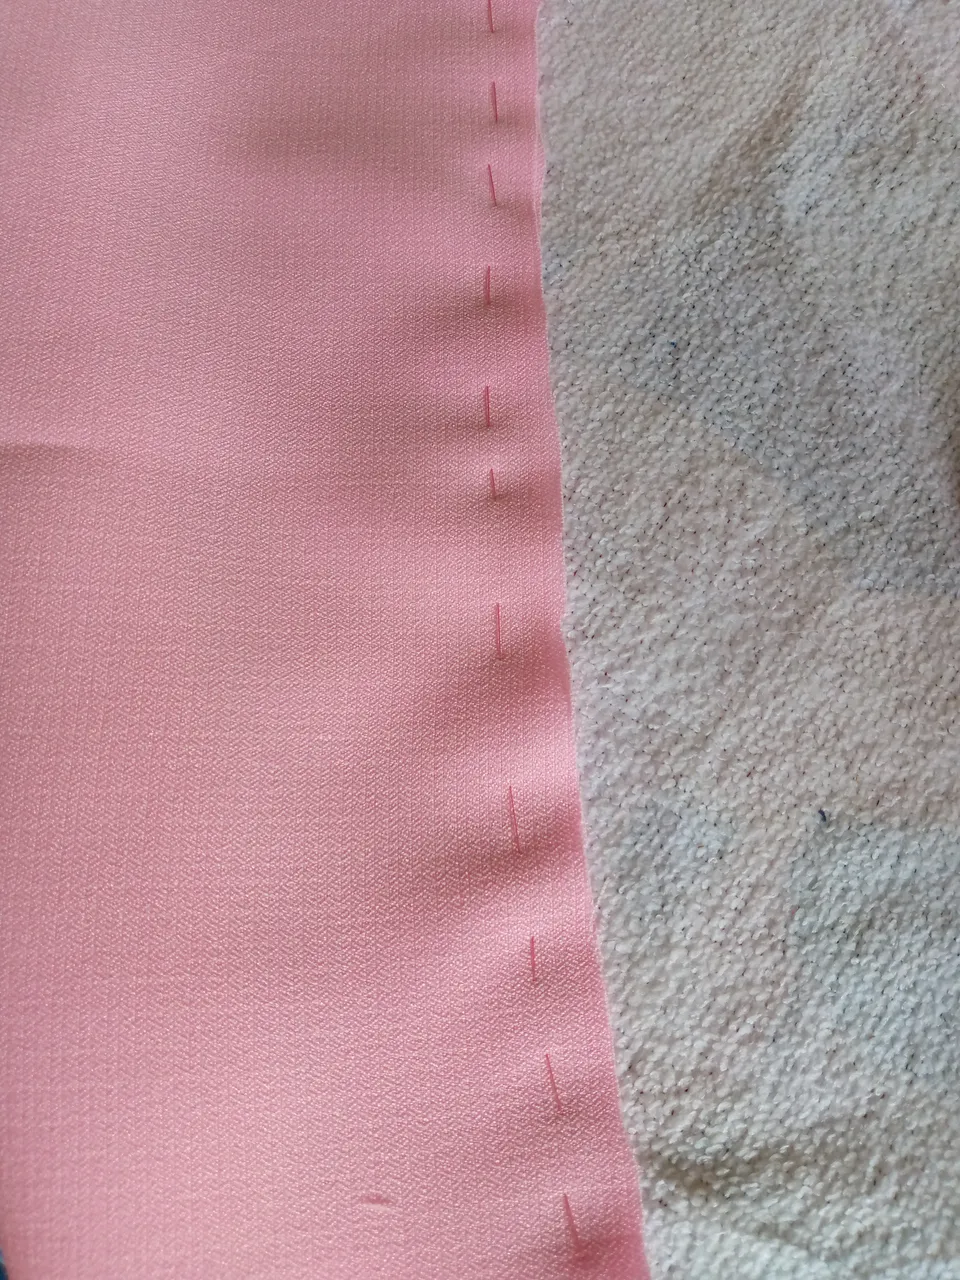
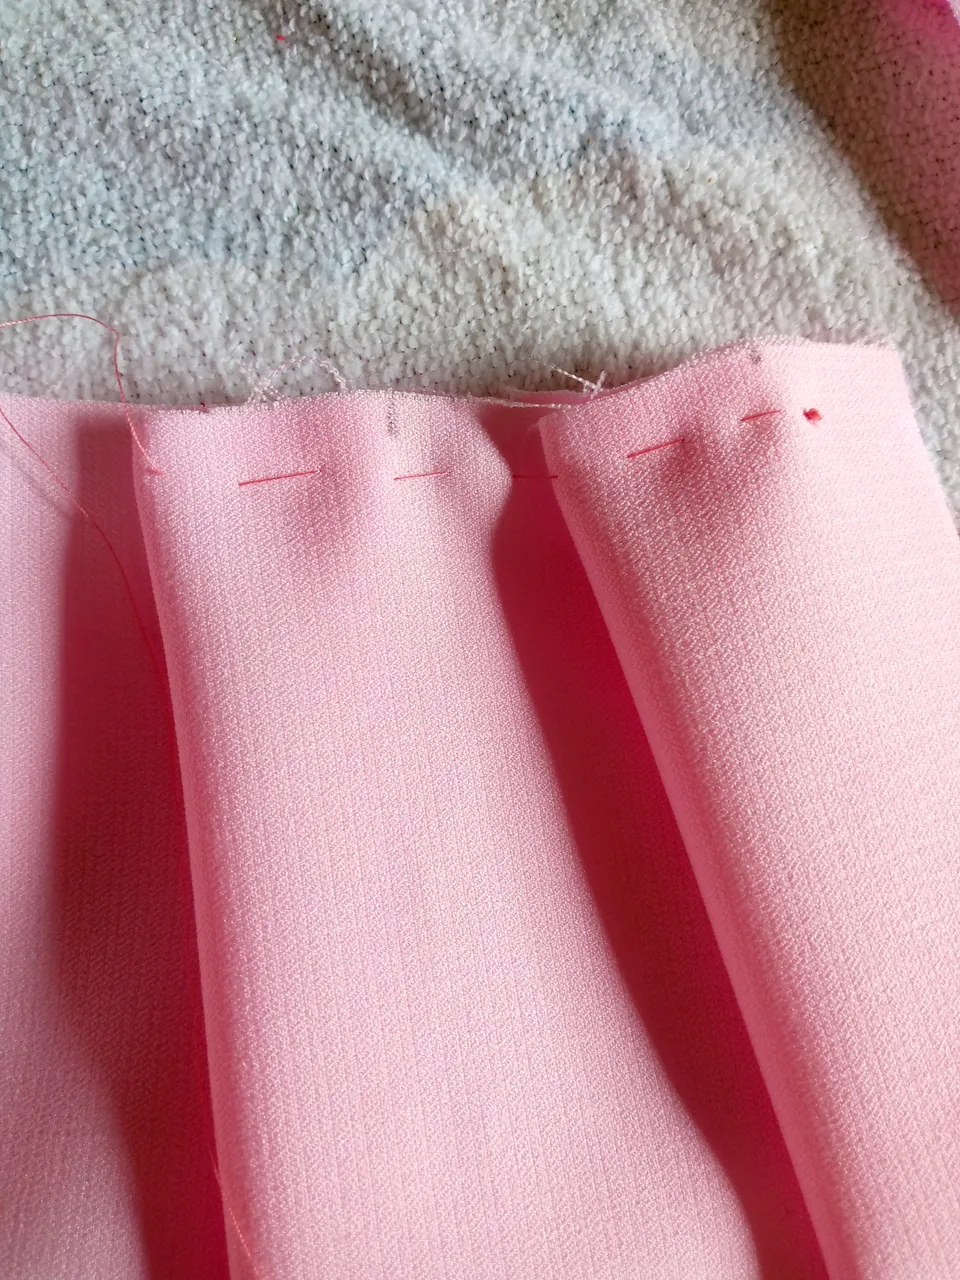
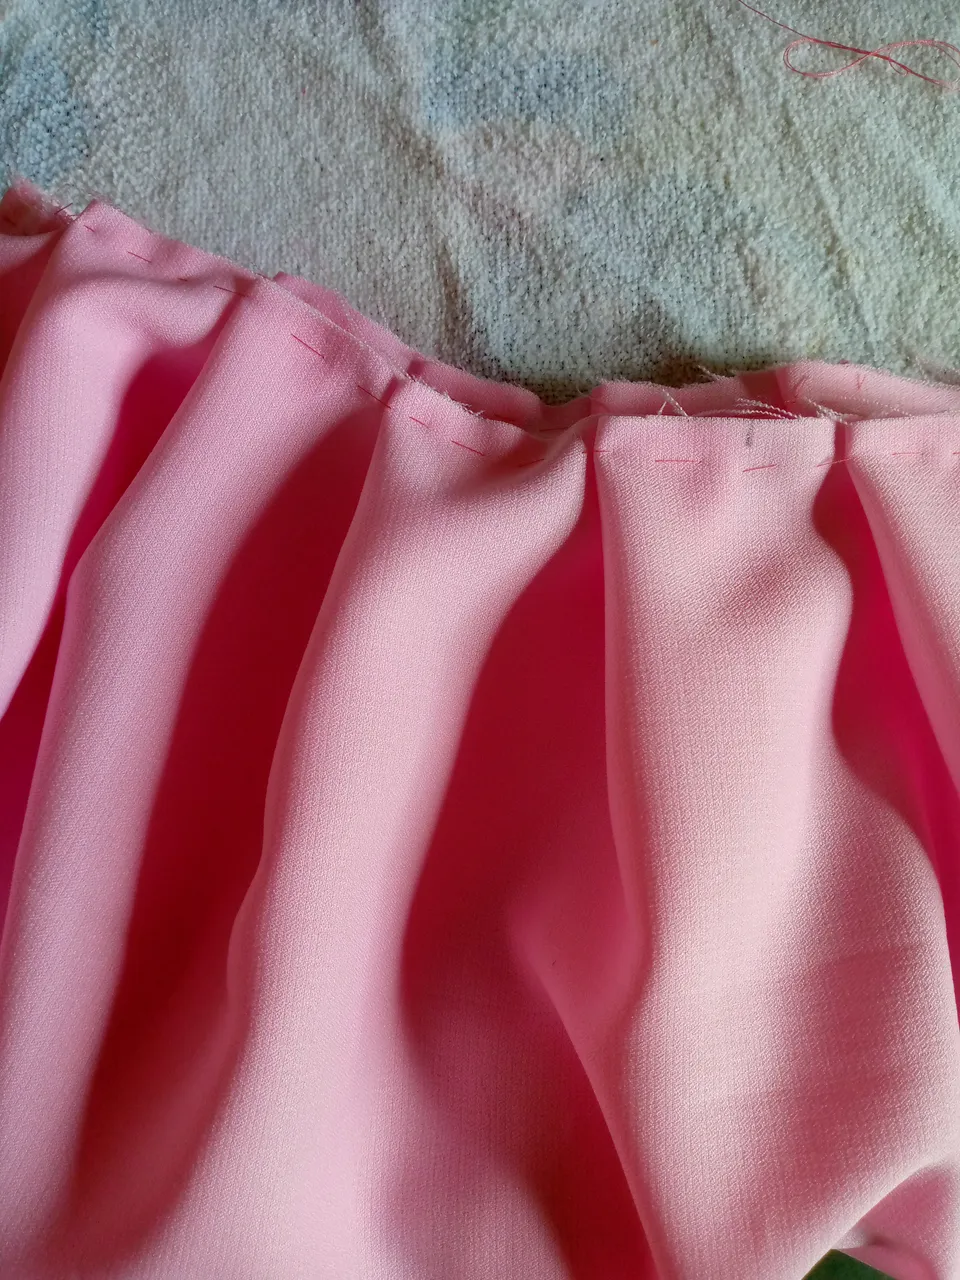
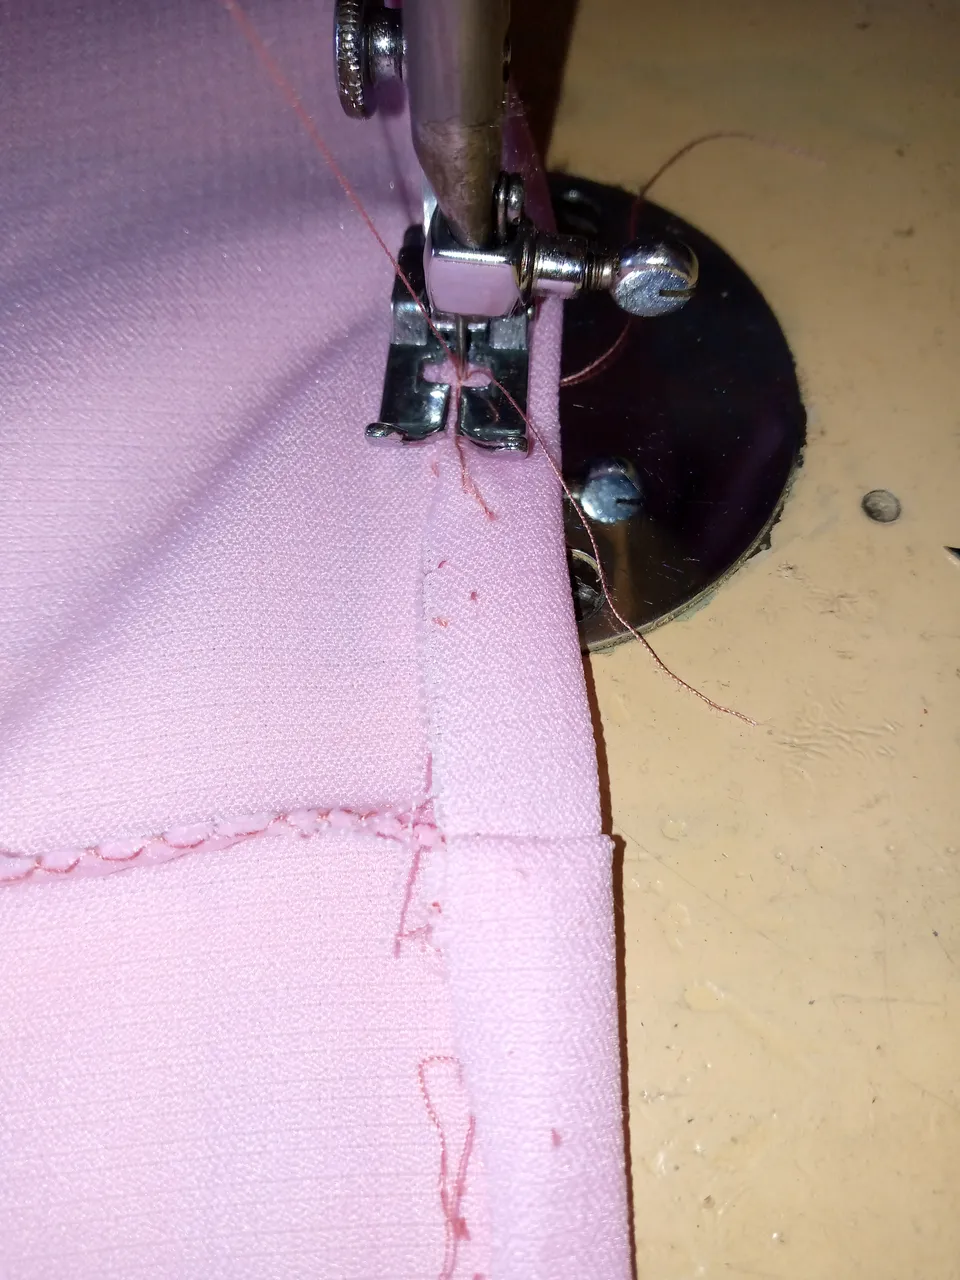
For the next step we are going to make our planks of approximately 3 cm each, we will make these planks until we finish our complete fabric.

IMG_20240610_101241_149.jpg

IMG_20240610_101341_201.jpg

IMG_20240610_101850_204.jpg


Paso 03

Cosemos el dobladillo de 1 cm por todo el borde de abajo de la falda .

Step 03

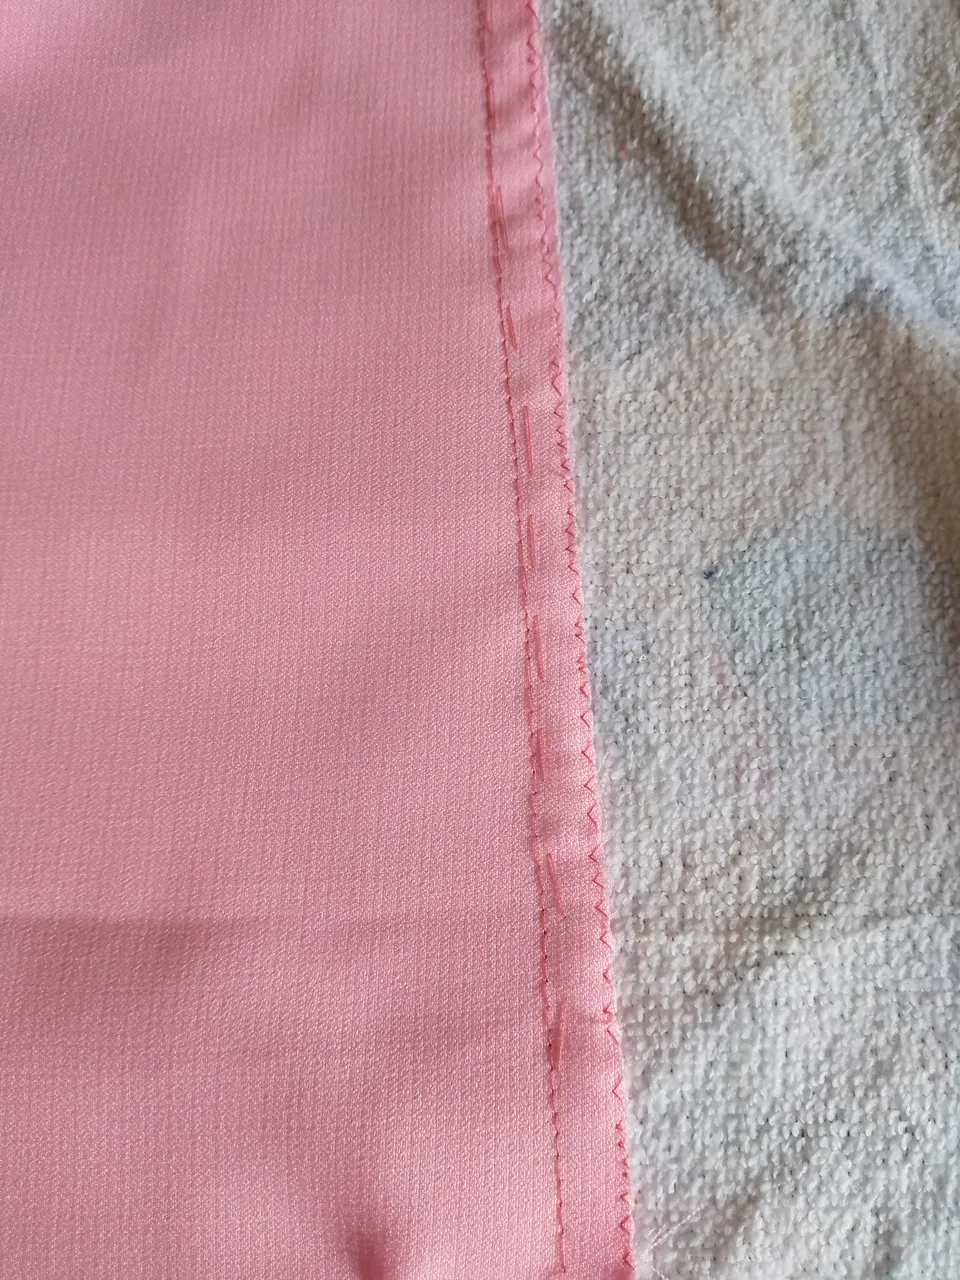
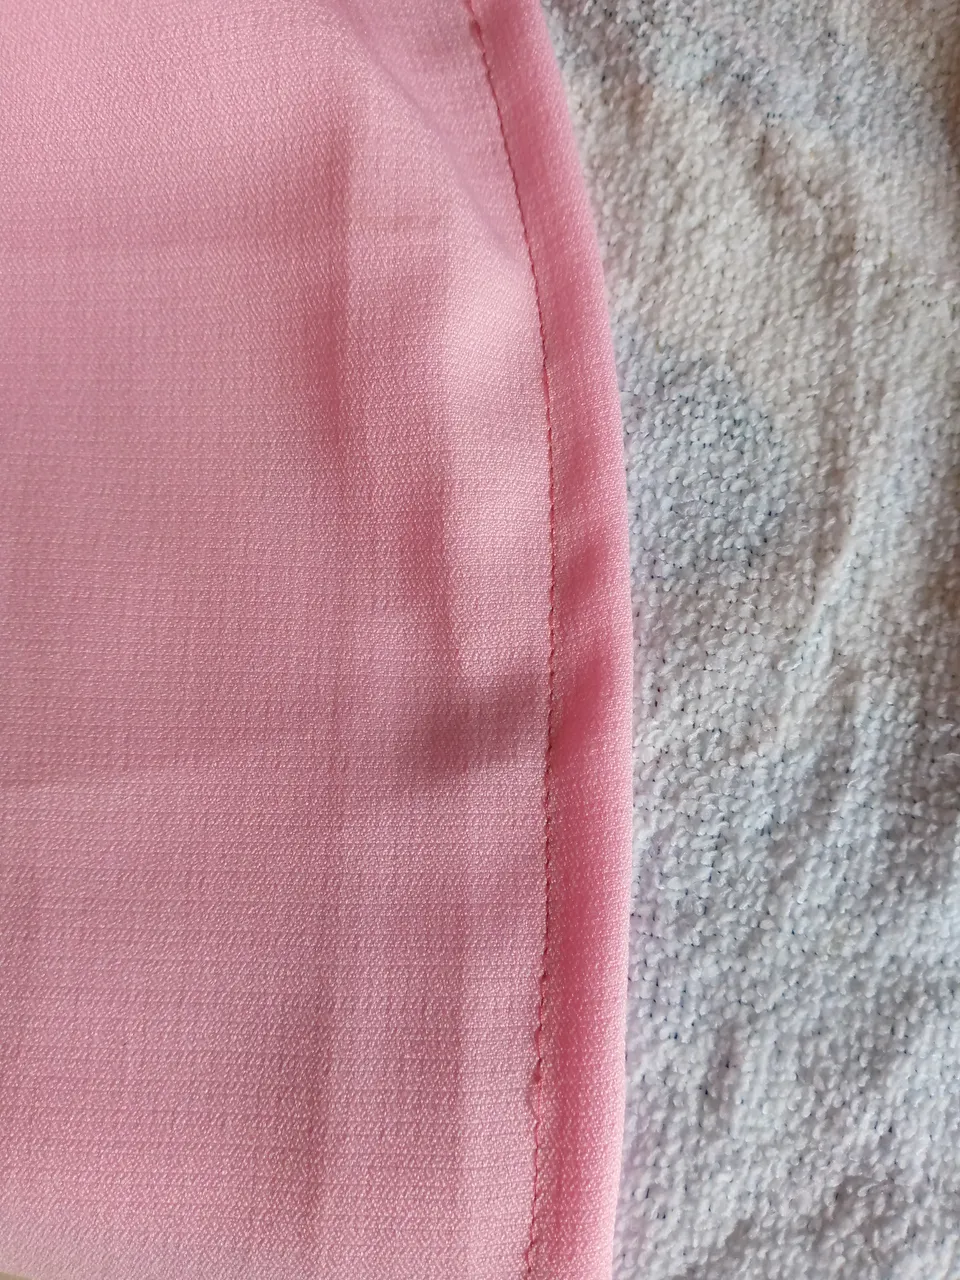
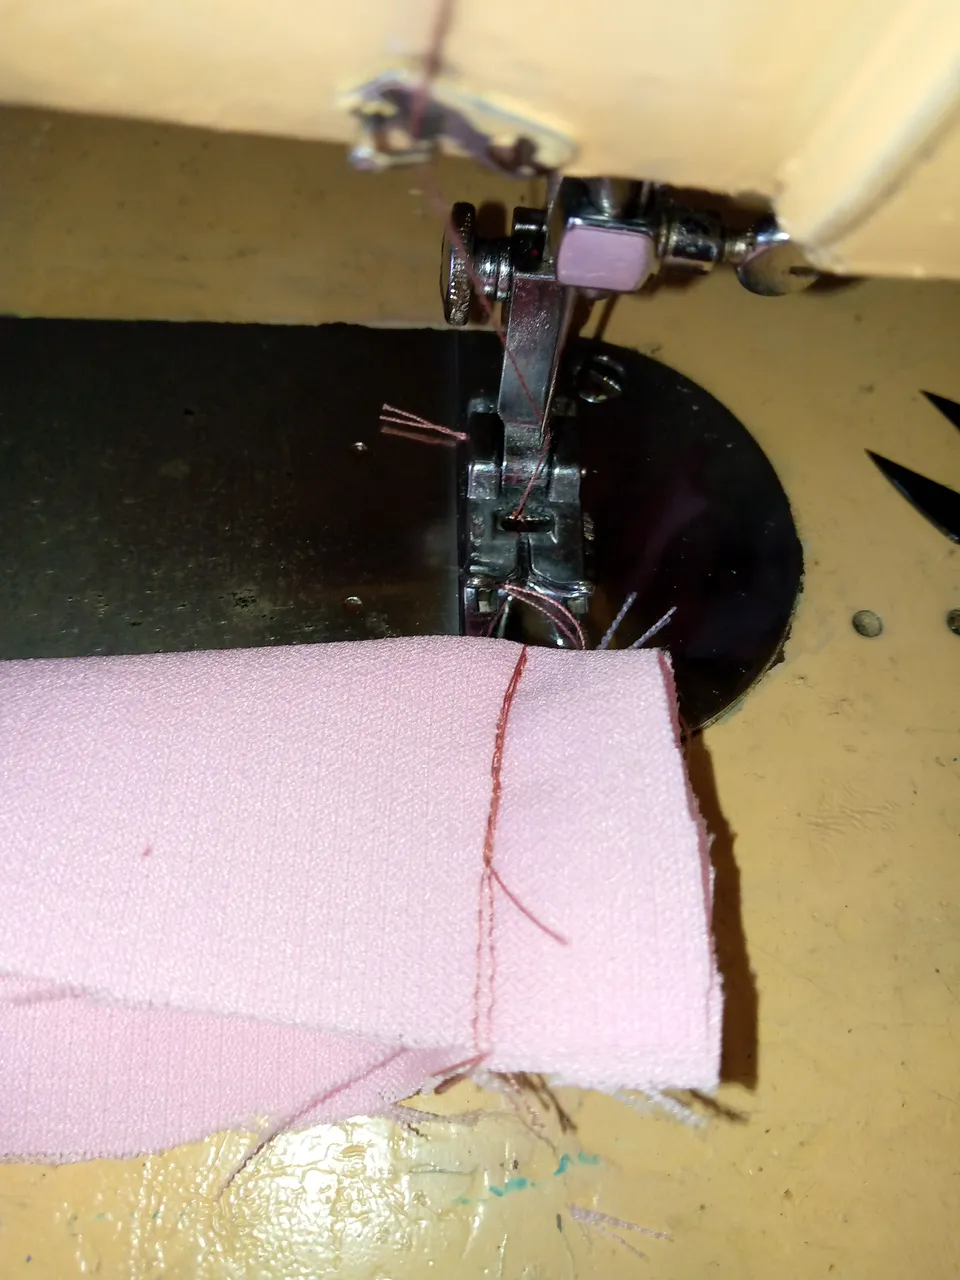
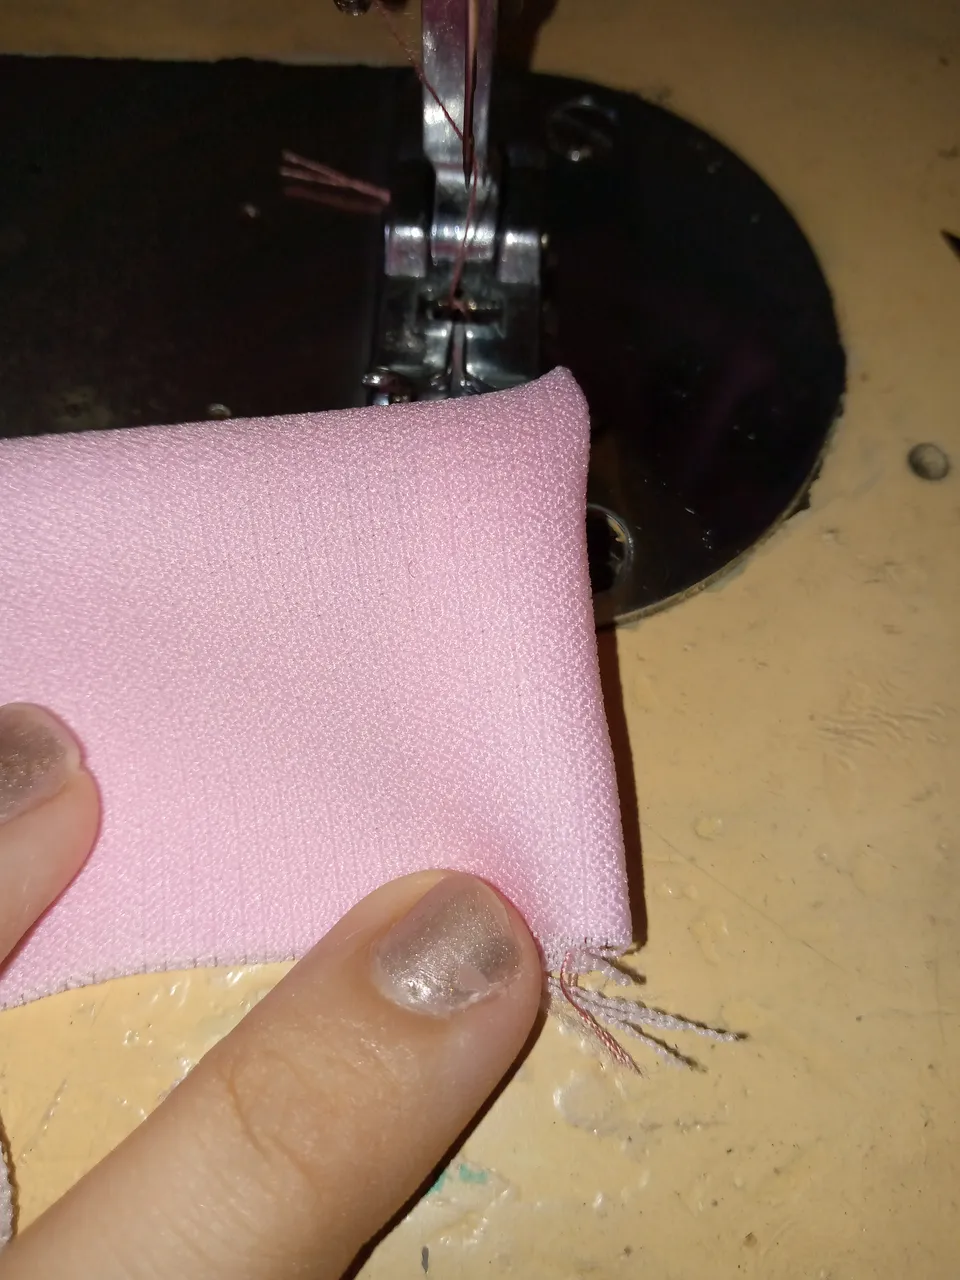
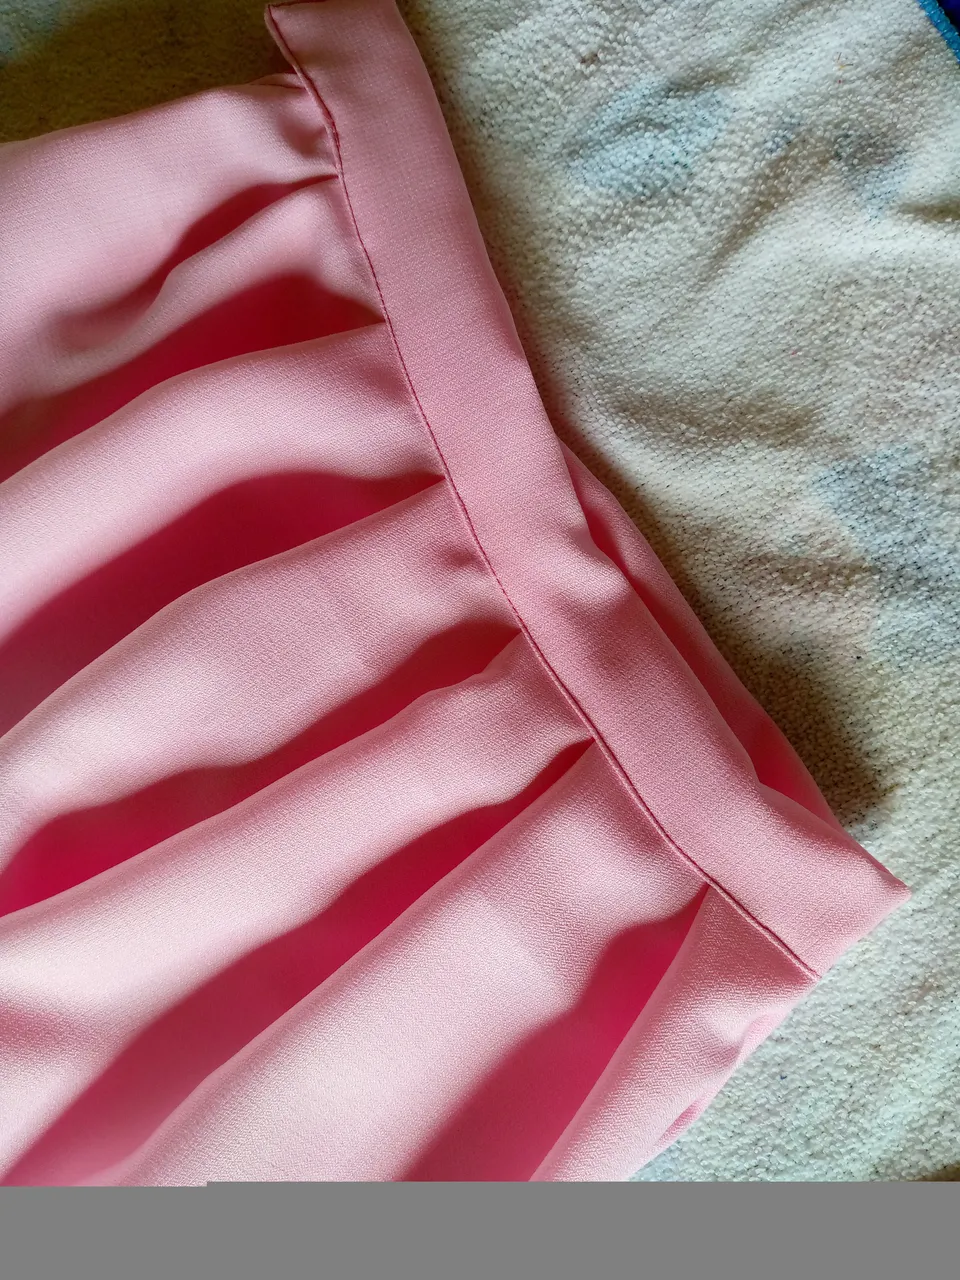
We sew the 1 cm hem along the entire bottom edge of the skirt.

IMG_20240610_102300_746.jpg

IMG_20240610_102734_270.jpg


Paso 04

Procedemos a coser el cierre a un costado de nuestra falda ,cosemos un lado primero luego el otro volteamos y repisamos con costura recta por encima de esta manera nos queda ajustado el cierre y no se moverá de lugar.

Step 04

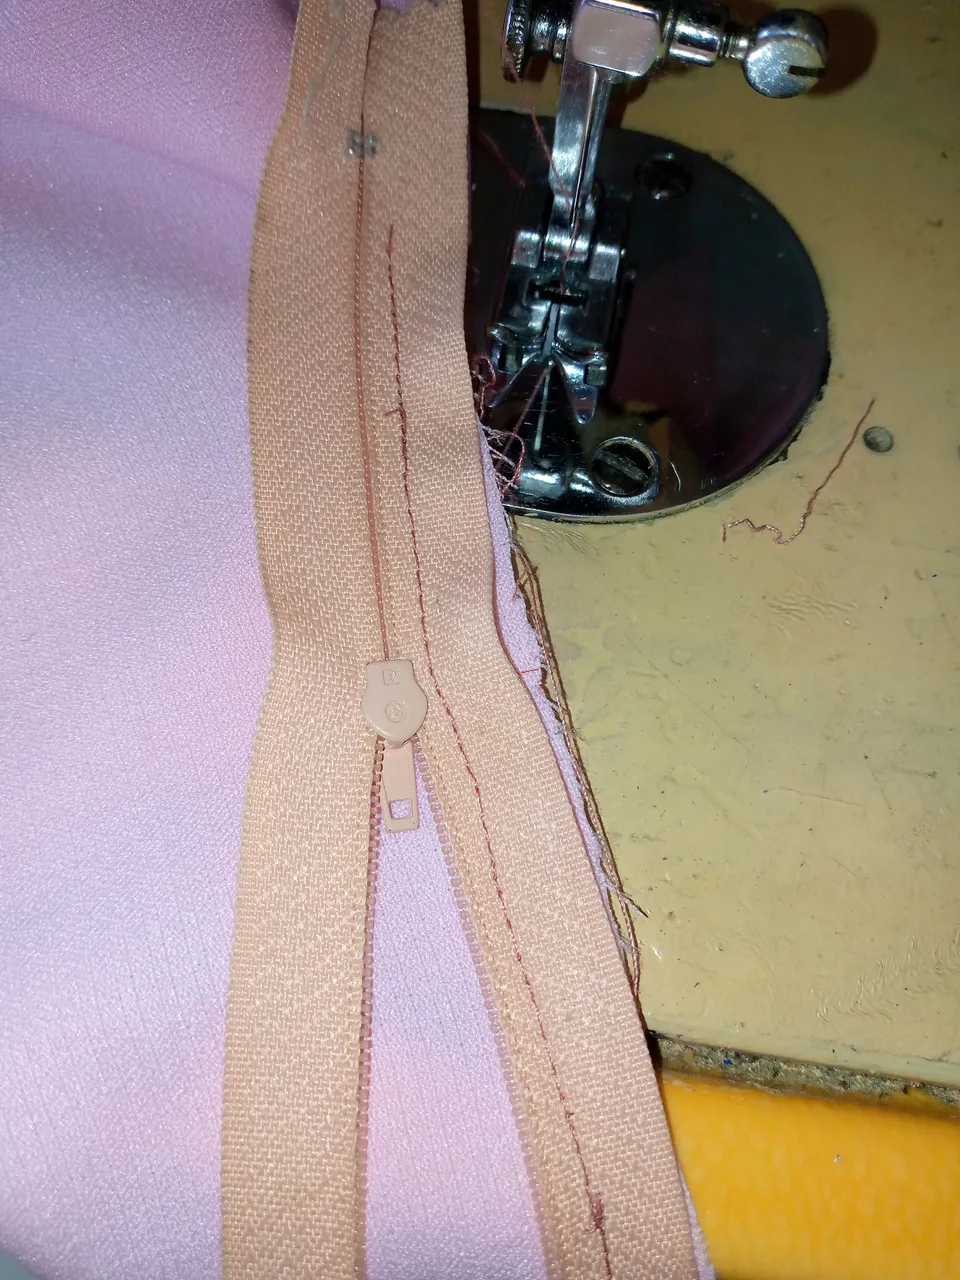
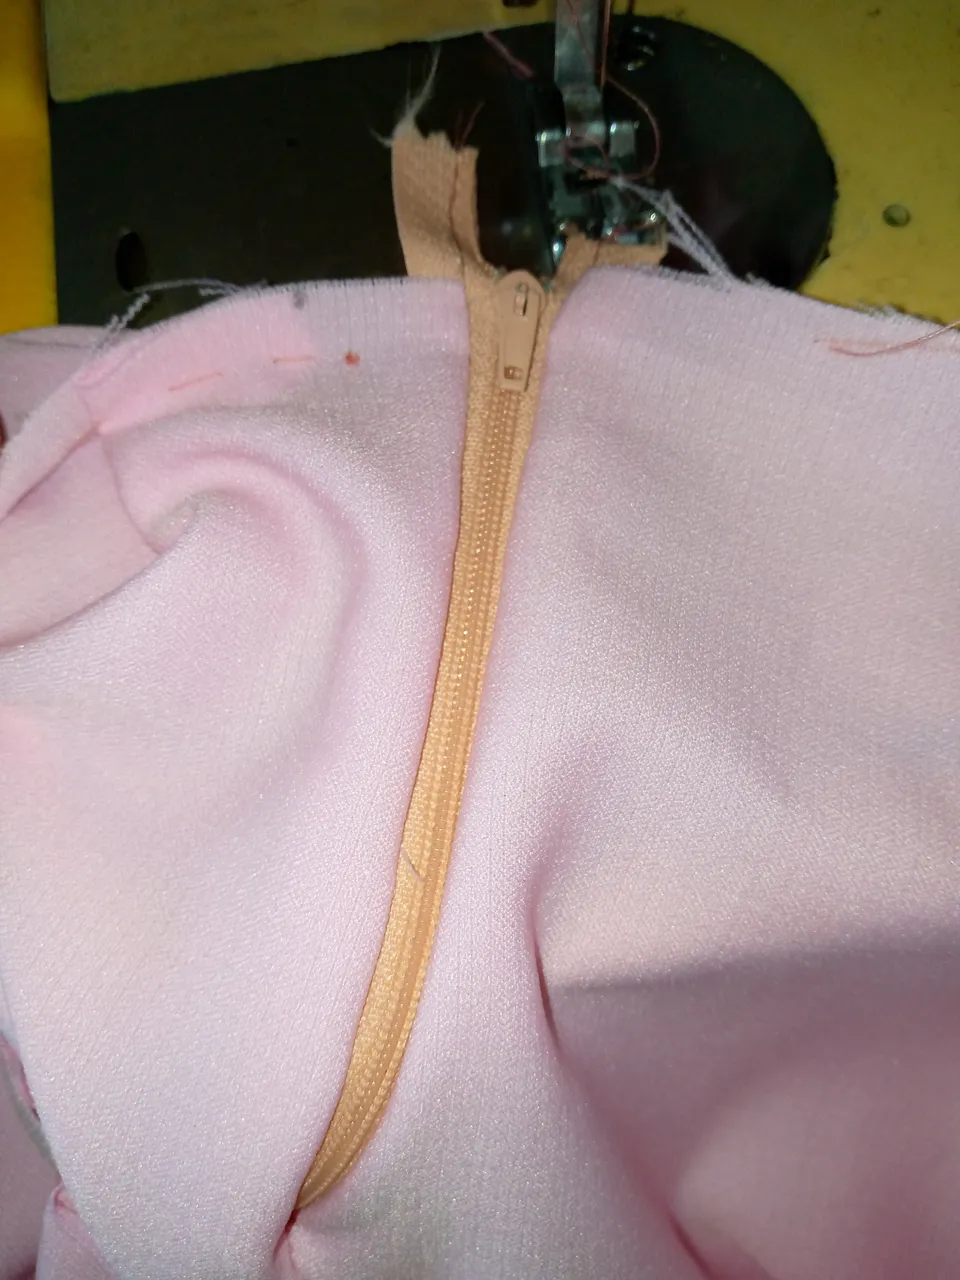
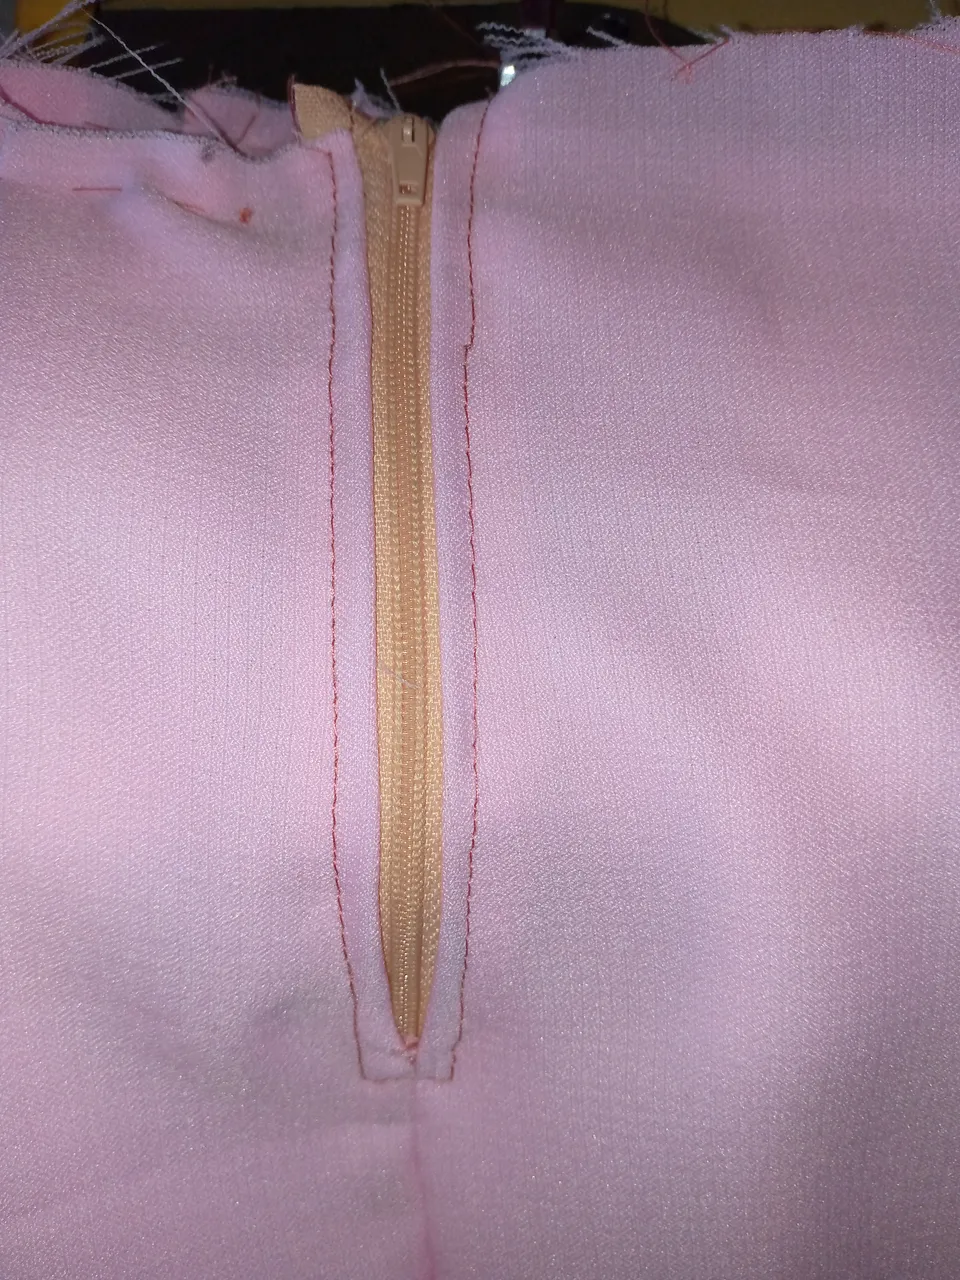
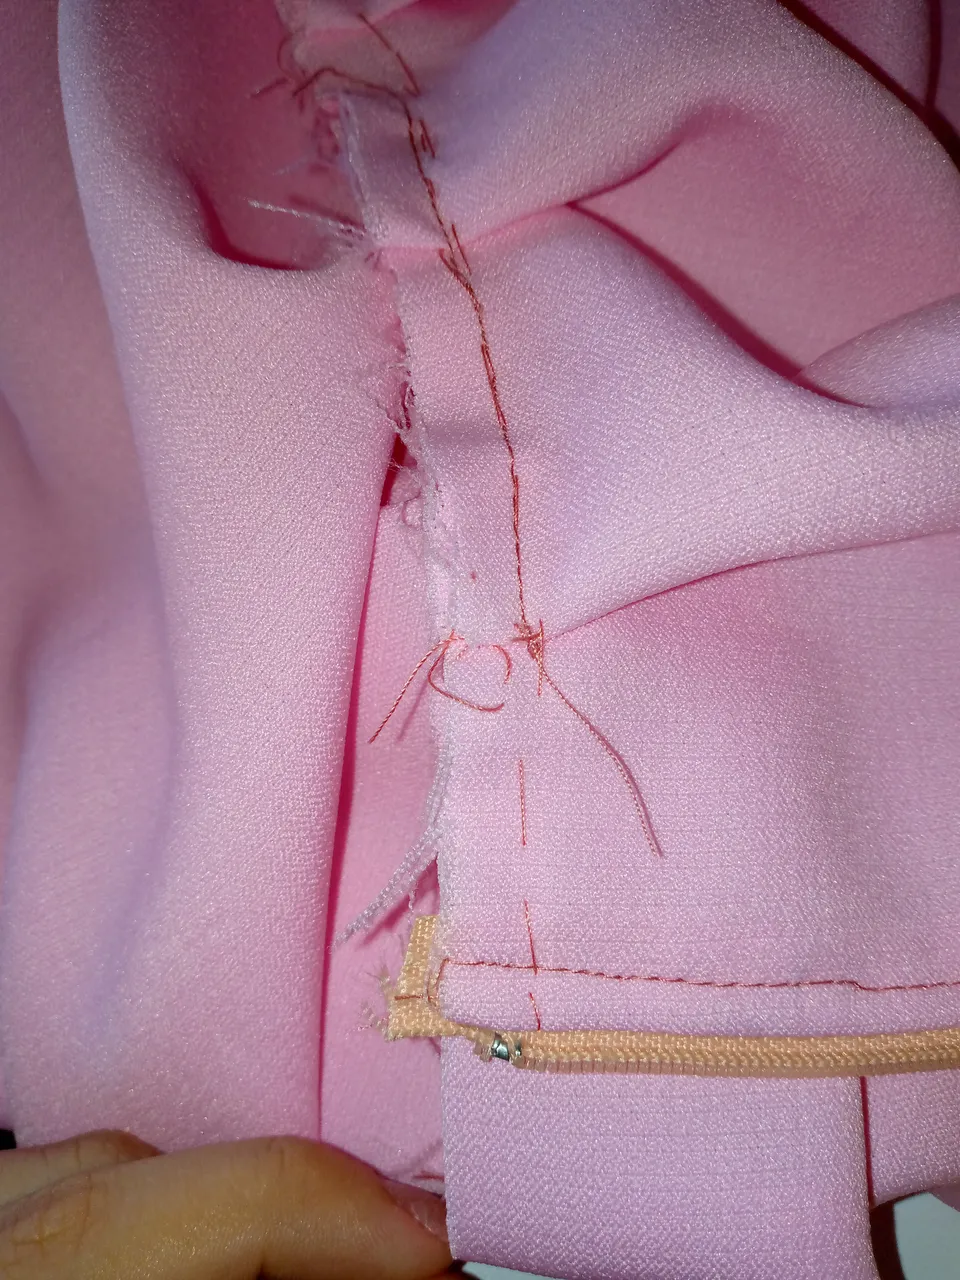
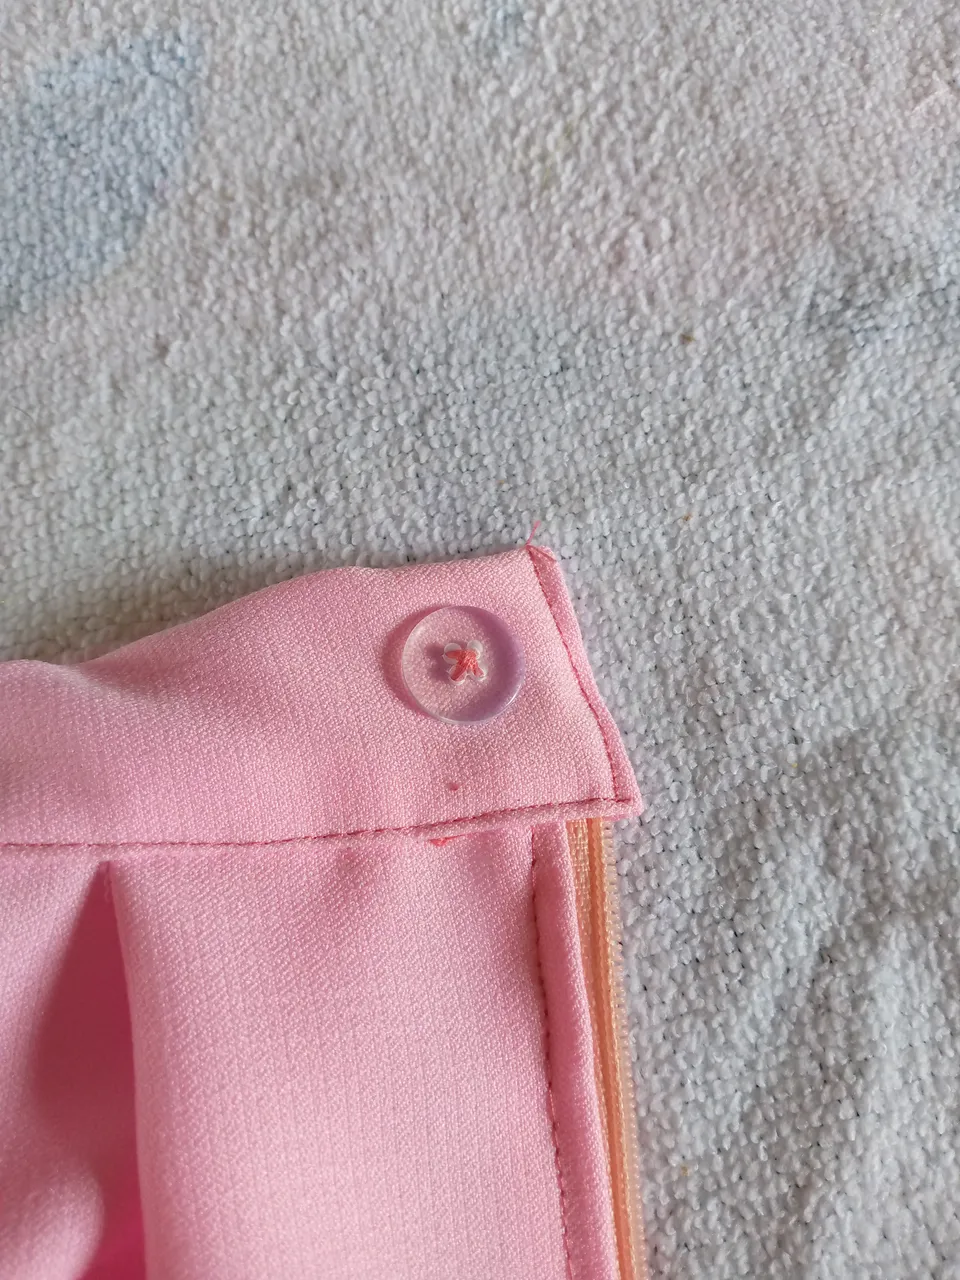
We proceed to sew the closure to one side of our skirt, we sew one side first, then the other, we turn it over and sew it with a straight seam on top. This way the closure fits snugly and will not move from place.

IMG_20240610_103155_051.jpg

IMG_20240610_103358_438.jpg

IMG_20240610_103607_429.jpg


Paso 05

Cosemos nuestra pretina por la parte interna de la falda y cosemos por la parte superior de arriba de la falda así no se verá la costura de la falda por dentro .

Step 05

We sew our waistband on the inside of the skirt and sew on the upper part of the skirt so the seam of the skirt will not be visible on the inside.

IMG_20240610_104201_860.jpg


IMG_20240610_104211_159.jpg

IMG_20240610_104624_546.jpg

IMG_20240610_104633_016.jpg

IMG_20240610_105546_375.jpg


Paso 06

Procedo a hacer el ojal y colocar mi botón en la pretrina,para realizar el lazo con mi cinta de la misma tela la volteo y voy a colocarlos así como se muestra abajo en las imagenes el patrón ,realizo una costura por el medio del lazo y paso a fruncir para ajustarlo ,lo decoro con un diseño plateado y lo coso a la falda colocándolo a un lado de esta forma queda lista.

Step 06

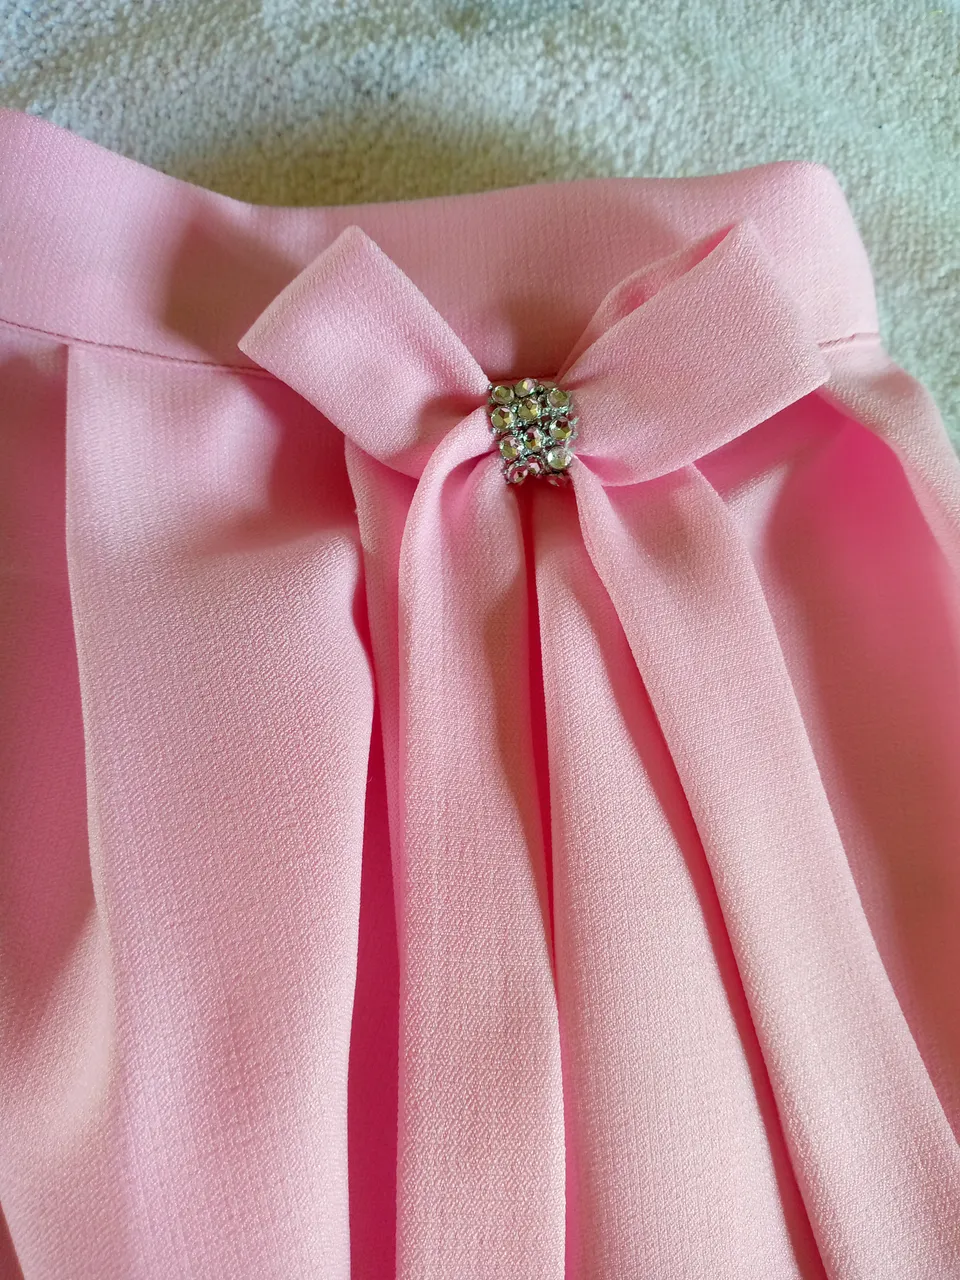
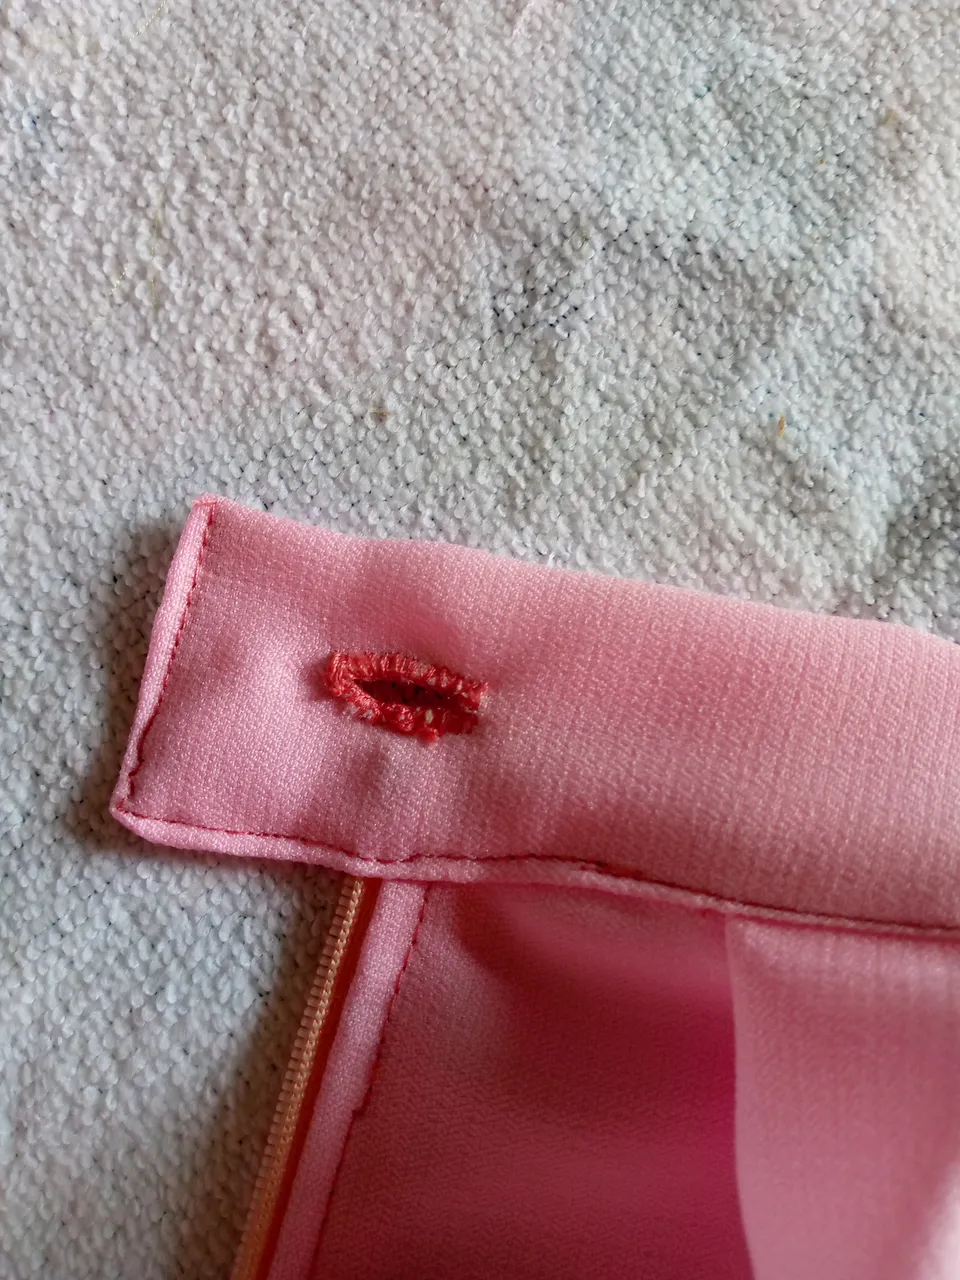
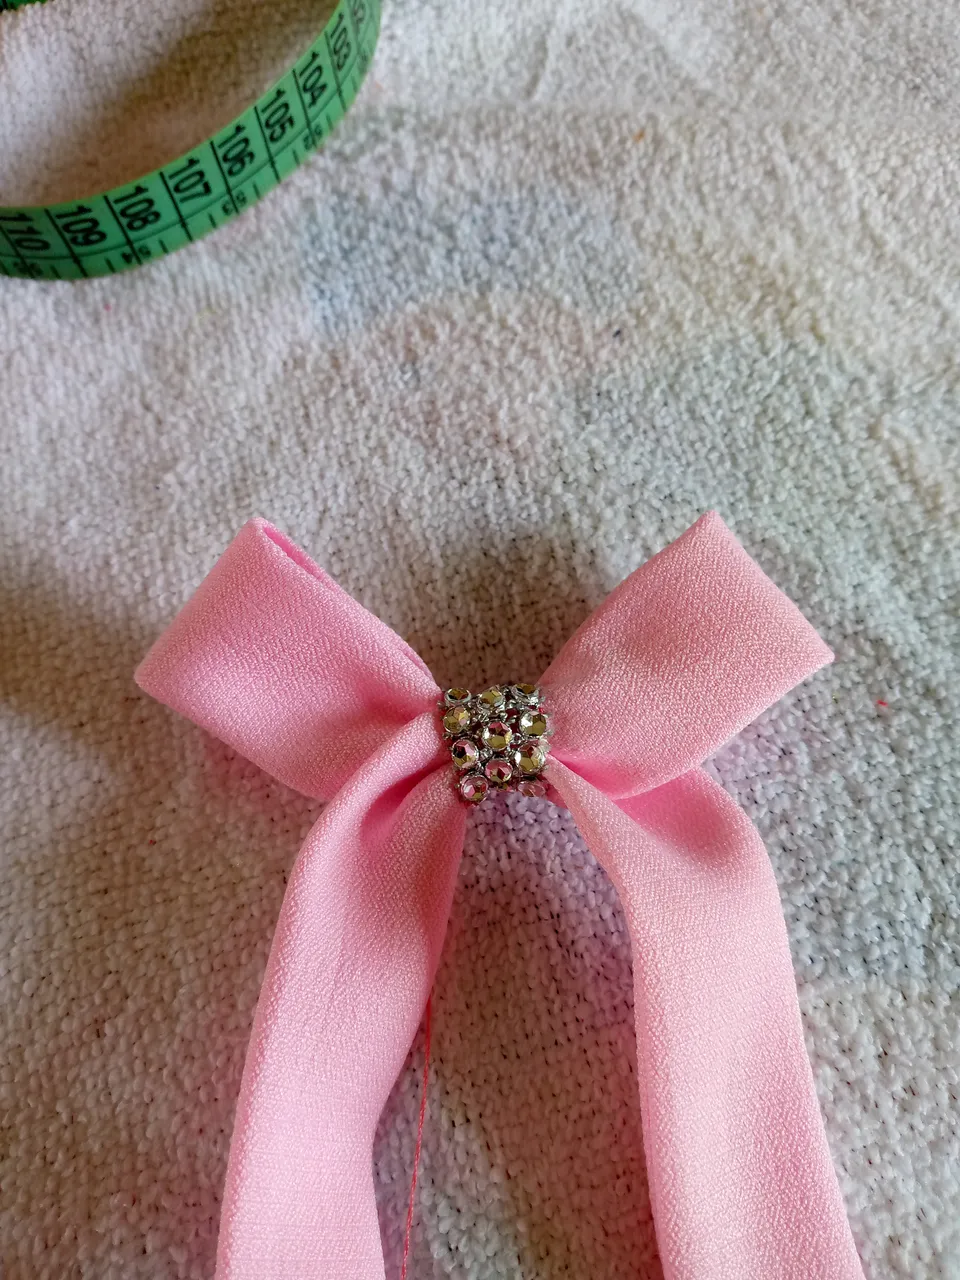
I proceed to make the buttonhole and place my button on the pretrine, to make the bow with my ribbon of the same fabric, I turn it over and I am going to place them as shown in the pattern images below, I make a seam in the middle of the bow and I proceed to gather it to adjust it, I decorate it with a silver design and I sew it to the skirt, placing it on one side so it is ready.

IMG_20240610_110756_214.jpg

IMG_20240610_110801_109.jpg

IMG_20240610_113957_698 (1).jpg

IMG_20240610_114358_251.jpg


🌸Resultado🌸

Resultado

Así nos ha quedado de linda esta faldita muy sencilla espero les haya encantado tanto como a mí amé el resultado y es una faldita que yo haría para mí para salir a pasear e ir a la plaza a comer heladito,te invito a que la realices tu también y me etiquetes en tu blog ,me dió gusto compartir con ustedes este lindo trabajo y sin mas que agregar me despido tiernamente con un fuerte abrazo y gracias por apoyarme siempre,adiós amigos tengan una bella y feliz tarde .❤️

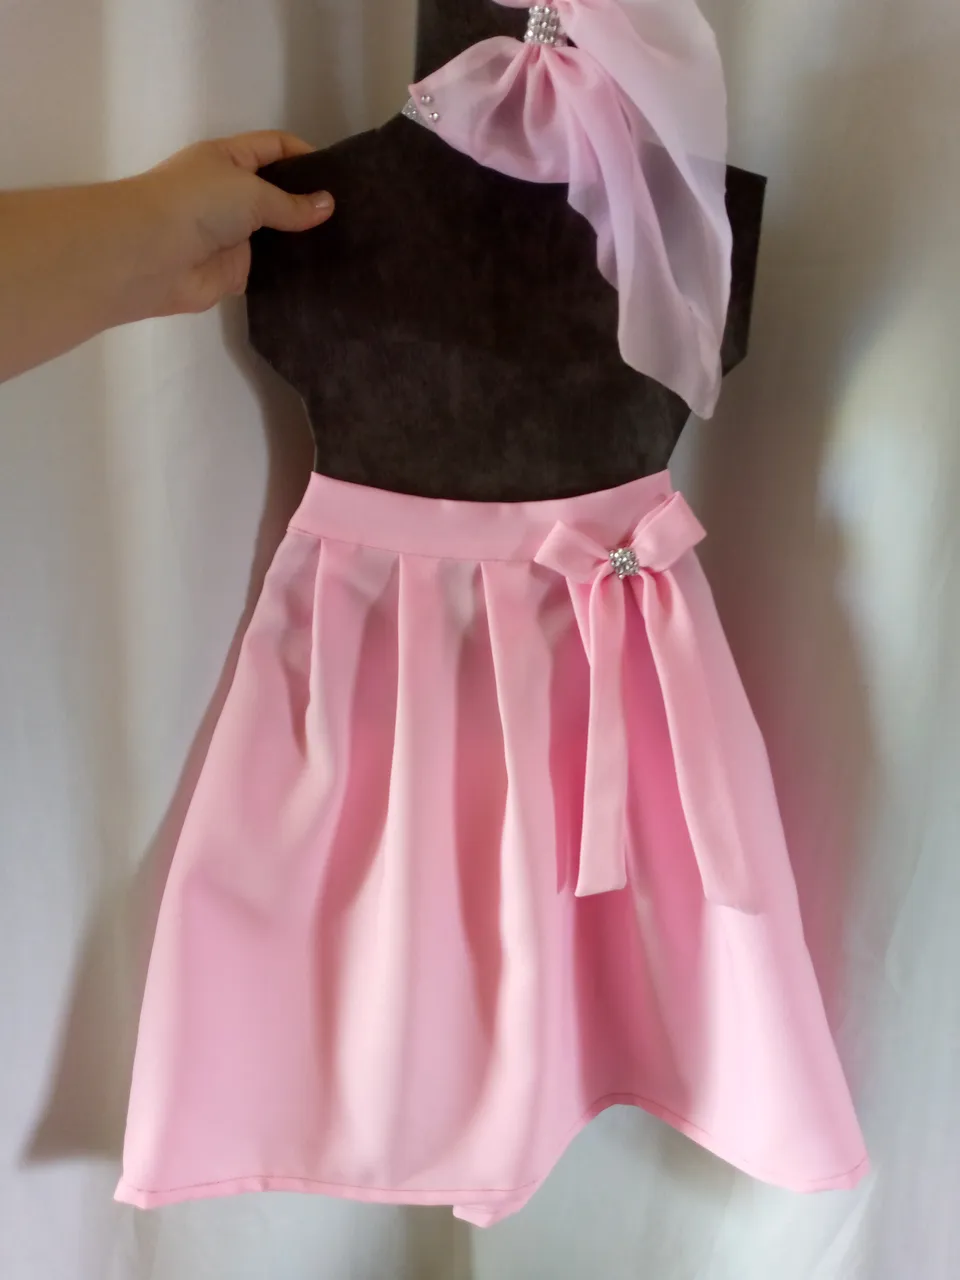
This is how beautiful this very simple little skirt turned out for us. I hope you loved it as much as I loved the result and it is a little skirt that I would make for myself to go out for a walk and go to the plaza to eat ice cream. I invite you to make it yourself. Also and tag me on your blog, I was happy to share this beautiful work with you and without further ado I say goodbye tenderly with a big hug and thank you for always supporting me, goodbye friends, have a beautiful and happy afternoon.❤️

IMG_20240610_115127_457 (1).jpg

IMG_20240610_114550_876.jpg

IMG_20240610_115102_472.jpg

🦋✨Todas las imágenes de esta publicación son de mi autoria ,📱tomadas con mi celular TecnoSpark8C |📸Fotos editadas en PicsArt. Texto traducido en el traductor de Google.

🦋✨ All the images in this publication are my author ,📱taken with my TecnoSpark8C cell phone |📸Photos edited in PicsArt. Text translated in Google Translate.


Post de Instagram Podcast Beige Neutro _20240517_133002_0000.png


H2
H3
H4
3 columns
2 columns
1 column
15 Comments