Paracord bracelet for children.
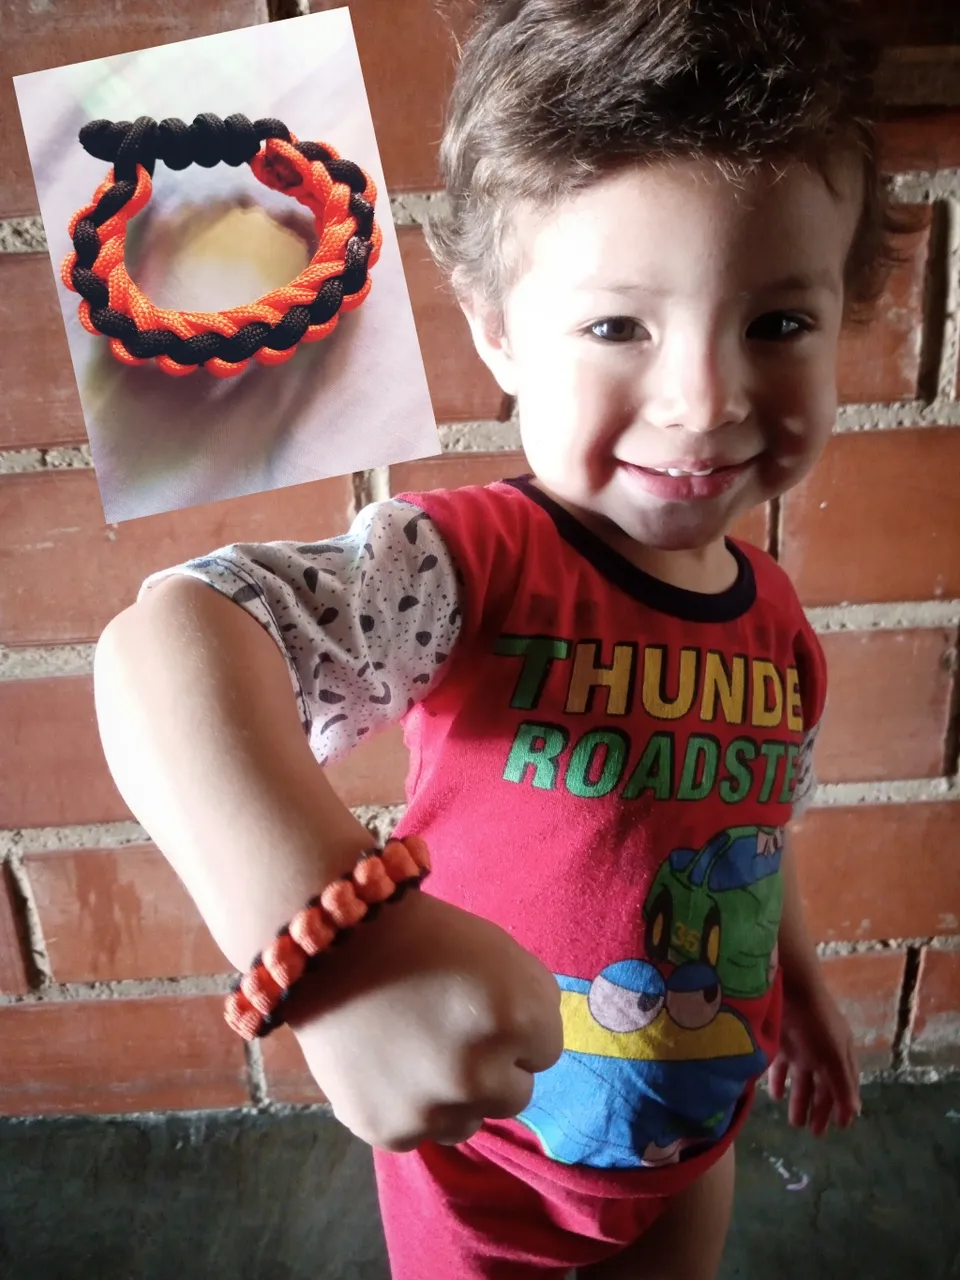
Hello friends of #diy as always it is a pleasure to publish in the community and present the crafts for you, this time I want to bring you the making of a Paracord bracelet for children, time ago I used to make a lot of this type of bracelets of all the fabric models that you can learn there are some that take a lot of dedication as well as others that are easily learned, this type of rope is called survival, it is used by many people who dedicated to extreme excursions, their unique style became very fashionable due to its originality and beauty to the point that it was also used as a watch strap, the truth is that Paracord bracelets are an accessory that in my opinion combines with the personality of each person and in this post I want to show you one of the braids or knots that I learned, this time I wanted to make one for the youngest of the house. Next I show you the step by step.
- 1.50 MTS of orange Paracord rope
- 1.50 MTS of black Paracord rope
- Pair of scissors
- Lighter
- 1.50 MTS de cuerda Paracord color naranja
- 1.50 MTS de cuerda Paracord color negro
- Tijeras
- Encendedor

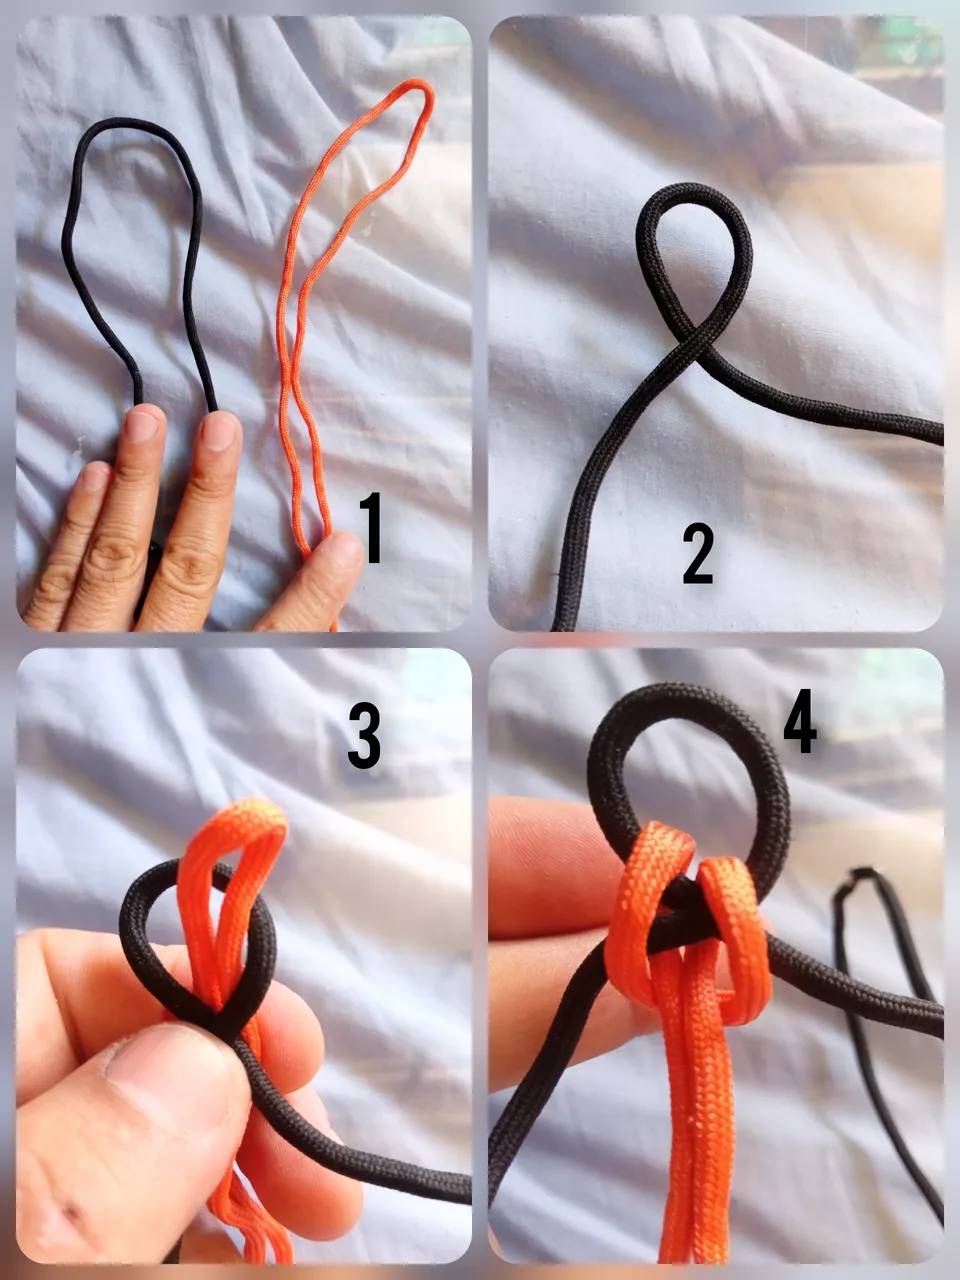
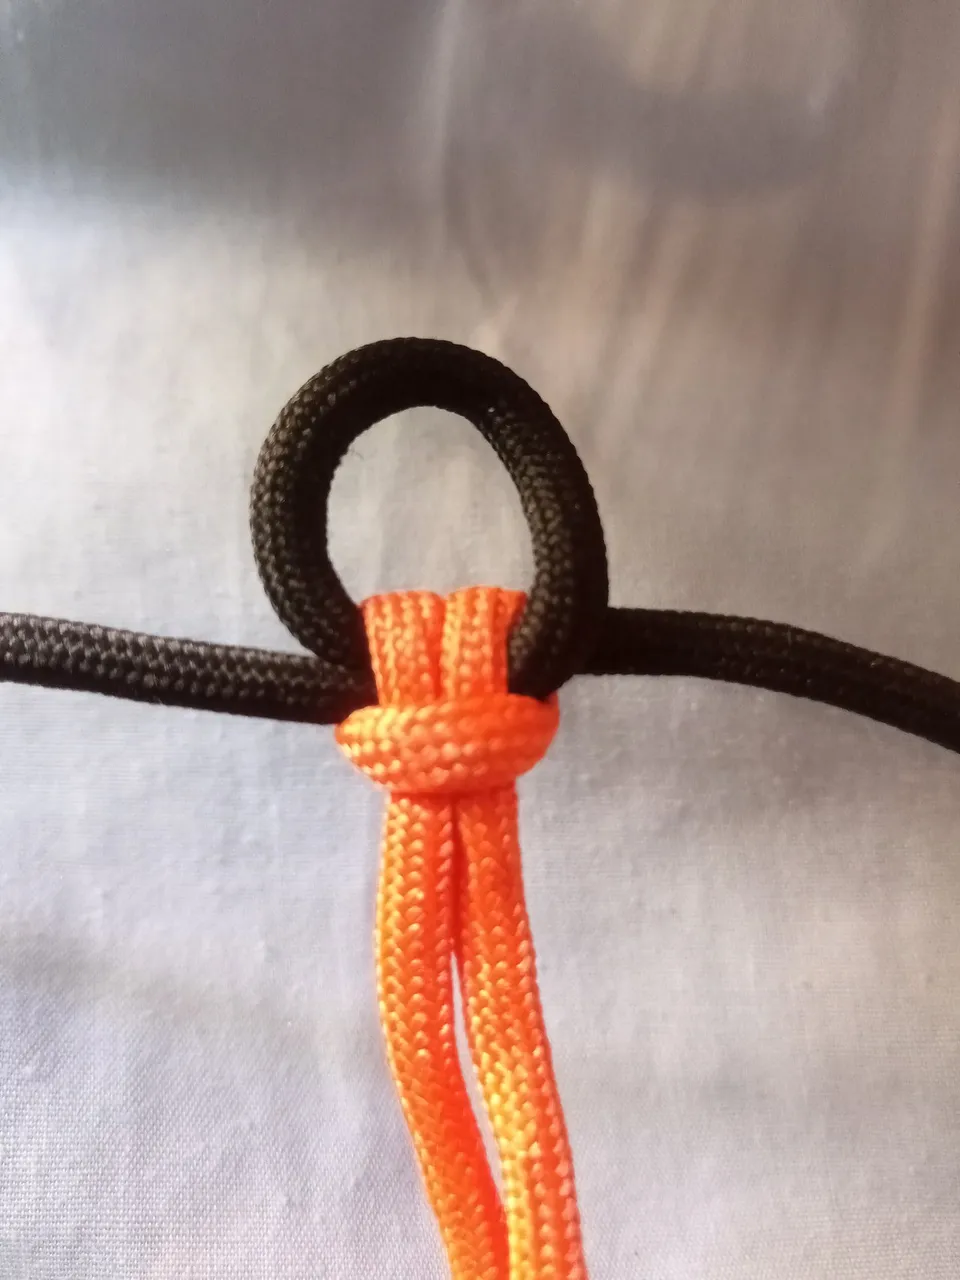
Step 1
Paso 1
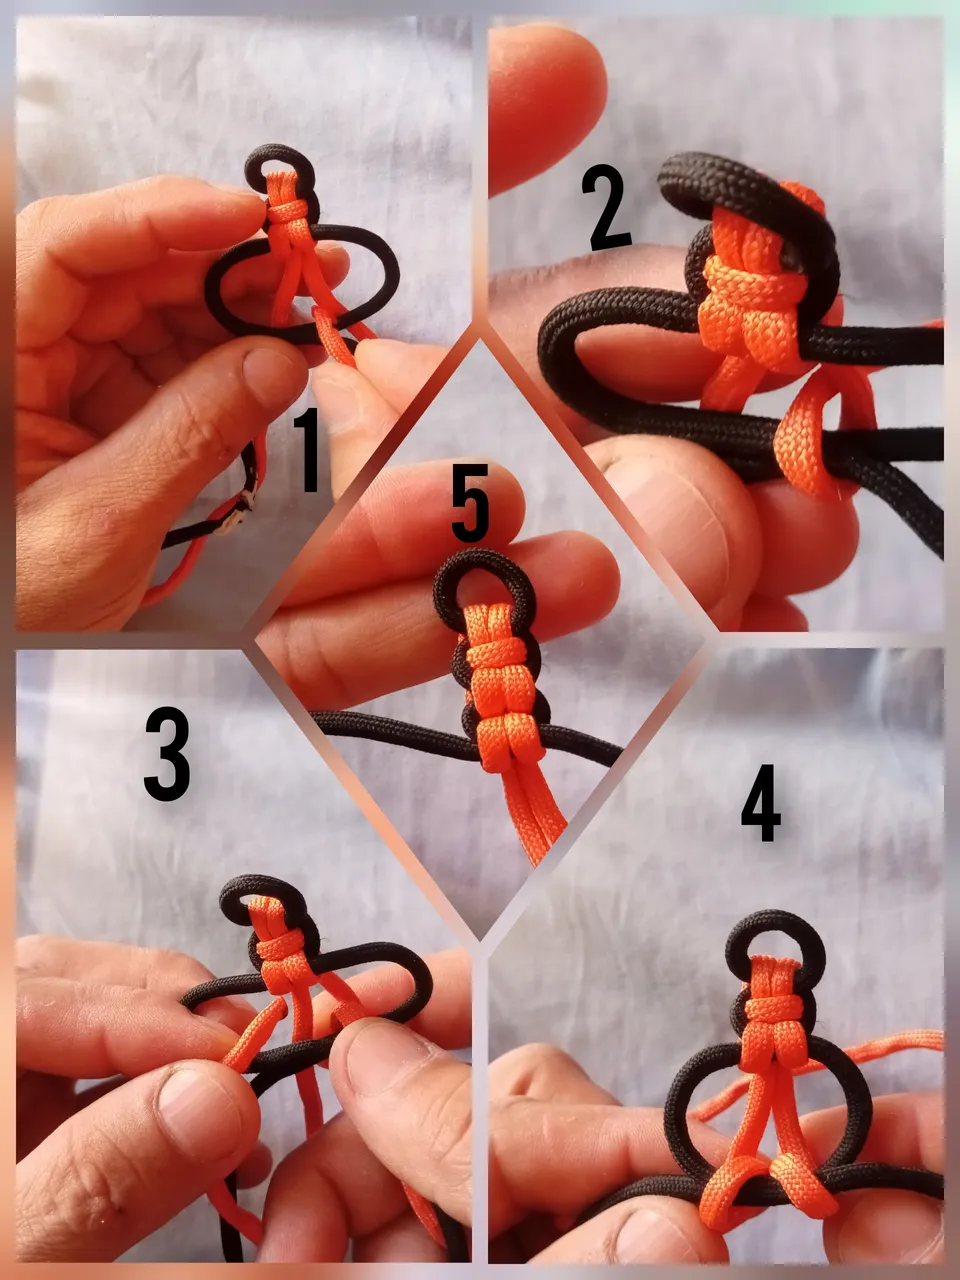
In this first step we will take both ropes and fold them in half, take the black rope and cross it as if it were a loop, then take the orange rope, in the hole that the black rope shows us, pass it through there and tie or fasten as shown in the following images.
Step 2
Paso 2
In this next step we'll take the ends of the black rope, the right side of the rope goes to the left, and the left side to the right, we'll just place it that way. Then we will take one end of the orange rope and we will pass it over the black rope, in the same way we do with the other end of the orange rope, once we have done the procedure we begin to press hard until we have a knot left, these steps we will do it until almost all the orange rope is completed.
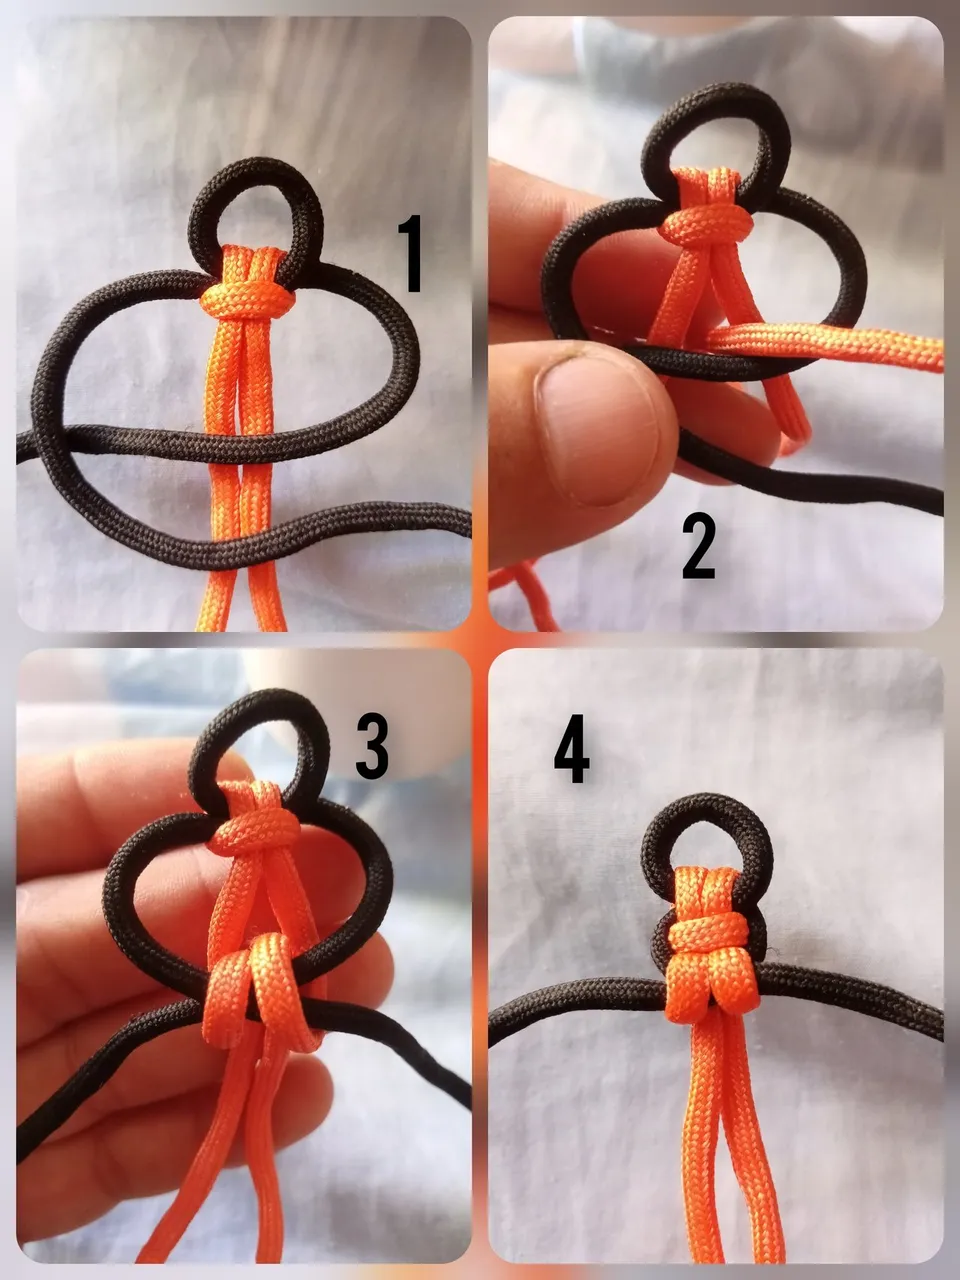
We repeat the steps as shown in the following image
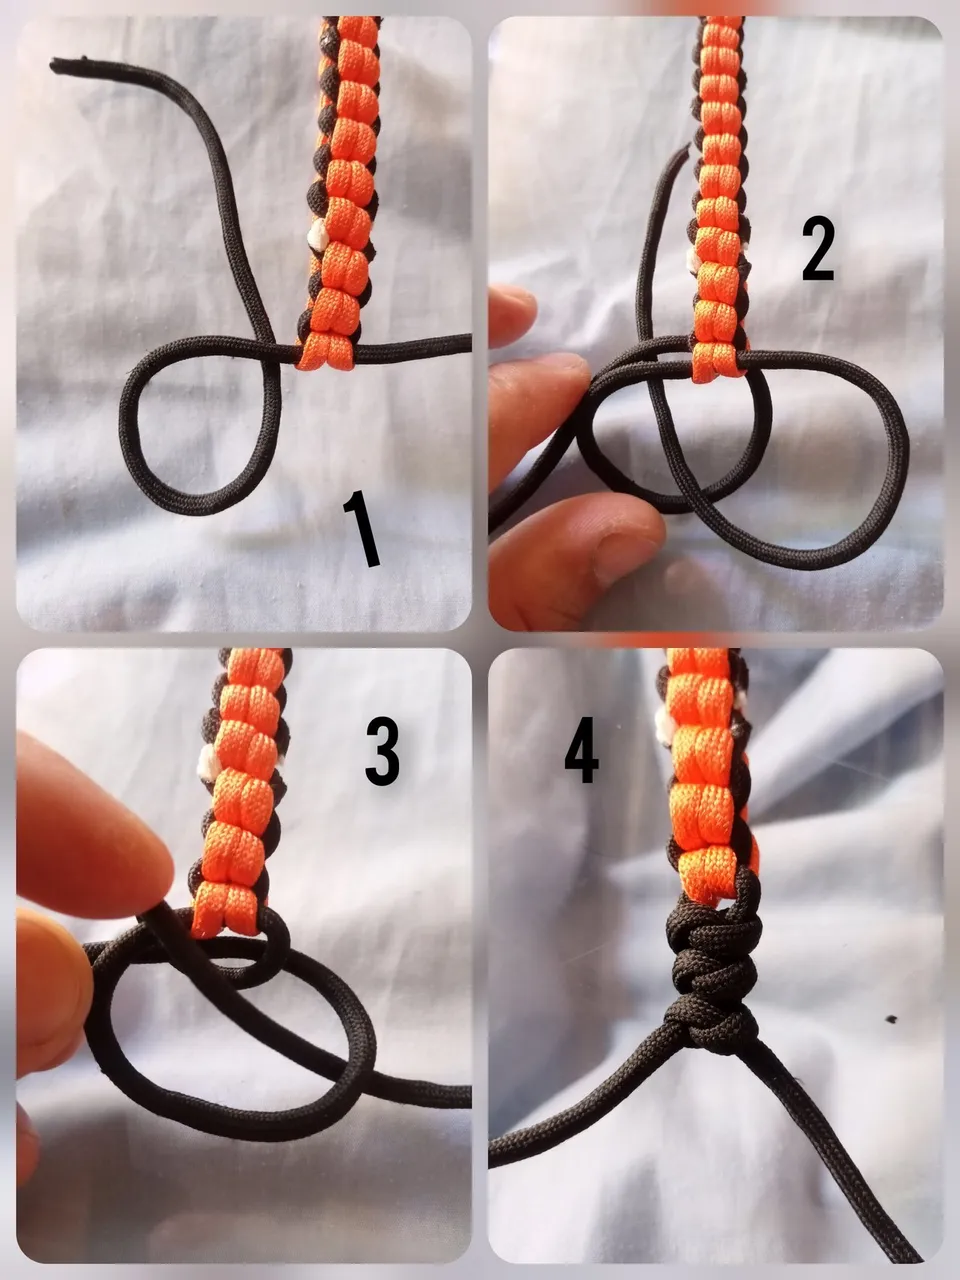
Step 3
Paso 3
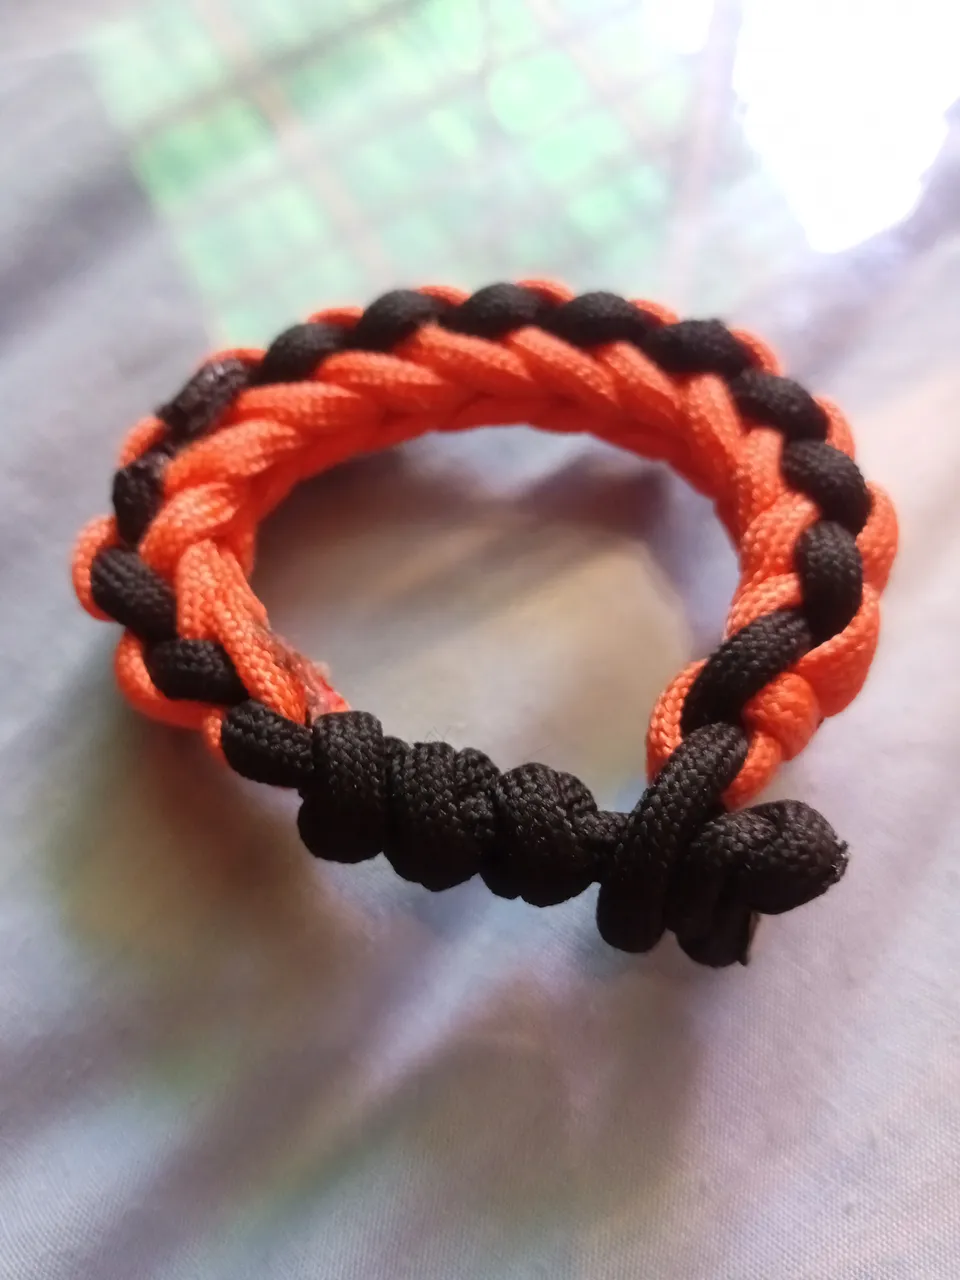
Once we have completed all the braiding, we will have an orange piece which we cut and burn the ends with the lighter so that it does not come loose. Then the 2 black ropes remain, we take one end of them we will make a circle and with the other end of the rope we pass it inside the circle then we return with the same rope and pass it under the circle, with this we will have a knot which we will repeat 3 times, as shown in the image.
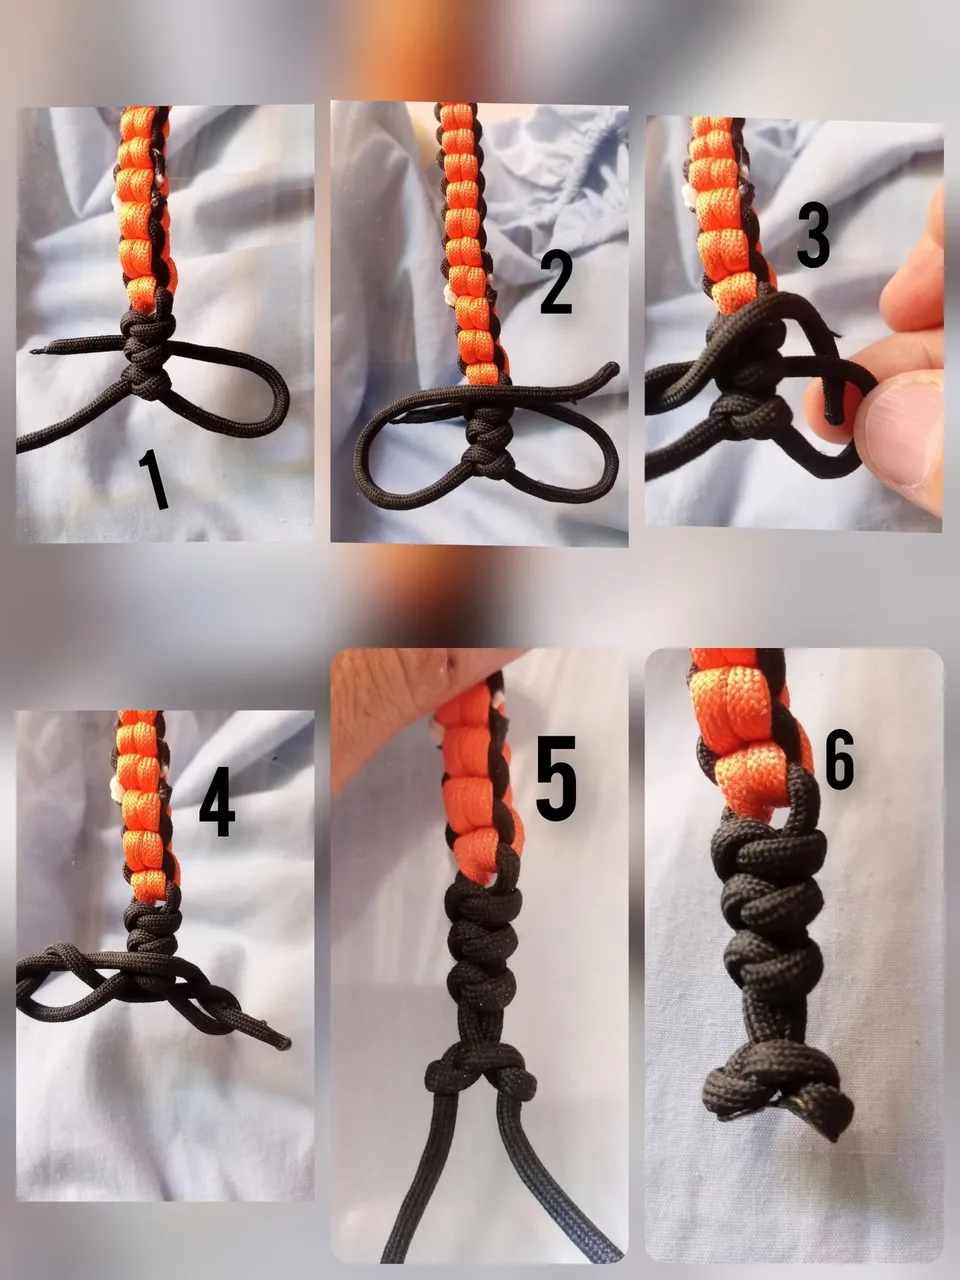
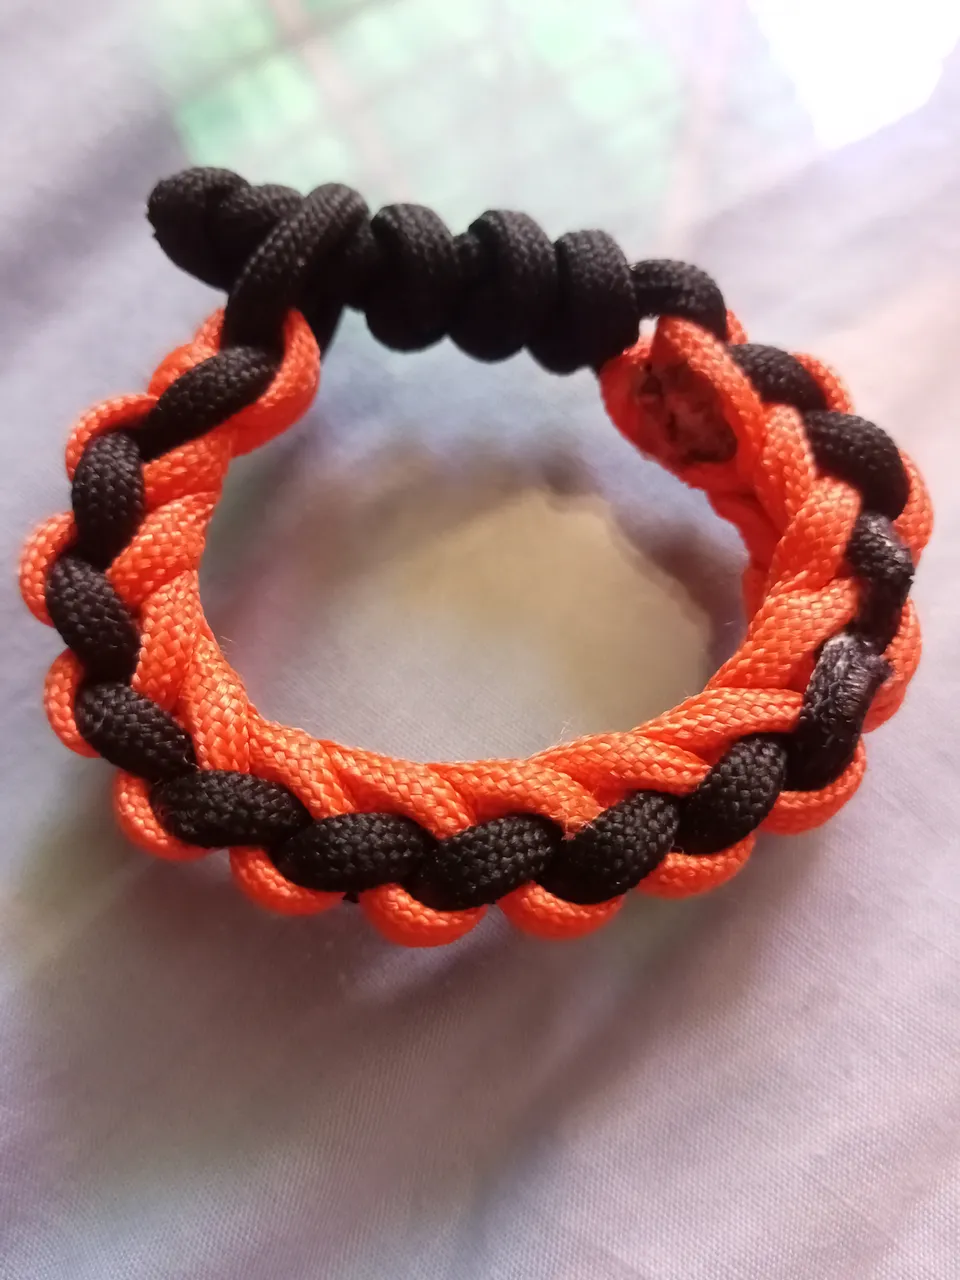
Fourth and last step
Cuarto y último paso
In this last step we will make the new one that will serve as a clasp for the bracelet. We will take both ends of the rope, one goes behind the bracelet and the other above, leaving 2 holes in which we will turn it over the circle on both sides, and start tightening then cut the excess rope, burn with the lighter And that's it, we have a bracelet for children, if you like to make one for adults, I just added a meter or more of rope, it depends on who is going to wear it, in my case my wrist takes 2.20 meters of rope for this braiding model, yes it is a more scientific braiding 😁😀 it has more rope.
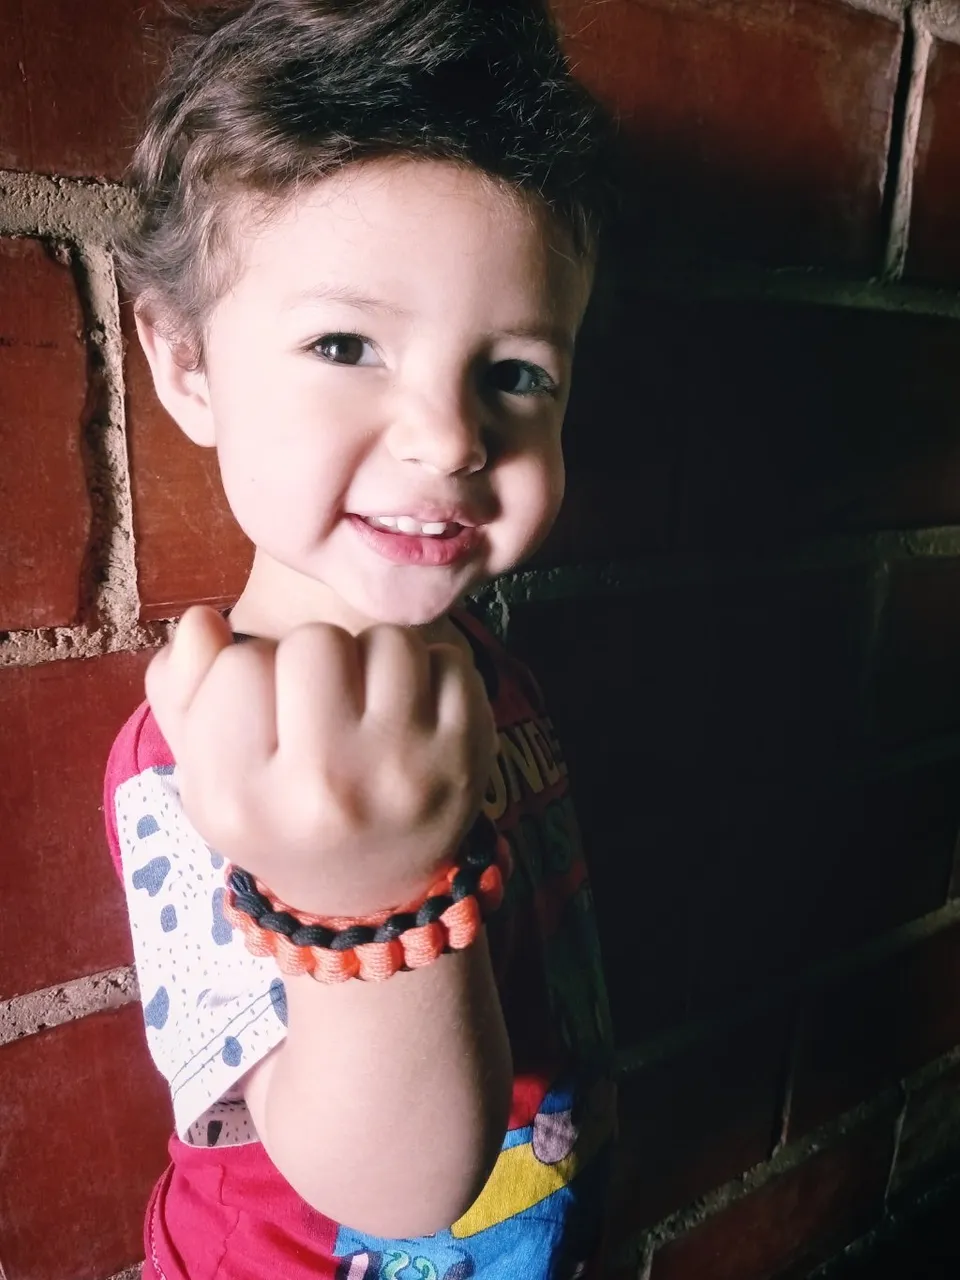
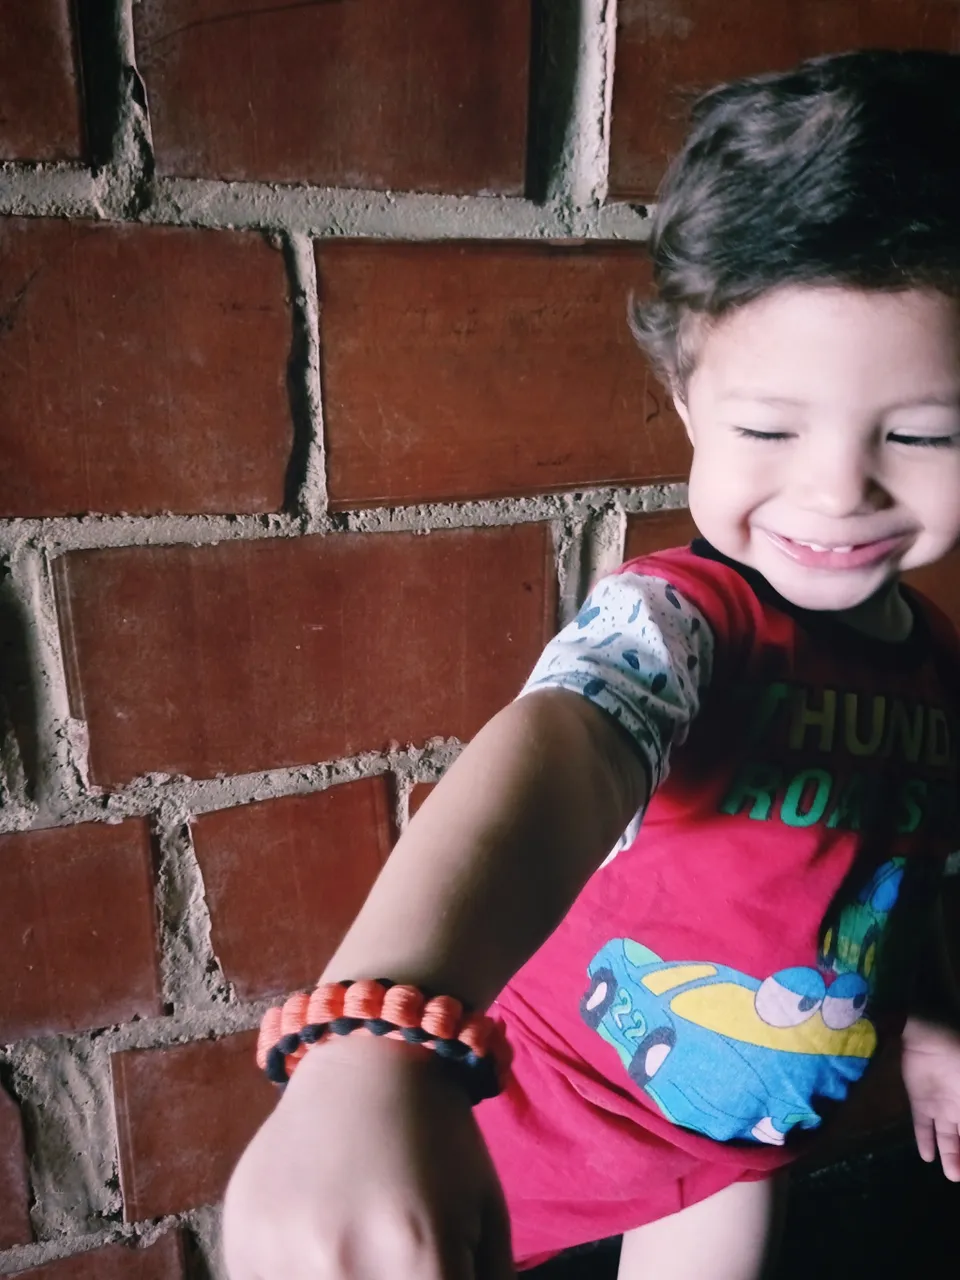
Final result happy customer 😀
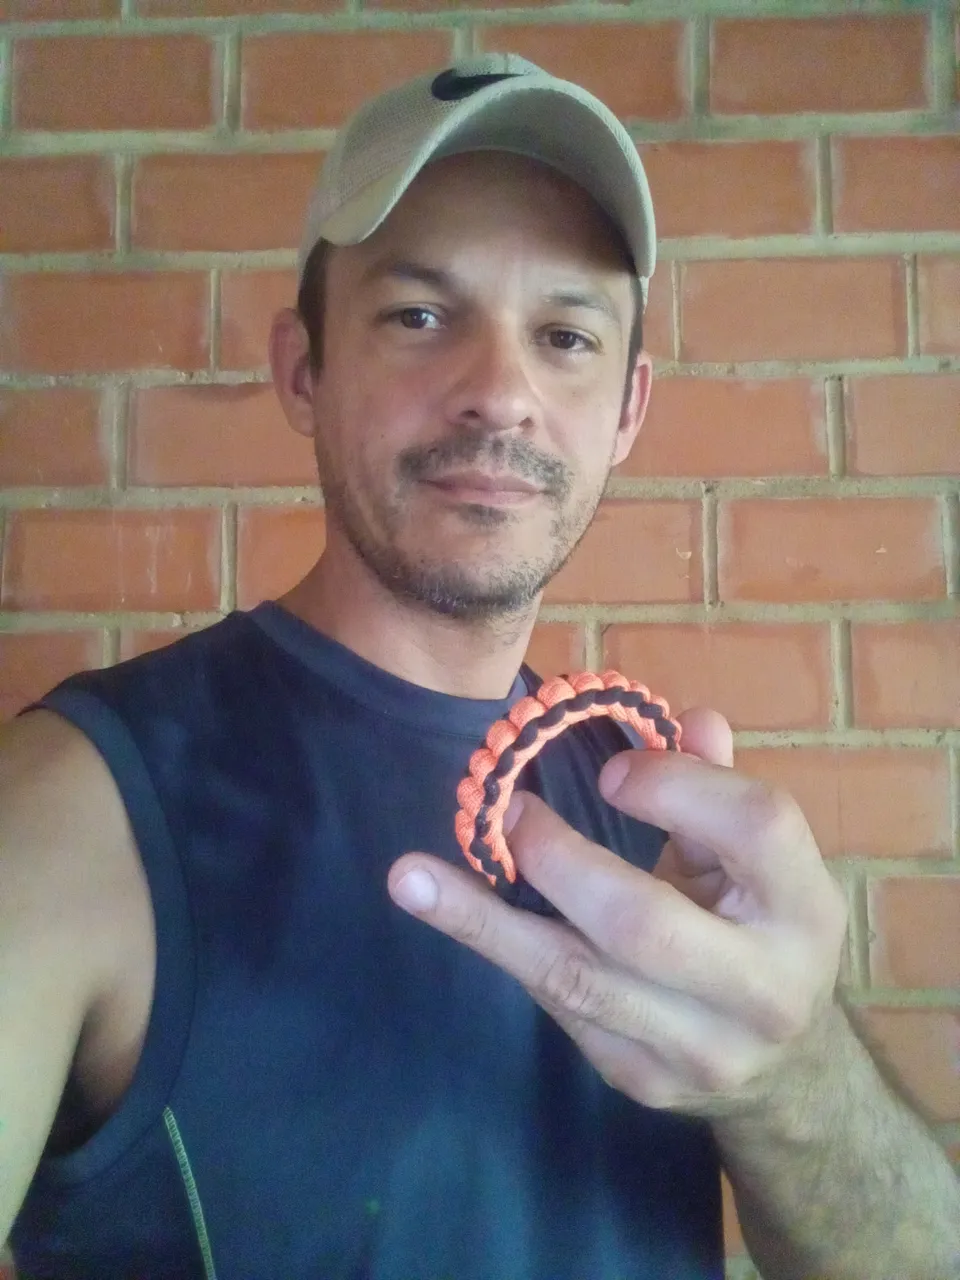
Thank you very much friends for visiting my post, I hope you liked today's tutorial. God bless you greatly and see you another time
This post is translated by android app Google translate
All photos were taken by my Alcatel 1v Smartphone
Image edited by Android app collage maker
Imagen editada por la aplicación de Android collagemaker