Hello my friends!
¡Feliz y bendecida noche para todos mis amigos de hive diy! Que bueno saludarles nuevamente y compartir un momento agradable con todos ustedes😁😊💖
Happy and blessed night to all my hive diy friends! It's good to greet you again and share a pleasant moment with all of you😁😊💖
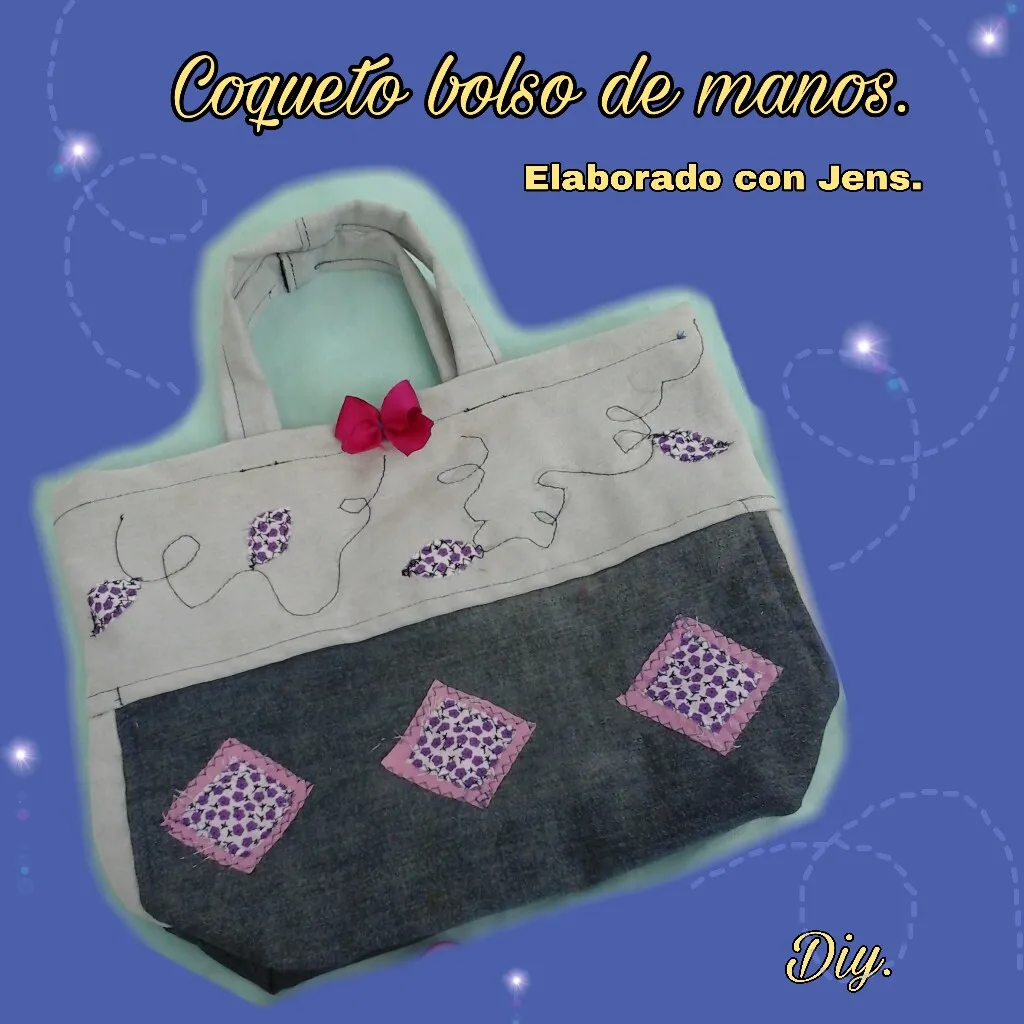
Hace días quería confeccionar un lindo bolso de blue jeans, y el día domingo dispuse un tiempo para hacerlo, utilizando algunos retazos de tela que nunca faltan en nuestras cosas, se que las amigas que cosen saben muy bien de lo que hablo ¡jeje!😃. Siempre que tenía la oportunidad confeccionaba un bolso de jens o de cualquier otra tela, la verdad es que me encanta hacerlos, creo que es una de las cosas que más amo confeccionar, en casa nunca faltaba un bolso pero lamentablemente corrian la misma suerte que este, de repente alguien venía a mi casa, se enamoraba de mi bolso y yo terminaba por regalarselo ¡jeje!😁. Al culminar este bolso, mi suegra le gusto mucho y como es costumbre termine obsequiandolo😃😂. Estos bolsos son muy bonitos además podemos llevar nuestras cosas personales a la hora de salir. Así que, si les gusta este proyecto, les invito a seguirme en este procedimiento hasta el final.
A few days ago I wanted to make a cute jeans bag, on Sunday I set aside some time to do it using some scraps that are never missing from our things, I know that the friends who sew know very well what I am talking about hehe!😃. Whenever I had the opportunity, I would make a jean bag or any other fabric, the truth is that I love making them, I think it's one of the things I love making the most, a bag was never missing at home but unfortunately they suffered the same fate as this one , suddenly someone came to my house, fell in love with my bag and I ended up giving it to them, hehe!😁. When I finished this bag, my mother-in-law liked it a lot and as usual I ended up giving it as a gift😃😂. These bags are very useful and we can carry our personal things when going out. So if you like this project, I invite you to follow me in this procedure until the end.

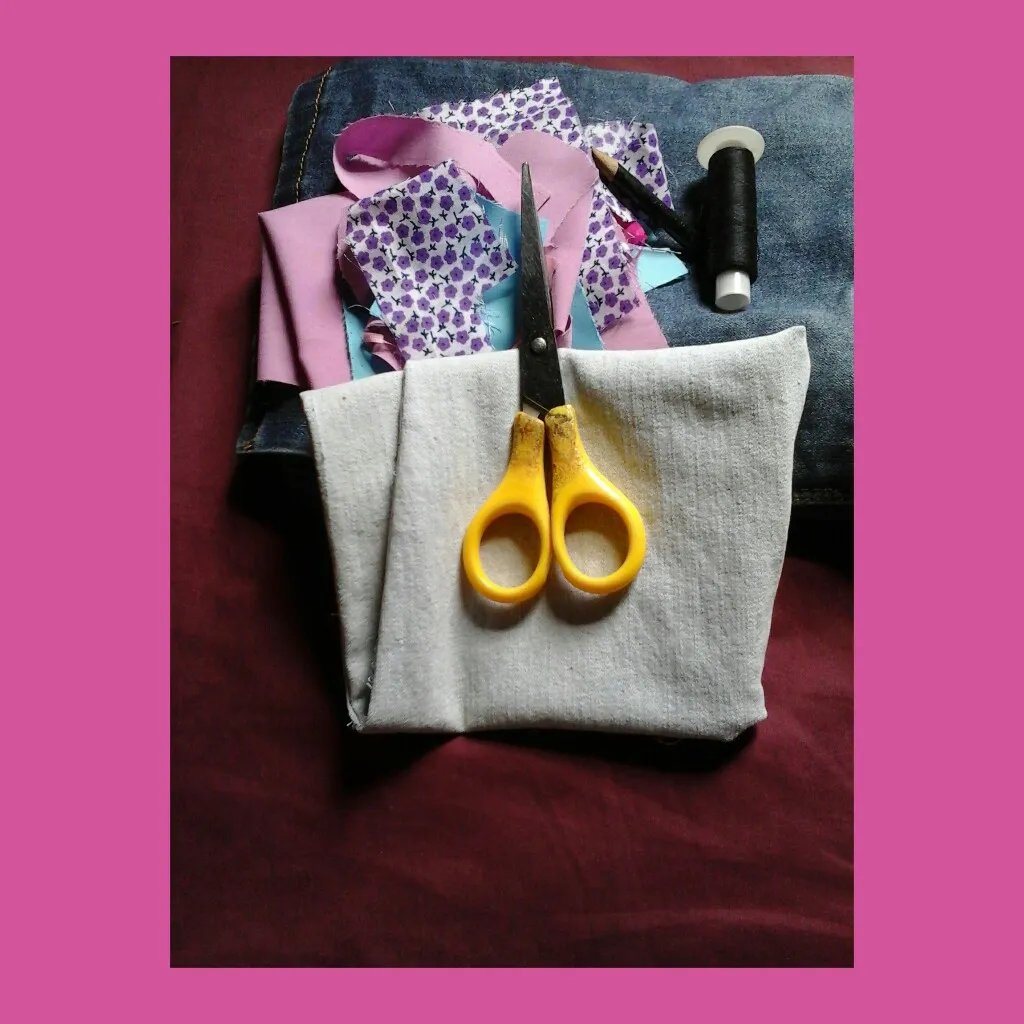
- Tela blue jens, claro y oscuro.
- Lápiz para marcar.
- Patrones.
- Tijera.
- Hilo y aguja.
- Cinta métrica o alguna regla.
- Blue jens fabric, light and dark.
- Pencil to mark.
- Patterns.
- Scissors.
- Thread and needle.
- Tape measure or some ruler.
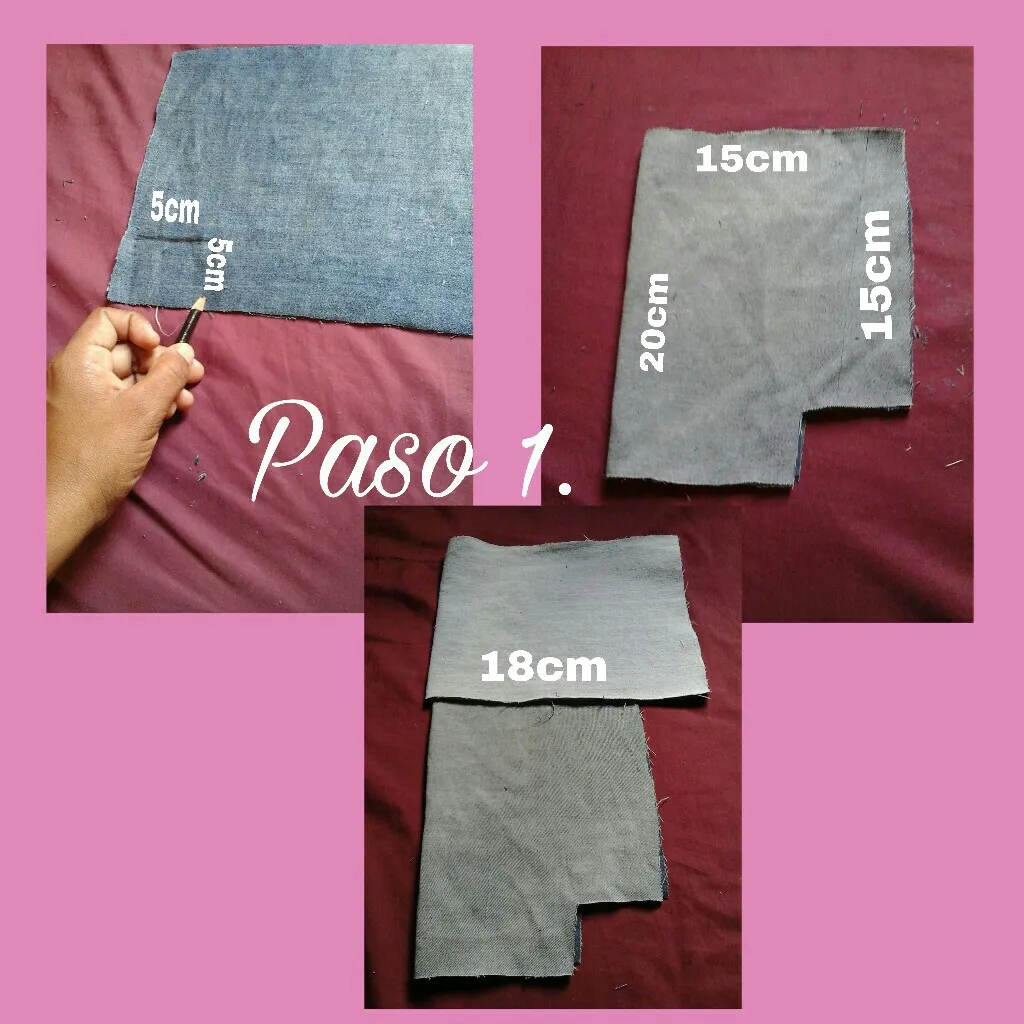
Antes de comenzar a elaborar el bolso, debemos hacer los patrones en algunas hojas de papel con sus respectivas medidas, tomamos la tela blue jeans más oscura y recortamos dos pares de rectángulos de aproximadamente 20cm de largo por 15cm de ancho al doblez, medimos 5cm hacía adentro y bajamos con 5cm igual, observen la imagen. Una vez que hayamos terminado, tomamos la tela más clara y recortamos 2 piezas de 10cm de largo por 18cm de ancho, al doblez. Estas piezas serán la parte superior del bolso, finalmente vamos a recortar cuatro piezas rectangulares de 3cm de ancho por 15cm de largo.
Before starting to make the bag, we must make the patterns on sheets of paper with their respective measurements, we take the darkest blue jeans fabric and cut two pairs of rectangles approximately 20cm long by 15cm wide in the fold, we measure 5cm inwards and go down with the same 5cm, see the image. Once we have finished, we take the lightest fabric and cut 2 pieces of 10cm long by 18cm wide, folded. These pieces will be the upper part of the bag, finally we are going to cut four rectangular pieces of 3cm wide by 15cm long.
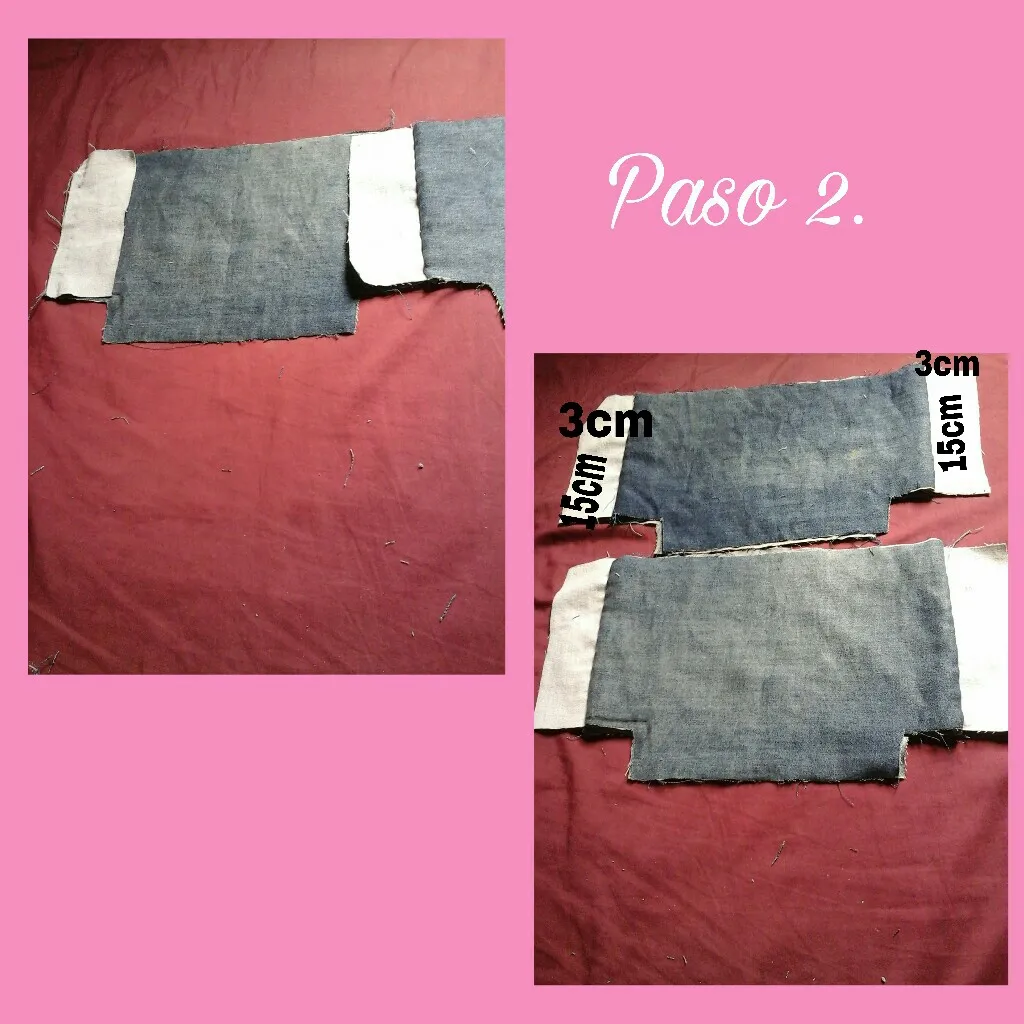
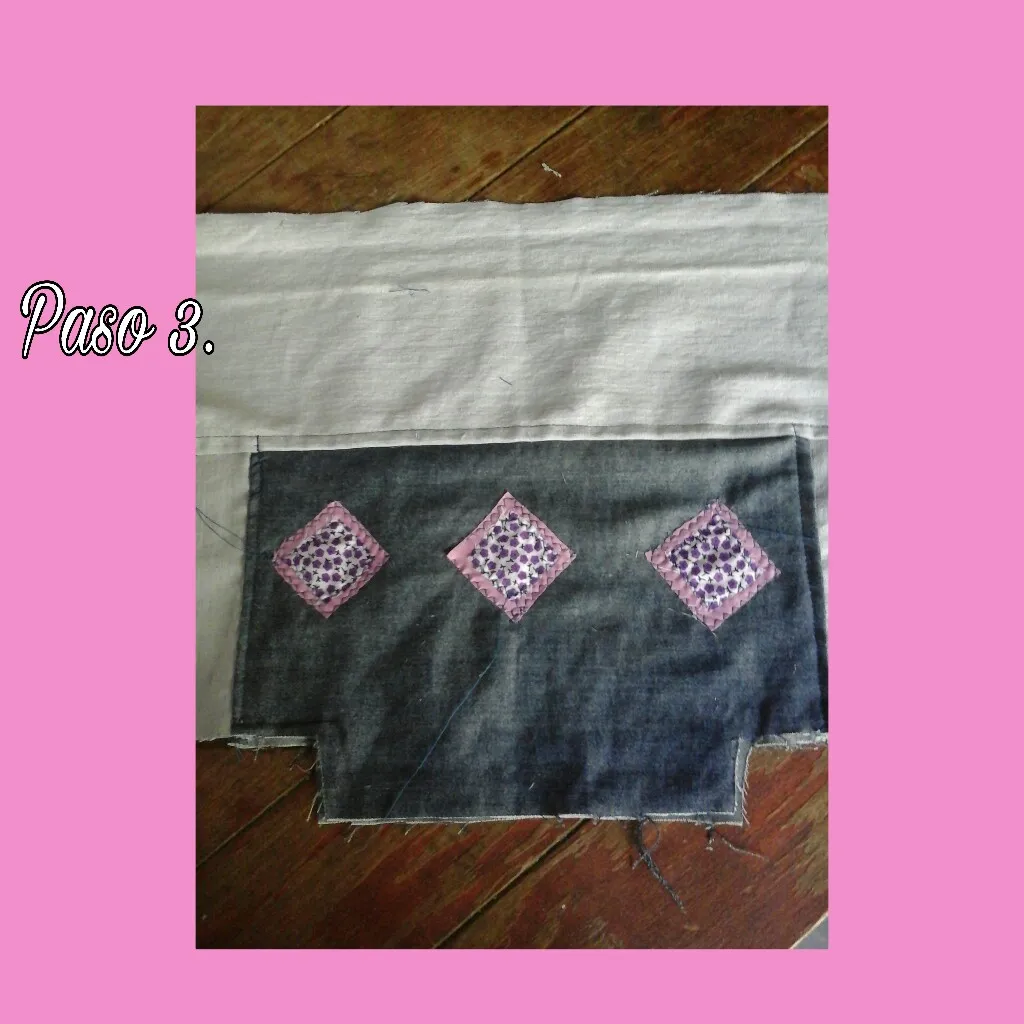
Tomamos las piezas en forma de rectángulos de (15cmx3cm) las colocamos sobre las más oscuras, tomamos la pieza que irá dentro del bolso, cosemos solo por los laterales y por la parte revés de la tela. Observen como ha quedado al voltear las piezas, no se notará costura alguna ya que quedará por dentro.
We take the pieces in the shape of rectangles (15cmx3cm) we place them on the darker ones, we take the piece that will go inside the bag, we sew only on the sides and on the back of the bag fabric. Observe how it turned out when turning the pieces over, no seam will be noticeable since they will remain on the inside.
Unimos con costura la parte superior a la parte inferior, pase una costura recta por la parte de afuera para reforzar la costura interna, además se verá muy bonito. Para decorar recorte unos pequeños cuadritos de tela y cosi a la parte delantera del bolso, pase costura tipo zigzag ya que no tengo la máquina apropiada para hacer este tipo de costura. Asi deben quedar la parte de atrás del bolso, solo que a esta no le coloque los apliques.
Sew the top to the bottom, sew a straight seam on the outside to reinforce the inside seam, it will also look very pretty. To decorate, cut out a few small squares of fabric and sew to the front of the bag, use a zigzag seam since I don't have the appropriate machine to do this type of seam. This is how the back of the bag should look, only do not put the appliqués on it.
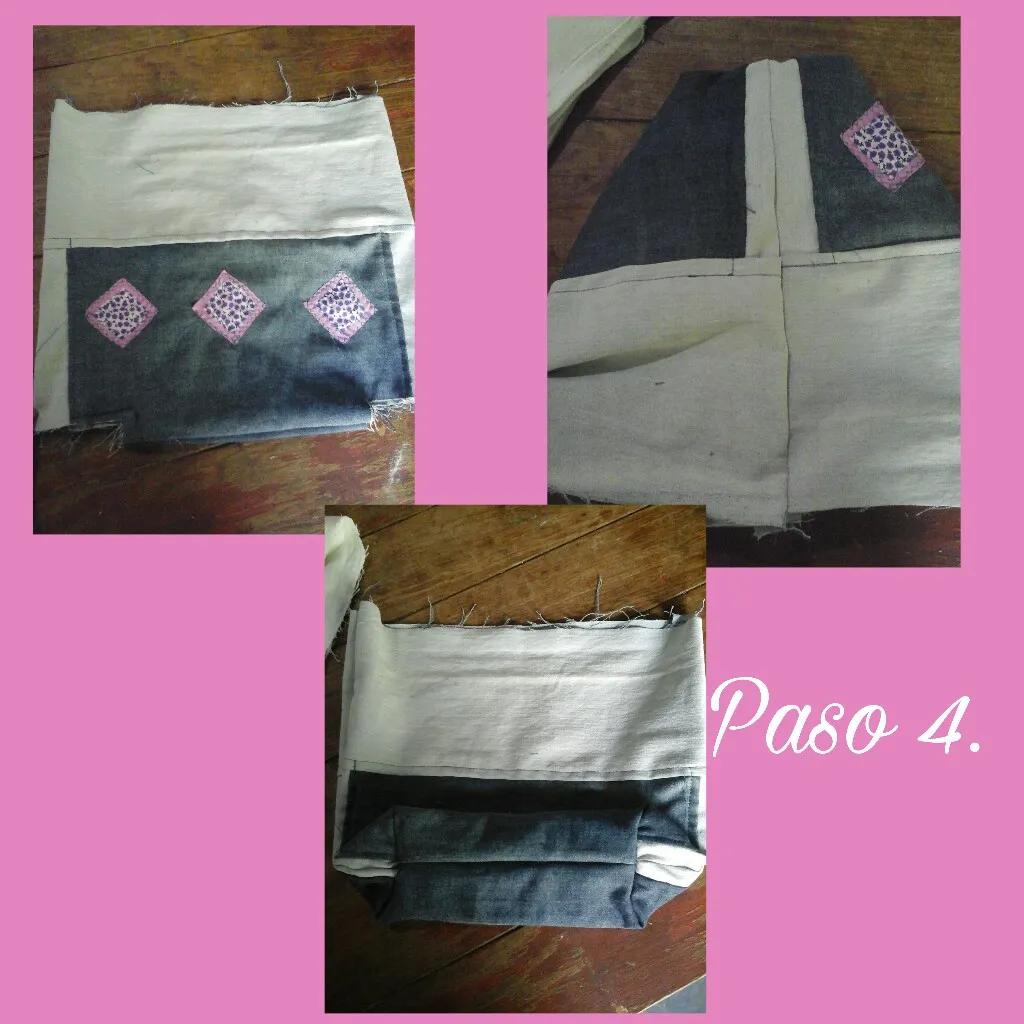
En este paso unimos las piezas por los laterales y por la parte inferior, si pueden apreciar ha quedado una abertura en cada esquina, cosemos para que nuestro bolso quede con una base, y una forma muy bonita. Hay muchos bolsos sencillos que no tienen esta forma, pero no quise hacerlos recto y simple; en lo personal me gusta mucho los bolso con una base como esta.
In this step we join the pieces on the sides and the bottom, if you can see there is an opening in each corner, we sew so that our bag has a base, and a very pretty There are many simple bags that don't have this shape, but I didn't want to make them straight and simple; Personally, I really like bags with a base like this one.
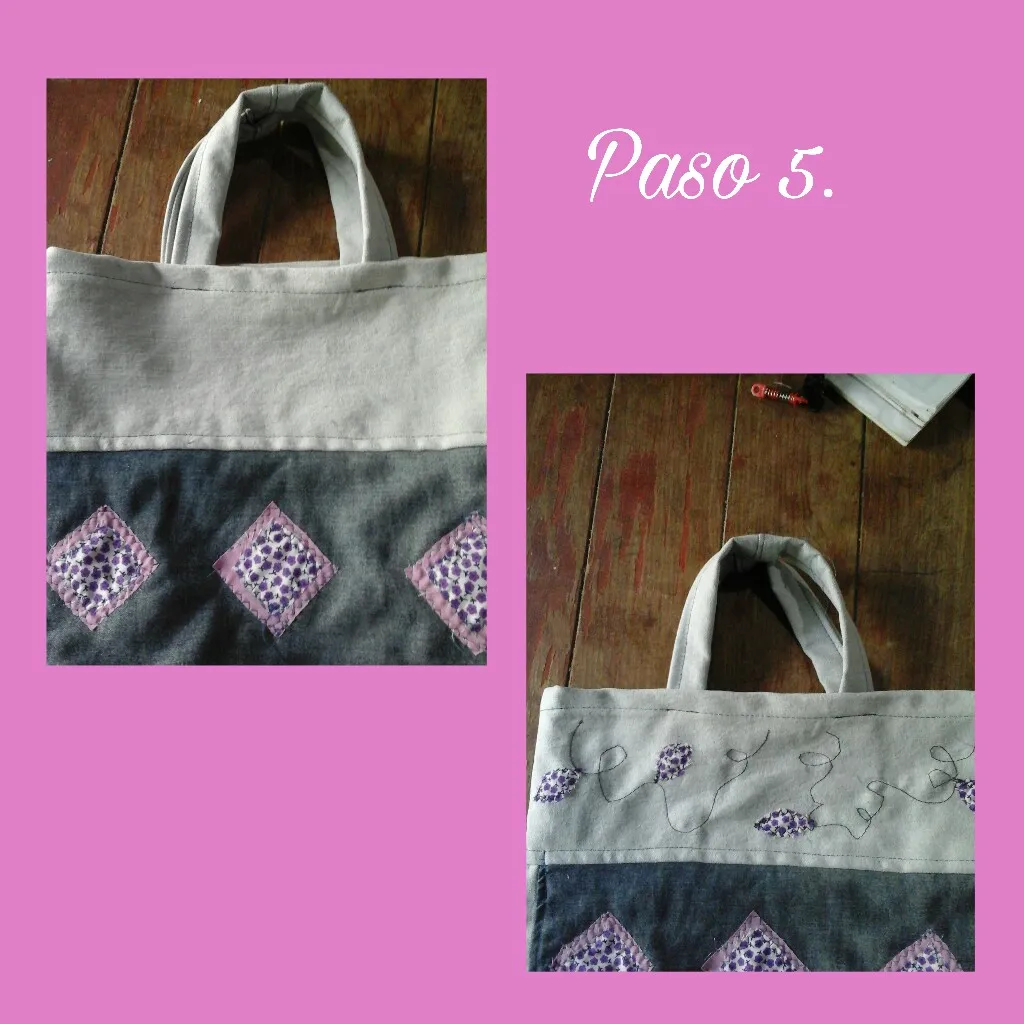
Cosemos el dobladillo, recortamos unas tiras de aproximadamente 25cmx6cm, estas funcionarán como colgantes por donde vamos a sujetar el bolso. Finalmente marqué con un lápiz he hice unas líneas curvas para luego pasar la máquina y hacer un lindo diseño en la parte superior.
Sew the hem, cut some strips of approximately 25cmx6cm, these will function as pendants where we are going to hold the bag. Finally I marked with a pencil I made some curved lines and then passed the machine and made a nice design on top.

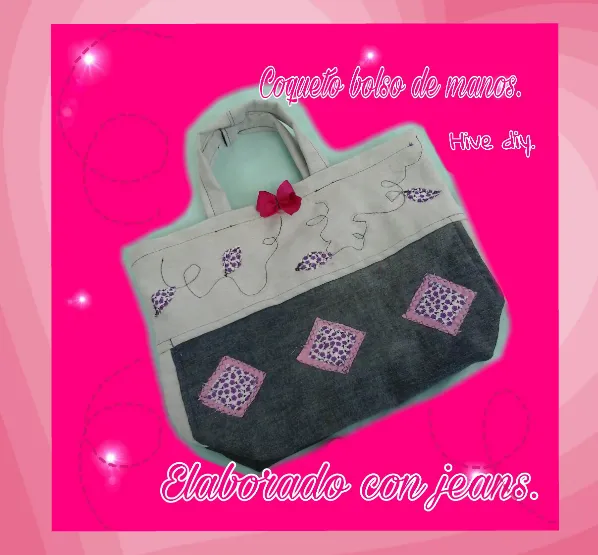
Amigos, este es el resultado que hemos obtenido, así es como podemos confeccionar nuestro propio bolso de manos que podemos llevar a cualquier parte. Espero que les guste el resultado.
Friends, this is the result we have obtained, this is how we can make our own handbag that we can take anywhere. I hope you like the result.
Que regocijo haber compartido con todos ustedes este lindo proyecto de costura, espero volver a compartir otro con todos ustedes. Agradecida con todos por el apoyo y por cada comentario. No me queda más que desearles una ¡FELIZ Y BENDECIDA NOCHE! ¡Nos vemos pronto con más costuras.!!.
What a joy to have shared with all of you this beautiful sewing project, I hope to share another one with all of you. Grateful to everyone for the support and for each comment. I only have to wish you a HAPPY AND BLESSED NIGHT! See you soon with more seams.!!.
Se trabaja con mucho amor.💖💖
You work with a lot of love.💖💖

Créditos.
Todo el contenido es de mi autoria.
Fotos capturadas por mi tablet Samsung galaxy, editadas por Picsart.
Traductor utilizado Esp/Ing (Google).
Credits.
All content is my own.
Photos captured by my Samsung galaxy tablet, edited by Picsart.
Translator used Esp/Eng (Google).