
✨HOLA HIVER✨
Saludos a todos los integrantes de esta hermosa comunidad de creadores.
Hoy quiero compartir con ustedes una pequeña manualidad que hice después de ver un vídeo de Youtube donde hacían un POP IT con foami y me pareció un idea muy simpática, así que decidí intentar hacer uno yo a ver qué tal quedaba, y la verdad que el resultado es muy chévere, a mi hijo le encantó ☺️.
Así que sin más, estos son los materiales y pasos a seguir para realizar el POP IT de foami
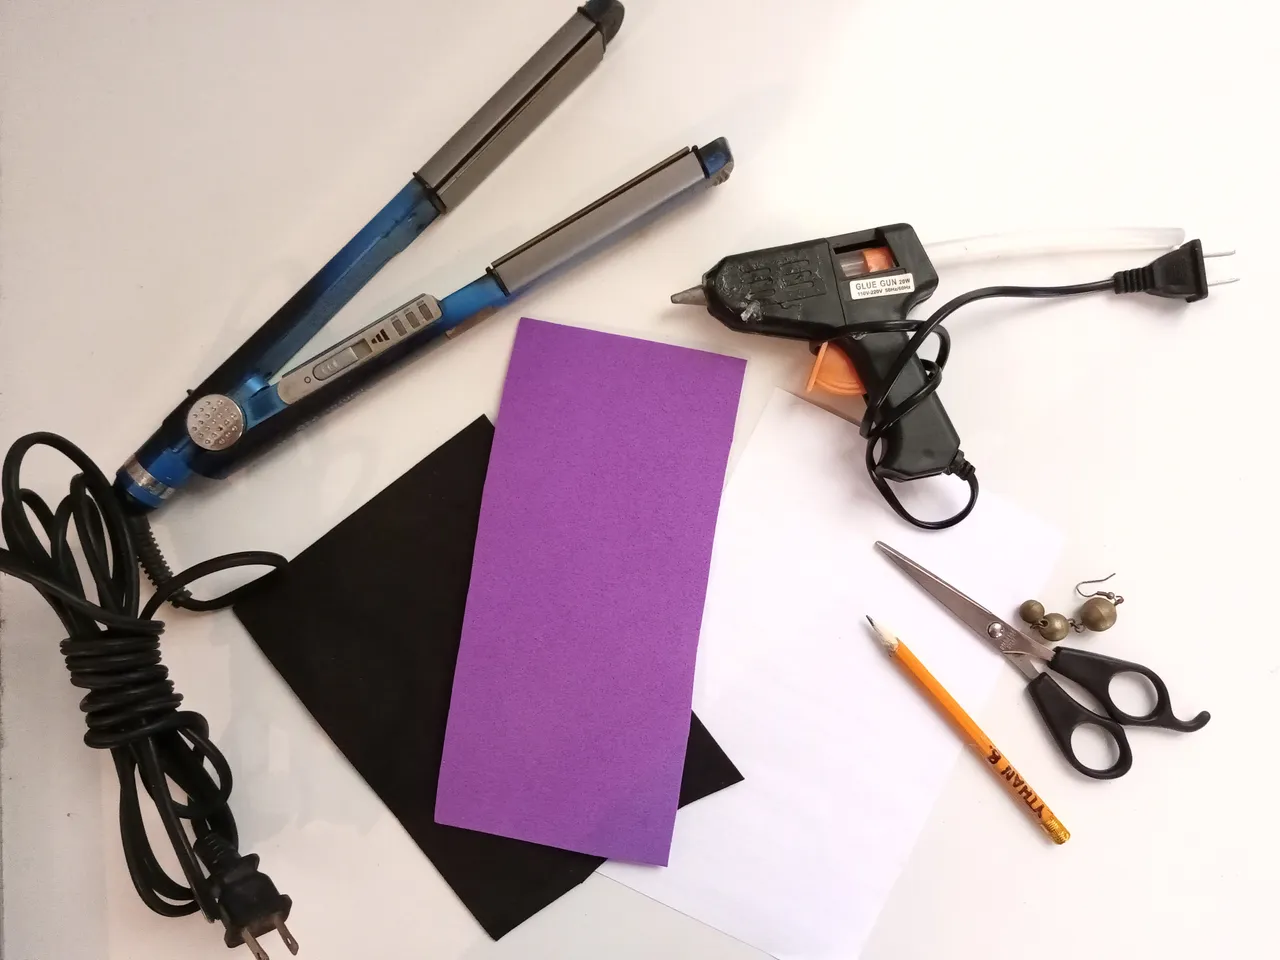
✂️MATERIALES✂️
• Tijera.
• Foami del color o colores preferidos.
• Pistola de silicon.
• Lápiz.
• Hoja blanca.
• Plancha.
• Canica, bolita o cualquier objeto redondo del tamaño deseado.
✍🏻 ELABORACIÓN ✍🏻
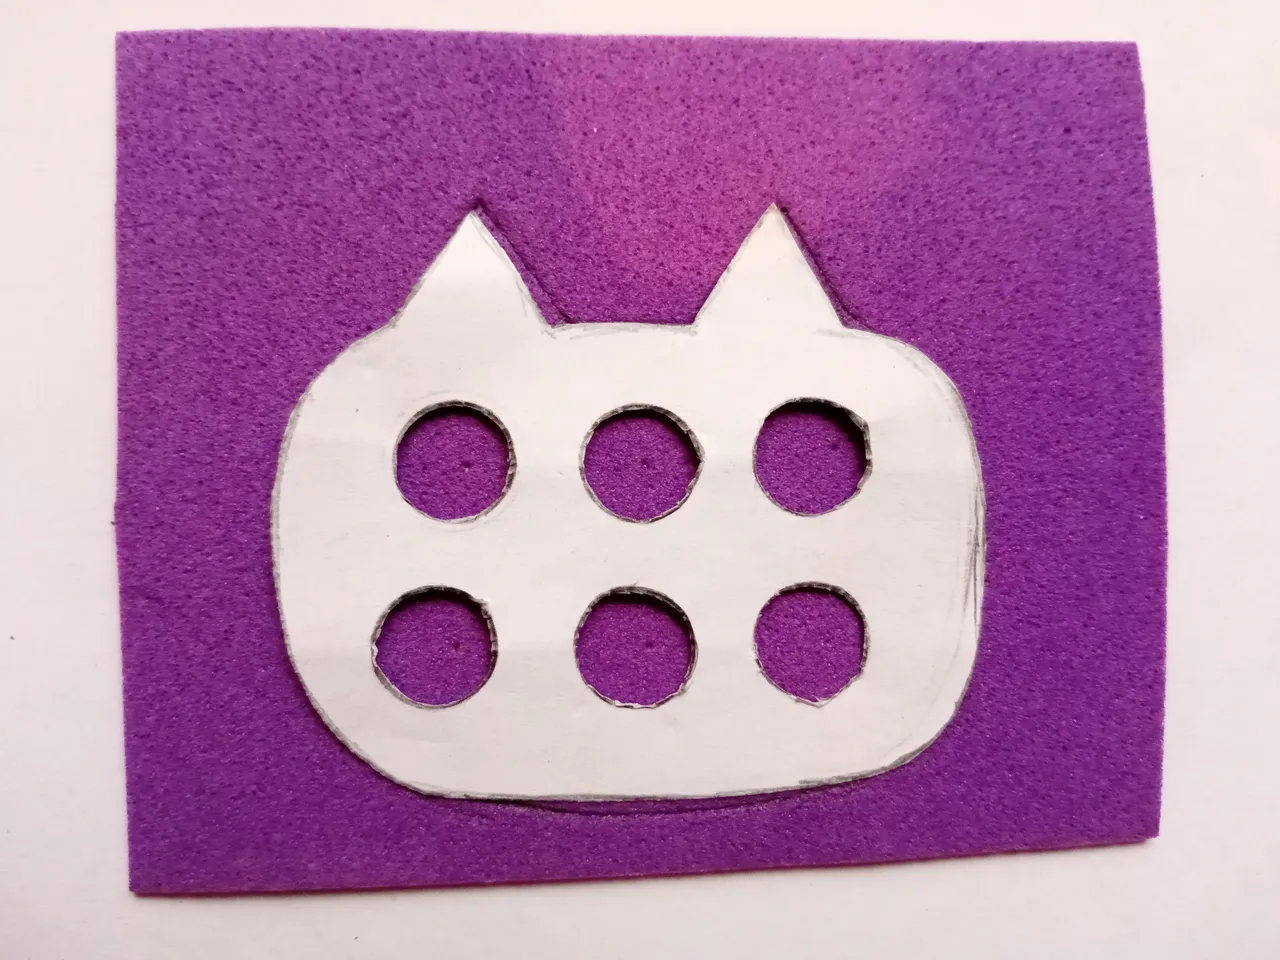
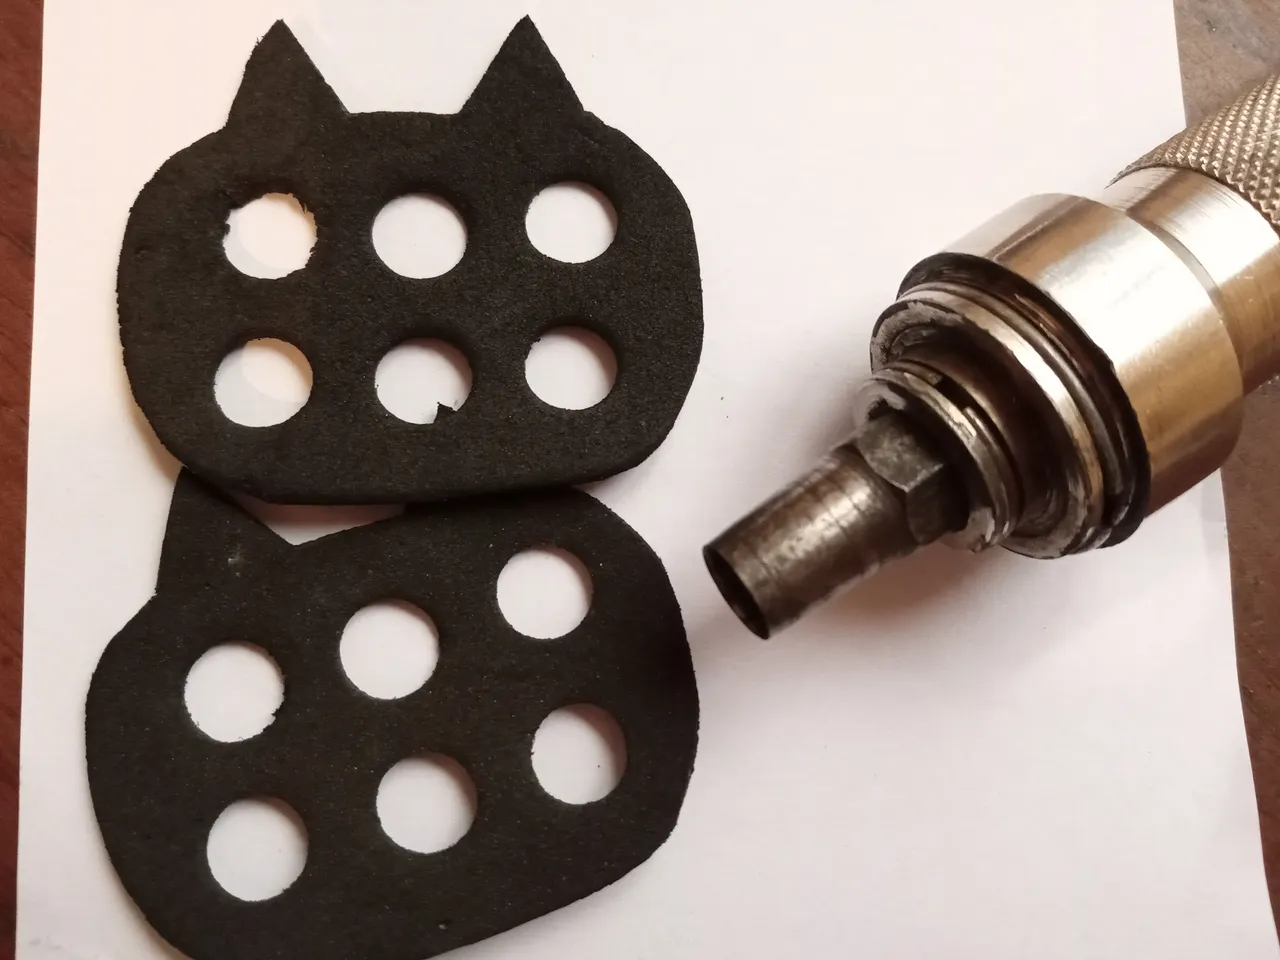
Para comenzar, en la hoja blanca dibuje la forma o el diseño que escogí para el Pop Ir, luego lo recorte y lo usé como patrón para cortar 2 piezas de foami color negro y uno de color morado (pueden usar el foami del color que ustedes prefieran).

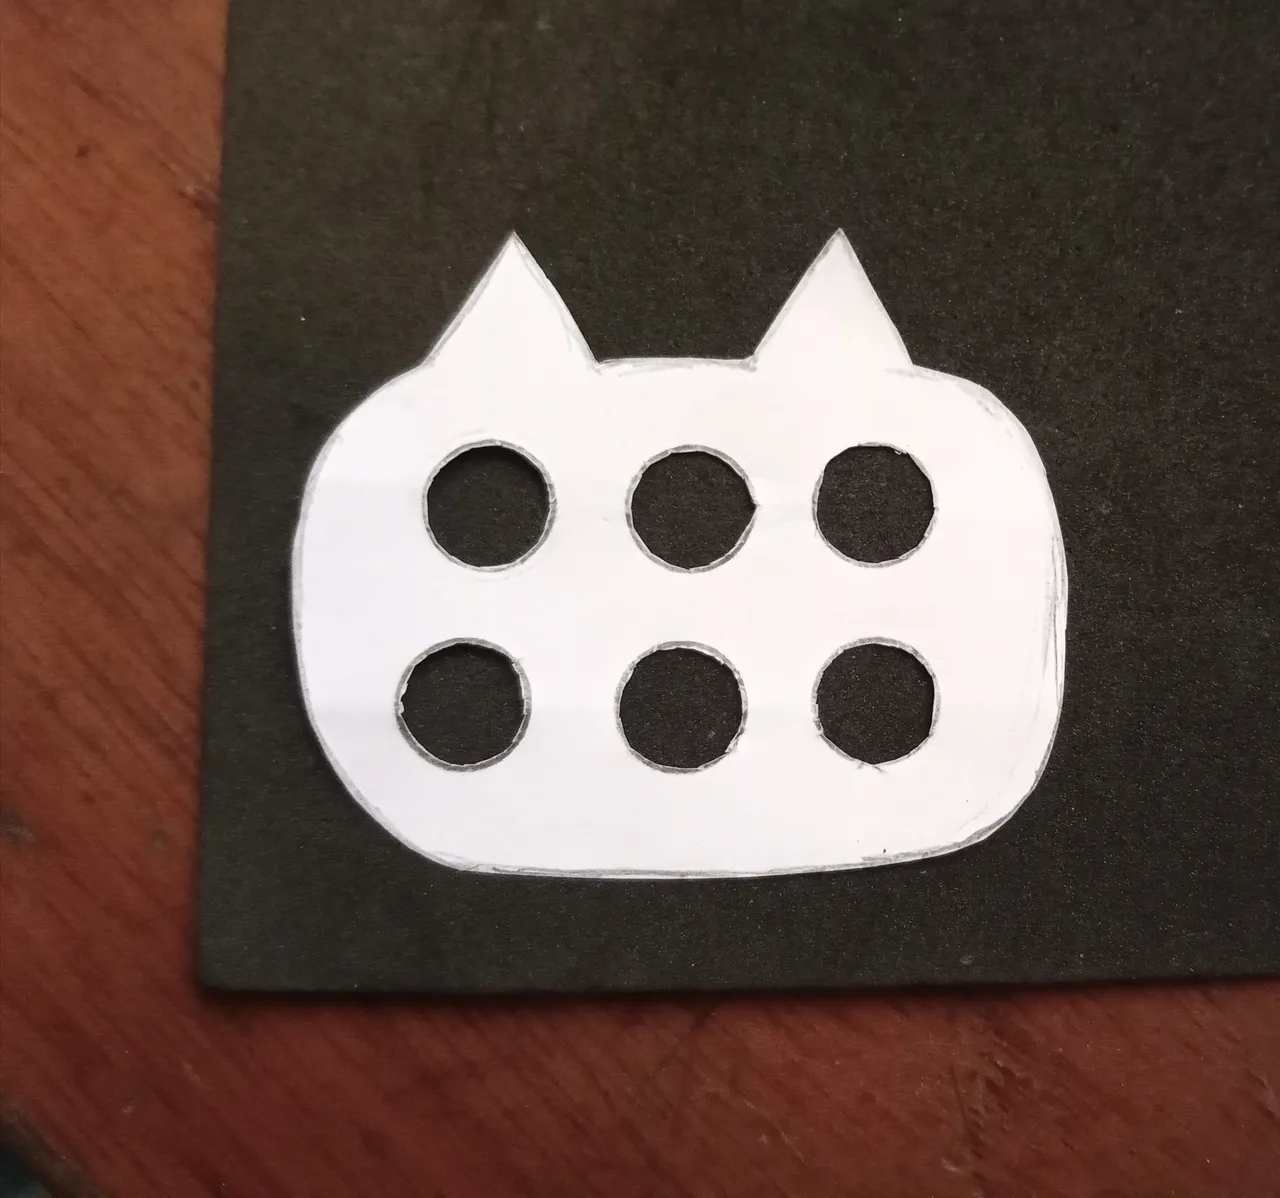
Después de tener las dos piezas de color negro, usé un cortador especial que le pedí prestado a mi esposo para poder cortar los 6 agujeros en cada pieza. La verdad intenté cortarlas con la tijera pero no me estaban quedando tan prolijas como quería, pero en caso de no tener este tipo de cortador o alguno similar lo pueden hacer tranquilamente con las tijeras ✂️.
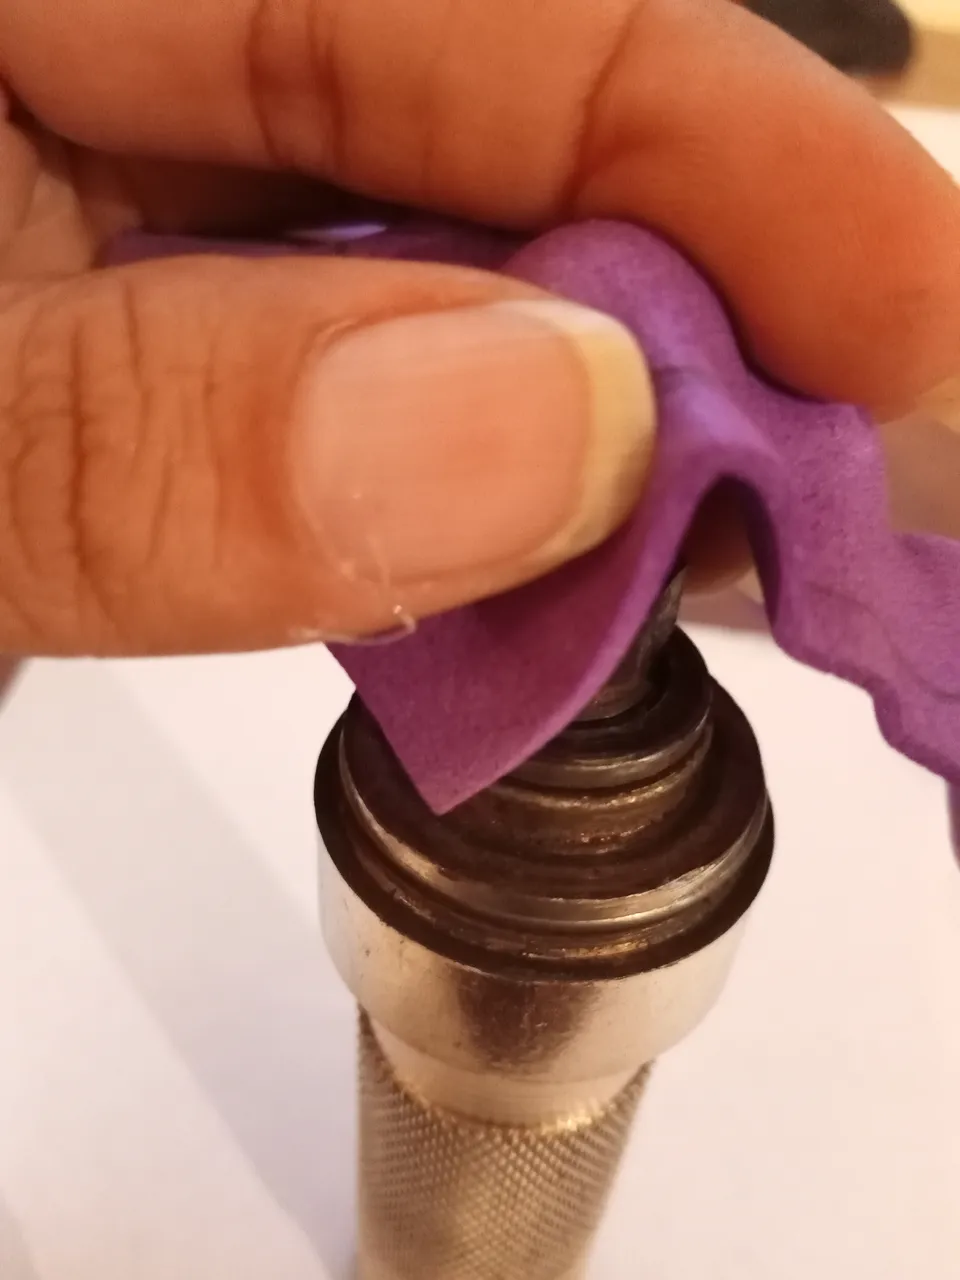
A la pieza morada la calenté con la plancha y en seguida la colocaba arriba de la canica y presionaba hacia abajo para que así el foami tomara la forma redonda y abombada antes de enfriarse. Este proceso lo realice las 6 veces en cada punto que había cortado en las piezas negras. Luego lo recorte con la forma escogida.
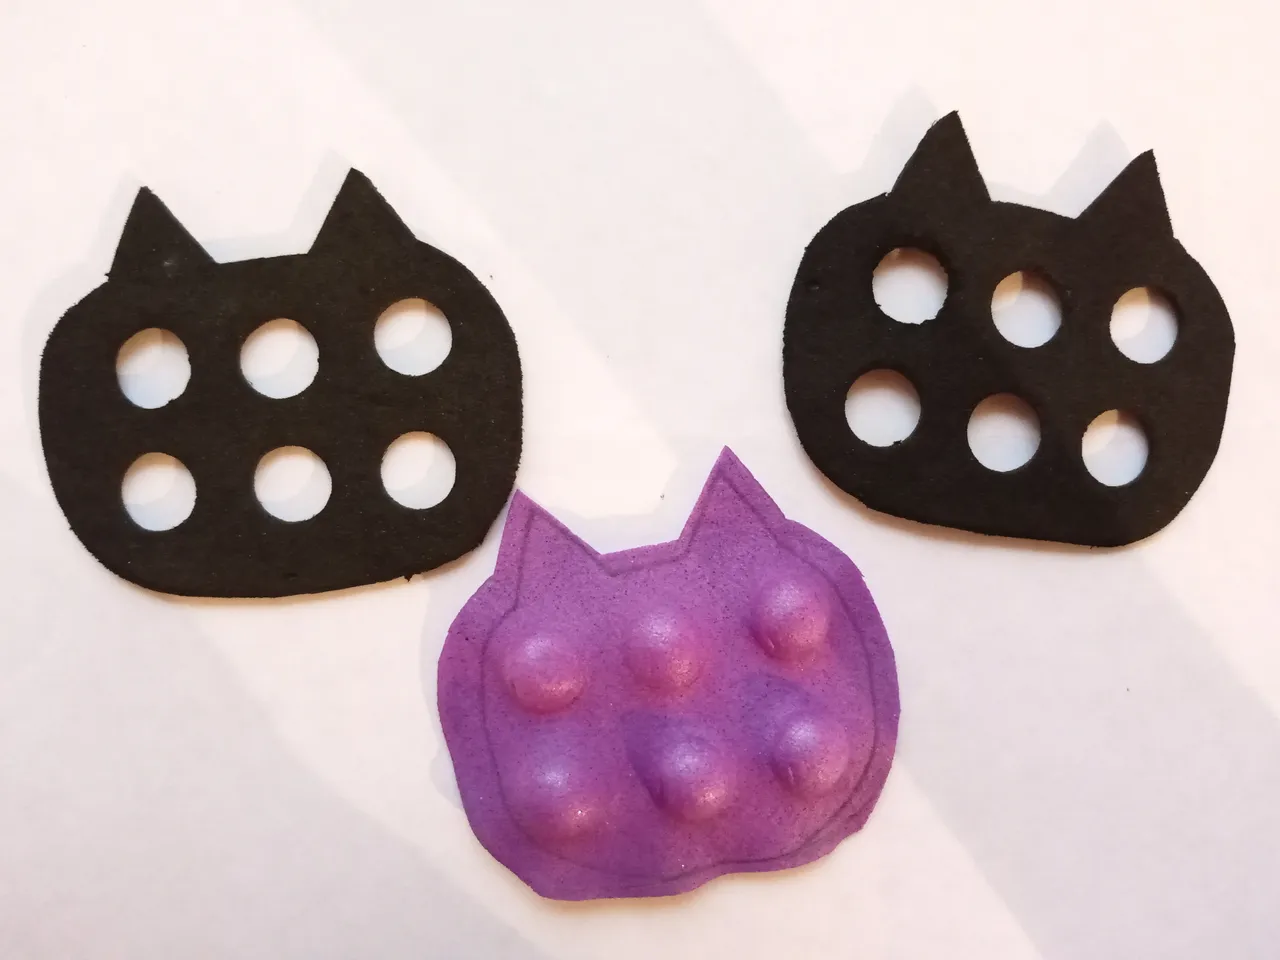
Después de tener las 3 piezas recortadas las pegue con silicon caliente, colocando la pieza morada en el medio de las dos piezas negras y listo.
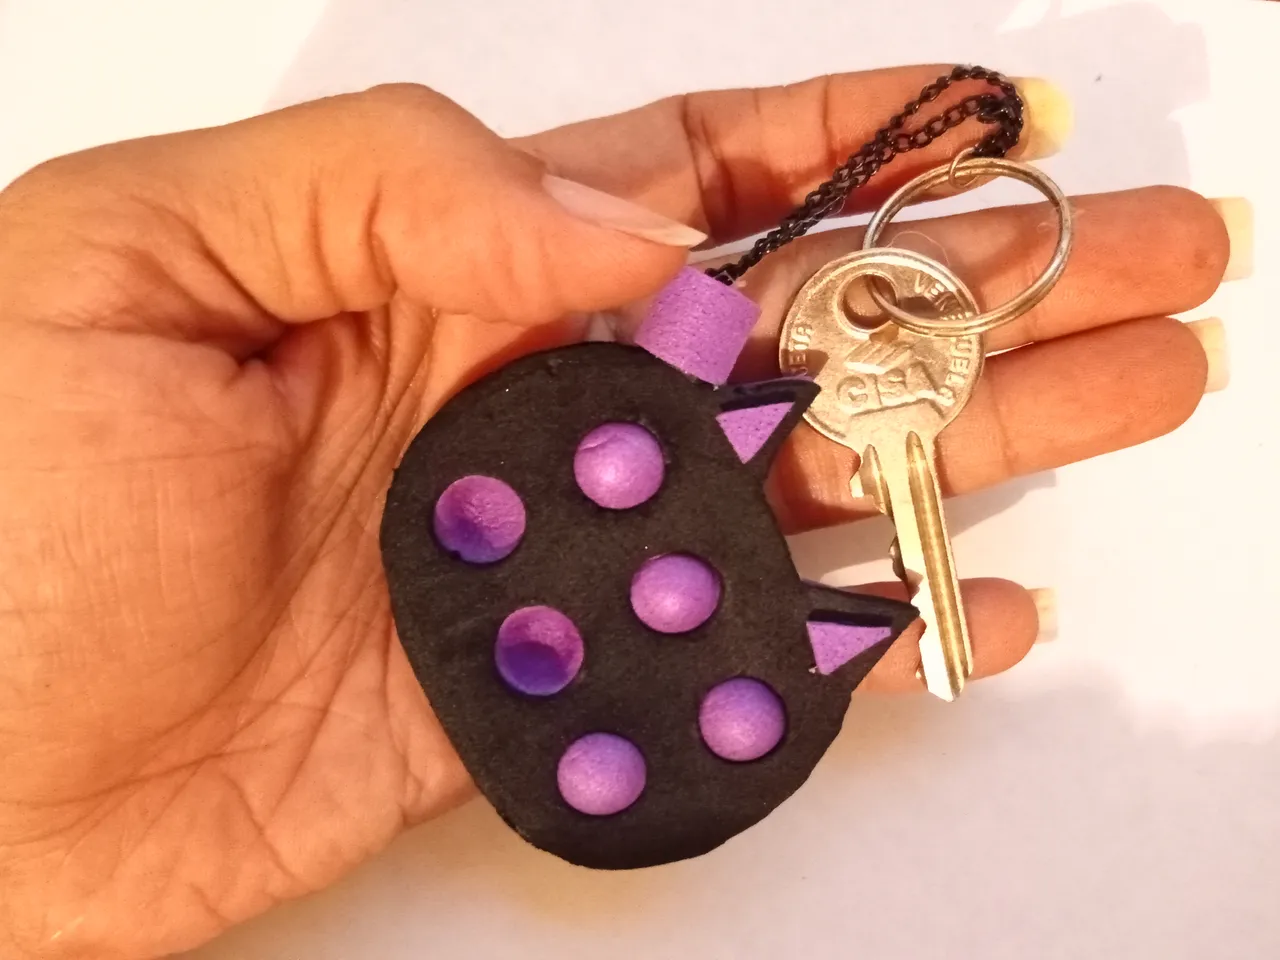
✨RESULTADO FINAL✨
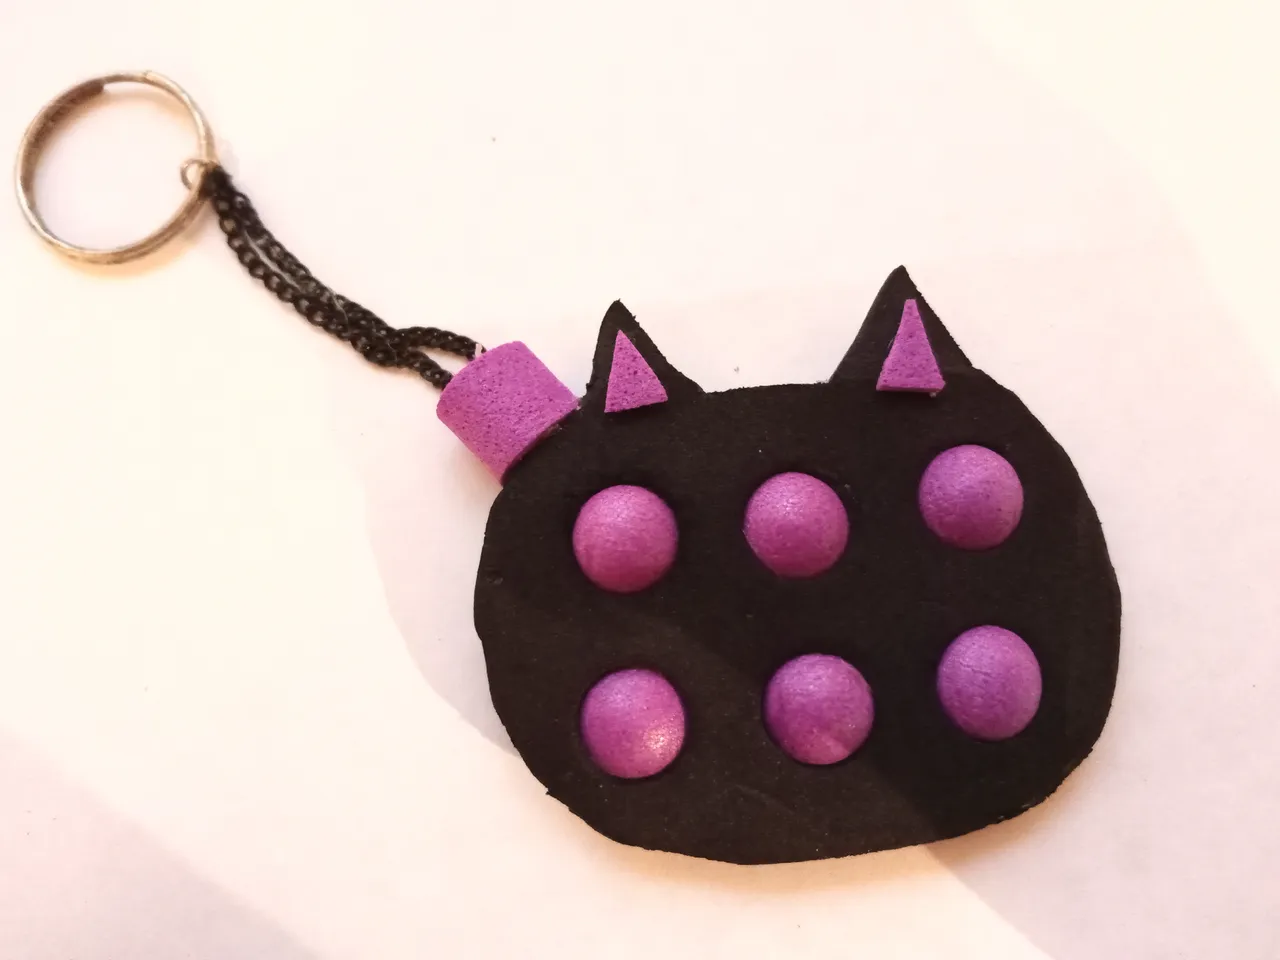
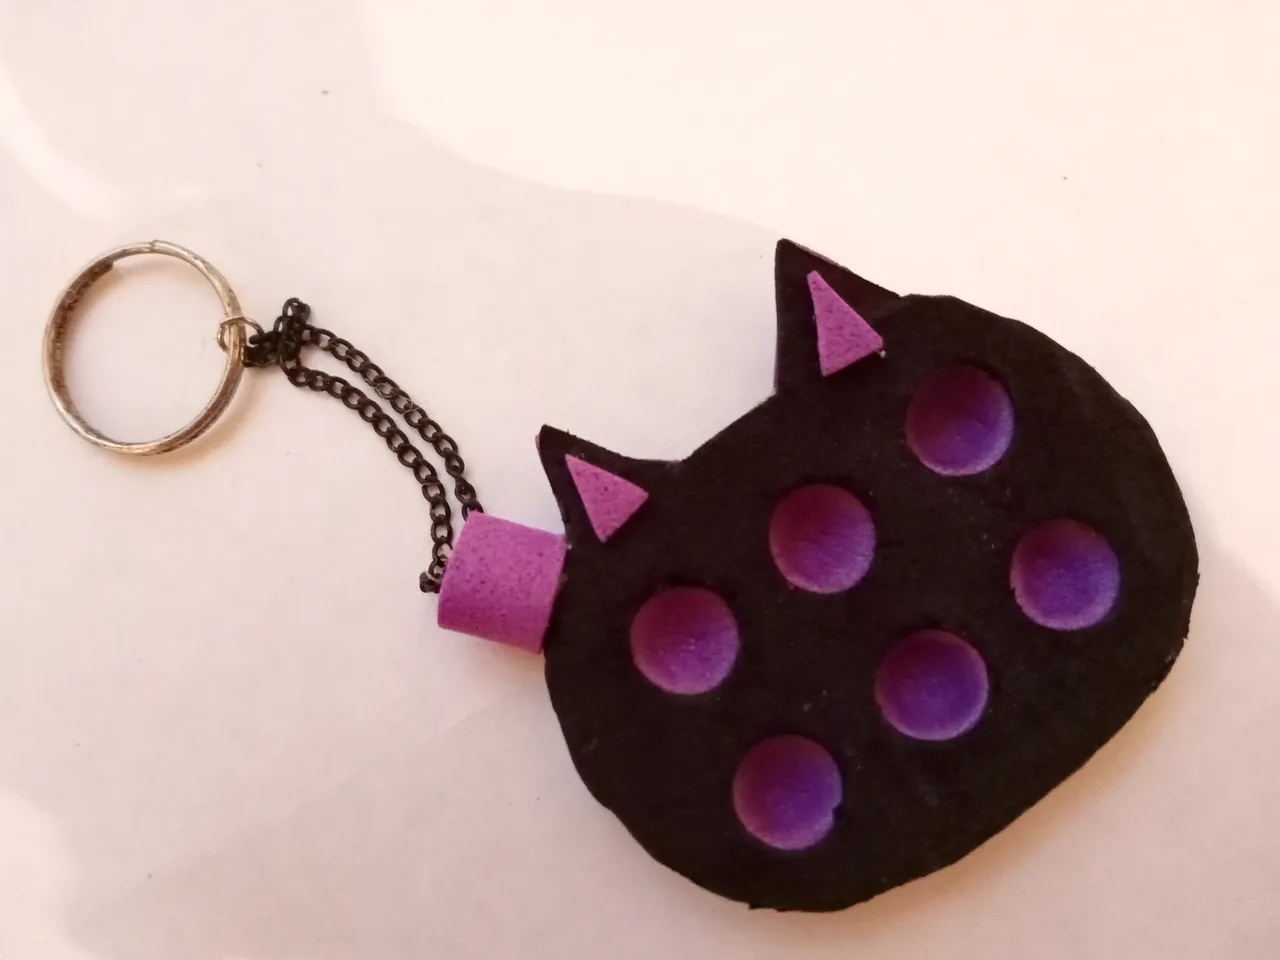
Yo le agregué una cadenita con aro para las llaves pero ustedes pueden dejarlo solo o decorarlo como más les guste 😊.
Espero les gustara este Pop It de foami tanto como a mí y a mi hijo quién paso más de media hora jugando con el después de que lo terminará 🙃, y como siempre también espero los inspirará a realizarlo ustedes mismos, y si lo hacen me encantaría poder ver en sus comentarios fotos de cómo les quedaron.
Me despido deseándoles lo mejor y esperando verlos en el próximo post. Con cariño Alvac.art💋
NOTA: las fotos fueron tomadas con un Smartphone Alcatel 1S 2020.

✨HELLO HIVER✨
Greetings to all the members of this beautiful community of creators.
Today I want to share with you a little craft that I did after watching a video on Youtube where they made a POP IT with foami and I thought it was a very nice idea, so I decided to try to make one myself to see how it turned out, and the truth is that the result is very cool, my son loved it ☺️.
So without further ado, these are the materials and steps to follow to make the POP IT by foami
✂️MATERIALS✂️
• Scissor.
• Foami of the favorite color or colors.
• Silicone gun.
• Pencil.
• White sheet.
• Griddle.
• Marble, ball or any round object of the desired size.
✍🏻 PROCESSING ✍🏻
To start, on the white sheet I drew the shape or design that I chose for the Pop Go, then I cut it out and used it as a pattern to cut 2 pieces of foami in black and one in purple (you can use the foami in the color that you prefer).
After I had the two black pieces, I used a special cutter that I borrowed from my husband so I could cut all 6 holes in each piece. I actually tried to cut them with scissors but they weren't as neat as I wanted, but if you don't have this type of cutter or a similar one, you can easily do it with scissors ✂️.
I heated the purple piece with the iron and then placed it on top of the marble and pressed it down so that the foami took a round and convex shape before cooling. I did this process 6 times at each point I had cut on the black pieces. Then cut it out in the chosen shape.
After having the 3 pieces cut out, I glued them with hot silicone, placing the purple piece in the middle of the two black pieces and that's it.
✨FINAL RESULT✨
I added a chain with a ring for the keys but you can leave it alone or decorate it as you like 😊.
I hope you like this Pop It by foami as much as me and my son who spent more than half an hour playing with it after he finished it 🙃, and as always I also hope it will inspire you to do it yourselves, and if you do I would love to see photos of how they turned out in your comments.
I say goodbye wishing you the best and hoping to see you in the next post. With love Alvac.art💋
*NOTE: the photos were taken with an Alcatel 1S 2020 Smartphone.