Si, me encontraba en una de esas tardes donde dejamos salir la creatividad, y me dije que quería algo para decorar mis lápices o en este caso uno de ellos, ya que hacia demasiado tiempo la última vez que hice uno.
Además el hecho de crear algo con alguna idea inicial y terminar haciendo algo totalmente diferente es parte de la creatividad y lo que más amo.
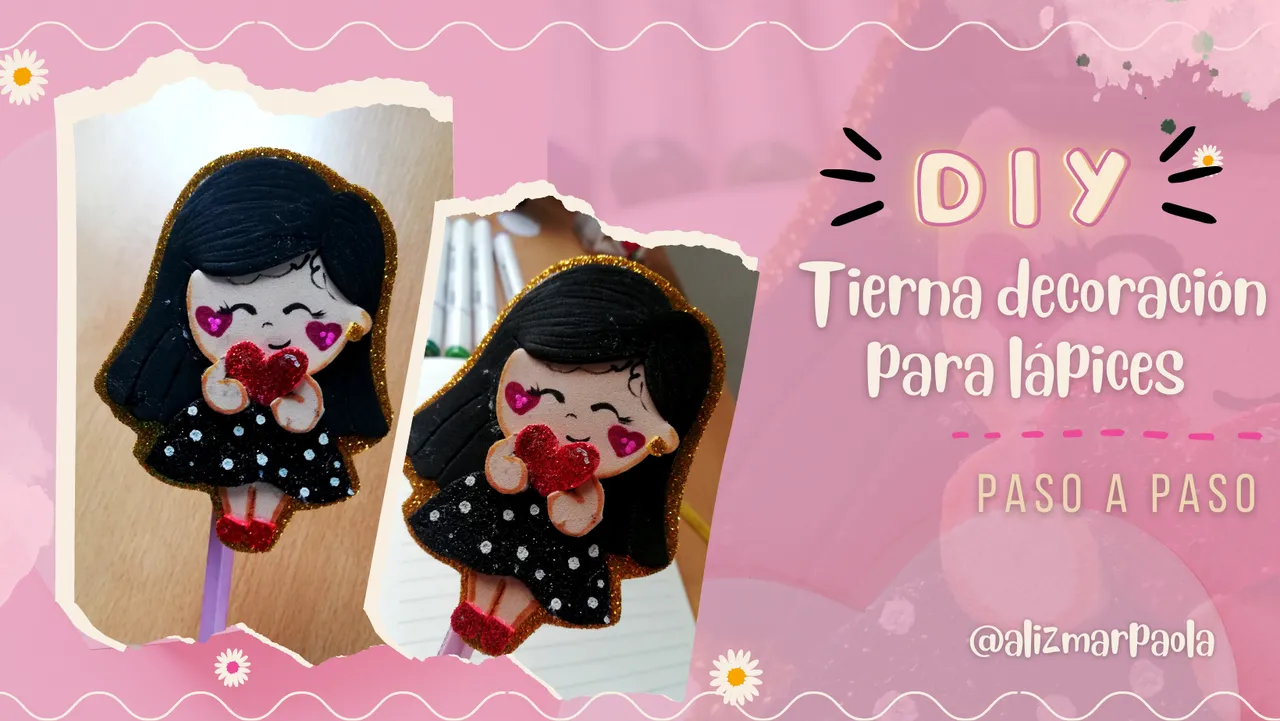
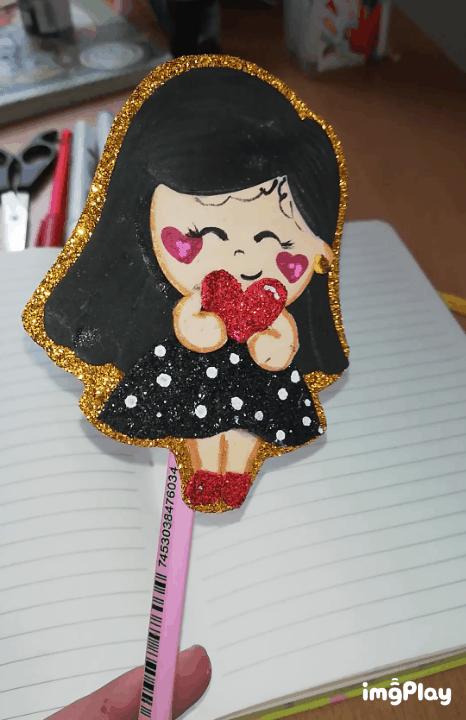
Sin más, por aquí te muestro como hice esta niña decorativa, espero les guste✨
Hello friends✨! I hope you are feeling great and that your day is very prosperous, over here we are quite well happy to stop by this creative community once again and this time to show you my most recent creation. Yes, I was in one of those afternoons where we let the creativity out, and I said to myself that I wanted something to decorate my pencils or in this case one of them, since it was too long ago the last time I made one. Besides the fact of creating something with some initial idea and end up doing something totally different is part of creativity and what I love the most.Without further ado, here I show you how I made this decorative girl, I hope you like it✨.

Materiales
- Foami escarchado (negro, rojo y dorado)
- Foami liso color piel
- Foami liso color negro
- Pintura al frío (negra y blanca)
- Silicón
- Tijera y corta exacto
Materials
- Frosted Foami (black, red and gold)
- Smooth skin colored Foami
- Smooth black foami
- Cold paint (black and white)
- Silicone
- Scissors and exacto cutter
Paso a Paso | Step by Step
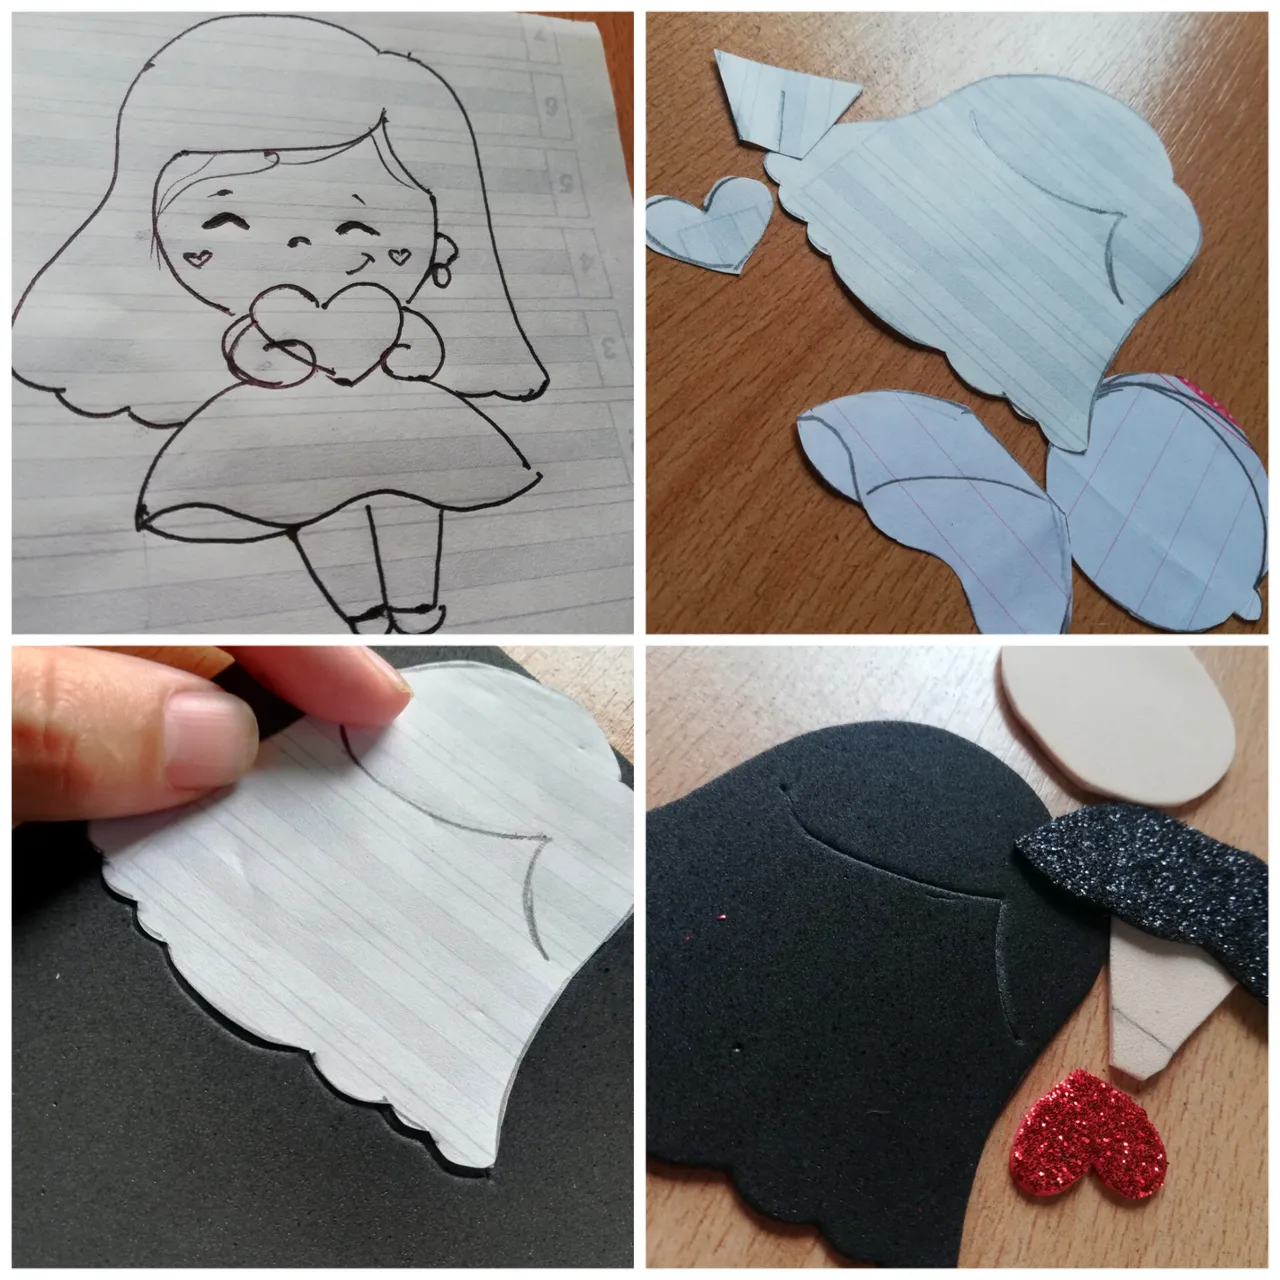
1️⃣ Lo primero que hice fue realizar el mini dibujo de la muñequita que quería, luego procedí a cortar algunas piezas para utilizarlas como patrón y plasmarlas sobre el Foami correspondiente a cada color que usaria (el rostro, y manitos en color piel, el vestido en negro escarchado y el cabello en foami negro liso).
1️⃣ The first thing I did was to make the mini drawing of the doll I wanted, then I proceeded to cut some pieces to use them as a pattern and shape them on the Foami corresponding to each color I would use (the face and hands in skin color, the dress in frosted black and the hair in plain black foami).
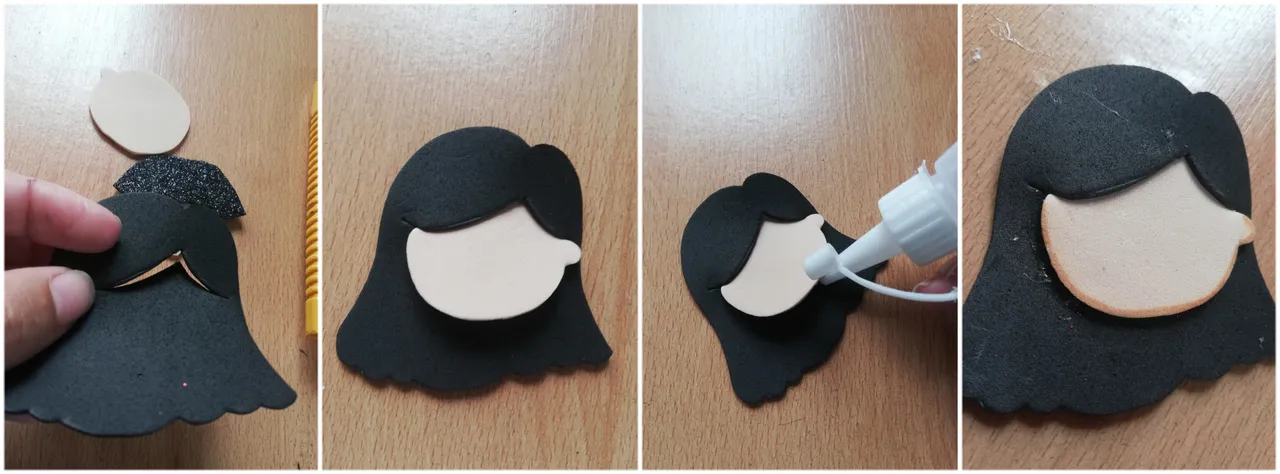
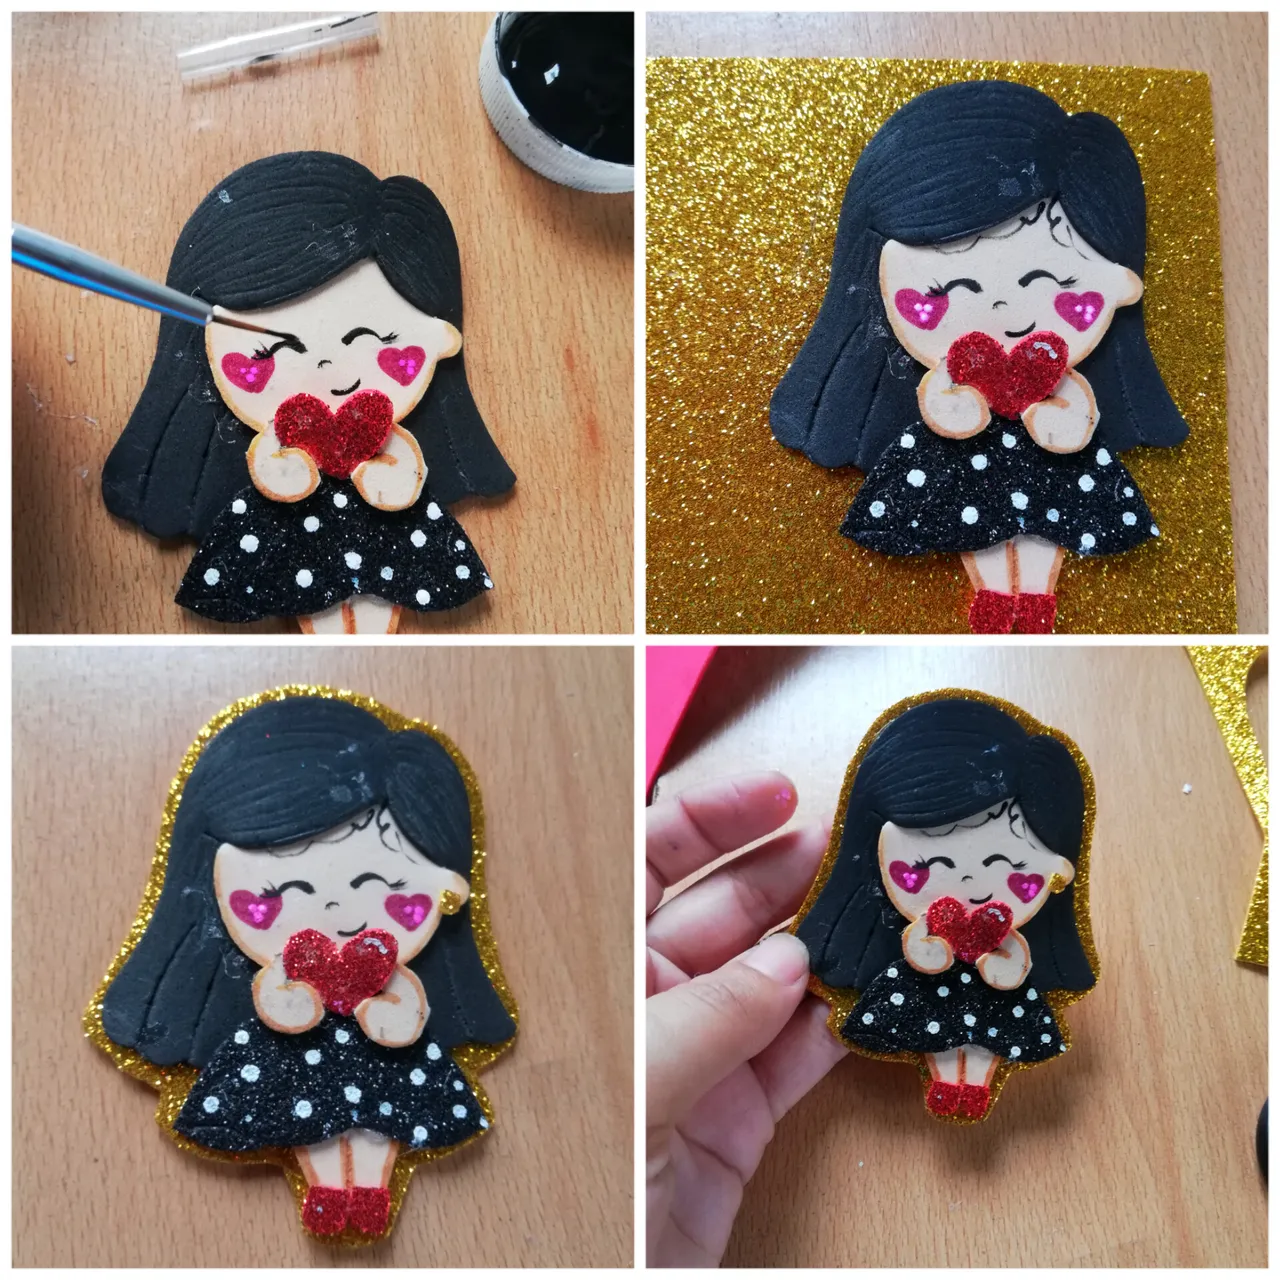
2️⃣ Luego de tener todas las piezas, con ayuda del corta exacto le hice un pequeño corte al cabello (especie de ranura), para insertar allí el rostro y fijar muy bien con silicon. Adicional con marcador matón claro, difumine un poco las orillas del rostro.
2️⃣ After having all the pieces, with the help of the exact cutter I made a small cut to the hair (kind of a groove), to insert the face there and fix it very well with silicone. Additional with a light marker, I blurred a little bit the edges of the face.
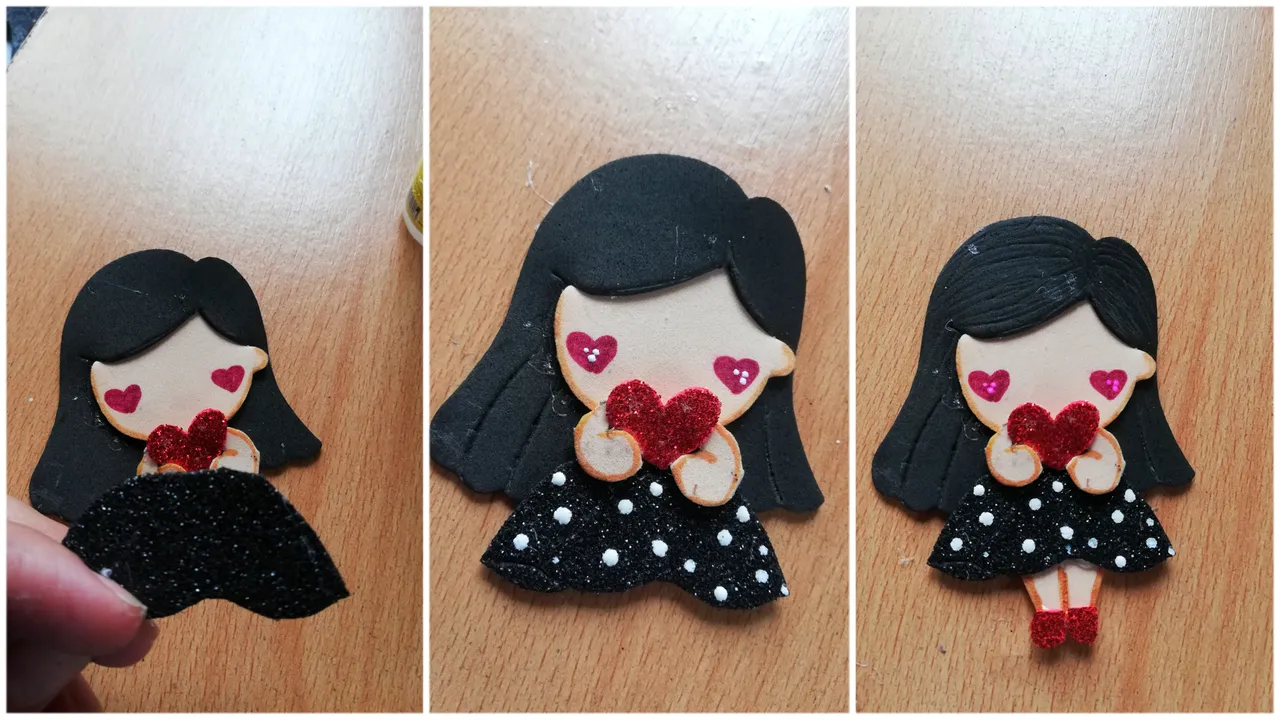
3️⃣ Recorté los dos mini brazos los cuales también difumine con marcador marrón, y pegue alrededor del corazón (como sujetandolo). Adicional le hice dos corazones en el rostro con marcador fucsia para simular las mejillas.
3️⃣ I cut out the two mini arms which I also blurred with brown marker, and glued around the heart (as if holding it). Additionally I made two hearts on the face with fuchsia marker to simulate the cheeks.

4️⃣ Pegue justo debajo del corazón lo ques sería la falda de la niña, y adicione algunos puntos blancos.
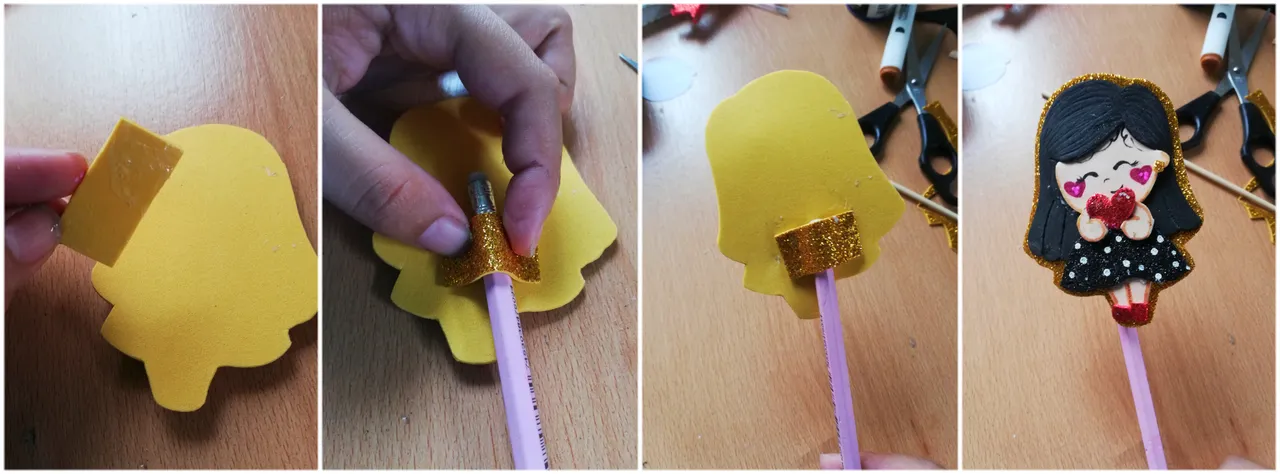
📌 Con la ayuda de un palillo de altura, hice detalles en el cabello y a mi parecer le dio otro toque a la muñeca..
4️⃣ Glue just below the heart what would be the girl's skirt, and add some white dots.
📌 With the help of a height stick, I made details in the hair and I think it gave another touch to the doll....
5️⃣ Con un pincel delineador le realice los ojos y la boca, así como agregarle detalles de cabello al rostro. Seguido de esto, procedí a pegar la muñeca en foami dorado y recorte dejando un pequeño borde, que a mi parecer la hizo resaltar aún más.
5️⃣ With an eyeliner brush I made the eyes and mouth, as well as adding hair details to the face. After this, I proceeded to glue the doll in gold foami and cut out a small border, which in my opinion made it stand out even more.
6️⃣ Por último, agregué en la parte trasera una pequeña tira de Foami dorado escarchado y pegue, dejando un espacio en el centro, que fuese suficiente para sujetar el lápiz.. Y listoo..
6️⃣ Finally, I added a small strip of gold frosted Foami on the back and glued it, leaving a space in the center, which was enough to hold the pencil. And that's it...
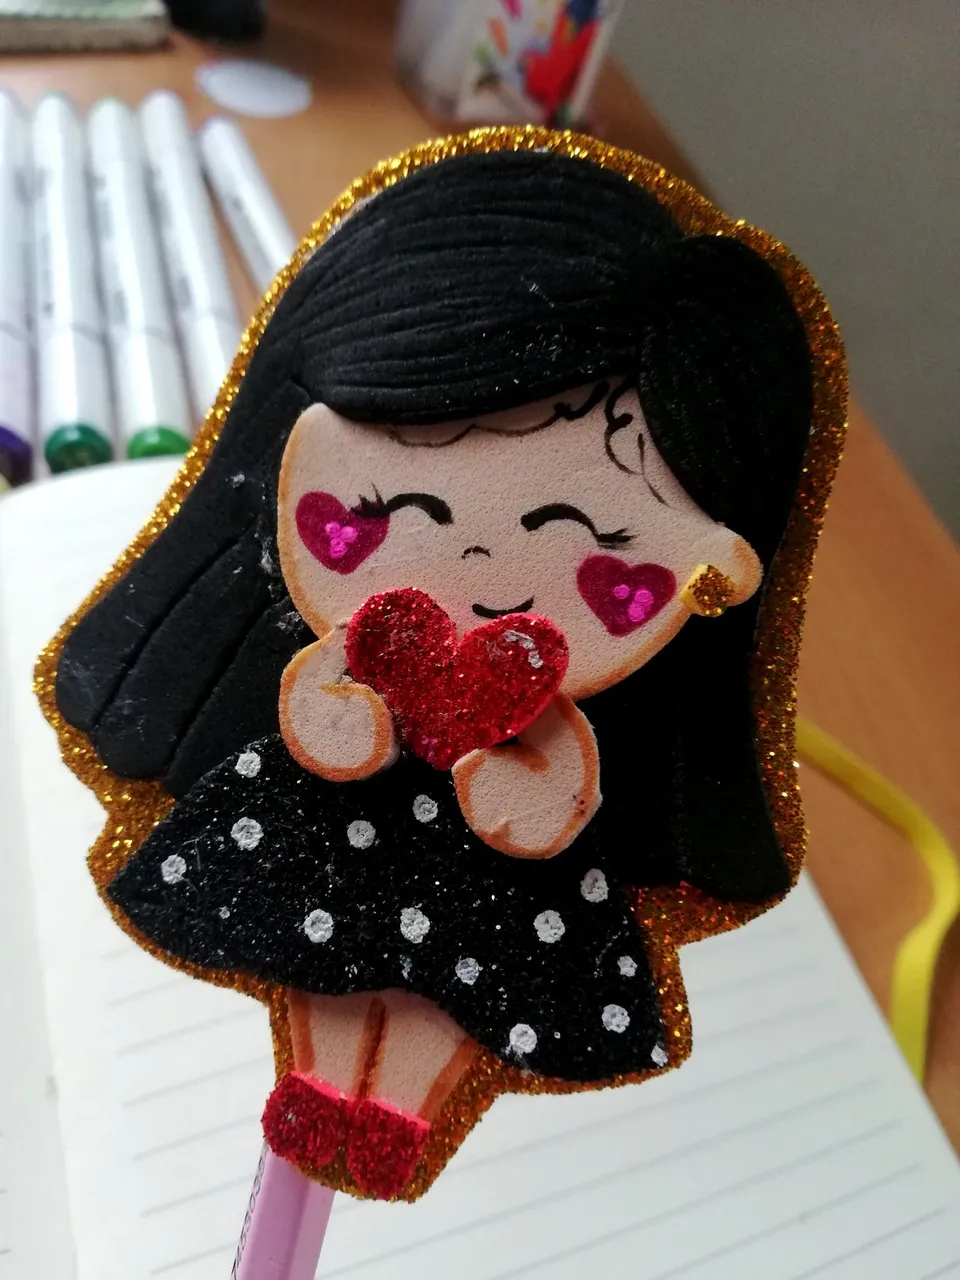
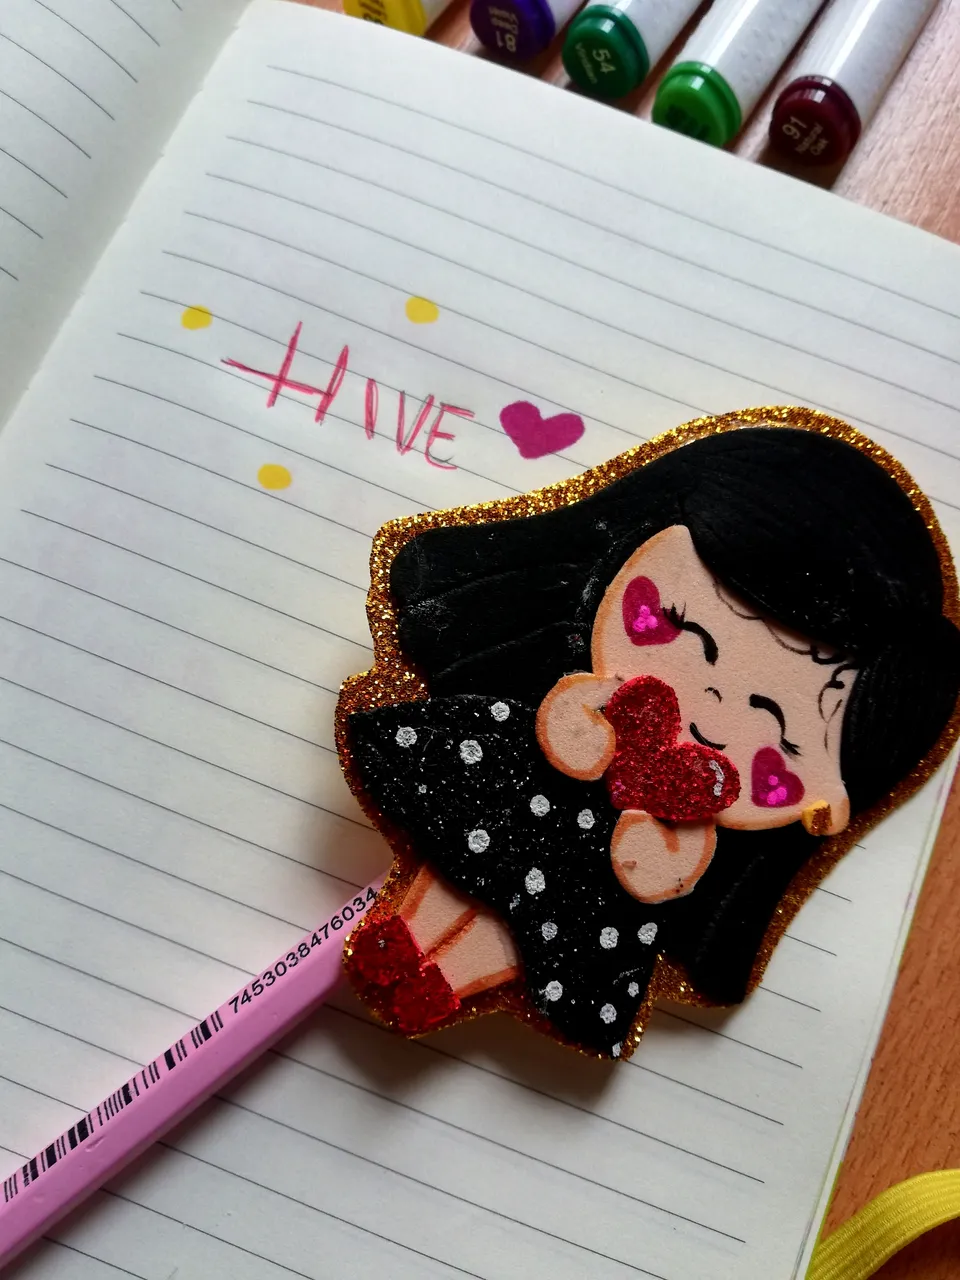
Resultados | Result✨
Y es así de esta forma como podemos obtener una decoración para nuestros lápices, y de darle utilidad a esas tiernas muñequitas que muchas veces encontramos en internet y que tanto queremos recrear..
Sin más espero que te guste, nos vemos en una próxima oportunidad💗

Ediciones | Editing in Canva and Picstar
Traducciones | Translations in Deepl.com