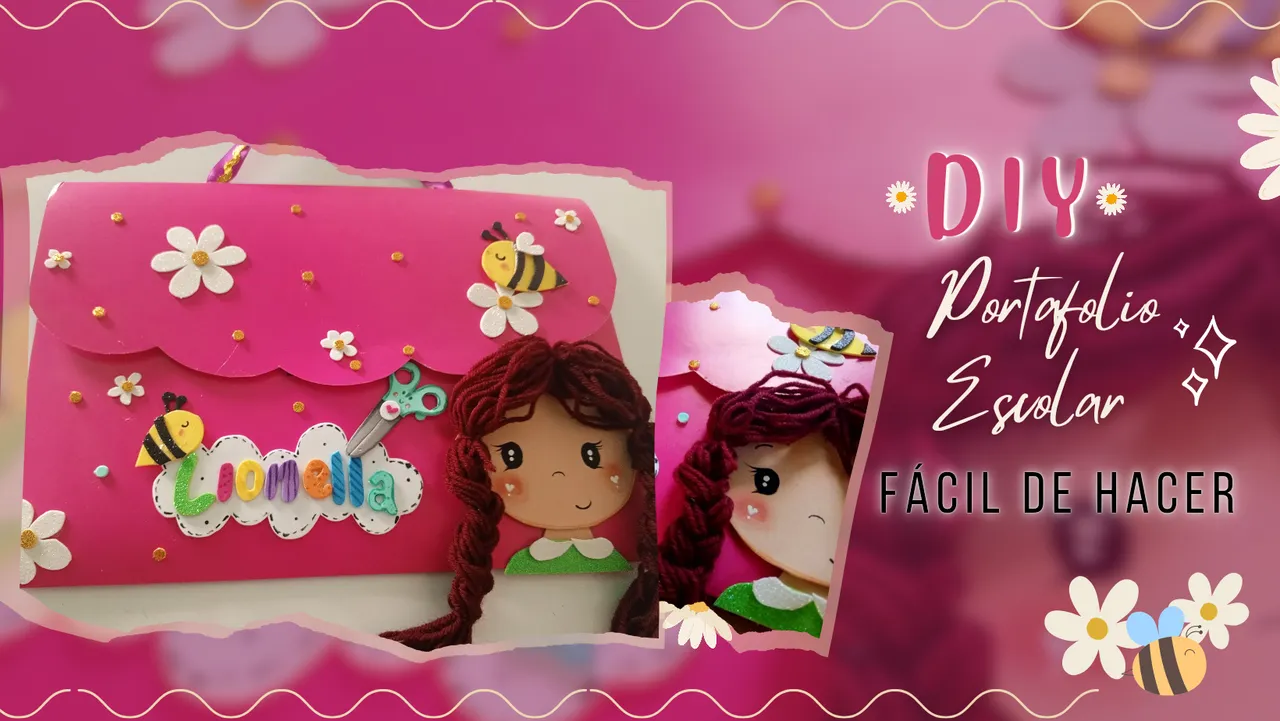
Ahora bien, el regreso a clases si que llegó con toda y entre eso, con varios motivos de creación para esta mamá de Lionella🤭 y una de ellas era hacerle un portafolio para guardar sus futuros trabajos, y junto al de Lio se me sumaron dos pedidos para unos de sus compañeros, asi que mal no es juju..
Sin más, por aqui les comparto el paso a paso por si se les presenta la oportunidad de hacer alguno..
Hello creative friends! I hope you are feeling great and that your weekend is wonderful, around here we are very well thank God, passing a little flu.
Now, the return to school has arrived with everything and among that, with several motives of creation for this mom of Lionella🤭 and one of them was to make her a portfolio to keep her future works, and along with Lio's I added two orders for some of her classmates, so it's not bad juju....
Without further ado, here I share with you the step by step in case you have the opportunity to make one...

Materiales:
- Cartulina doble faz
- Foami de diversos colores
- Estambre marrón
- Pintura al frio negra y blanca
- Silicón
- Retazo de cierre mágico
Materials:
- Double-sided cardboard
- Foami of different colors
- Brown yarn
- Black and white cold paint
- Silicone
- Piece of magic zipper
✨Paso a Paso | Step by Step✨
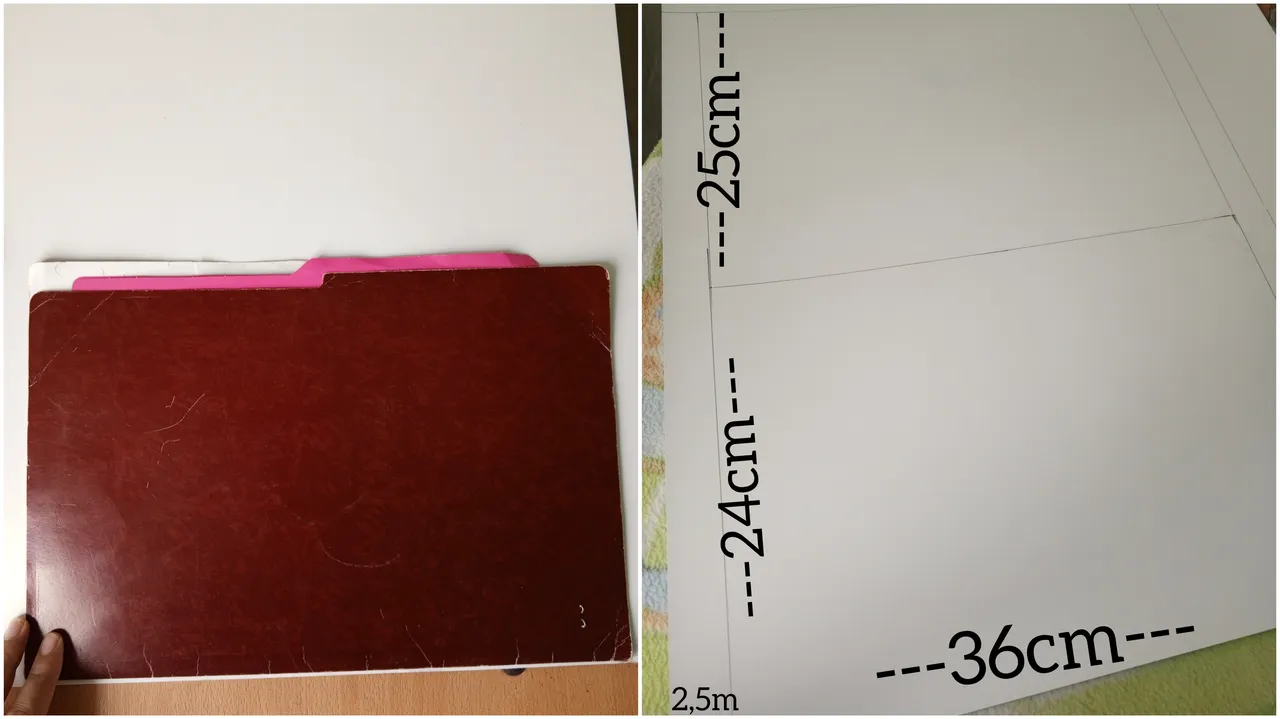
✨ Para este portafolio es necesario casi que una cartulina doble faz completa, para luego tomar las medidas solo un cm mas grande que una carpeta tamaño oficio, siendo de 36cm de ancho × 24cm de alto (la parte delantera) 25cm de alto la parte trasera y solo esta con pestaña a los lados de 2,5cm cada una, y finalmente la tapa de unos 15cm aproximadamente.. está demás decir que todo es con la misma medida de ancho.
✨ For this portfolio is necessary almost a full double-sided cardboard, then take the measures only one cm larger than a legal size folder, being 36cm wide × 24cm high (the front) 25cm high the back and only this with tab on the sides of 2.5cm each, and finally the cover of about 15cm approximately ... needless to say that everything is with the same width measurement.
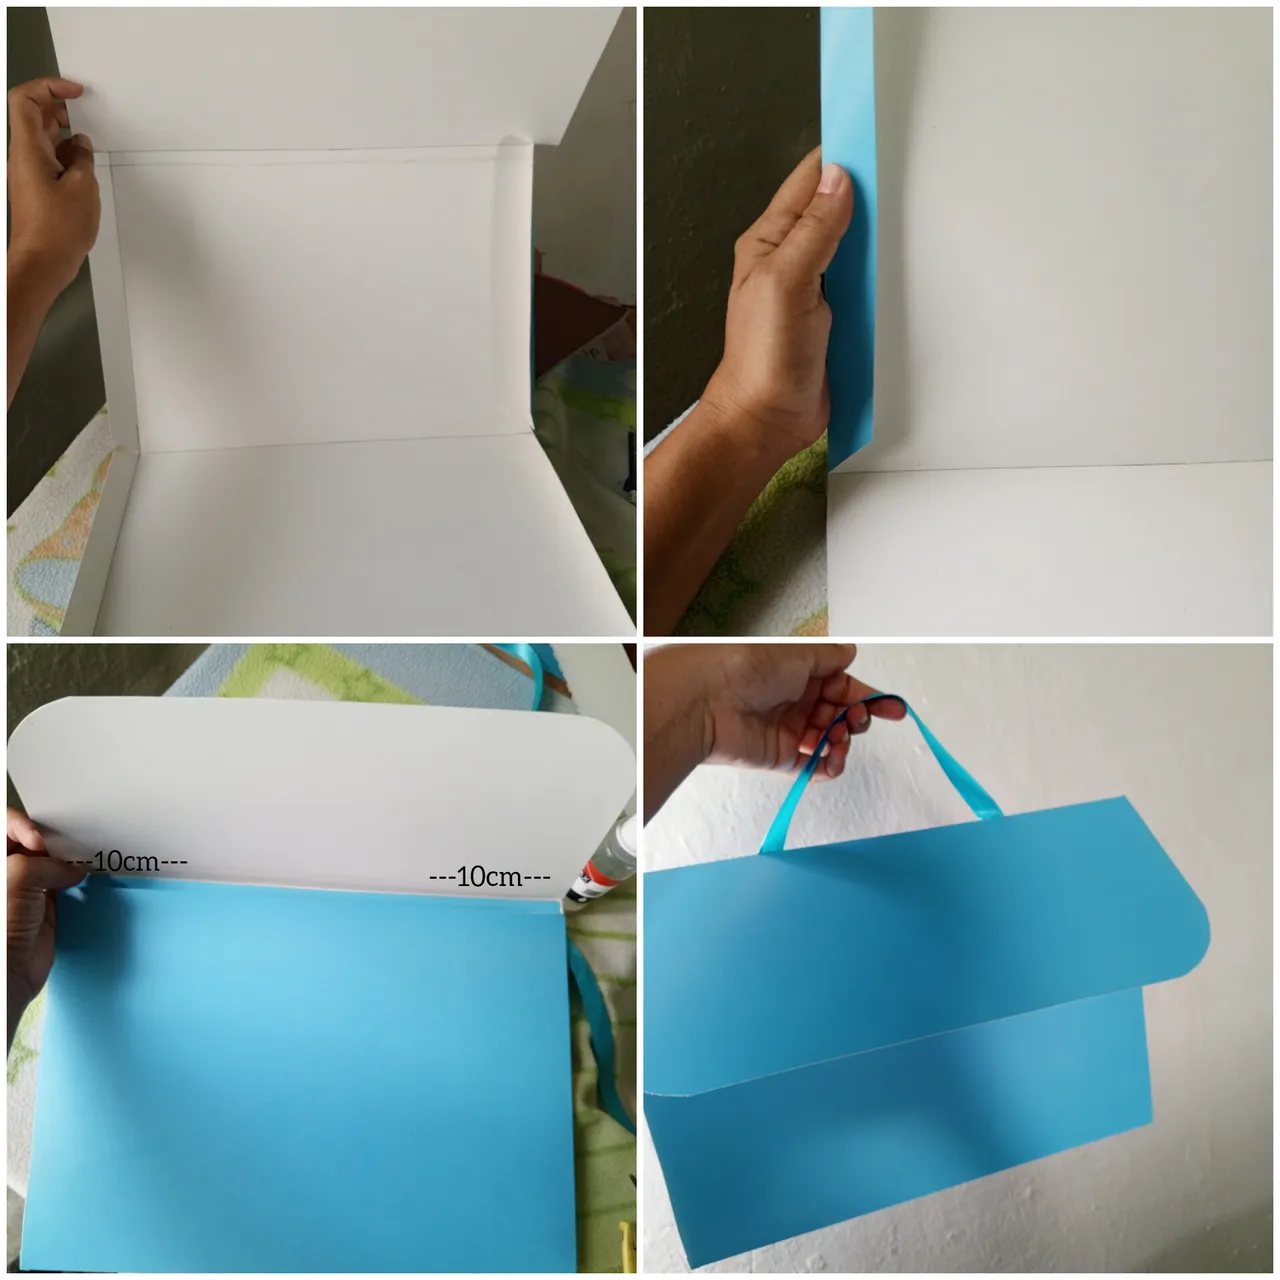
✨ Luego con una tijera y una regla remarque bien las lineas horizontales para hacer los dobles, al igual que las pestañas, ya que había armado el portafolio (tipo un sobre gigante) en el dobles de la parte superior justo de la tapa medi 10cm a cada lado partiendo desde las orillas para justo aqui hacer una pequeña ranura por donde inserte ¼ de metro de cinta fina y aseguré con silicón.
✨ Then with a scissors and a ruler I marked well the horizontal lines to make the doubles, as well as the tabs, since I had assembled the portfolio (like a giant envelope) in the doubles of the upper part of the cover I measured 10cm on each side starting from the edges to just here make a small slot where I inserted ¼ meter of thin ribbon and secured with silicone.
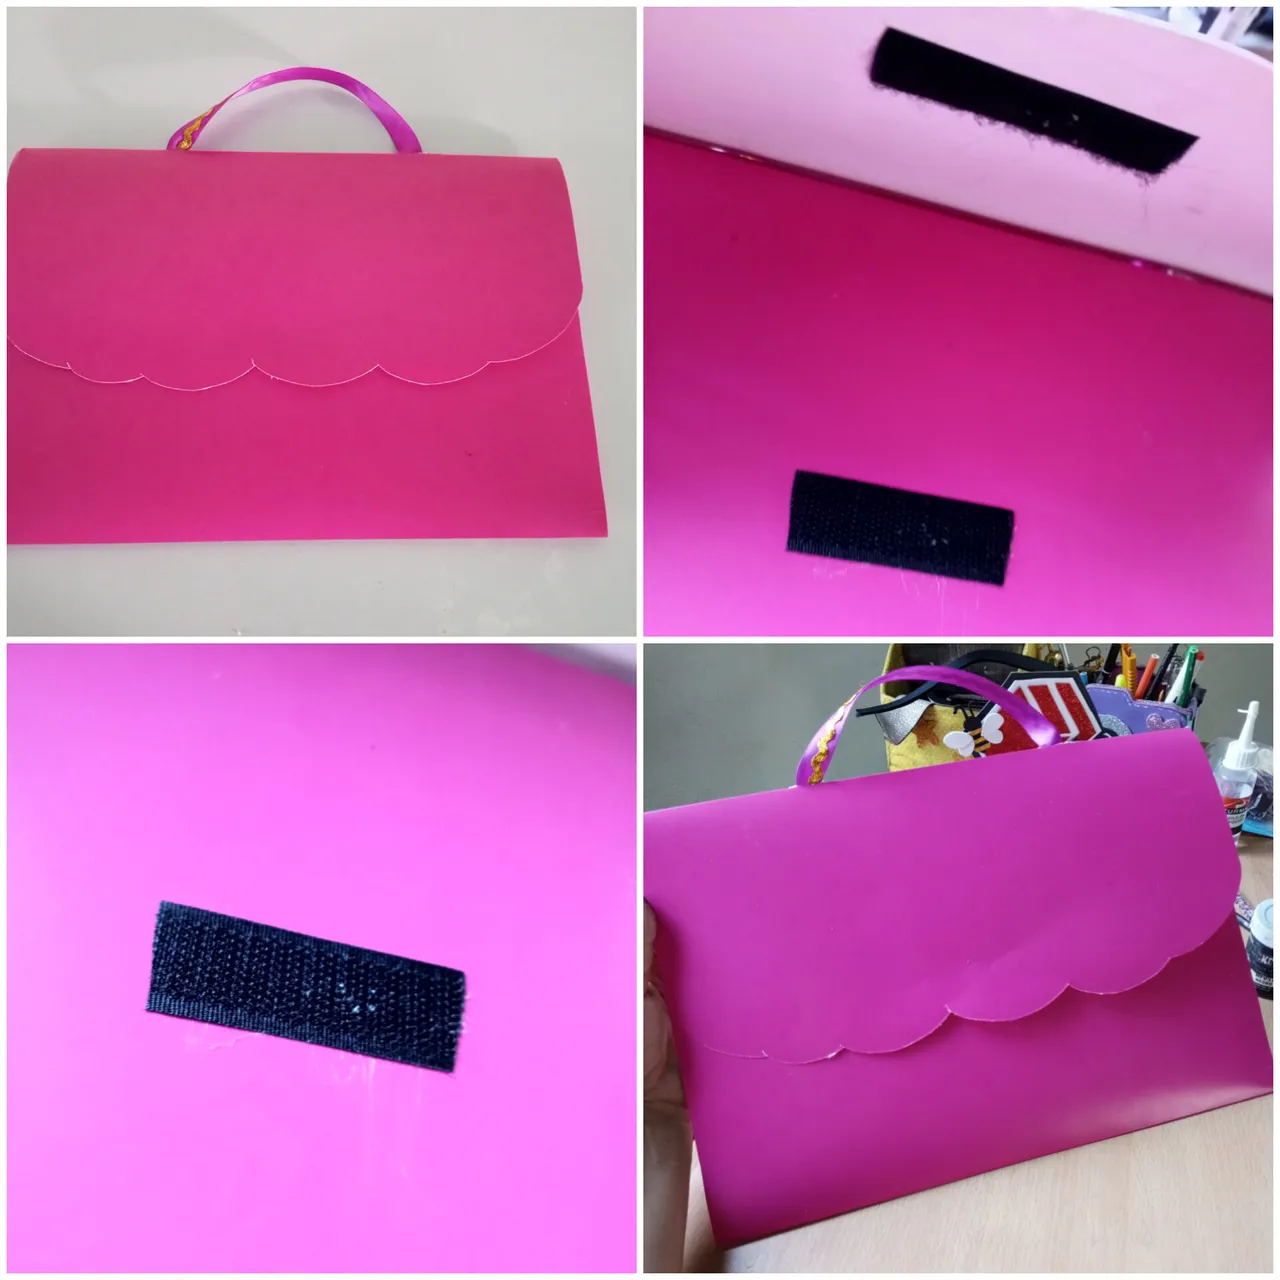
📌 Observación: Al hacer el portafolio pedido que tenia y el de mi princesa de una vez me volví un ocho con las fotografías y es por ello que de aqui en adelante verán el portafolio en rosado, pero para llegar a este punto hice exactamente los mismos pasos y comencé a decorar, pero antes pegué un retazo (unos 5cm) de cierre mágico en la tapa a modo de que los trabajos de mi bebé una vez que sean guardados allí, no haya manera que se pierdan.
📌 Observation: When making the ordered portfolio I had and the one for my princess at once I became an eight with the pictures and that is why from here on you will see the portfolio in pink, but to get to this point I did exactly the same steps and started decorating, but first I glued a piece (about 5cm) of magic zipper on the lid so that my baby's works once they are stored there, there is no way they will get lost.
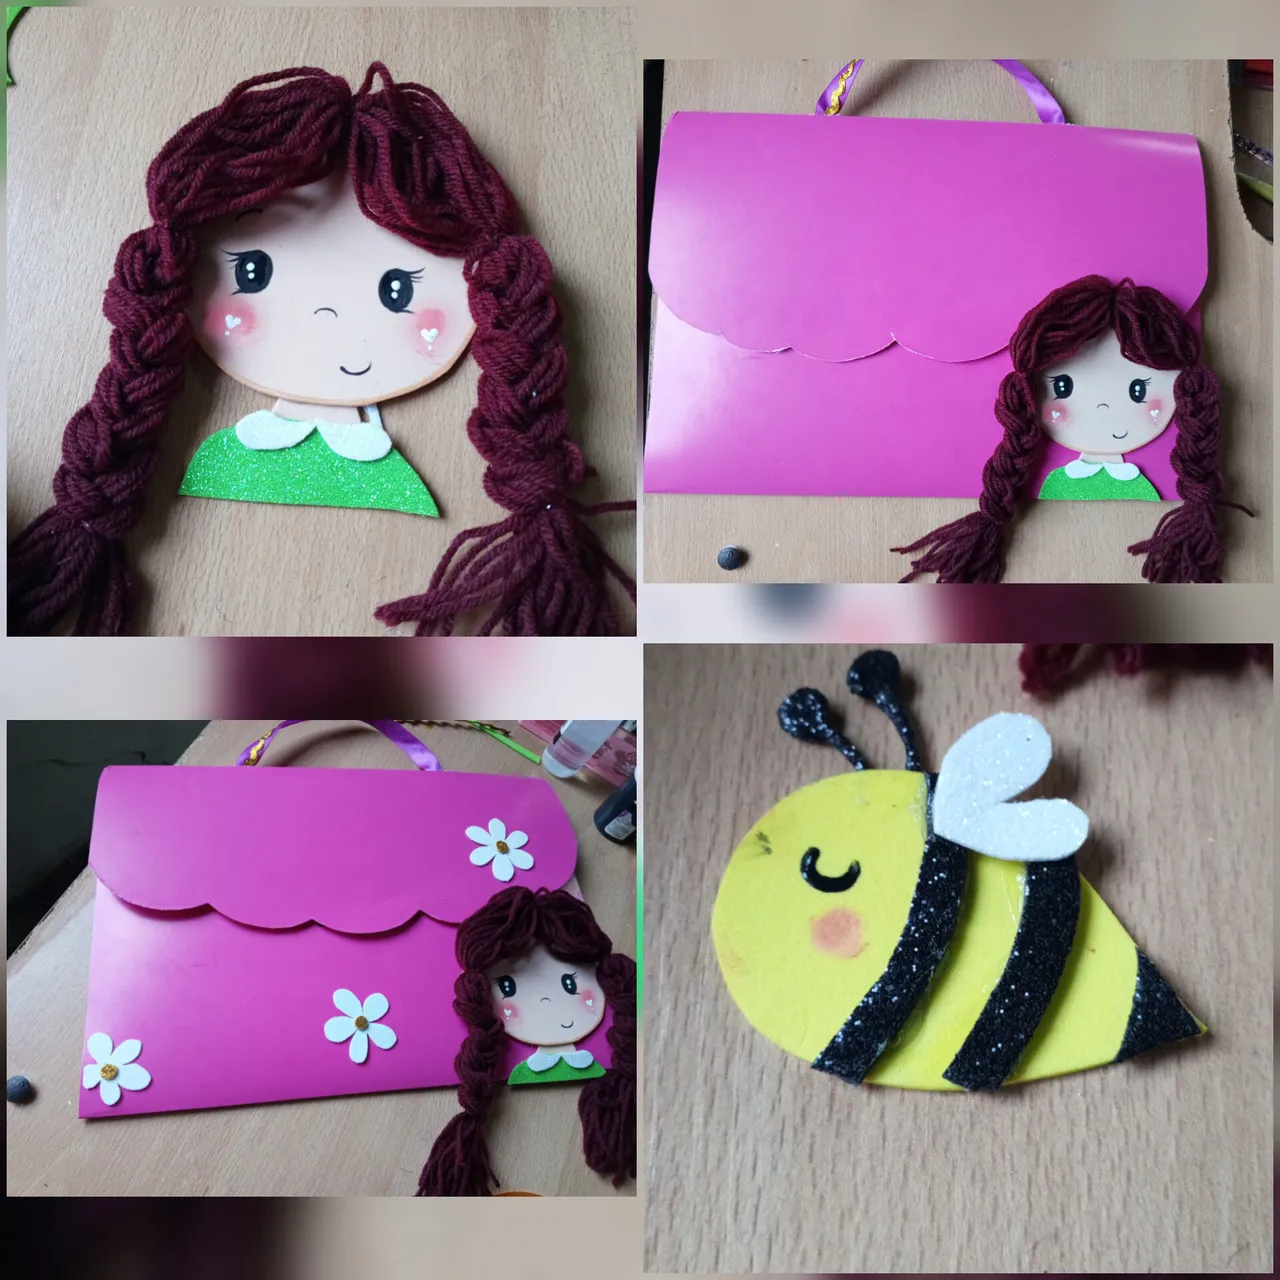
✨ Tenía la idea de la decoración super clara en mi mente 🤭 asi que comencé por hacer el rostro de una niña en foami color piel, para con pintura al frio negra y un pincel delineador realizar los ojos, nariz, cejas y boca y con pintura blanca darle un poco de luz, con rubor realice las mejillas.
✨ Con un rollito de estambre realice el cabello, primero estirandolo por completo y diviendolo en dos mitades y seguido hacer unas trenzas para finalmente pegarlo en el rostro
✨ I had the idea of the decoration very clear in my mind 🤭 so I started by making the face of a girl in skin-colored foami, to make the eyes, nose, eyebrows and mouth with black cold paint and an eyeliner brush and with white paint to give a little light, with blush I made the cheeks.
✨ With a roll of yarn I made the hair, first stretching it completely and dividing it in two halves and then making some braids to finally glue it on the face.


✨ Le hice parte de una canisa y cuello a la muñeca y pegué en una esquina del portafolio, luego como complemento decorativo hice algunas flores tipo margaritas y unas abejita.
✨ I made part of the doll's shirt and neck and glued it in a corner of the portfolio, then as a decorative complement I made some daisy-like flowers and a little bee.
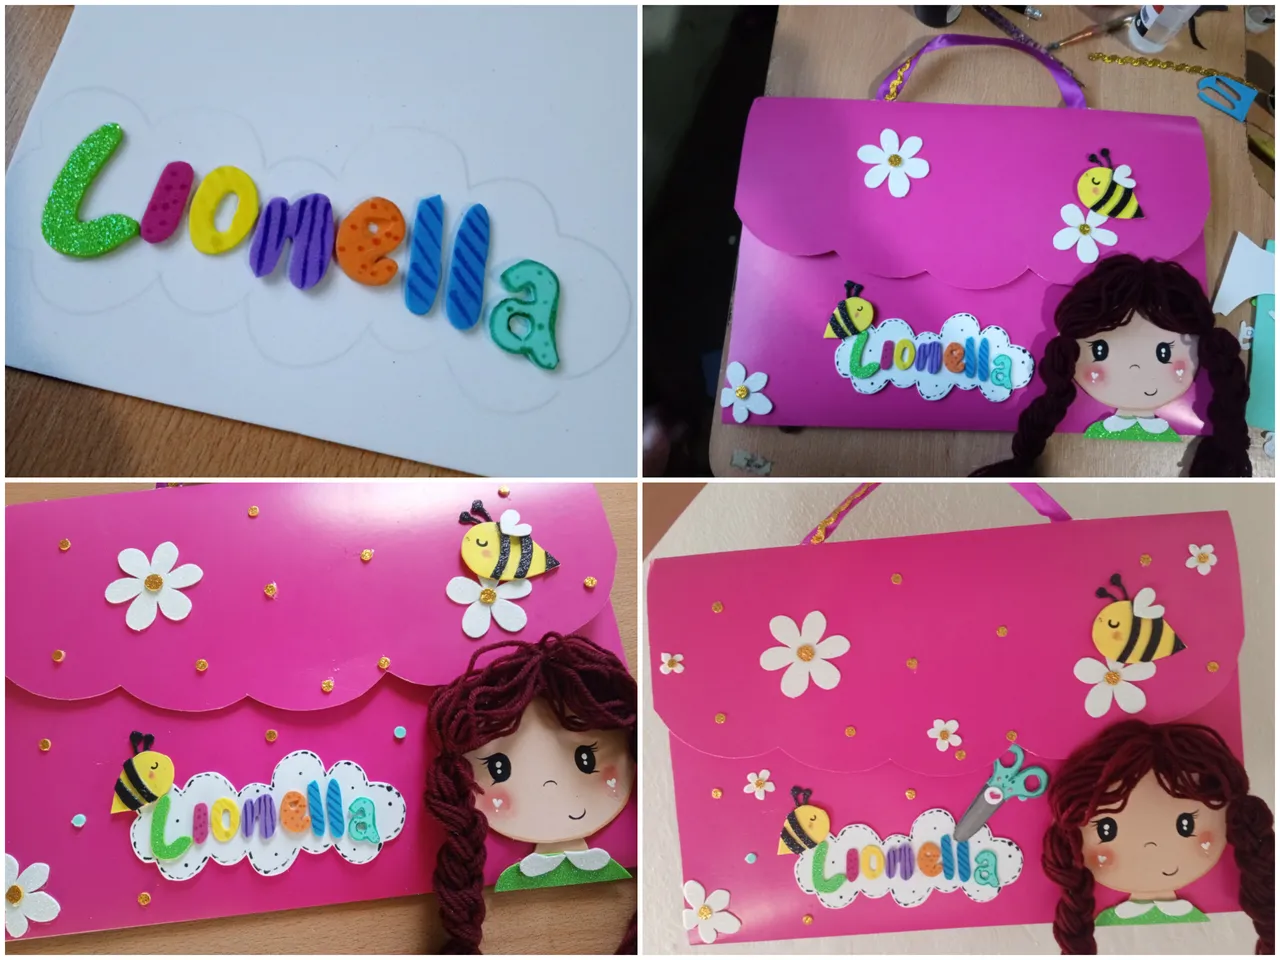
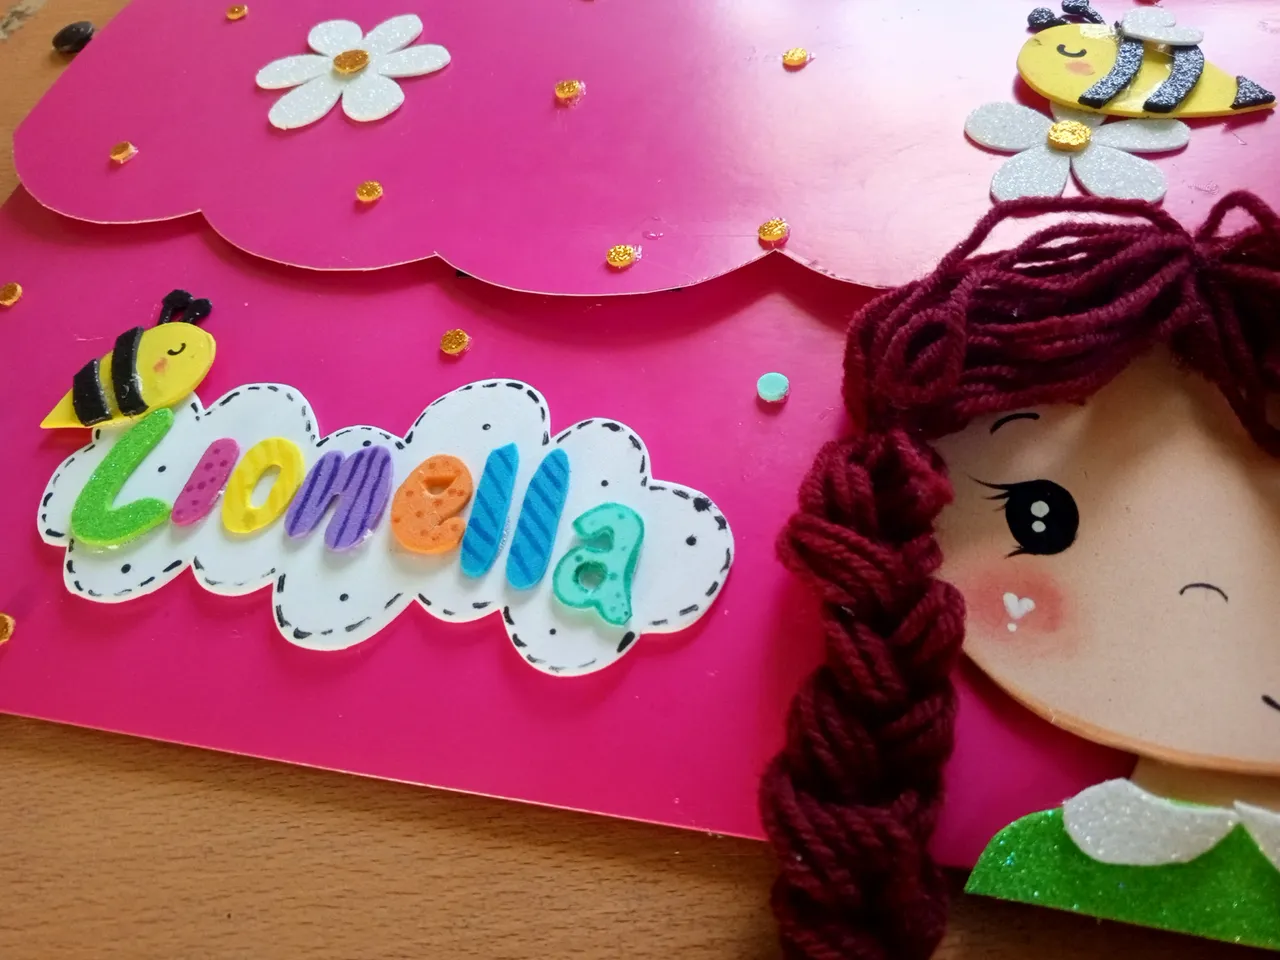
✨ Con foami de diversos colores hice el nombre de mi bebe, además de hacerle detalle a cada letra con marcador, para luego pegarlas sobre foami blanco y recortar en forma de nube y pegarla tambien en el portafolio con una de las abejitas en la parte superior de esta. Para dar otra vista y llenar más los espacios en blanco agregué círculos pequeños de foami dorado hechos con la perforadora y por ultimo, opcional y a petición de Lionella, le realicé una tijera y también pegué por alli.. culminando así está creación escolar..
✨ With foami of different colors I made the name of my baby, I also made details to each letter with a marker, then I glued them on white foami and cut them in the shape of a cloud and glued it also on the portfolio with one of the little bees on top of it. To give another view and fill more white spaces I added small circles of gold foami made with the hole punch and finally, optional and at Lionella's request, I made a scissors and also glued it there... culminating this school creation...
Resultado | Result✨
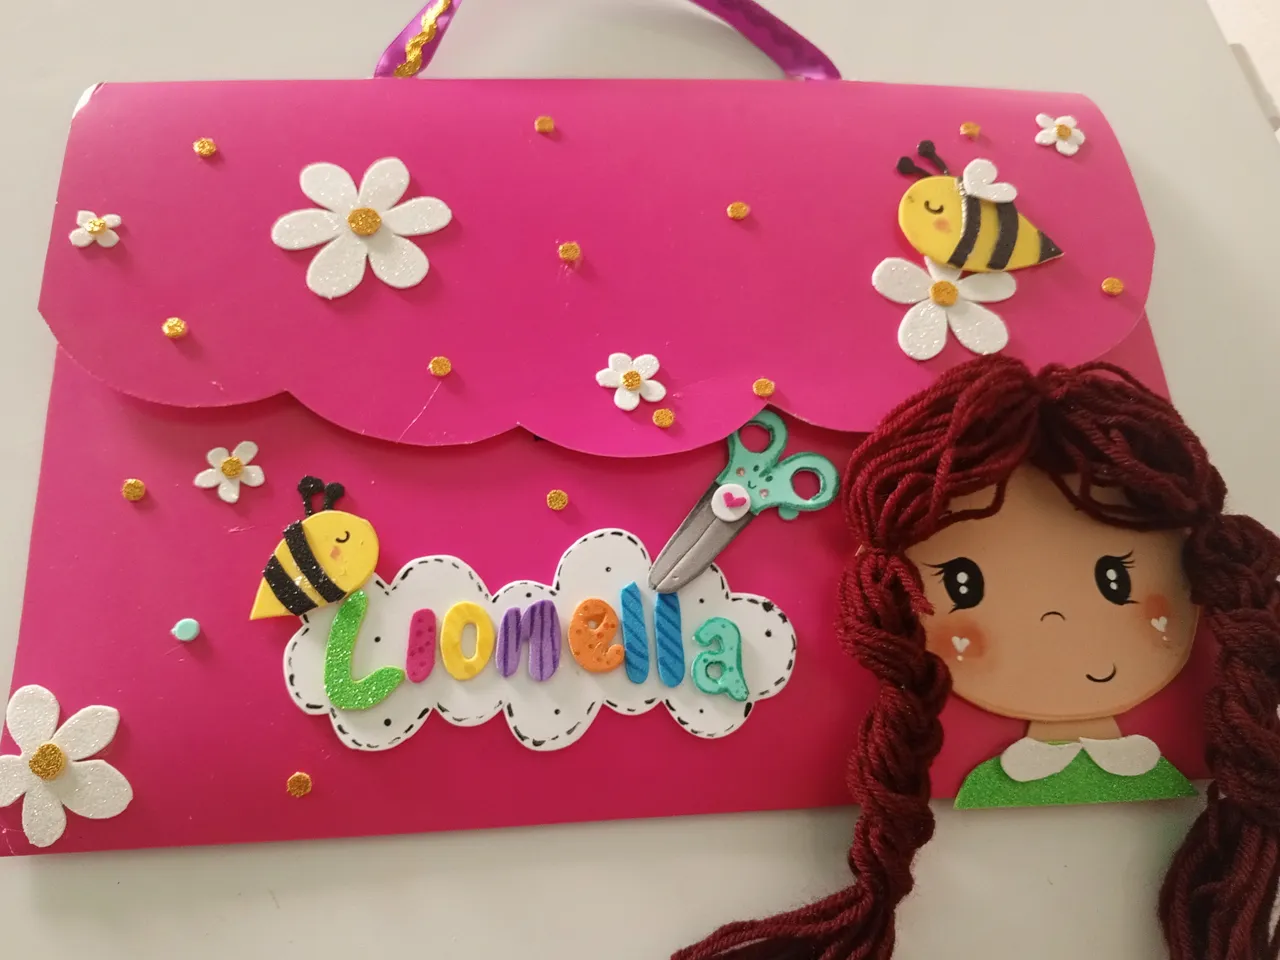
Fácil, bonito, util y creativo.. así describo esta creación, pero tú, cuéntame ¿Que te pareció?
Easy, beautiful, useful and creative... that's how I describe this creation, but you, tell me what did you think?
📷Ediciones | Editing in Canva and Picstar
✨Traducciones | Translations in Deepl