One of the guitars in our home got knocked over recently. It had been sitting idle with a broken string for a long time, and the kids were playing around it, bringing it crashing down with an accidental bump.
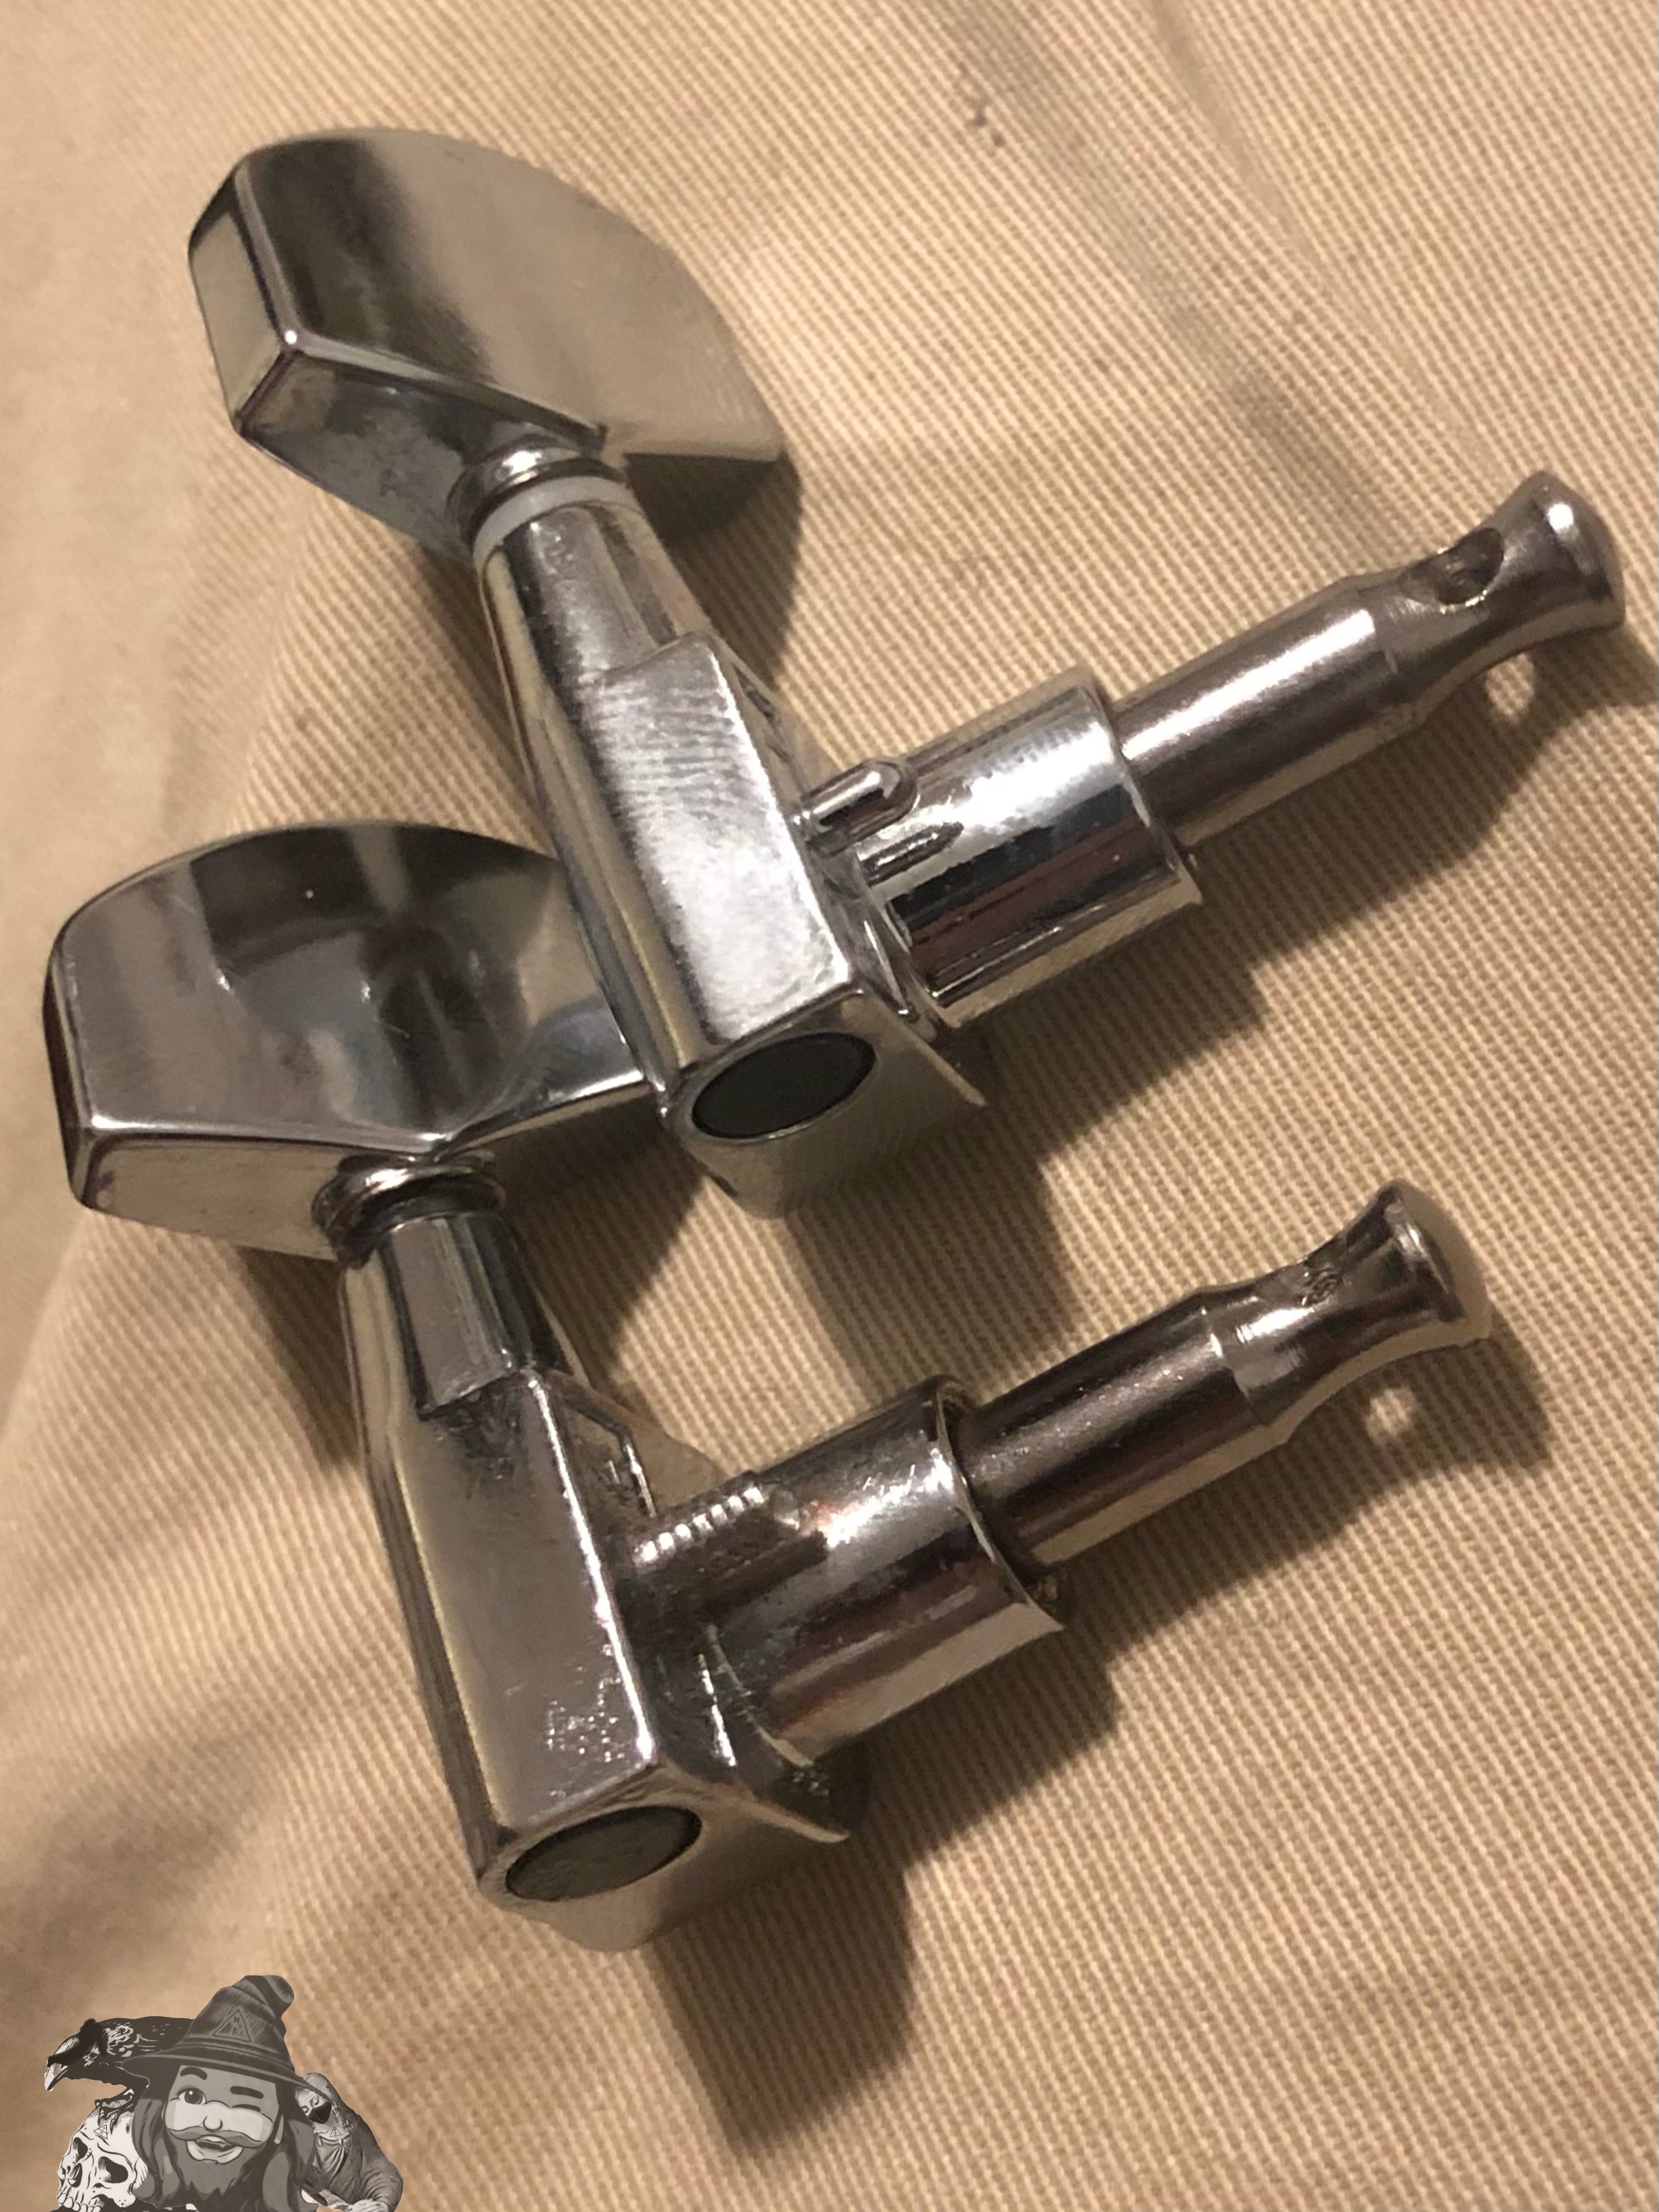
When I set out to restring it a few weeks after that, I found that the G tuning peg was spinning freely on the head stock. When I pulled it off to check it out, I found that these guitars have a locating pin built into the cast metal housing - and this one was broken off. I didn’t think to take any pictures until I saw my proud handiwork unfortunately.
I searched first for replacement tuning pegs for a Taylor. I imagine if I tired harder I could find one or a set, but I think they try to limit the sale of parts to authorized luthiers or distributors or something. Anyway, I didn’t look that hard and I was excited to see if I could fix the original piece, which ultimately I did.
What I didn’t capture in photograph, I found a drill bit that basically matched the diameter of the rough surface where the pin had broken off. I put the tuning peg gently in a vice and drilled out the pin. The material there was maybe about 3/32” thick and I nicked the worm gear inside.
I threaded a 4mm screw into the newly drilled hole, backing it off after it bottomed out. Once I verified the free movement of the work gear, I let a thin bead of superglue sink into the threads to lock my new pin in place. Finally, I cut the screw to what felt like a good length with a pair of bolt cutters and sanded the burred end.
| Column1 | Column2 |
|---|---|
| Taylor tuning peg with 4mm screw shaft for locating pin. | 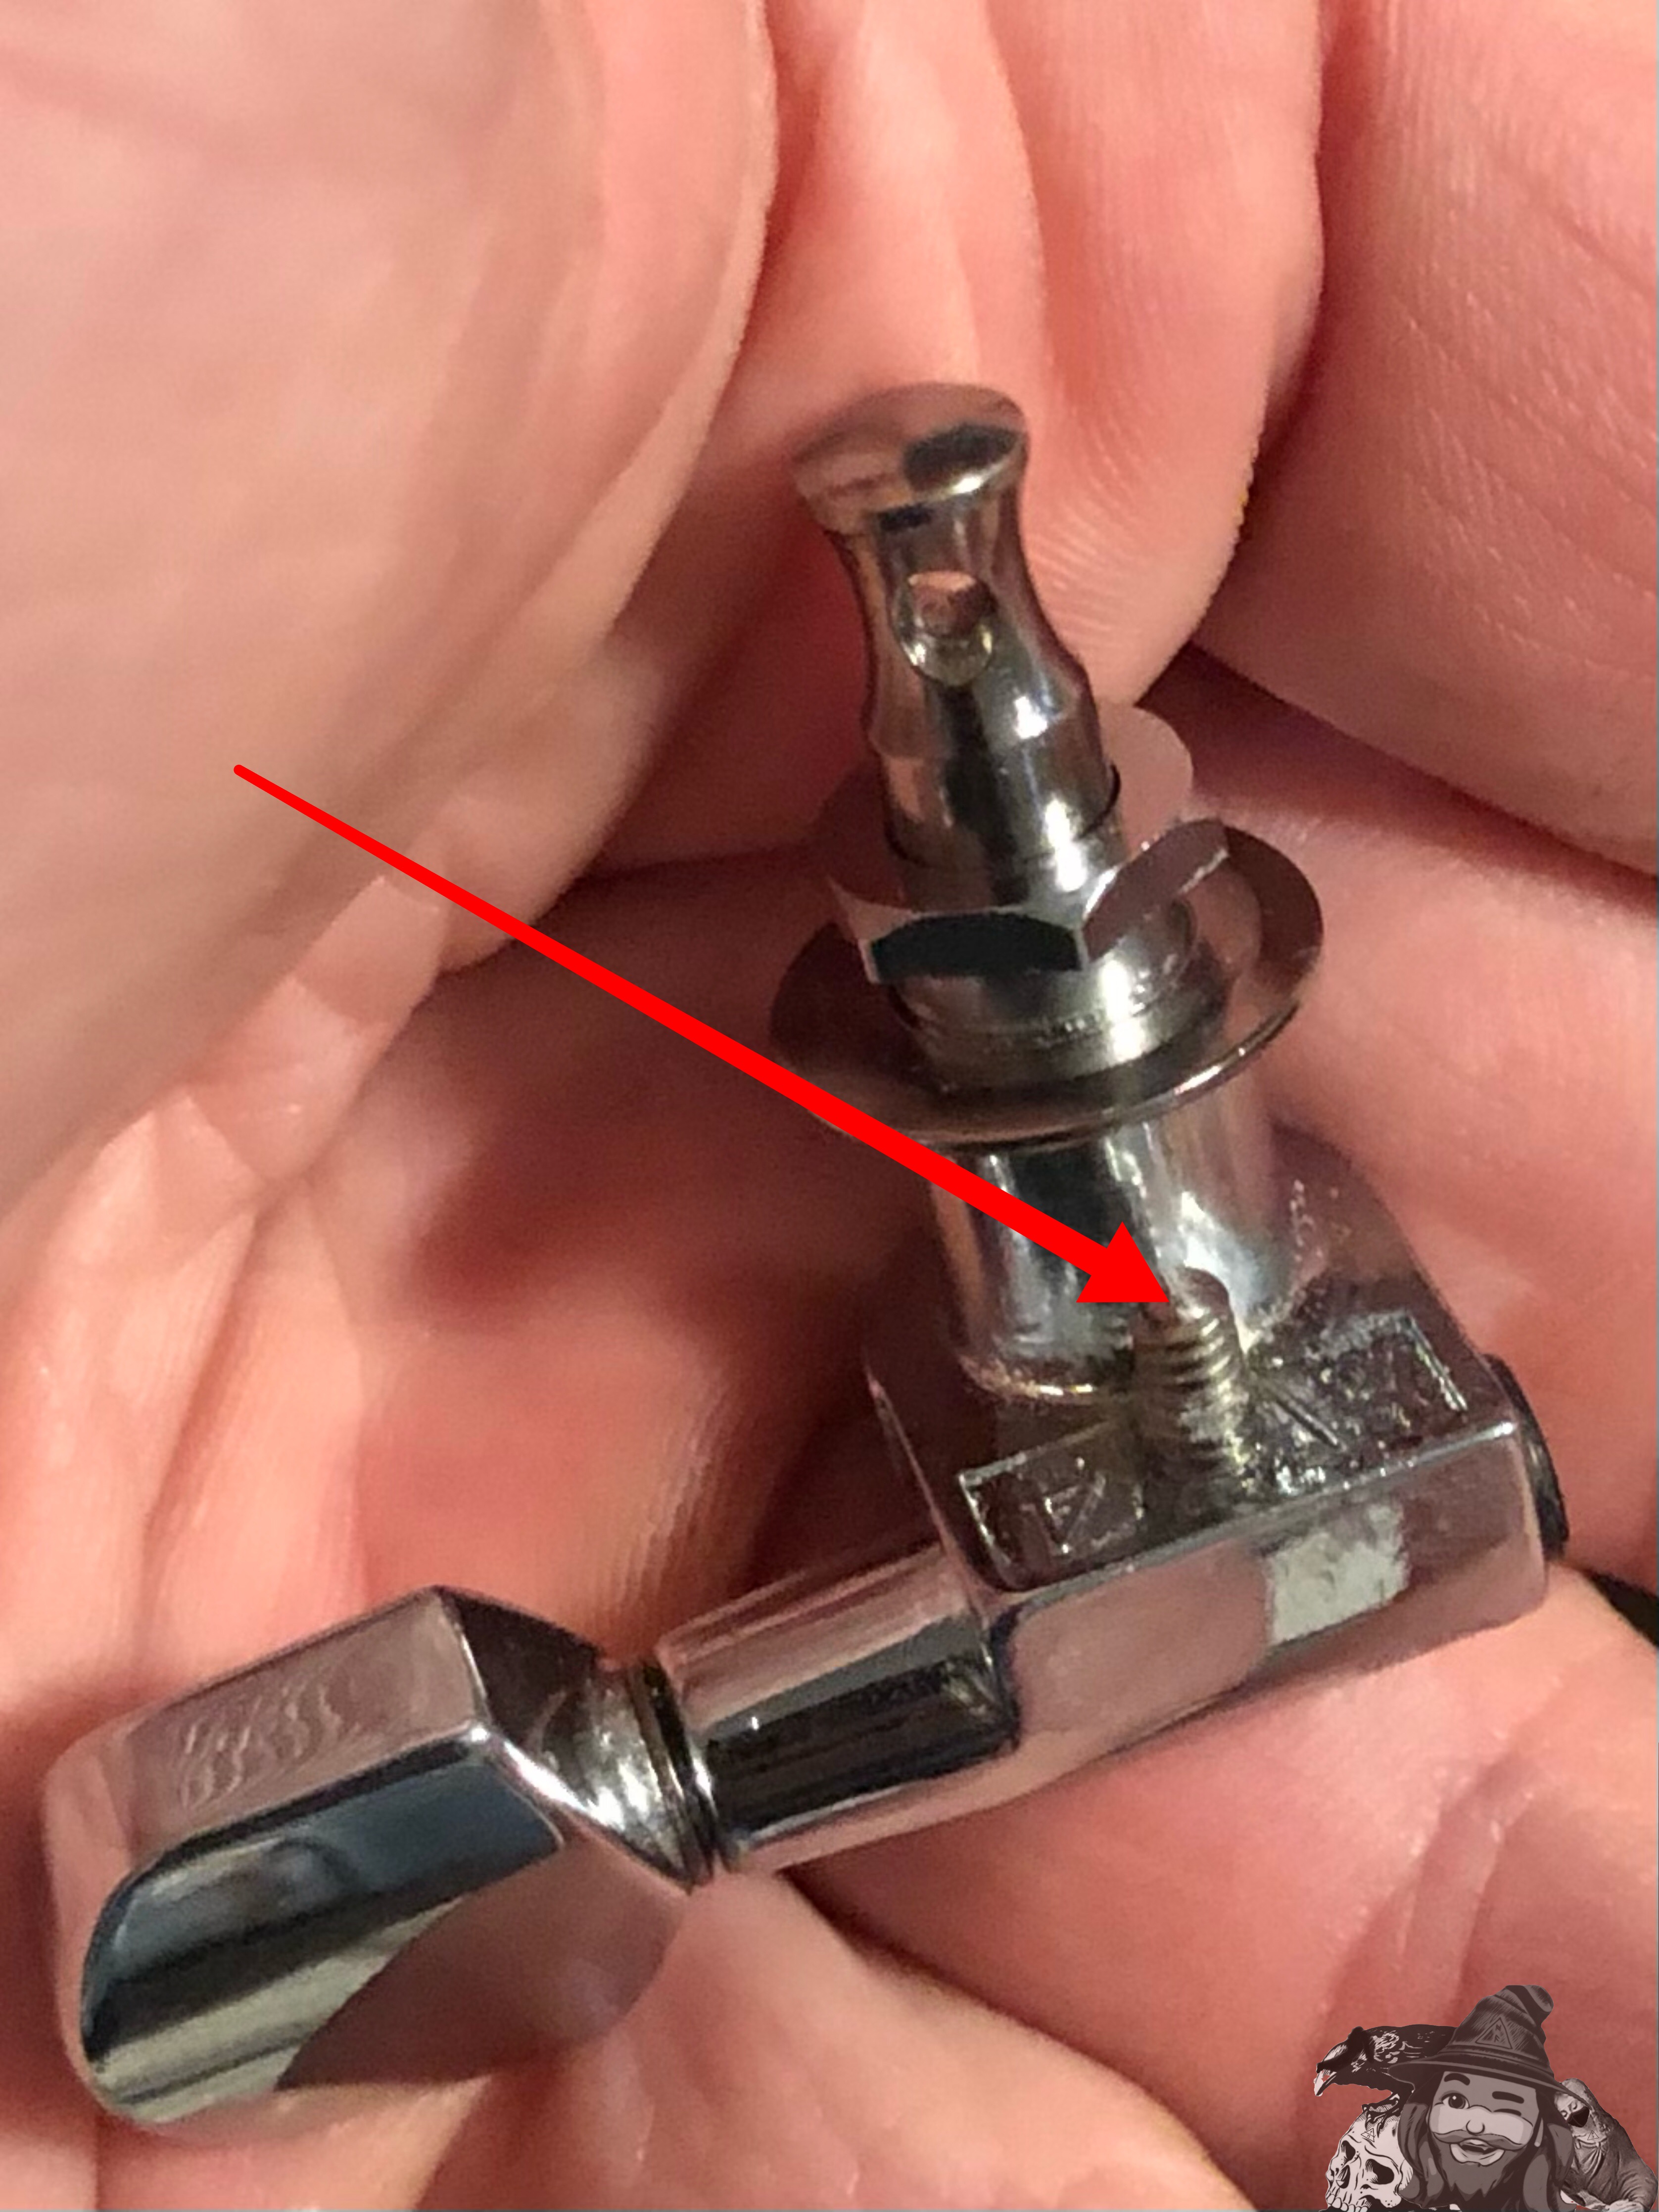 |
| Initial fitment test. | 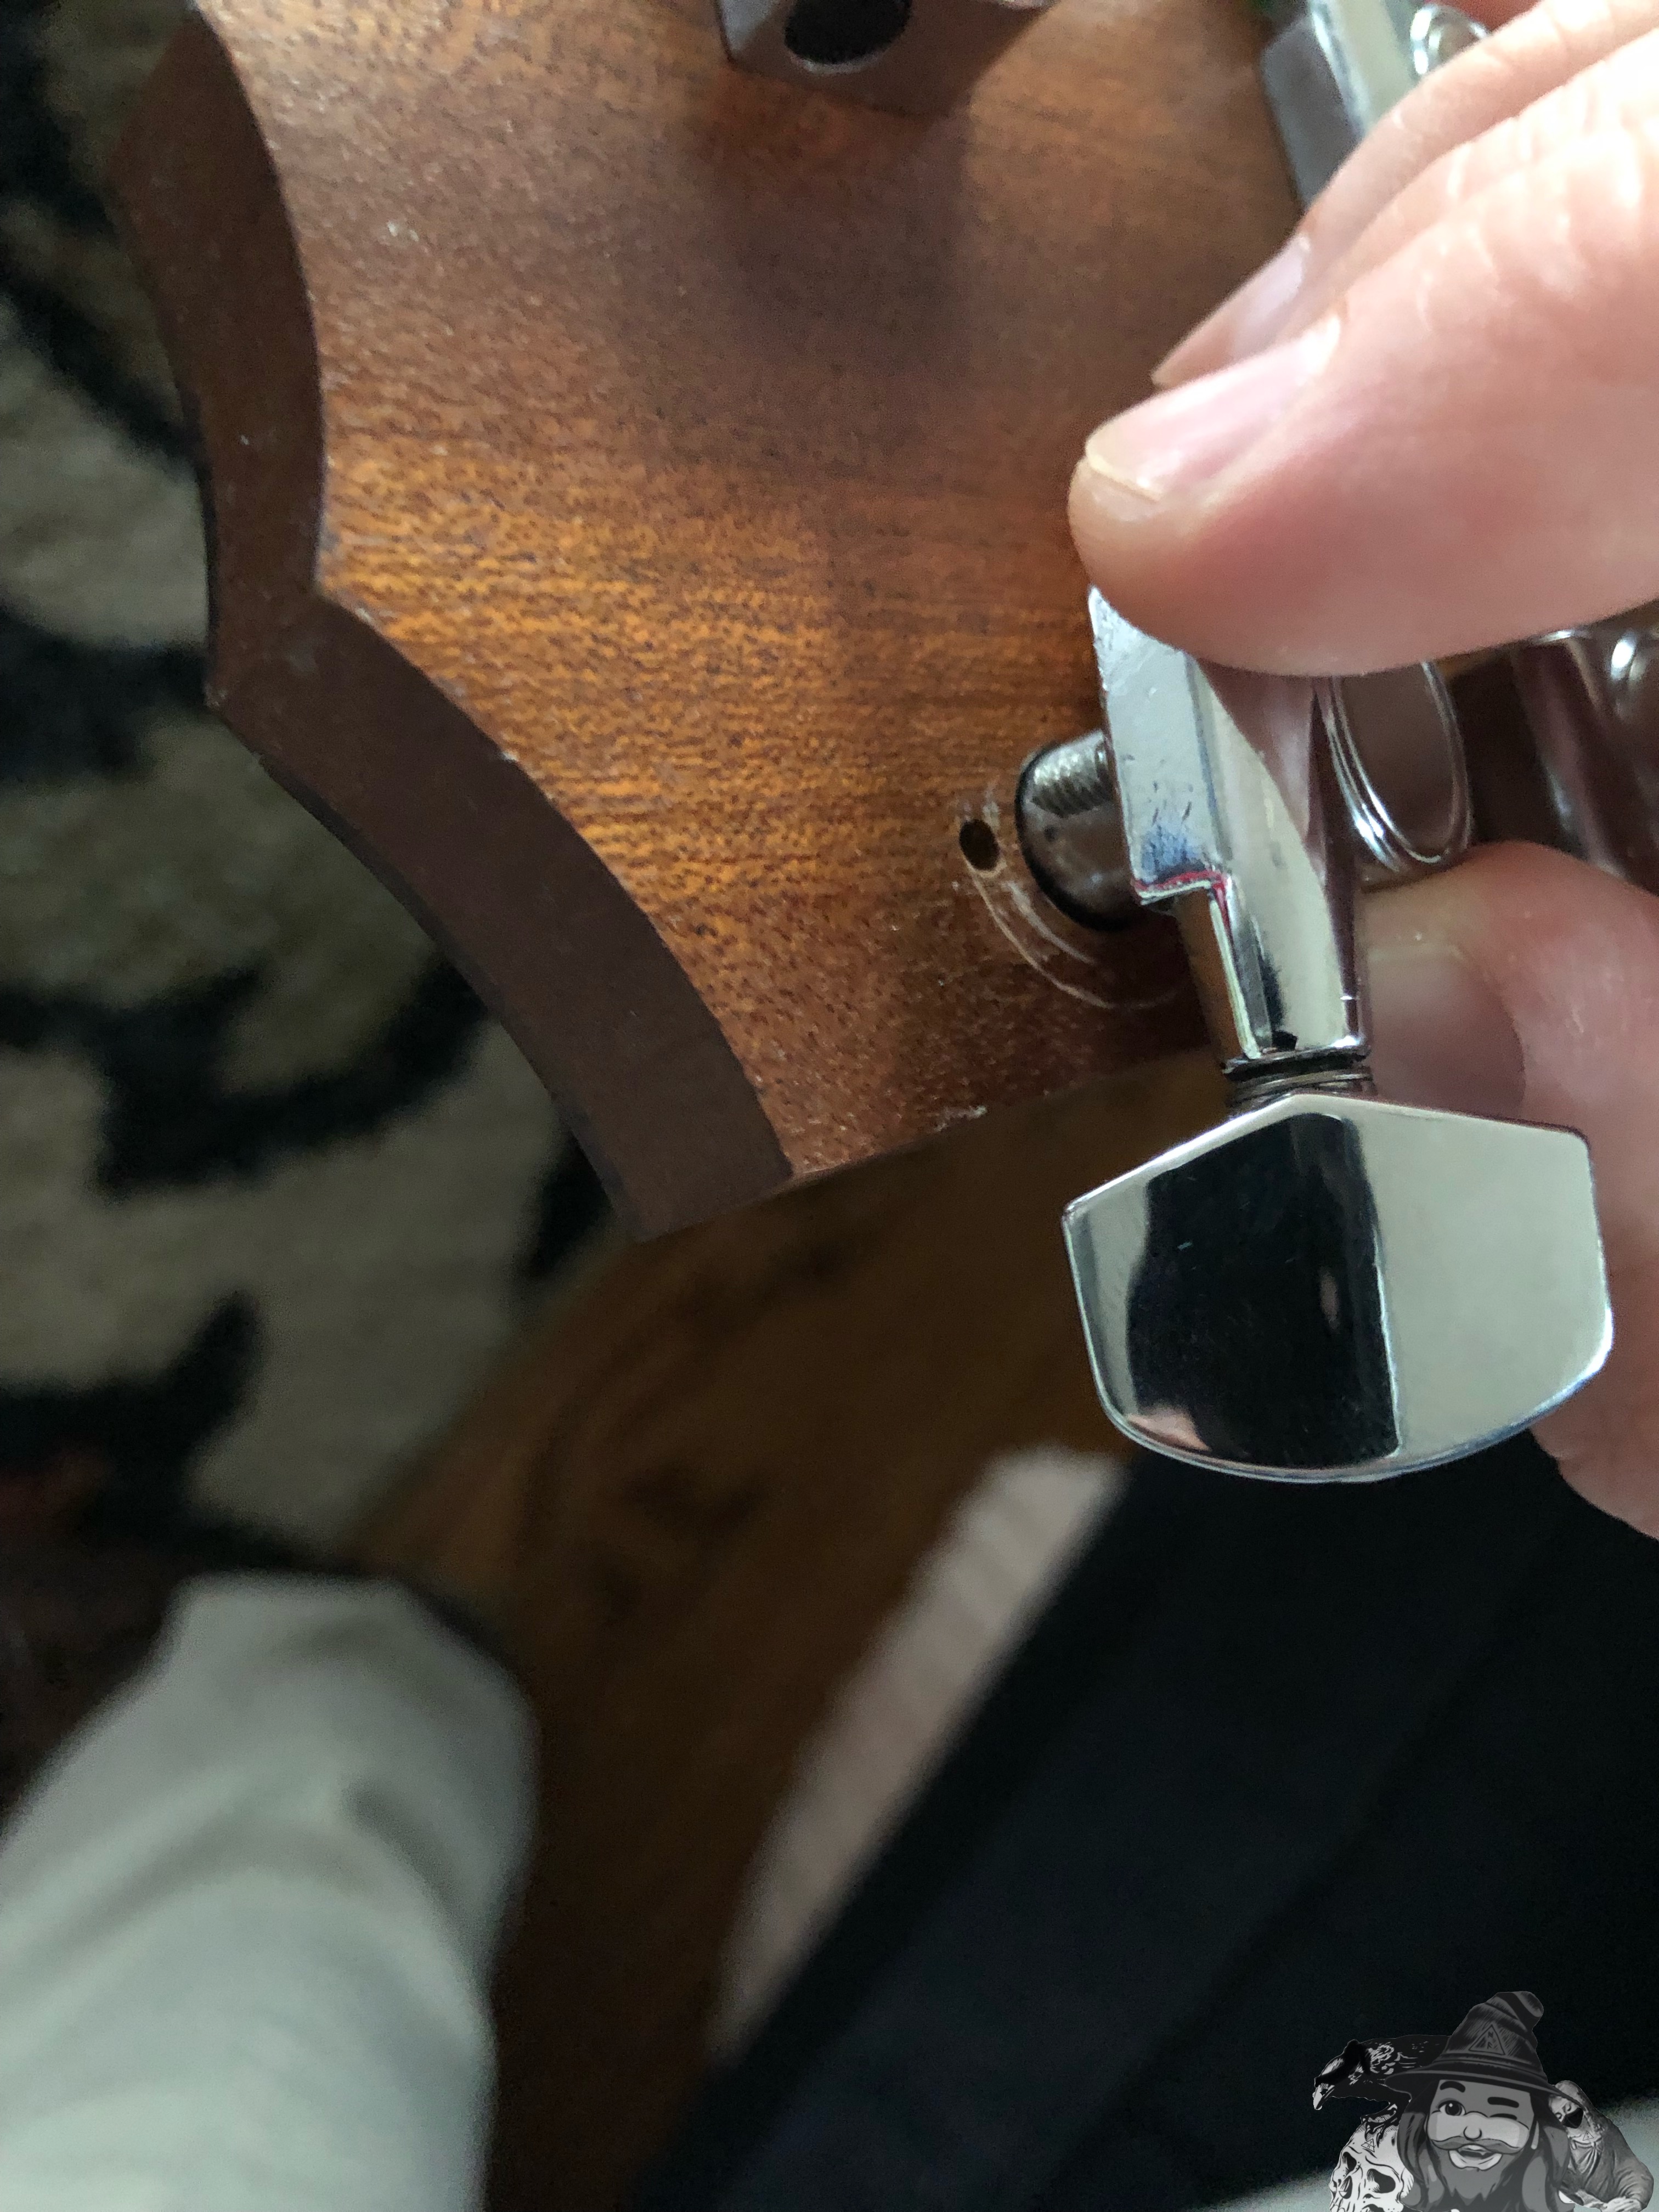 |
| Too large in diameter to set into the locating hole. | 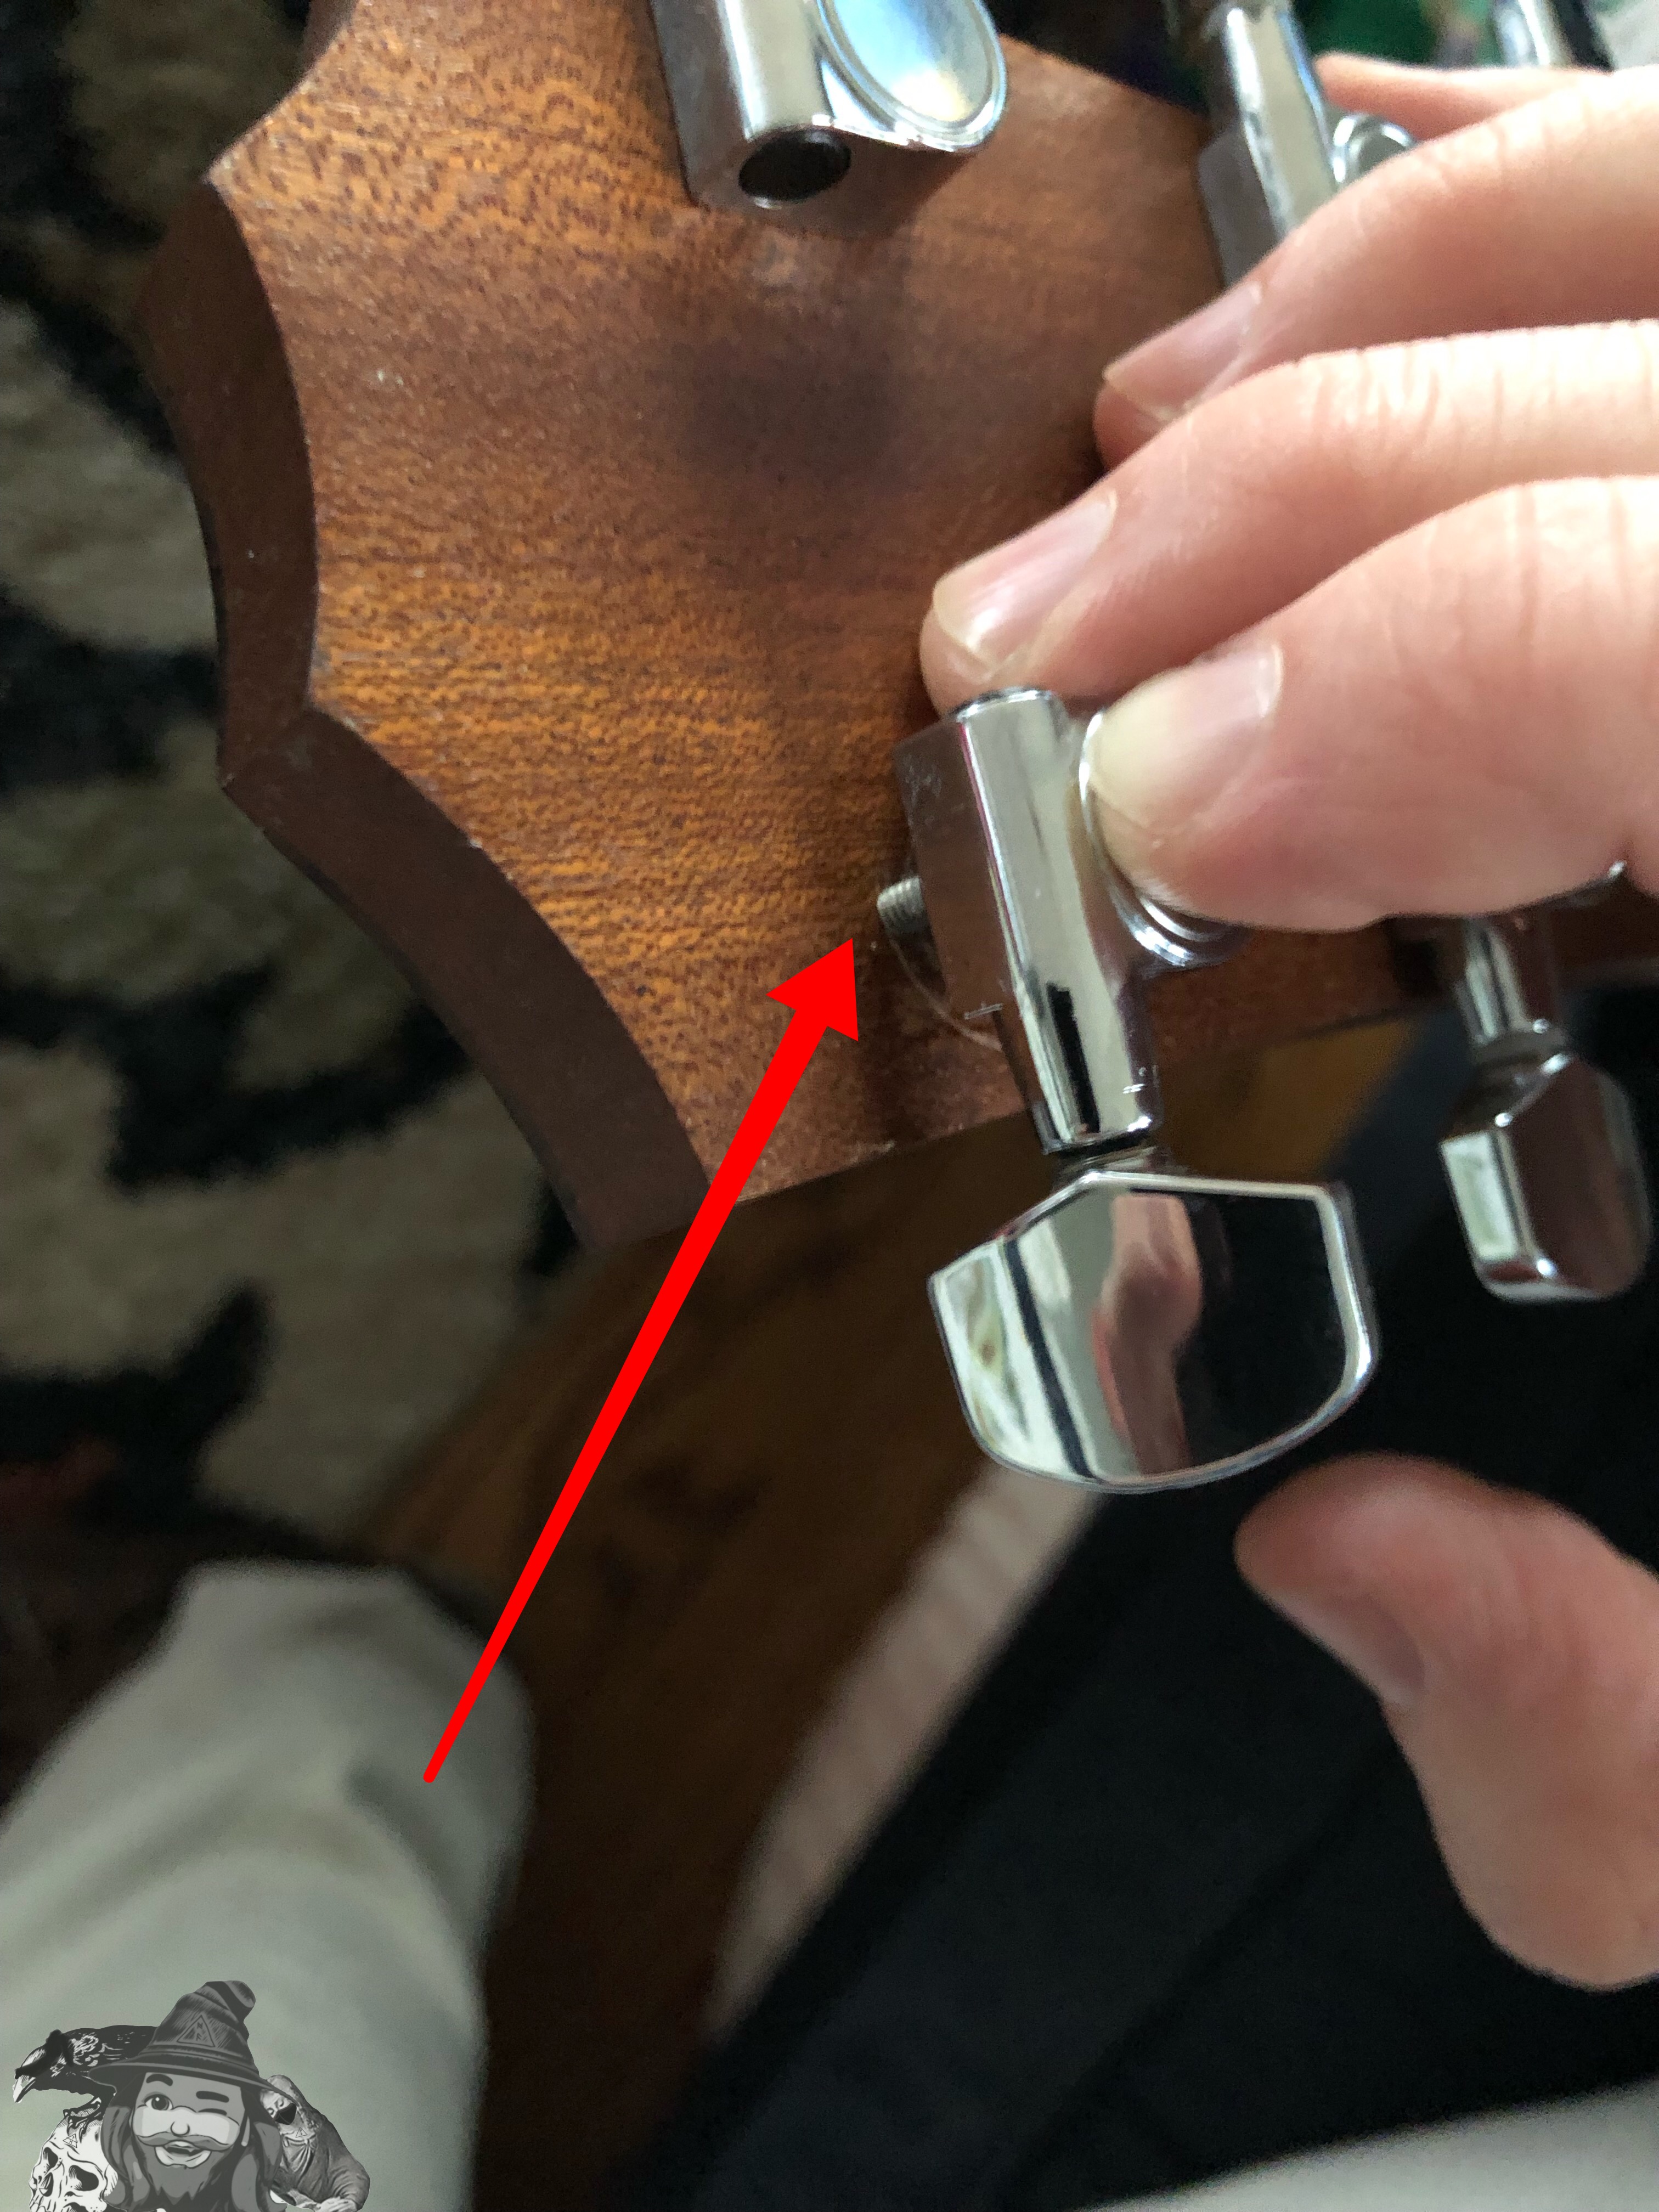 |
| I used a small file to take down the threads and get a better fit. | 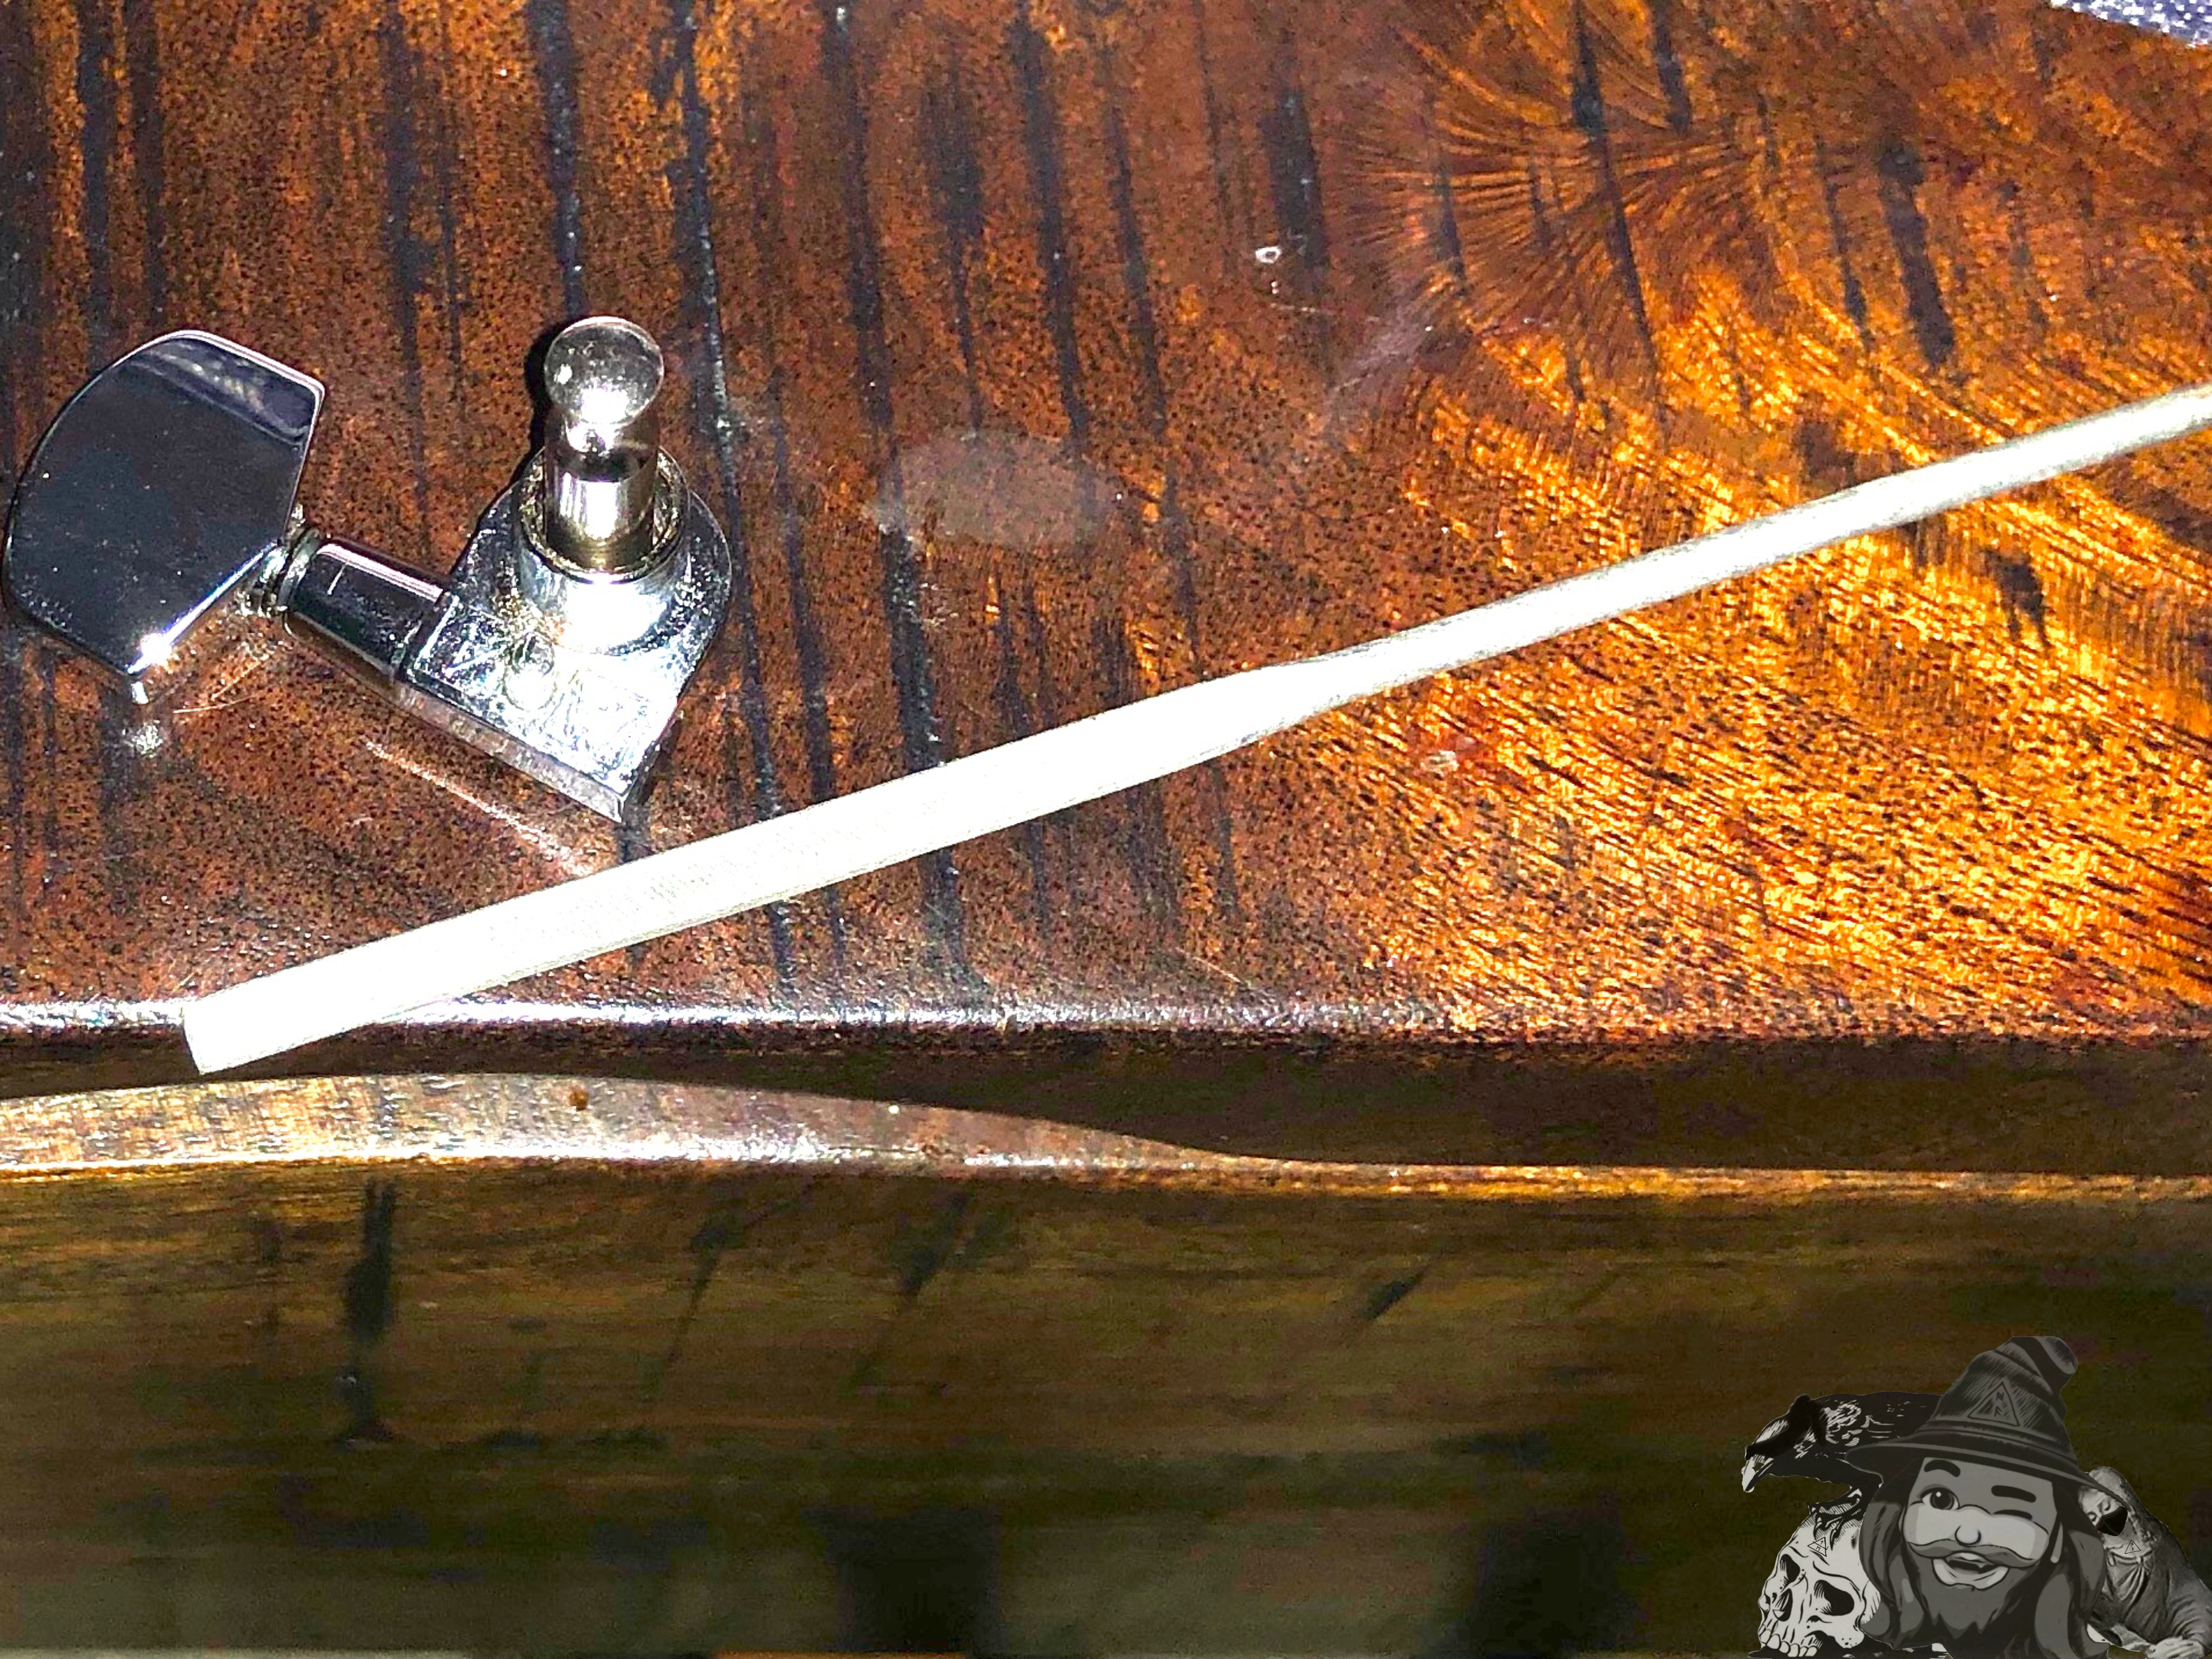 |
| My new locating pin is a little too long. I swapped the G and high E tuning pegs, hoping that putting the repaired peg in a place with less exposure might ensure it lasts. | 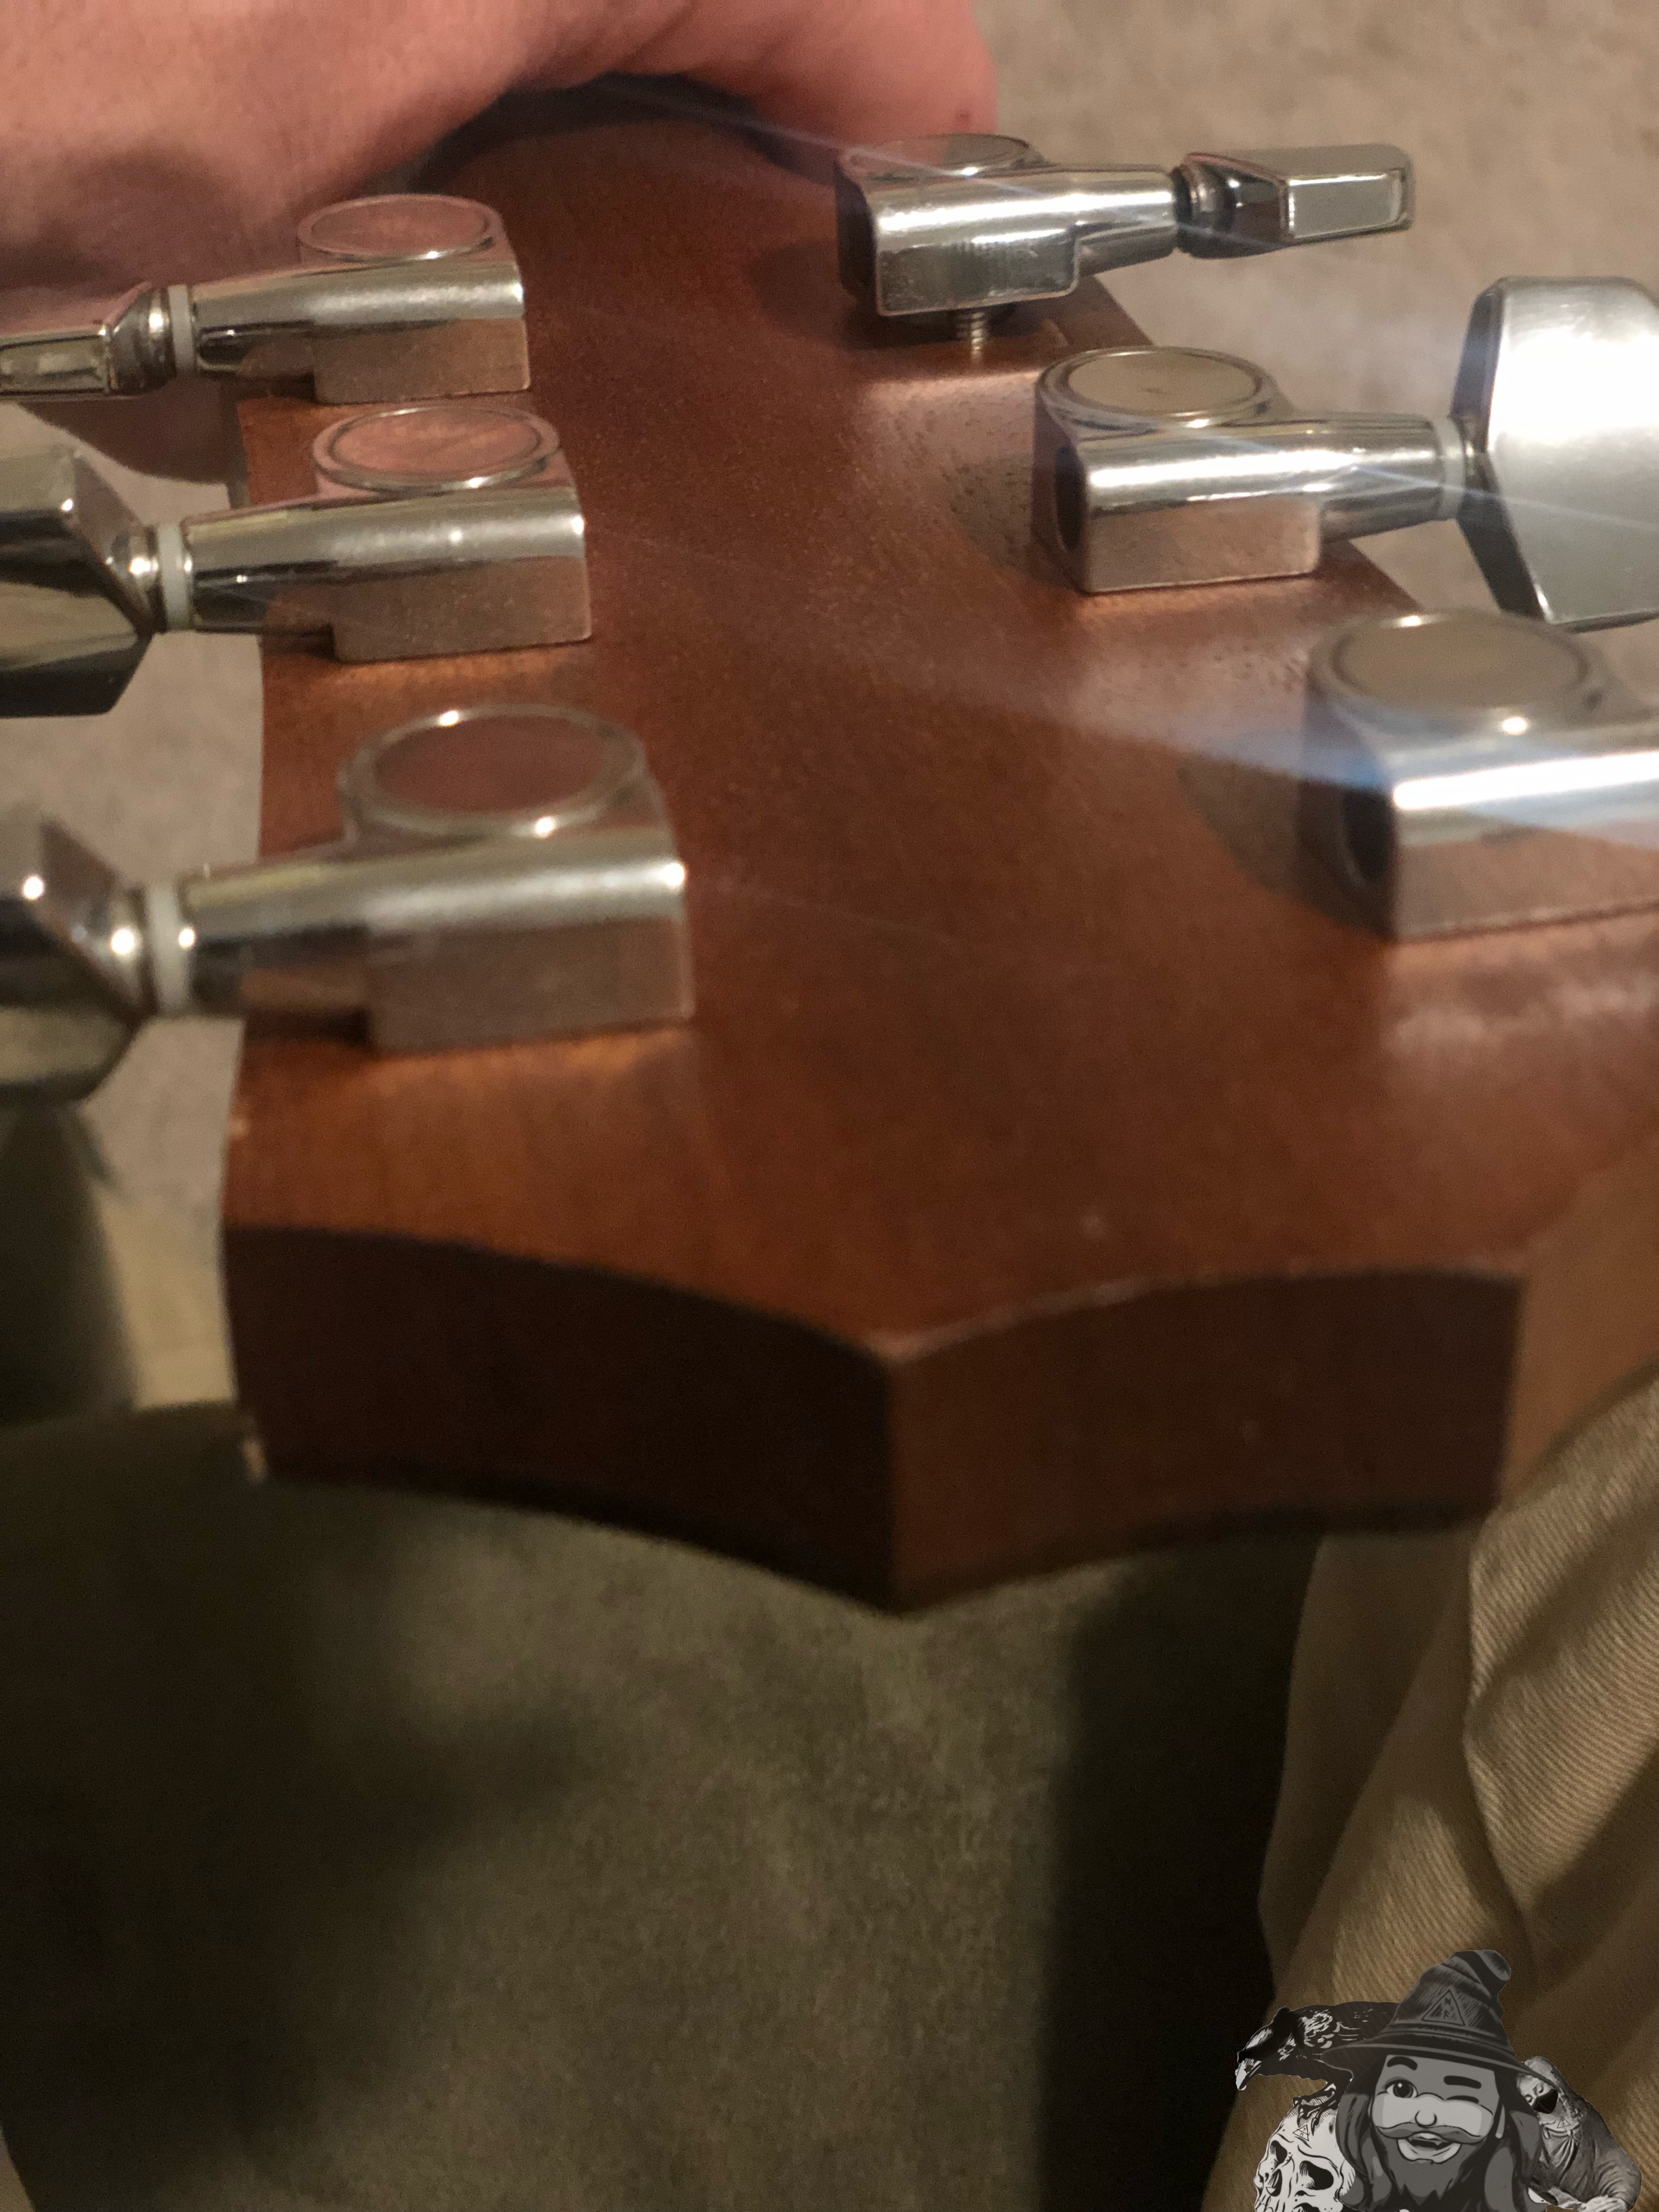 |
| This also gave me a good opportunity to get an idea for how much length I should take off. | 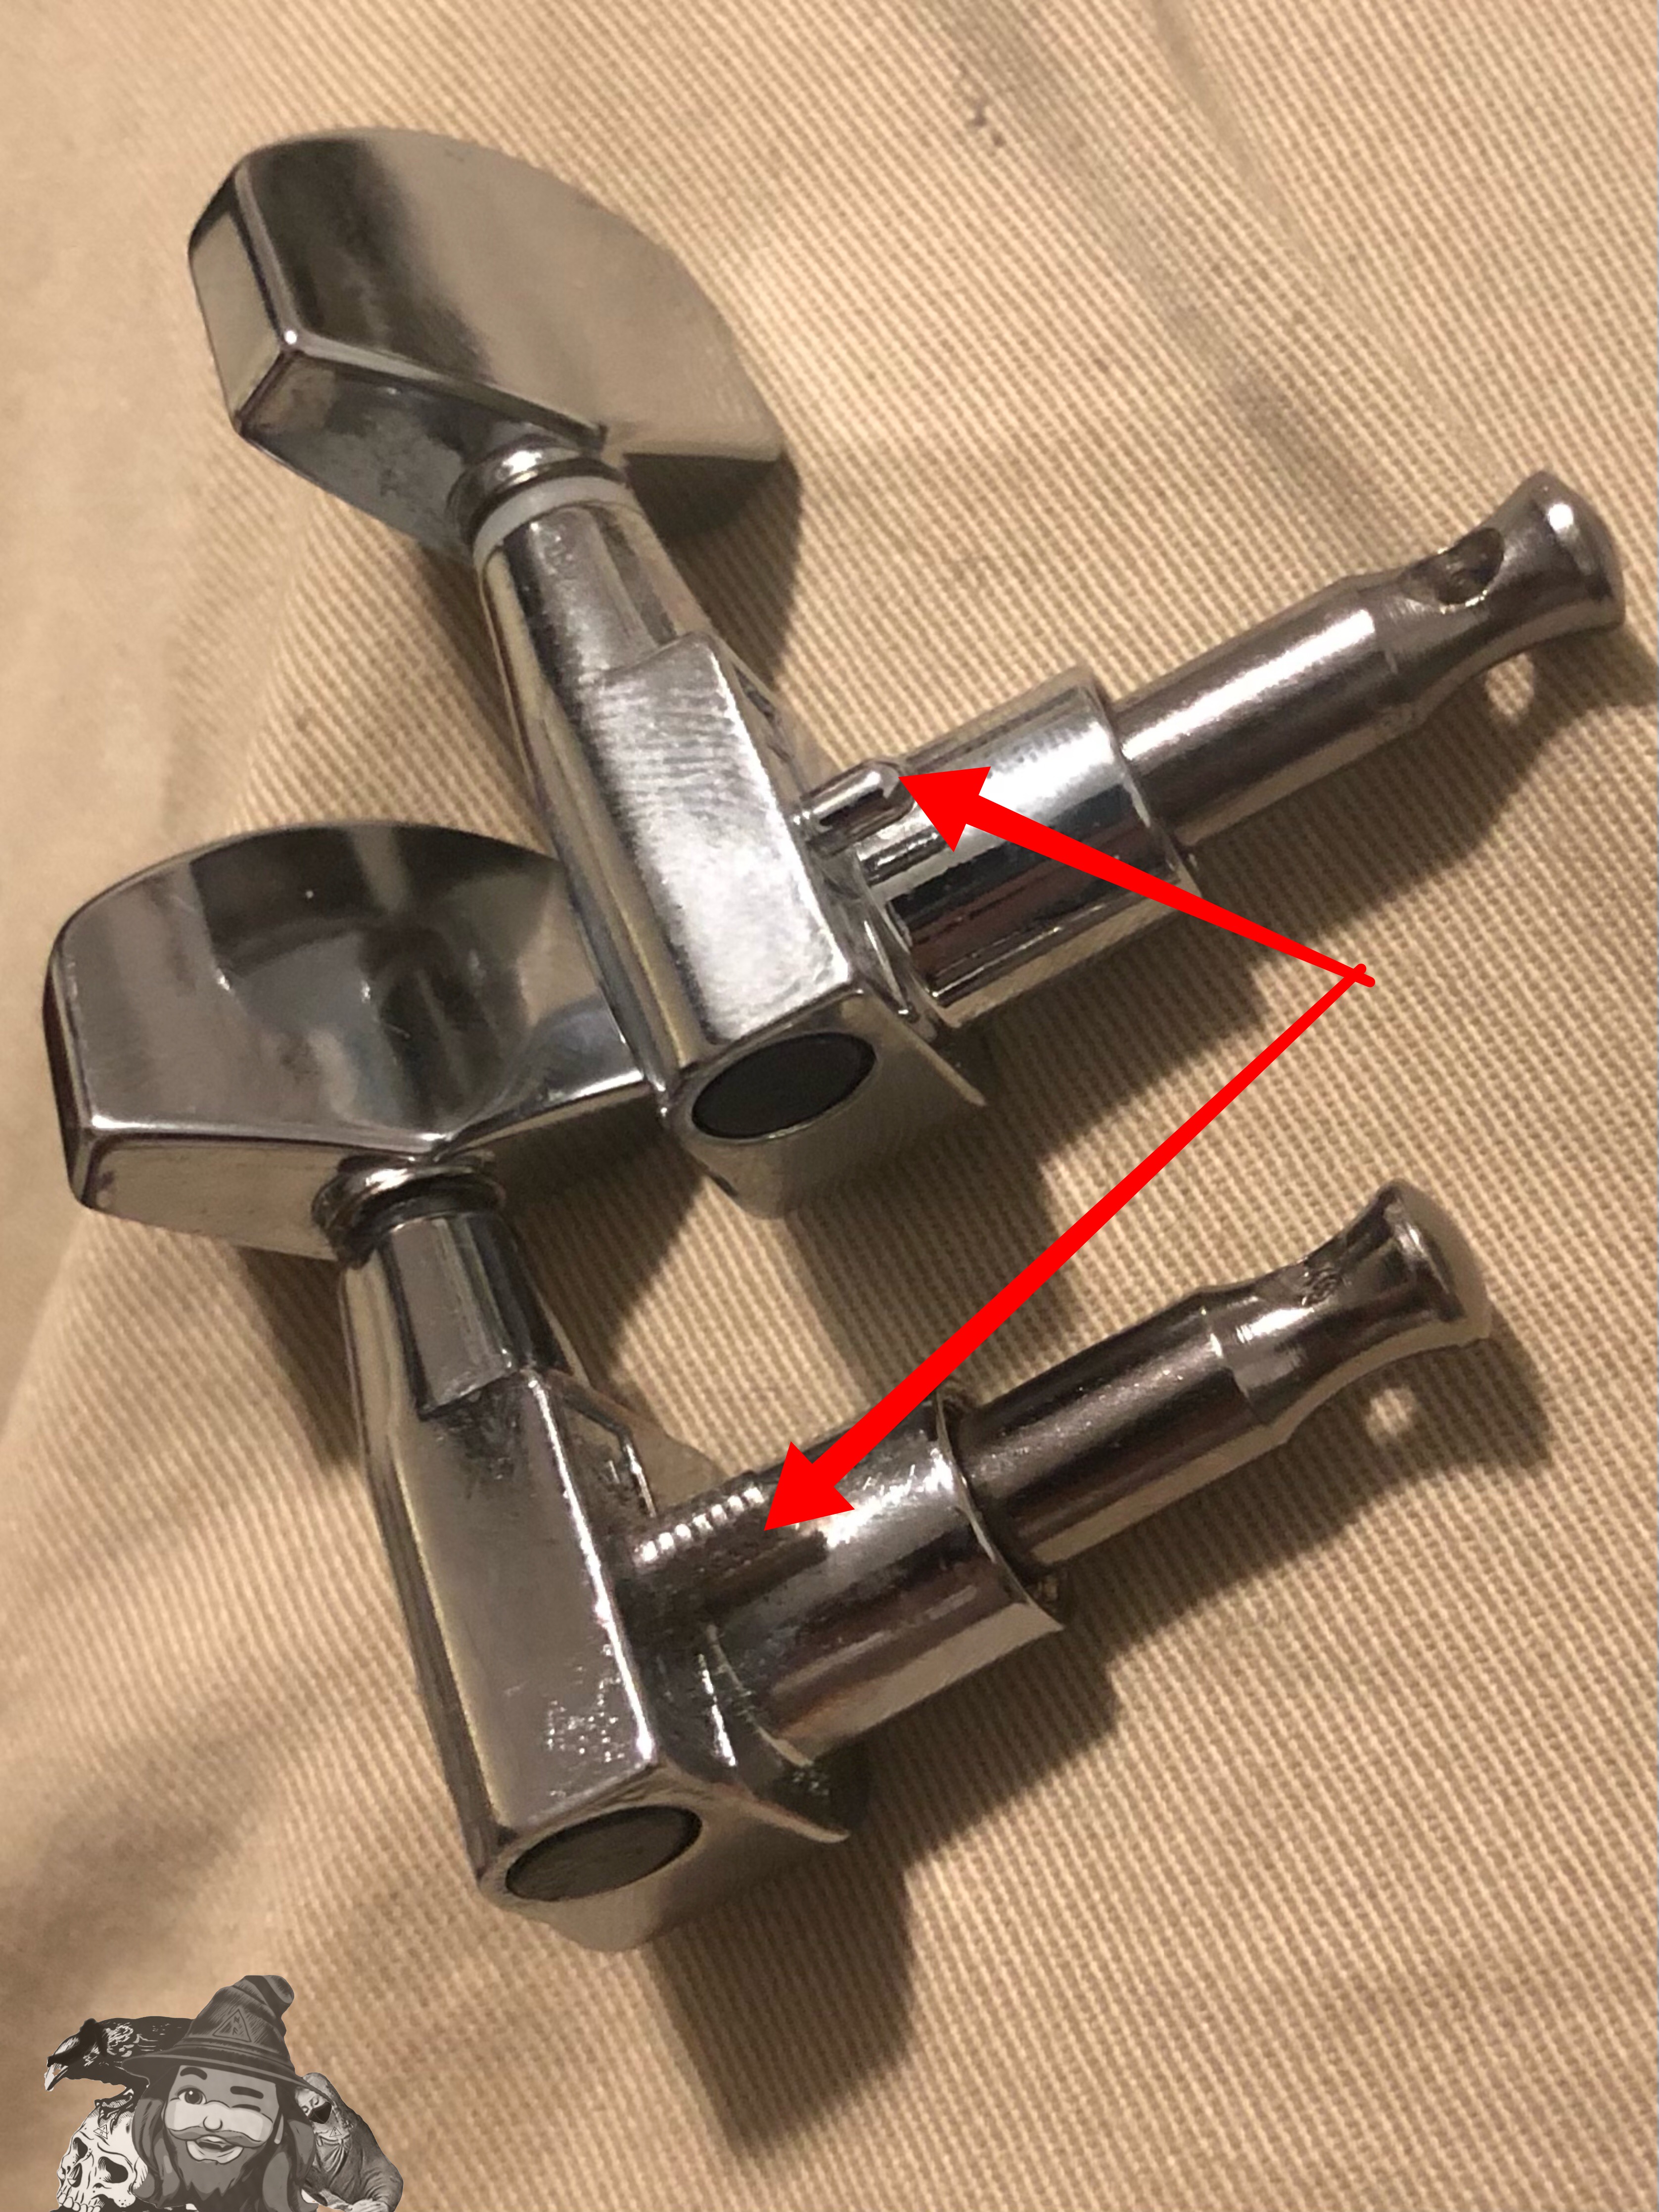 |
| I used bolt cutters again to trim the pin. | 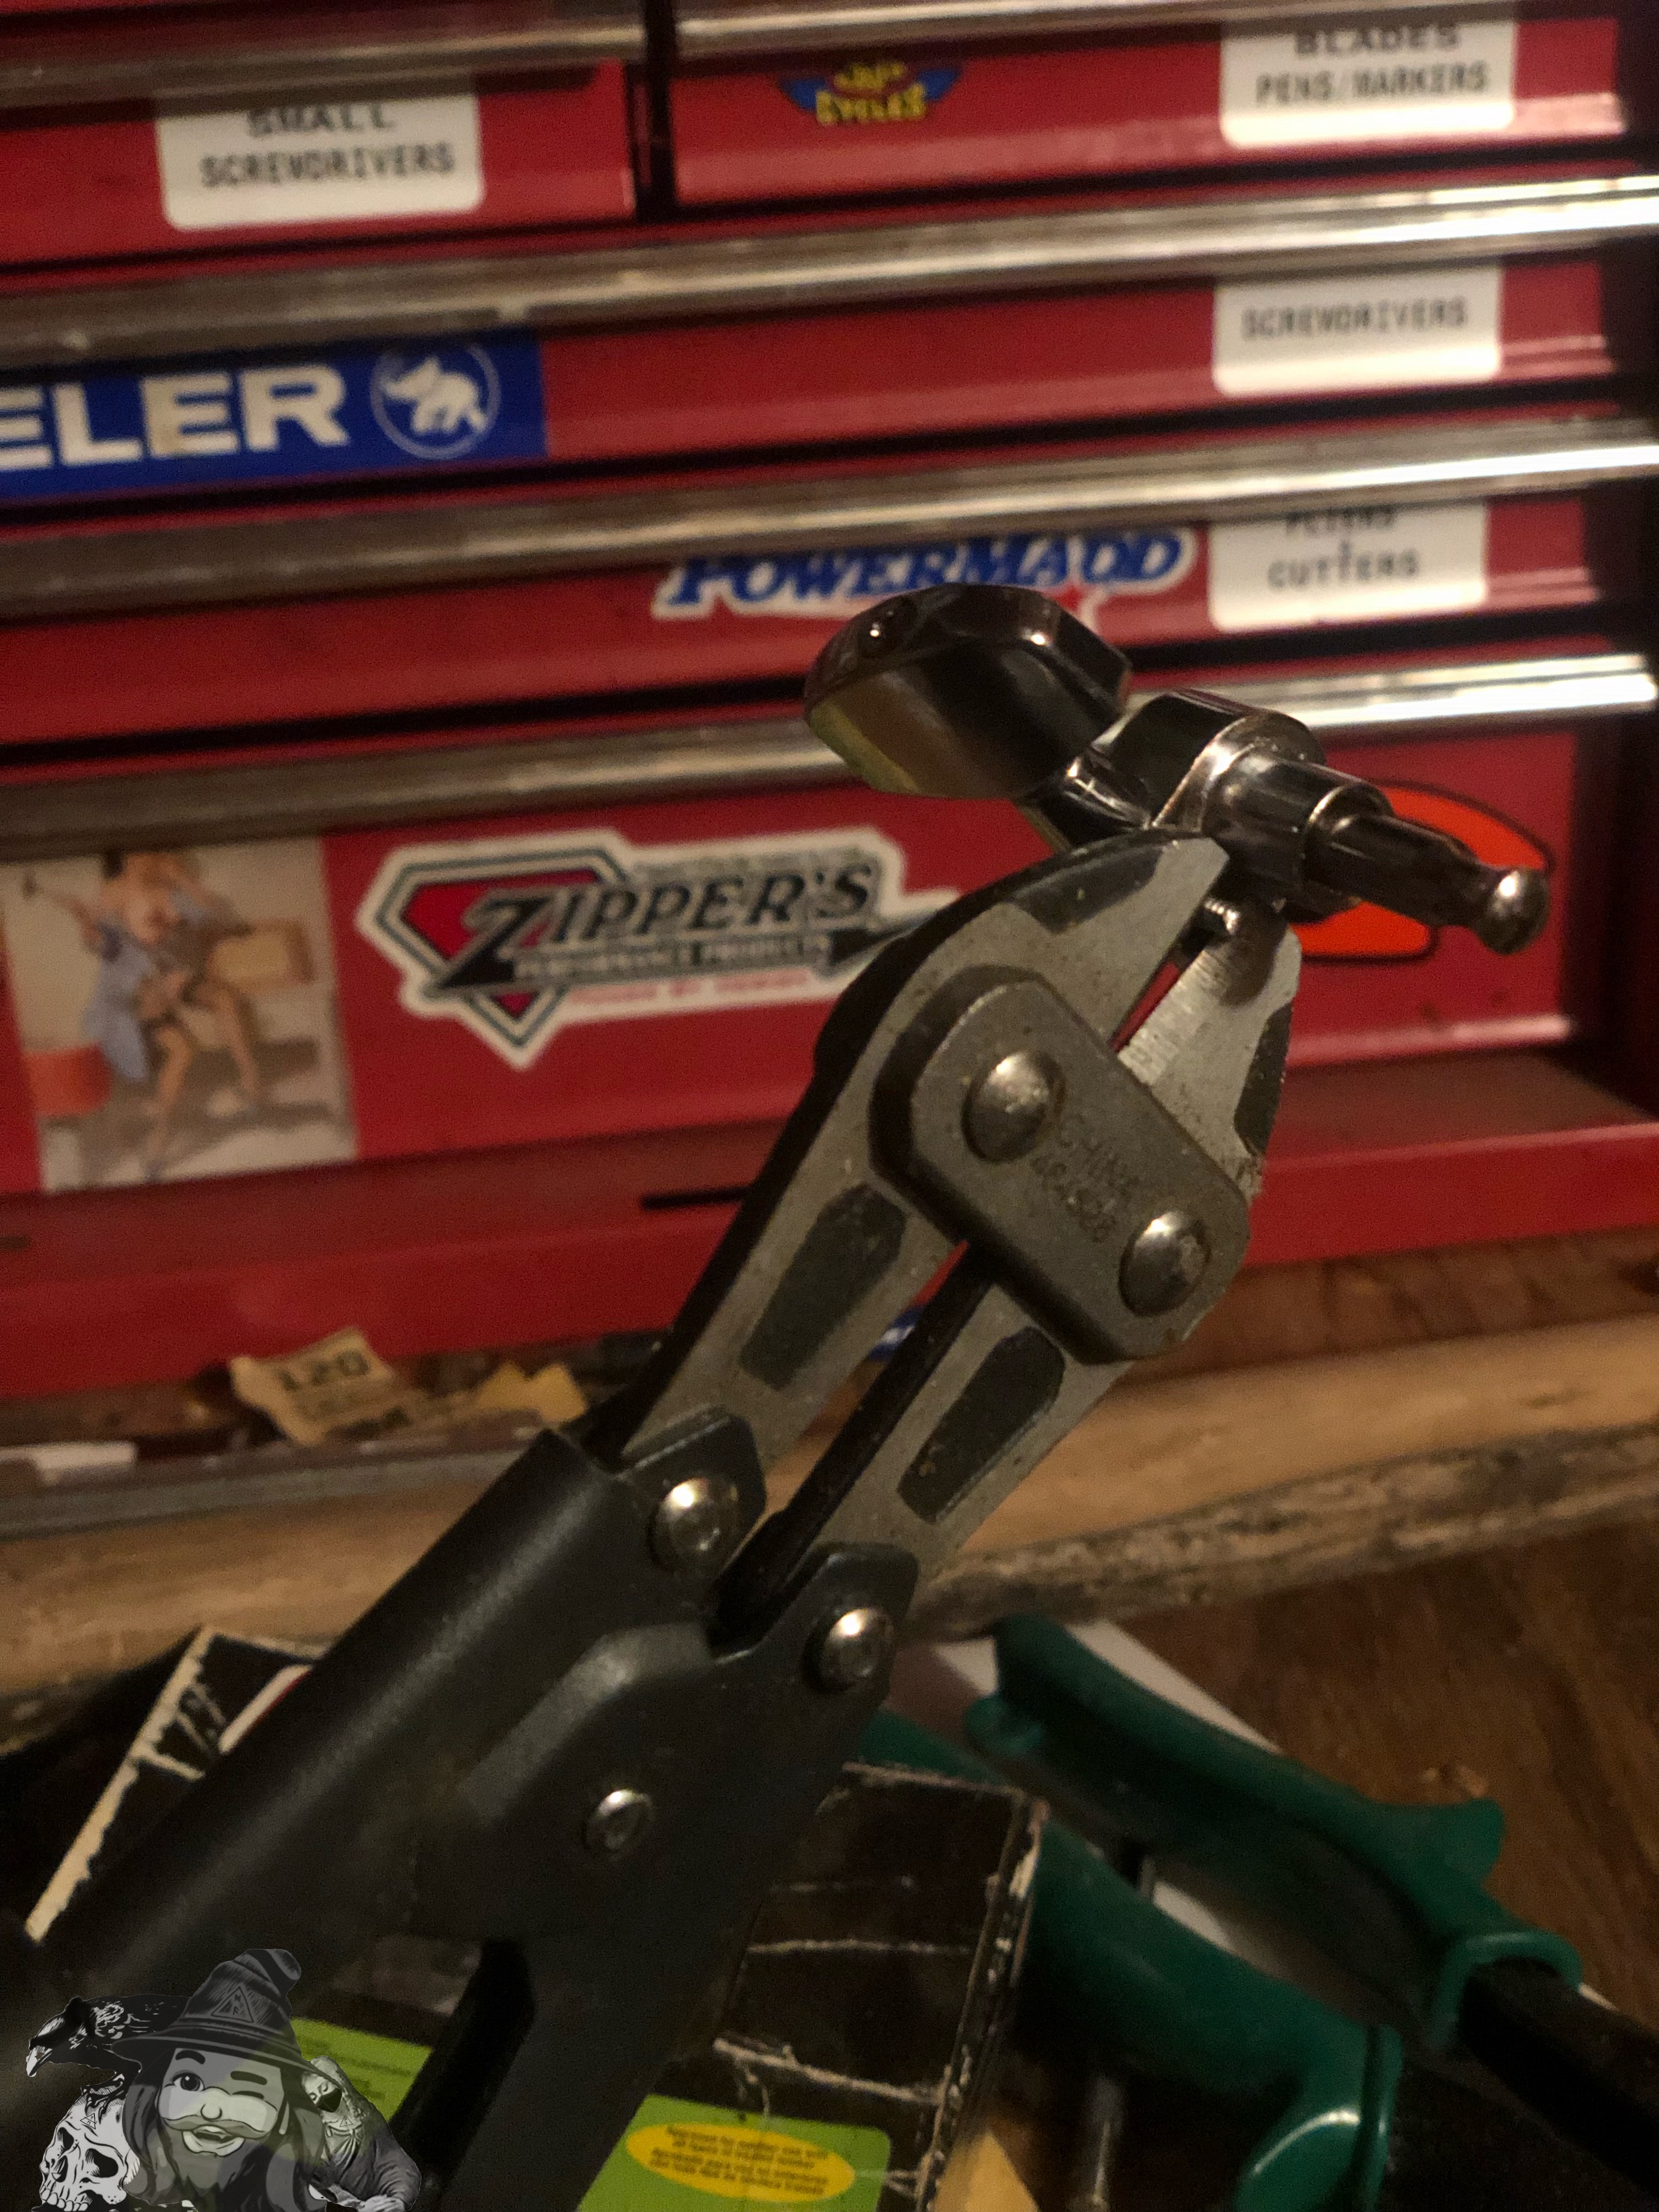 |
| …in my haste, I cut it a lot shorter than I would have liked. | 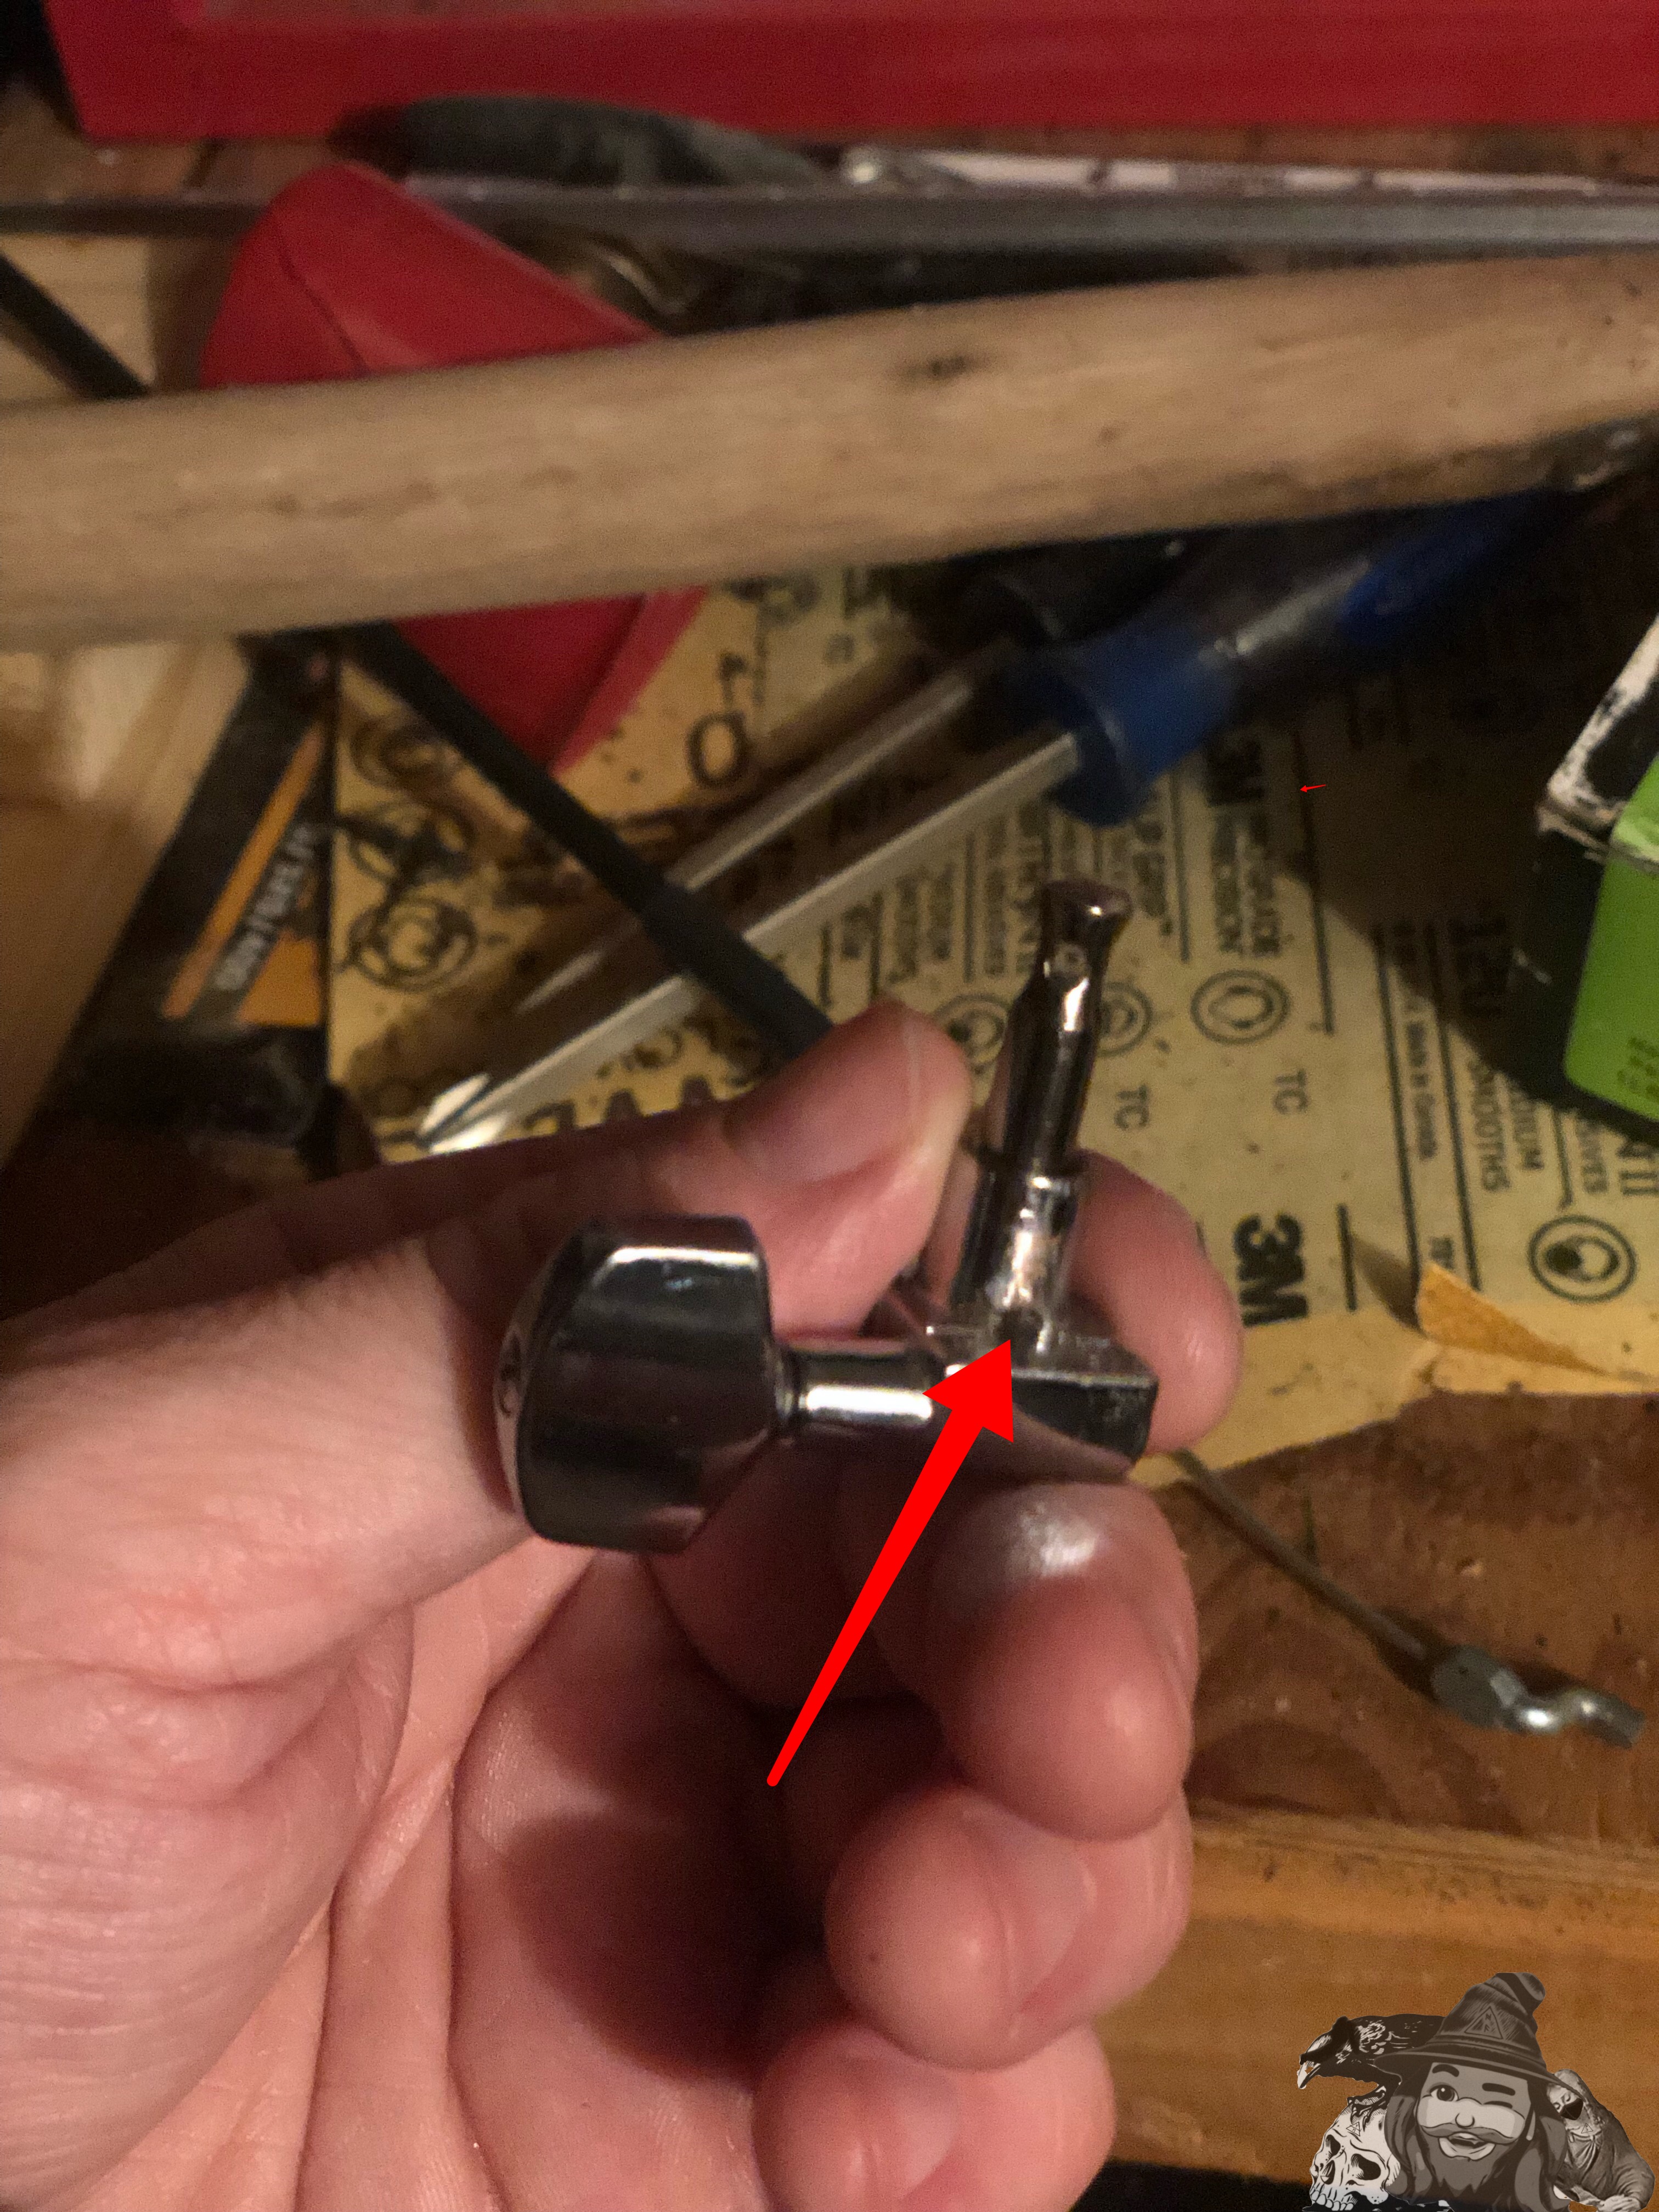 |
| But it came out fine :) | |
| Front View | 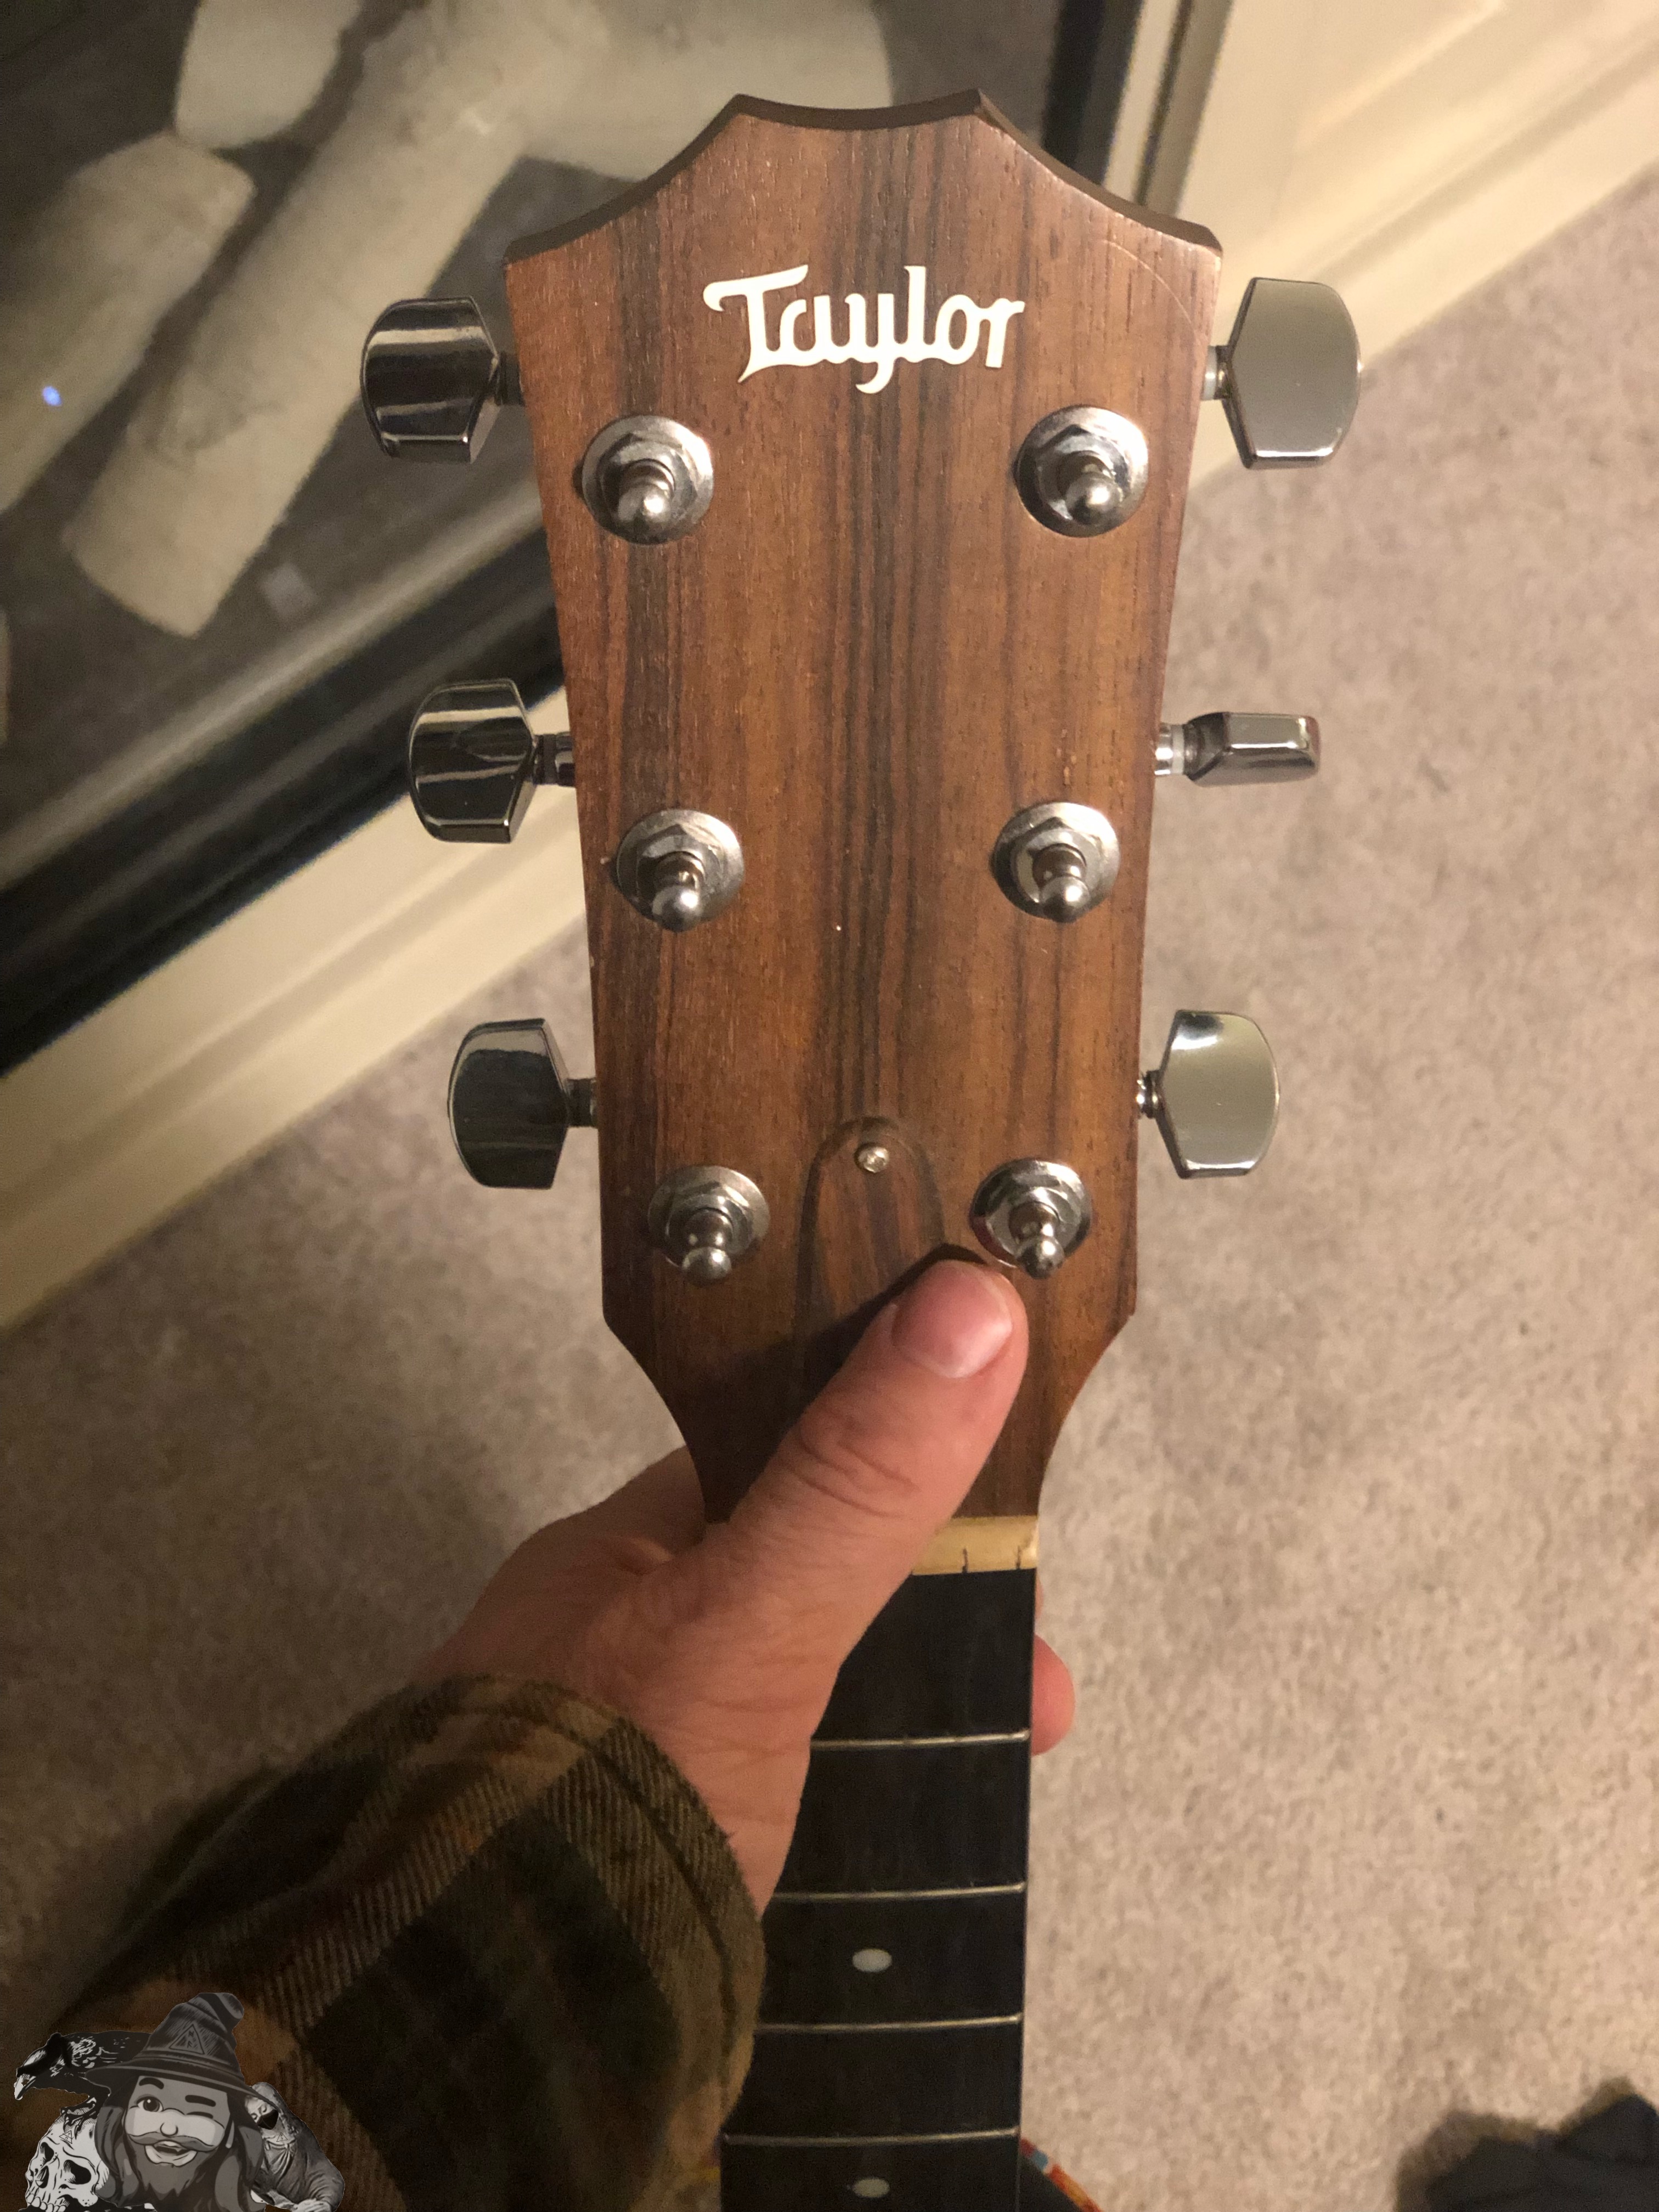 |
| Back View | 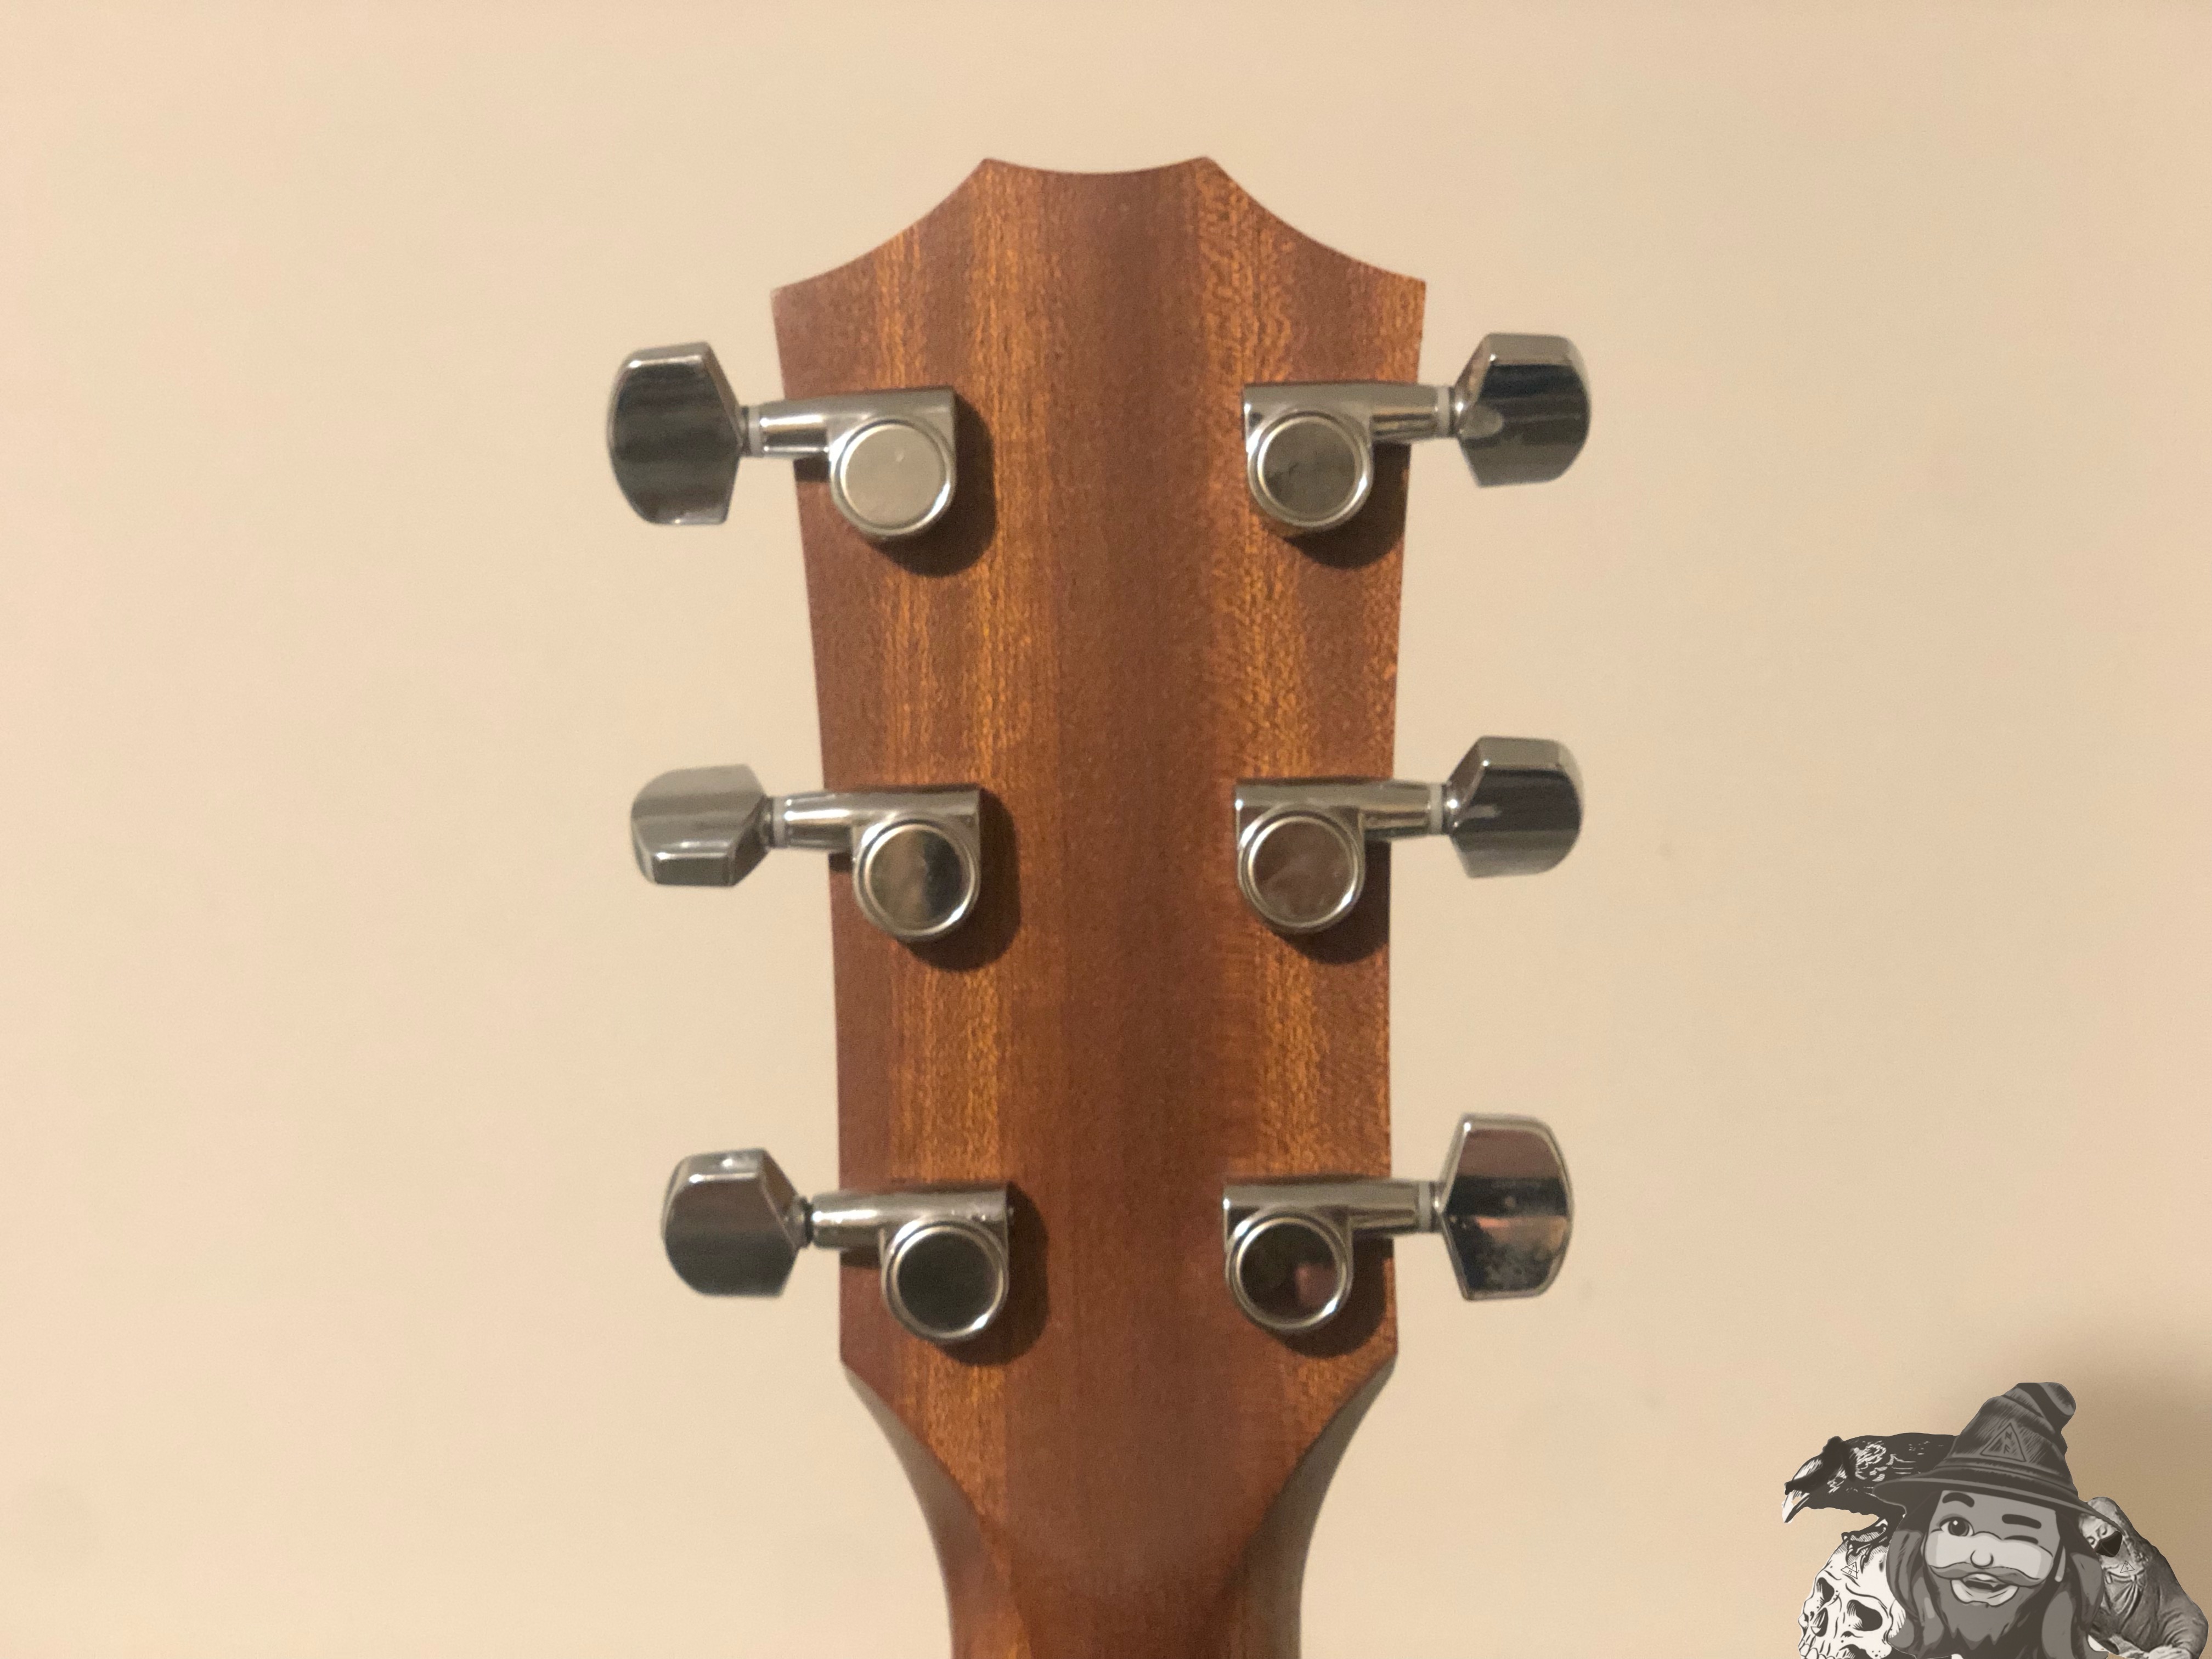 |
I made the rookie mistake of cutting the high E string too short, or I’d have also posted a video here of me playing something. Unfortunately, I’m a slow mover and it’ll be a while before I buy another set.
Until then, thanks for checking it out!
As always, I hope you enjoyed witnessing as much as I enjoyed creating!

If you enjoy my content, check out the Albus Index!
Here you’ll find links to various post-groupings, so you can find all posts related to a specific topic quickly. Topics include lists of brewing recipes, different flutes, rucking posts and an index of all acoustic covers. The lists are updated as new content is added, so they can always be used to quickly navigate my content.
- - : GO TO THE ALBUS INDEX : - -

Use my Coinbase referral link to get started with Coinbase! I’ll get $10 in Bitcoin but, more importantly, you will get $10 in Bitcoin too!
Here is a post I did recently about using Coinbase with HiveWallet to get Hive in the US. If you’re wanting to buy Hive and are having difficulties, this may be helpful for you!
