At this point I’ve had many midnight digging sessions, and phase one of the inner chamber is maybe 33% complete. Once the whole room is carved out I plan on taking the floor down another two feet or so.
This is hard to make out, but it’s the view of the tunnel from the back left corner of the open space. We’ll talk more about that later.
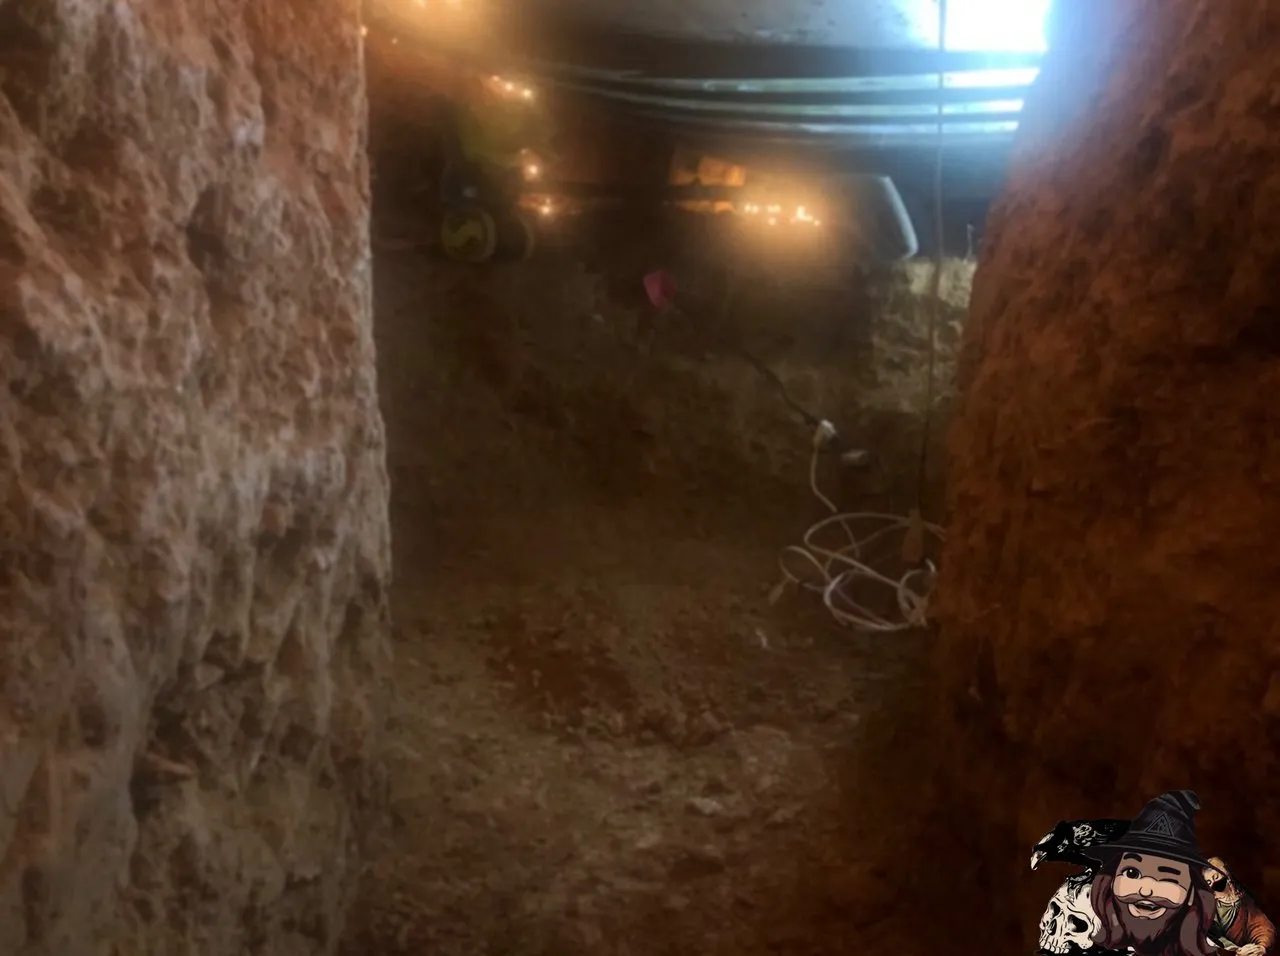
When you pass through the tunnel and enter the main fire room chamber, this is the corner behind you on your left. The far wall of the chamber is now approximately six feet back from the opening to the tunnel, depth below ceiling is roughly 4 feet throughout the tunnel and the chamber to the dimensions previously described. The roof extends back approximately 6-8 feet further back, but the depth below it is only 1-2 feet - Next step will be to chisel that back to get the shape of the room fleshed out…and this is going to be a big job.
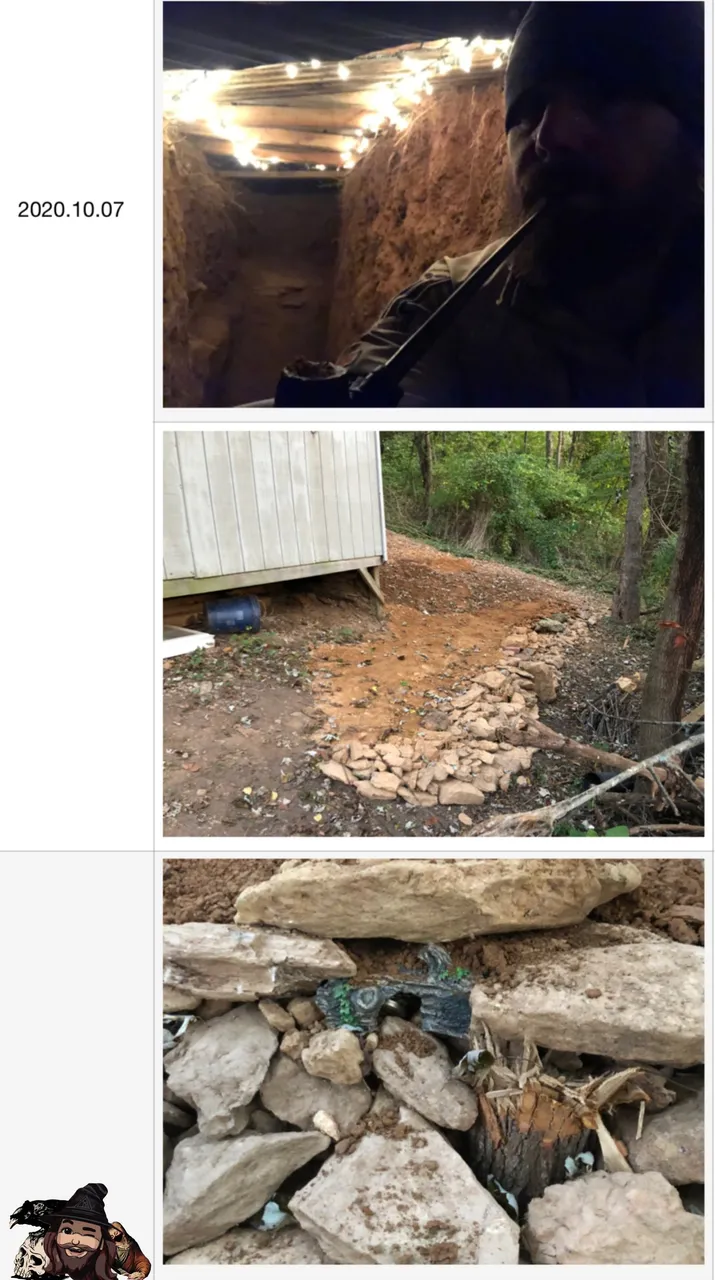
On the 7th of October I smoked my tobacco pipe in the partially hollowed out fire room. I have a plan for concealed ventilation but as of yet there is no ventilation and the pipe turned this hole in the ground into an impermeable white fog almost instantly. I hung out and finished the bowl of course, I just couldn’t see.
I added lots of dirt, bucket by bucket, filling in the retaining wall as I built it, alternating between dragging rocks out from where I’d pushed them up, under the shed, and dumping buckets that’d been pushed up through the floor and carried out.
I embedded into the retaining wall an aquarium decoration that was in the shed when we moved in. I cornered it in and placed the surrounding rocks in front of it. I hope that the added pressure and the careful joining of rocks will make it very difficult to remove the decoration without doing some damage or disassembly of the wall around it once the wall around and above it is complete.
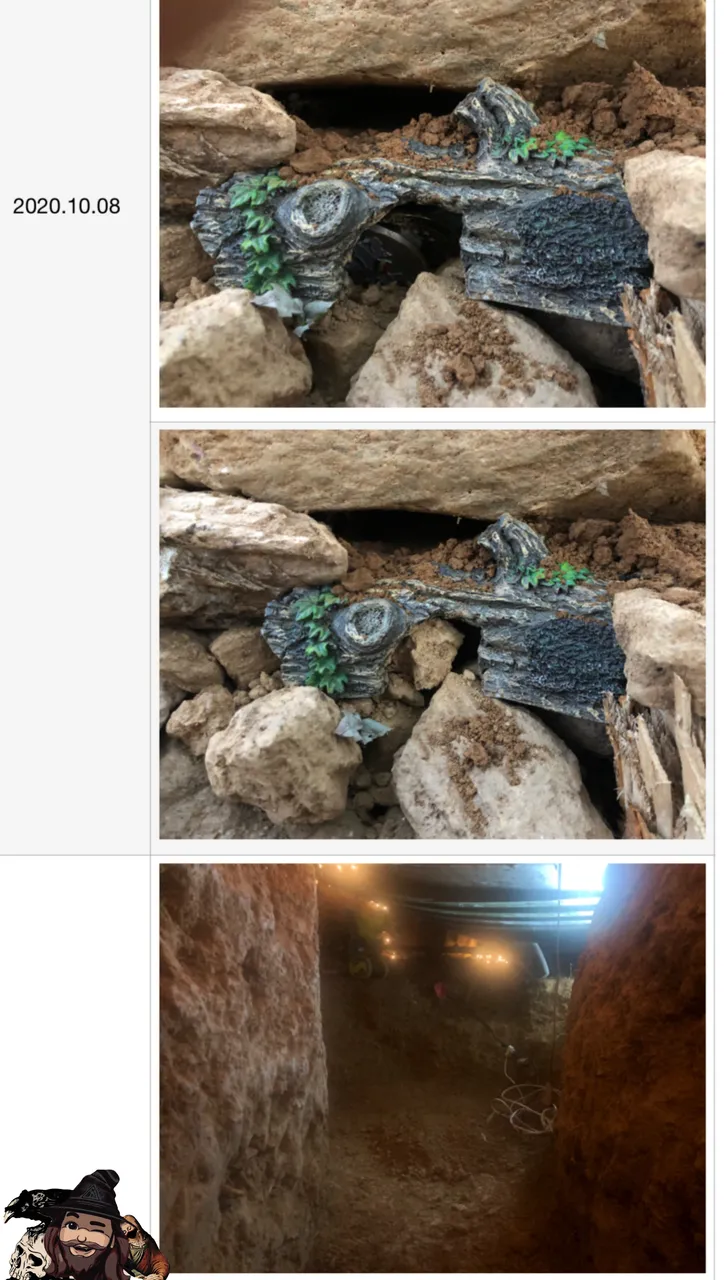
I didn’t take very good pictures here so it’s easy to miss…did you see what else was in there?
Here I’ll save you from having to scroll through gallery mode:
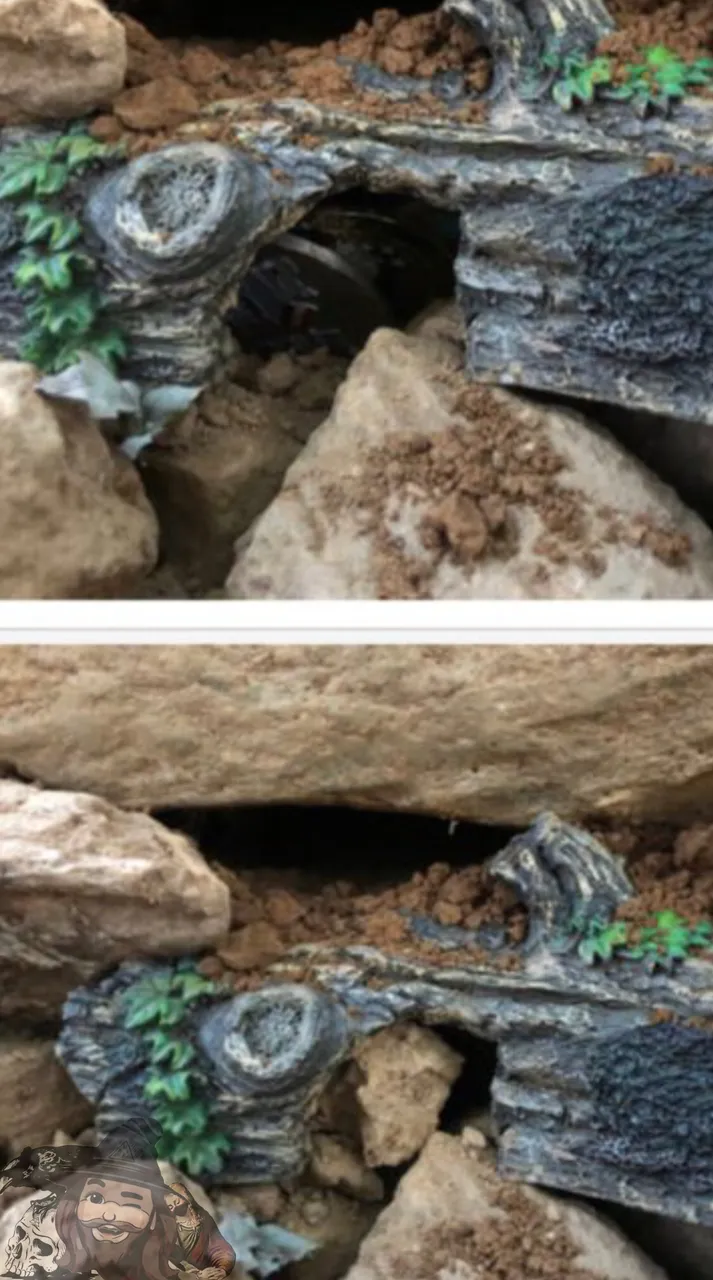
Inside the fake log thing, I placed army coins that were too big to fit through the opening, and then like a real jerk, I shoved rocks into the opening to fill and cover :)
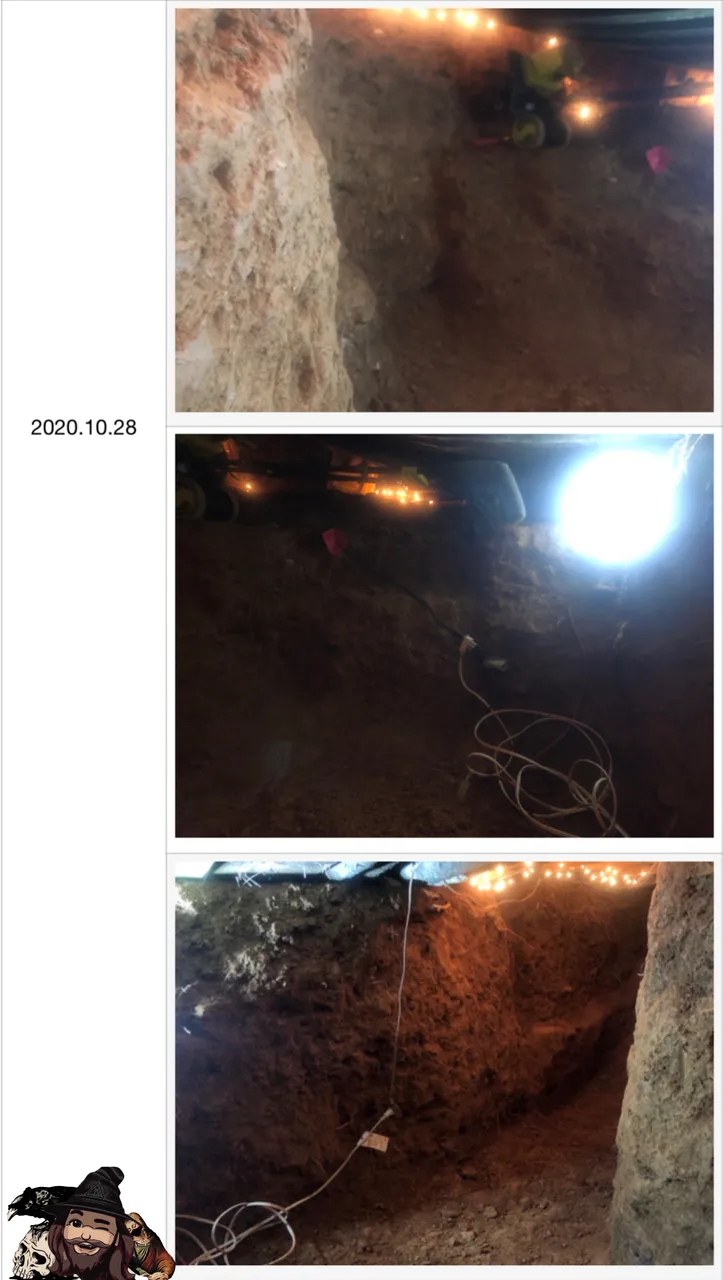
I’m kind of tired of typing with my thumbs now. For the three pictures above:
- just inside the fire room, facing the far left corner
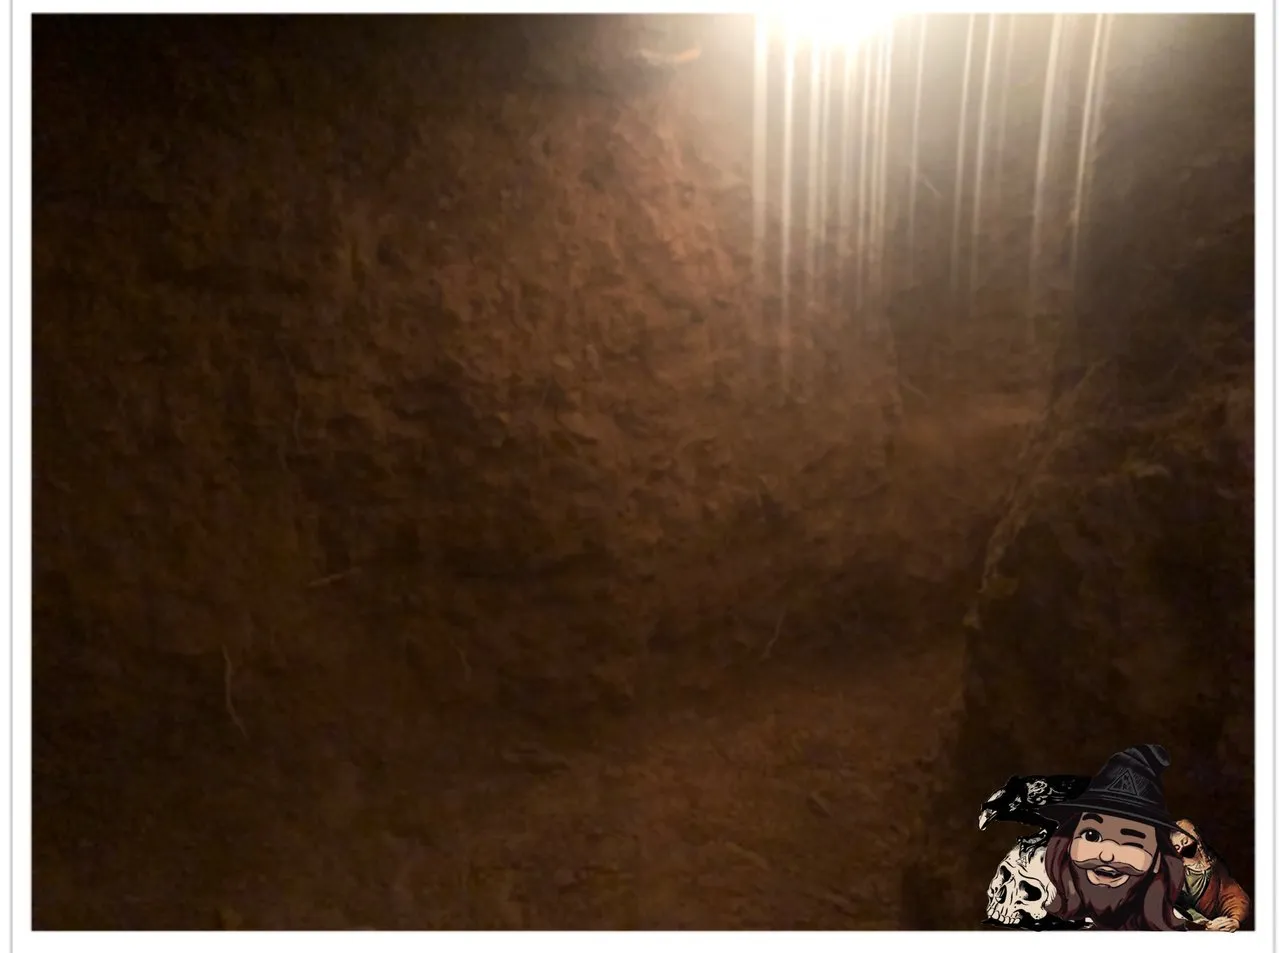
- really bad picture, super dark and unedited. Selfy with an extension cord, just inside the room and facing straight back.
- looking into the tunnel from the far back left corner of the open space. You can see a low ledge. I had to widen the tunnel so I could maneuver with buckets of dirt. This made the tunnel just wide enough that I could hug a bucket of dirt and turn around to haul it out.
Best method is to break up the dirt with a pick and scrape it into the bucket by hand and tip the bucket up to top off when it won’t hold any more on its side.
If you’re seeing this out of context and would like to check out the full story, this link will take you to a table links to all posts related to this build.
Thanks for checking out some more of my photos, as always, I hope you enjoyed seeing them as much as I enjoyed taking and sharing them!
For an indexed view of (most) of my works, don’t forget to check out the Albus Index! Quickly search through my content or browse for what’s available by topic!
- - : GO TO THE ALBUS INDEX : - -
Use my Coinbase referral link to get started with Coinbase! I’ll get $10 in Bitcoin but, more importantly, you will get $10 in Bitcoin too!
Here is a post I did recently about using Coinbase with HiveWallet to get Hive in the US. If you’re wanting to buy Hive and are having difficulties, this may be helpful for you!