Happy New Week Bees!
What a way to start the new week? Doing one of my favorites; Crafting
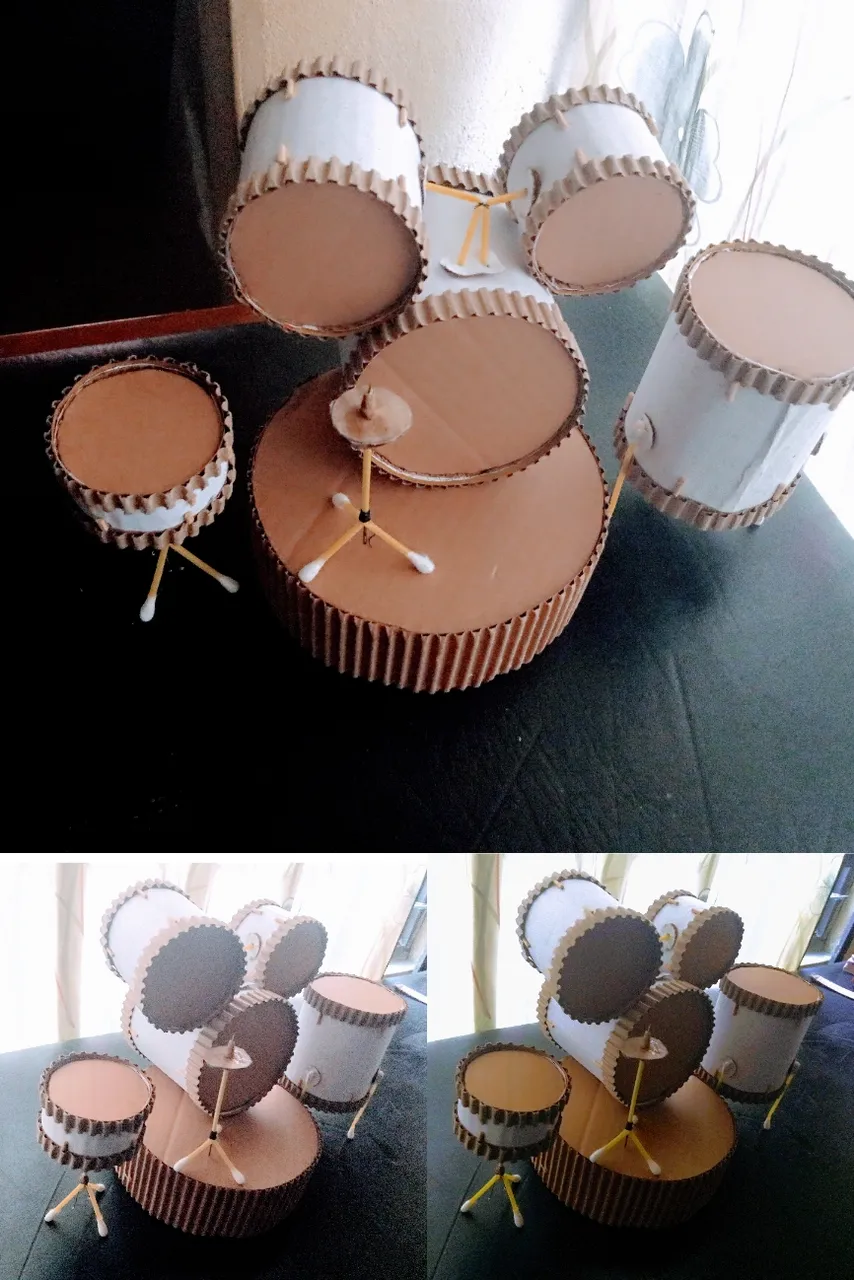
So today I made a drum set. It took me three straight hours to get this done. It's time-consuming and very tiring. I bet you might not even wanna try but I am not discouraging you.
Talking about music and musical instruments with someone inspired this work. I decided to give it a try. I wanted to start with my best musical instrument; The Piano but then I changed my mind and went for a set of drums. I am sure next time I will work on piano and maybe guitar as well.
This set isn't complete, I am still missing a few instruments to make it complete, but as I said, it was too time consuming and very tiring so I couldn't complete it so I just ended it with this set.
The ones I have here are;
- Bass drum
- Snare drum
- High tom
- Mid tom
- Hi hats
- Low/floor tom
Materials Used
- Carton
- A4 paper
- Top gum
- Scissor
- Pen
- Pin
- Toothpick
- Cotton bud
Steps And Process
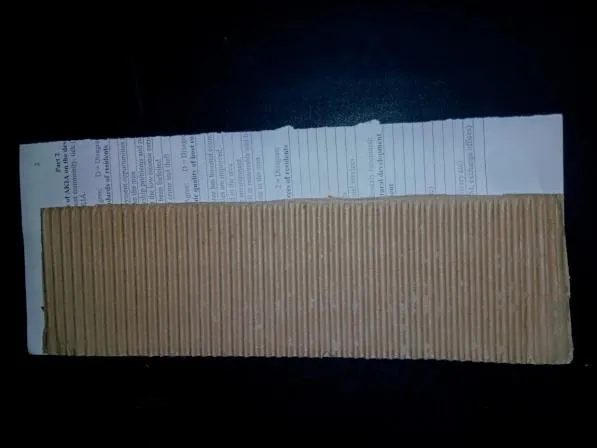
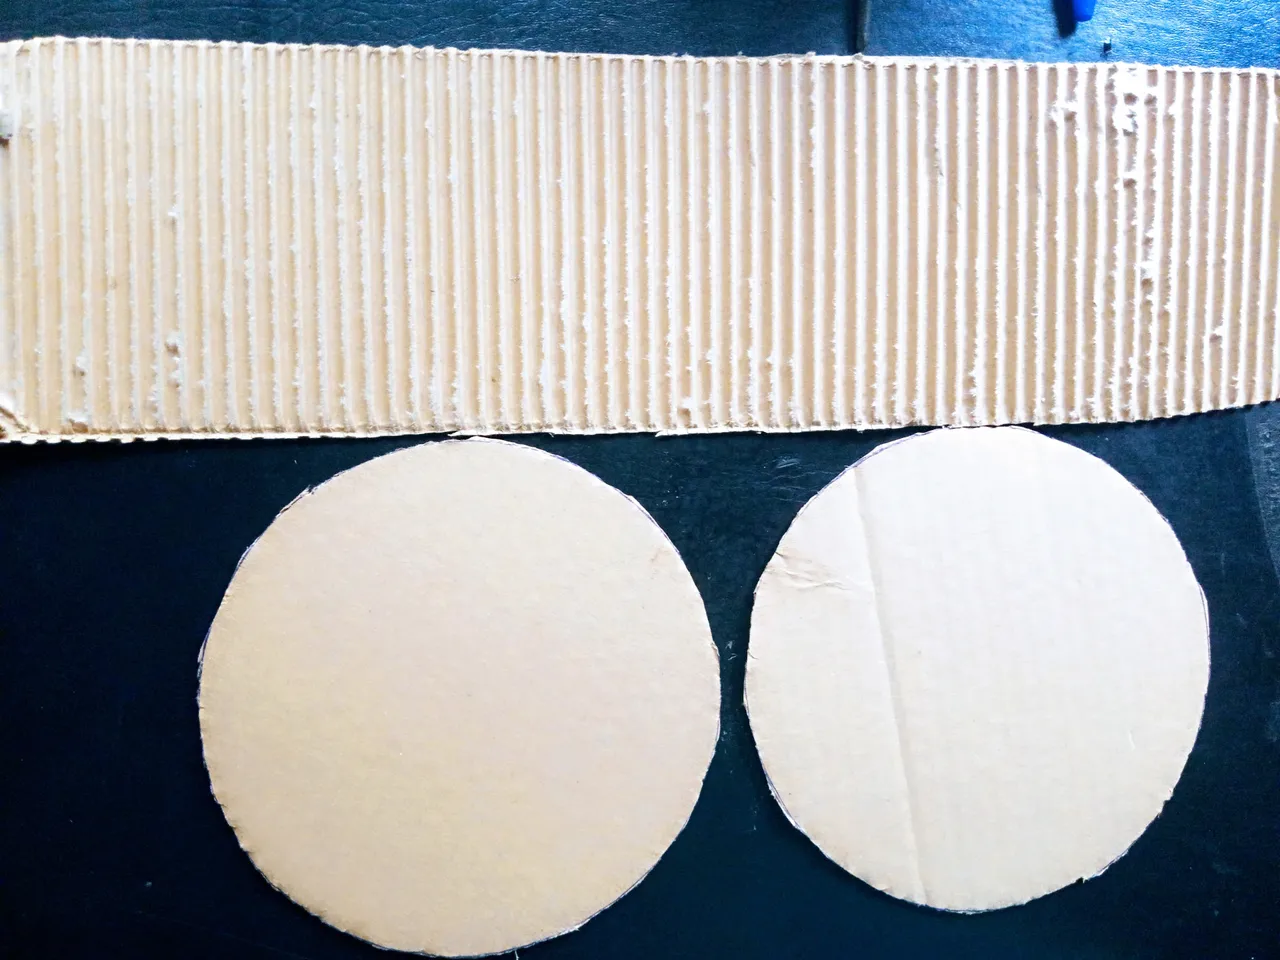
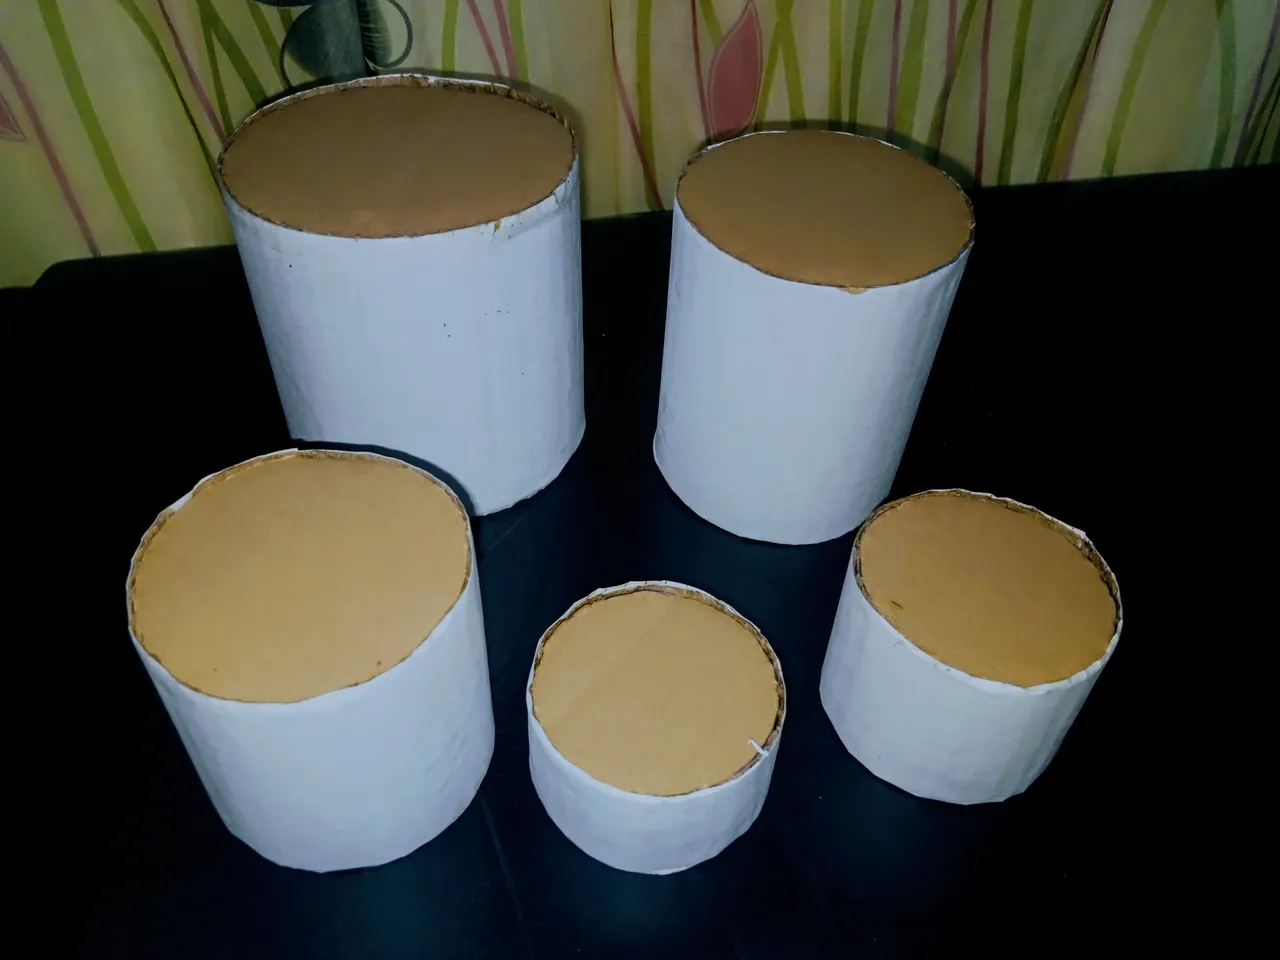
The first thing I did was to cut out a plain carton, then use different sizes of round shape and sketched out circles on the carton.

I measured the same size of the rectangle carton on A4 paper and cut it, applied gum on the carton, and pasted the A4 paper, left to dry.
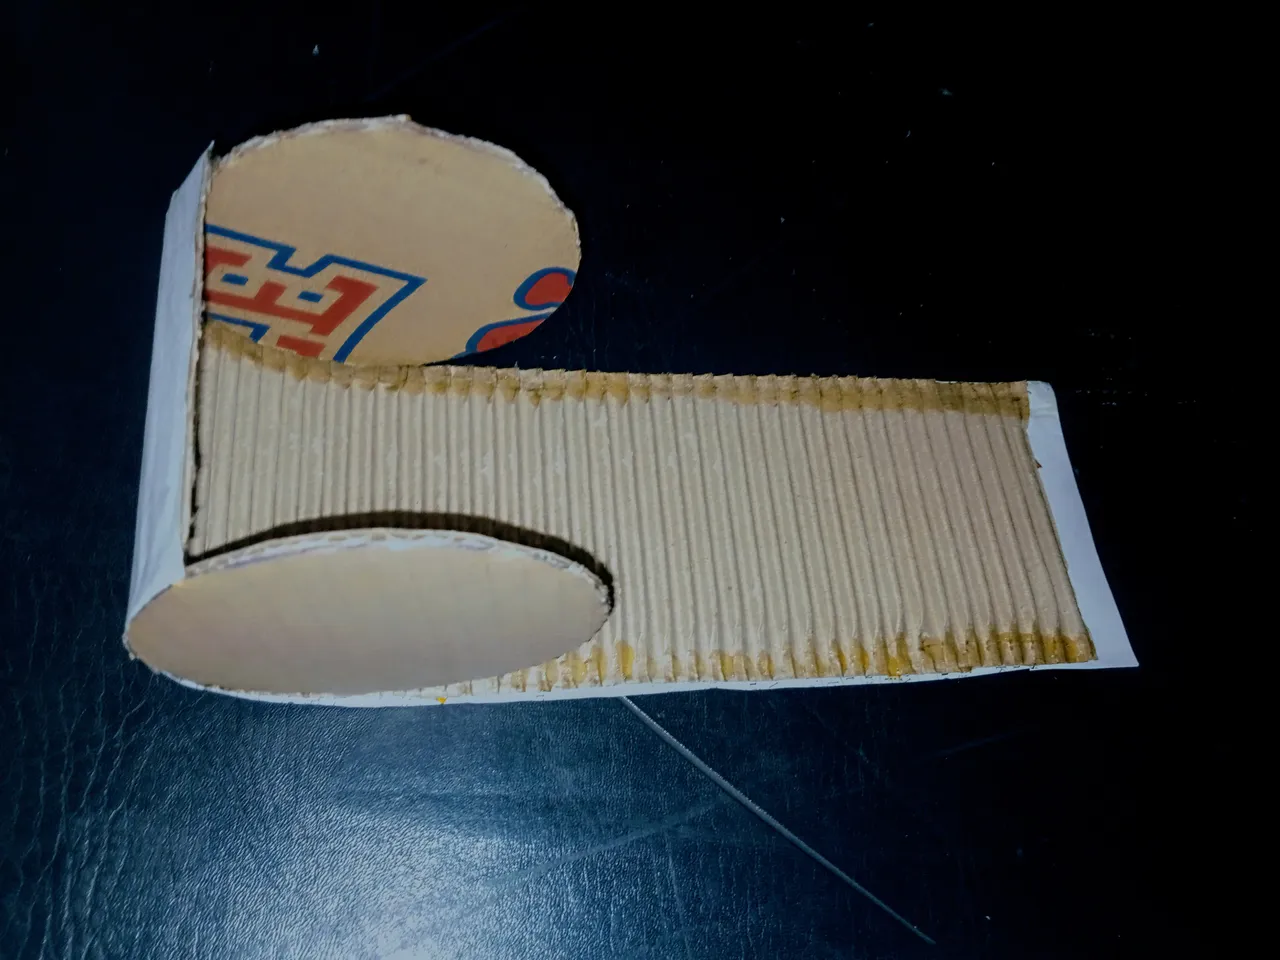
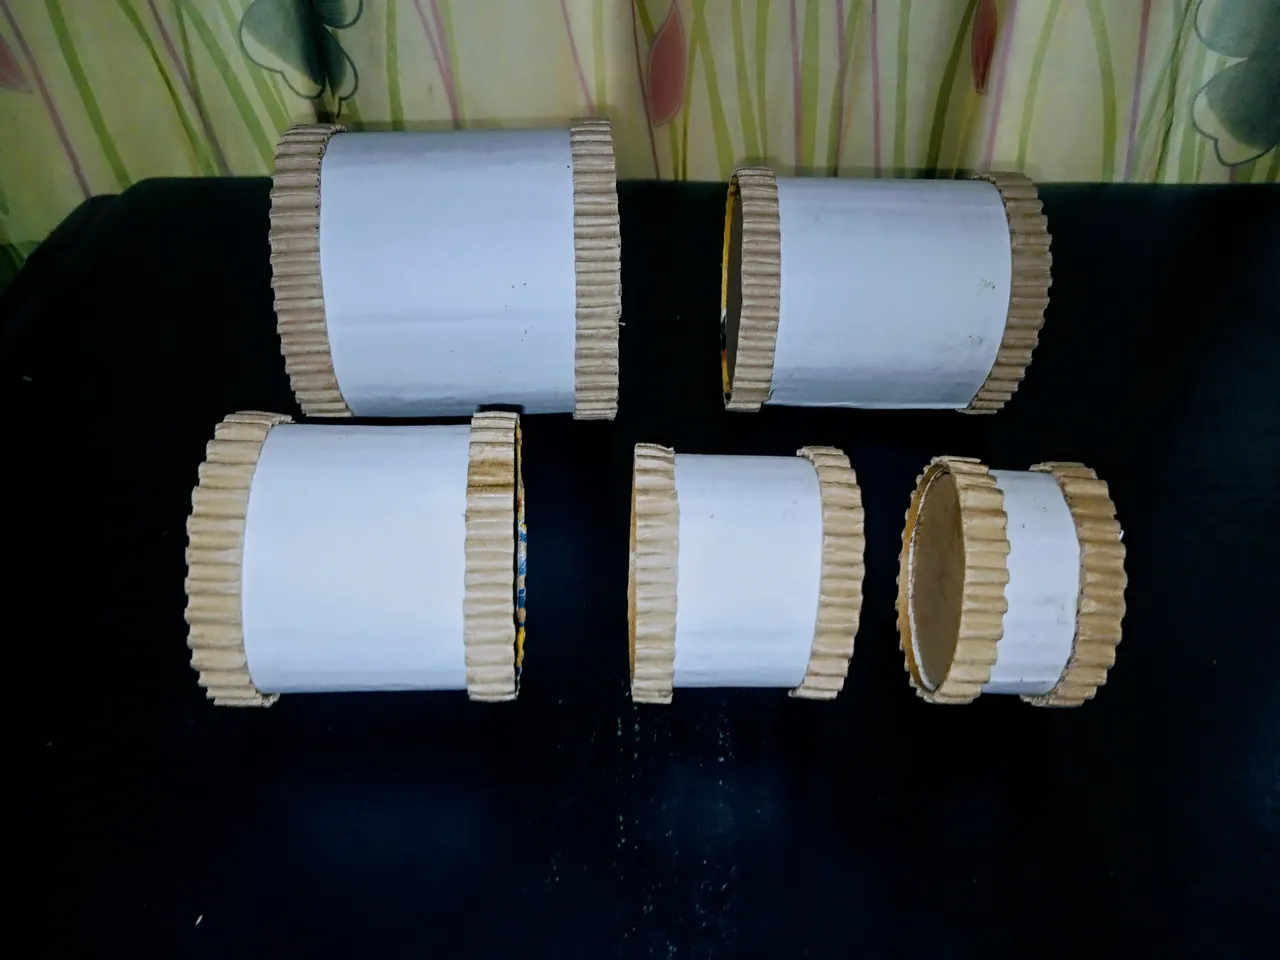
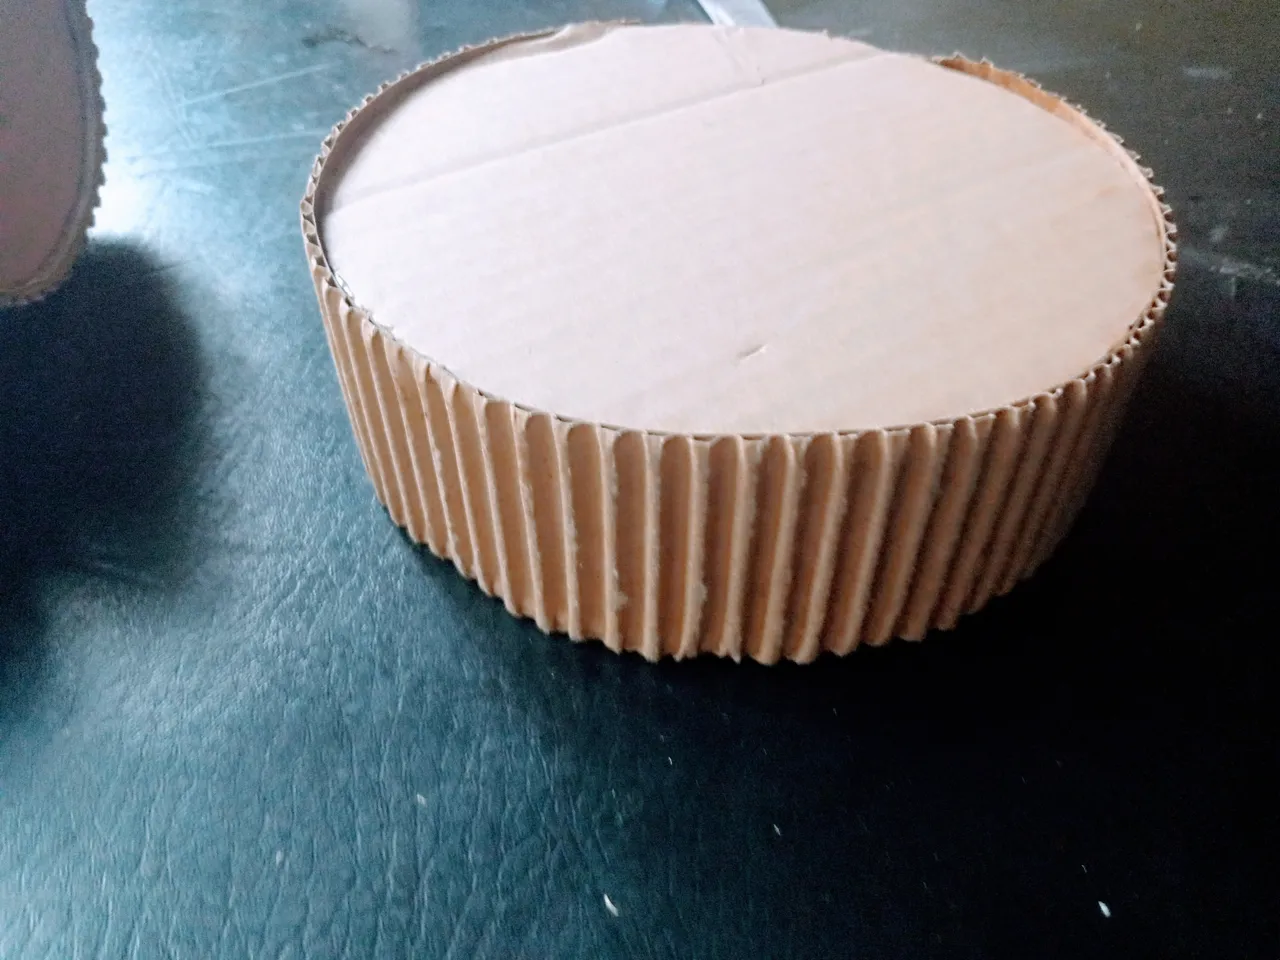
I applied top gum to the rectangular carton and then picked two circles and stick it together with the rectangular carton. The first one I made is the low/floor tom
I captured it from the side. Now you can view the sizes of all the five different tom. From the biggest to the smallest. If you look closely, two look-alike in size
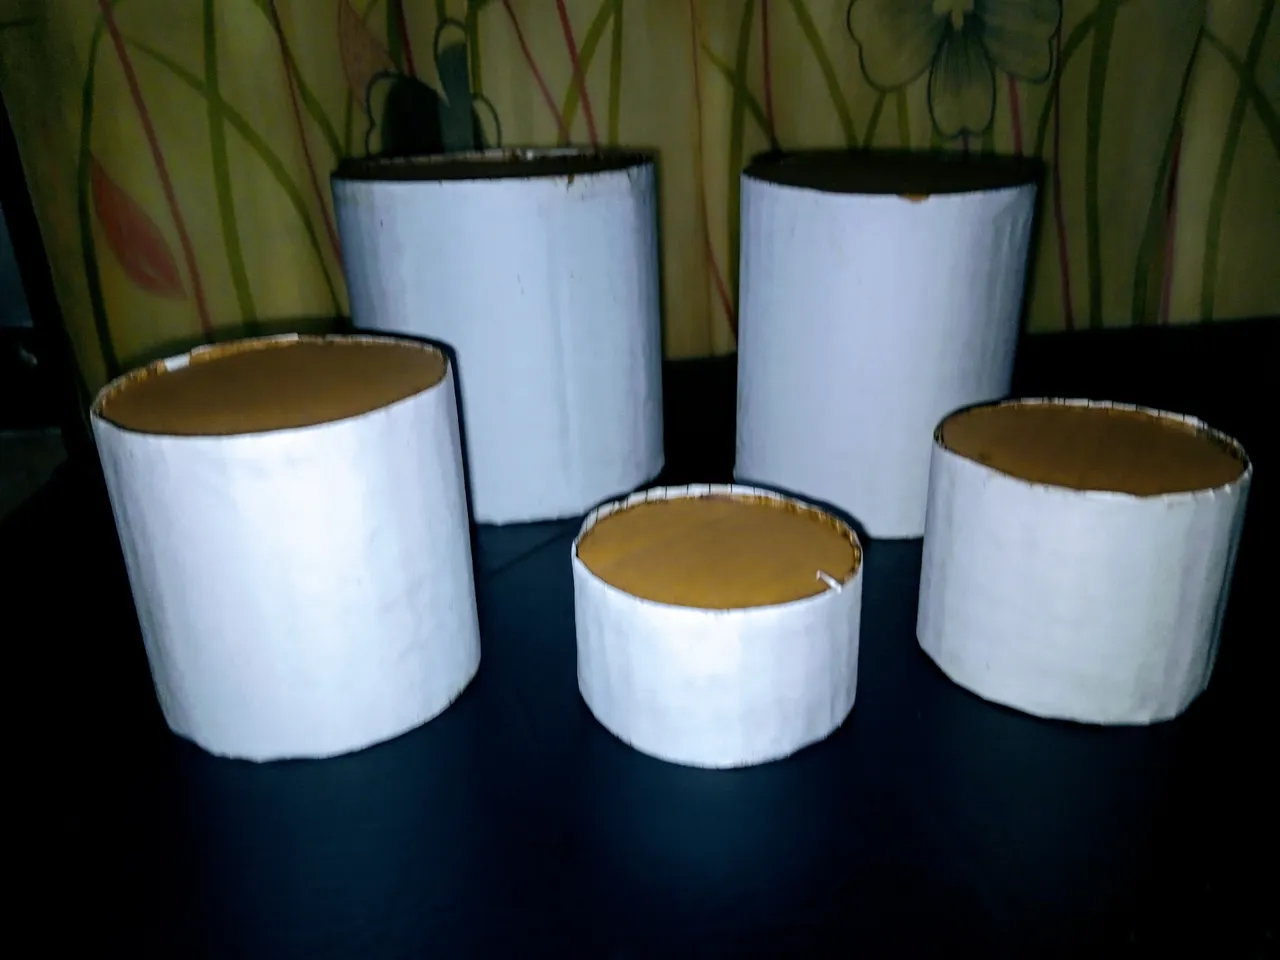
I turned all the tom down to take a different shot
A different view of the previous step

I repeated the same process I did when I started with the five drums. This time I am making a layout or stage for the drum set;
I set the drums stands using a cotton bud

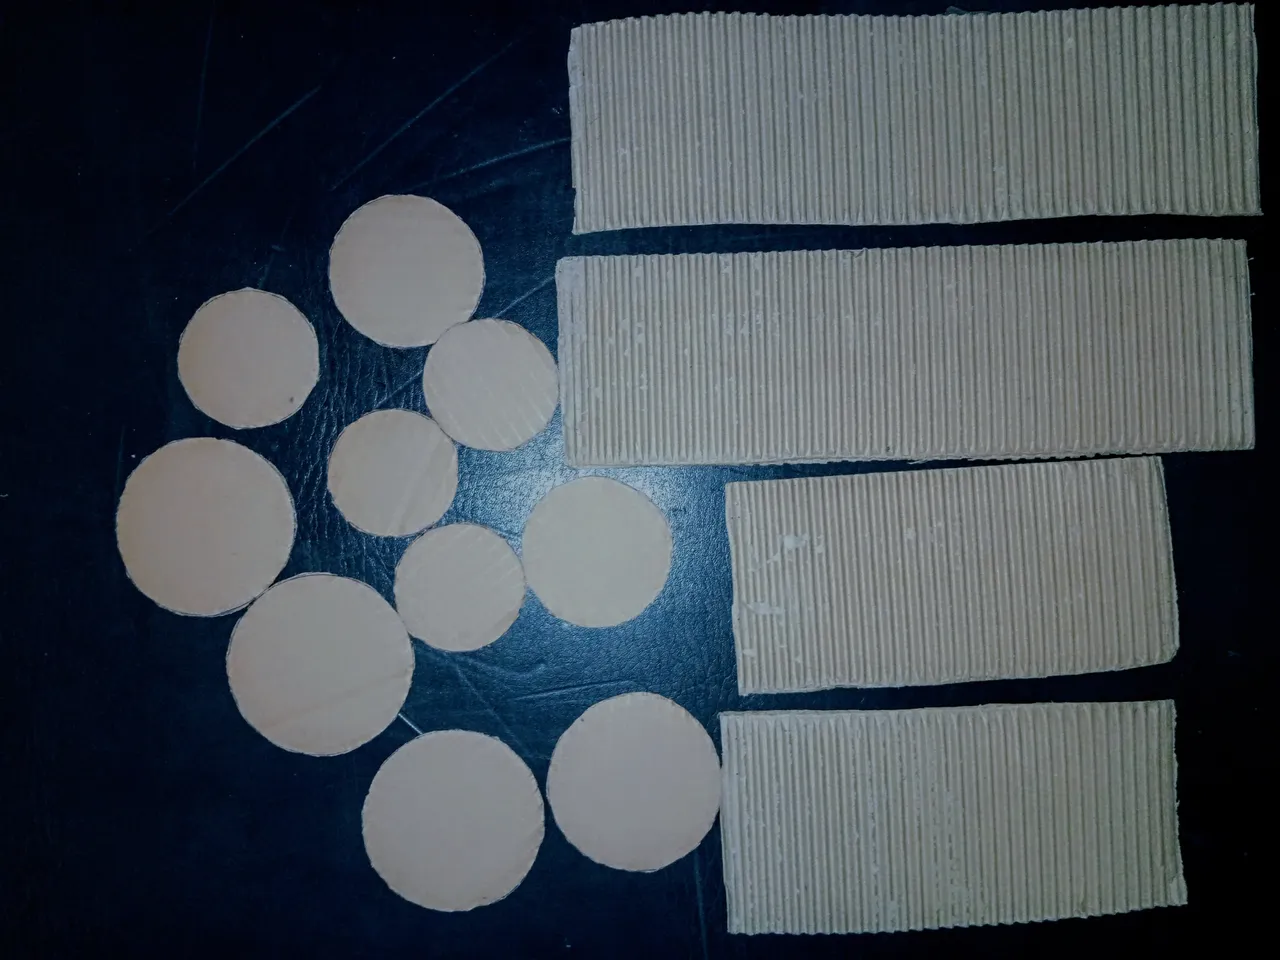
After which I carved out all the circles I drew on the carton and then I measured the rectangle shape and cut out of the carton and also peeled one side of the carton.
Here is the front view of the pasted A4 paper on the carton. I trimmed out the remaining edges and make it smoother
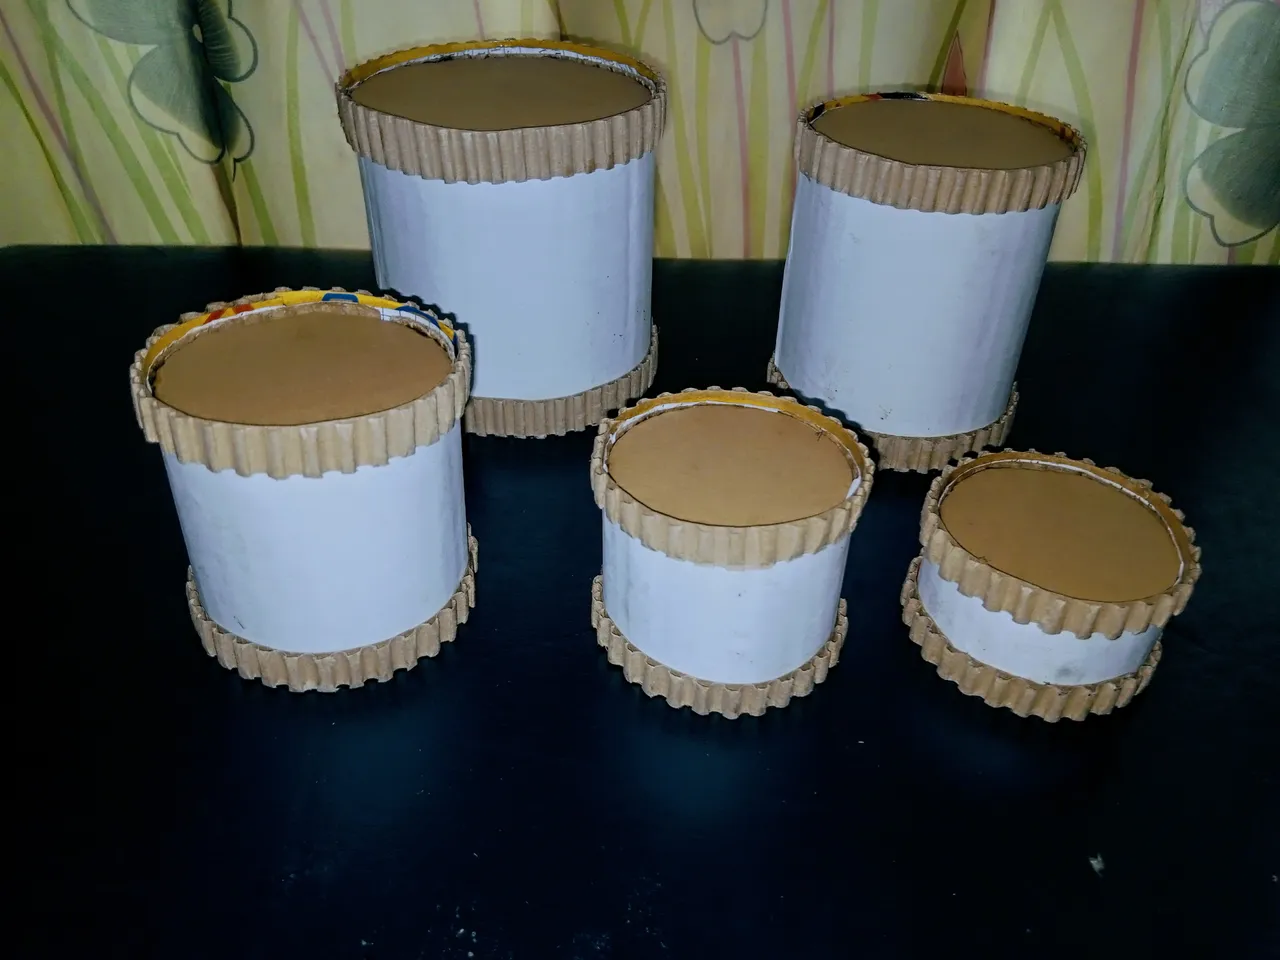
I used the same process and procedure with the rest of the tom. The snare tom, the mid tom, the bass tom, and the high tom. After finishing the five toms, I trimmed it.
Then I cut small pieces of the carton to design or line the edges of the toms. I peel off one side of the carton, as usual, to get the strokes surface.
Here I cut the toothpick into small sizes and gummed it to the body of each of the drums

I had this taken from the side.

Applied the top gum as usual and then gum together with the rectangular carton alongside the two circles.
Then I set up everything and here is the final result
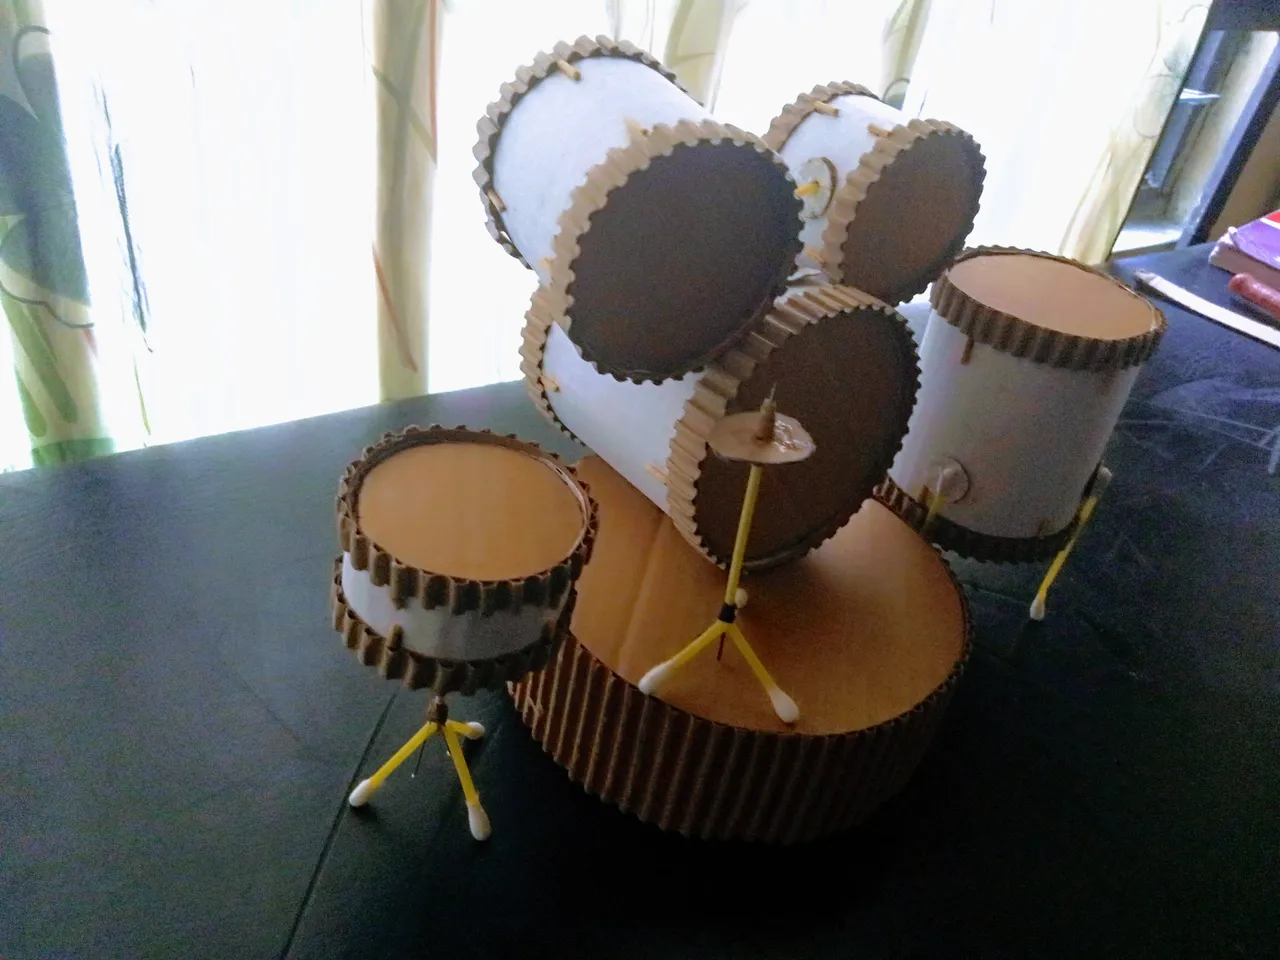
DRUM KIT
And with this, we have our drum kit all set and ready. I hope to make a piano next time and then I will share it with you all
