Español
Hola Amigos en Hive… gusto en saludarles nuevamente, en especial a la comunidad creadora de @Build-It.
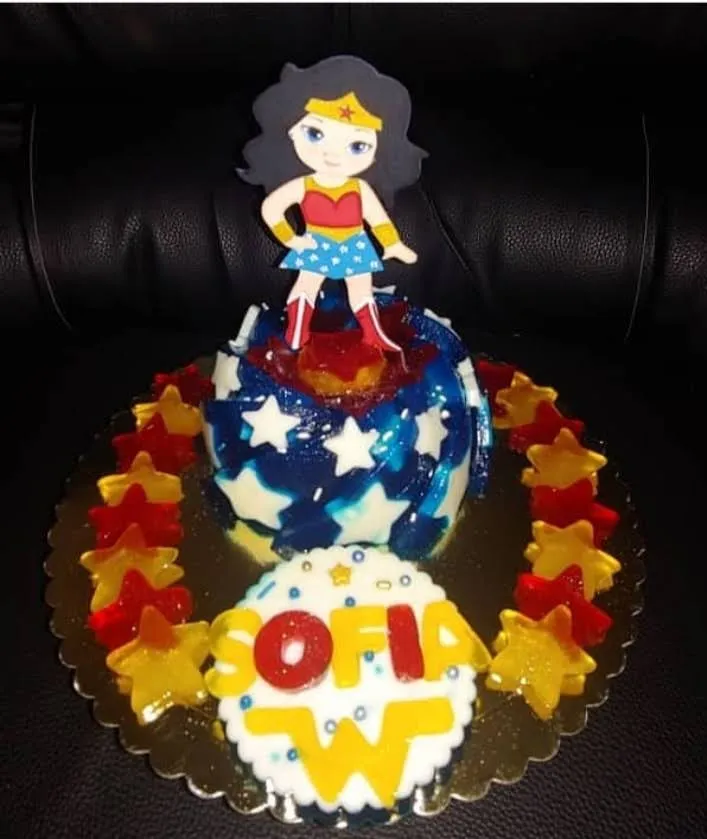
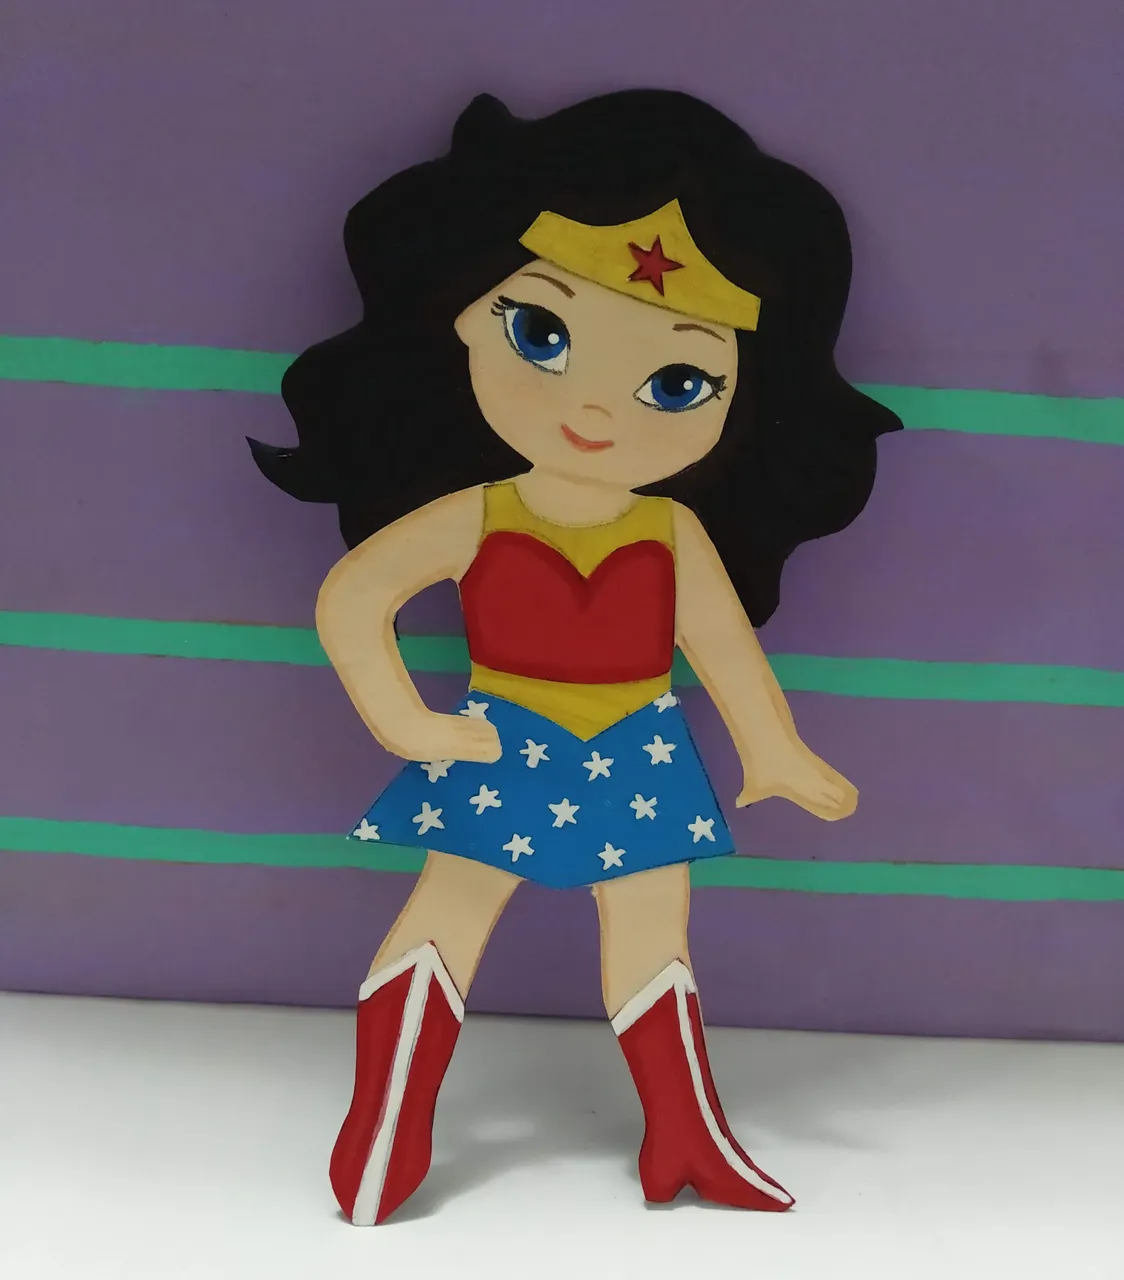
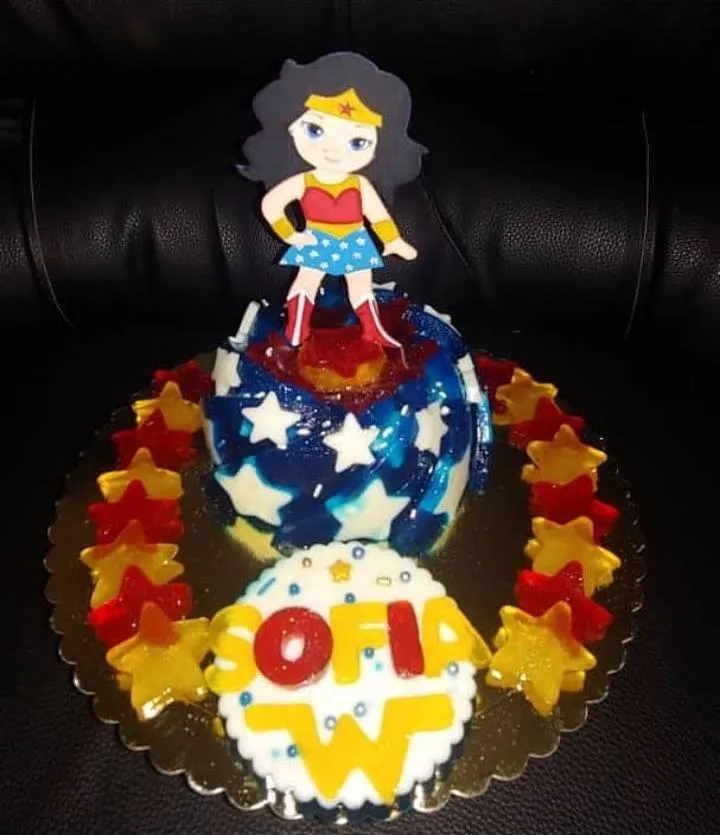
El día de hoy quiero mostrarles un topper divertido y lleno de colores para decorar una gelatina de cumpleaños. Ésta gelatina fue realizada para Sofia, una amiguita que adora el personaje de la Mujer Maravilla, y su mamá quiso no solo decorarle el pastel sino gelatina también y yo me siento orgullosa de haberle ayudado a que llenara de magia el corazón de su pequeña princesa.
Las mamás siempre queremos sorprender a nuestros pequeños gigantes..
Espero puedan revisar y aprecien la magia de hacer todo con amor.. les invito a que se animen a realizar algo parecido para que ofrezcan exclusividad a sus seres queridos y amig@s…
Acá les dejo los materiales utilizados, el proceso y las imágenes del trabajo.
MATERIALES:
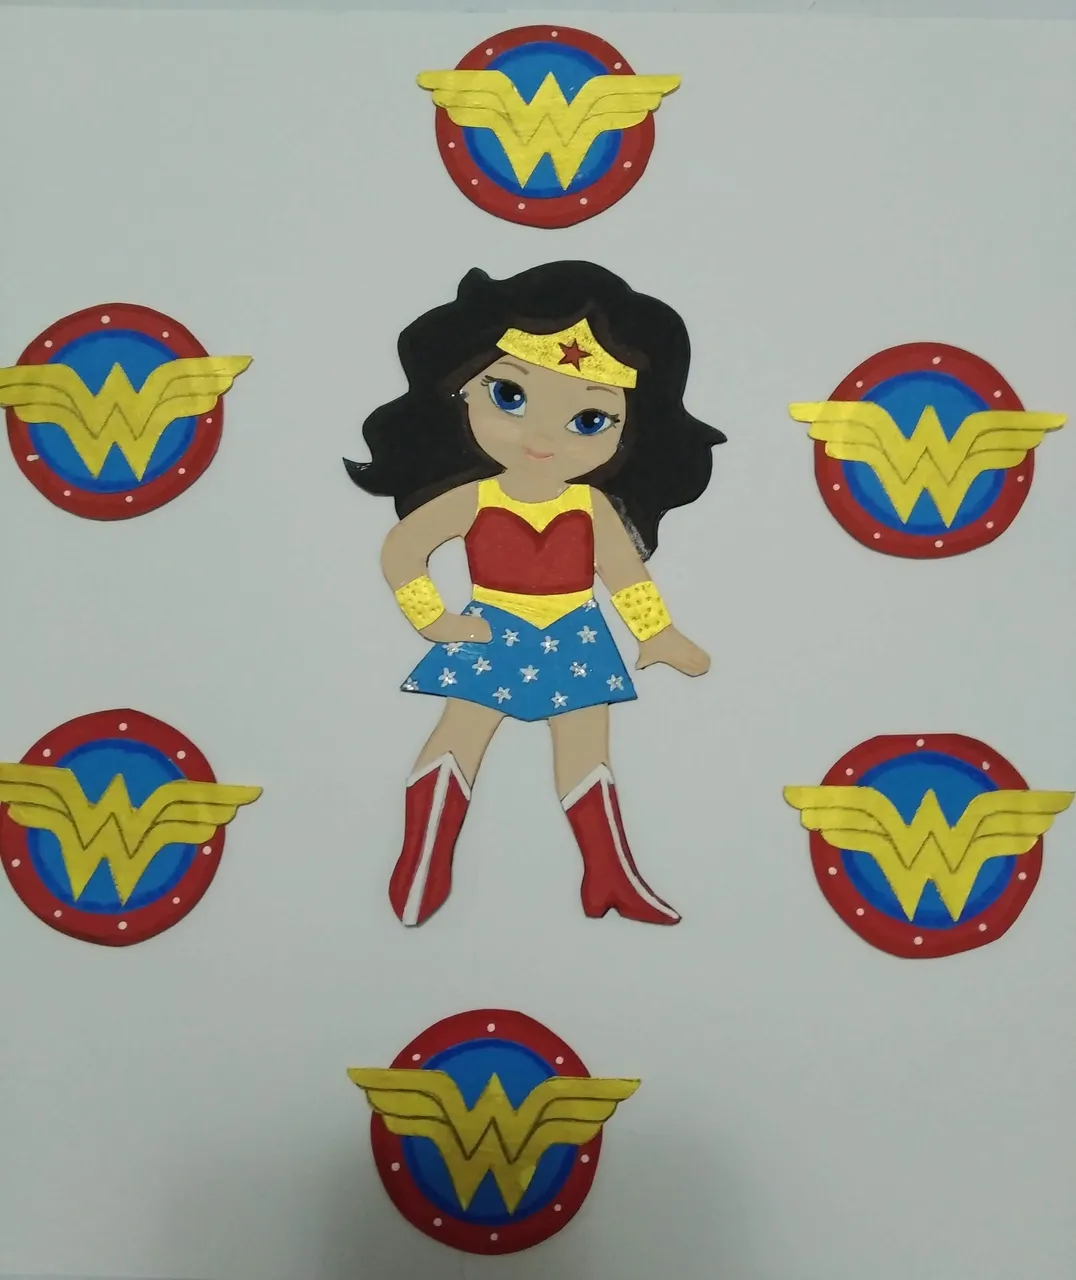
- Diseño de la mujer maravilla
- Cartulina de Colores de acuerdo al personaje: negro, rojo, azul, dorado y blanco
- Pinturas al frio colores: carne/piel y negro, blanco y azul para los ojos.
- Silicón Frio
- Pincel mediano
- Cutter
- Tijera
- Palitos de Altura
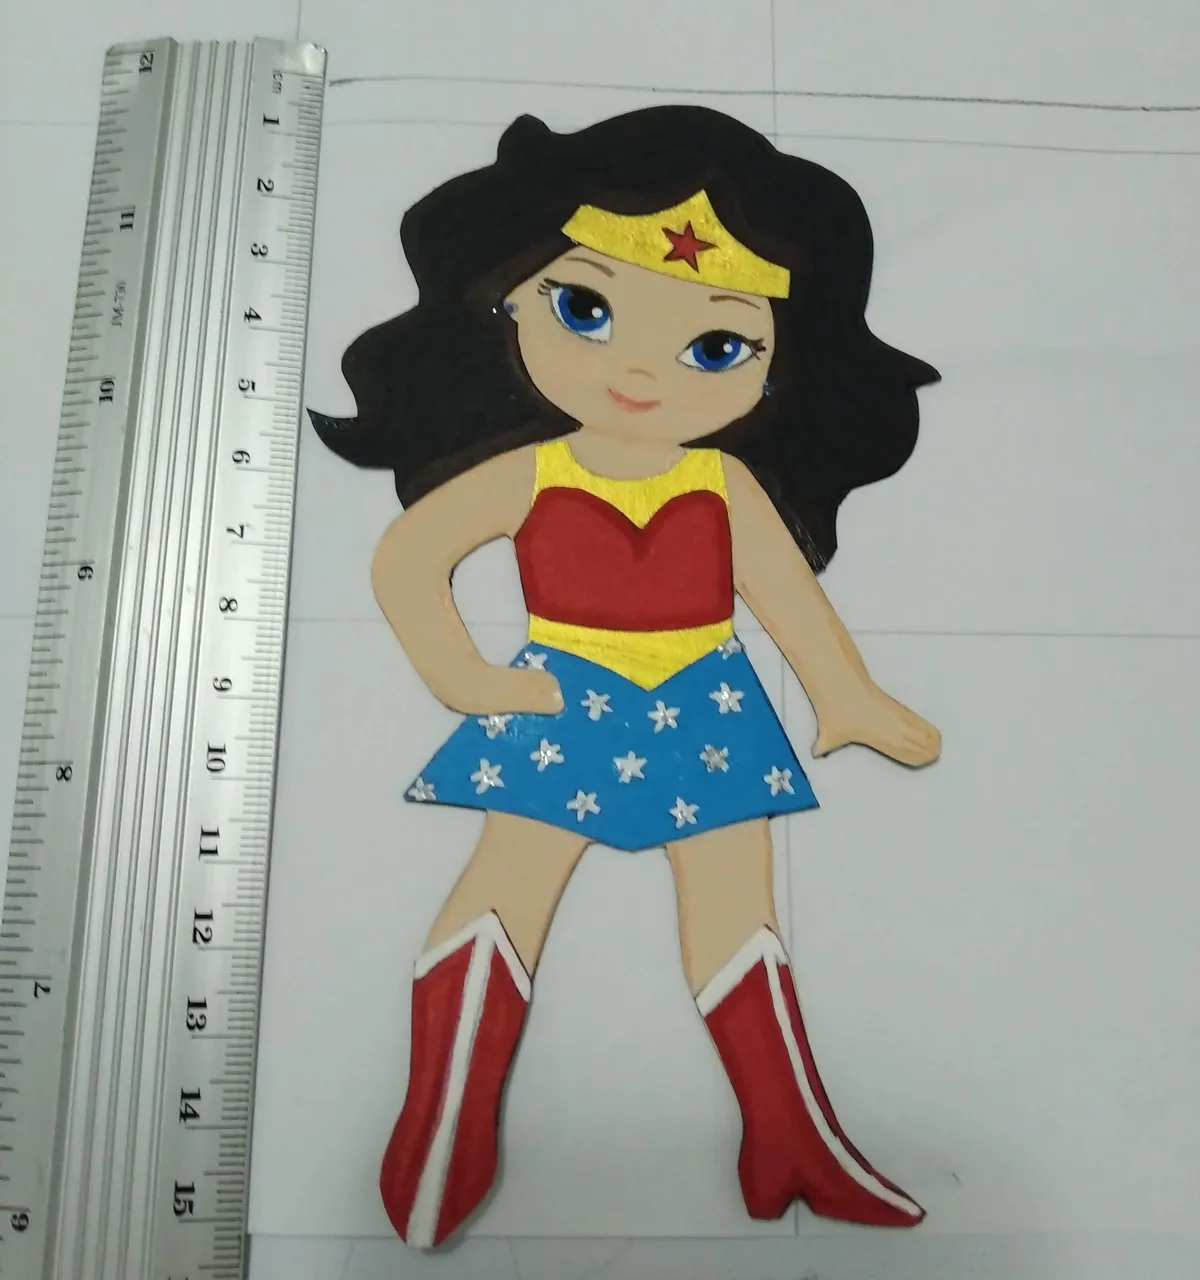
- Regla
- y mucho amor…
PROCESO:
- Dibujar el diseño de la mujer maravilla.
- Recortar en las cartulinas las piezas de acuerdo al diseño.
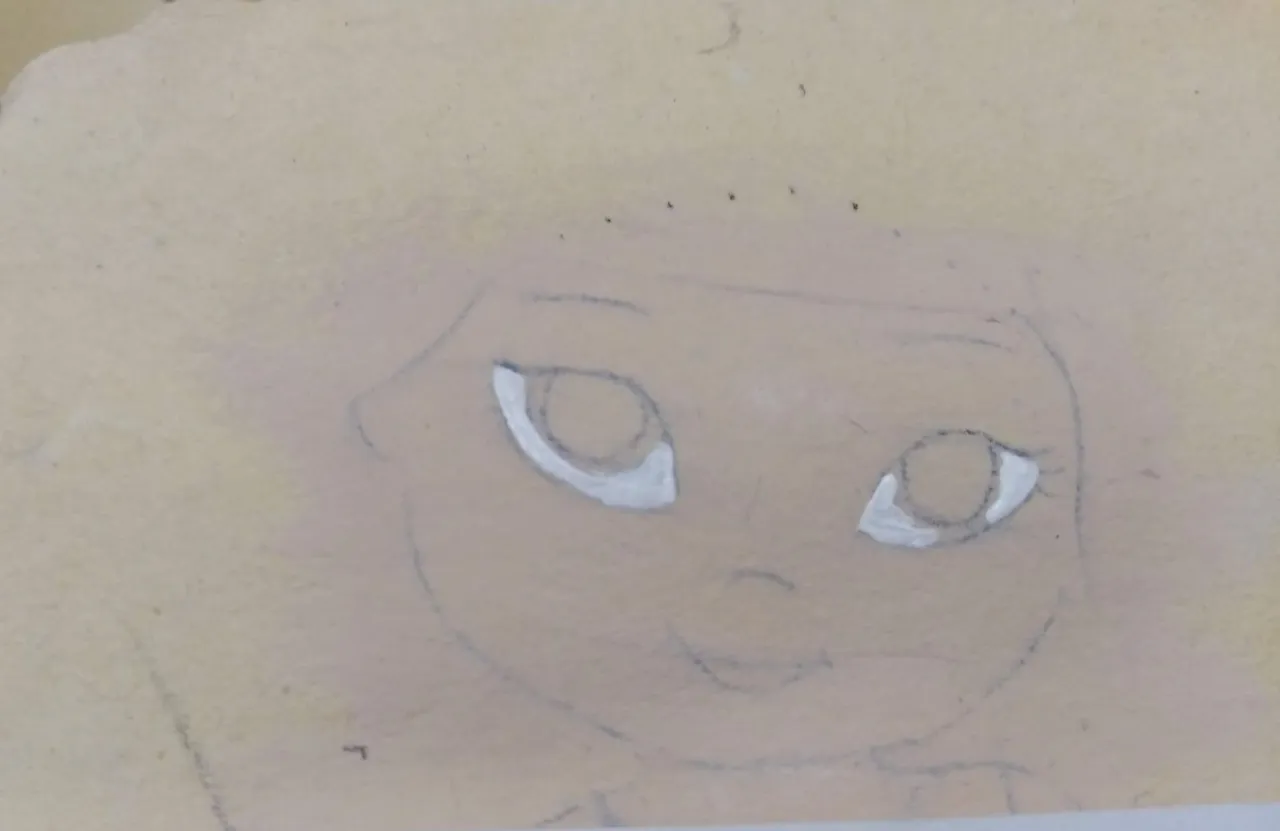
- Pintar con la pintura al frio de color piel la cartulina que será el rostro, brazos y piernas.
- Un vez seca la pintura color piel, pintar los ojos e iluminar con el blanco.
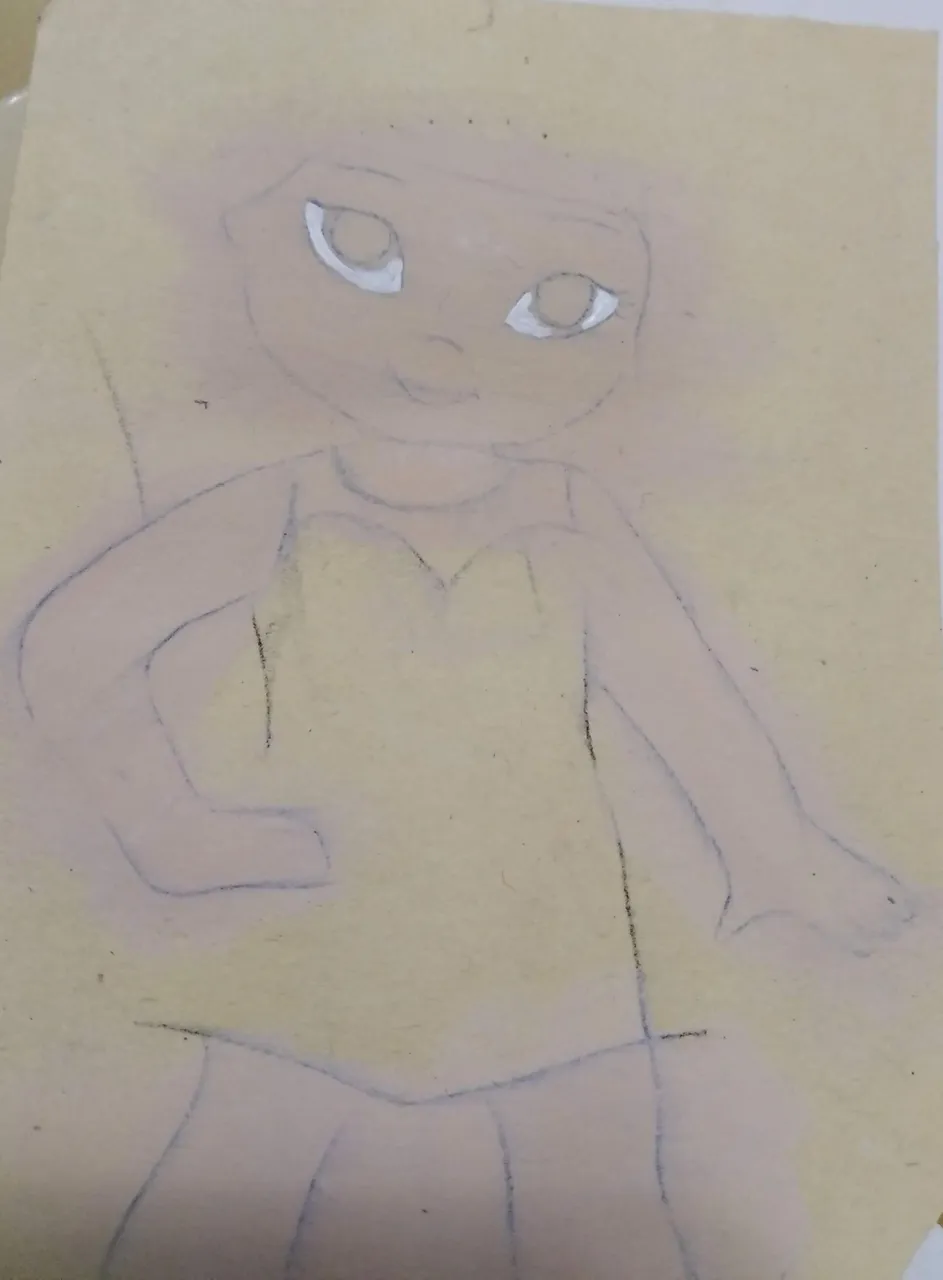
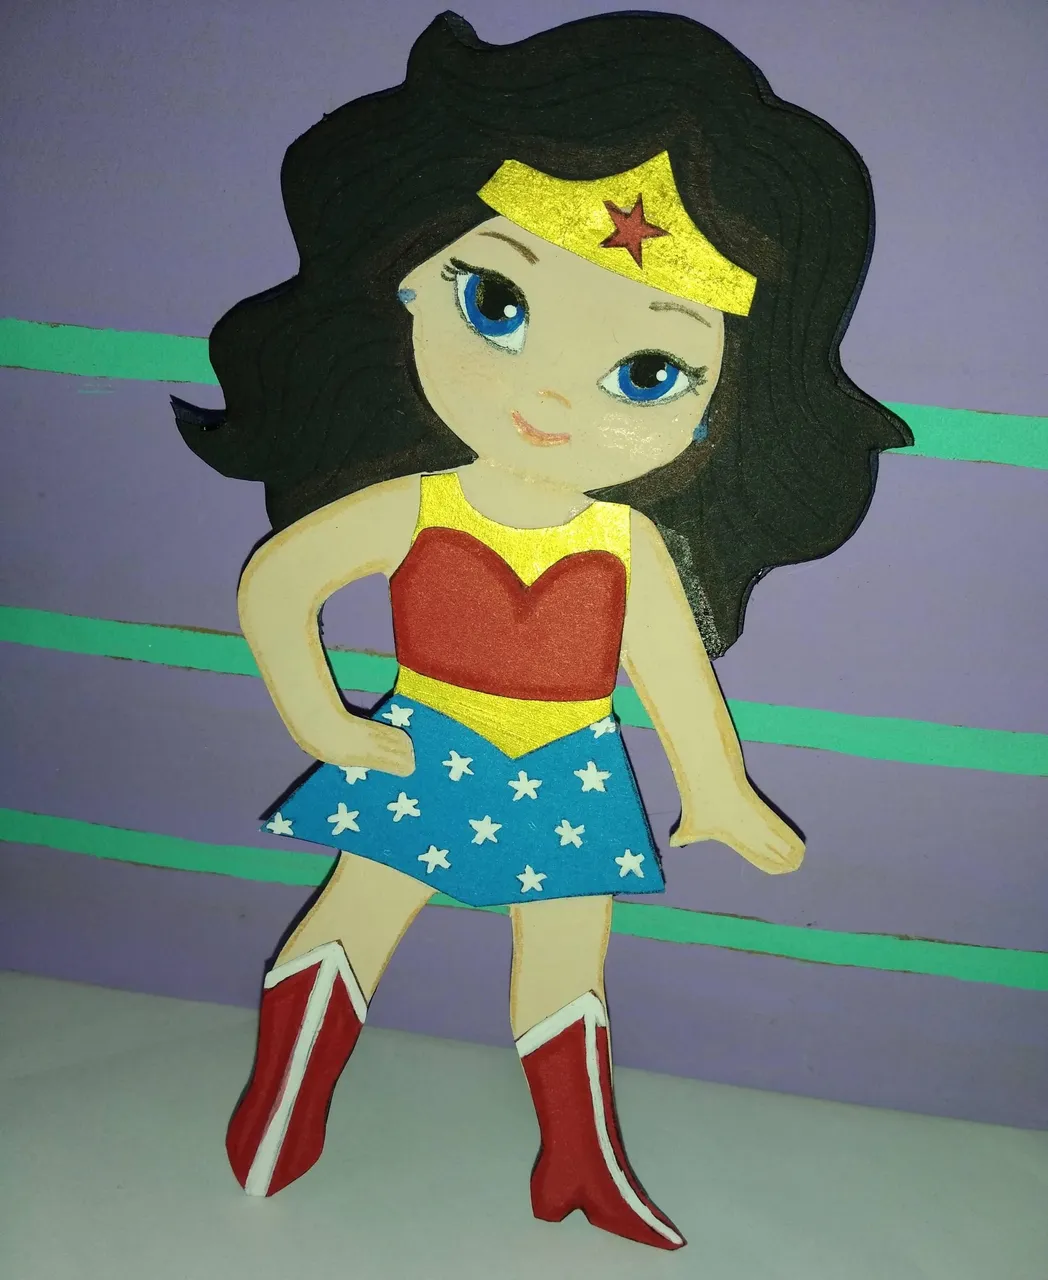
- Una vez se tengan todas piezas listas (camisa, falda, botas, corona, cabello) ensamblar, pegando las mismas con silicón frio.
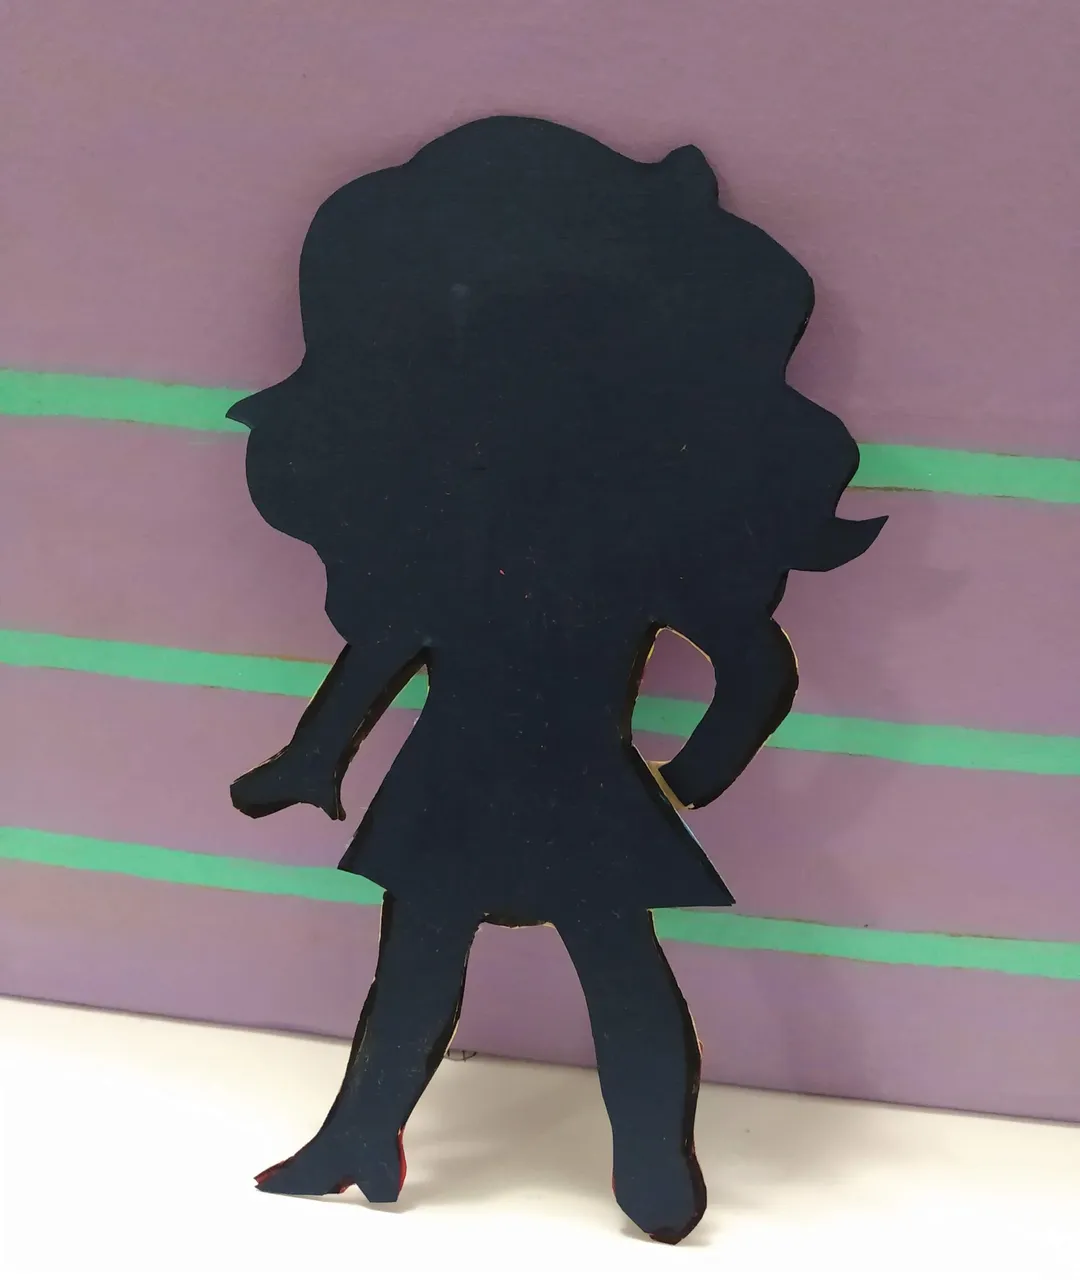
- Pegar con silicón caliente los palitos de madera con el que se sujetará la muñeca a la gelatina.
- Listo, a disfrutar de la magia de lo creado.
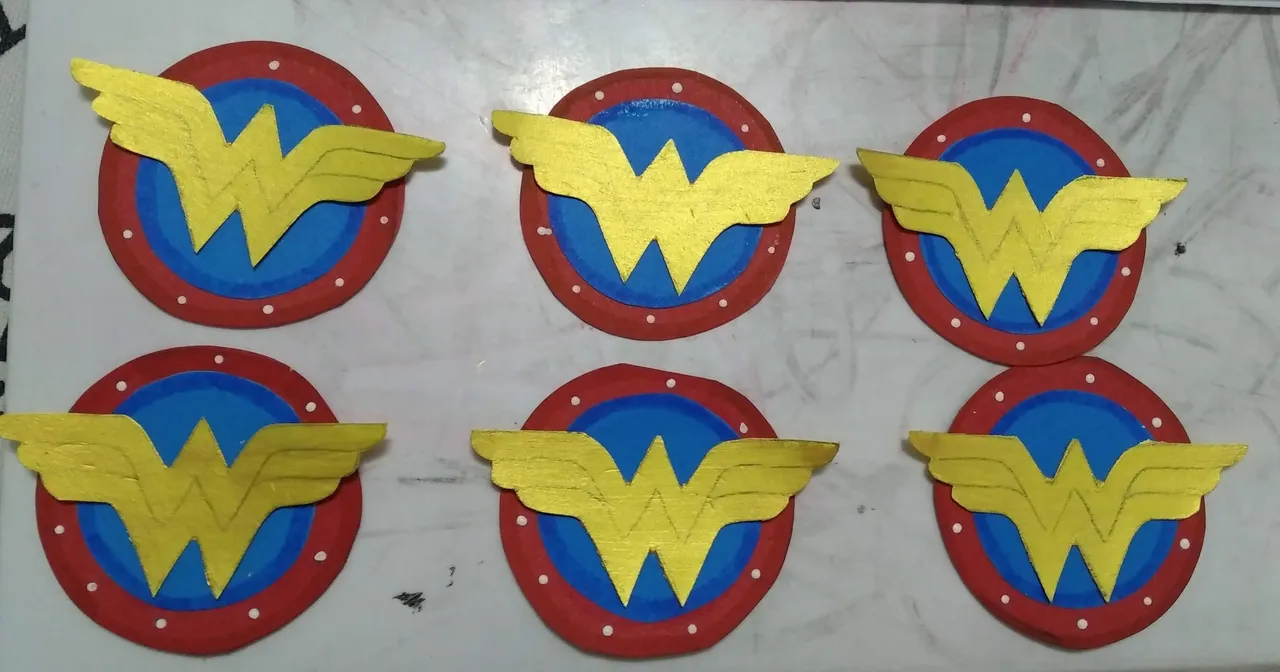
PD: El mismo procedimiento anterior se aplicó para los topper de cupcake con el diseño del logo.
Inglés
Hello Friends at Hive... nice to greet you again, especially the @Build-It community.
Today I want to show you a fun and colorful topper to decorate a birthday jelly. This jelly was made for Sofia, a little friend who loves the Wonder Woman character, and her mom wanted not only to decorate her cake but jelly as well and I feel proud to have helped her to fill the heart of her little princess with magic.
We moms always want to surprise our little giants....
I hope you can review and appreciate the magic of doing everything with love... I invite you to do something similar to offer exclusivity to your loved ones and friends....
Here are the materials used, the process and the images of the work.
MATERIALS:
- Wonder Woman design
- Color cardboard according to the character: black, red, blue, gold and white.
- Cold paint colors: flesh/skin and black, white and blue for the eyes.
- Cold Silicone
- Medium brush
- Cutter
- Scissors
- Height sticks
- Ruler
- and lots of love...
PROCESS:
- Draw the design of the wonder woman.
- Cut out the pieces according to the design on the cardboard.
- Paint the cardboard that will be the face, arms and legs with the skin-colored cold paint.
- Once the skin-colored paint is dry, paint the eyes and illuminate with white.
- Once all the pieces are ready (shirt, skirt, boots, crown, hair) assemble, gluing them with cold silicone.
- Glue with hot silicone the wooden sticks with which the doll will be attached to the gelatin.
- Ready, enjoy the magic of what has been created.
PD: The same procedure was applied for the cupcake toppers with the logo design.
As my native language is Spanish, I used the Deepl translator for this publication.
IMÁGENES / IMAGES
--
SALUDOS / GREETINGS
Todas las Fotos fueron tomadas con mi teléfono Redmi 7A.
Contenido original de @keco (fotos y texto) - Todos los derechos reservados Publicado en HIVE así como en mi instagram : http://instagram.com/carton_pintura_algo_mas
All Photos were taken with my Redmi 7A phone.
Original content from @keco (photos and text) - All rights reserved Posted on HIVE as well as on my instagram: http://instagram.com/carton_pintura_algo_mas