So you did some neat DIY projects over the week and now you have a bunch of leftover materials lying around in the garage? Can't really throw away perfectly good planks, but is there really anything to do with these other than burn them in the fireplace?
Of course - if your partner has been talking about growing strawberries on the balcony, you're like me. Just grab those leftover planks and nail them together into a nice planter box.
So I had a few pieces over from the coffee table I made recently. Considering I had to wax the coffee table for a smoother finish, I had multiple excuses to go to the garage again. Fresh air, smell of oily wax and sawdust, what else does the soul crave, right?
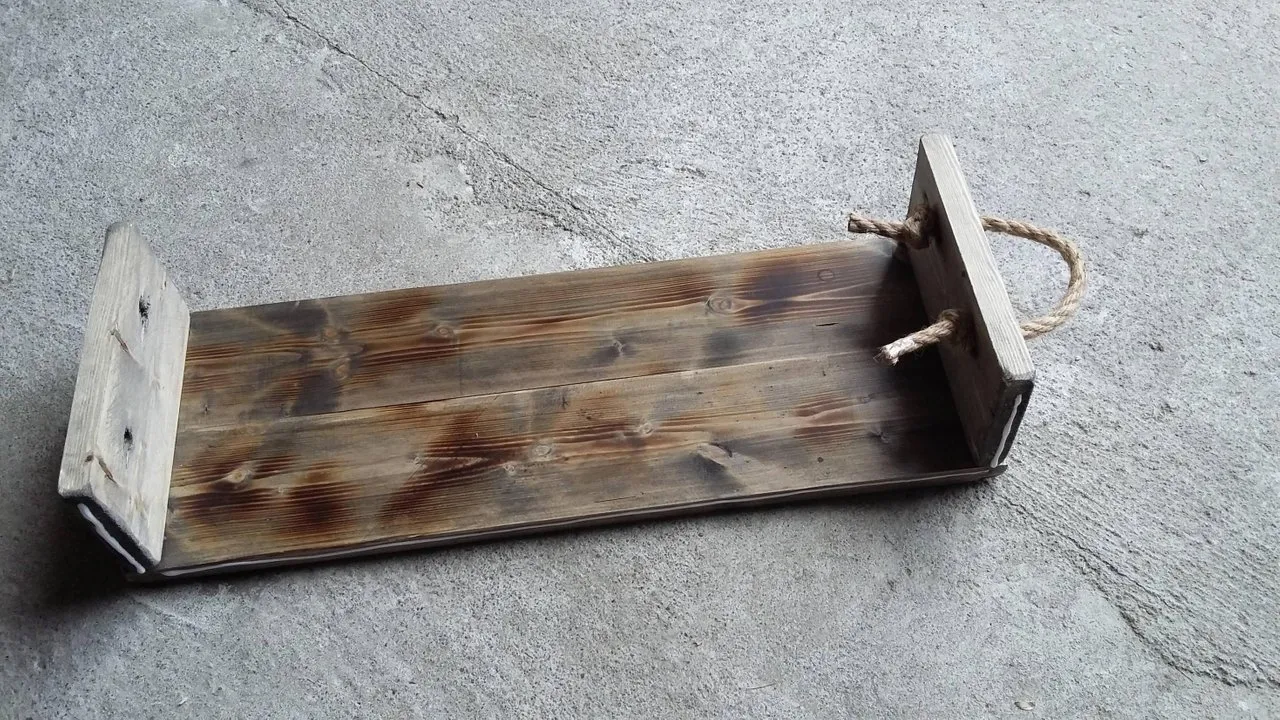
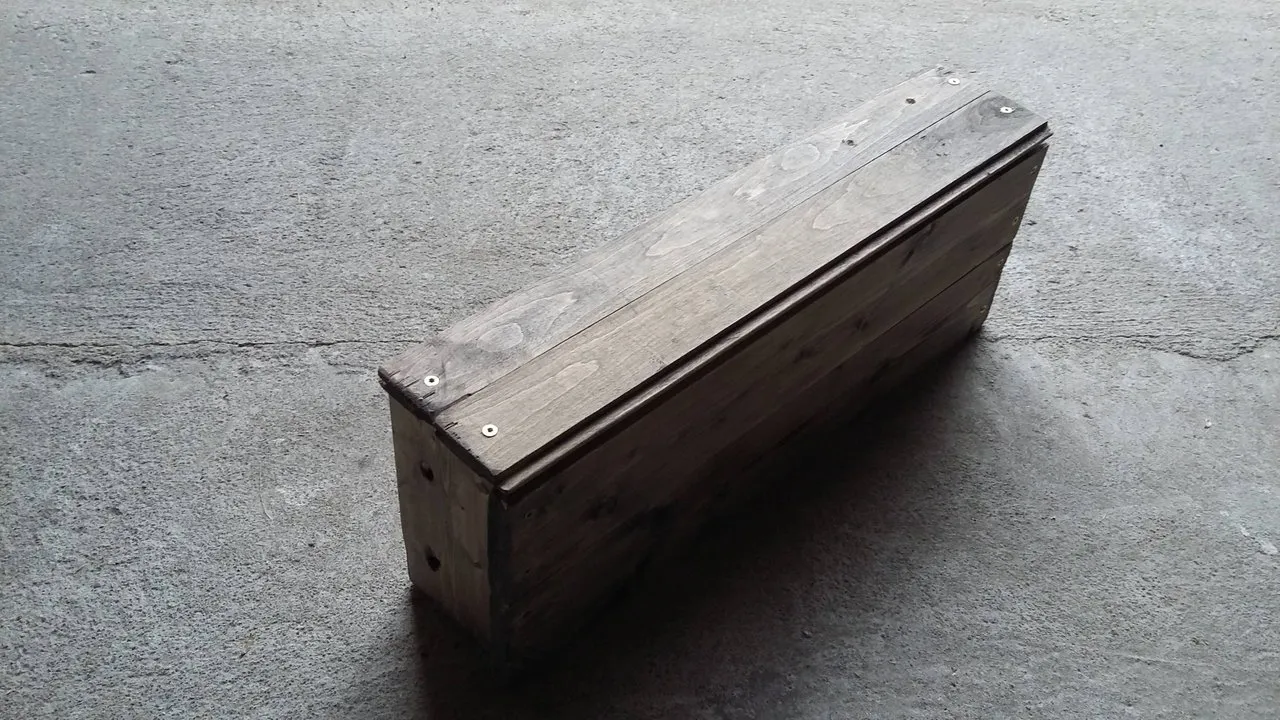
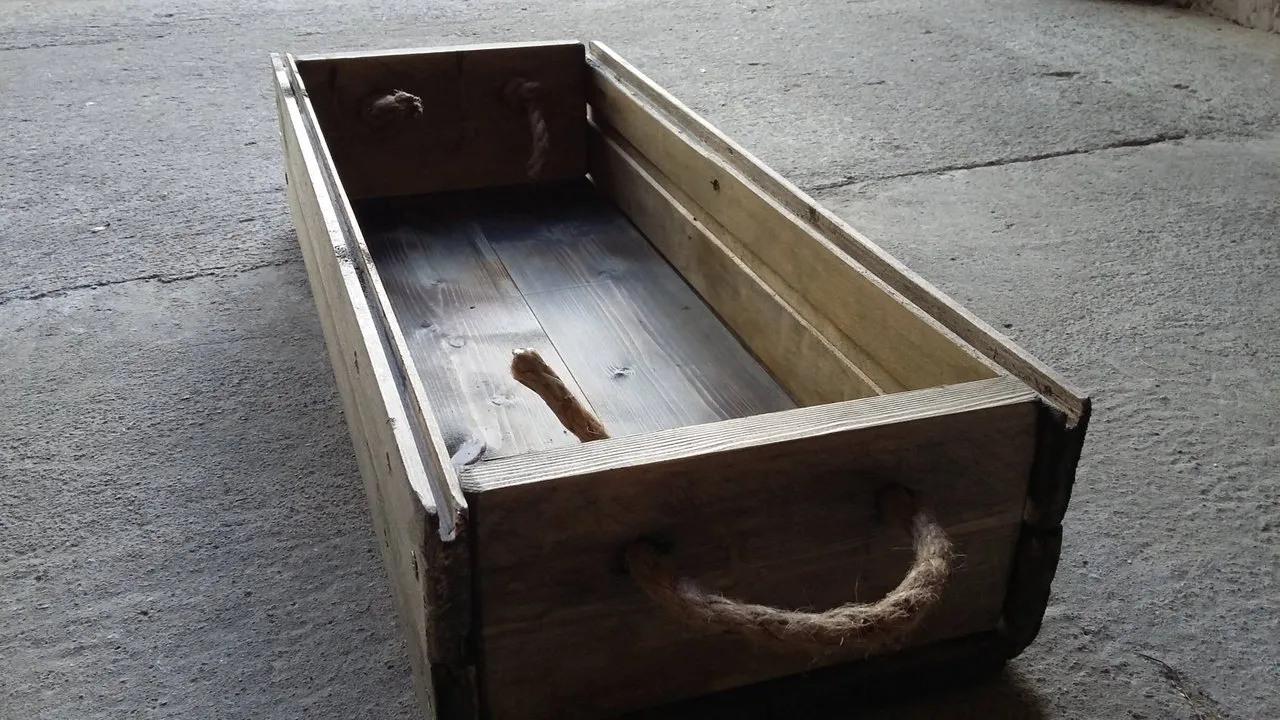
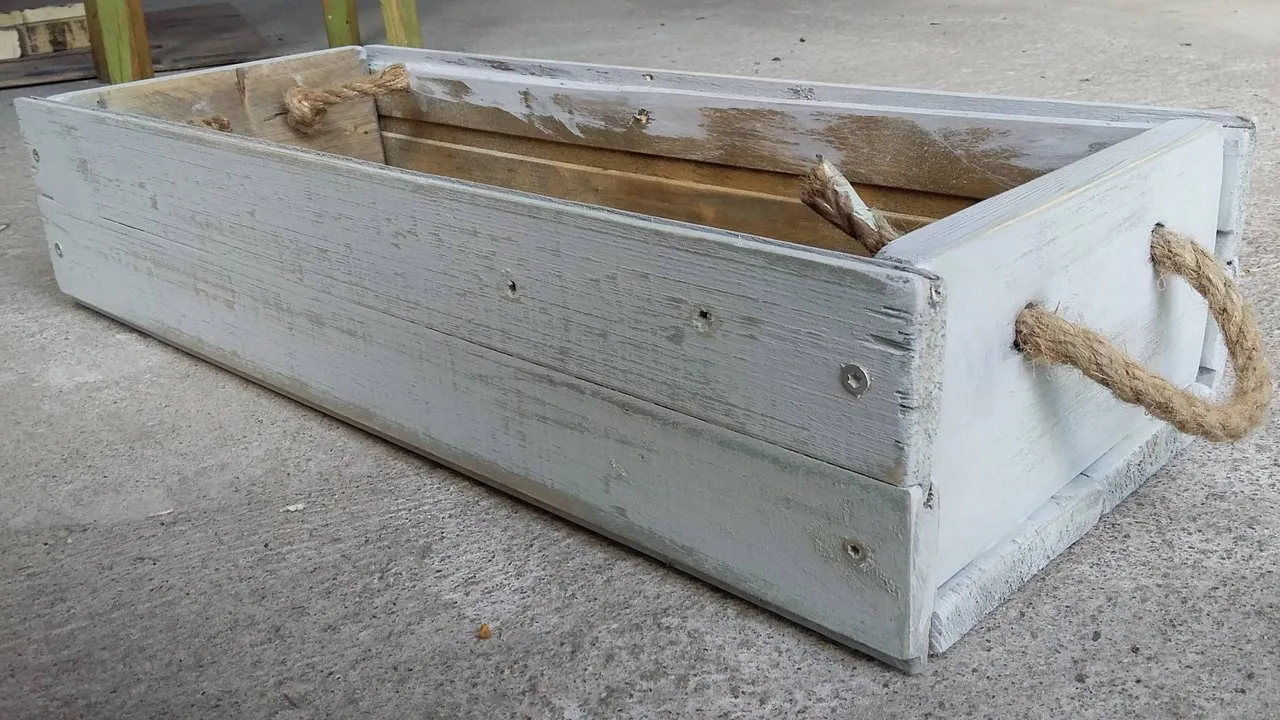
If you have even the slightest piece of imagination, you know that there's no need for schematics. Just nail some planks together and you're as good as done. In my case I didn't have any nails, so I had to use screws, but they get the job done the same.
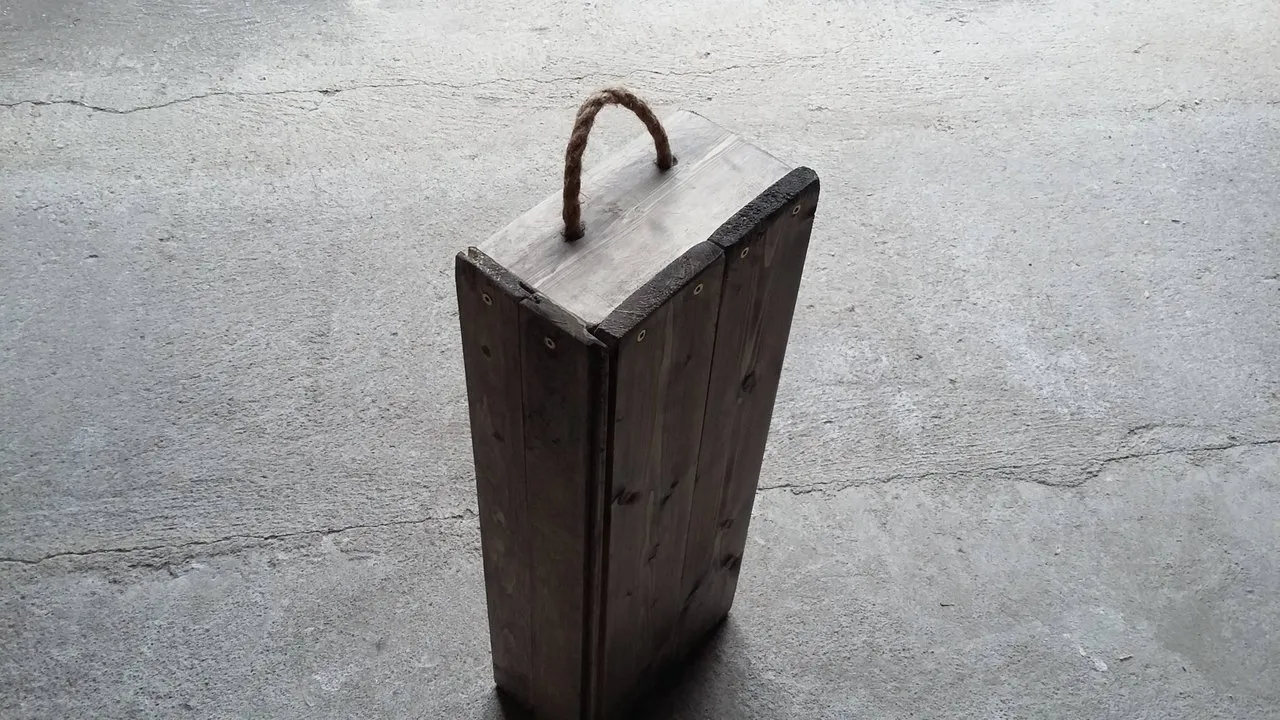
All I had to buy from the hardware store, was a small piece of rope, which costs less than a coffee.
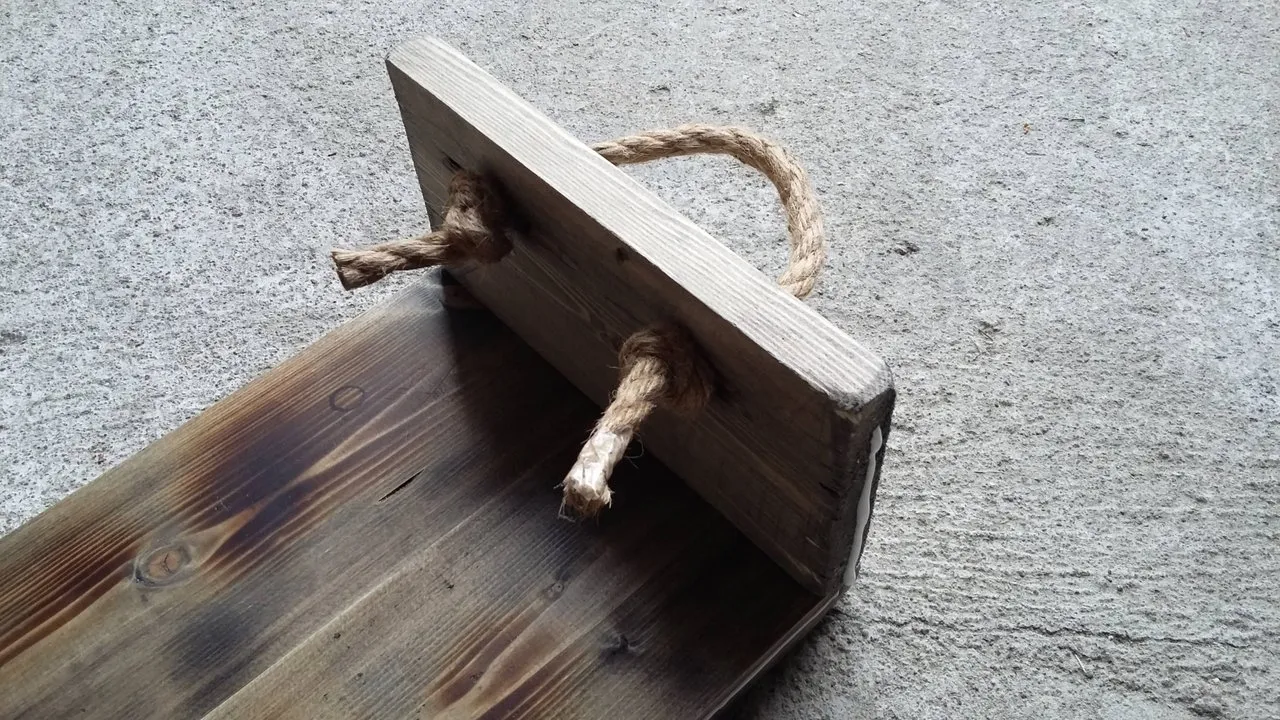
I did simple knots, but these seemed to hold very well, so I didn't bother to give it a second thought. Maybe I should use some oil on the rope, so the dirt and the moisture wouldn't eat the rope, but I'll come back to that idea once I'm ready to make my second, upgraded and cooler flower box.
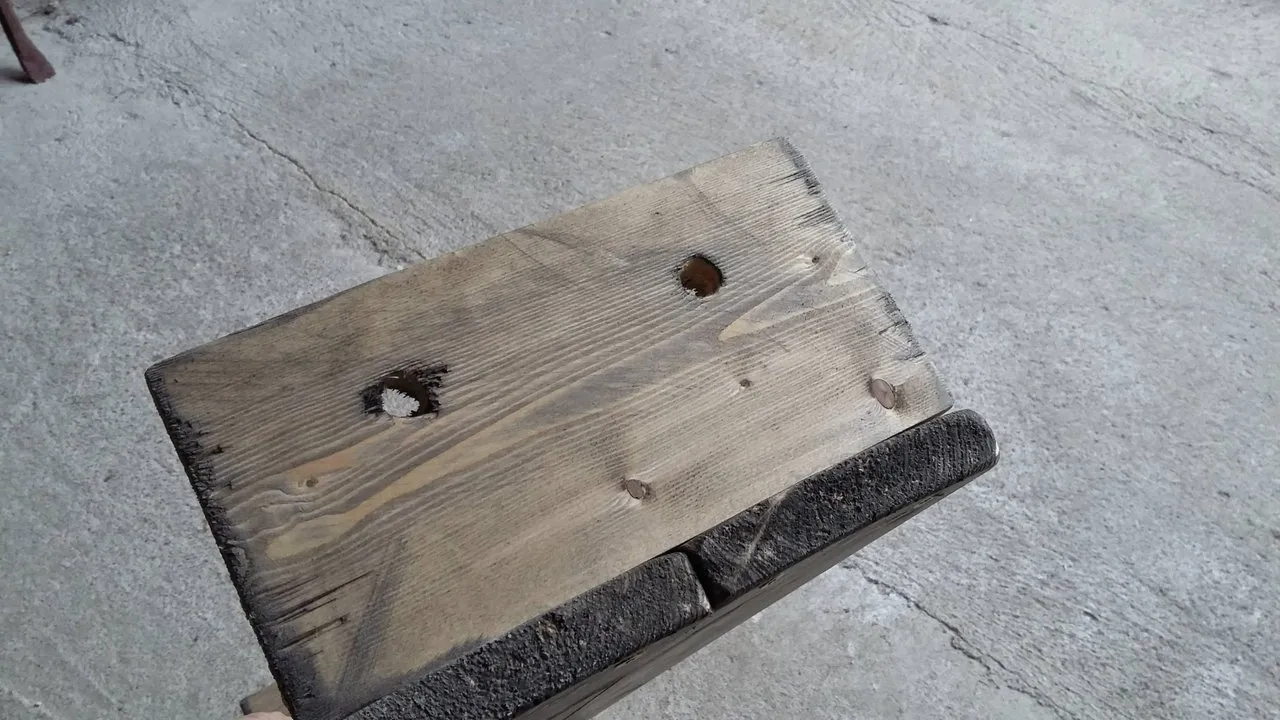
The holes for the rope were drilled with a regular and dull drill, destroying the edges of the holes. I sanded a the edges of the holes a bit, so they wouldn't give splinters, but that's it.
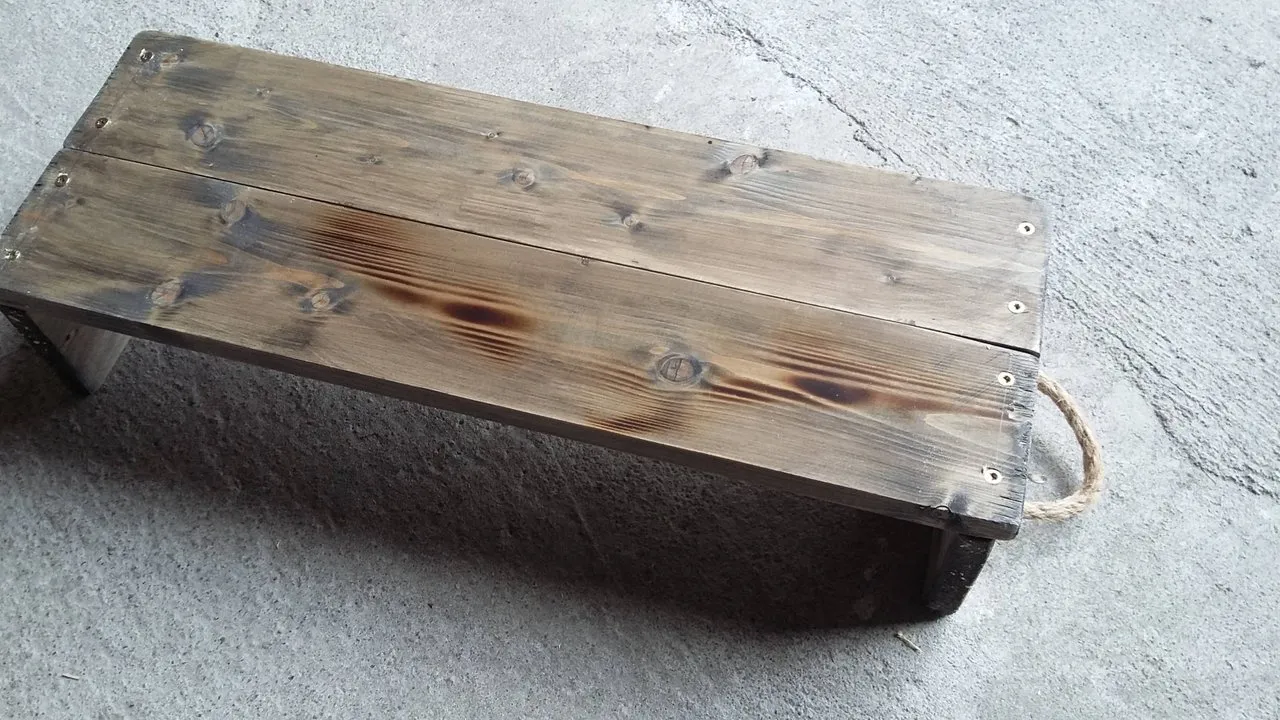
Now I had some more planks, but in order to give it a more advanced look, I used an old sauna lining board, which I had lying around in the garage for god knows what reasons. Good riddance, finally a use for all the trash I have lying around!
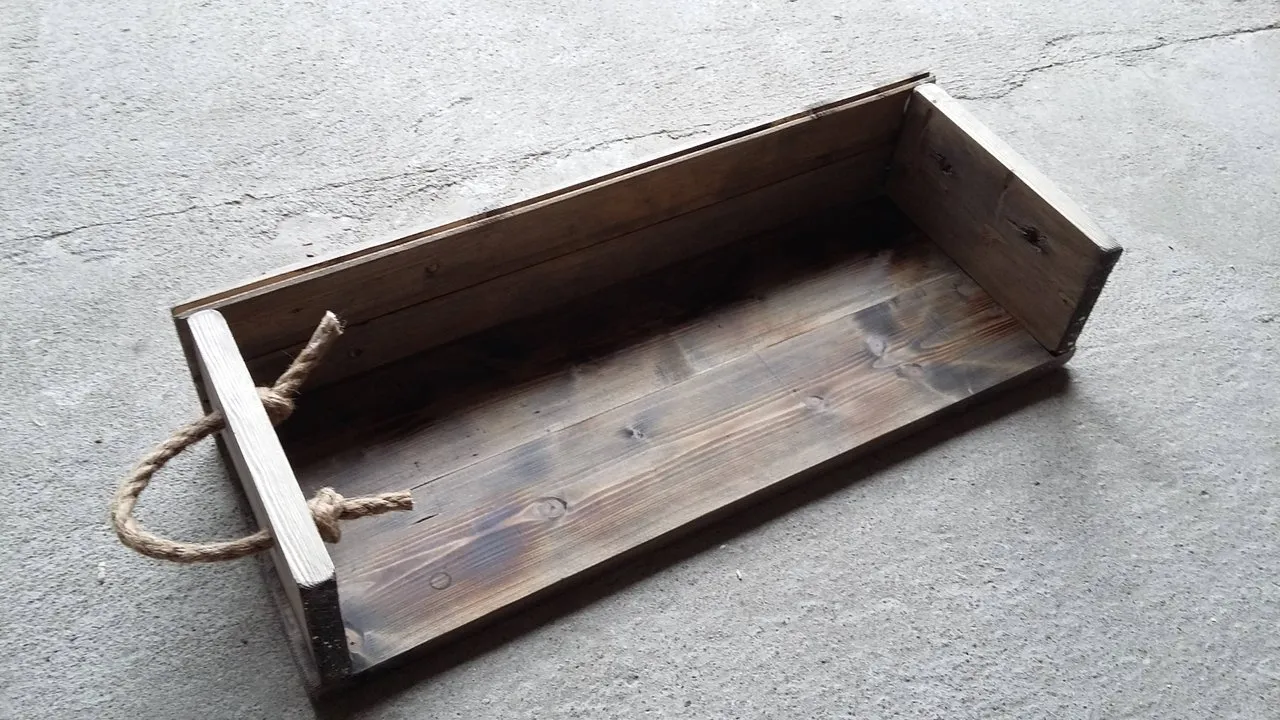
Ultimately, or perhaps to begin with - the length of the flowerbox was decided by the length of the lining board - I had to use 4 pieces of equal length - 2 for each side - so I cut mine in 4 and that was the length of the planter.
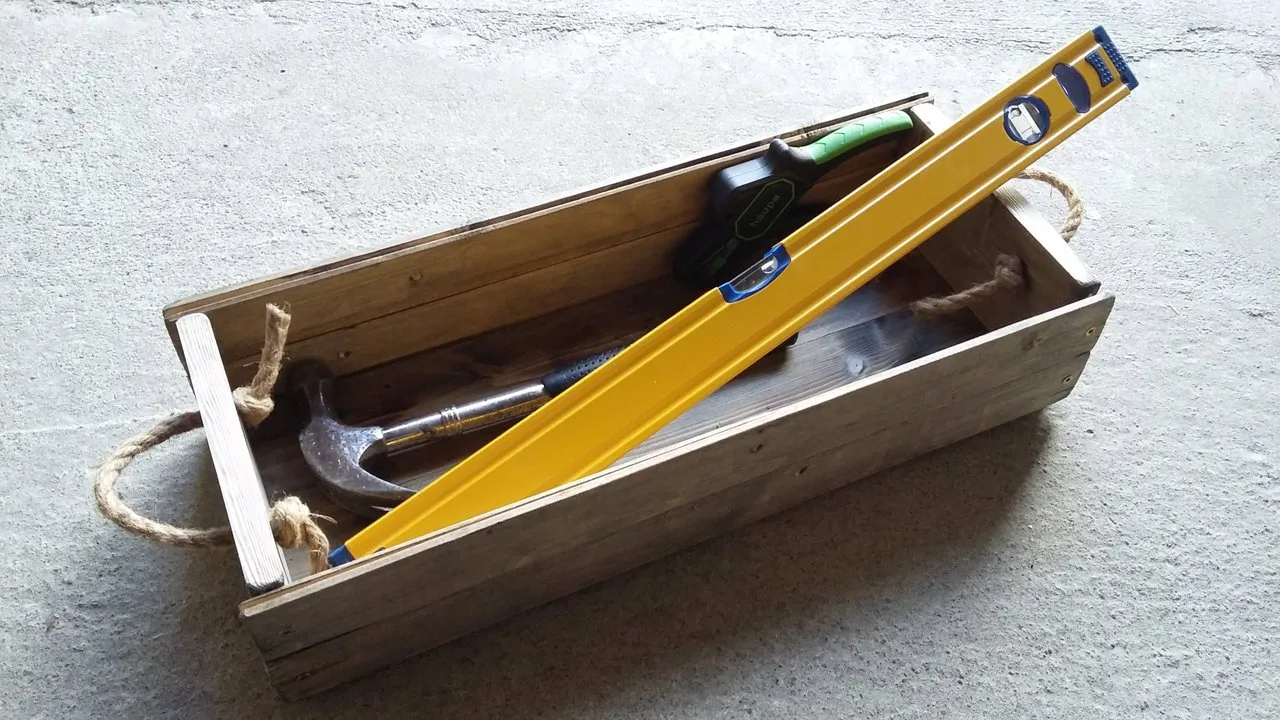
The box turned out basic, just like I expected, but pretty cool. So for a moment I pondered, whether to claim it for myself and never take it upstairs for some silly flowers. Just kidding - I have better places for my tools :)
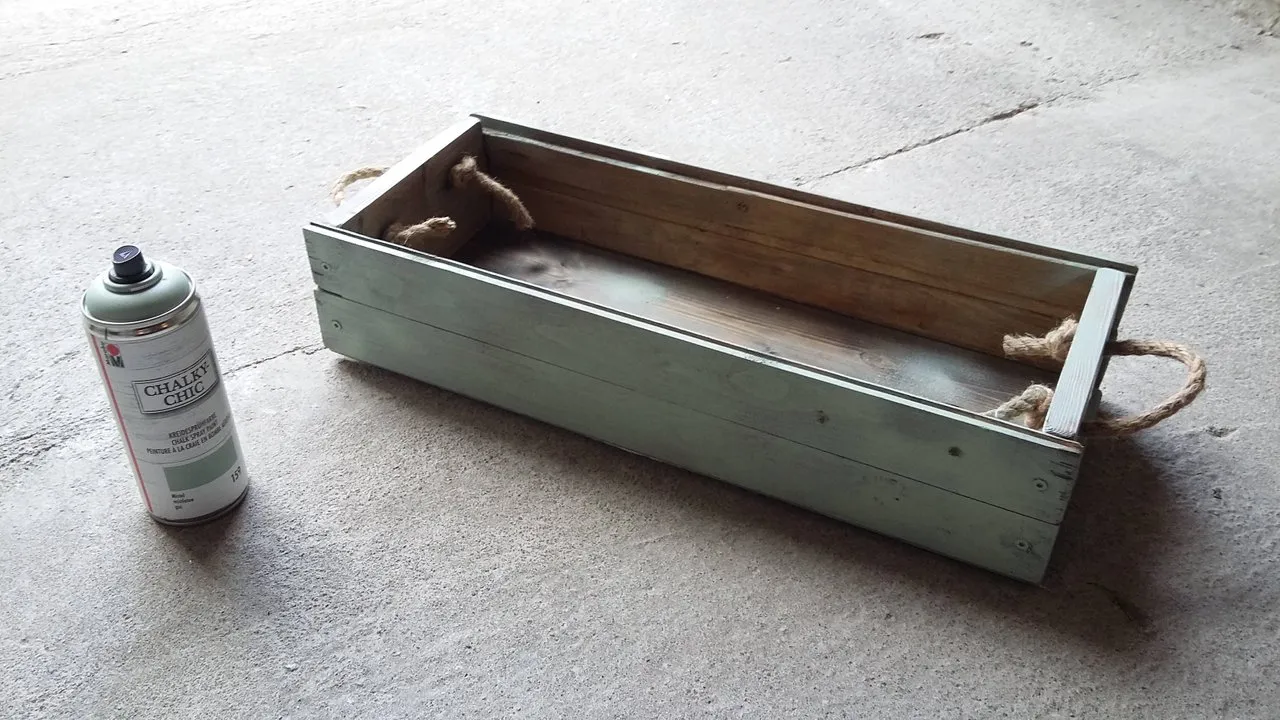
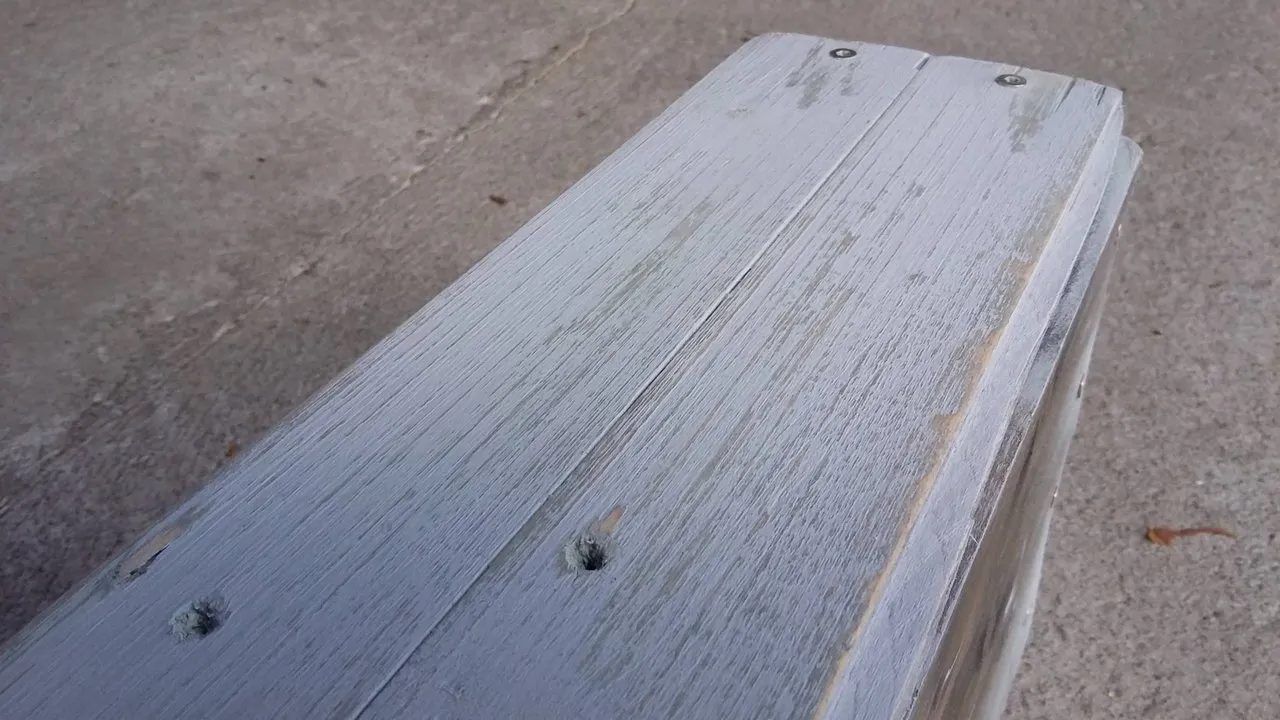
Now what? Let's paint it! I hade some leftover chalk paint in a spray bottle, so naturally I used it up on the planter. Didn't worry about covering it thoroughly, since it was to be covered in another color later anyway. That's how many people use chalk paint - they use two layers of separate paint and then sand the top layer off in places - giving the object a weathered look.
Chalk paint dries fast, so just a mere 30 minutes later, I used some of my leftover white chalk paint on the planter box.
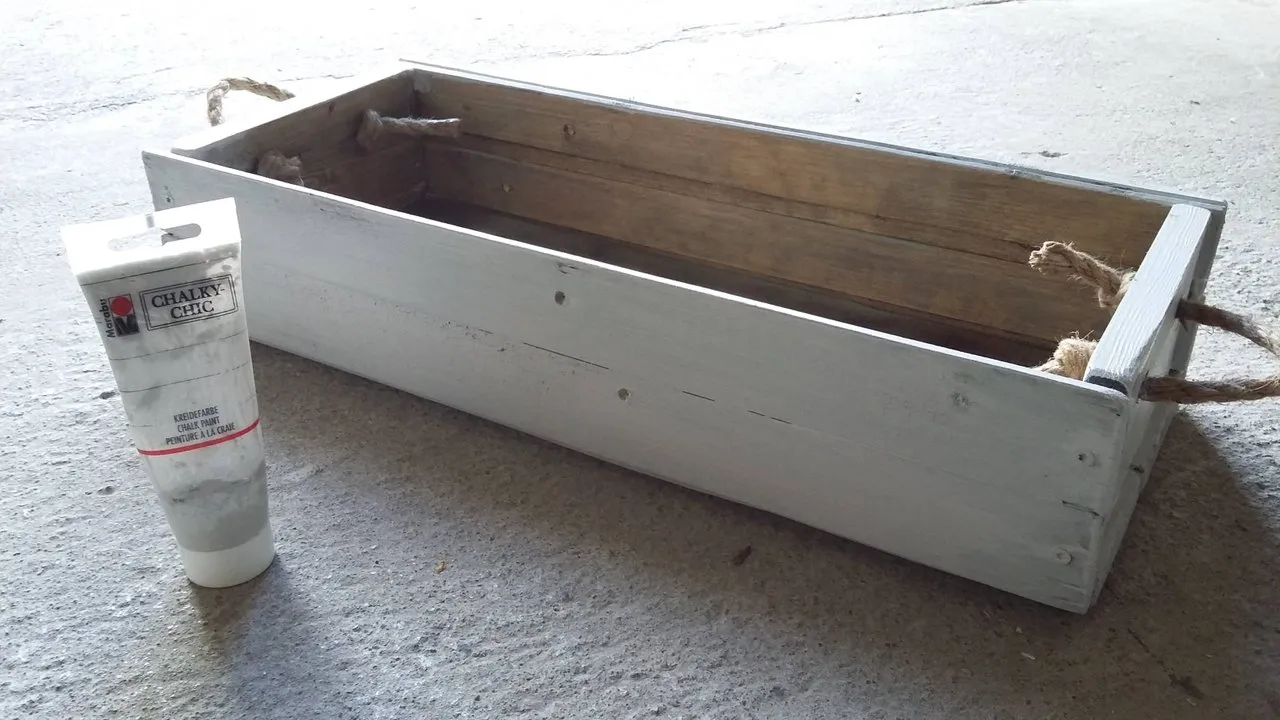
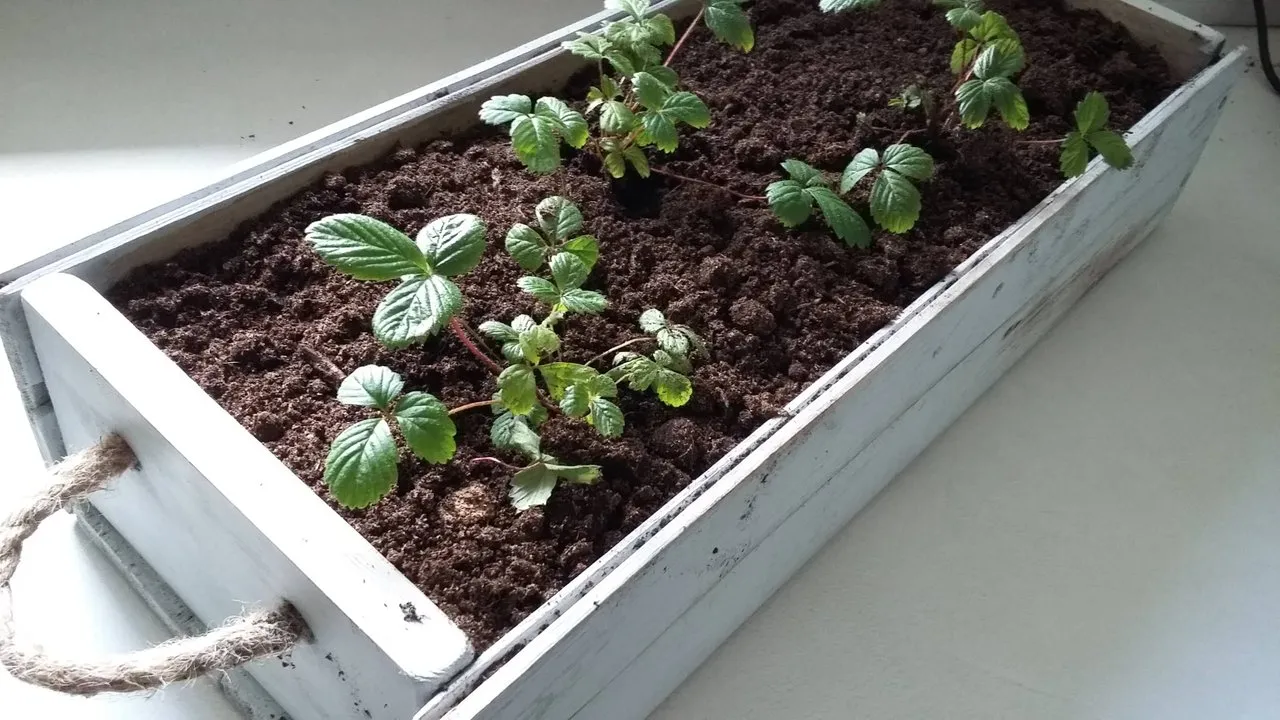
White looks clean, but too clean for me. So I grabbed the sanding paper and scratched the flowerbox in places. Here's the result:

And finally, @raili planted the strawberries. More for fun, can't really expect a good harvest anytime soon from these small plants. But I'm hoping we manage to plant a basil plant in the corner there as well :)
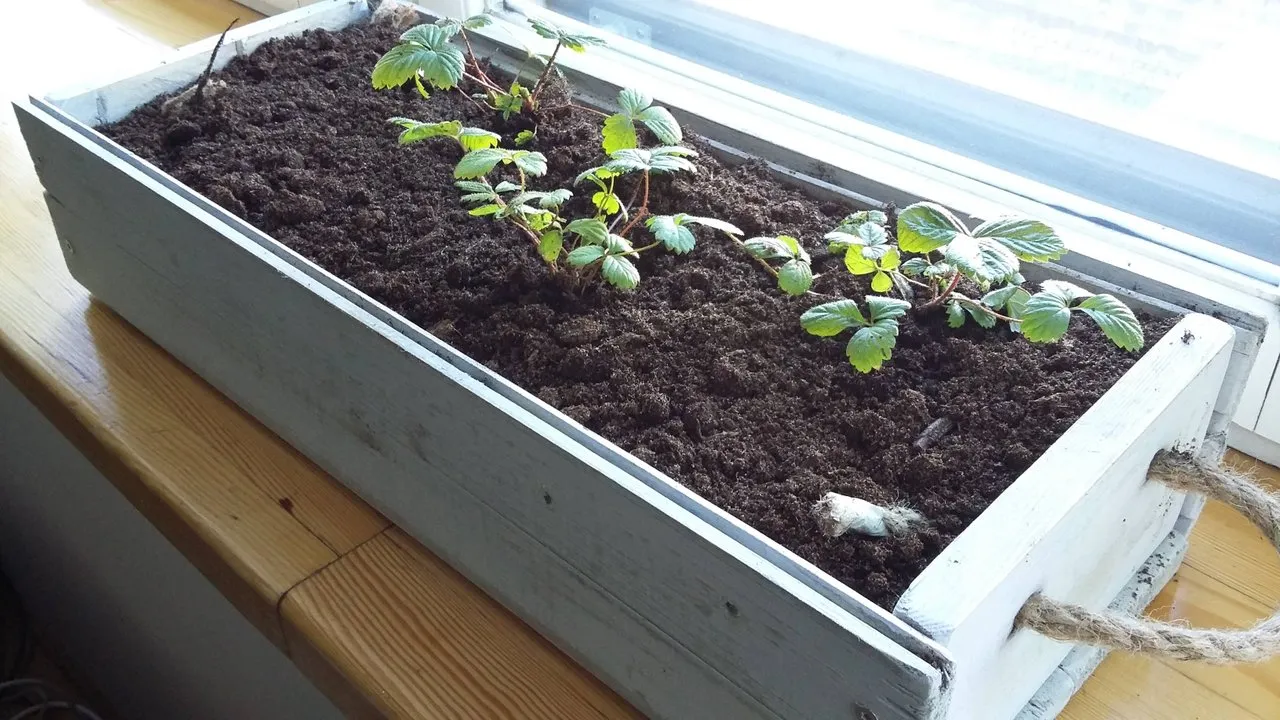

Pros: Handmade with no real effort. And of course strawberries!
Cons: The planter box should be deeper. Some plants have bigger roots and would require a tad more room below. Some valuable info for next time.