Over time, any toilet begins to leak. This can be identified by the characteristic ripples of the water mirror in the bowl, or by the sound of murmuring. Such an ongoing leak leads to the discharge of tens of cubic meters of water into the sewer, for which you have to pay. Often, stopping the overflow is not at all difficult, and you don’t even need to buy anything.
Con el tiempo, cualquier inodoro comienza a tener fugas. Esto se puede identificar por las ondas características del espejo de agua en el cuenco, o por el sonido del murmullo. Una fuga continua de este tipo provoca la descarga de decenas de metros cúbicos de agua en el alcantarillado, por lo que hay que pagar. A menudo, detener el desbordamiento no es nada difícil y ni siquiera necesita comprar nada.
What you need:
- Screwdriver;
- pot;
- plate.
Toilet Repair Process
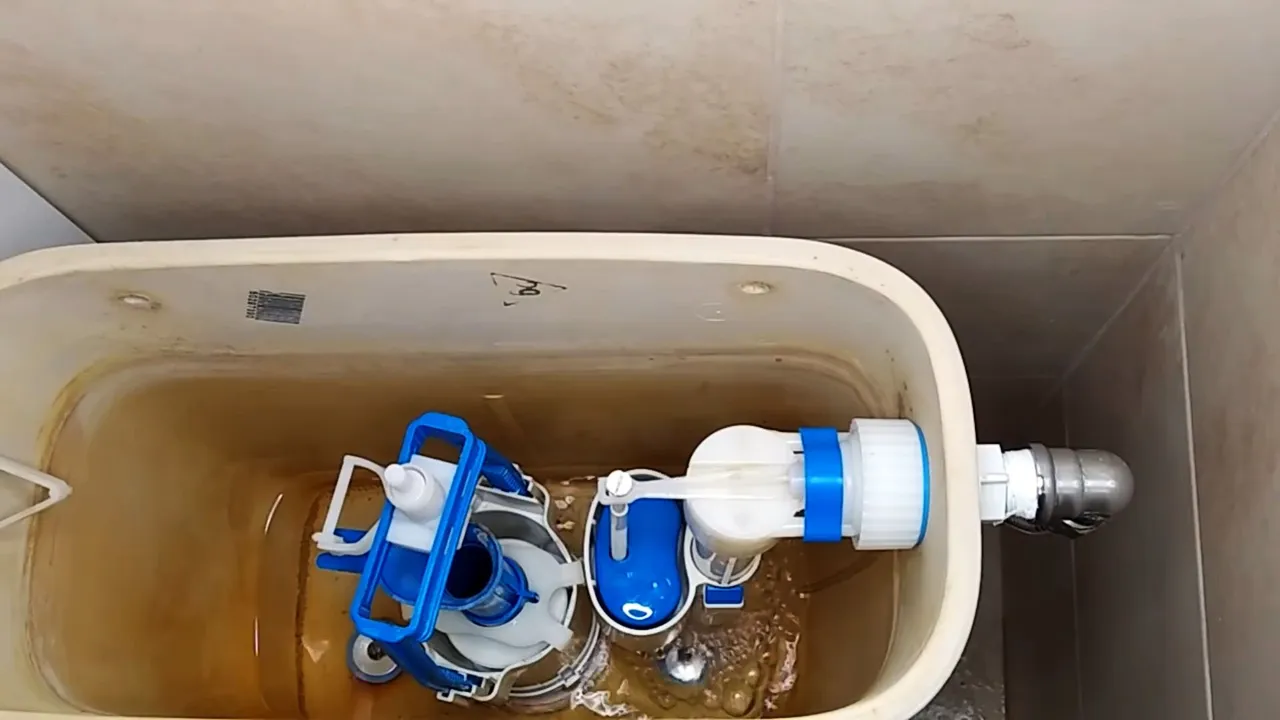
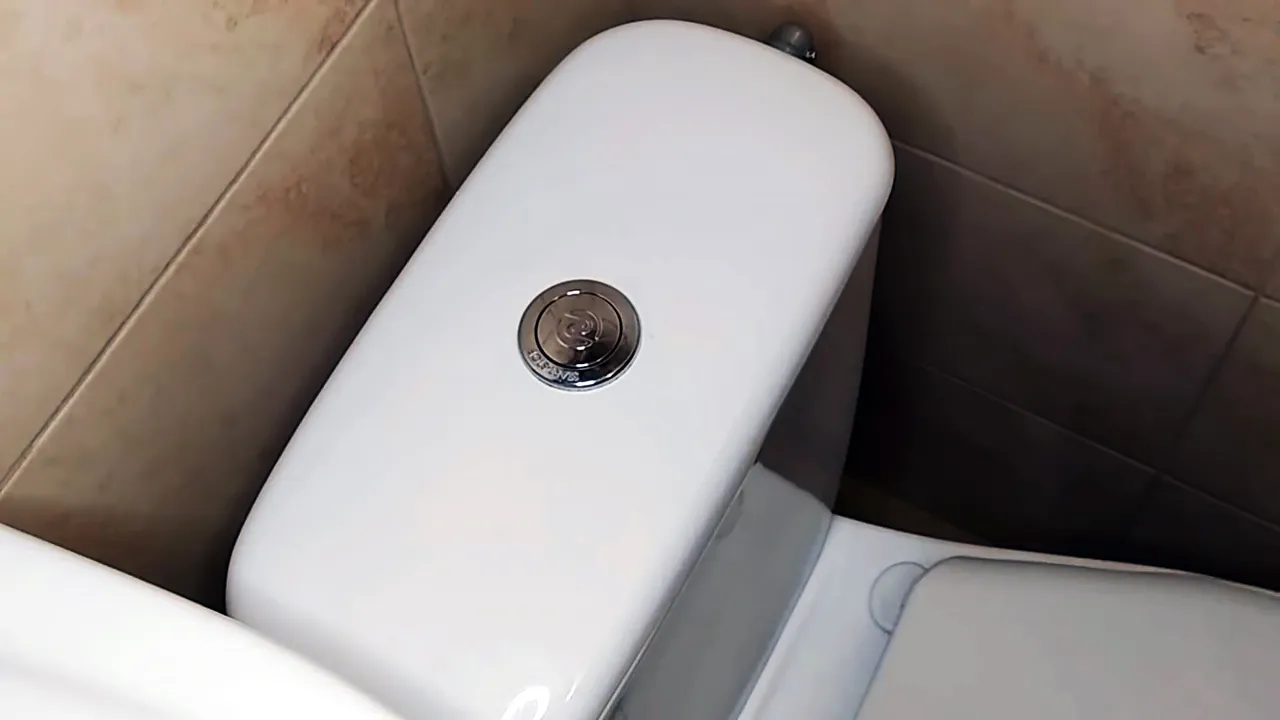
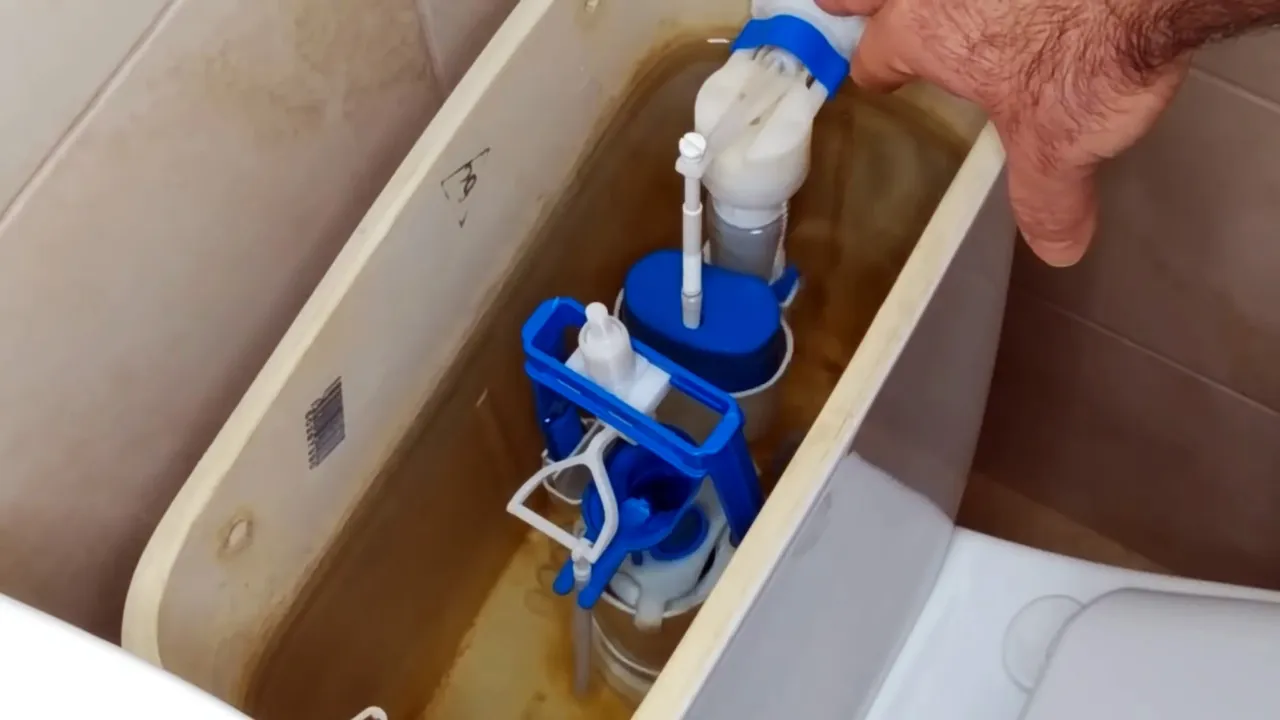
The first step is to remove the drain button and the tank cap. If you have an overflow, then you will see that the water flows from above into the central through tube of the drain valve. In this case, it is necessary to repair the intake mechanism.
File not selected
Que necesitas:
- Destornillador;
- maceta;
- lámina.
Proceso de Reparación de Inodoros
El primer paso es quitar el botón de drenaje y la tapa del tanque. Si tiene un desbordamiento, verá que el agua fluye desde arriba hacia el tubo central de la válvula de drenaje. En este caso, es necesario reparar el mecanismo de admisión.
Archivo no seleccionado
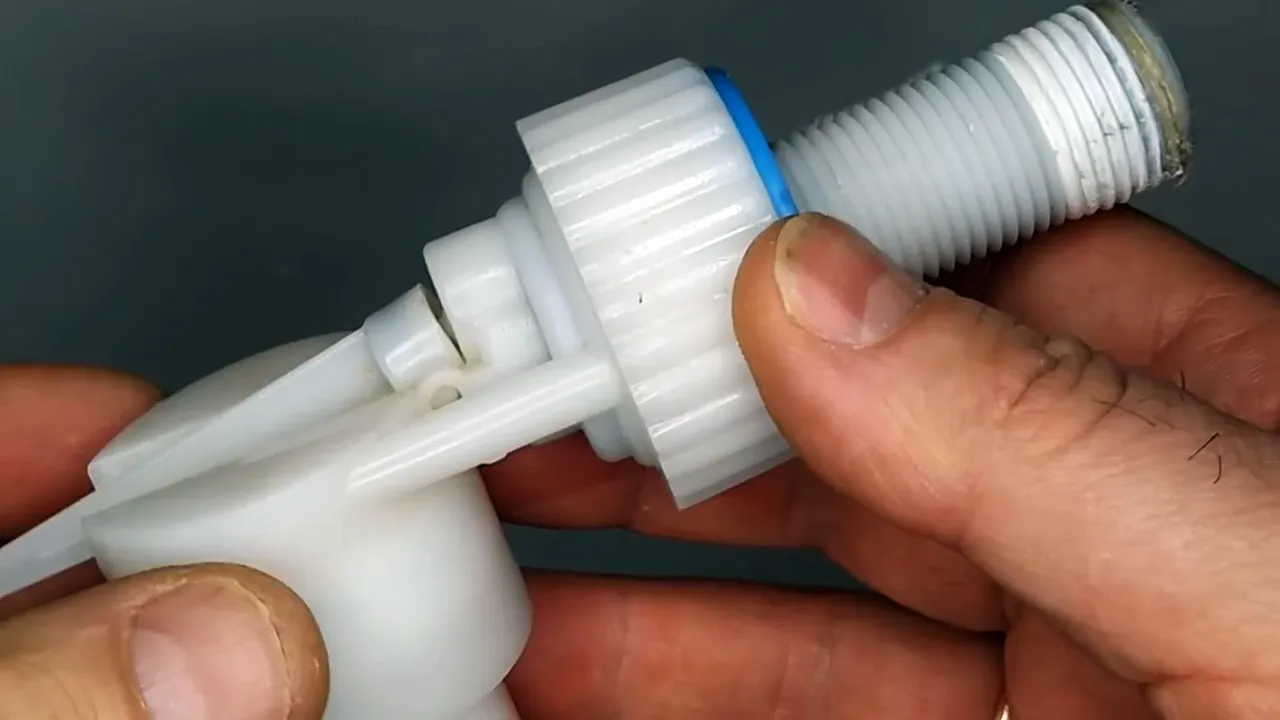
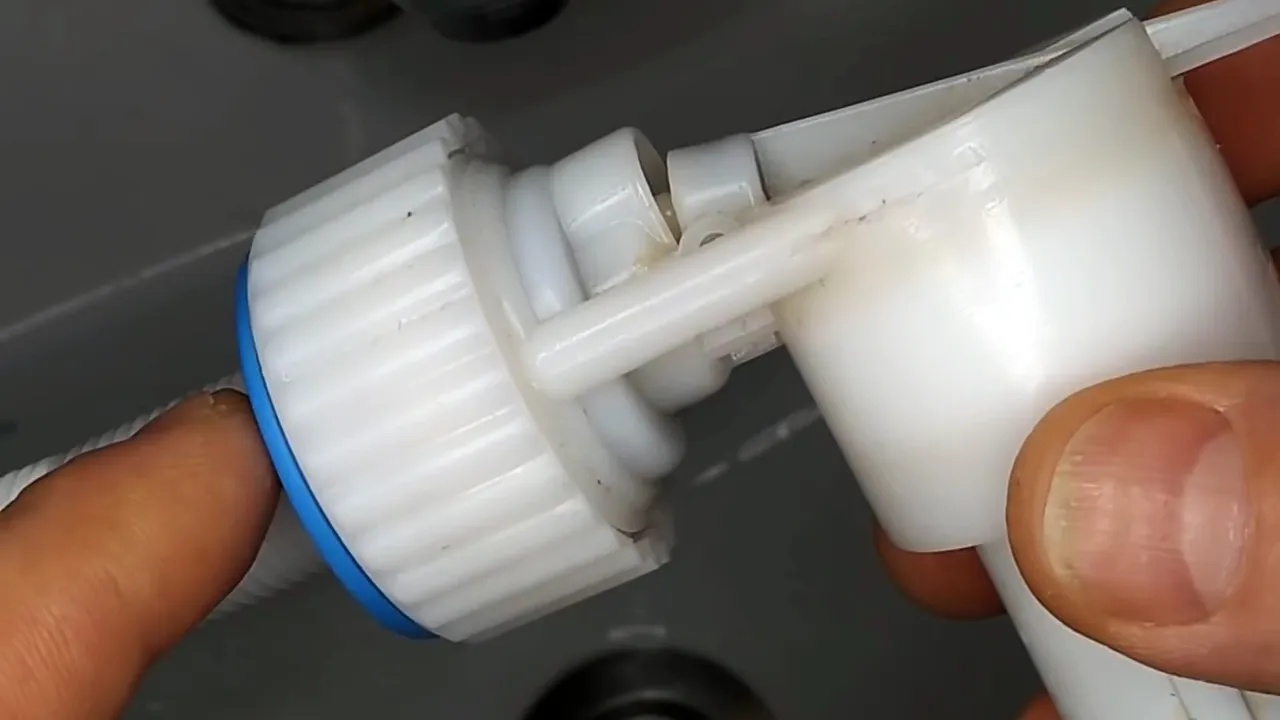
Shut off the supply tap, and drain the water from the tank. Then, by hand, unscrew the nut securing the filler valve.
Cierre el grifo de suministro y drene el agua del tanque. Luego, con la mano, desenrosque la tuerca que sujeta la válvula de llenado.
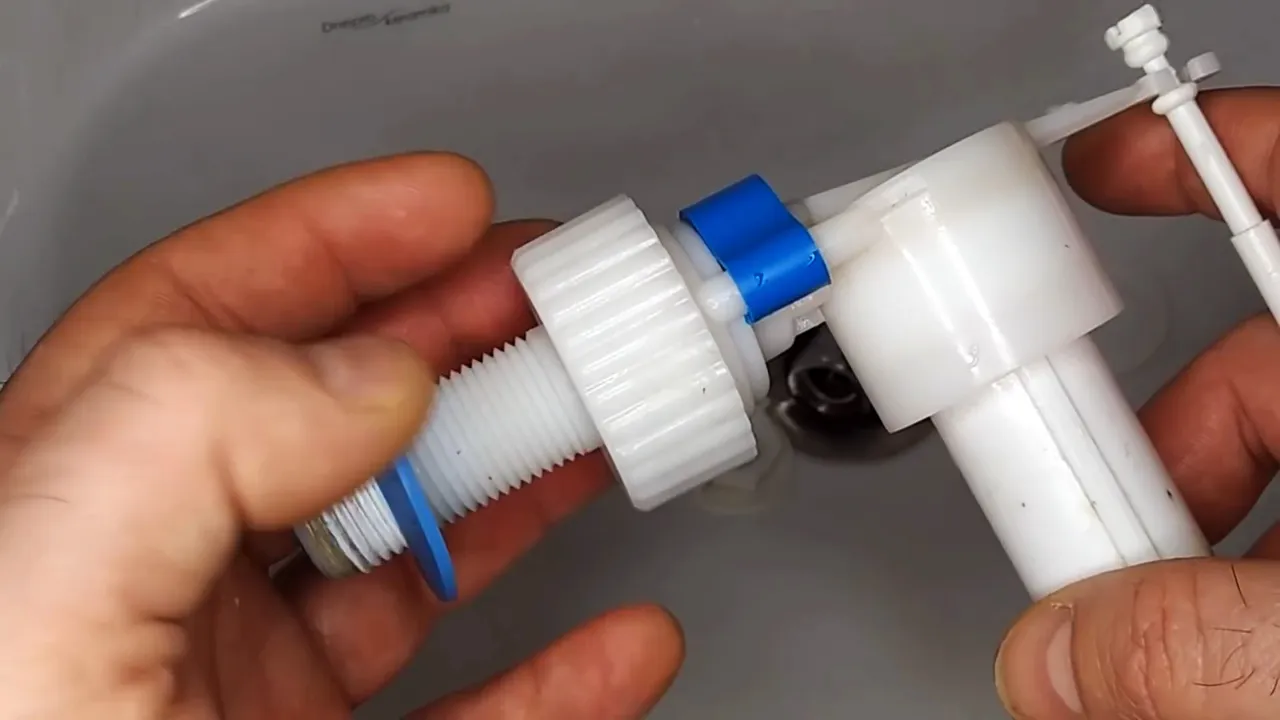
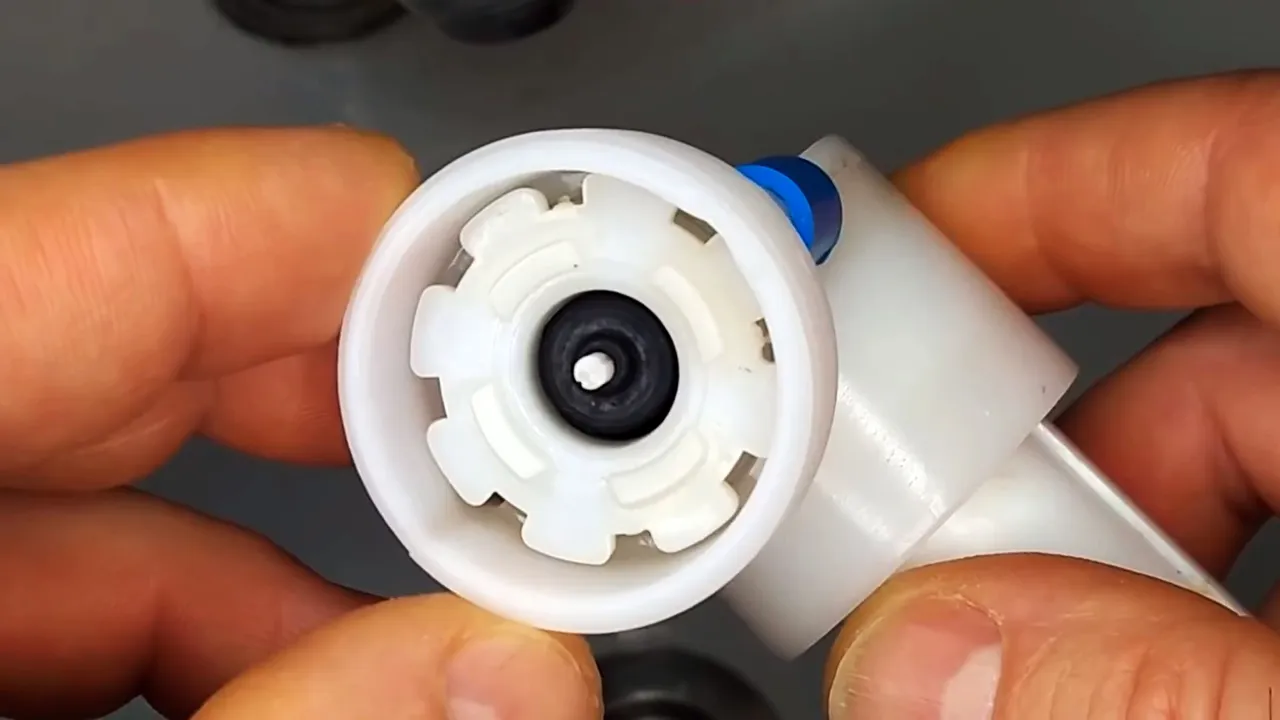
After removing it, we disassemble the body from the side of the pipe, and find a large rubber gasket.
Después de quitarlo, desmontamos el cuerpo del costado de la tubería y encontramos una junta de goma grande.

It is necessary to remove the gasket and wash it from plaque. Often it is he who prevents hermetic overlap.
Es necesario quitar la junta y lavarla de la placa. A menudo es él quien evita la superposición hermética.
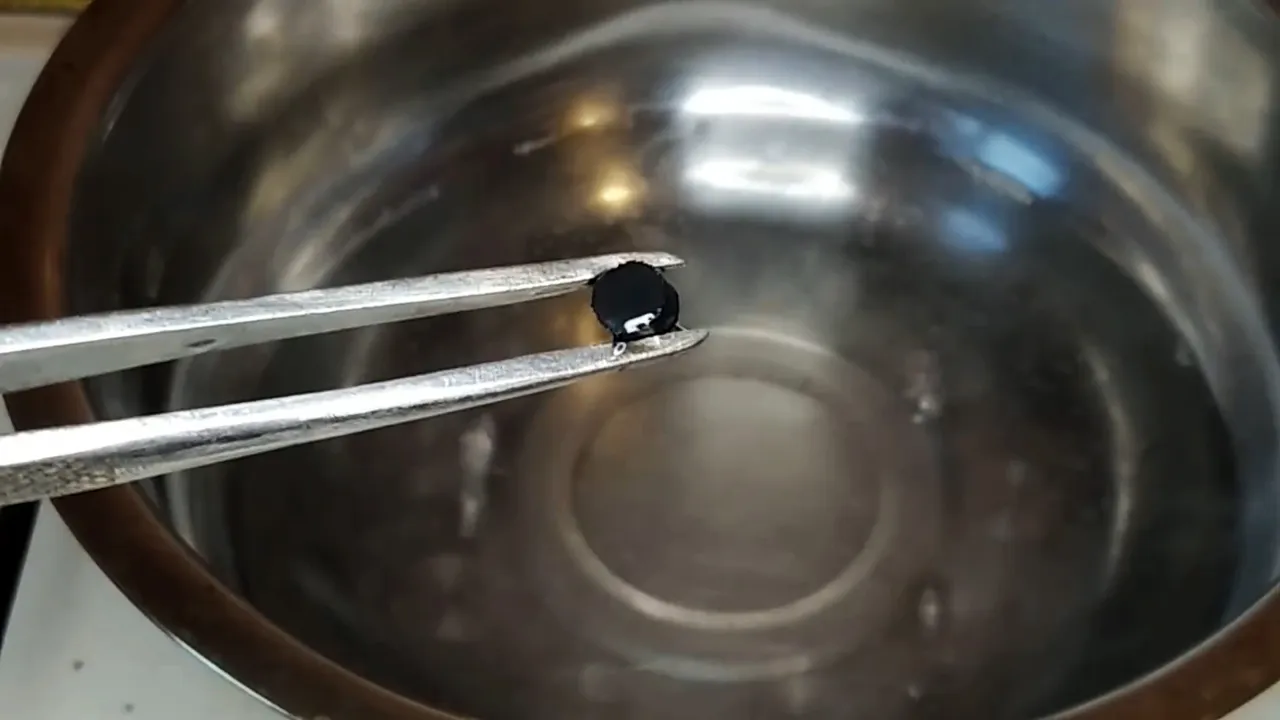
If there are dents on the gasket, then it must be restored by boiling for 5-10 minutes. After that, it will take its original form, and it can be put in place.
Si hay abolladuras en la junta, debe restaurarse hirviendo durante 5-10 minutos. Después de eso, tomará su forma original y se podrá colocar en su lugar.
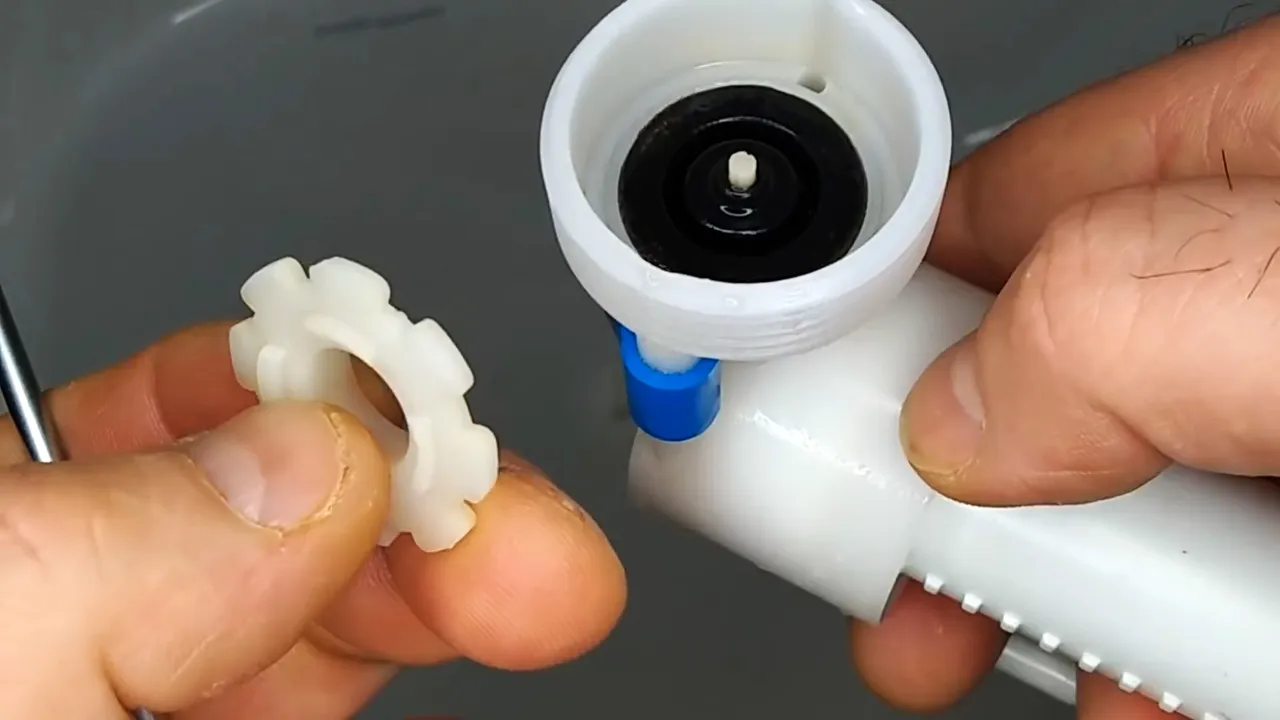
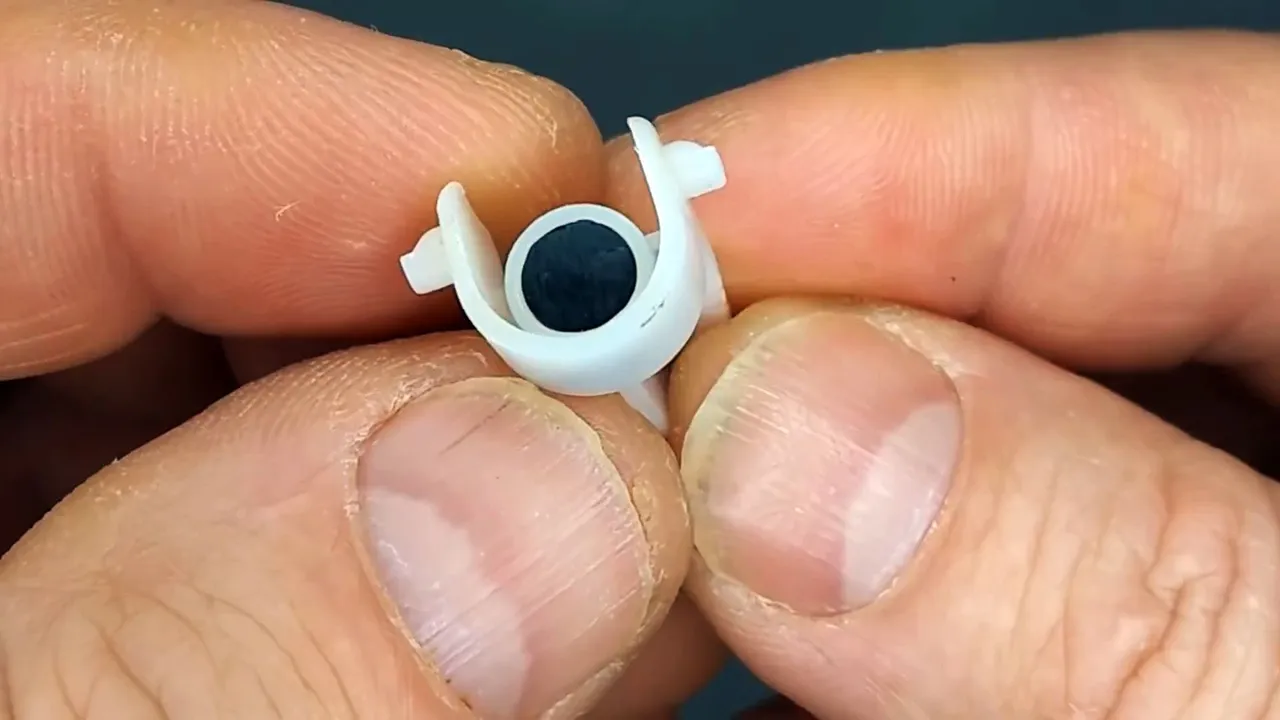
You should also check the gasket on the stem side. To do this, the clip is disconnected from it. Next, pry off the lever with a screwdriver, and also remove it.
También debe verificar la junta en el lado del vástago. Para hacer esto, el clip se desconecta de él. Luego, saque la palanca con un destornillador y también retírela.
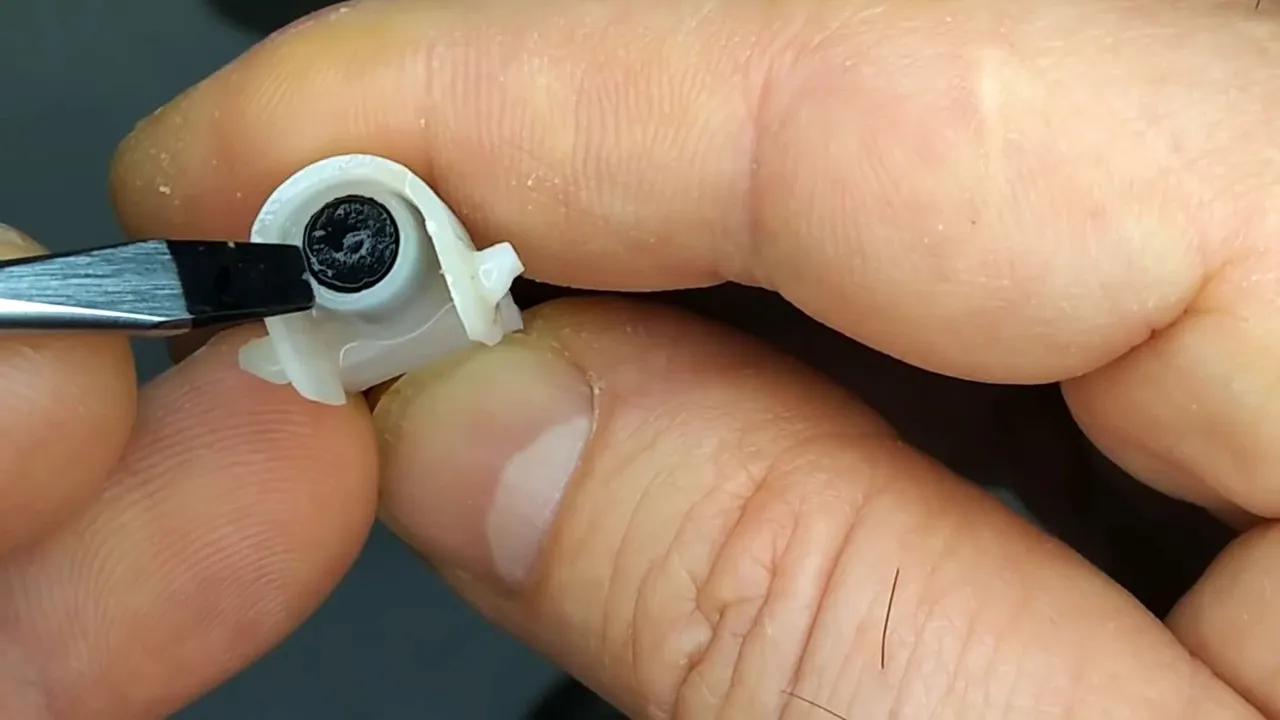
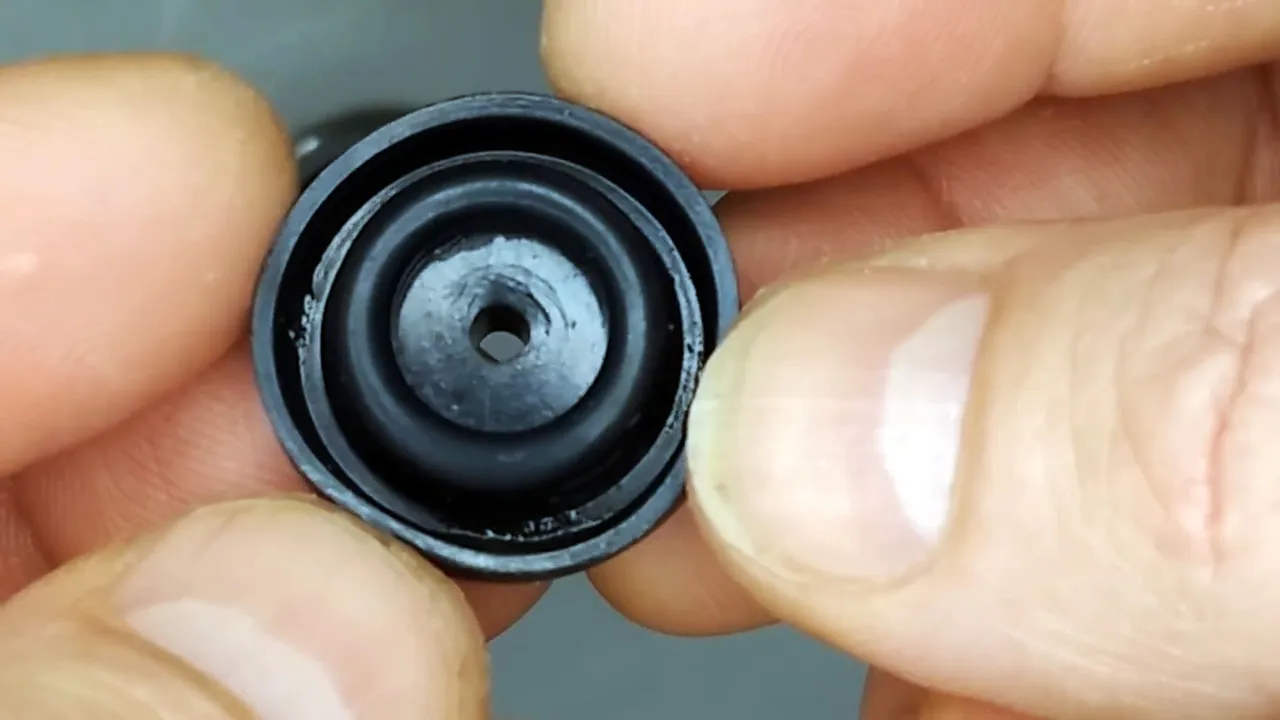
There is a small rubber pad in the lever. It also needs to be washed. If there is a dent on it, then it should be turned over or boiled.
Hay una pequeña almohadilla de goma en la palanca. También hay que lavarlo. Si tiene una abolladura, debe darse la vuelta o hervirse.
After servicing the gaskets, the mechanism is assembled back.
Now the water will normally overlap, and there will be no overflow.
Después de reparar las juntas, el mecanismo se vuelve a montar.
Ahora el agua normalmente se superpondrá y no habrá desbordamiento.